Fresco of the Three
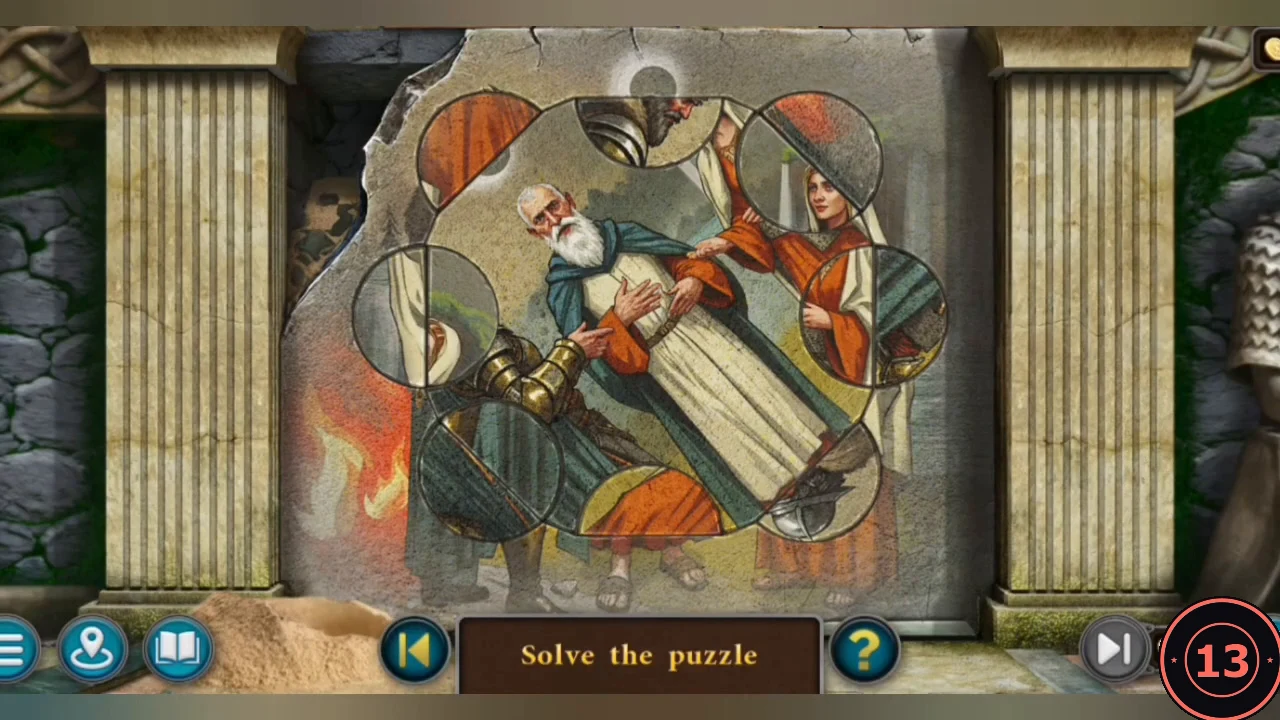
"Rotate the image fragments and restore the fresco."
- Overlapping circular groups of fragments rotate when tapped. Restore the picture with all three figures upright: the armoured Warrior on the left, the white-bearded Sage in a white robe in the centre and the Maiden in a red robe and white veil on the right. Fix one figure at a time and compare with the solved image. The tablet wall slides open to reveal stairs.
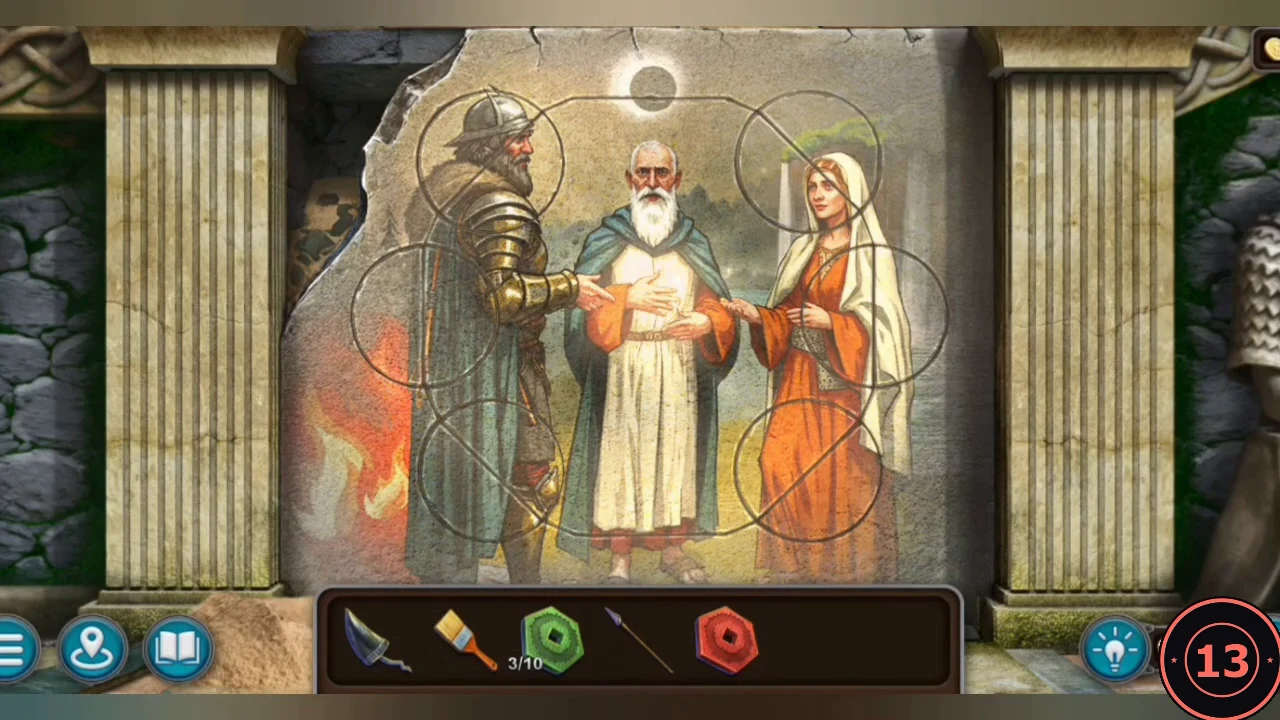
The restored fresco of the three.
The Mountain Cave
A tough climb: a hanging plank on chains, a carved pillar, a high wooden bridge and a ladder tied up on the right. A wounded competitor sits at the lower left. New task: Wounded competitor – his torn wound must be cauterized.
- Crown 6/8 is on the hanging brazier at the upper left; Morph 40/47 is on the right wall. At the top of the carved pillar, use the SPEAR to free the AXE stuck under the bridge.
- Open the rusty chest at the foot of the tied ladder with the LOCKPICK. Inside: Manuscript 11/12 Mountain of trials, a KEY, a SCOOP and GREEN STONE DISC 4/10. The ladder is held upright by two wooden posts standing either side of the chest: chop through the left post and then the right post with the AXE, and the ladder drops against the bridge.
- Climb to the bridge. From the knocked-out warrior take GREEN STONE DISC 5/10, the CLOTH WRAPS and the EMPTY FLASK. The ladder collapses on the way down.
The Wounded Competitor
Help the injured contestant.
- Temple: heat the SPEAR in the burning bowl (HEATED SPEAR) and fill the EMPTY FLASK in the water bowl (FLASK OF WATER). Cave: cauterize the competitor's wound with the HEATED SPEAR.
- Zoom into the broken ladder pile and take the WOODEN BARS. Put the WOODEN BARS on the competitor's broken leg as splints ("I need something to secure the splints") and bind them with the CLOTH WRAPS. Give him the FLASK OF WATER to drink, then use the CLOTH WRAPS again on his cauterized arm to bandage it ("Much obliged..."). Task complete: Wounded competitor. Tap the bag beside him to take the LEVER; the WOODEN HAND wearing a glove is also added to your inventory.
- Open the WOODEN HAND in the inventory: take the glove off and fit its straps and plates onto Mini's hand to get the MAGNETIC GLOVE.
Bridge Hourglasses
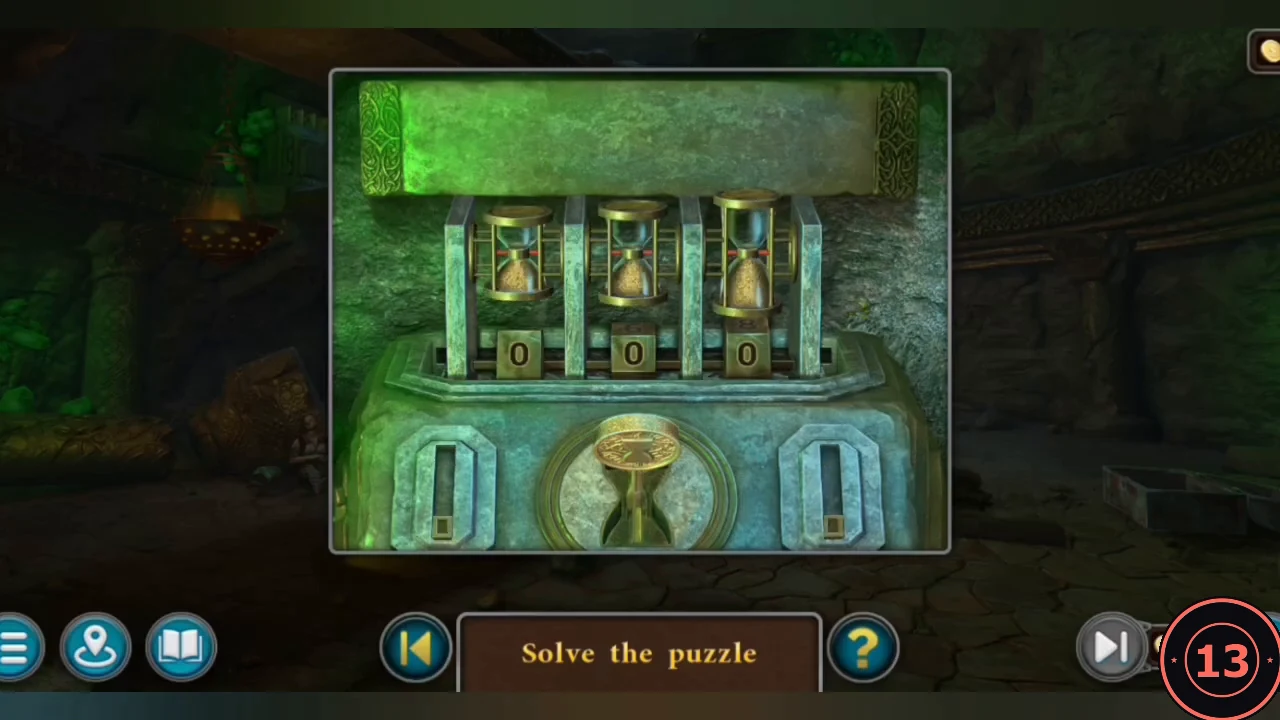
Rebuild the ladder and reach the hourglass panel on the bridge.
- At the broken ladder pile, slide the SPEAR under the boards and knock the rungs into place with the AXE; the ladder stands again. Climb up to the bridge deck beside the knocked-out warrior: a row of levers is set into the deck with one empty slot. Fit the LEVER into that slot; the levers flip and a stone bridge section slides out from the left wall towards the carved pillar. Then zoom into the hourglass panel and put the KEY into its bottom slot. The three hourglasses have no sand.
- Temple: fill the SCOOP from the bowl of sand on the centre pedestal. Bridge panel: pour the SCOOP OF SAND into the top trough.
- "Empty all the hourglasses simultaneously by flipping them and using the key at the bottom." The hourglasses hold 4, 6 and 8 (left, middle, right); flipping one turns its remaining time upside down, and the key runs time until the first hourglass empties. Solution: flip left, middle and right; press the key (left empties, middle 2, right 4); flip the left (4); flip the middle (4); press the key. All three empty together.
Bracket Climb
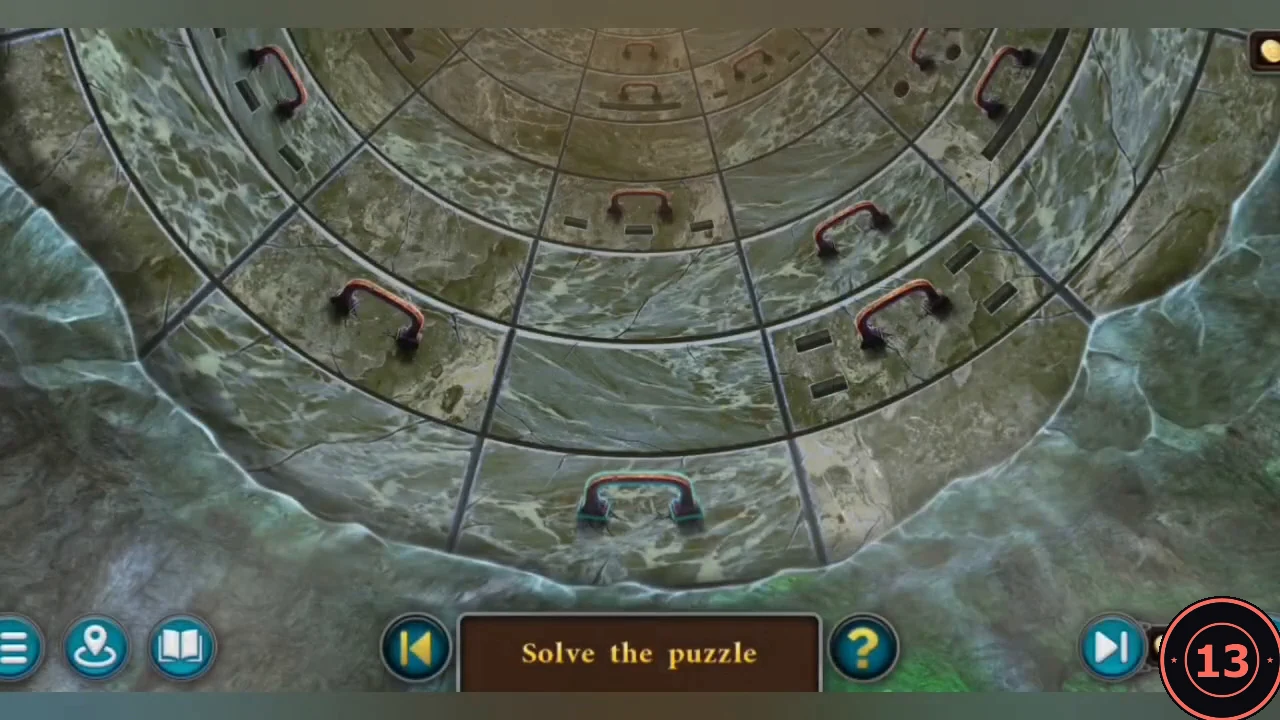
"Climb up the brackets, avoiding hidden traps." You look up a round shaft lined with rings of handle brackets toward a sunlit opening.
- Only the brackets with a glowing outline can be taken; tapping any other bracket does nothing. Tap the single bracket at the bottom centre first. Then, among the glowing brackets in the next ring, tap in this order: right, middle, right, left, right, middle, right. The view re-centres after each climb, so judge left, middle and right on the new view each time. This route sets off no trap, and the last tap brings you out at the top. Achievement: Skilled.CODEFirst – Right – Middle – Right – Left – Right – Middle – Right
Trapped with Kaira
Mini is caught in a rope net and Kaira hangs upside down in a snare. New task: Together to victory.
- Use the MAGNETIC GLOVE on the AXE lying on the path to pull it into the net, then cut the net knot with the AXE.
- Mountain foothill: GREEN STONE DISC 6/10 is in the right-hand foliage and Morph 41/47 is on the winch. At the ruins, zoom into the mud pit and lever the boards aside with the SPEAR (the spear stays in the pit). The disc beneath is stuck in wet clay: dig it out with the AXE and take the DIRTY STONE DISC.
- Go forward to the stone-disc gate at the bridge. A rival on the other side offers WIRE CUTTERS in exchange for the AXE. Trade. Back at the tree, free Kaira with the WIRE CUTTERS and take the WIRE from the snare in the grass.
The Ten Green Discs
The gate trial needs ten green stone discs.
- Painter's camp (cave mouth, lower left of the bridge area): put the PAINTBRUSH and the RED STONE DISC on the paint-spattered rock. Pour the yellow and the blue paint into the empty bowl to make green paint, dip the brush and paint the red disc: GREEN STONE DISC 7/10. Ship 3/7 is in the left foreground of the bridge scene. Waterfall pool: drop the DIRTY STONE DISC under the falling water to wash it clean and take it as GREEN STONE DISC 8/10, then take GREEN STONE DISC 9/10 from the rock on the left.
- Foothill winch tower: the mechanism is missing a gear and the gear is broken. Bind it with the WIRE and mount it; the winch lowers the platform into the cave shaft.
- Cave and temple stairs: Kaira climbs behind the tablet and squeezes through the gap to fetch GREEN STONE DISC 10/10.
Gate Board: Four in a Row
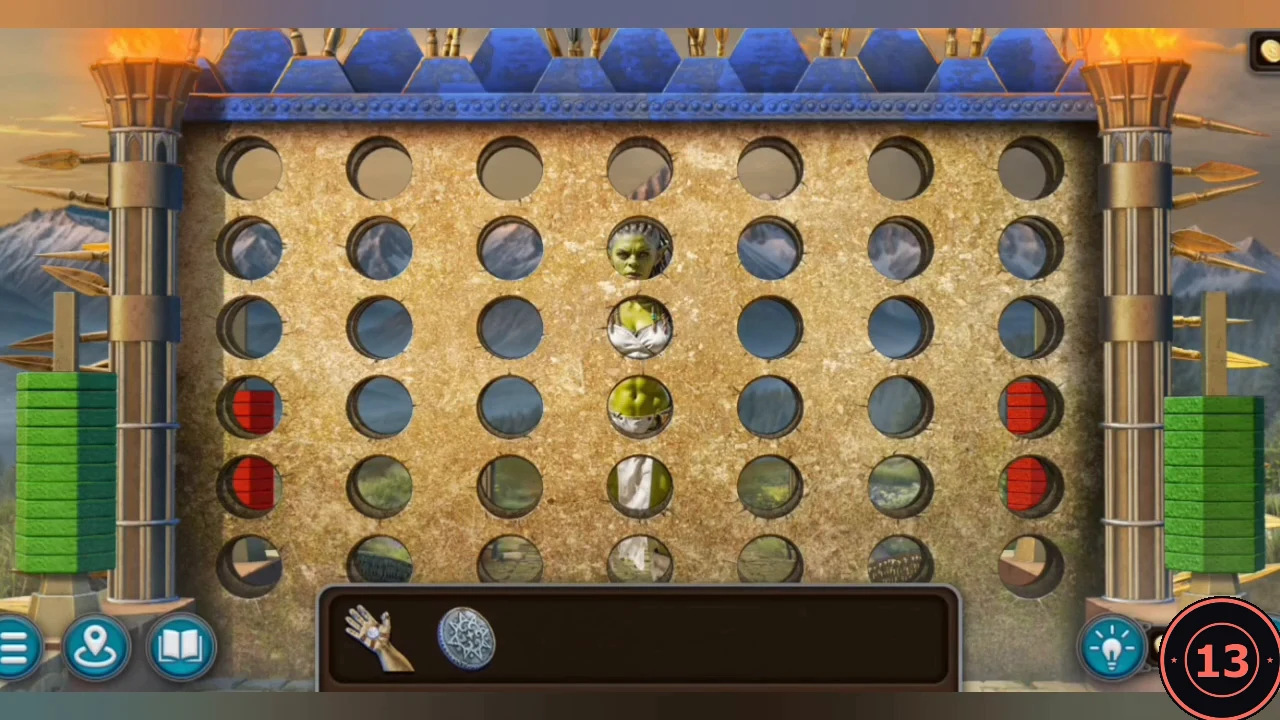
The gate on the bridge is a board of 7 columns and 6 rows of holes. Place the GREEN STONE DISCS in the stack on the left; Kaira lends her coin for the slot and the first move is decided by rock, paper, scissors. A Skip button appears during the game.
- Place all ten green discs on the board and insert Kaira's coin.
- Tap a column to drop a green disc into the lowest free hole; your opponent drops red discs. The first to make a line of four (horizontal, vertical or diagonal) wins. The opponent reacts to your moves, so there is no fixed move list: block every red line of three and build two threats at once. In the reference playthrough the win was a horizontal green four in the third row from the bottom. The bridge turns and the rivals' side swings over the abyss.
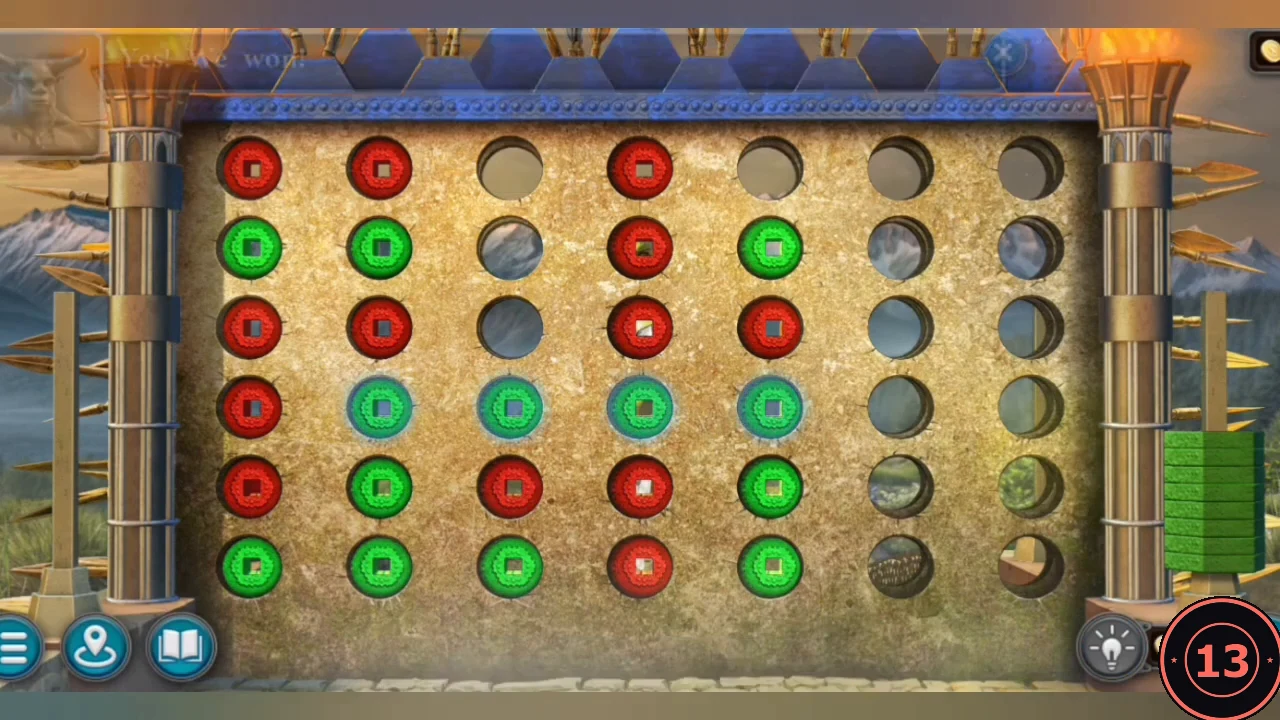
The winning four (highlighted) in the third row from the bottom in the reference playthrough; your game will differ.
The Gorge and the Alchemist's Chamber
New task: Fall. Below the bridge is a gorge with a waterfall, a bone field and poisonous green slime. A tunnel leads to an alchemist's chamber with a hooded statue, a central pedestal, a stone workstation and a pile of gold.
- Gorge: take the SNARE POLE from the bone pile. Morph 42/47 is on the upper rock ledge. Alchemist's chamber: take the ALCHEMIST'S SCROLL and the STONE BOWL from the workstation. New task: Mana Preparation. Use the SNARE POLE on the glowing mushroom wall to get a PHOSPHORESCENT MUSHROOM.
- Morph 43/47 is by the statue plinth. From the gold pile take the GOLDEN HAIRPIN and SILVER SPOON; Crown 7/8 is on top of the pile. Gorge: take the WOODEN BOWL from the backpack among the bones. Do not touch the green slime by hand; scoop CENTIPEDE EGGS from it with the STONE BOWL.
- Read the MANA PREPARATION scroll: grind gold and silver into shavings; oxidize the shavings with centipede venom; combine both reactions over a flame; add the juice of the phosphorescent mushroom to the boiling mixture; distill the brew through a flask. Special keys lower the cell shutters. Pouring mana into the hole on the pedestal reveals the text beneath the statue. Place the four ingredients on the scroll to get the REAGENTS.
Alchemist's Workstation and Domino Lock
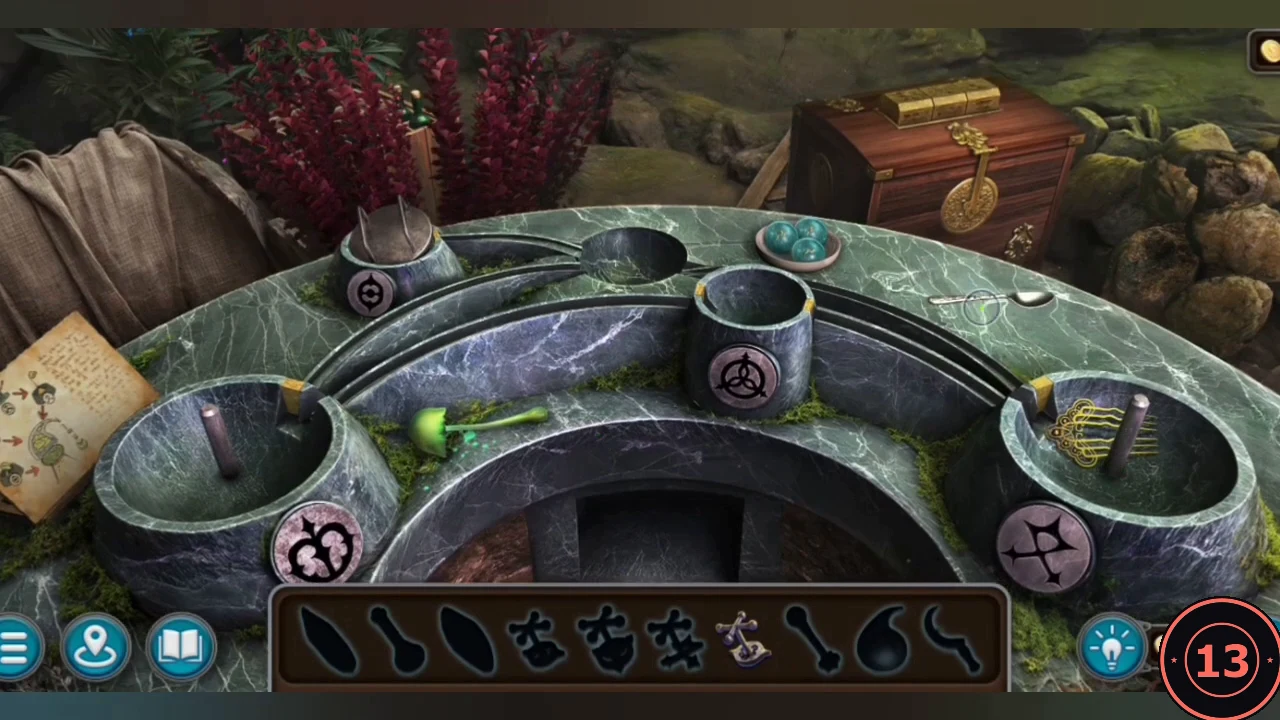
Put the REAGENTS on the workstation. The ingredients are laid out and a list of tools to find replaces the inventory.
- Top zoom: put the mushroom into the top-left basin and crush it to extract its juice; take the YELLOW CRYSTAL from the top-left receptacle. The millstone has no handle. Rock rubble on the left: take the first KEY WITH SYMBOL from the recess on the left, then the BLUE CRYSTAL, and note the wall clue of three cells: three circles on stalks, three squares, two triangles. In the bottle crate at the upper left, move the bottles to reach the second KEY WITH SYMBOL, the LEVER and the DISTILLATION FLASK.
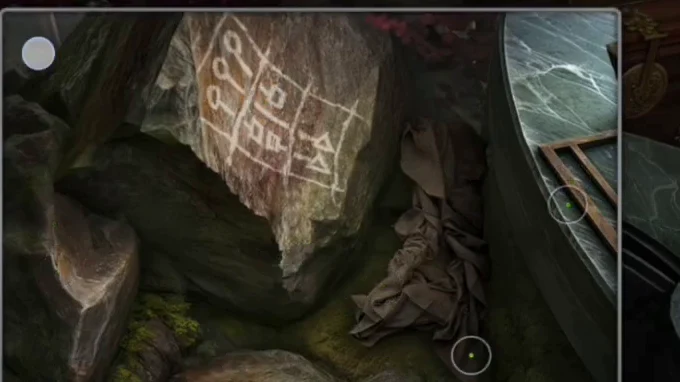
The wall clue for the chest lock: circles on stalks, squares, triangles. - Chest at the upper right (take the SICKLE beside it): rotate its three blocks so that the left shows three circles, the middle three squares and the right two triangles. Take the third KEY WITH SYMBOL and the EMPTY VIAL. All three keys are needed.
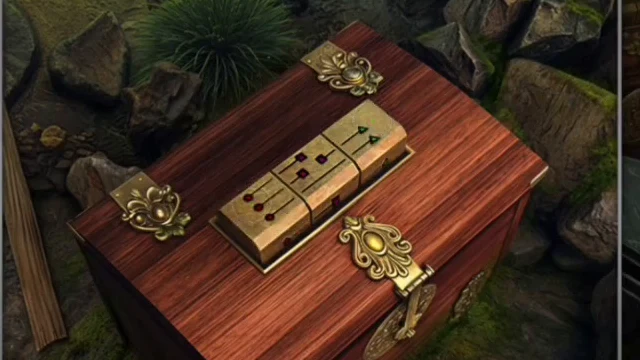
The chest lock set from the wall clue.
Brewing Mana
Follow the recipe at the workstation.
- Put the YELLOW CRYSTAL and the BLUE CRYSTAL into the firebox to light it. Top zoom: cut the centipede eggs in the top cylinder with the SICKLE to release venom. Insert the KEYS WITH SYMBOL into the socket of the top-left basin and into the dials of the lower-right and lower-left bowls.
- Fit the LEVER as the millstone handle and grind the silver spoon in the left bowl, then the golden hairpin in the right bowl. Place the EMPTY VIAL on the stand at the top right.
- Top zoom: release the venom cylinder; the venom oxidizes the shavings (left purple, right red). Let both mixtures run into the central boiling basin and add the mushroom juice from the top-left basin (follow the sparkles). Fit the DISTILLATION FLASK on the condenser and take the MANA ESSENCE.