CHAPTER 2 · HIDDEN OBJECTS
Book Club Curtain: Pictured Items
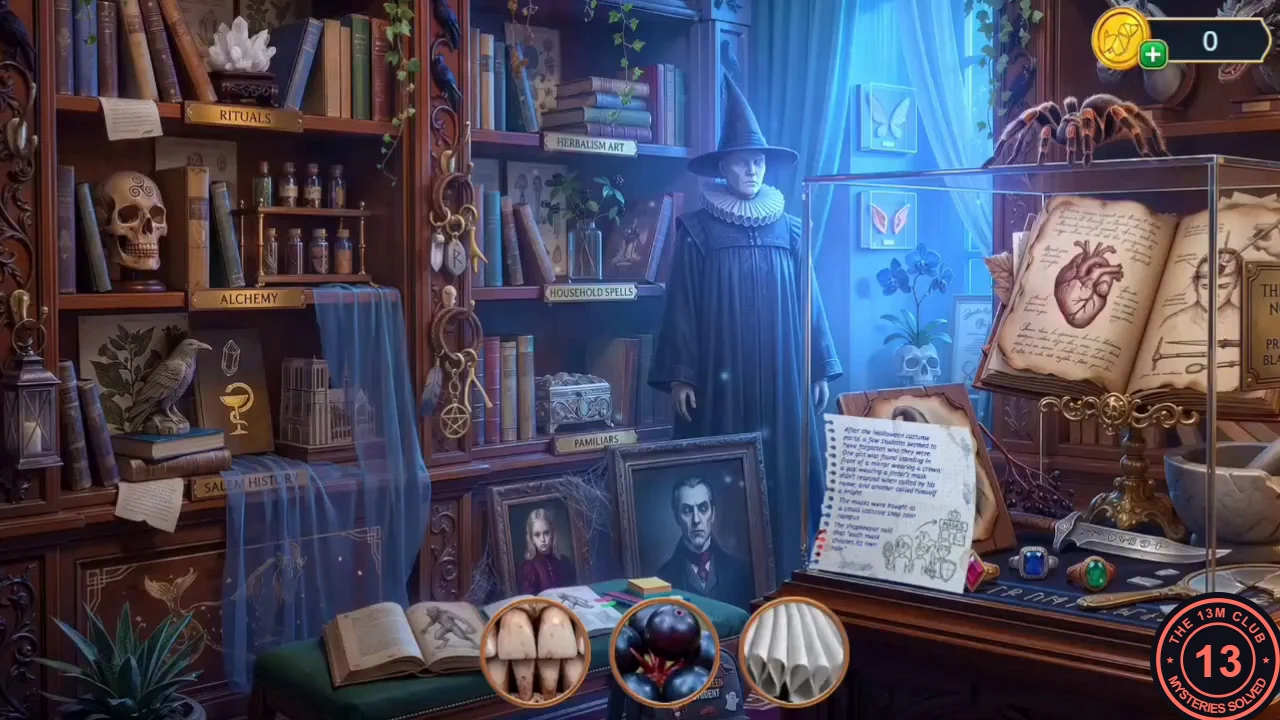
The curtain scene in the Book Club Room changes for a second search.
- Open the curtain again. This time find the items pictured at the bottom of the screen; the pictures are close-ups, such as teeth, dark berries and folded white cloth. A note in the scene says some students forgot who they were after the party and that the masks came from a small costume shop near campus. You receive the Eyes.
- Choice: "Let's go to the shop. If that's where the masks came from, we should find a clue there." (60 coins, +2) or the free "Maybe we shouldn't go to the shop after all?" This guide takes the free answer.
- Place the Eyes in the two round sockets at the top of the bookcase. Take the Strange Key.
CHAPTER 2 · PUZZLE
Pumpkin Lantern Lock
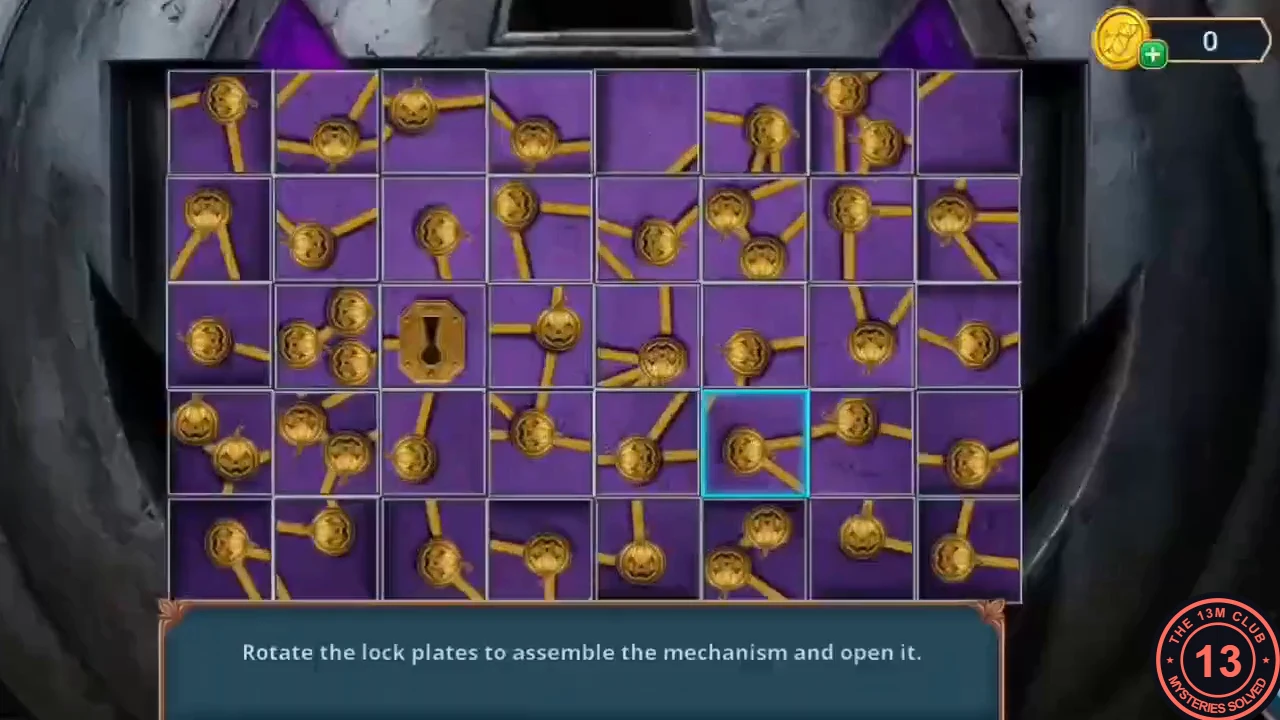
The metal pumpkin lantern on the office bulletin board is locked.
- In the Administrative Building, use the Strange Key on the pumpkin lantern lock. Puzzle: "Rotate the lock plates to assemble the mechanism and open it."
- The 8×5 grid of plates carries rods ending in pumpkin knobs around a central keyhole. Tap a plate to rotate it 90°. Turn the plates until all rods join into one connected network with no loose ends. Start from the plates next to the keyhole and work outward. It is a short trial-and-error puzzle, so no fixed tap list is given.
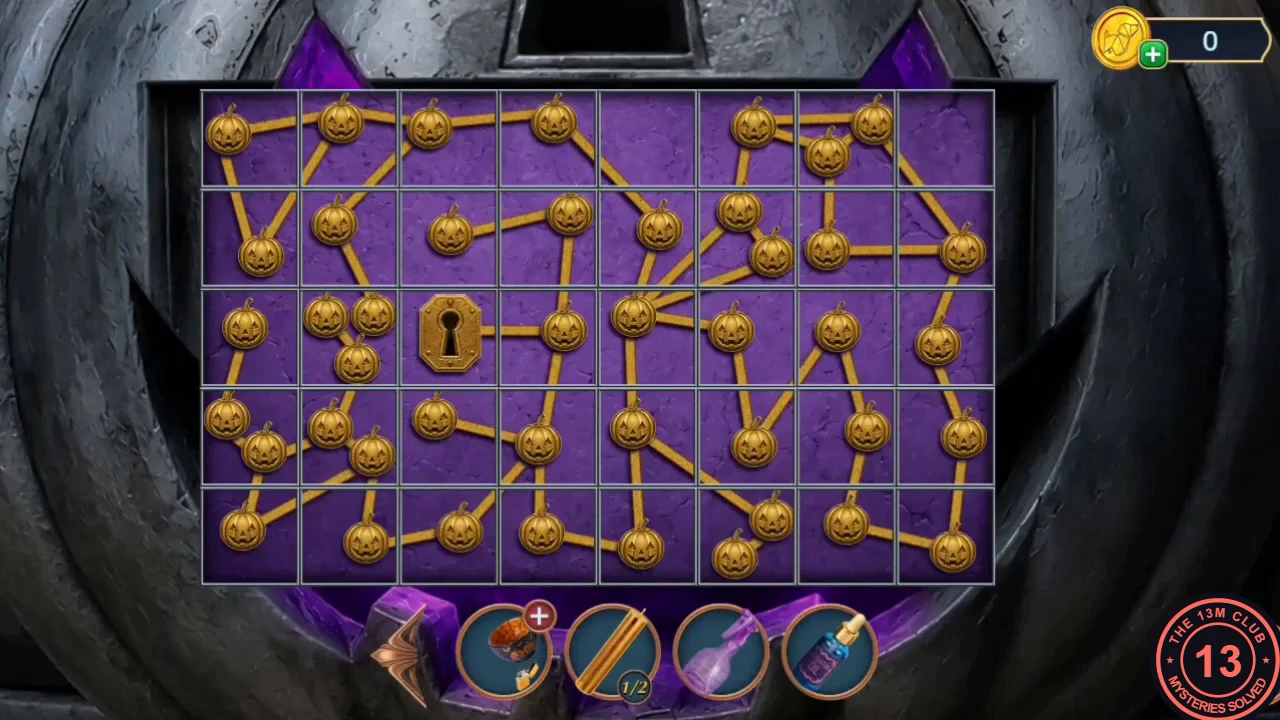
The finished mechanism in the example game: every rod joins the network and no ends are left loose. - Take the Wooden Stake from the opened lantern. Put the Essential Oil into the spiderweb bowl.
- At the service exit, pry open the grey locker with the Wooden Stake and take the Clock Weights (2/2).
- In the Rehearsal Hall, hang the Clock Weights in the grandfather clock. Its door opens; take the Clasp (a silver head-shaped piece, 1/2). Keep it; the second half turns up in Chapter 3.
CHAPTER 2 · HIDDEN OBJECTS
Director's Chair Riddles
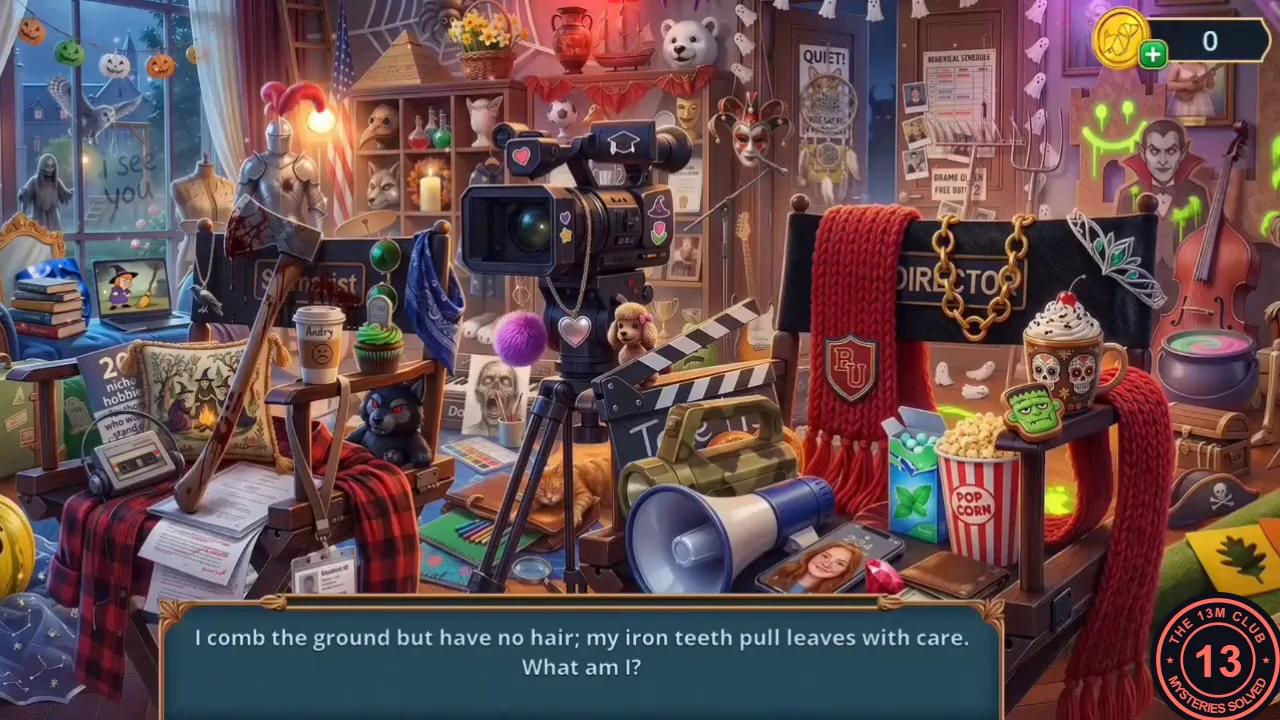
A locked case waits on the director's chair.
- Tap the sparkling director's chair to open a riddle scene. Each riddle ends "What am I?"; tap the object it describes.
- The riddles describe a rake ("I comb the ground but have no hair"), a zombie, an owl, a dreamcatcher, a cartoon ("I move in frames"), a lantern, a candle, a cupcake, a vampire, the cushion embroidered with witches around a campfire ("When witches gather under moon"), a ruby-red stone and a feather. You receive the Sad Mask.
- In the Campus Radio Room, put the Sad Mask in the empty slot on the mixing desk with the comedy and devil masks. Take the Dividers.
- In the Book Club Room, fish under the armchair with the Dividers and take the Tealight. Add it to the spiderweb bowl to complete the Aroma Lamp. Take the Glue from the coffee table.
CHAPTER 2 · PUZZLE
Service Exit Key Maze
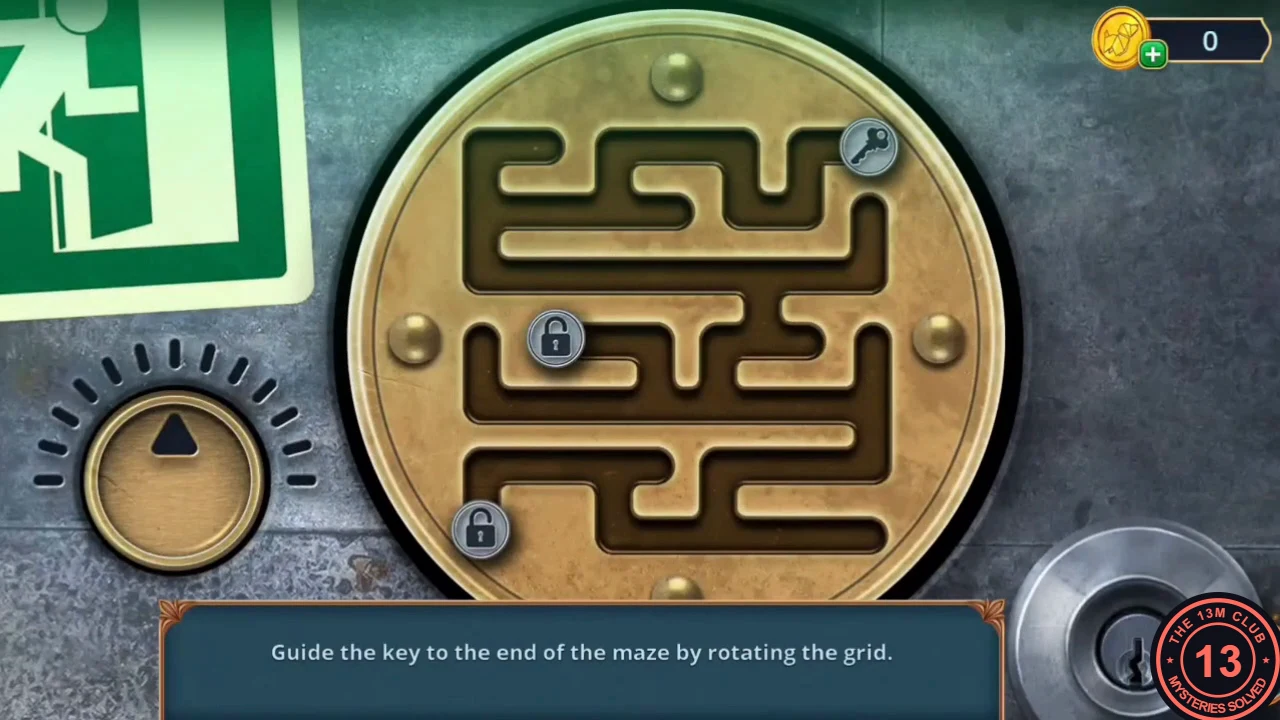
The exit door's lock is a rotating maze.
- At the service exit, set the Aroma Lamp on the sink. The cockroaches flee; take the Bunch of Keys from the drain.
- Use the Bunch of Keys on the exit door. Puzzle: "Guide the key to the end of the maze by rotating the grid." The round button rotates the whole maze; the key and the padlock tokens slide with gravity. Rotate step by step, watching where the key falls, and steer it to the exit while the padlock tokens stay out of its way. It takes some trial rotations, so no fixed sequence is given.
- With every Pumpkin Pin so far, the counter now reads 70/140. Chapter 2 ends with its decision summary (0/12 on this route): Rush, Do nothing, Be strict and Have doubts gave 0. The unchosen options were Agree (+2), Ask Ryan to check on her (+2), Call out the queen (+6), Thank Melissa (+2) and Be confident (+2). Reward tiers are again 0, 4 and 10 points. A 10-point chapter score adds extra scenes; see High Decision Scores at the end of this guide. Ryan and Casey reach a changed street, and Chapter 3: The Mask Shop begins.