CHAPTER 4
Kitchen Oven and Fridge
The oven has no temperature knob and the fridge is frozen shut.
- In the kitchen view, tap the purple and orange Pumpkin Pins on the spice-jar shelves of the tall cabinet on the left, second shelf from the top, between the jars. Fit the Oven Control Knob on the oven and put the Frying Pan inside. When it glows red hot, take it out with the Towel to get the Hot Frying Pan.
- Melt the ice on the fridge with the Hot Frying Pan. It opens: take the Silicone Cap and the Jars.
- Take the Plastic Bottle and the "Black Pepper" Label by the oven. Put the "Pumpkin" Label and the "Black Pepper" Label on the jars of the spice shelf; the third label is still missing.
CHAPTER 4 · PUZZLE
Jar Scale
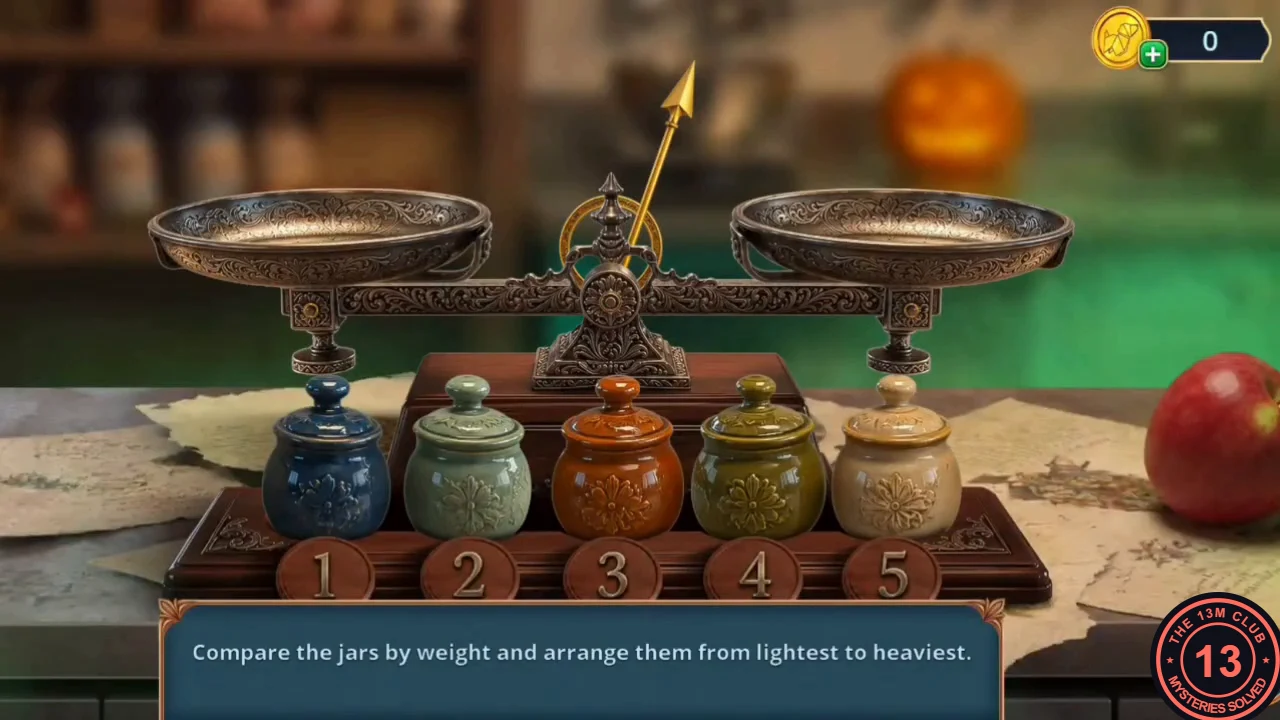
The kitchen table scale needs its jars.
- Put the Jars on the kitchen scale stand. Puzzle: "Compare the jars by weight and arrange them from lightest to heaviest." Put two jars on the pans to see which is heavier, then fill the five numbered slots from lightest (1) to heaviest (5).
- Accepted order, slots 1 to 5: olive green, orange, cream, dark blue, pale sage green. If your jars weigh differently, trust the scale.
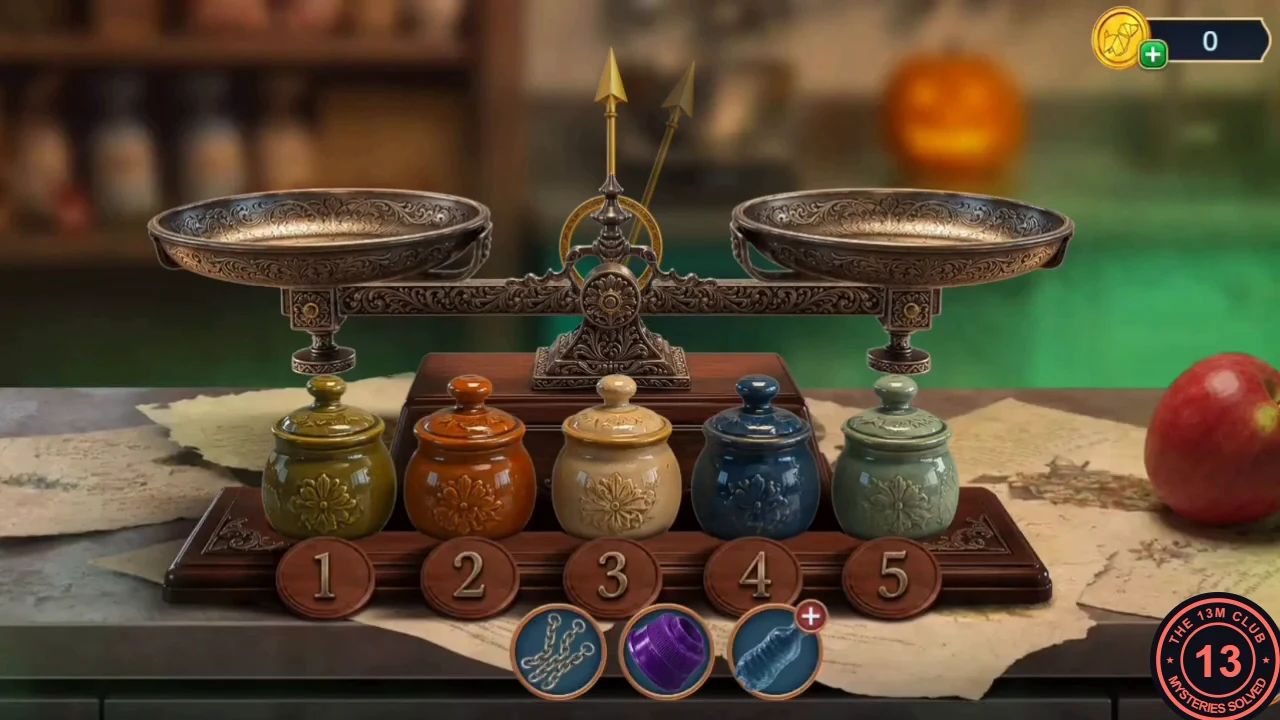
The accepted order in the example game, matching step 2. - The box opens. Destroy the fifth Bride mask (5/6), then take the small green bottle (vinegar), the Twine and the "Cinnamon" Label.
CHAPTER 4
Homemade Pump
The last label opens the spice shelf, and its contents make a pump.
- Put the "Cinnamon" Label on the middle jar of the spice shelf. The pumpkin relief panel opens: take the Wooden Stick, the Hardener and the Cocktail Straw.
- Open the Plastic Bottle in your inventory and add the Silicone Cap, the Twine and the Cocktail Straw to make the Homemade Pump (achievement "From Nothing").
- In the Locker Room, put the Homemade Pump on the valve of the deflated ghost by the drink dispenser. Take the Hose. Take the Gears (1/2) from the hem of the costume rack and the Marker from the bench.
- In the kitchen, place the Hose on the counter beside the punch bowl in the fridge ("Sometimes the good stuff is at the bottom").
CHAPTER 4 · PUZZLE
Masquerade Mask Seal
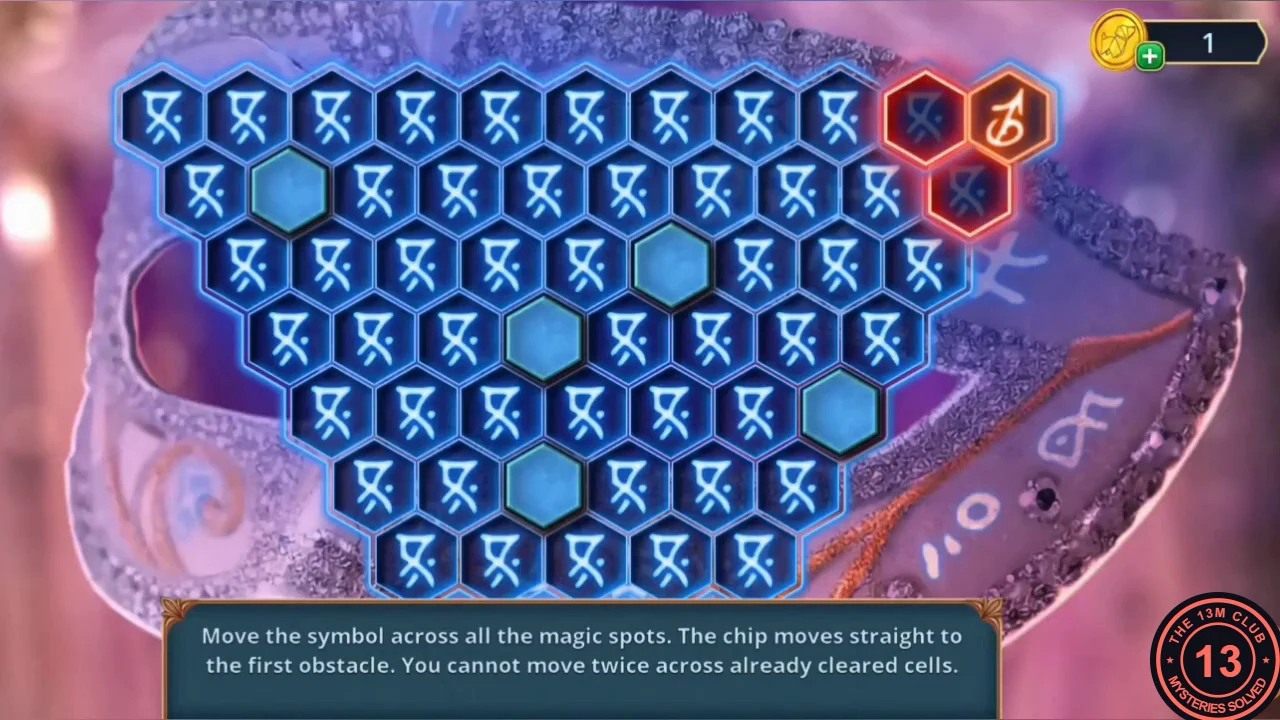
The white masquerade mask taped to the gym corkboard hides the last copy.
- In the Masquerade Gym, pour the vinegar on the tape holding the white masquerade mask to the corkboard. The freed mask glows with runes. Draw the symbols on it with the Marker. Puzzle: "Move the symbol across all the magic spots. The chip moves straight to the first obstacle. You cannot move twice across already cleared cells."
- Slide the chip in one of the six directions; it only stops at an obstacle or the edge, and every cell it crosses becomes blocked. Plan the route so the chip passes over every light-blue magic spot without trapping itself. The route depends on the layout and some trial, so no fixed route is given. When the mask cracks, destroy the sixth Bride mask (6/6).
- The vampire boy warns that the real source of the ritual is still at the altar. Choice: "We've already destroyed the masks. Now we'll destroy the source, too." (60 coins, +2) or the free "Stay silent." This guide takes the free Stay silent. You receive the Hairpin.
CHAPTER 4 · HIDDEN OBJECTS
Flowerbed Matching Items
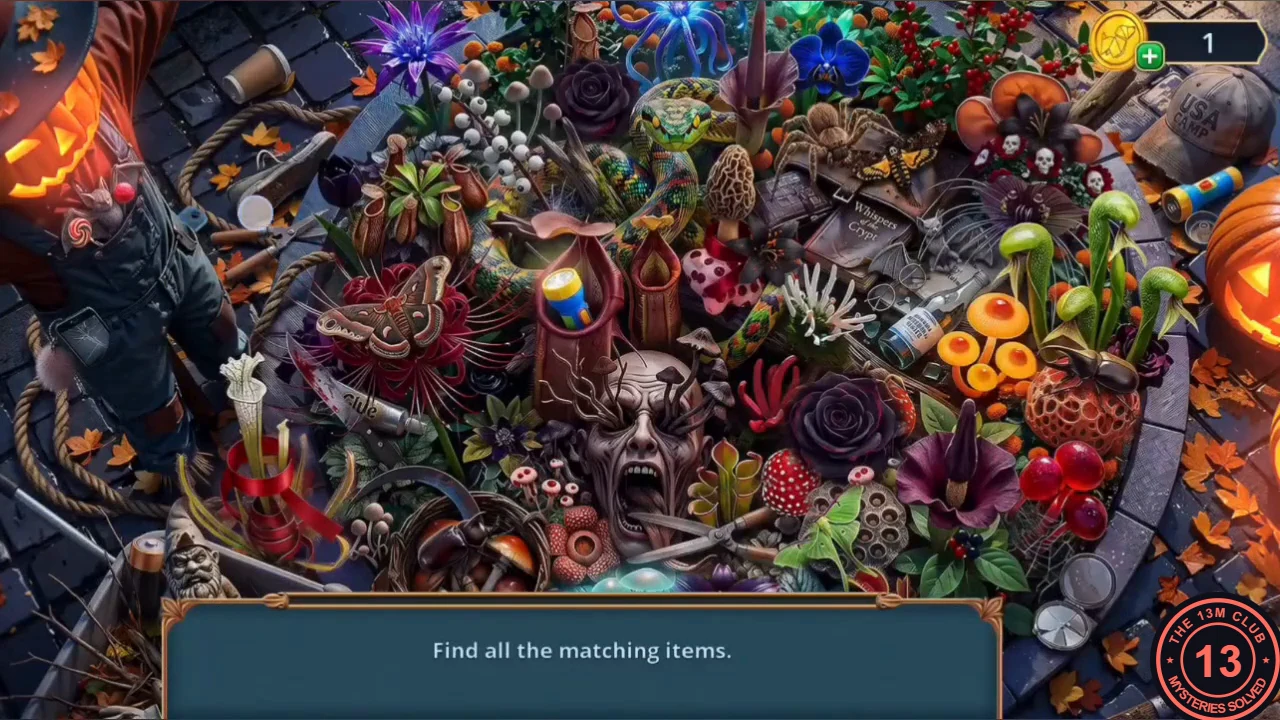
The courtyard flowerbed sparkles again.
- In the Inner Courtyard, open the locked pumpkin box at the scarecrow's feet with the Hairpin. Take the Form (purple rose mould).
- Tap the sparkles at the flowerbed. Task: "Find all the matching items." You receive the Glasscutter.
CHAPTER 4 · PUZZLE
Vending Machine Glass
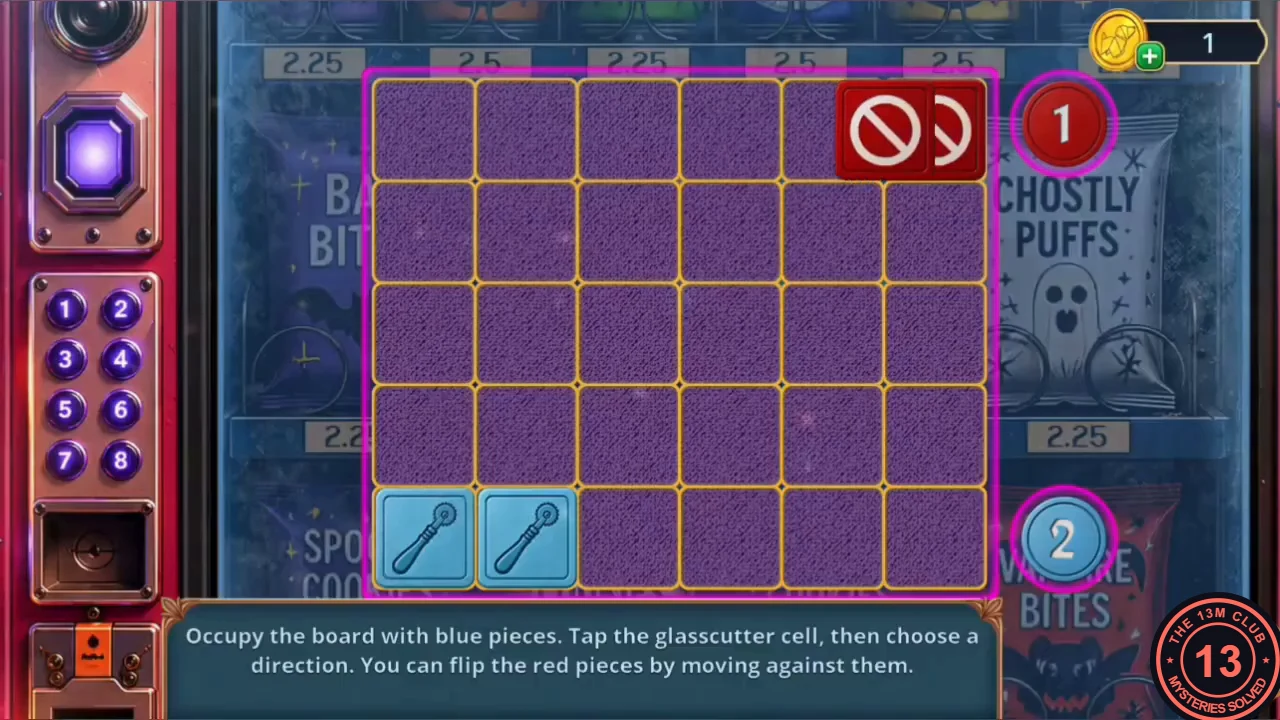
The cafeteria vending machine is behind glass.
- Use the Glasscutter on the vending machine by the soap dispenser. Puzzle: "Occupy the board with blue pieces. Tap the glasscutter cell, then choose a direction. You can flip the red pieces by moving against them." The board has six columns and five rows. You start with one blue glasscutter in the bottom left corner, and red starts with one piece in the top right corner. On your turn, tap one of your blue pieces and the cells it can reach light up. Choosing a cell right next to it (diagonals included) adds a new blue piece there and keeps the old one. Choosing a cell two spaces away in a straight line moves the piece there and leaves its old cell empty. Wherever your piece lands, every red piece directly above, below, left or right of it turns blue; diagonal neighbours stay red. Red then moves automatically by the same rules and turns your pieces next to its landing cell red, so watch the counters beside the board (red at the top, blue at the bottom) after every turn. The game ends when the board is full, and blue needs the majority. Mostly use one-step moves so you leave no gaps. Jump two spaces only when the landing cell touches two or more red pieces. Fill the empty cells beside your blue groups before red can land there, because every such gap lets red flip your pieces. An example winning board ended full at 19 blue to 11 red.
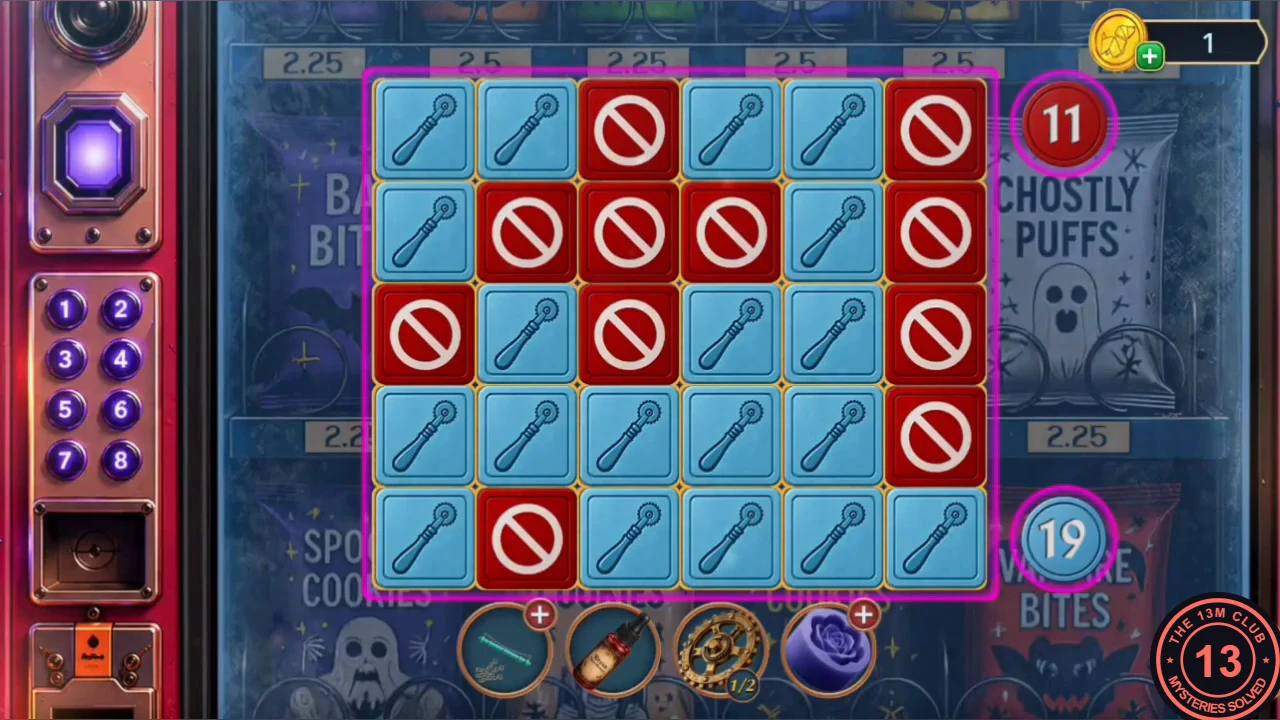
A winning board from the example game: full, with 19 blue to 11 red. - Take the Safety Pin from the vending machine. Open the red satchel on the counter with it and read the note: paint the banishing signs on a blank mask, pierce them with needles and put the mask on Jack. A Clothespin flies out; take it.
- Grab the broken key in the red lockbox on the microwave with the Clothespin. The box opens: take the Bat Pendants. Open the Wooden Stick in your inventory and hang the Bat Pendants on it. Open the Form and add the Hardener; it still needs something poured into it.
CHAPTER 4 · HIDDEN OBJECTS
Old Props Room
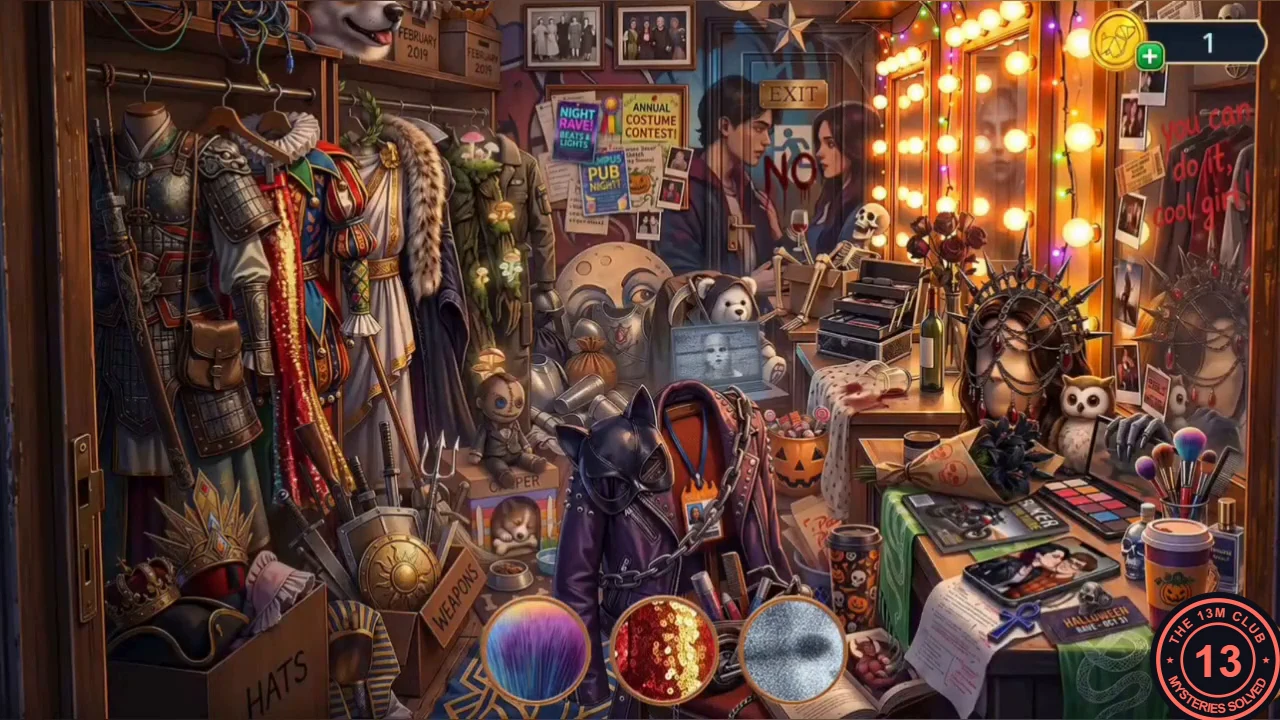
A message points you back to the Assembly Hall.
- Tap the sparkles in the Assembly Hall to open a hidden-object scene of dressing-room clutter. The bottom bar shows close-up fragments of the items (such as a purple feather plume, red sequins and grey fur); find the items they come from; one box opens to an "Old Props" note. You receive the Deer Antler.
- Attach the Deer Antler to the deer head. The upper panel opens: take the Pipes.
CHAPTER 4 · HIDDEN OBJECTS
Poolside Riddles

The pool sparkles again.
- Tap the sparkles at the Swimming Pool to open a riddle scene. Each riddle describes one object in the scene; the twelve riddles describe, in order: a whistle ("I call for help but have no voice"); a swim cap; goggles; the green rubber duck; the white pumpkin with a candle design beside the skeleton hand ("I glow inside an orange face"); a towel on hooks; a paper wristband; the plastic spider on the pizza; a key; the glowing jack-o'-lantern in the middle ("I wear a grin and ride the wave"); a marker; and a nose clip. You receive the Prop Sickle.
- Open the sickle lock on the teal chest at the pool with the Prop Sickle. Take the White Mask, the Battery and the Jingle Bell. Put the Pipes into the niche in the towel-rack frame on the pool wall; they still need fastening.
CHAPTER 4
Wind Chime for the Raven
The raven on the diving platform still guards the second gear.
- Open the Wooden Stick again and add the Three Metal Chains and the Jingle Bell to make the Wind Chime with Bats.
- Hang the Wind Chime with Bats on the rail of the diving platform. The raven flies off; take the Gears (2/2).
- In the kitchen, put the Gears on the oven's gear rail. A side compartment opens: take the UV Flashlight and the Sieve. Sift the rice sack by the spice shelf with the Sieve and take the Calipers. A lump of wax sits on the sack.
- Place the Battery on the counter in the fridge, next to the Hose.
CHAPTER 4 · PUZZLE
Pool Pipe Tokens
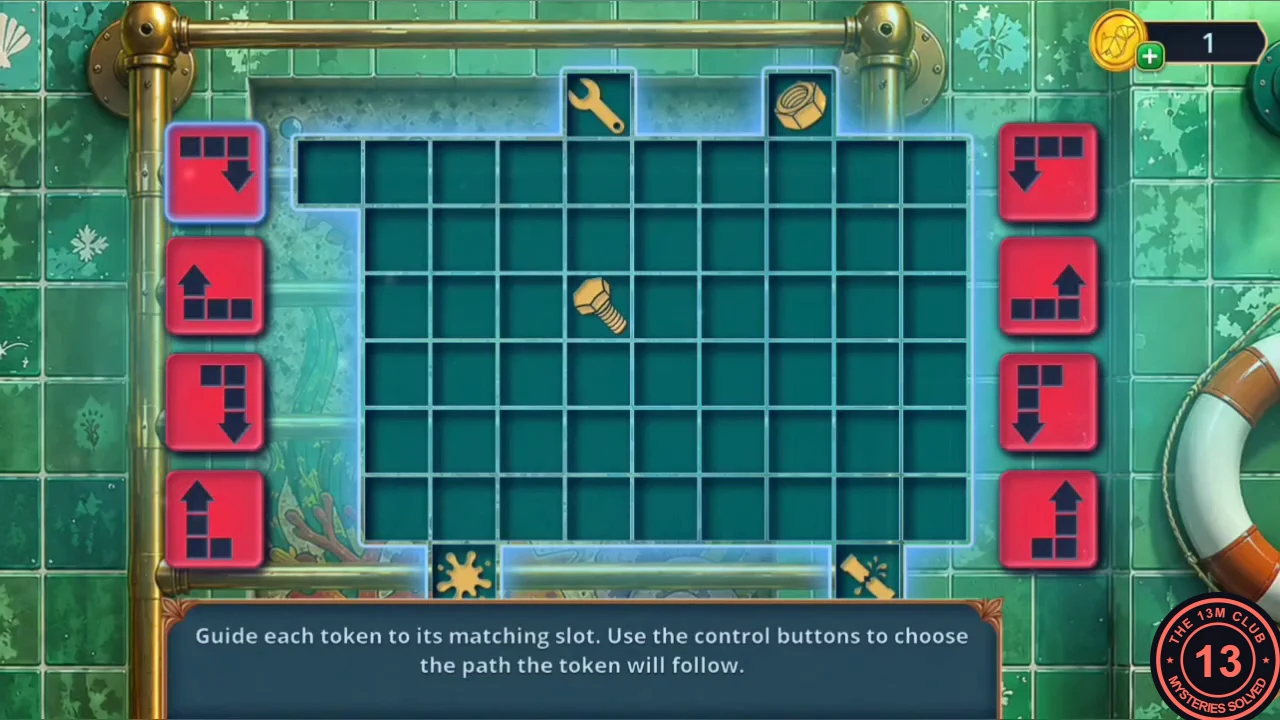
The pipes in the pool wall now need fastening.
- At the pool wall, fasten the Pipes with the Calipers. Puzzle: "Guide each token to its matching slot. Use the control buttons to choose the path the token will follow." Tokens (such as a bolt for the nut slot and a rag for the stain) enter one at a time; the four red buttons on each side each show a path shape. Pick the button whose path leads the current token to its matching slot.
- Watch where each button sends the token before committing; it takes some trial, so no fixed sequence is given. When every token is home, take the Resin.
CHAPTER 4
Mask of Exile
All the ingredients for Jack's trap mask are now within reach.
- Open the Form again and add the Resin and the UV Flashlight to make the Epoxy Amulet (red rose).
- In the kitchen, set the Epoxy Amulet into the rose recess of the scale box. Take the Pins and the Electric Pump.
- Put the Electric Pump at the fridge with the Hose and Battery. It drains the punch bowl: take the Brush and the Plastic Knife.
- Cut the wax lump on the rice sack with the Plastic Knife and take the Red Paint.
- Open the White Mask in your inventory and add the Red Paint, the Brush and the Pins to make the Mask of Exile (achievement "Chosen by Oneself").
CHAPTER 4 · PUZZLE
The Ritual Circle
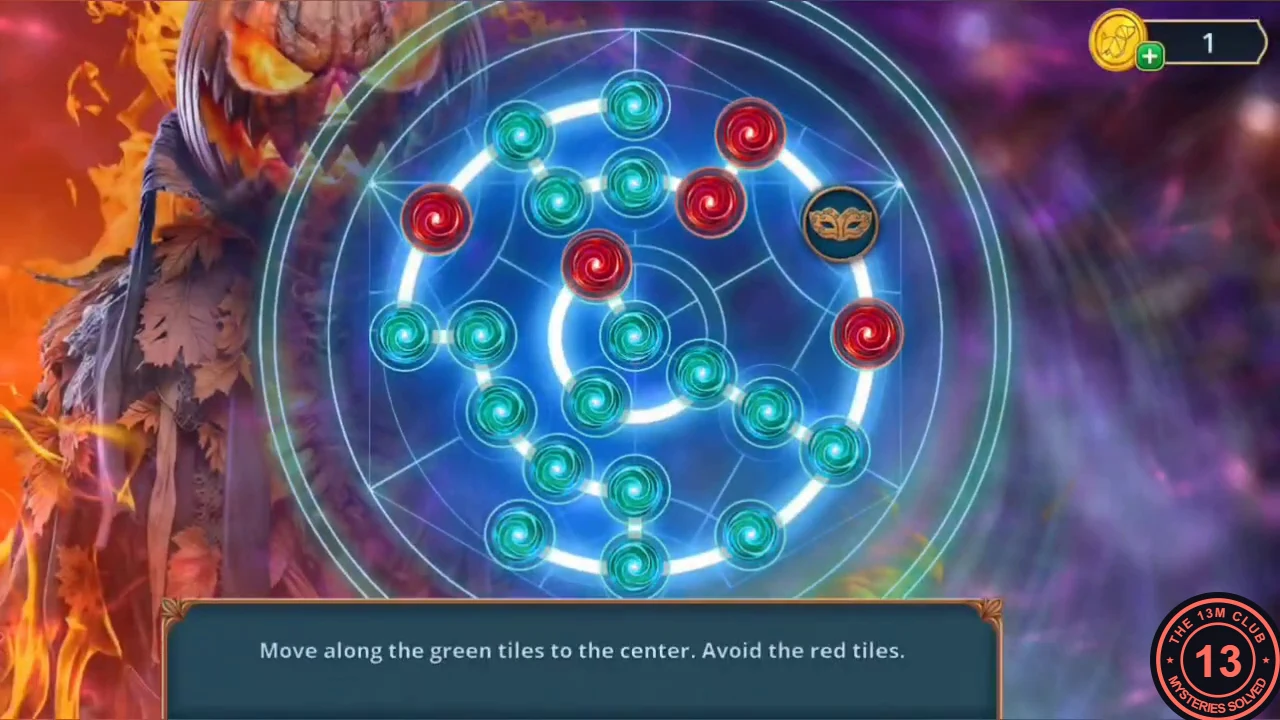
Jack waits at the ritual circle in the Masquerade Gym.
- In the Masquerade Gym, use the Mask of Exile on Jack. Puzzle: "Move along the green tiles to the center. Avoid the red tiles." The mask token starts on the outer ring and the red tiles move after each step, so the board changes as you play. Step only onto green tiles that still leave you a green route inward; landing on red loses the round ("You lose. Please try again.") and the board resets.
- The red tiles move, so no fixed path exists; expect to retry at least once. When the token reaches the centre, the task "Perform the ritual" completes.
- With every Pumpkin Pin collected, the counter reads 140/140, which unlocks the Extra mini-game (see the next section). Chapter 4 ends with its decision summary (0/12 on this route): Say nothing, Rush, Don't suggest splitting up and Remain silent gave 0. The unchosen options were Refuse to leave (+2), Help others (+6), Don't rush (+2), Suggest splitting up (+2) and Answer confidently (+2). Reward tiers are 0, 4 and 10 points. In the ending, Jack burns away with the mask, the students are freed and Noah admits Jack used him. With a 10-point Chapter 4 score, an epilogue follows (see High Decision Scores at the end of this guide).
EXTRA · MINI-GAME
Extra Mini-Game: The Masquerade Photo
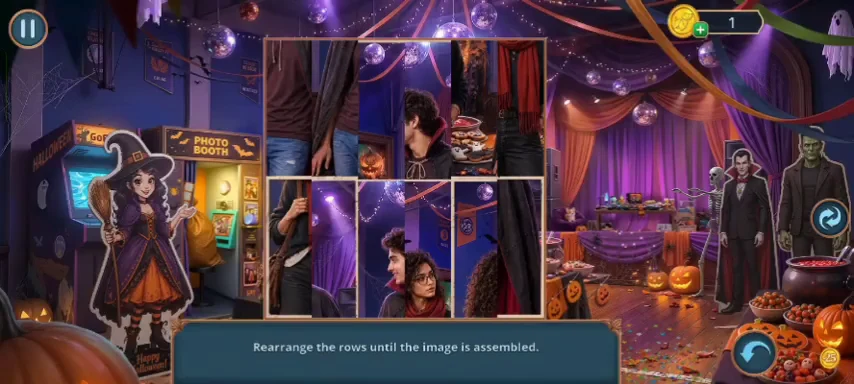
Collecting all 140 Pumpkin Pins unlocks an extra photo puzzle. It is optional and not needed to finish the story.
- Collect all 140 Pumpkin Pins (see the Pumpkin Pin note and the pin spots in each chapter) and finish the story. After the ending and the game logo, the game returned to the title menu with the MINI-GAMES window already open. It shows "Pumpkin Pins 140 / 140" and "Extra mini-game". Tap Play. The recordings checked for this guide do not show a separate title-menu button for reopening this window later.
- Puzzle: "Rearrange the rows until the image is assembled." The photo is cut into 12 vertical strips in two rows of six. The top row holds the upper half of the picture and the bottom row the lower half. Tap a strip (it gets a blue frame), then tap another strip to swap the two. Strips can also be swapped between the top and bottom rows.
- The strips start shuffled, so there is no fixed move list. Build the picture from its people outward. The finished photo shows Casey on the left (curly hair, glasses, red scarf, shoulder bag) and Ryan on the right (vampire cape with a red collar, maroon shirt, jeans), facing each other in front of the purple party backdrop with disco balls and streamers. Casey fills the two left-hand columns: put her face and scarf in the top row and her bag and jeans below them. Ryan fills the three right-hand columns: match his collar, the cape edges and his jeans. The remaining strips show only party background and form the narrow column between them; swap them until the streamers and lights line up. The recording ended during this last fix, so its completion screen is not shown here.
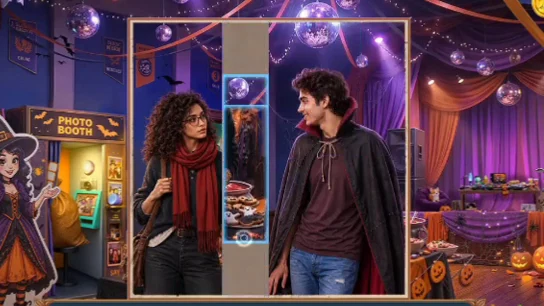
Nearly assembled in the example game: Casey on the left, Ryan on the right, and the middle background column still being fixed. The recording ends before the completion screen.