Chemist's street
Chapter 3, The Master of Illusions, opens on the street outside the Chemist's Shop (Near Emily's House on the map; the shop is Pharmacy and its upstairs lab is Laboratory). The Strongman is asleep behind you. Emily says the purple smoke sample could help break the hypnosis, and her father knows chemistry.
- Answer Emily: "Let's go to your father right now. The sooner we find out, the better our chances of saving people." gives +2 stars; the other answer is "Are you sure he will help us?"
- Open the gargoyle fountain. Take the Key from the wrench-shaped ring in the basin. Two item slots show at the side for later.
- Open the newsstand and use the Key on the padlock tag on the left. Take the Horse Spur.
- Open the Chemist's Shop door and fit the Horse Spur on the knocker's mount to start the knocker puzzle.
Chemist's door knocker
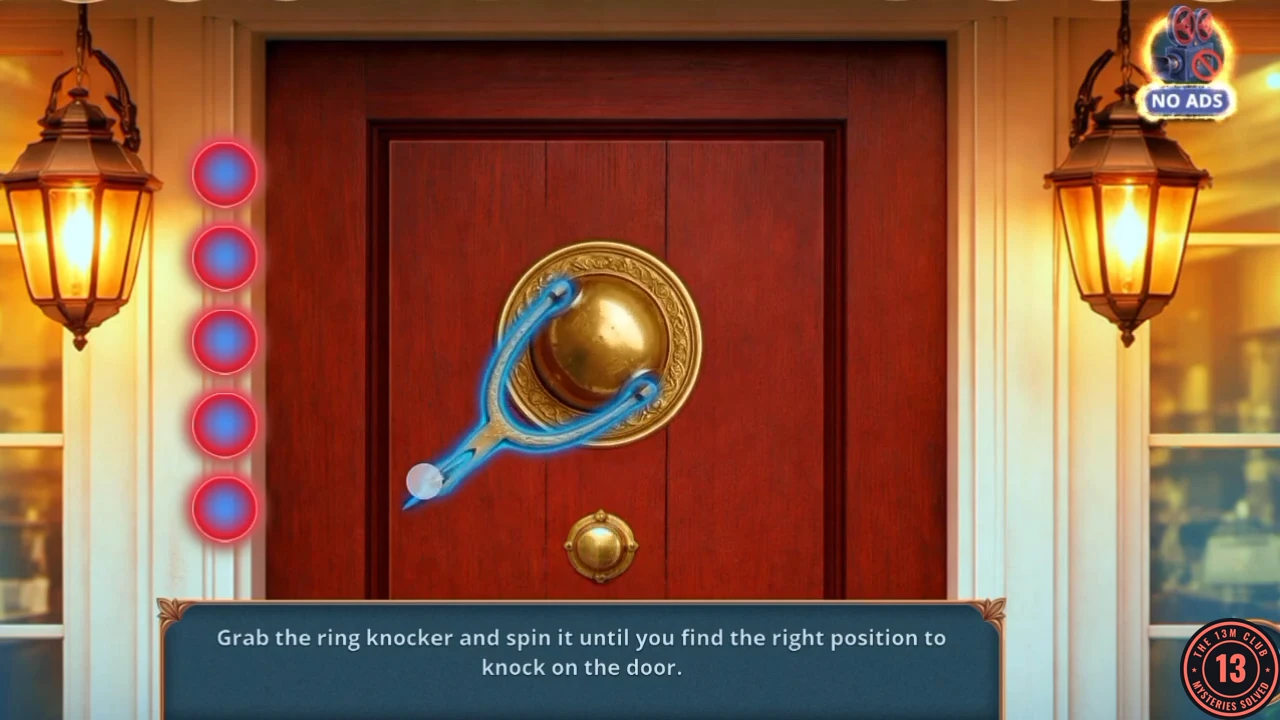
Prompt: Grab the ring knocker and spin it until you find the right position to knock on the door. Five lights to the left of the door fill from red to green. Each step's position is hidden, so feel for it rather than memorising a clock face.
- Drag the knocker slowly round its mount until the next light turns green, then look for the next position. Keep turning until all five lights are green; a wrong direction can drop a light.
Inside the Chemist's Shop
Charles Banks is in a hurry. Task complete: Show the sample.
- Answer Charles: "Could you tell us the exact formula?" gives +2 stars; "At least tell us how to protect ourselves from the smoke." gives none.
- Open the sink and turn the tap; take the Joint it washes out and the red wire lying in the basin, which makes Wires (2/2). Thomas had said the skeleton's arm has no joint.
- Before opening the counter, tap the Circus Ticket in the room's main view: it sits in the front recess of the right-hand counter, beside the SALE display. Then open the display on the counter, read the Charles Banks' Pharmacy leaflet and use the Tea Strainer on the green sack of broken glass. The Hook comes out of the glass: take it. Thomas notes the machine with the empty hook ("What's this for? I think I need to insert something into this thing?").
- Open the skeleton and use the Hook to rip open its coat pocket. Take the Tennis Ball and the Postage Stamps, and fit the Joint to the skeleton's arm. ("So, to repair this model, I need its original scheme, for starters. A hand, obviously. And... something else?")
- Open the staircase door. Use the Wires (2/2) on the broken wall switch, then lay the Postage Stamps on the loose wire along the bottom step. The switch connects, the light comes on at the top of the stairs and you go up to the lab.
The upstairs lab
"We need to help Mr. Banks with the sample."
- Open the bench with the vice. Take the Glue and the Pump. Thomas notes: "This vice can be used to fix something. If I bring a handle, that is."
- In the main view of the lab, tap the Circus Ticket on the workbench with the vise. Then open the chalkboard, read Charles's Certificate of Qualification, and take the Tubes and the Fireproof Shovel head. "Okay, time to wipe all this off. But not with a dry sponge."
- Open the bookcase with the Newton's cradle ("Yet another strange lock", "Broken. Where is the chain?") and use the Chain on the cradle. The low drawer opens: take the Hose and the Shovel Part.
- Open the Fireproof Shovel in the item view and add the Shovel Part to start the tile puzzle.
Restore the shovel
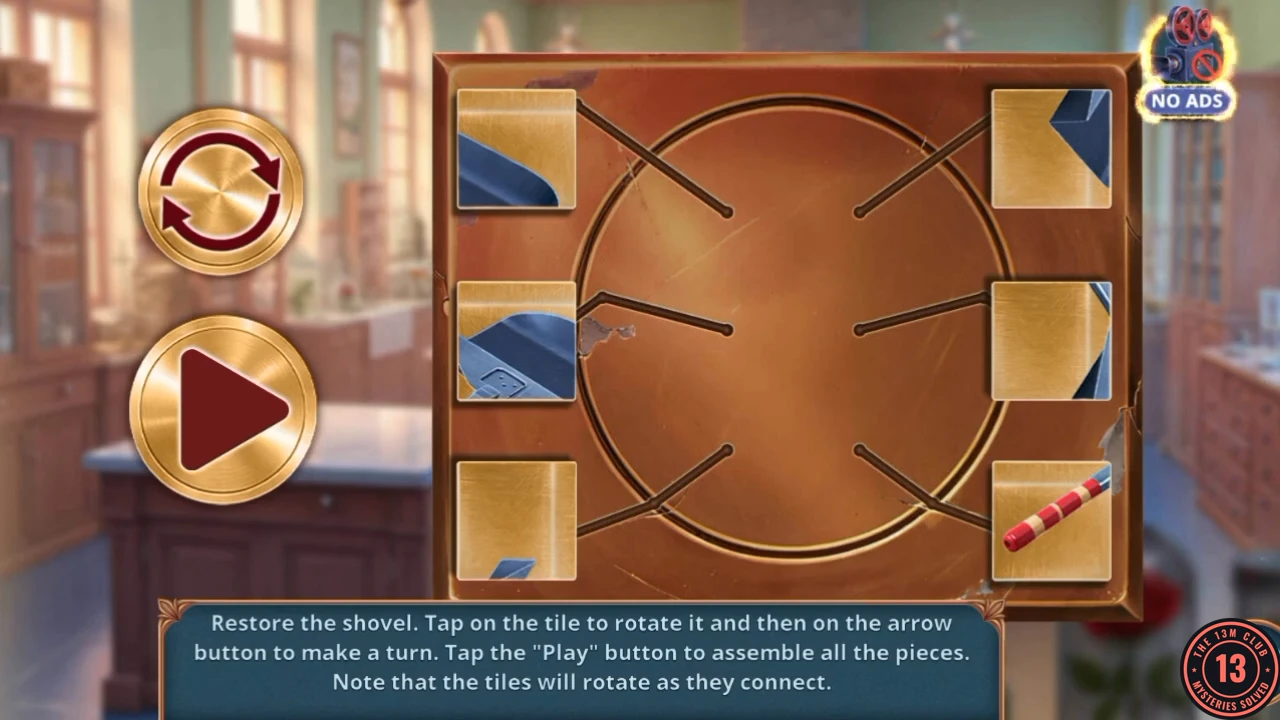
Prompt: Restore the shovel. Tap on the tile to rotate it and then on the arrow button to make a turn. Tap the "Play" button to assemble all the pieces. Note that the tiles will rotate as they connect. Six tiles sit at the sides of the wheel.
- Select each tile and use the circular arrow button to turn it. Tap Play to see whether the shovel forms as pictured: blade at top left, red handle at bottom right. If it does not, turn the wrong tiles and press Play again. Take the Furnace Shovel.
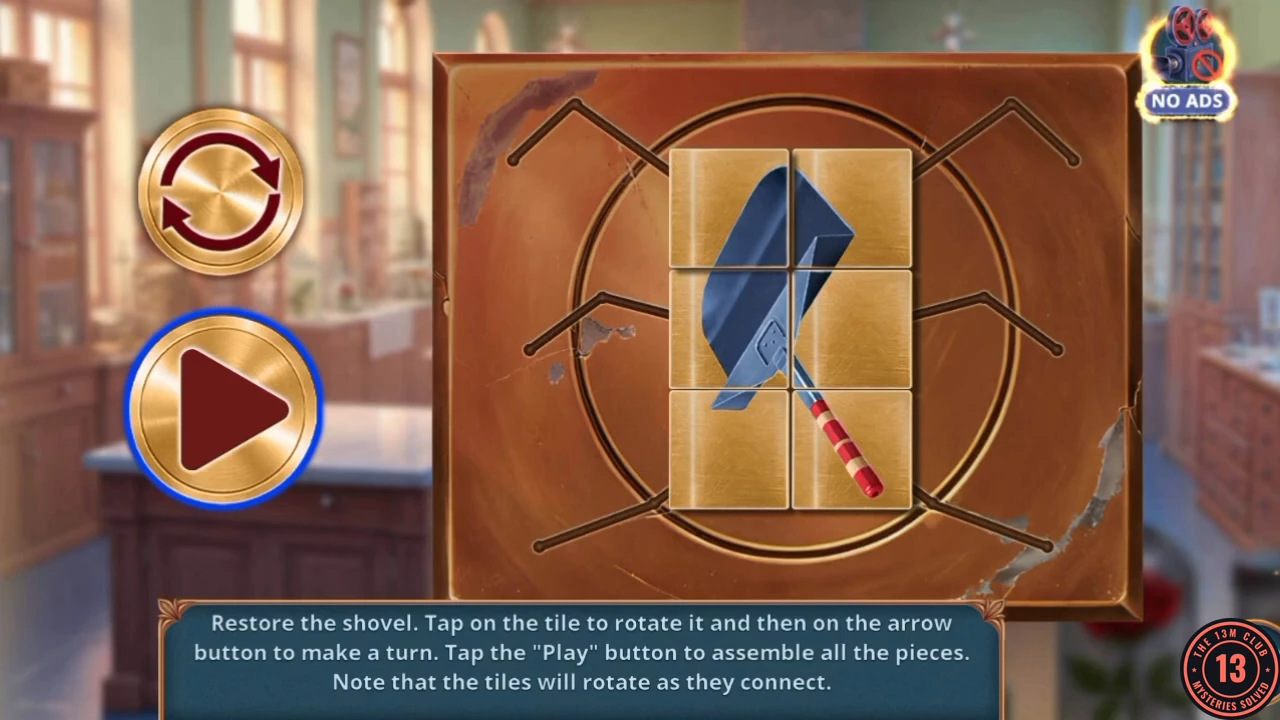
Solved: the tiles form the shovel. - Open the stove on the worktop and use the Furnace Shovel on the fire. Take the Fireproof Alchemical Tile.
- Go downstairs and open the skeleton. Place the Fireproof Alchemical Tile on the slot to start the pose puzzle.
Skeleton pose
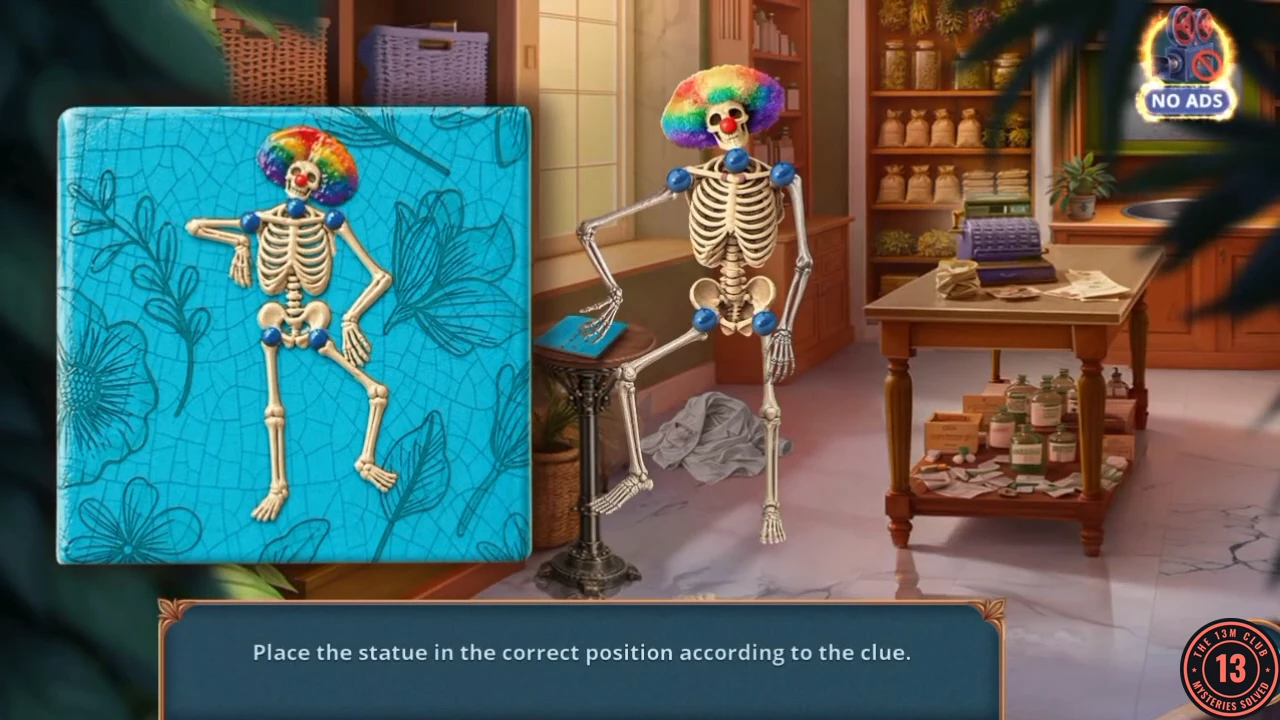
Prompt: Place the statue in the correct position according to the clue. The blue tile on the left shows the target pose. Tap a limb to swing it to its next position.
- Tap the arms and legs until the skeleton's pose matches the figure on the blue clue tile. The arm on the left of the screen sticks straight out, with the forearm folded back toward the chest and the hand hanging down. The other arm bends at the elbow with its hand down at the hip. The knee on the right of the screen bends out to the side, and the other leg hangs straight down. Take the Medical Tourniquet.
- Open the Pump in the item view and add the Hose to its lower slot. The Medical Tourniquet does not fit here ("I should try something else."), so keep it for the fountain.
- Go to the street and open the gargoyle fountain. It has two slots. Put the Tennis Ball on the basin, then wrap the Medical Tourniquet round the rim. The water stops and the basin drains: take the Fan and the Letter-Shaped Amulet.
- Open the bicycle bag and use the Letter-Shaped Amulet on its clasp. The bag opens: take the Chalk and the Banknote.
- Open the newsstand and use the Banknote on the counter to start the budget scene.
Newsstand budget
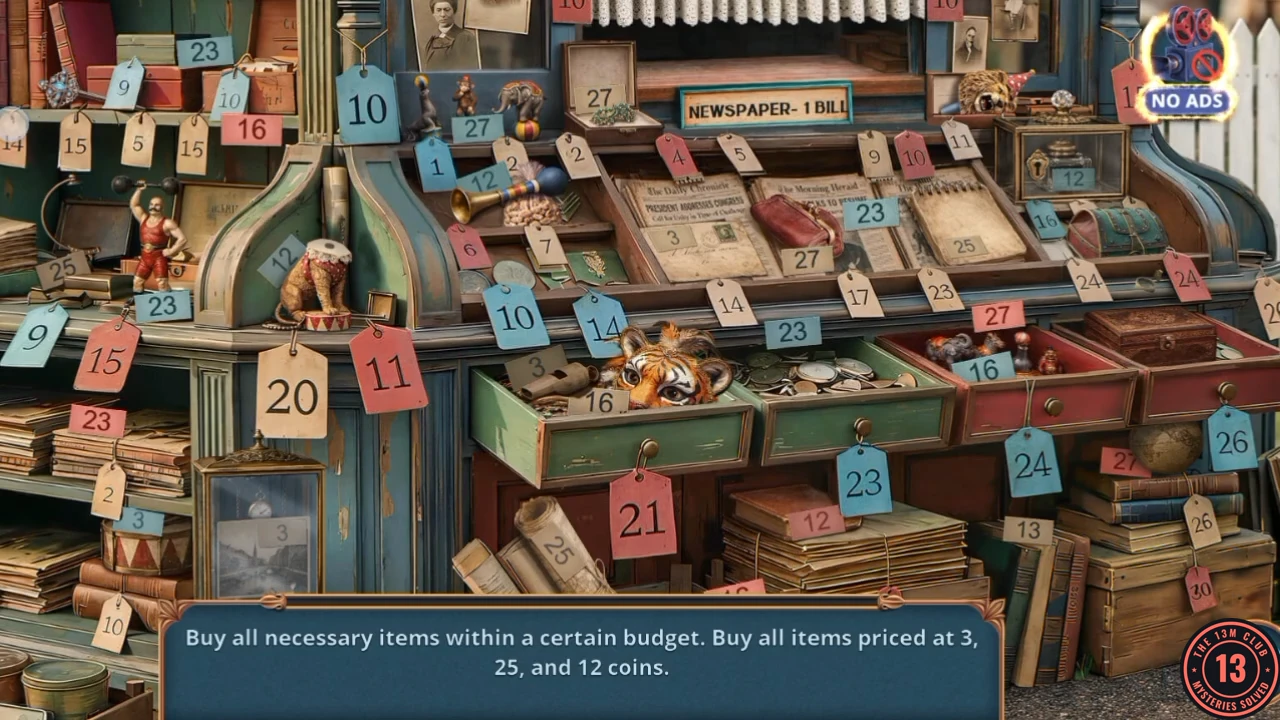
Prompt: Buy all necessary items within a certain budget. Buy all items priced at 3, 25, and 12 coins. Tap every item with one of those price tags. Tapped items sparkle. Four of the tagged items need a step first, listed below.
- Tap every item tagged 3, 25 or 12. Four need a step. Globe stand: tap the small globe under the red drawers at lower right, beside the 26 tag, then the empty curved stand beside the strongman figure on the left shelf. Locked glass case at top right, beside the 11 tag: tap the ornate key on the red box on the top-left shelf, left of the 9 tag, then the case's keyhole. Headless lion on the circus drum on the green cabinet: tap the lion head with the party hat in the small open box at top right, then the lion, then tap the mended lion. Closed carved box in the right-hand red drawer: tap it to lift the lid, then tap the 25-tagged bundle inside. Read the Mysterious disappearance in London headline that drops out and take the Winged Figurine in Amber.
- Go to the lab, open the stove and place the Winged Figurine in Amber on top. Use the Fan on the firebox door: the fire flares and melts the amber. Tap the Circus Ticket on the brick wall at the upper left of the close-up and take the Winged Figurine.
- Open the counter display and fit the Winged Figurine on top of the caduceus statue. The drawer in the base opens: take the Bent Amulet and the Dry Sponge.
- Open the sink and put the Dry Sponge under the tap. Take the Wet Sponge.
- Go up to the lab, open the vice and place the Bent Amulet in its jaws. It stays there until you find a handle for the vice.
- Open the chalkboard and wipe it with the Wet Sponge, then use the Chalk on it to write the missing lines. The formula scene starts.
Formula fragments
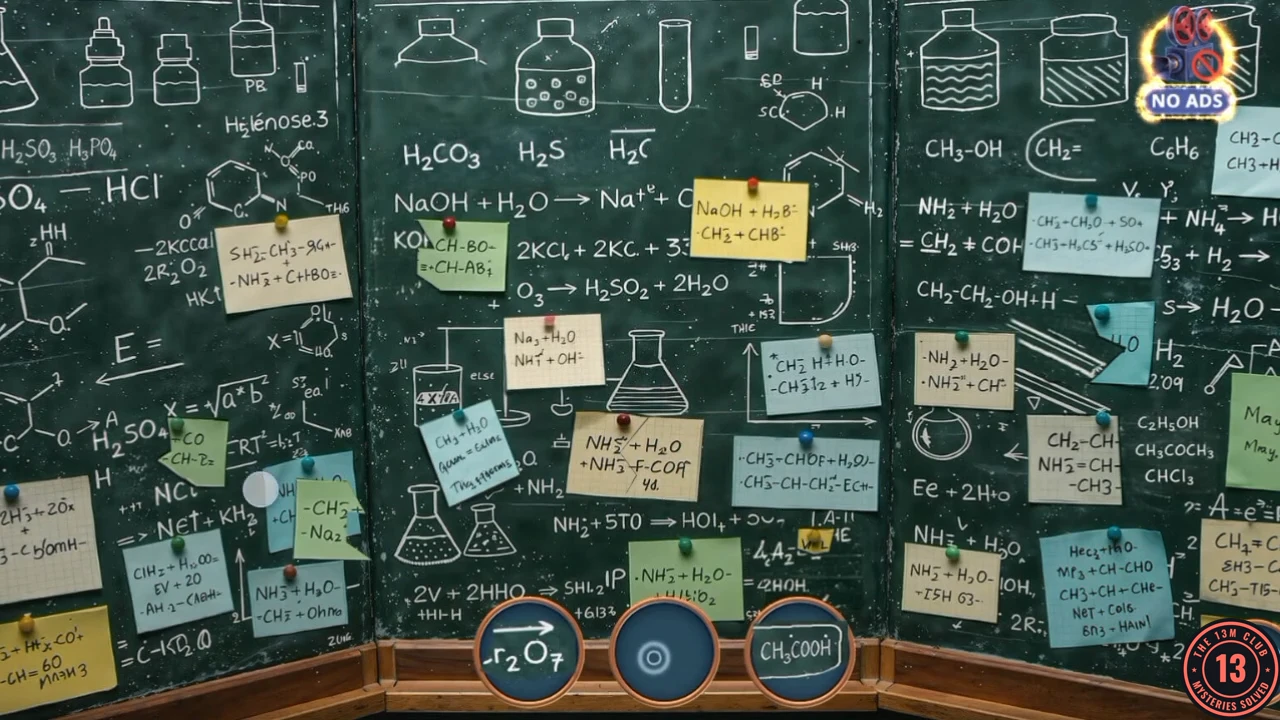
Three torn fragments show at the bottom. Each one completes a note or equation on the board: match the torn edge and the handwriting. Thomas says "I'll try another way." if a fragment does not fit.
- Drag each fragment to the note or formula that is missing that piece until the bottom row empties, and take the Chemical Formula H2SO4.
- Open the bookcase and insert the Chemical Formula in the gap between the books on the shelf above the drawer: H2SO4 is the correct place because of the book labelled HSO4. Take Tubes (2/2).
- Downstairs open the counter and place Tubes (2/2) on the test tubes to start the liquid puzzle.
Test tube levels
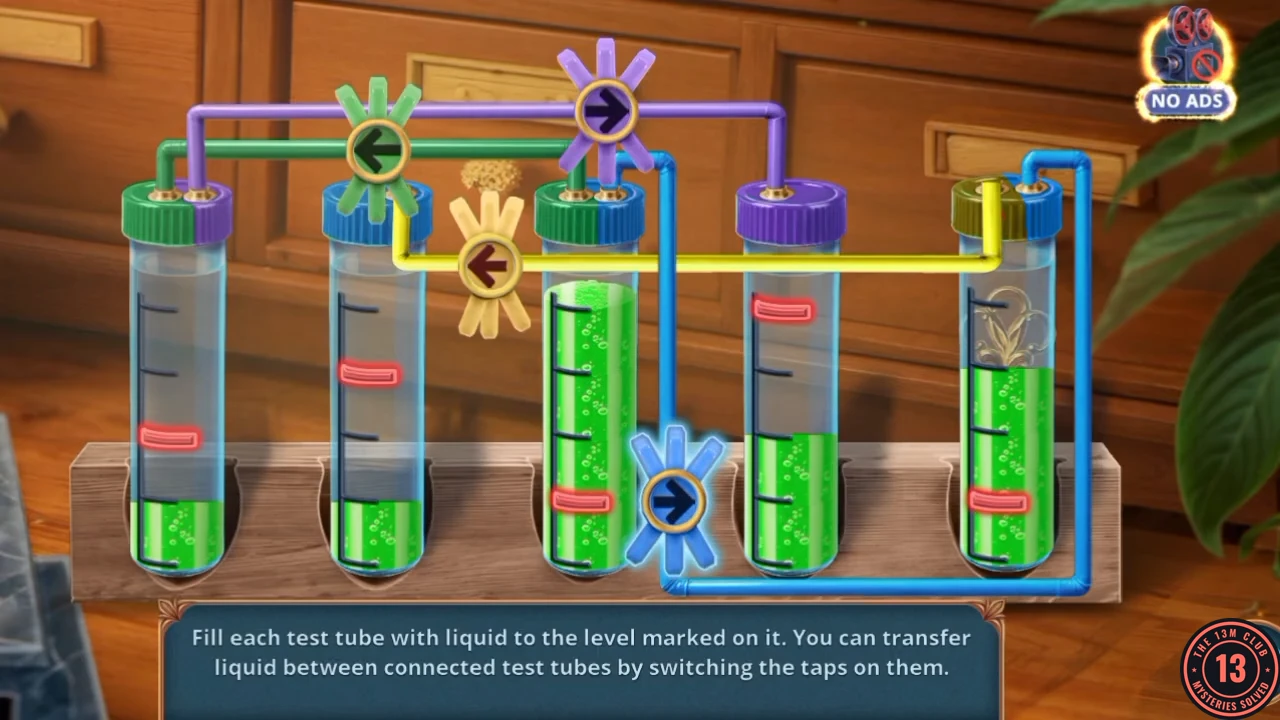
Prompt: Fill each test tube with liquid to the level marked on it. You can transfer liquid between connected test tubes by switching the taps on them. Each tube has a red marker at its target level; each coloured tap shows the direction it pumps.
- Use the green, purple, yellow and blue taps to move liquid along their pipes until every level meets its red marker: first tube low, second at about the middle, third very low, fourth full and fifth low. The fifth tube's lower level reveals the Key inside it.
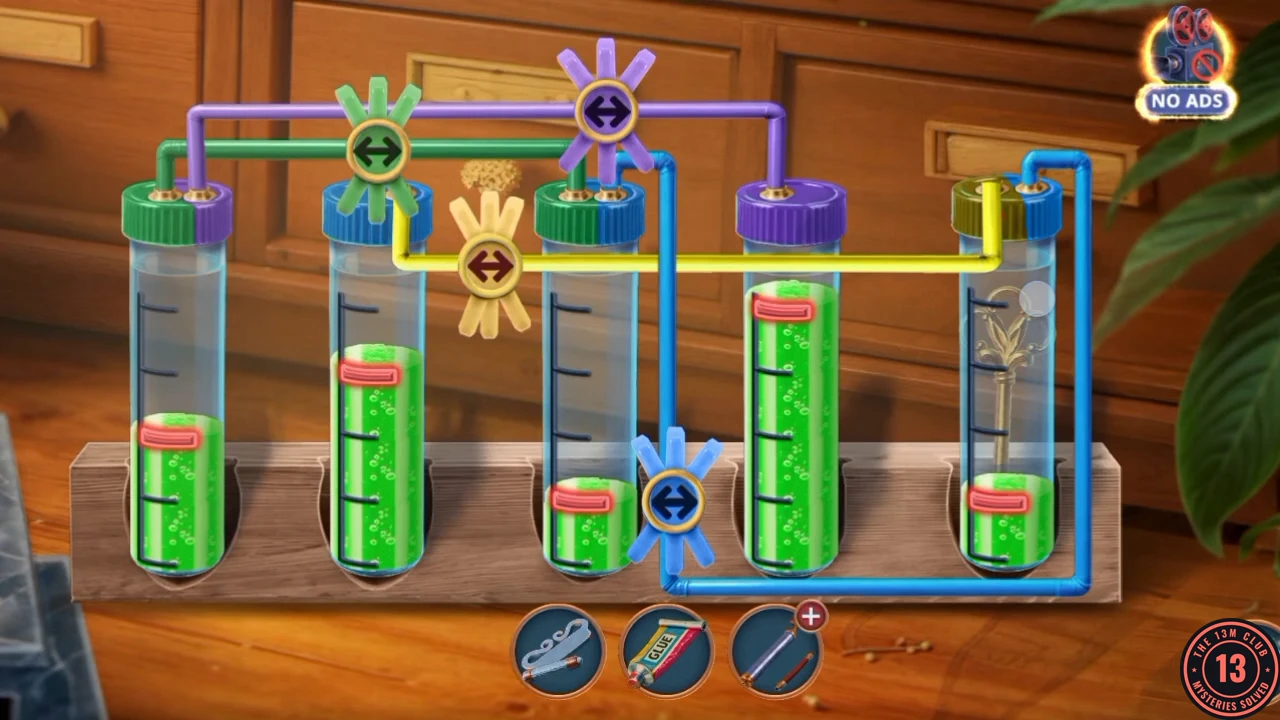
Solved: every tube sits at its red marker. - Take the Key from the floor.
- Open the sink and use the Key on the keyhole in the mirror. Inside the cabinet take the green chemistry book and the Nozzle. Tap the Circus Ticket.
- Open the Pump in the item view and fit the Nozzle.
- On the street open the bicycle and use the Pump on its flat tyre so it moves off the tree roots. Read the Missing poster on the trunk ("Child... And again vanished from the square, in the evening. Maybe the merchant will tell us about it."). Take the Circus Ticket and the Missing Child Poster. Thomas says: "It's time to get rid of these roots."
- Open the newsstand and use the Missing Child Poster on the hand at the counter. A new search opens.
Newsstand gossip
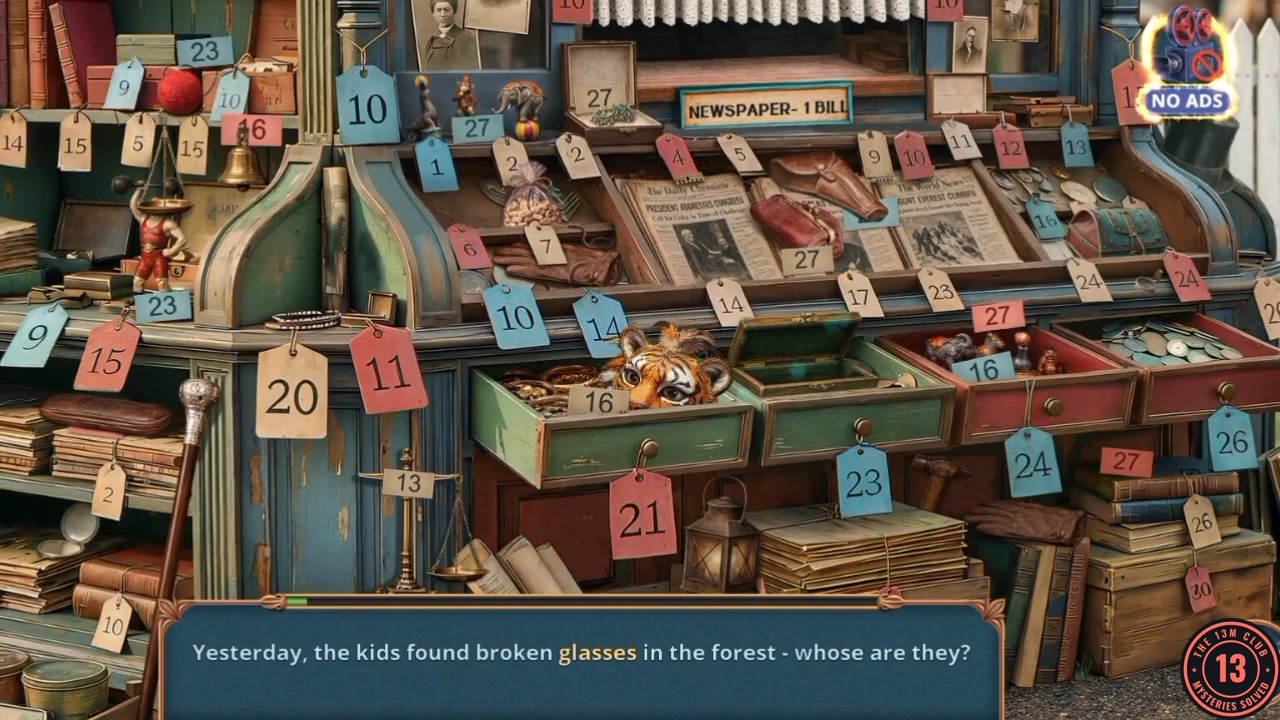
Each line of gossip has one highlighted word. Tap the matching object on the stand. Numbers below are the paper tags on the stand.
- Tap the object for each line, in this order. Ticket ("you can't even come close without a ticket"): the green ticket in the middle drawer, right of the tiger mask. Glasses: left shelves, under tag 15. Gloves: the patterned gloves near tags 10 and 14. Scale: the brass balance under tag 13, lower centre-left. Holster ("The constable has a brand new holster"): on the newspapers. Hammered: the hammer behind tags 23 and 24, under the drawers. Lantern: lower centre. Noses: the red clown nose at top left. Mirror: the hand mirror at lower left. Top hat: upper right. Bell: upper left, by tag 10. Cane: the silver knob at left. A saw silhouette then appears: take the Saw lying across the newspapers.
- Open the tree roots and use the Saw. Take the Small Brush and the Statue Part.
- Open the gargoyle fountain and place the Statue Part on the left gargoyle's raised hand to start the statue puzzle.
Gargoyle parts
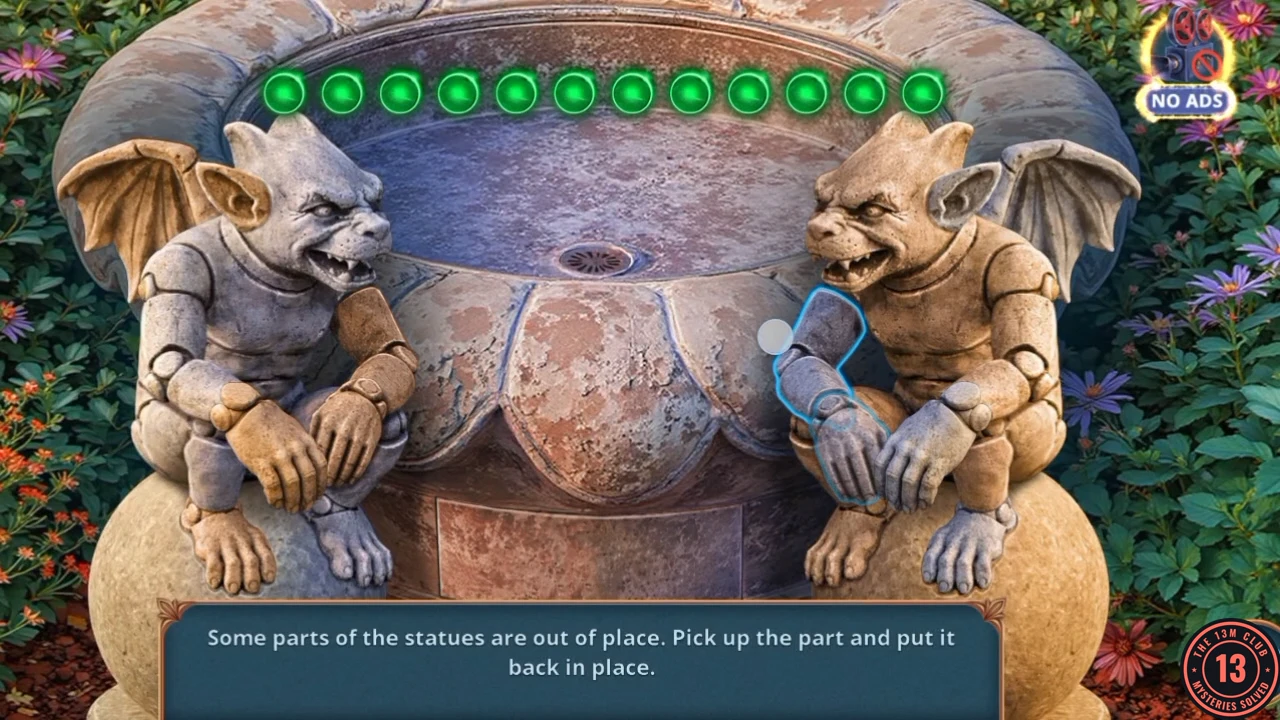
Prompt: Some parts of the statues are out of place. Pick up the part and put it back in place. Twelve lights at the top turn from green to yellow as parts are fixed.
- Tap each loose part on the two statues and drag it to its gap: hands, wings, ears, and so on. Each correct placement lights the next lamp. Take the Elastic Band and the Vice Handle from the compartment that opens.
- Go up to the lab, open the vice, fit the Vice Handle, turn it and take the Repaired Amulet.
- Open the bookcase. Use the Repaired Amulet on the clasp of the striped purple and blue bag lying below the shelf. The flap lifts and the bag opens: take the Slingshot. "I need to check again."
Formula fragments, second round
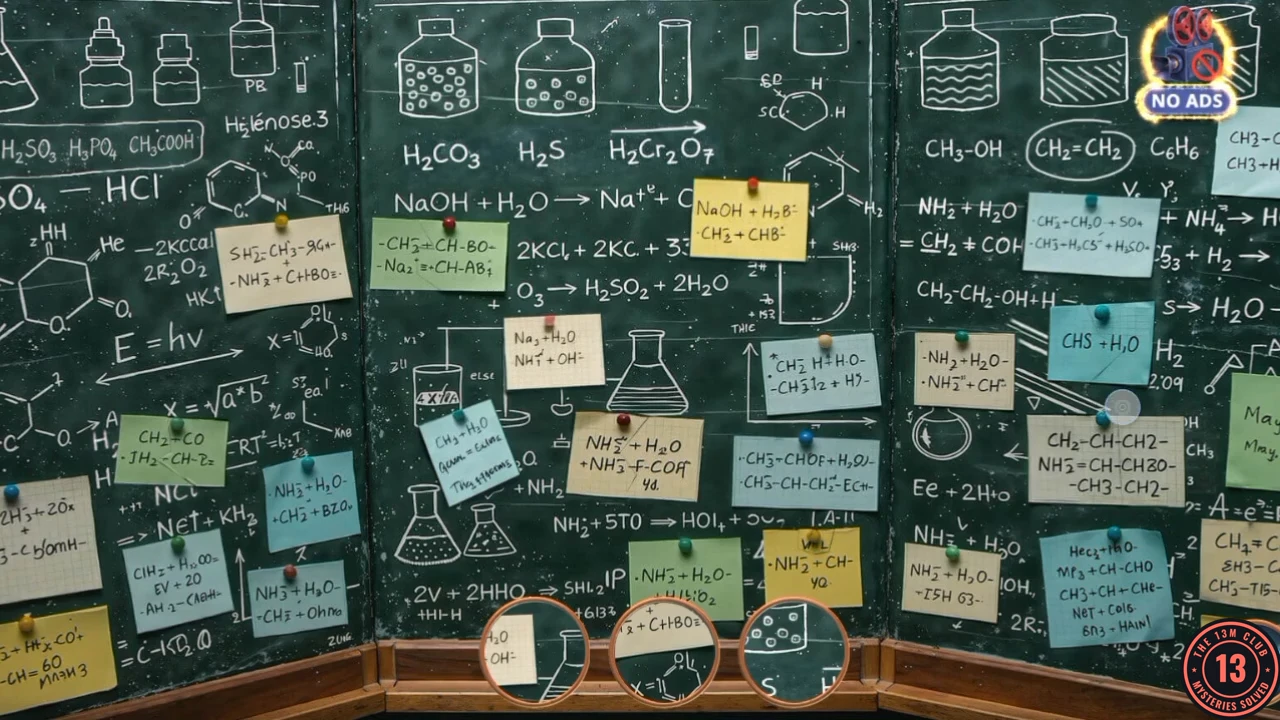
Same board, new torn fragments. Match each fragment's edge and writing to its note.
- Drag each fragment to its note until the row empties, then tap the final shape on the board. Take the Blacksmith's Tongs.
- Open the stove in the lab and use the Blacksmith's Tongs to lift the hot flask. Take the Bubbling Compound.
- Open the vice bench and tip the Bubbling Compound into the brass dish. Then place the Chemical Research book (the green book from the sink cabinet) in the second slot to start the molecule puzzle.
Molecule beams
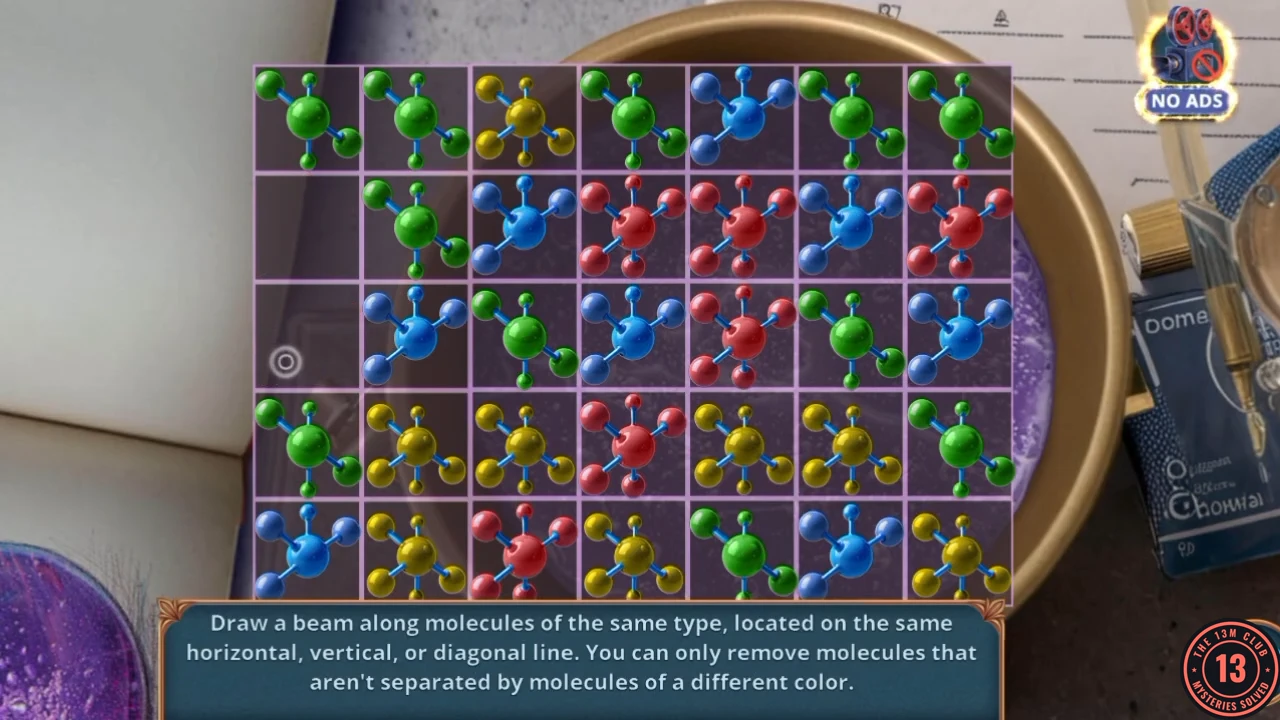
Prompt: Draw a beam along molecules of the same type, located on the same horizontal, vertical, or diagonal line. You can only remove molecules that aren't separated by molecules of a different color. Grid of 7 by 5.
- Drag a beam along same-colour molecules in a line, clearing the sparse colours first so the rest connect. The analysis ends when the board is empty.