Scotland Yard Archive
A bulldog guards the desk: "We need to somehow appease this guard."
- Open the shelf with the blue police satchel and take the Rod from the broken glass. Tap the satchel's clasp, read the Protocols note ("Apparently, the constable was involved in this matter") and take the Headband. Thomas wonders about the slot in the panel.
- Open the steaming kettle on the desk and fit the Headband over it to stop the steam. Thomas sees a tied package ("Let's cut this rope."). Take the Key.
- Open the door at the back and use the Key on its lock to start the arrow lock.
Archive door key lock
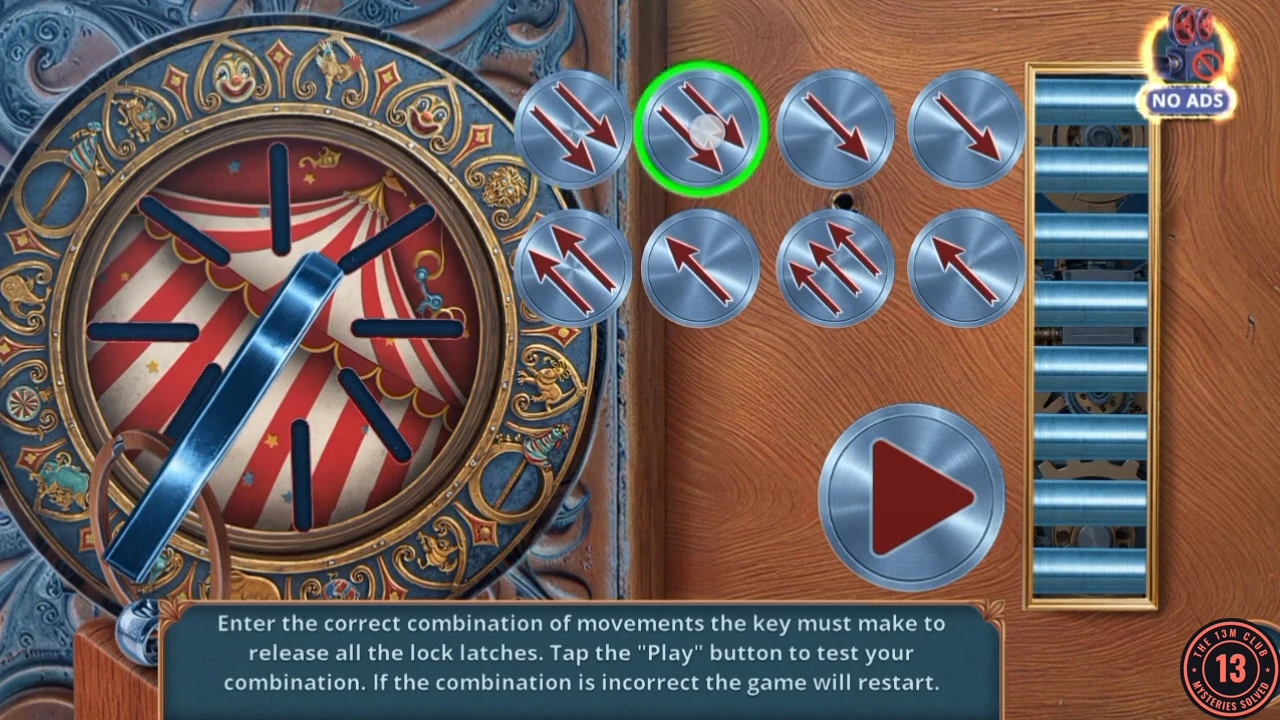
Prompt: Enter the correct combination of movements the key must make to release all the lock latches. Tap the "Play" button to test your combination. If the combination is incorrect the game will restart. Tap a disc to change how many arrows it shows. The top row points one way and the bottom row the other. If Play fails, note where the key stops and change that disc.
- Set the discs, left to right: top row 2, 1, 3, 2 arrows; bottom row 3, 2, 1, 3 arrows. Tap Play. The key travels through the latches and each disc turns green.CODETop 2 1 3 2, bottom 3 2 1 3
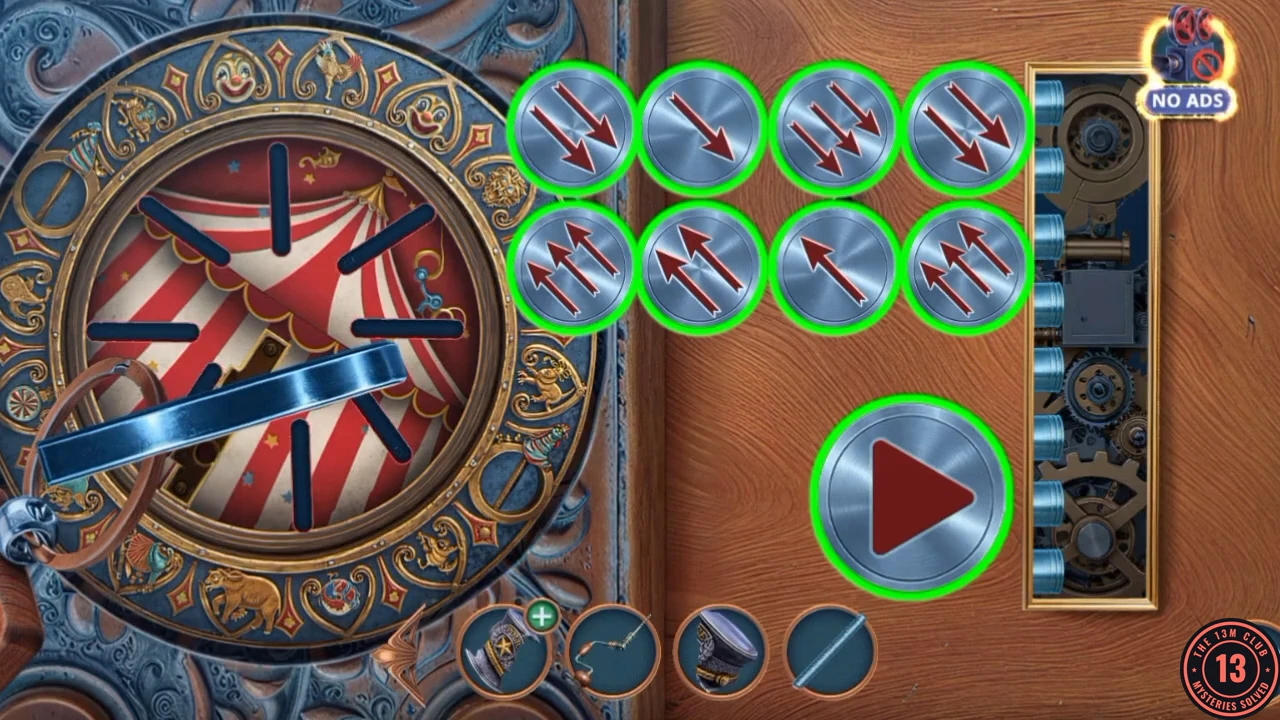
Solved: every disc turns green once the key has travelled through the latches. - Enter the back room and take the Ripper. Back at the desk, use the Ripper on the rope package and take the Ham. Give the Ham to the bulldog.
- Open the mat where the dog lay. Tap the Circus Ticket and take the small glue jar. Open the Broken Amulet in the item view and place the jar and the Amulet Part in two of its three slots.
Treehouse paired items
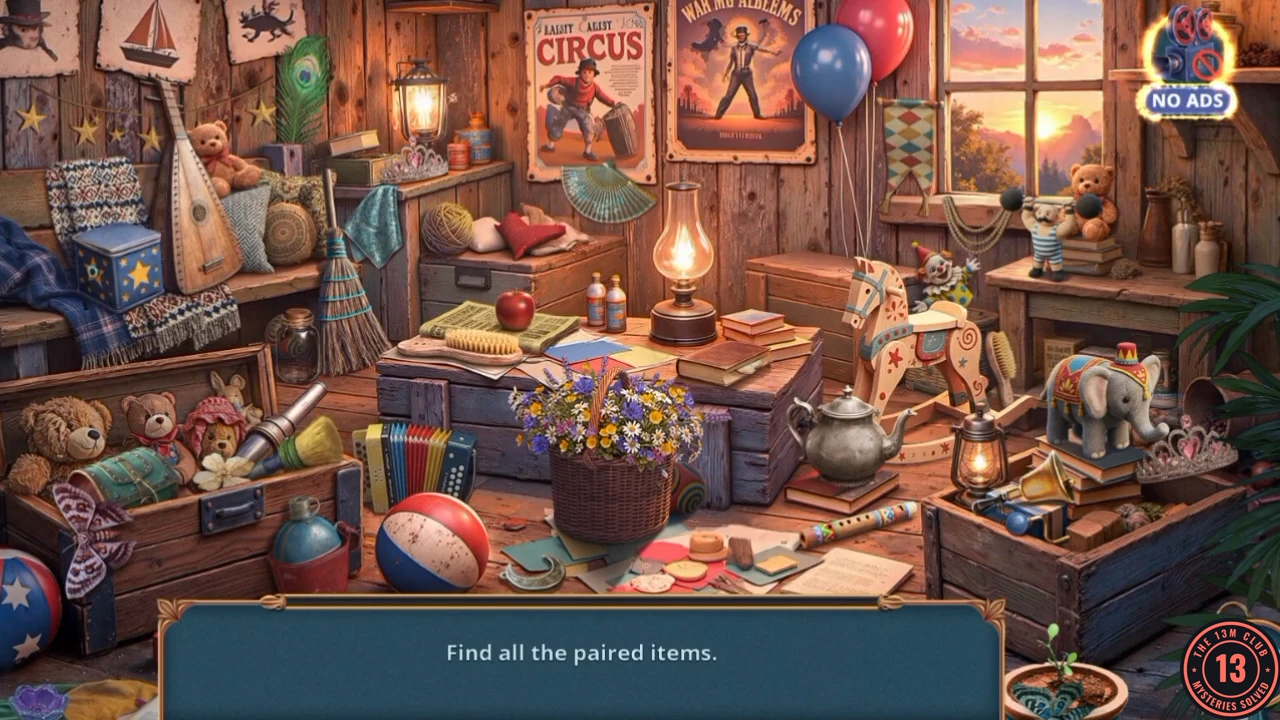
Near Emily's House: "We need to check the house again." The treehouse sparkles. In this scene you tap pairs of matching objects.
- Find all the paired items, then the final item shown at the bottom. Read Emily's note: "This acid can corrode the strongest metal." Take the Acid.
Flower Amulet and the toolbox
Back to the Archive with the Acid.
- In the Archive back room use the Acid on the green padlock of the small chest. Take the Flower Amulet.
- Go to Constable's Street, open the red toolbox and place the Flower Amulet on its round slot to start the flower puzzle.
Lotus ring puzzle
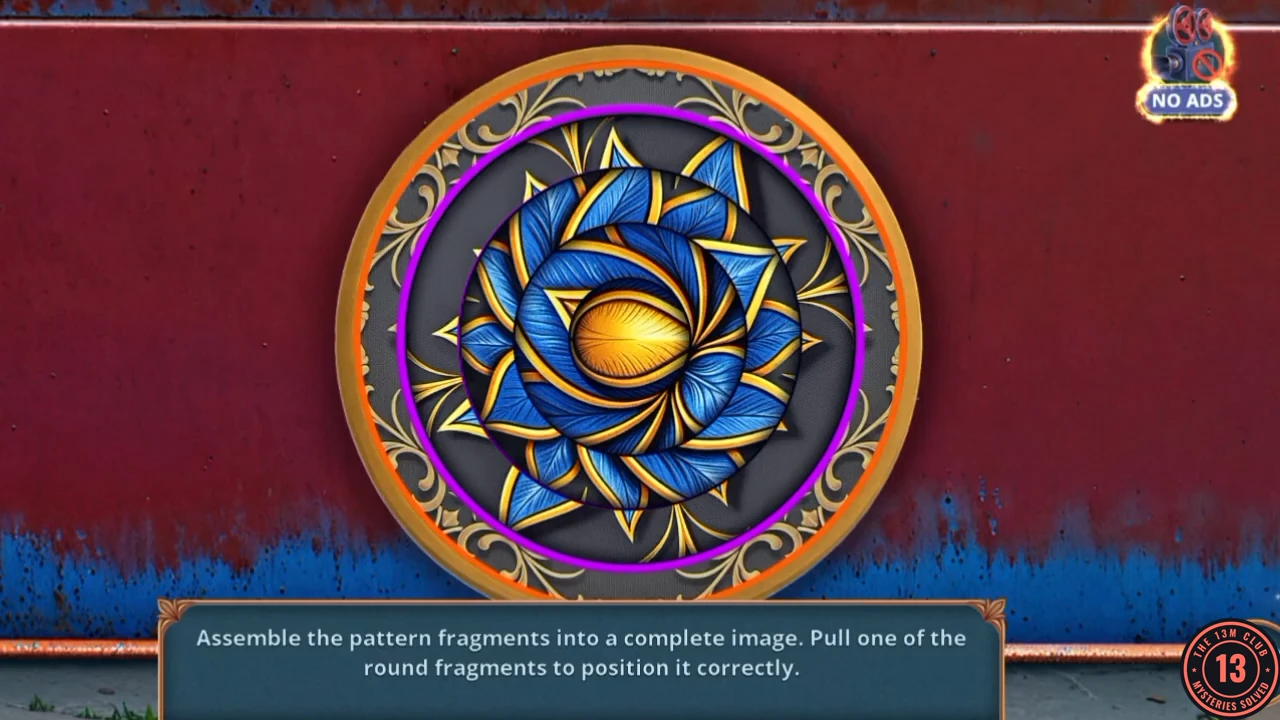
Prompt: Assemble the pattern fragments into a complete image. Pull one of the round fragments to position it correctly. Pull each ring round until its petals line up with its neighbours; the picture is a blue lotus with a gold centre.
- Drag the rings one at a time, starting from the outer ring, until the lotus is whole.
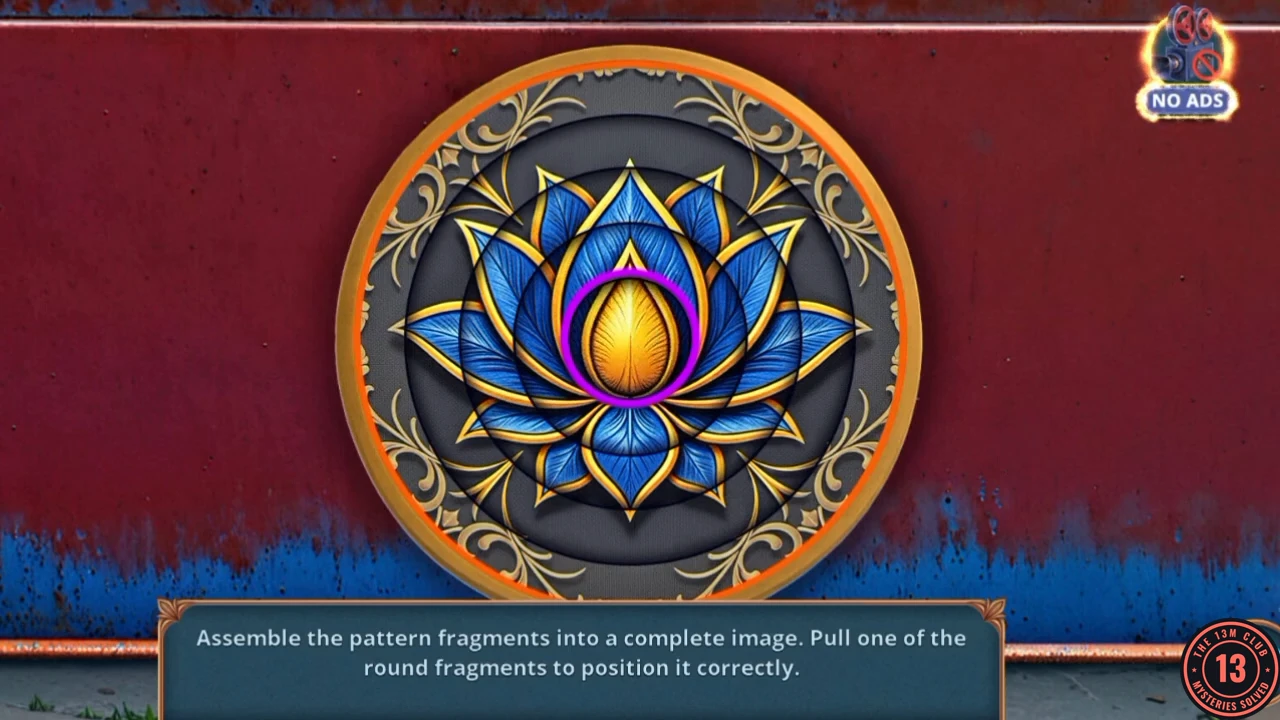
Solved: the rings form a complete blue lotus. - Read the warning letter in the open toolbox and take the Scarf.
- In the Archive open the cage under the desk. A blue rod lies on the BEST POLICE DOG mat and the green glove is behind the bars. Use the Scarf on the rod: it is wrapped round the rod in the bars and twisted until the bars bend apart. Take the Torn Glove and the Amulet Piece that come out.
- Open the Broken Amulet in the item view and place the Amulet Piece in the last slot. The parts fuse into the Policeman's Hat Amulet.
- In the Archive open the satchel shelf and place the Policeman's Hat Amulet in the slot on the panel. The game warns you can't return to earlier locations for remaining items; collect what you still want, then choose YES.
Bandits behind bars
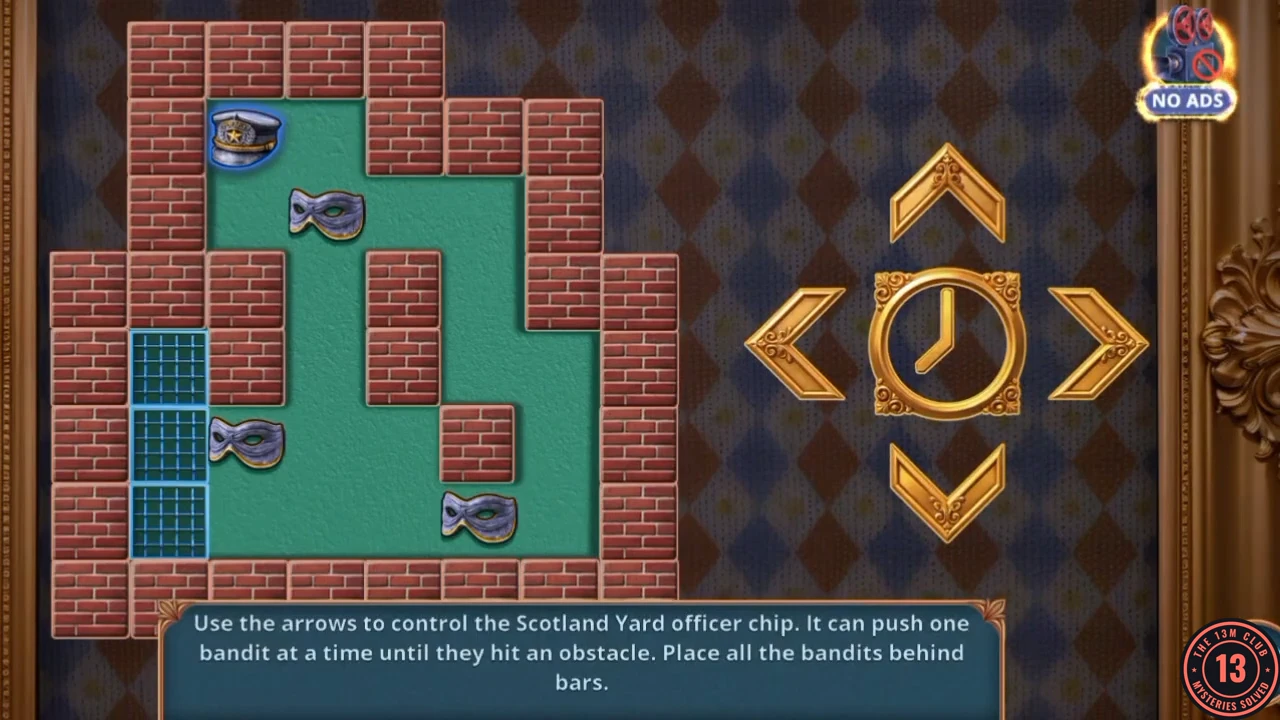
Prompt: Use the arrows to control the Scotland Yard officer chip. It can push one bandit at a time until they hit an obstacle. Place all the bandits behind bars. Despite that wording, each tap moves the chip one cell, and a push moves the bandit one cell into an empty cell. Bars cover three cells on the left. The chip can only push, so a bandit in a corner stays stuck: if your board differs, line each bandit up with the bars before you push it along.
- Tap (R right, L left, U up, D down): R D R R D D R D D L L U L L D L U R R R D L L, then R R R R U U L U U L L D D, then U U R R D D R D D L L U L L. The last push puts the third bandit behind bars.
- Read the case file that appears, then listen to Emily: "The circus got permission... The constable left the investigation..."
- At Grimas's trailer choose how to get inside: "Get George inside" gives +6 stars, "Ask Emily for help" +2, "Do nothing" 0.
The warehouse yard
Star 6 is awarded when you arrive; the Find clues about the circus task completes and a new task starts.
- Open the ivy beside the path and take the Broken Bolt Cutter.
- In the yard's main view, tap the Circus Ticket leaning on the wooden crate with the padlock, between the DANGER ZONE sign and the lamp post. Then open the sparking wires on the wall, use the Torn Glove on them, and take the Cork and the Bolt Cutter part behind them.
- Open the Broken Bolt Cutter in the item view and add the part from the wires and the Bolt to get the Bolt Cutter.
- Open the chained door. Read the Carnevale poster (Warehouse after midnight, Hatch, Down), take the Circus Emblems (1/4) from the chains, and use the Bolt Cutter on the chains to start the tile puzzle.
Bolt cutter tiles
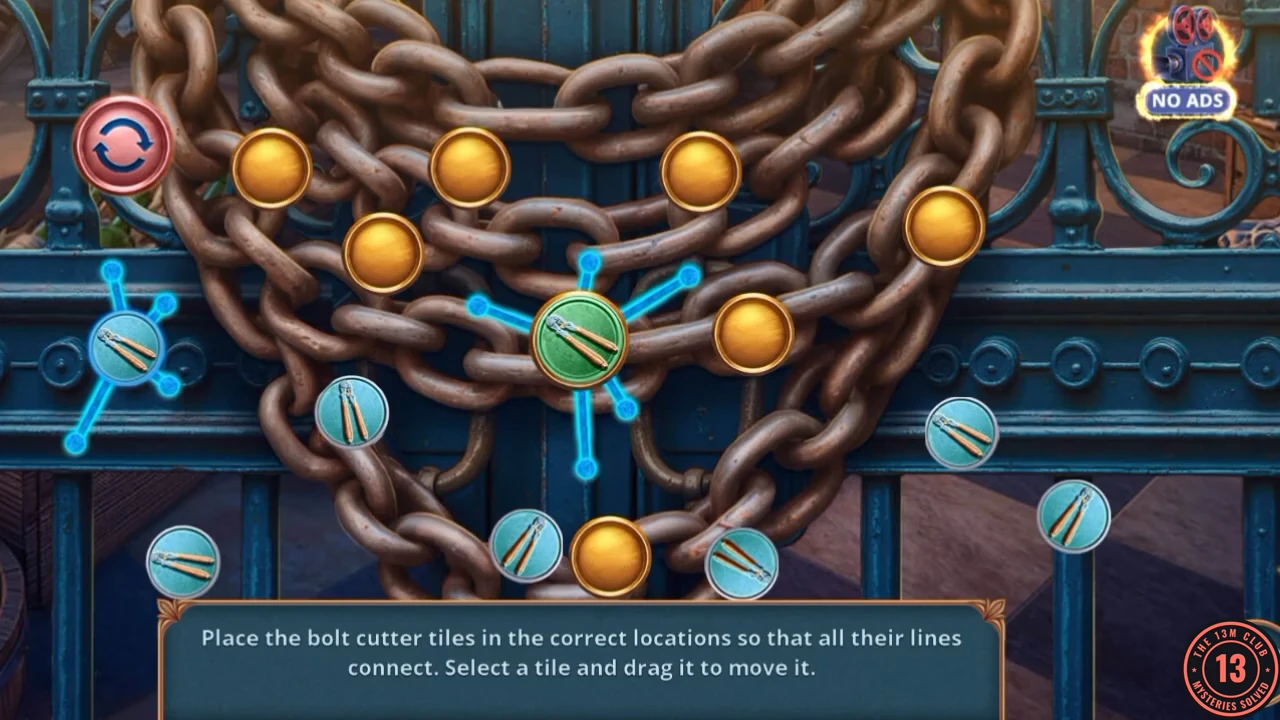
Prompt: Place the bolt cutter tiles in the correct locations so that all their lines connect. Select a tile and drag it to move it. Tiles are scattered around the edges and gold sockets sit in the chain. The red button at top left resets the board.
- Drag the round tiles into the sockets so that every line reaches another tile's line. Sockets glow green when connected. Start from the fixed centre tile and work outward. The finished layout is pictured below.
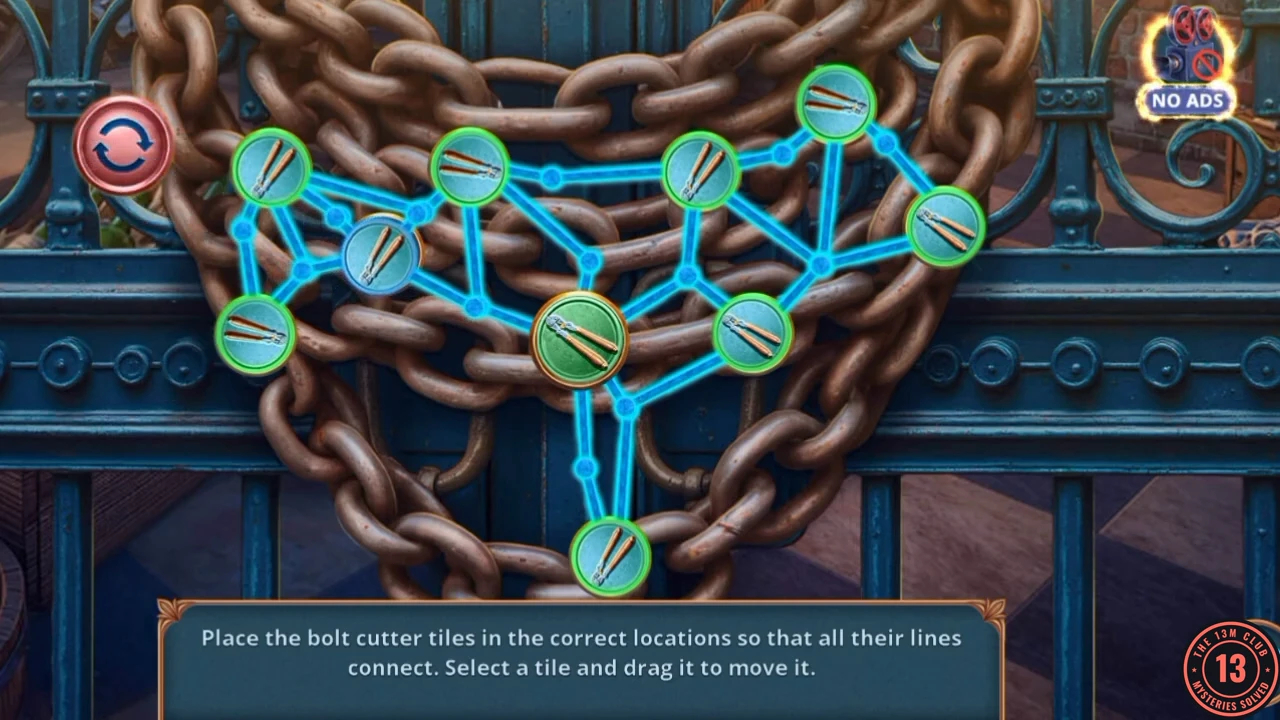
An example of the finished layout, with every line connected.
Inside the warehouse
Task: Get into the basement. Voices come from below.
- Listen to George, then answer "If we want to catch them in the act, we need to sneak in there and eavesdrop.": "I'll go down first. If anything happens, you'll cover me." gives +2 stars; the other answer is "Would you like to go first?"
- Open the barrel on the right. Take the carved Box beside it, then use the Hand Drill on the barrel: water drains out and you can take the Dagger.
- Open the tarp on the floor and cut it with the Dagger. Take the Solvent and the Chain.
- Open the suitcase on the crates and use the Solvent on its stickers. Open it, take the Fibula, and note the palette-shaped recess ("Curious... How do I open it?"). Collect the Circus Ticket.
- Open the dresser and use the Fibula on the loop of the beads above the keyhole. The drawer slides out: tap it to start the drawer scene.
Dresser drawers
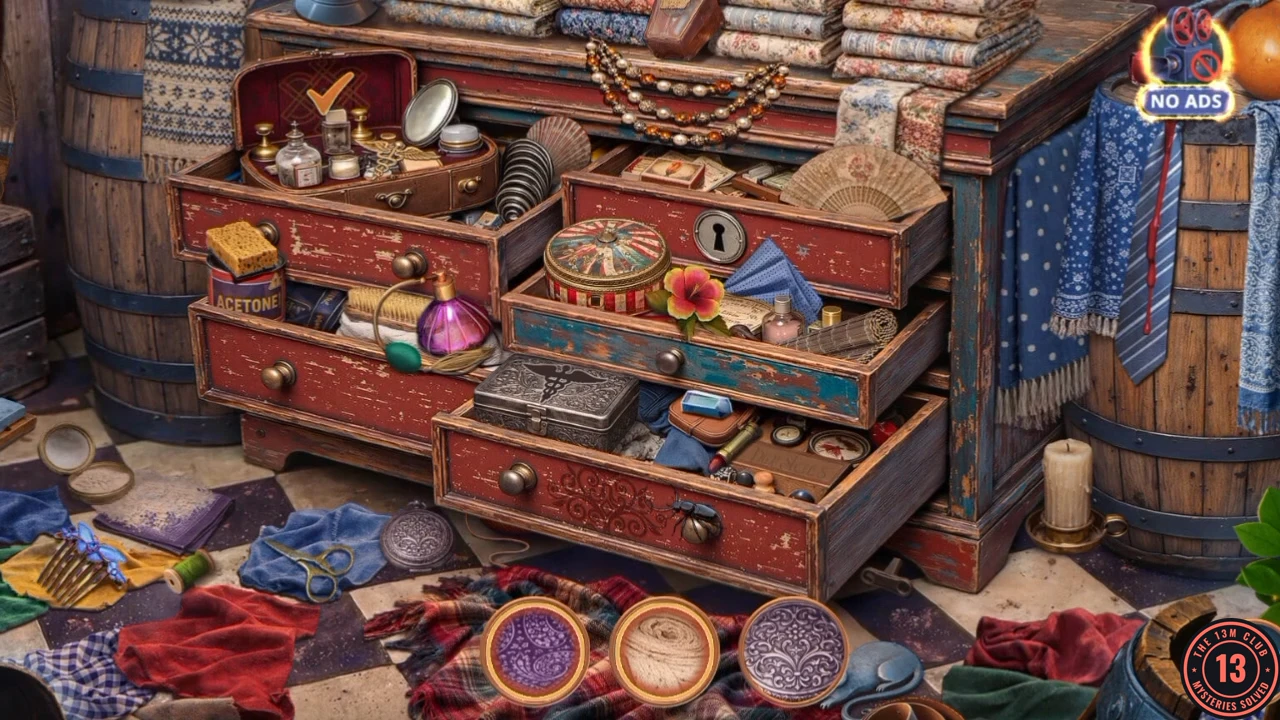
Each circle shows a pattern or colour swatch; find the object with that surface. Four of them need a step first, listed below. A final object shape appears at the end.
- Find each swatch and shape until the circles empty. Four need a step. The dusty purple cloth on the floor at lower left ("Bah! How do I get rid of this dust?"): tap the paper fan lying on the upper right-hand drawer, then the cloth; the fan blows the dust off, so tap the clean cloth. Tap the closed dark purse in the centre drawer to open it, then tap the pale lining inside. Tap the matchbox with the flame label in the upper right-hand drawer, then the candle in the brass holder on the floor by the barrel: it lights and melts down, uncovering the pale fur rug, so tap the rug. The blue striped tie on the barrel at right has a red paint streak: tap the ACETONE tin with the yellow sponge on top in the left drawer, then the tie, and tap the tie again once the sponge has cleaned it. Take the Twine.
The carved box
The Box in your tray has a + badge: it needs two tools.
- Go to the Abandoned Warehouse yard. Open the tractor tread and use the Rod (wooden handle) on the broken tool head. Take the Pitchfork.
- Open the moss by the grate and dig with the Pitchfork. Take the Tweezers and the Flint.
- Open the wall alcove with the logs and strike the Flint on them to melt the wax. Take the Magnifying Glass. Using the Flint on the Box itself does not work ("That didn't turn out the way I planned."). Keep the Flint.
- Open the Box in the item view and place the Tweezers and the Magnifying Glass in its two slots to start the gem maze.
Gem maze in the box
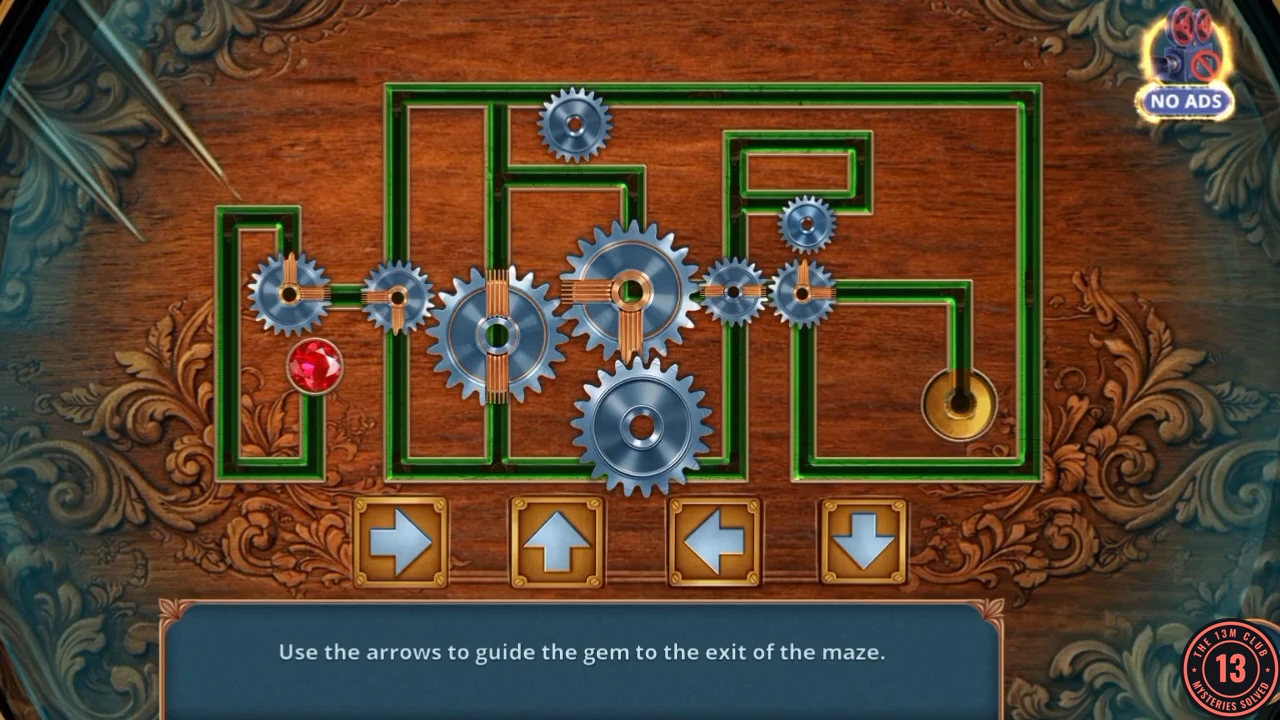
Prompt: Use the arrows to guide the gem to the exit of the maze. Each press moves the gem until it stops at the next junction, so wait for it to stop before you press again. The gears turn as the gem goes through them and change which channels are open, so the order matters.
- Press in this order, 30 presses in all: Down, Left, Up, Right, Down, Right, Down, Right, Right, Up, Up, Right, Up, Left, Down, Right, Up, Left, Down, Down, Down, Left, Up, Up, Right, Down, Left, Up, Right, Down. The gem goes twice round the rectangle at upper right on the way. It reaches the hole at bottom right and the box opens.
- Take the photos and the Red Feather from the open box, then the Cufflink. Thomas says "So, that's how it is..."
- Go to Inside the Warehouse, open the green safe behind the barrel and use the Cufflink on it. Read the constable's journal (the warehouse on the outskirts was rechecked; no signs of forced entry). Take the Stag Beetle Amulet.
- Open the cleared tarp over the hatch and place the Stag Beetle Amulet on the bolt plate to start the latch puzzle.
Hatch bolts
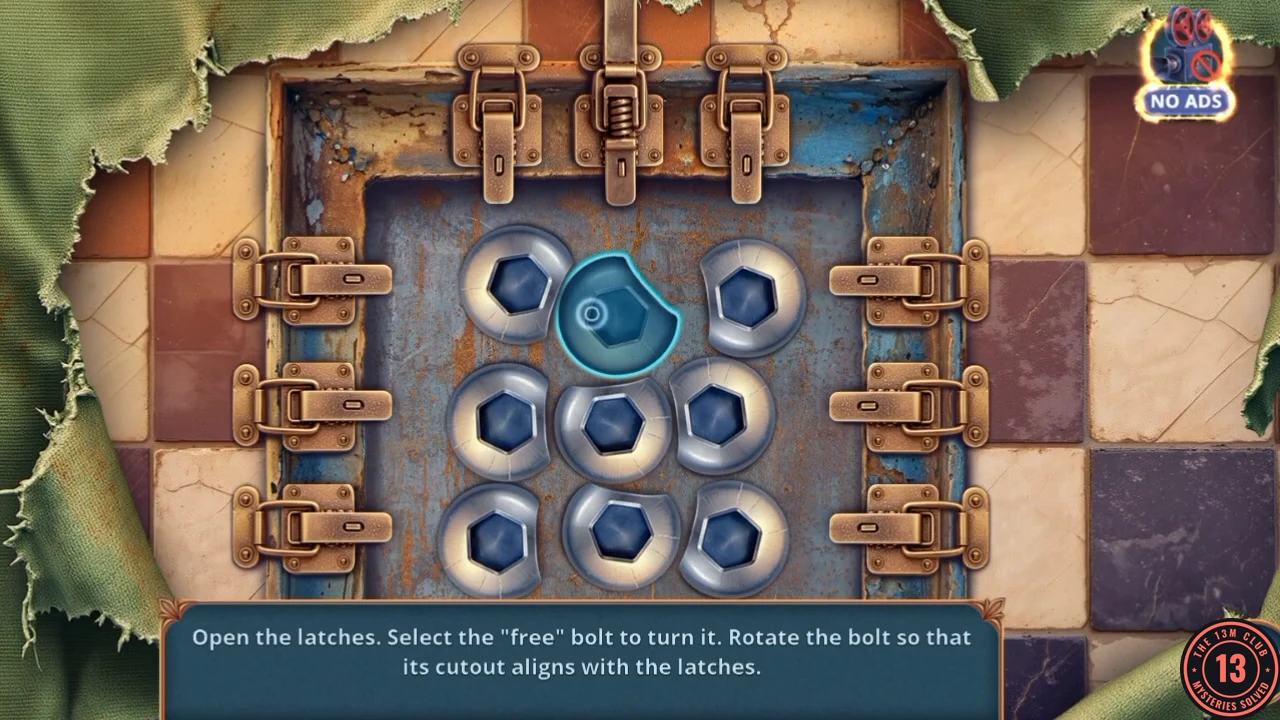
Prompt: Open the latches. Select the "free" bolt to turn it. Rotate the bolt so that its cutout aligns with the latches. Only a bolt with free space around it can turn; its neighbours' round shapes block it until they rotate.
- Turn the free bolt, then its neighbours, working around the plate so that each round bolt's flat cutout faces the latch on its side. All nine bolts are involved. The hatch opens and you can go down.