Vanity table pairs
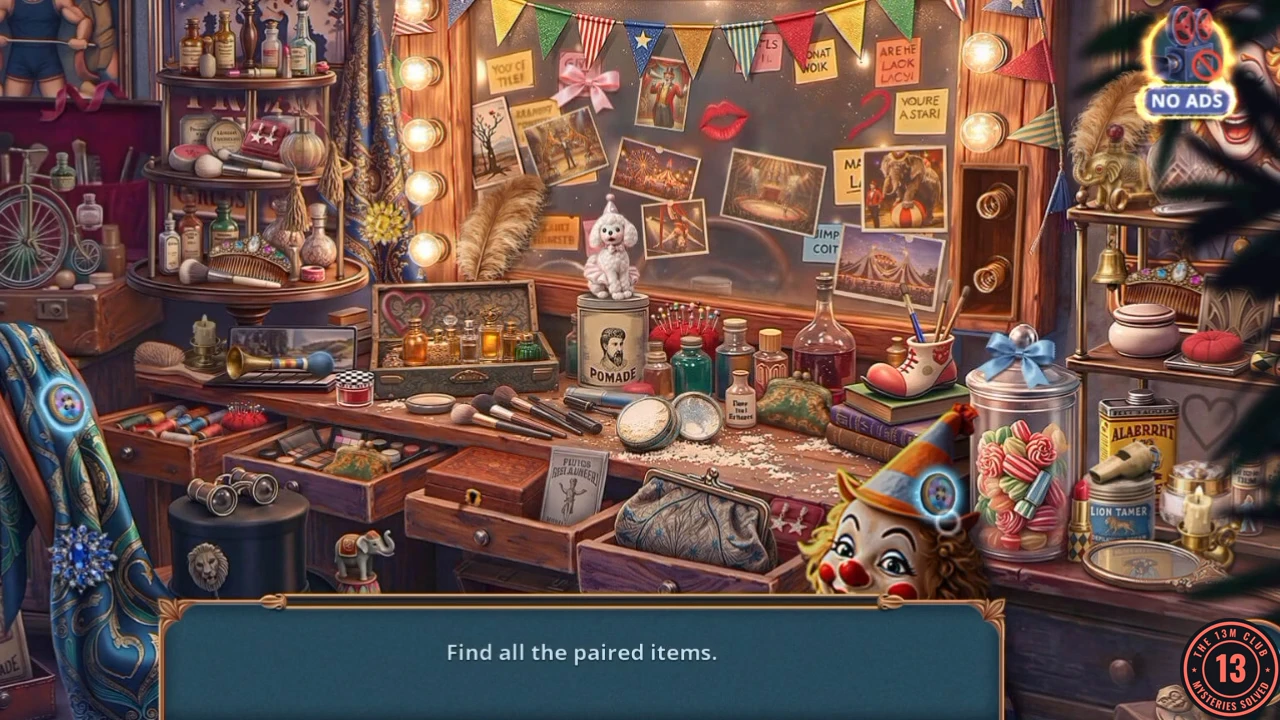
Prompt: Find all the paired items. Each tap highlights one object and the matching second object is hidden elsewhere in the scene.
- Tap pairs of matching objects until the scene closes, then take the Cheese.
- Open the mouse cage in the corridor wall and give the Cheese to the toy hamster. It pulls the items off the ledge above the bars: take the Long Branch and the Old Musical Score.
- Open the organ keyboard and set the Old Musical Score on the music stand to start the note puzzle.
Unifying the notes
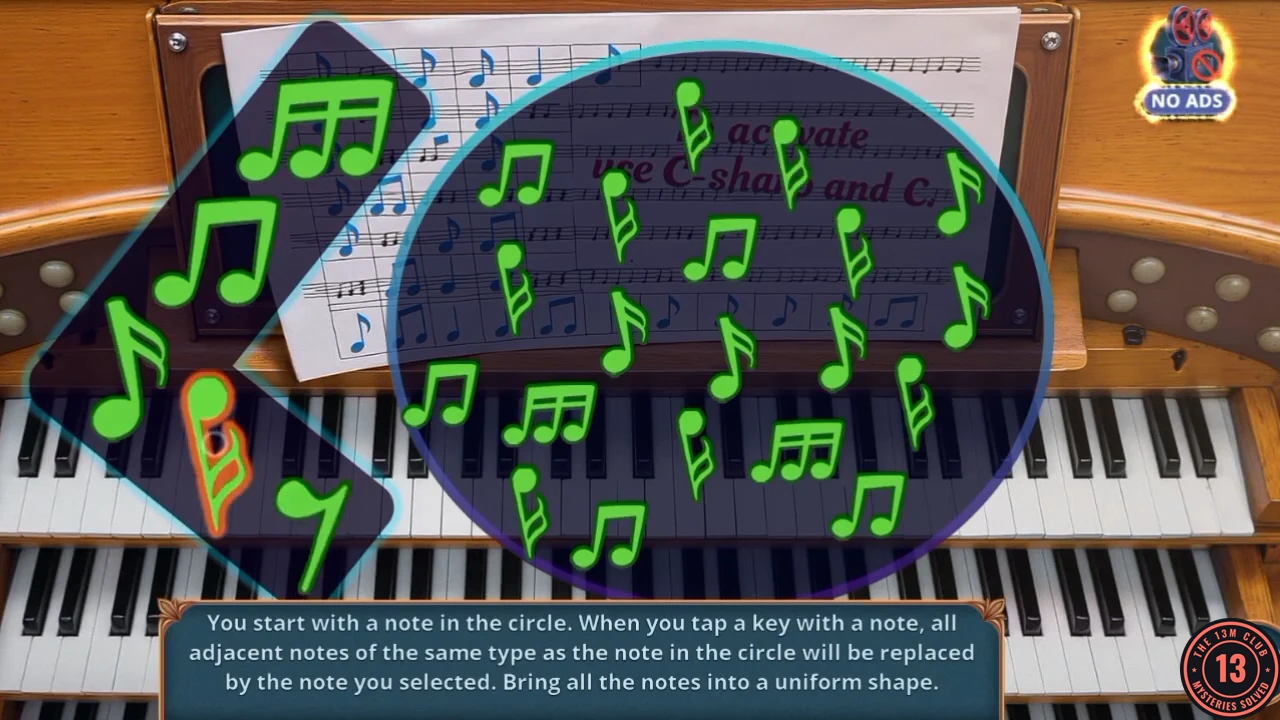
Prompt: You start with a note in the circle. When you tap a key with a note, all adjacent notes of the same type as the note in the circle will be replaced by the note you selected. Bring all the notes into a uniform shape. The five keys, top to bottom, show a triple-beamed note, a beamed pair, a single flagged note, a tall dotted note and a rest.
- Treat this like a colour-flood puzzle. Example key order: rest, tall dotted, beamed pair, single flagged, tall dotted, triple-beamed, beamed pair, tall dotted. If your starting layout differs, keep picking the type that touches the biggest group.
Launching the antidote
The organ puzzle opens a drawer in the keyboard; take the Adapter Cylinder.
- Open the cylinders with the gramophone. Attach the Adapter Cylinder to the blue tank, set the Mechanism Scheme and the Antidote flask on the table, and connect the hose as the sketch showed. "The gas is now safe. The music can play as much as it wants - it won't have any effect. They lost their main weapon." The smoke turns green and the task completes. New task: Find Gregory.
- Open the cylinders once more and take the Cannonball from the table.
- Return to the Big Top and open the cannon. Load the Cannonball into the muzzle, view the rear of the cannon, push the Wick into the touch hole, and light it with the Matches. The colour puzzle opens.
Cannon colour zones
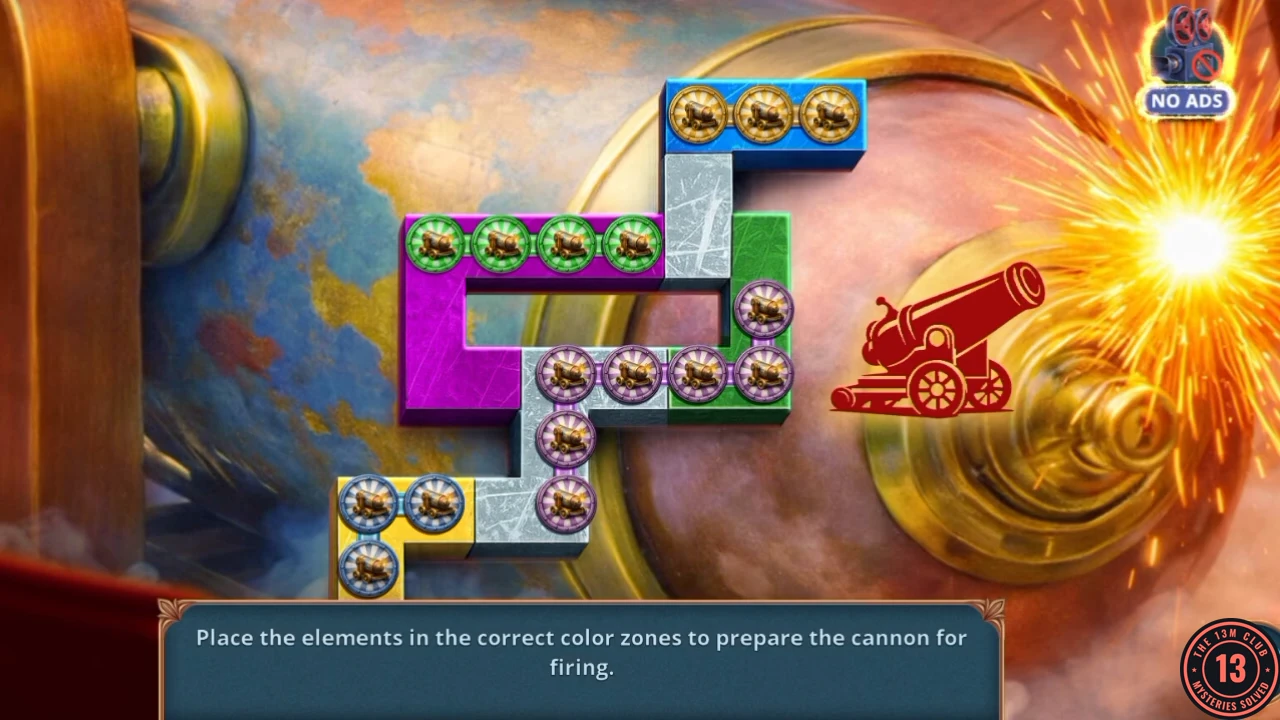
Prompt: Place the elements in the correct color zones to prepare the cannon for firing. Round tokens with coloured rims slide along a grey track between blue, magenta, green and yellow zones.
- Drag runs of tokens along the track, using the empty stretches as parking, until each zone holds only its own rim colour: blue at the top, magenta on the left, green on the right, yellow at the bottom left. This is a lengthy rearrangement rather than a fixed recipe. The cannon then fires and blows the green door open.
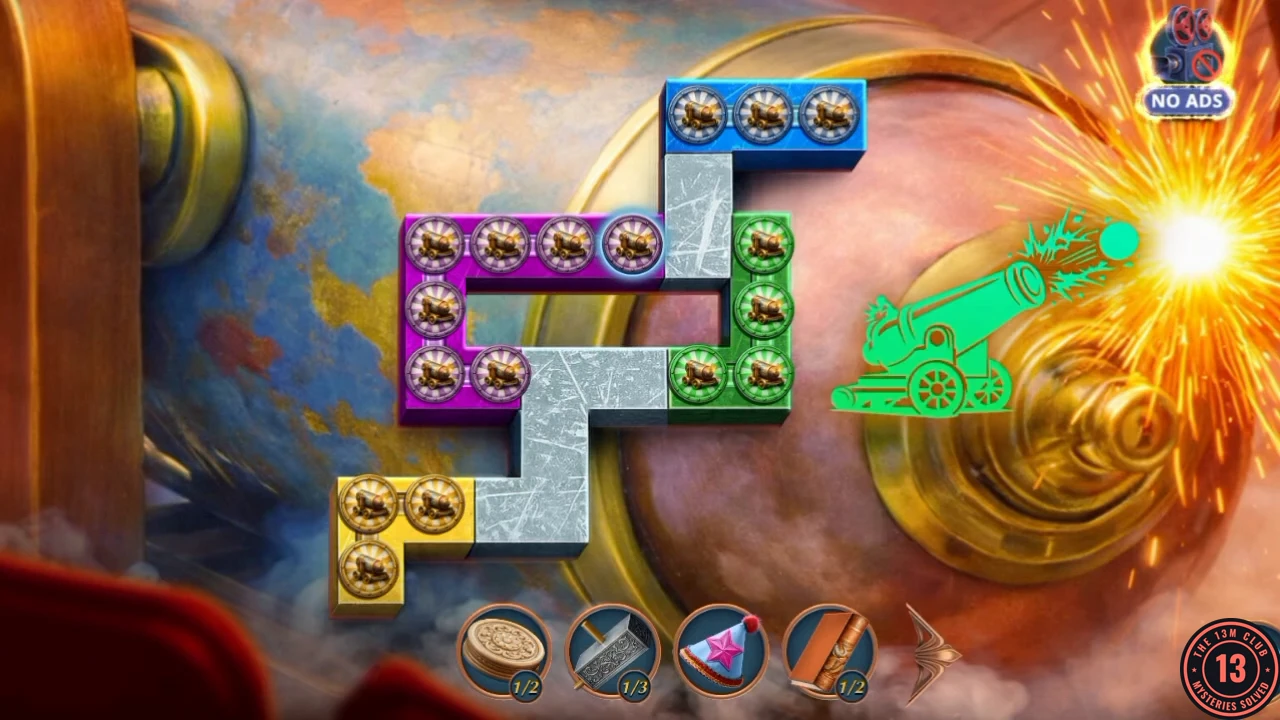
Solved: each zone holds its own colour and the cannon turns green.
The director's yard
Behind the broken door is a yard with Grimas's trailer, a checkers table, a tent and a blue door marked DIRECTOR. George: "Thomas... if Flemus was a prisoner all this time, his tent might still hold something important. Records, evidence... anything the director didn't have time to hide." then "Even if he was kept under hypnosis, traces must remain. We should check his tent. Just in case."
- "You're right. If there's even the smallest clue there, we'll find it." (+1 star) opens the optional Flemus' Tent. In the Google Play game this line has a gold DELUXE badge, which marks paid Deluxe content (see the notes for this guide). To play it, follow Chapter 4 bonus in the Extras part alongside the next steps. The other answer, "That's a waste of time.", stays on the main route and gets the reply "Maybe... but if we miss something, we'll regret it later. The decision is yours."
- Open the checkers set. The case beside it has an interesting lock ("Interesting lock."). Note the empty spaces on the board; two Game Pieces are needed.
- Open the DIRECTOR door. "Where is the key?" Take Game Pieces (2/2) from the shelf beside the door.
- Return to the checkers set and place the Game Pieces. A drawer opens. Read the letter signed G.: "Loading must be completed by midnight. No delays. The city is starting to ask too many questions. Keep those who 'doubt' under the stage until further notice. Music and smoke release only on my signal." Then take the Dolly Dress.
- Open the monkey at the small dressing table and lay out the Dolly Dress to start the dressing puzzle.
Dressing the monkey
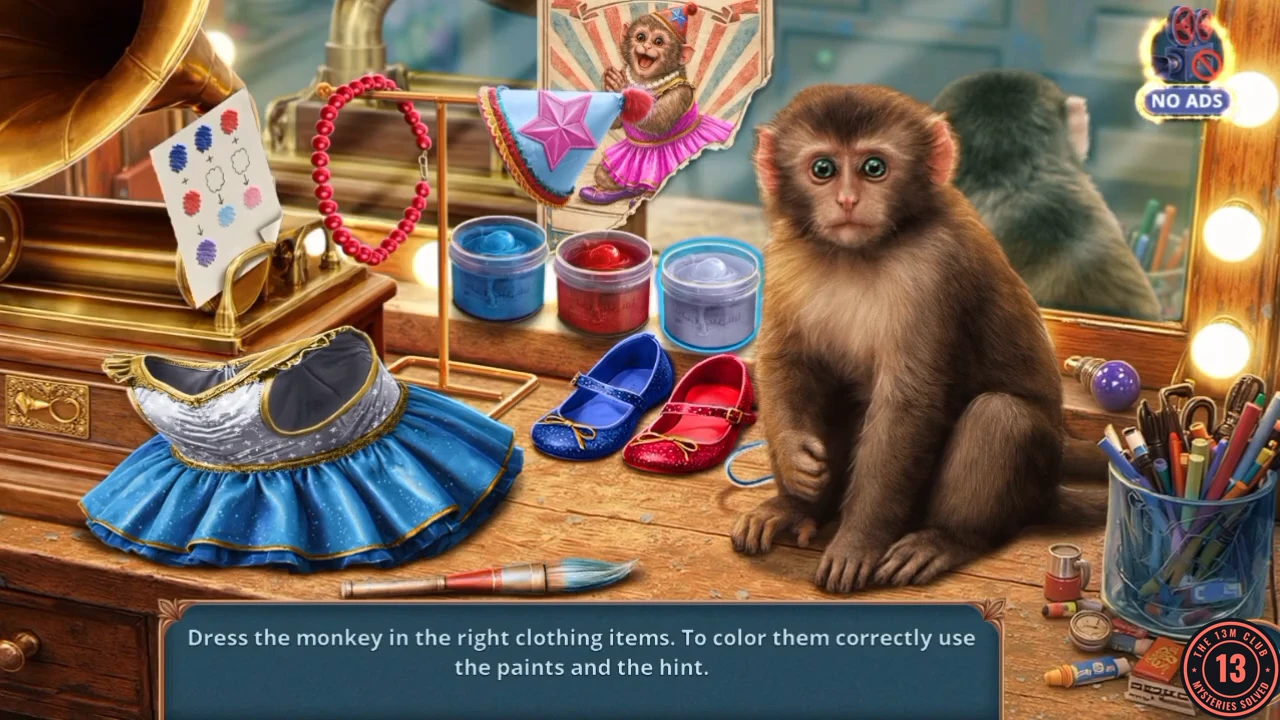
Prompt: Dress the monkey in the right clothing items. To color them correctly use the paints and the hint. The poster over the table shows the target: pink dress, purple shoes, pearl-white necklace, red hat with a blue star. The hint card gives the mixes: blue x red = purple, blue x white = light blue, red x white = pink.
- Use the blue, red and white jars on the clothes until they match the poster. Dress: red and white over blue gives pink. Shoes: both purple (blue and red). Necklace: white. Hat: red. Star: blue. The monkey jumps into the outfit.
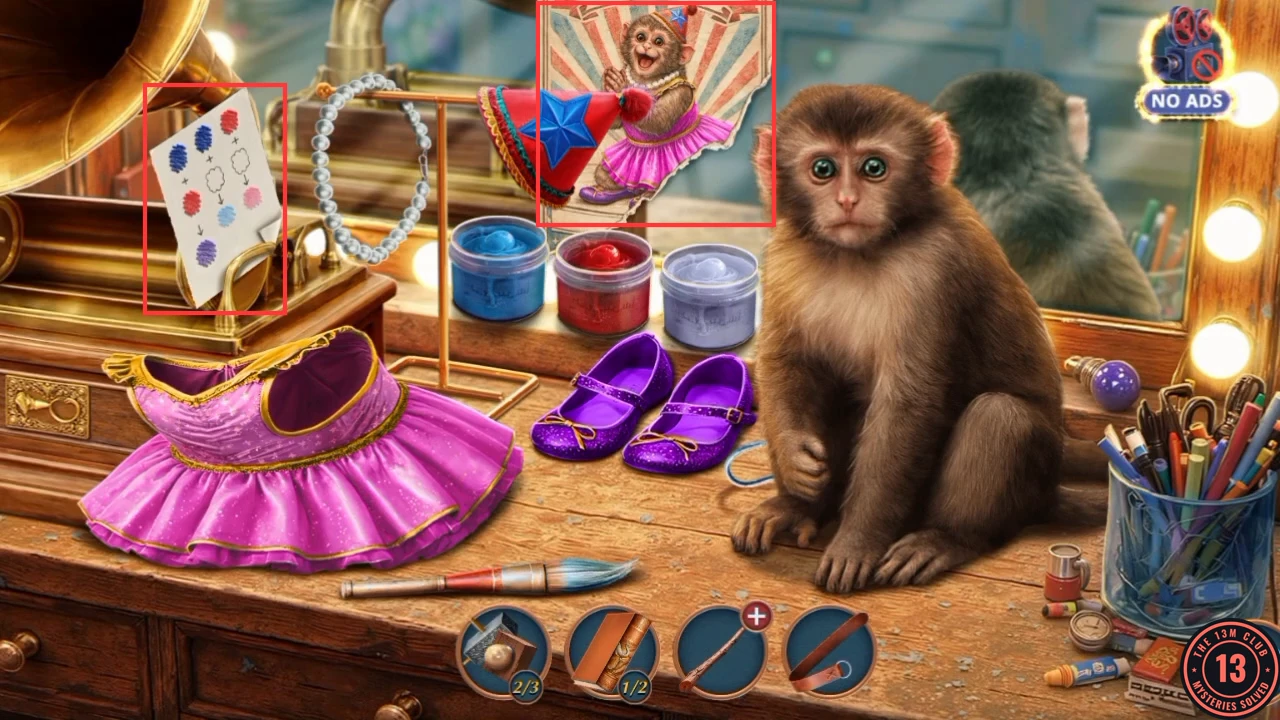
All items painted, before dressing. The poster and the paint card are outlined. - Take the Hook. Thomas says "So... what's wrong here? It looks like a... cylinder is missing?" Open the Long Branch in the item view and attach the Hook to make the Branch with Hook.
- Open the blue curtain of the tent and hook its ring with the Branch with Hook. The curtains part.
Performers' tent
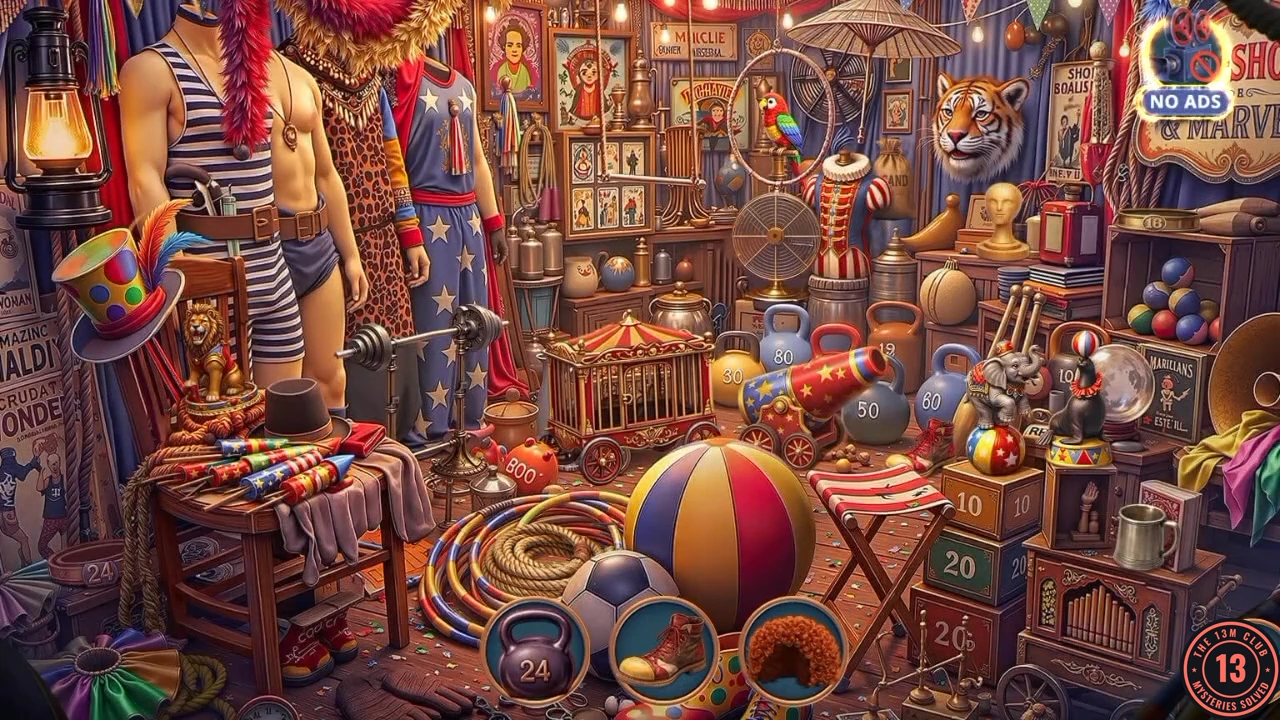
Silhouette scene with props, cages, posters and a striped ball, but here you place objects instead of finding them. Tap a picture in a bottom circle and the object follows your pointer, then tap the place in the room where it belongs. The game asks "Where is the other one?" if you tap the red shoe already in the room; it does no harm.
- Place each object as its picture appears: the 24 kettlebell on the floor left of the rockets table; the wig on the bald bust under the tiger; the propeller on the empty fan by the red-striped jacket; the rope with red handles on the top shelf beside the other rope, left of the card panel; the mug on the organ crate beside the other mug; the 16 kettlebell on the brass 16 ring on the shelf under the & MARVELS sign; the green feather on the clown hat; the rope coil on the coil in the hoops; the monkey on the horizontal bar of the card panel; the barbell on the lower rung of the stand under the barbell; the shoe beside the red shoe behind the elephant's ball; the sand bag beside the other SAND bag, next to the red-striped jacket. When the circles are empty, a long rod shape appears: tap the dark staff with silver tips lying across the rockets on the table. Take the Magician's Staff.
- In the corridor, open the mouse cage and use the Magician's Staff on the bars. Take Carbon Paper and Frame Parts (2/3).
- Open the vanity table, which sparkles again, to start the counted list scene.
Vanity table list
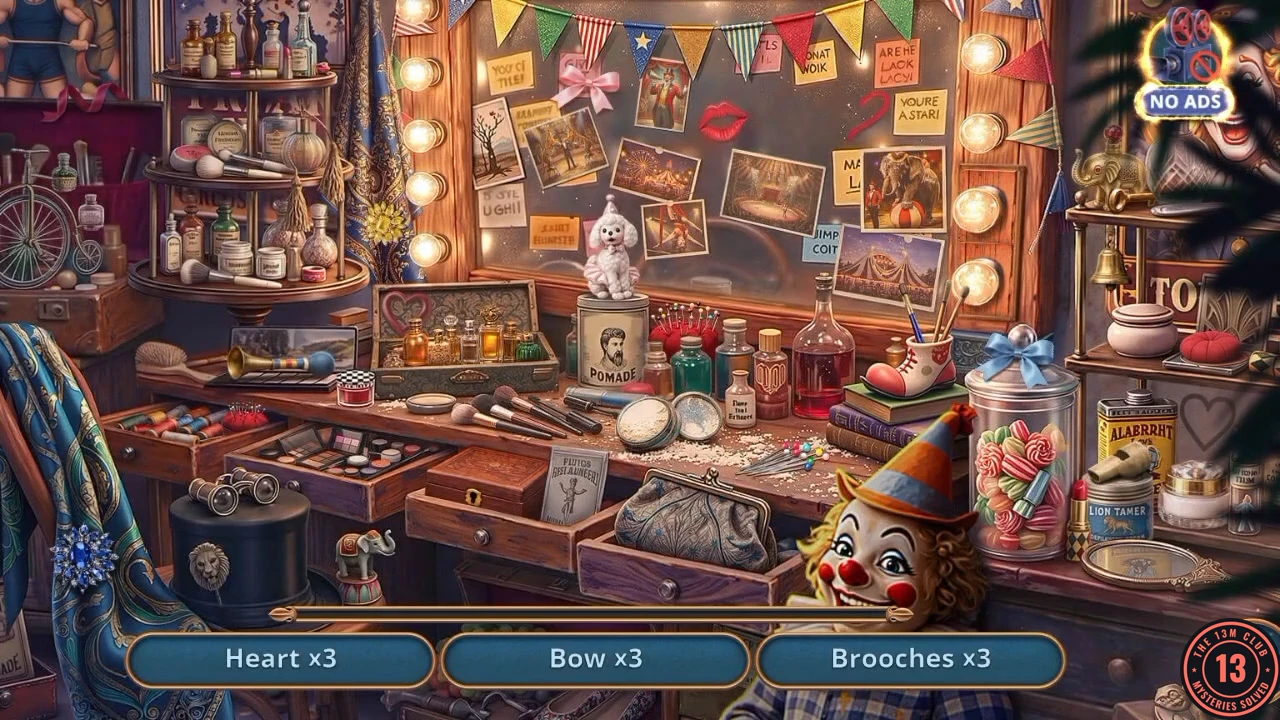
The list at the bottom shows counts, not silhouettes. One of the Brooches needs a step first, given below.
- Find Heart x3, Bow x3, Brooches x3 and Pin Cushion x3. One of the Brooches is in the small brown box in the open middle drawer, which is locked ("Locked..."). Tap the gold key at the feet of the brass elephant on the upper-right shelf, then the box. It opens: tap the brooch inside. Take the Keys.
- Open the DIRECTOR door in the yard and use the Keys to start the key puzzle.
Director's key
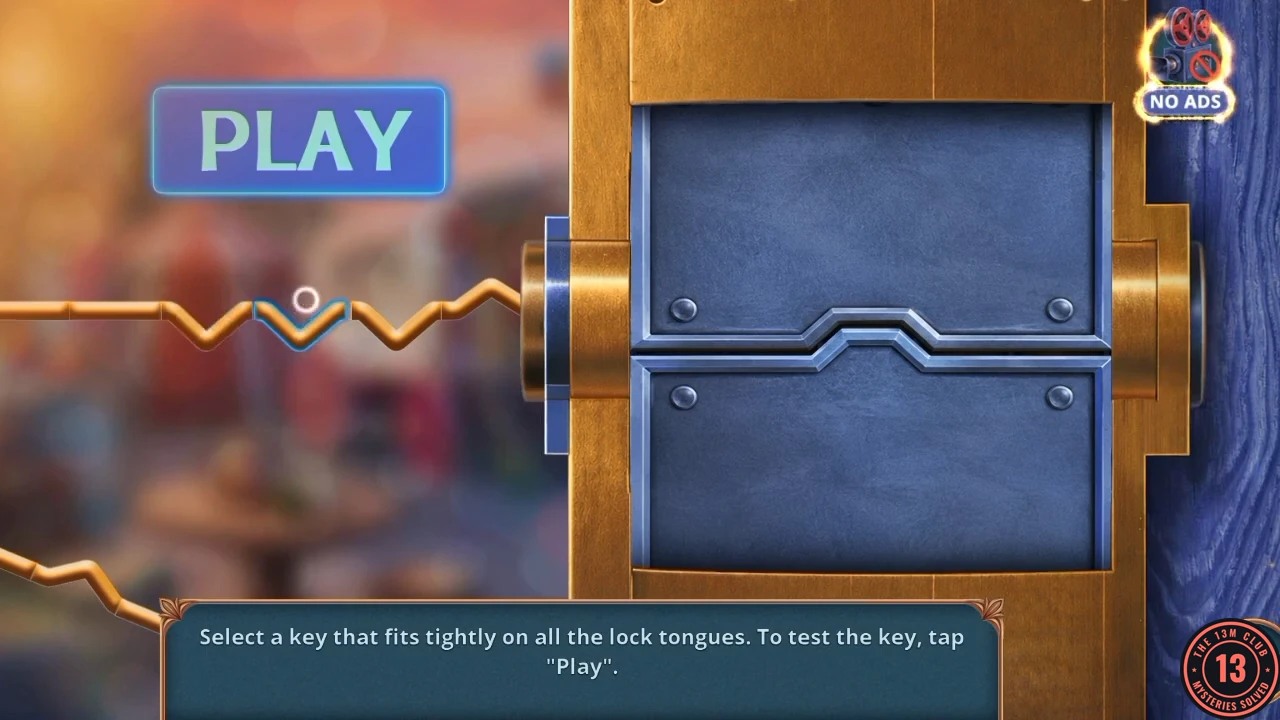
Prompt: Select a key that fits tightly on all the lock tongues. To test the key, tap "Play". The key's sections can be selected and swapped; the lock's upper plate hints at the profile.
- Set the key from ring to tip to V-dip, flat, peak, square notch, flat, then tap Play. If your lock differs, compare each section with the tongue above it. Play turns green and all five tongues lift.
Director's office
Emily: "Thomas... look at this wall. Something's not right here - it's like there's another room behind it." then "If the director is hiding anywhere, it's definitely there. He wouldn't risk staying in plain sight."
- Answer "I feel the same way. Let's proceed carefully." for +2 stars; the other line begins "Don't jump to conclusions". Emily: "Then we'll go quietly. He must not hear us."
- Open the portrait. Thomas asks "Why is one without a pattern?": the left lamp shade is plain, the right one has a clown pattern.
- Open the desk. Take the Clown Handle lying on the magnifier, then tap the red and gold Circus Ticket among the green leaves on top of the right-hand stack of books. Its banner may appear only after a line of dialogue ends. "A blank sheet of paper? Might come in handy." Use the Carbon Paper on the blank sheet; the print does not appear yet ("I should try something else." and "And now, the print.").
- Open the armchair side table. The blue notebook is locked: "Even this notebook is locked? Oh well. Where is the key?"
- Open the glass cabinet and fit the Clown Handle to its door. Read the note signed G.R. Thomas says "He didn't just run a circus... he built an entire network. And Grimas was just a tool for him." Then "It looks like someone took the books and didn't return them." Take the Clown Pattern from the shelf.
- Open the portrait and hang the Clown Pattern on the plain lamp. The portrait moves aside to reveal a safe. Take the Winding Key from the safe door.
- Open the armchair table, use the Winding Key on the blue notebook and leaf through it. Take the Tent Photo and the Figurine.
- Return to the yard tent, which has changed: "Hmm, the tent is very different now. It's worth taking another look." Open it with the Tent Photo to start the differences scene.
Tent differences
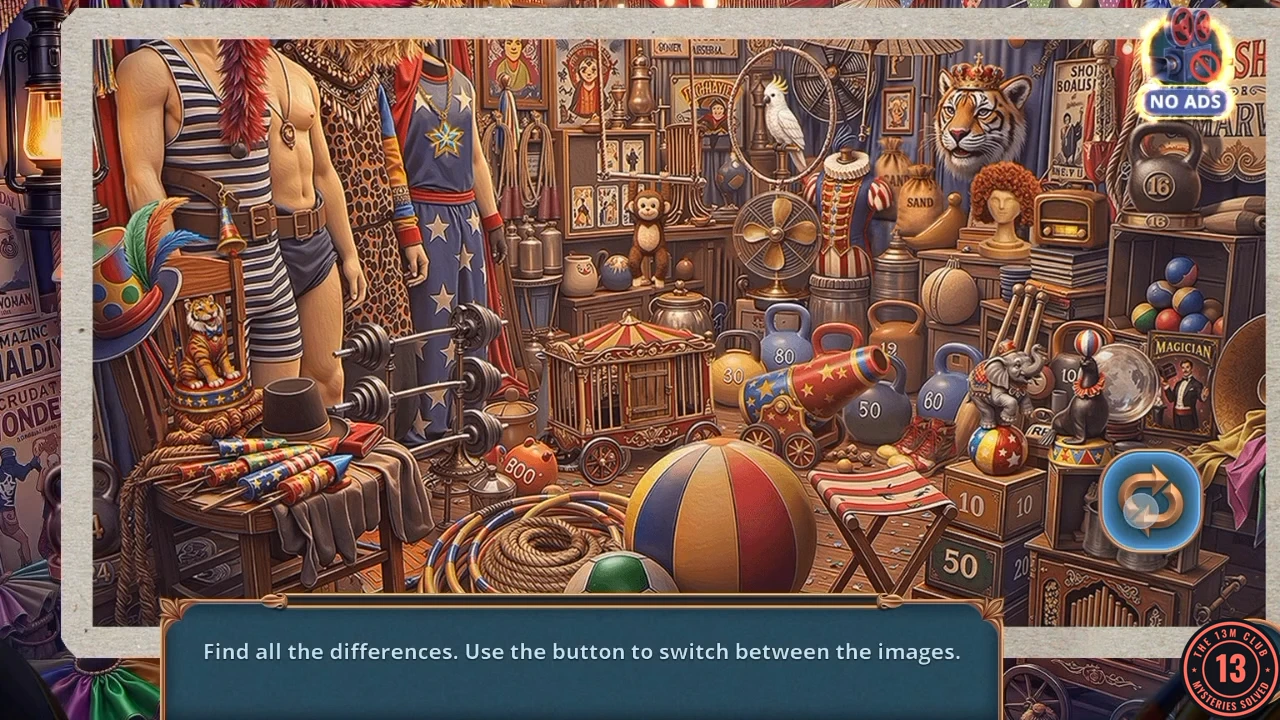
Prompt: Find all the differences. Use the button to switch between the images. The round switch button sits at the right of the screen, and a tick marks each find. One image sits in a frame and the other fills the screen.
- Switch between the images and tap these 12 differences: the lowest dumbbell bar at lower centre-left (three bars or two), the figurine on the chair at left (tiger or lion), the belt of the striped mannequin (a small bell or a hammer and bottle), the ornament on the star costume chest at top (star medal or tassel), the ball at the bottom (green or dark blue), the wagon cage at centre (wooden or barred door), the top row of the framed cards (two or three), the bird in the hoop (cockatoo or parrot), the box at lower right (50 or 20), the tiger head at upper right (with or without a crown), the device at right (radio or red device) and the poster at far right (MAGICIAN or Marilians). A silhouette then appears: switch to the full-screen image and tap the star emblem leaning on the top hat at left. Take the Gold Emblem.
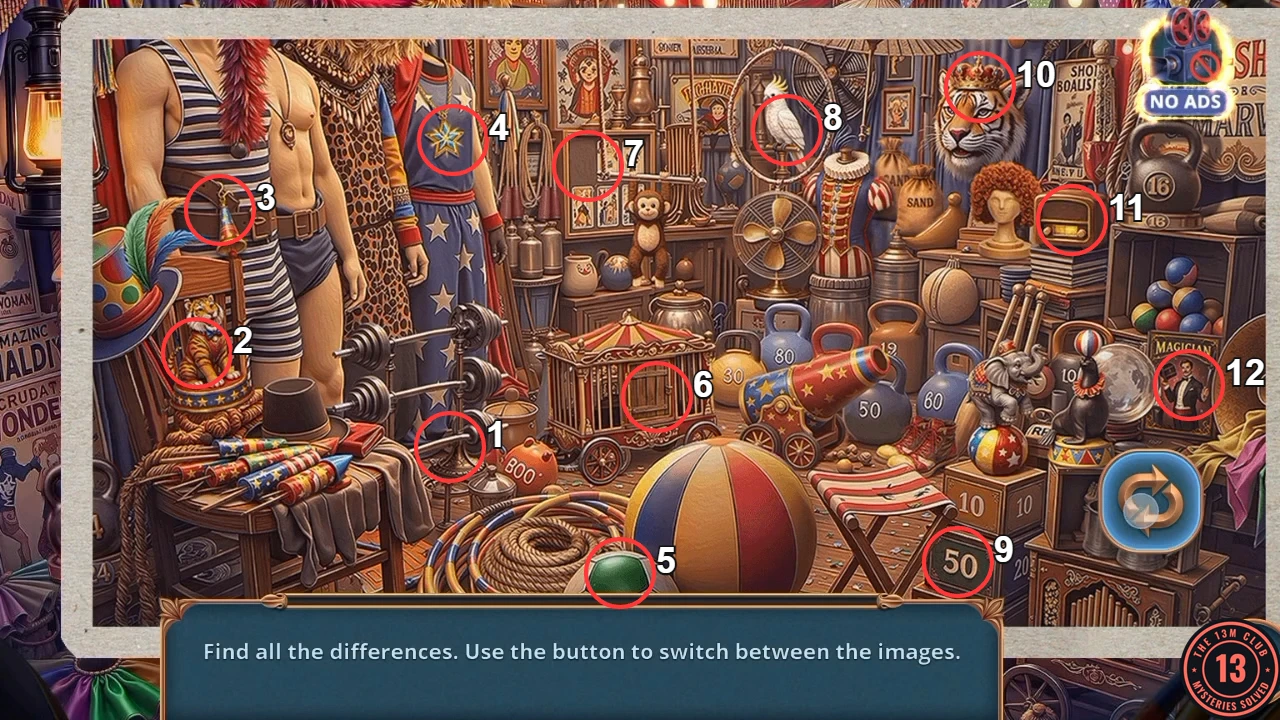
The 12 differences on the framed image, numbered in the same order as the step. 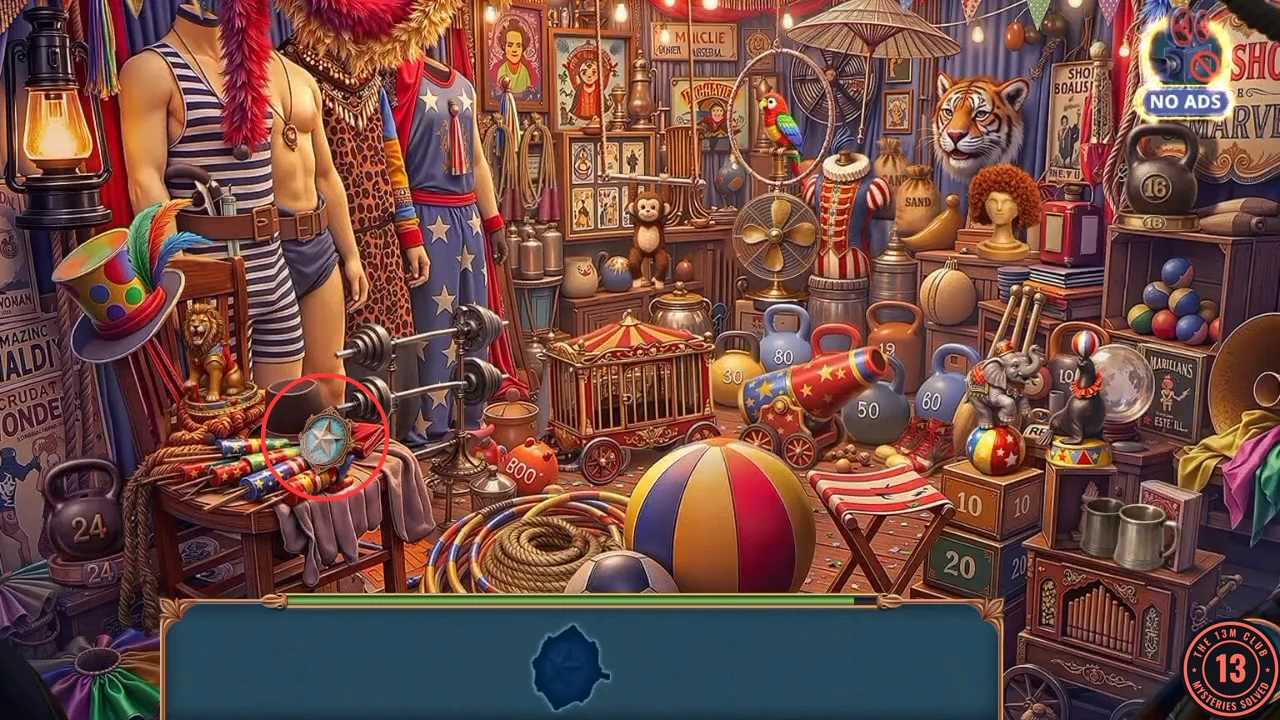
The last item: the star emblem on the full-screen image. - Open the checkers set again and place the Gold Emblem in the round lock on the red case. Inside, tap the Circus Ticket and take the Chair Lever.
- In the office, open the armchair and set the Chair Lever on its side. The seat opens. Read the card: "A low, long note = gathering, Two short notes = alarm, Three high notes (long-short-short) = peace". Thomas: "This might come in handy against Gregory." Take the Hypnosis Flute and Books (2/2).
- Open the cabinet and put the Books on the shelf to start the book puzzle.
Sorting the books
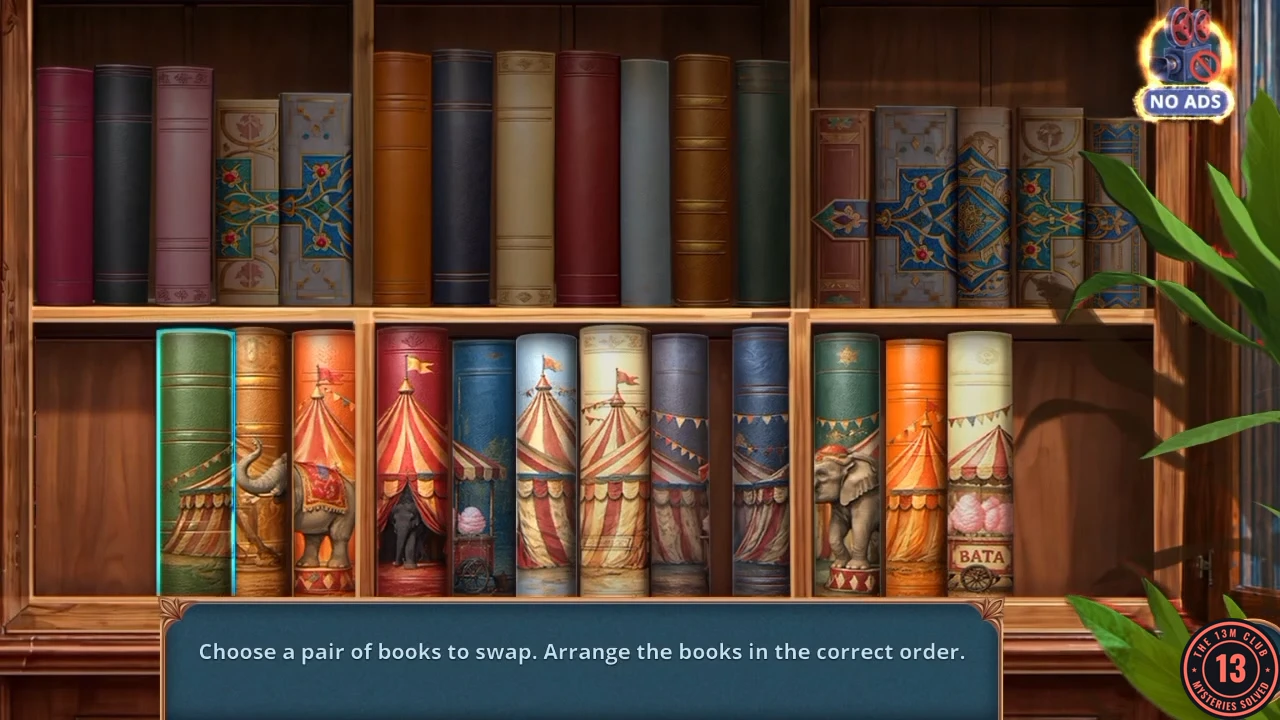
Prompt: Choose a pair of books to swap. Arrange the books in the correct order. The lower shelf holds twelve books whose spines form four pictures.
- Swap pairs of spines until the pictures line up. Left to right: green, orange, blue (striped tent); cream, red, pale blue (circus tent); orange, green, red-orange (elephant); grey, cream, blue (candy booth). The bookcase opens onto the workshop.
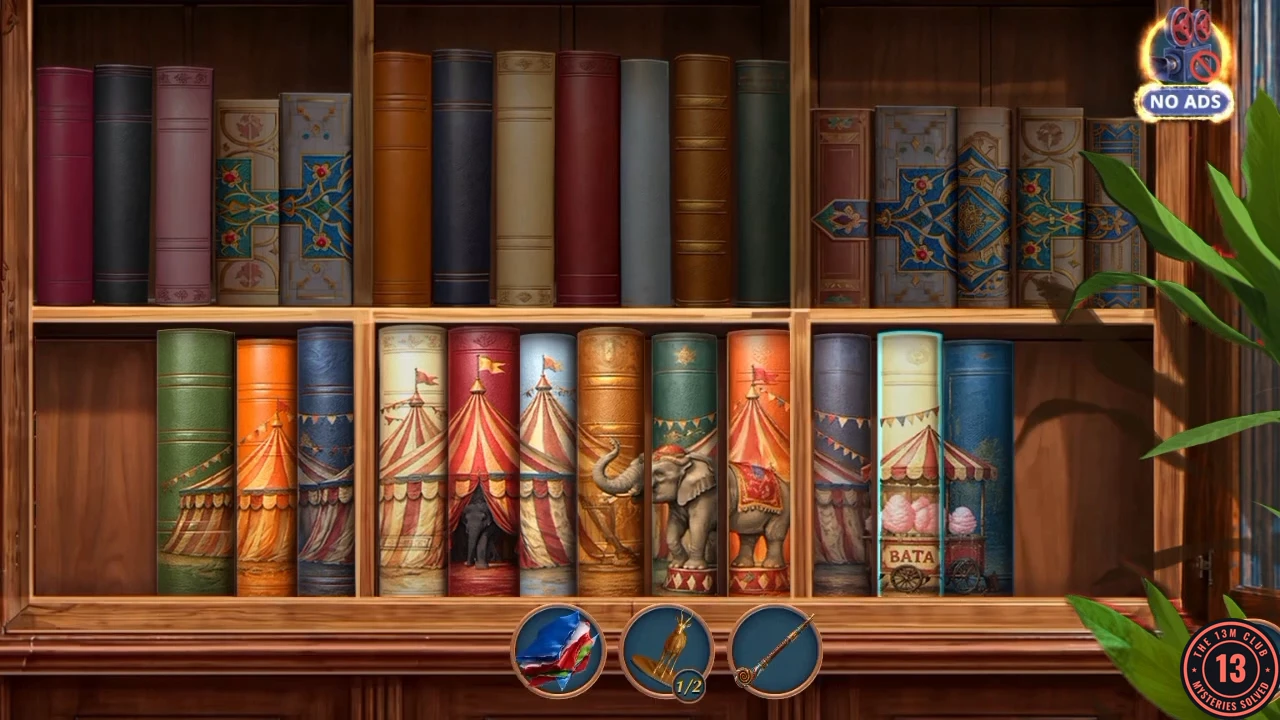
Solved: the spines form four pictures.