CHAPTER 4
The Police Station
Marco is in custody and has to be questioned. Open the way to the interrogation room from Melinda's office.
- Read the note by the typewriter on Melinda's desk and take the HYGIEIA AMULET PART.
- Fit the HYGIEIA AMULET PART into the caduceus lock of the red first-aid cabinet and take the STENCIL.
- Lay the STENCIL over the keypad of the storage door. The holes reveal the code 2-8-3-6 and the door opens.
- Find the listed evidence in the storage hidden-object scene (inkwell, decanter, bullets, fingerprints, handcuffs, police badge, magnifying glass, revolver, police stamp, boots and more) to get the ROOM NUMBER tag "123".
- Hang the ROOM NUMBER tag in the glass key cabinet and take the BUNCH OF KEYS.
- Use the BUNCH OF KEYS on the Interrogation Room door lock.
CHAPTER 4
Puzzle: the key wheel
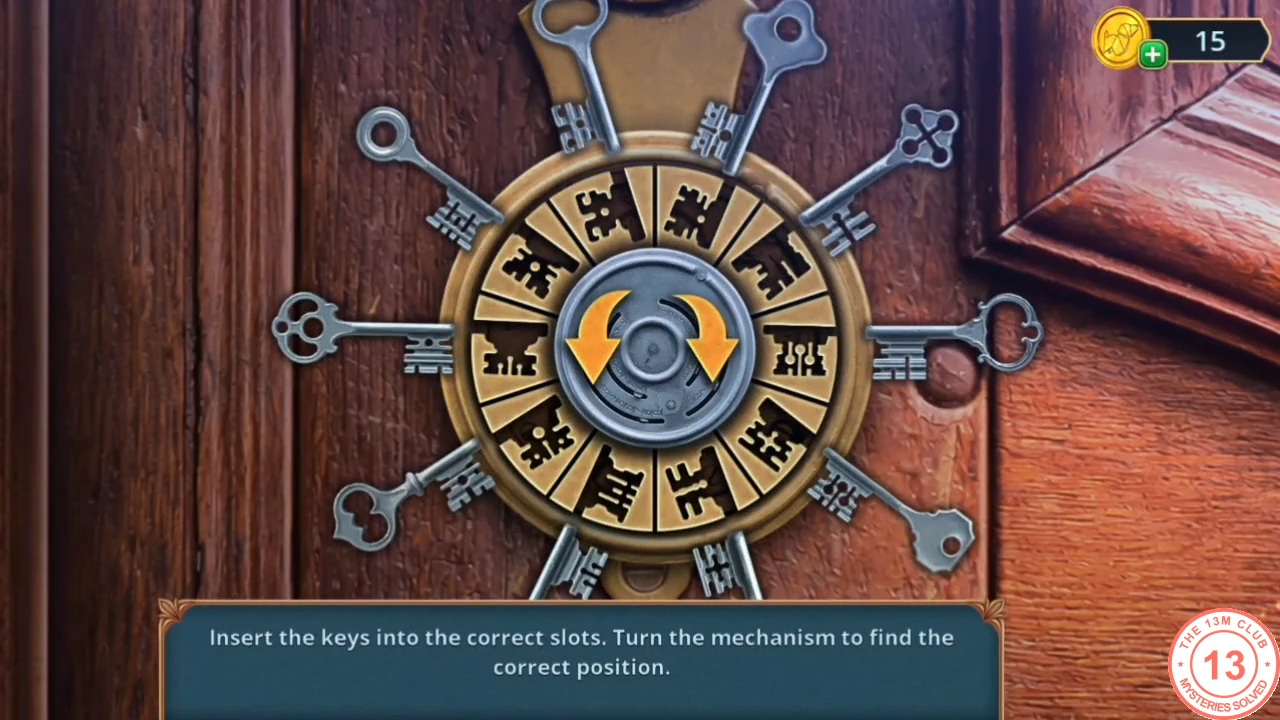
Fit all twelve keys into the matching slots of the lock wheel.
- Turn the wheel with the centre arrows and insert each key into the slot whose silhouette matches its bit. Compare each bit carefully with the slot outlines before inserting it. Continue until all twelve keys are in place. The Interrogation Room door opens.
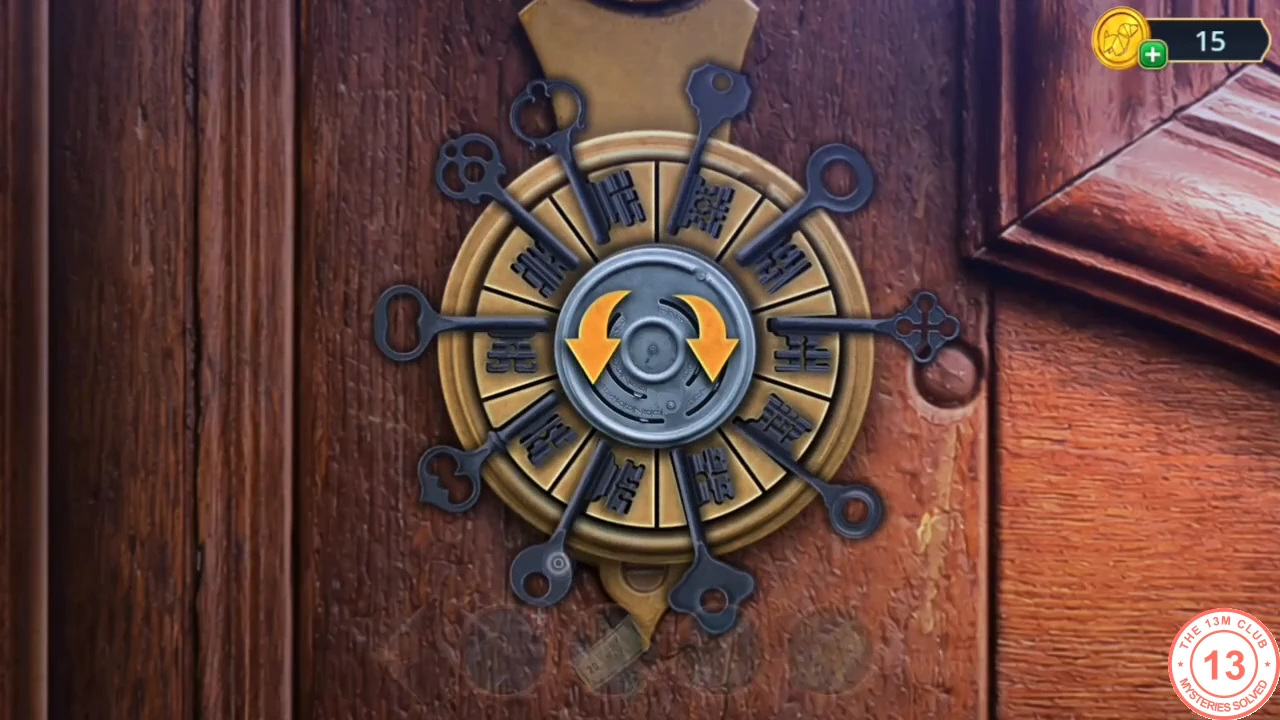
Solved: all twelve keys in place.
CHAPTER 4
The Interrogation Room
Question Marco, then deal with the rat behind the broken mirror.
- Question Marco. All questions are free; Melinda takes him to the holding cell and you receive the TELEPHONE NUMBER.
- Read the interrogation transcript on the lamp table and take the embroidered OVEN MITT. Take BOARDS 1/2 from the red bag on the box.
- Reach past the rat in the broken mirror with the OVEN MITT and take the LIGHT BULB.
- Screw the LIGHT BULB into the table lamp and take the HAIR CLIP.
- Use the HAIR CLIP as the slider on the broken zipper of the red bag.
CHAPTER 4
Puzzle: close the zipper
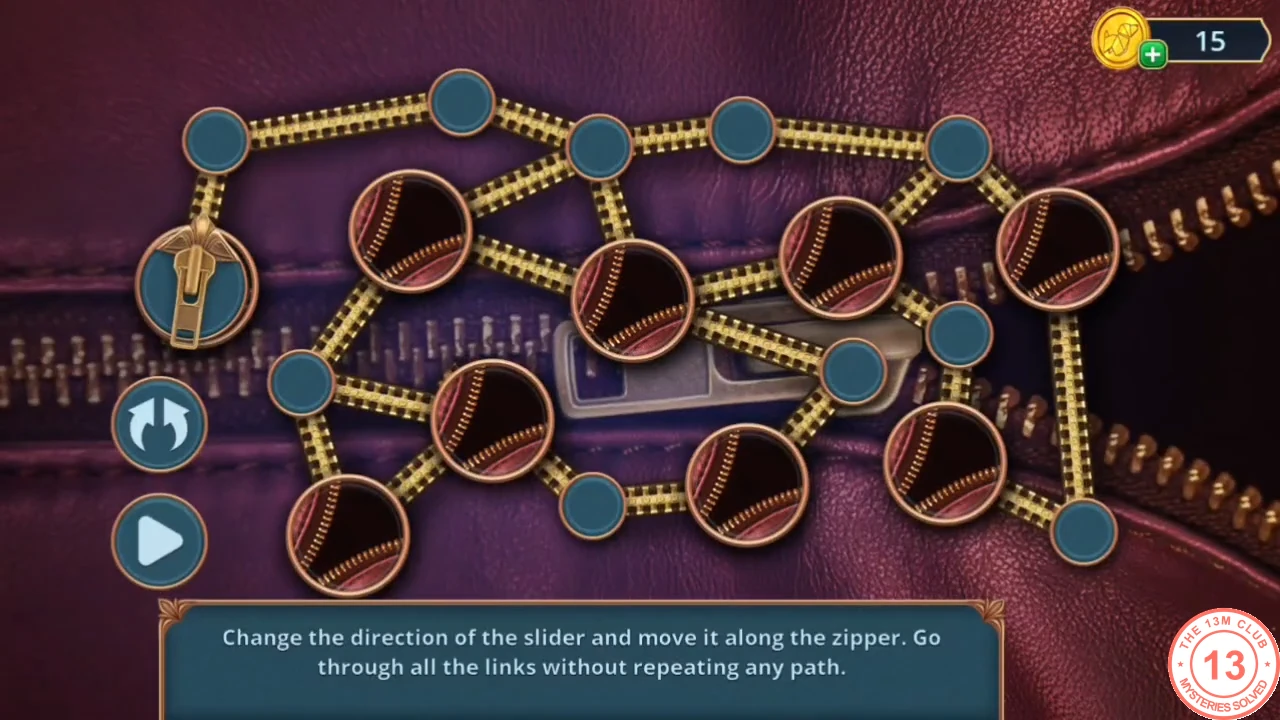
Run the slider over every link exactly once.
- The slider starts on the far-left point. Tap the curved-arrows button (upper left) to turn the slider until it faces the link you want, then tap Play (below it) to run the slider along that link to the next point; the link lights up. Repeat until every link is lit, never running along a lit link again. Our route went up from the start, right along the top edge, down the right side and back left through the middle links (see the image below). Take the TIE from the bag.
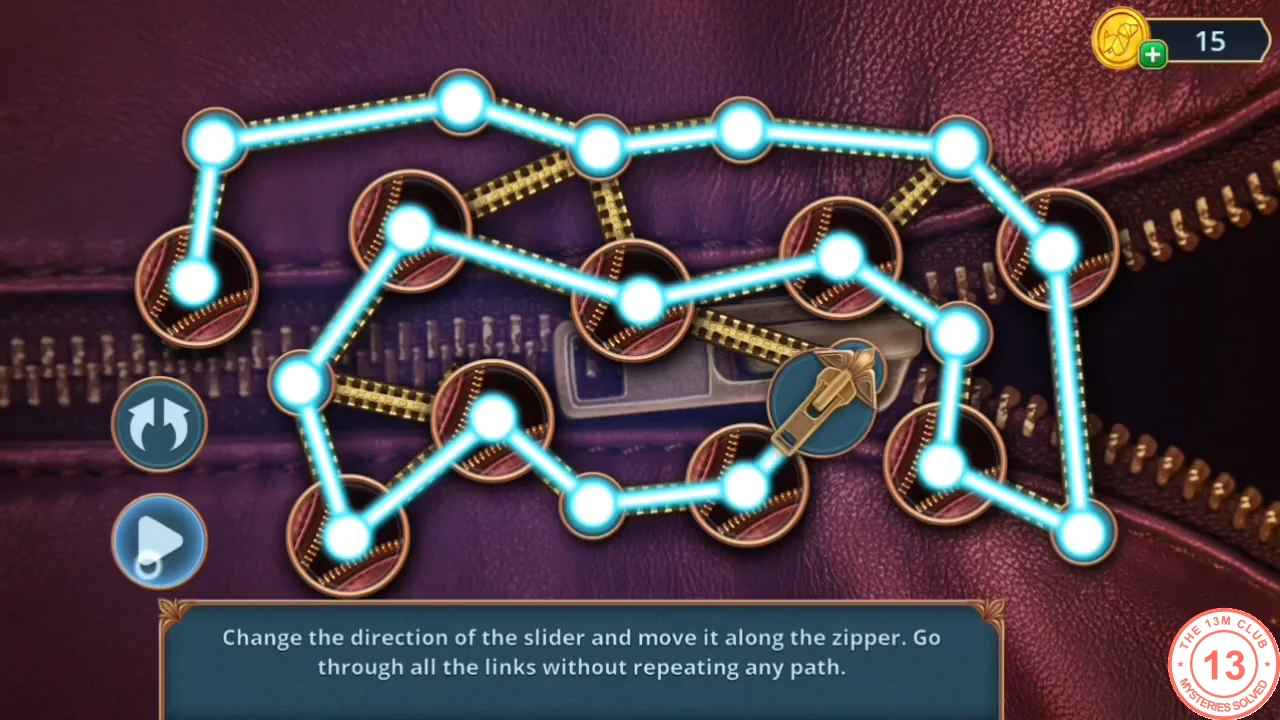
One path that passes every link once (our game). - Pull the plug in the flooded sink with the TIE and take the CLOCK HANDS.
- Fit the CLOCK HANDS on the cuckoo clock on Melinda's desk.
CHAPTER 4
Puzzle: the cuckoo clock
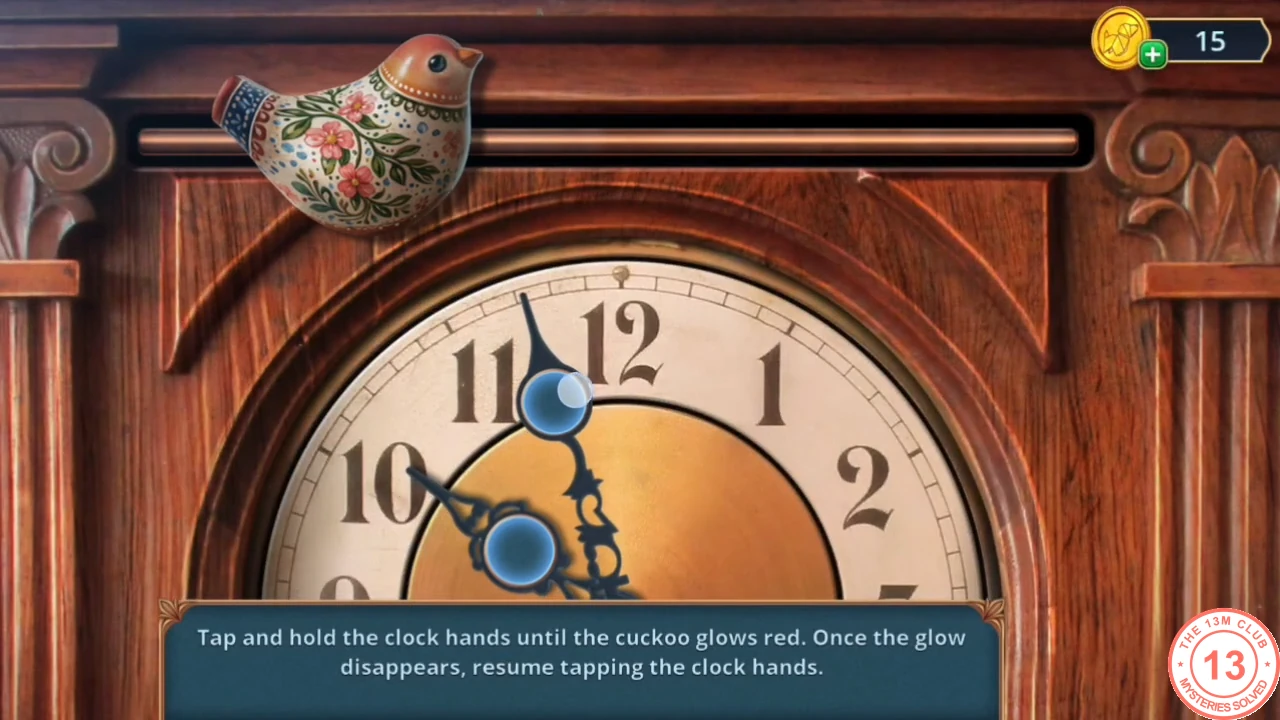
Advance the hands without being caught by the cuckoo.
- Tap and hold the clock hands to move them, release as soon as the cuckoo glows red and resume when the glow fades. Keep going until the hands reach the end. Take the BIRD WHISTLE.
CHAPTER 4
The Promenade
A new location opens by the river: The Old Bridge pub, a boat, a flower bed and a drain.
- Blow the BIRD WHISTLE at the seagull on the boat. Untangle the knitted bag it was sitting on and take the KEROSENE BURNER and BANKNOTES 2/2.
- Show the barman at the pub door your BANKNOTES. In the pub clue scene, tap the highlighted word in each line of gossip (hand fan, mask, violin, brush, chain, mug, lantern, pipe, knife...) to get the TROWEL.
- Dig in the flower bed with the TROWEL and take the MAGNET.
- Lower the MAGNET into the drain grate by the dog and pull out the KNIFE.
- Cut the thorny branches over the rose bush with the KNIFE.
CHAPTER 4
Puzzle: gather the rose buds
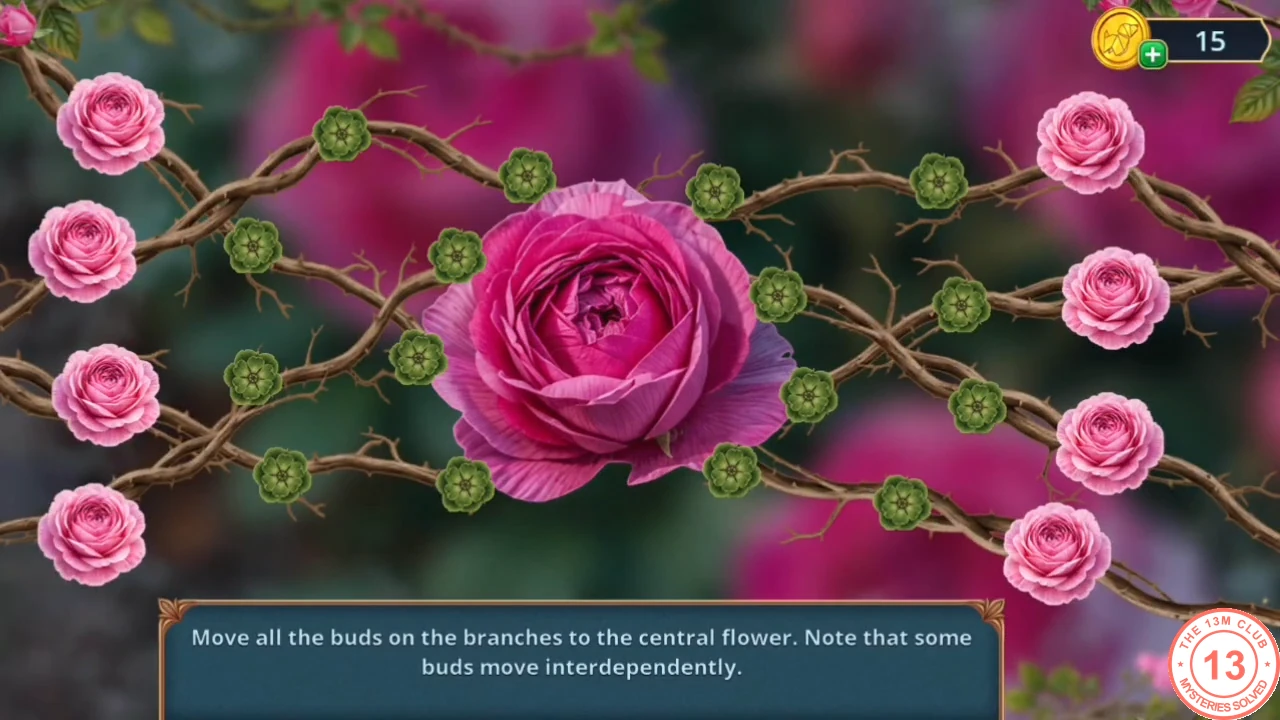
Bring every bud to the central flower.
- Move the buds along the branches into the central flower. Some buds move together, so move the linked ones first and finish with the free ones. Take the CHAIN from the rose bush.
- Open the large metal fishing hook in your inventory (it is already there when Chapter 4 begins) and attach the CHAIN to it.
- Fish the SOAP out of the Interrogation Room sink with the hook on the chain.
- Put the SOAP on the floor beside the lamp table and take the FLASK and the BONE.
- Give the BONE to the angry dog by the drain on the Promenade.
CHAPTER 4
Puzzle: pair the bones
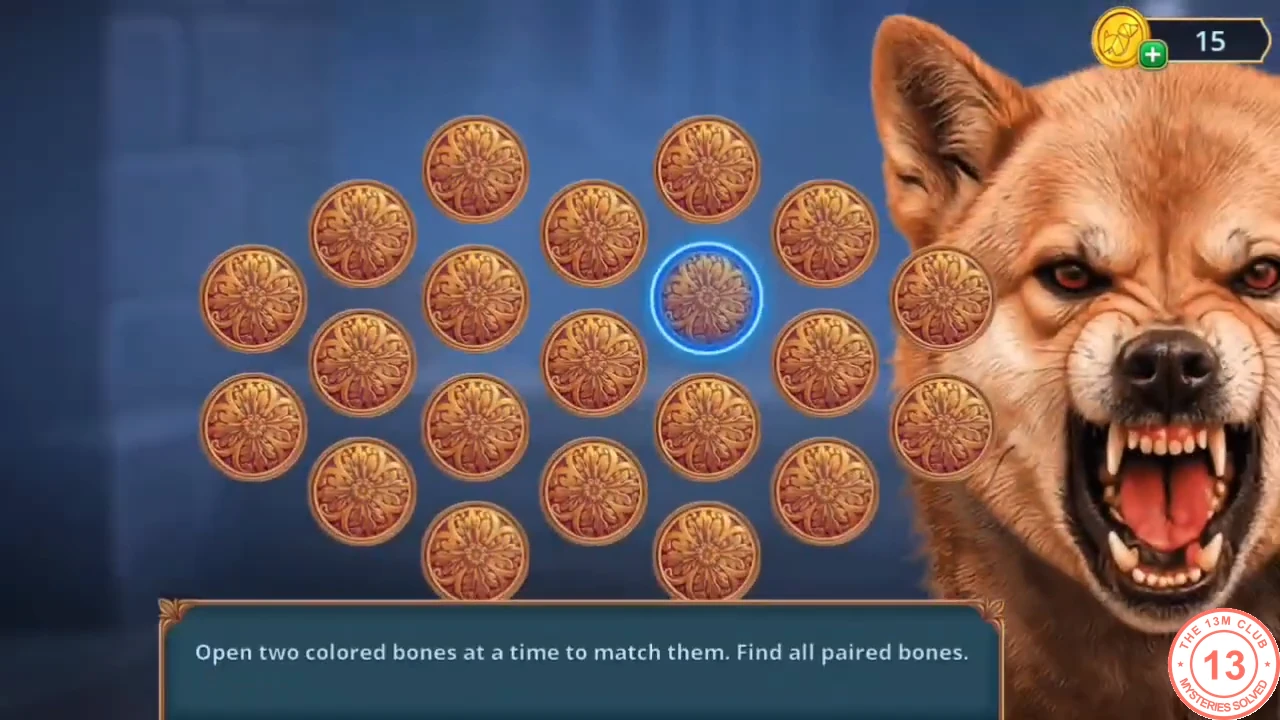
Calm the dog by matching bone colours.
- Turn over two discs at a time and remember the bone colours; matched pairs stay open. Pair every bone (the layout is random). The dog takes its bone and leaves, and Theater Street can be reached again.