Imperial Hotel Hall
Collect three rose amulets to open the curtain.
- Enter the hotel. Take the second ROSE AMULET from the rose pot at the reception statue.
- Cut the wire on the chessboard box with the WIRE CUTTERS for the third ROSE AMULET.
- Place the three ROSE AMULETS in the heart lock on the curtain and find the matching items in the scene to get the COAT.
- Lay the COAT over the wet stairs and go up to the Hotel Hallway.
Hotel Hallway and Morro's room
Search the hallway, the closet and Morro's room.
- Take the NEWSPAPER from under the chaise and the FLASK OF WATER from the serving tray.
- In Morro's room take the MOUSETRAP and the CAN OF CORN; feed the birdcage to get the GOLDEN CANARY FIGURINE.
- At the closet door slide the NEWSPAPER under it, push the key out with the SCREWDRIVER and unlock the door with the KEY.
- Complete the closet pattern-matching scene to get the HEADBAND.
- Insert the HEADBAND in the slot under the owl portrait and take the PEARL NEEDLE.
- Put the GOLDEN CANARY FIGURINE in the glass box on the harp to get the first GOLDEN PATTERN.
- Find the silhouettes at the hallway plant to get the UMBRELLA. Hook the suitcase out from under the chaise with it, read the music sheet inside and tap the sewn-up pocket to cut it open: take the second GOLDEN PATTERN.
- Place both GOLDEN PATTERNS on the frame of the owl portrait to start the slider puzzle.
Puzzle: restore the portrait
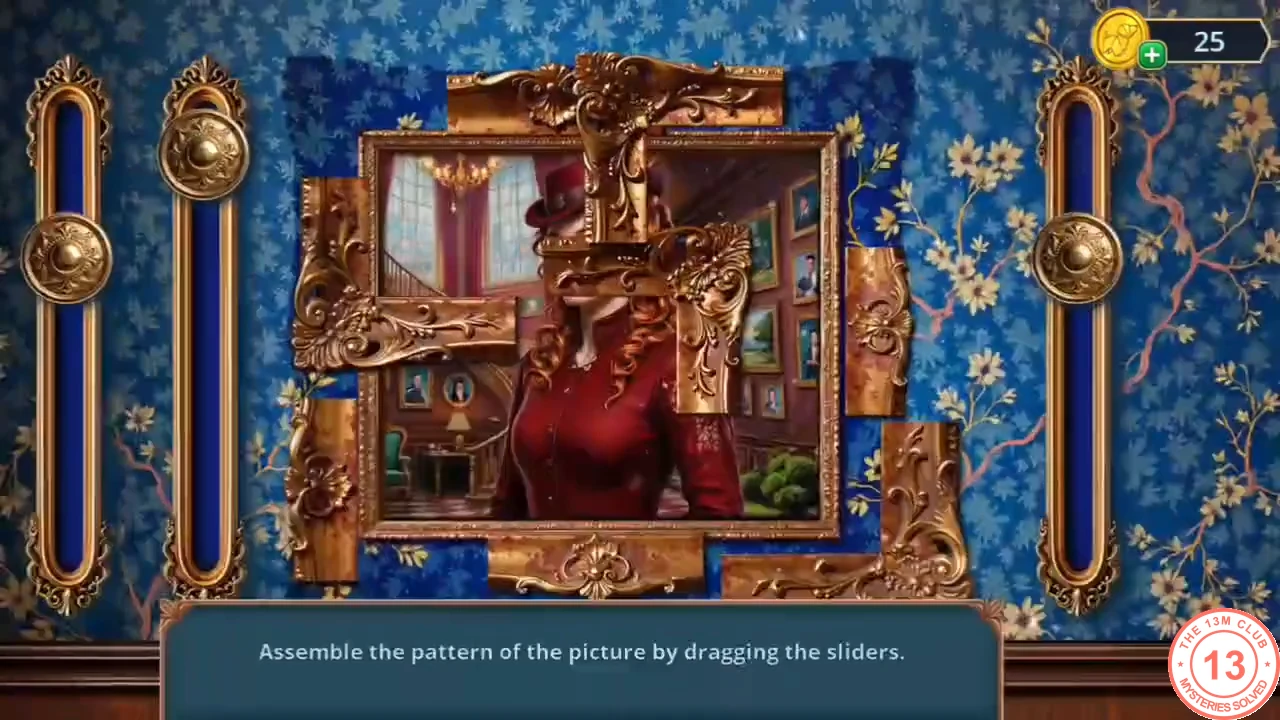
Drag the sliders until the strips of the portrait form one complete picture.
- There are two sliders on the left and one on the right, and each shifts strips of the picture. Move one slider at a time and watch which strips it moves. Line up the face first, then the frame and background. When the portrait is whole, it opens: take the NUTCRACKER from the small box.
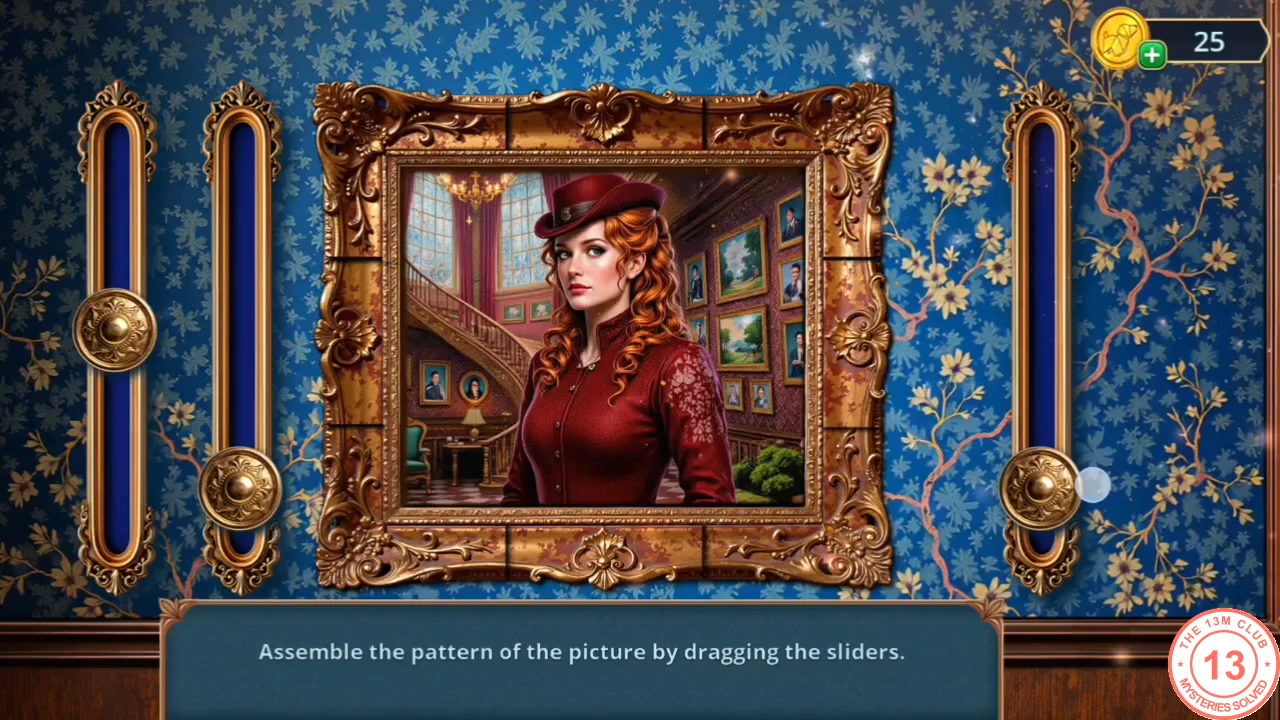
The completed portrait.
The mantel clock
Free the mousetrap spring and open the clock.
- Crack the MOUSETRAP with the NUTCRACKER to get the MOUSETRAP SPRING.
- Install the MOUSETRAP SPRING in the mantel clock and take the MUSICAL SHEET.
- Place the MUSICAL SHEET on the harp box.
Puzzle: play the harp melody
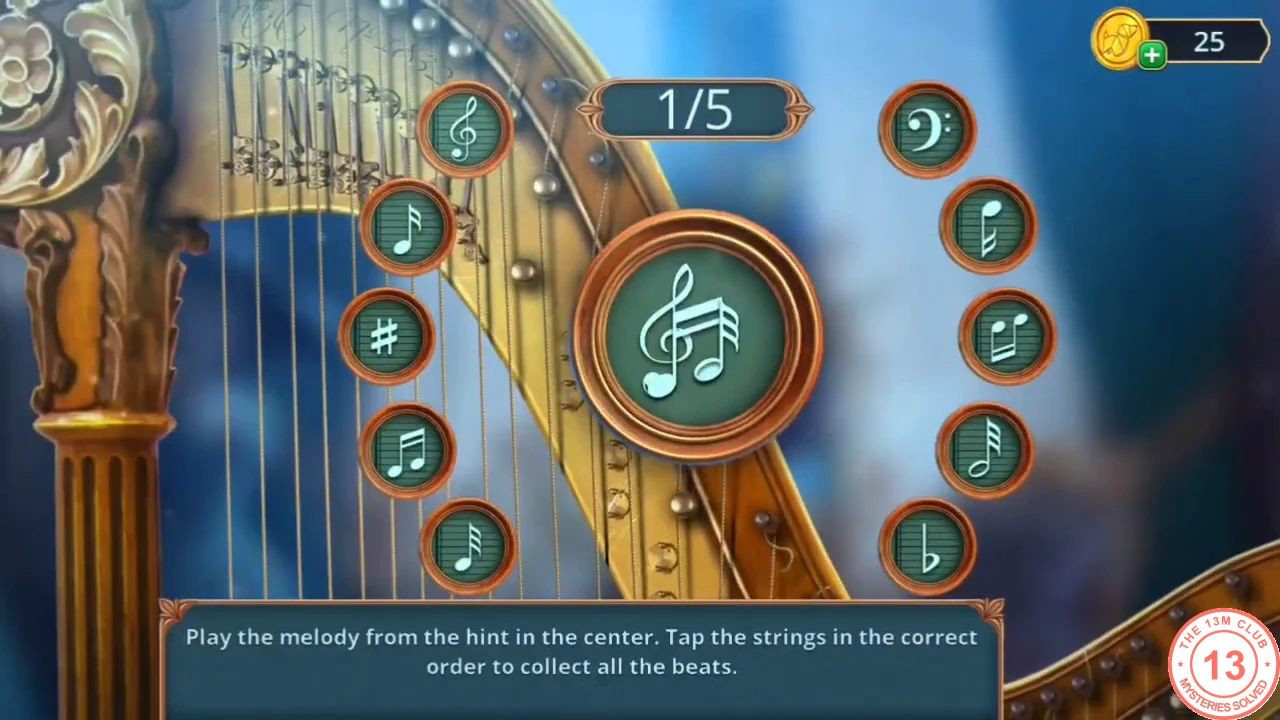
Play the melody shown in the centre. There are five rounds; in each, the centre medallion combines two or three of the twelve symbols on the string buttons.
- Work out which of the twelve button symbols (six on the left, six on the right) make up the centre medallion, then tap those buttons one after another. Each correct tap collects a beat. Example of a first round: treble clef, beamed notes, sixteenth note. The combinations can differ in your game, so always read the medallion. Complete all five rounds, then take the TUNING FORK.
Key, stone rose and the heart box
Collect the remaining photos for the collage.
- Strike the birdcage with the TUNING FORK and take the KEY.
- Open the green bag on the hall chess table with the KEY: take PHOTOS 2/3 and BANKNOTES 1/2.
- Find the listed coat-rack items in the hall to get the STONE ROSE; place it in the reception statue's hand for PHOTOS 3/3 and the ANCHOR PENDANT.
- In Evelyn's dressing room take the HEART BOX, open it with the PEARL NEEDLE to get the DIAMOND RING, and place the three PHOTOS on the table.
Puzzle: photo collage
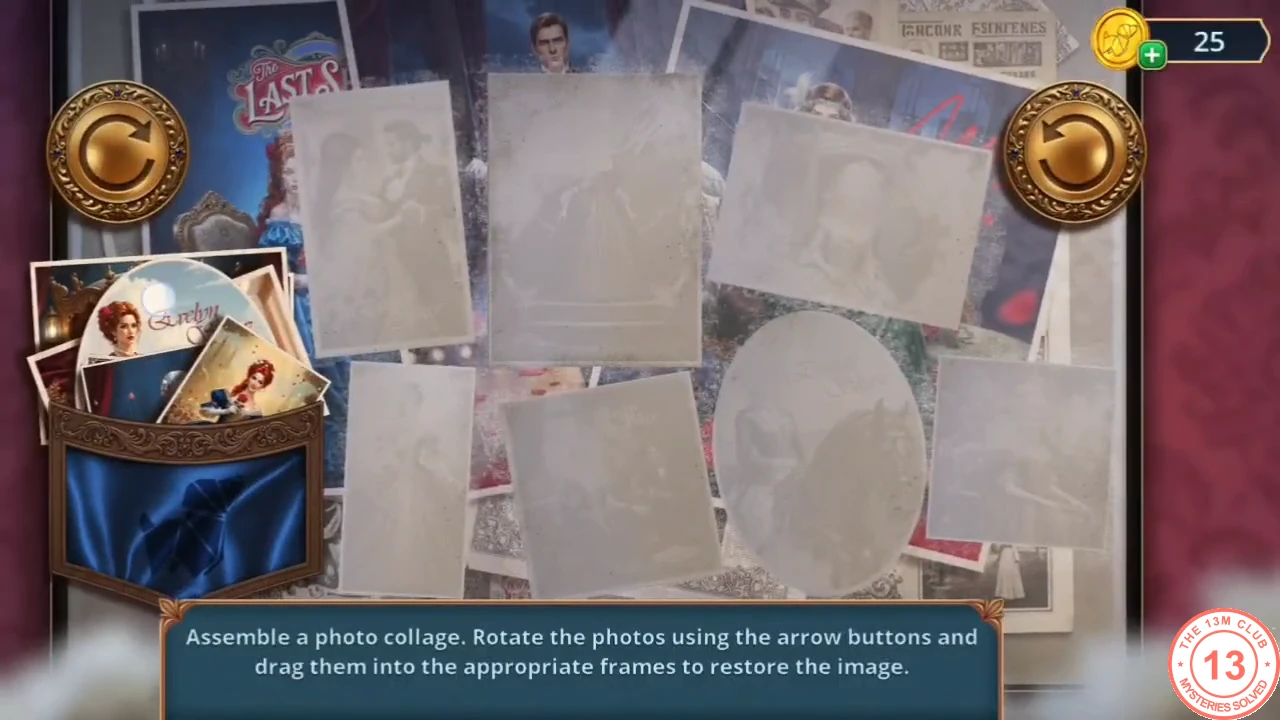
Rotate the photos and drag them into the right frames.
- Rotate each photo with the arrow buttons and drag the seven photos into their frames to restore the image. Read Evelyn's diary page and take the ERASER.
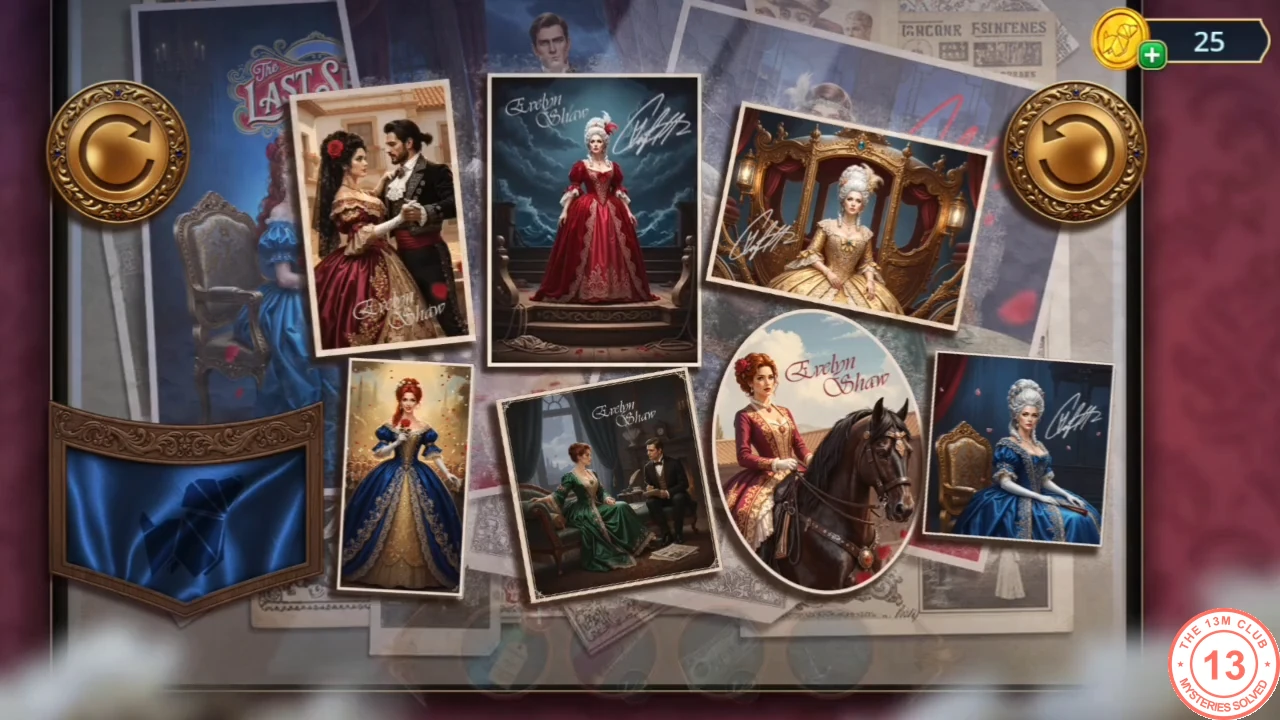
The completed collage: each photo in its frame, upright.
Cleaning agent and the queen piece
Mix a cleaner to reveal the chess piece under the ink.
- Take the BAKING SODA in Evelyn's room and the VINEGAR from under the cloche on the hallway tray; combine them into CLEANING AGENT.
- Pour the CLEANING AGENT on the ink at the hall statue base and wipe with the HANDKERCHIEF to get the QUEEN PIECE.
- Place the QUEEN PIECE on the chess table.
Puzzle: cover the black pieces
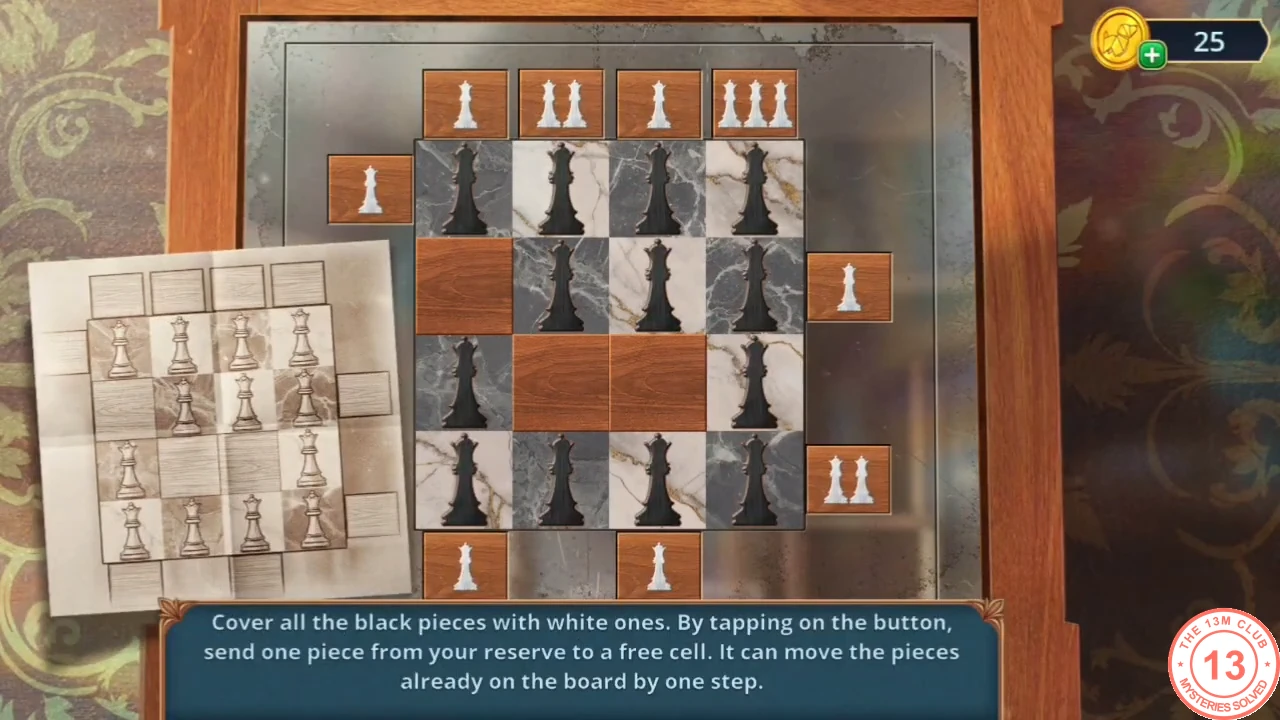
Cover every black piece on the 4x4 board with a white piece pushed in from the buttons around the edge.
- The reference sheet beside the board shows the goal: a white piece on every one of the 13 dark squares. Each button around the edge holds a set number of white pieces. Pressing it pushes one piece into that row or column, which shifts the pieces already in the line one step. Count the pieces each button holds before you start. An example order that solves this board (rows counted from the top, columns from the left): right row 2; top column 4 three times; bottom column 3; right row 4 twice; bottom column 1; top column 2 twice; top column 1; left row 1; top column 3. If your board or button counts differ, plan around the button counts instead.
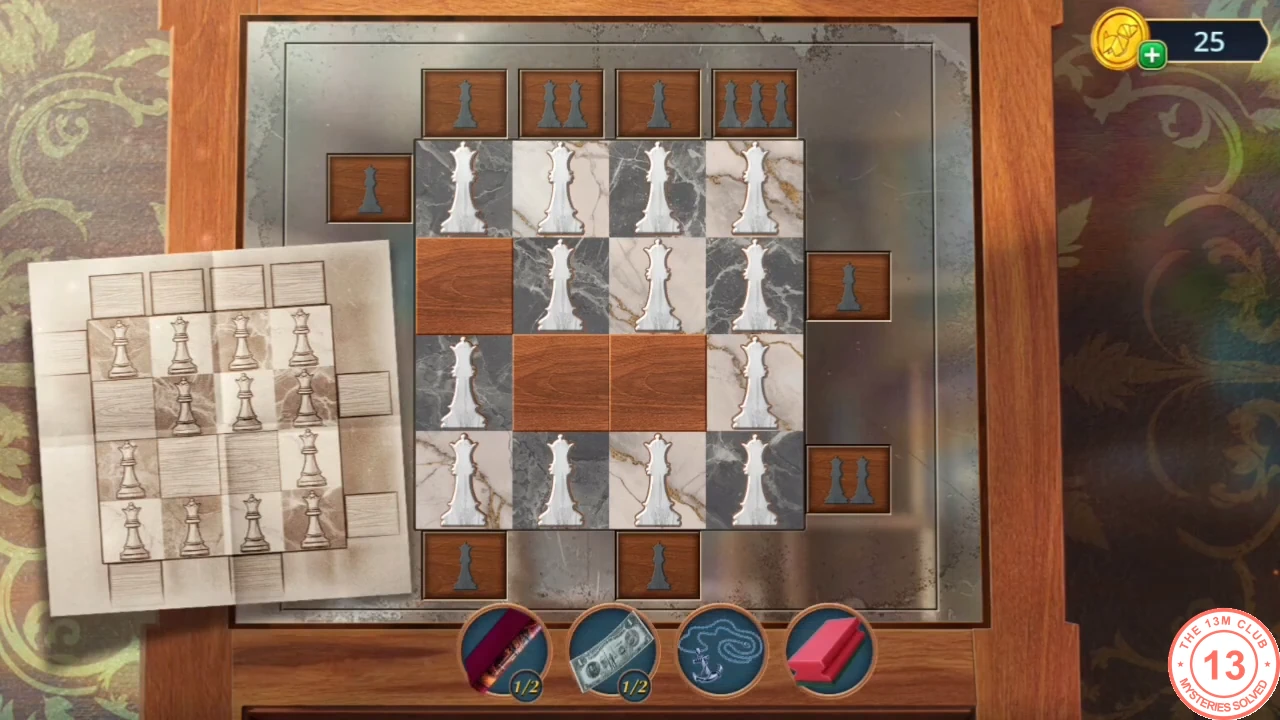
Solved board: a white piece on all thirteen marked squares, matching the reference sheet.
Return the book
Point of no return for Chapter 1 collectibles.
- Take the red BOOK from the opened chess-table compartment and shelve it in Morro's room: take the HARP AMULET and the SCRAPER.
- Insert the HARP AMULET in the mantel clock slot. A warning says you cannot return to earlier locations afterwards; collect any remaining Theater Tickets first, then tap YES.
Puzzle: assemble the medallion
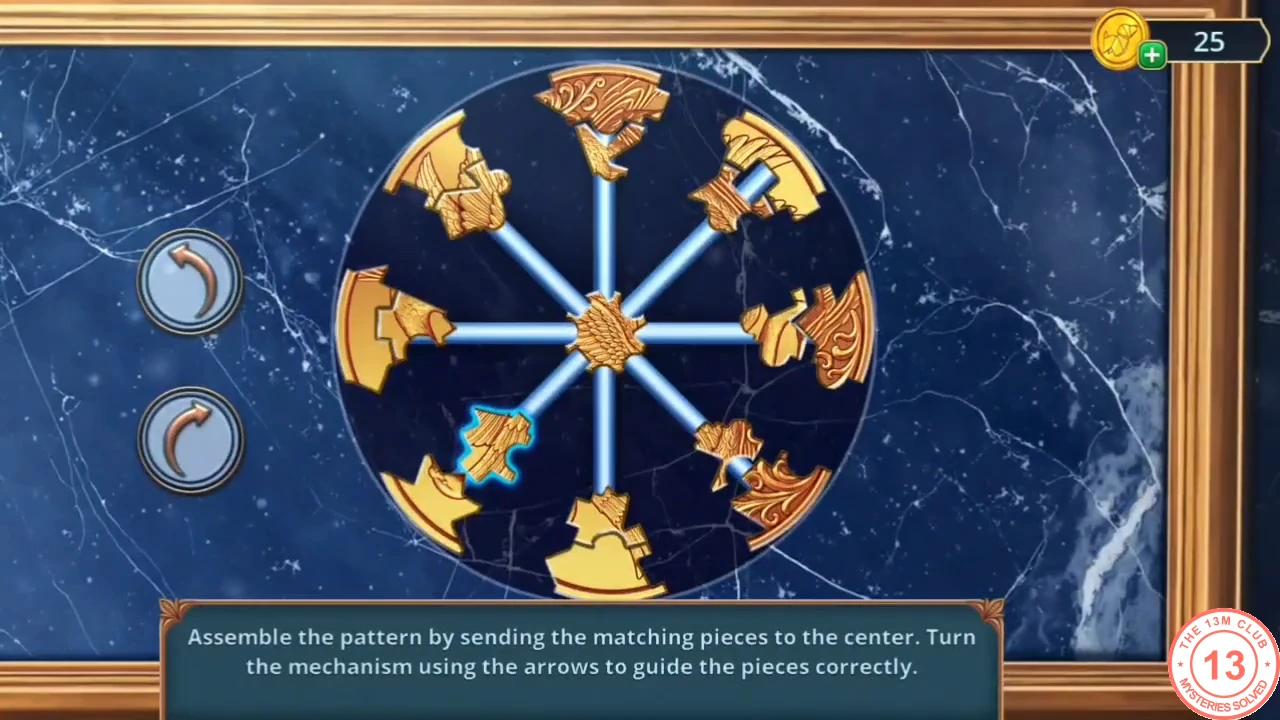
A long assembly puzzle, so this guide gives the method rather than every move. Turn the assembly in the centre of the eight-spoke mechanism and send each outer piece in to rebuild the medallion.
- The two arrow buttons rotate only the assembly in the centre; the pieces waiting at the ends of the eight spokes stay where they are. Tapping one of those outer pieces slides it straight along its spoke into the centre. So pick an outer piece, turn the centre until the gap that matches that piece faces its spoke, then tap the piece. Build from the inside out: place the small centre pieces first, then the middle ring, and finish with the arcs of the outer rim.
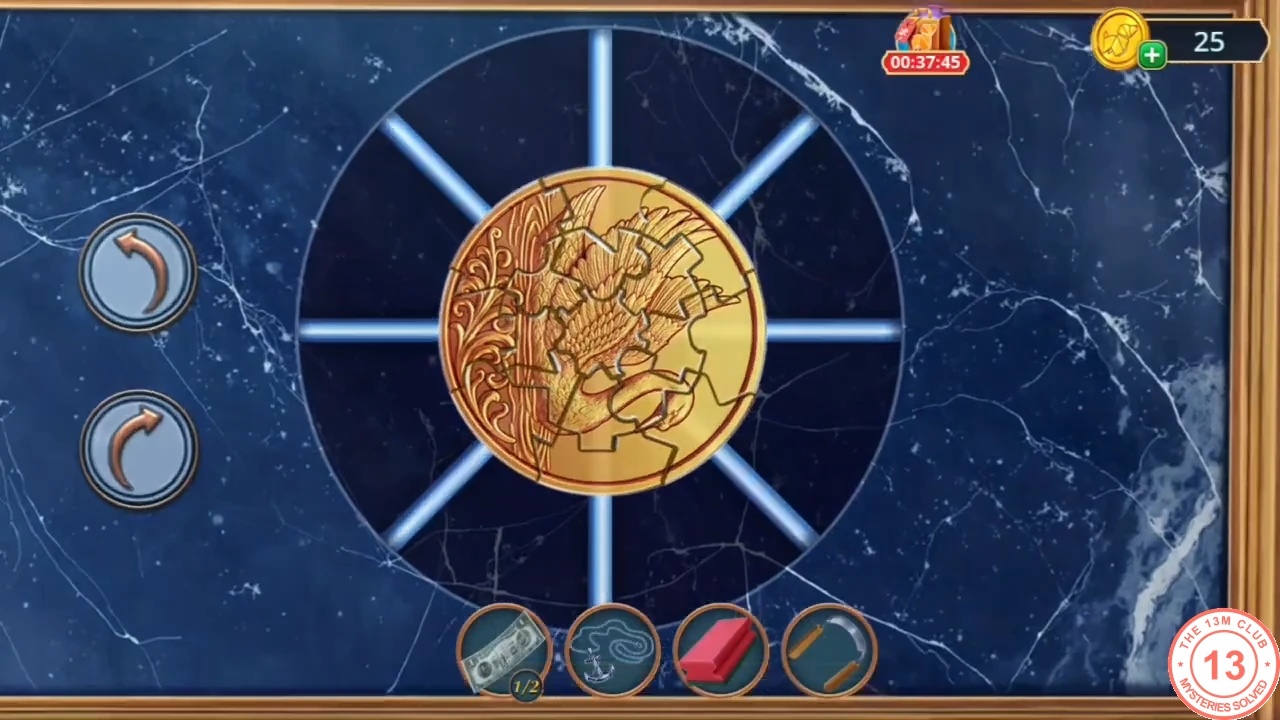
The completed medallion. - Take the REVOLVER, Morro's notes and the TREBLE CLEF AMULET from the clock, then talk to Clara Morro.
Back into the opera
Find a way through the locked opera entrance.
- Open the clef lock on the hallway tray bag with the TREBLE CLEF AMULET and take the BUTTER KNIFE.
- Pry the lining of the A. MORRO suitcase with the BUTTER KNIFE for LONG HAIRPINS 1/2.
- Solve the riddle hidden-object scene on Theater Street for the FOUNTAIN ORNAMENT PART; set it on the fountain for LONG HAIRPINS 2/2.
- Pick the opera entrance lock with the LONG HAIRPINS and give the REVOLVER to Adrian Morro on the stage.
Puzzle: clear the crystals
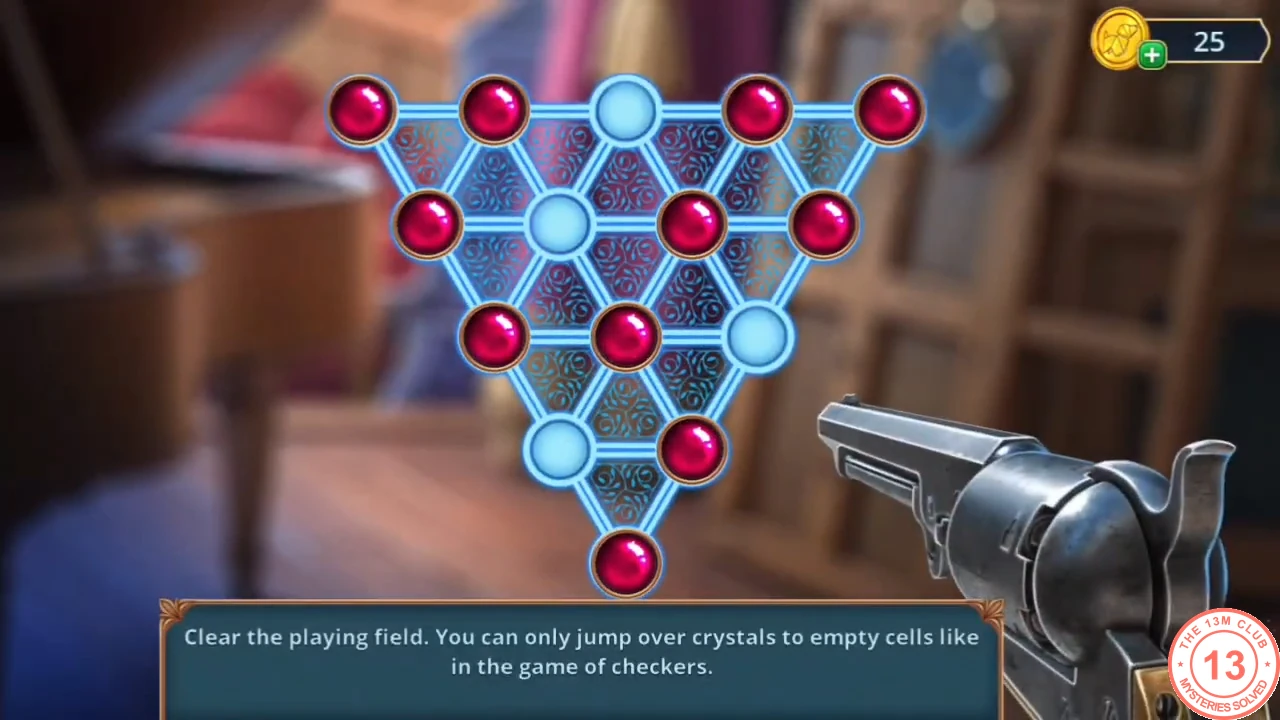
Peg solitaire on a triangular board of 15 cells: clear the board until only one crystal remains.
- Jump a crystal over a neighbouring crystal into an empty cell directly behind it; the crystal you jump over is removed. Keep jumping until a single crystal remains. Try not to strand single crystals in the corners. Work along the edges first and finish near the middle.
- The decision summary shows your stars; taking only the free replies gives 1 of 13 and the lowest outcome, in which the hooded figure shoots at Adrian.