CHAPTER 3
The Understage Passage
Stop the steam leak and open the mechanical raven box.
- At the pipe beside the statue, take the NEEDLE AND THREAD, the LORGNETTE FRAME and the SNUFFBOX. Talk to Melinda when she arrives.
- Put the open SNUFFBOX on the floor by the crate to draw the cockroaches away, then take the WOODEN HAND and the COMPASS they were guarding.
- Put the COMPASS in the slot of the mechanical owl box by the brick wall.
CHAPTER 3
Puzzle: arrows to the red flag
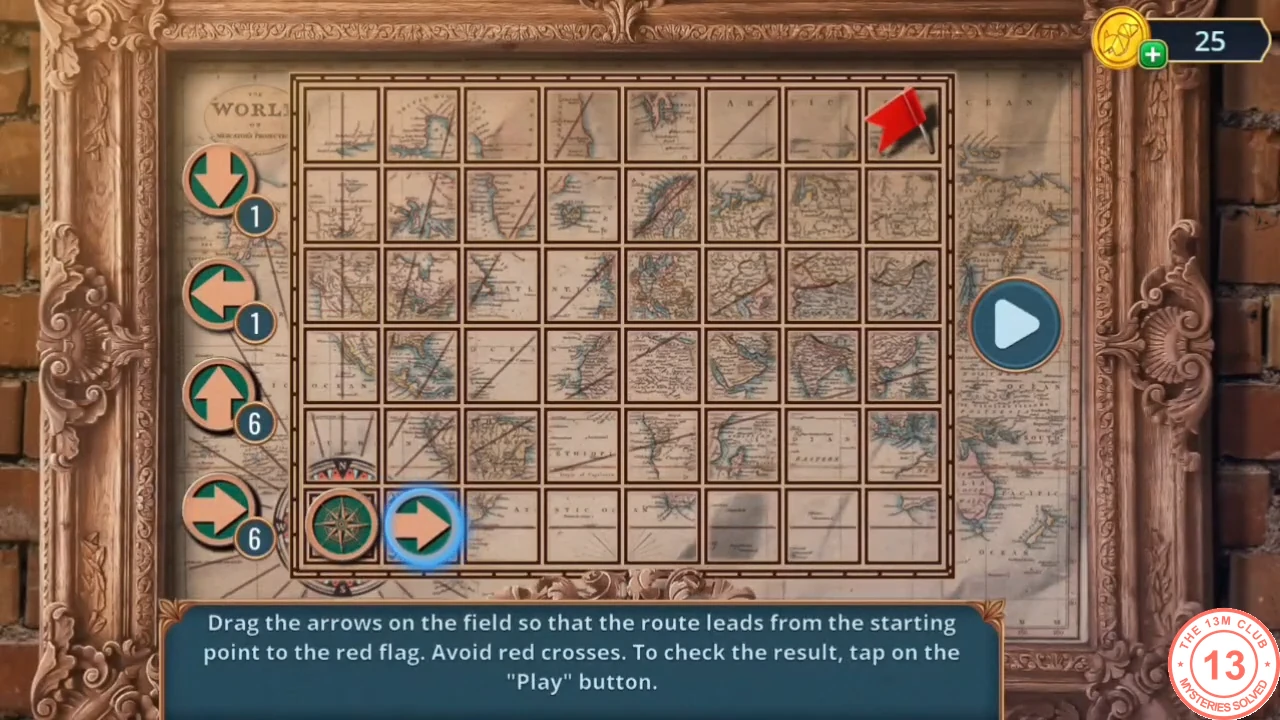
Lay arrows so the route avoids the red crosses.
- Drag arrows from the stock onto the field so the route runs from the start to the red flag without touching a red cross, then tap Play to check. The wall crumbles; take the COSTUME BELT.
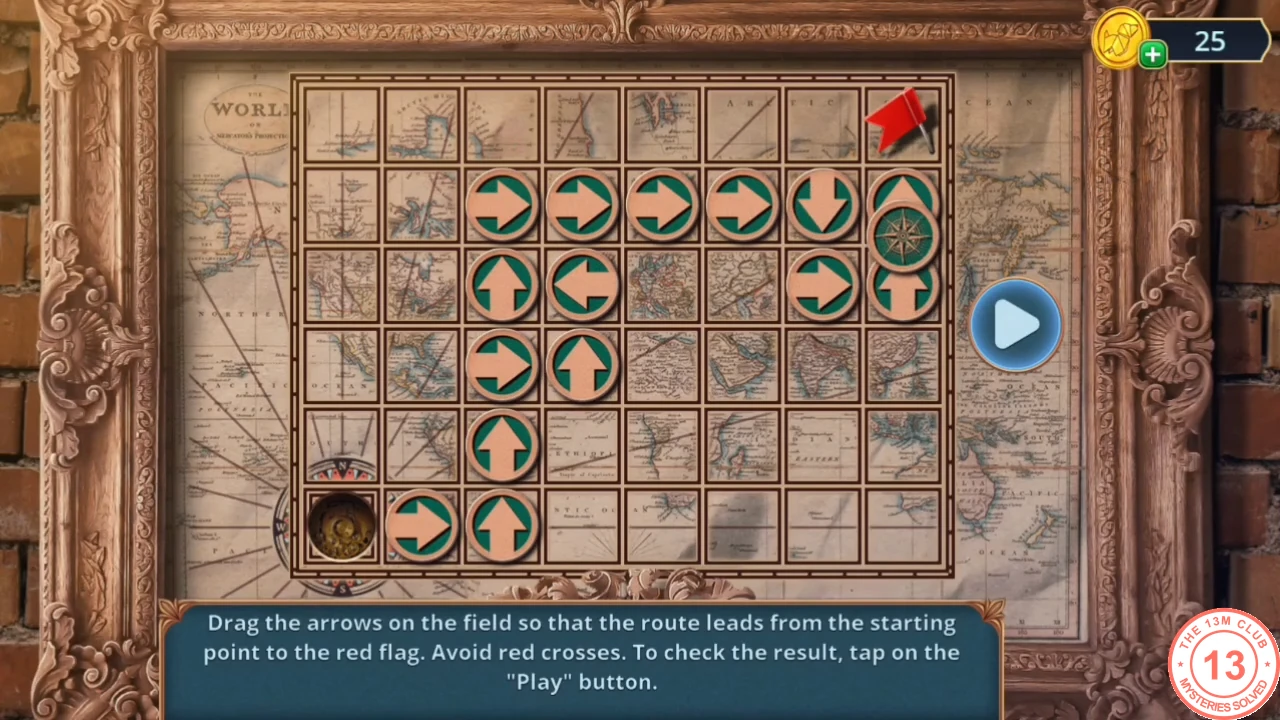
The arrow route that worked in our game. - Stop the steam leak: put the COSTUME BELT round the pipe, then press the pink WARMER over the hole so the belt straps it in place. Take the FLAT CUT-OUT of a man and stand it behind the red curtain; the warehouse hidden-object scene opens.
- Find all the paired items in the warehouse hidden-object scene to get the GLASS CUTTER.
- Cut the glass case in the basement corridor with the GLASS CUTTER and take the BALL PATCH. Open the torn BALL in the inventory and add the BALL PATCH and the NEEDLE AND THREAD to stitch it.
- Throw the BALL at the overhead pipe in the Understage Passage and take the STRING and the SOOT that fall down.
- Search the warehouse hidden-object scene again to get the MECHANICAL RAVEN WING; fit it on the raven box and read Marco's letter to Astrid.
CHAPTER 3
Marco's Dressing Room
Use the candlestick as a switch to reach the room behind the bear.
- Talk to the director and take the TWO-PRONGED CANDLESTICK.
- Plug the CANDLESTICK into the OFF/ON panel in the director's office: take WING-SHAPED AMULET 1/2 and the KEY.
- Unlock the door behind the bear in the costume room with the KEY and enter Marco's dressing room. Melinda suggests the roof (90 coins, +6 stars); "No need. Let's take a look at the dressing room" is free.
- Take the TABLE BUTTONS from the cat's cushion and put them on the desk panel.
CHAPTER 3
Puzzle: counted-tile maze
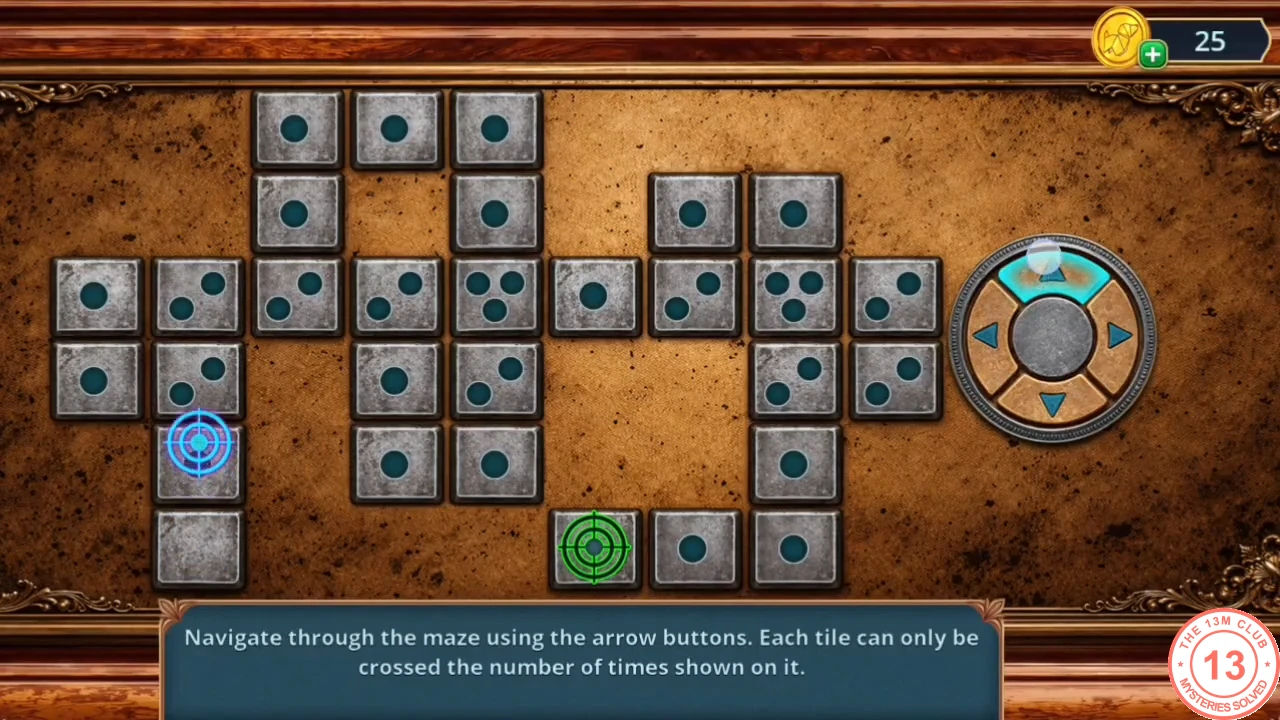
Each tile can be crossed only as many times as its dots show.
- Move from the blue start to the green target with the arrow buttons, planning the path so no tile is crossed more often than its dot count allows. Read the note in the desk drawer and take the THIN ROD and the PENCIL.
- Rub the PENCIL over the paper in the cat basket to reveal the cloak order form for Maestro Bianchi.
- Solve the riddles in the wardrobe hidden-object scene to get the EMPTY BOX. Melinda finds the black cloak and Marco flees.
- Place the EMPTY BOX at the cockroach crate in the Understage Passage.
CHAPTER 3
Puzzle: build a ladder of boxes
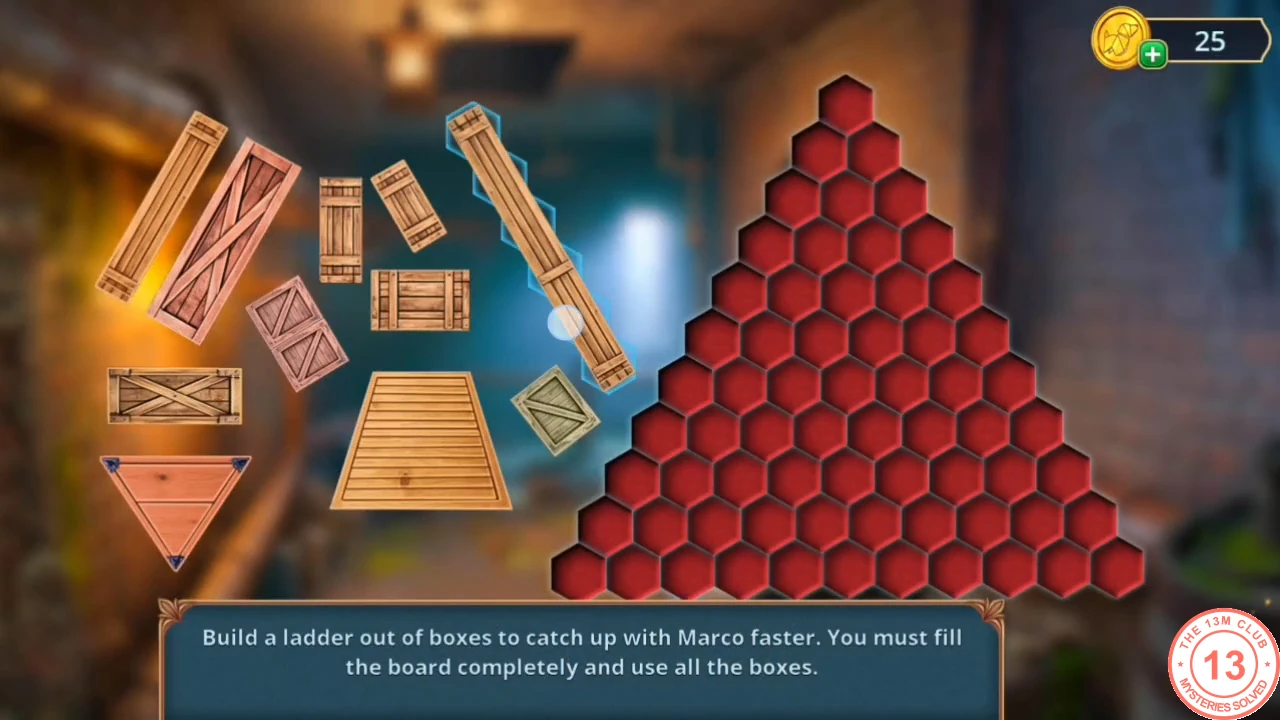
Fill the board completely using every box.
- Drag and rotate the box shapes until the triangular board is completely filled and no box is left over.
CHAPTER 3
The Stage
Fish the comedy mask out of the music box.
- Look over the music box grille, the dark seat row and the table with the cat food can, then zoom into the doorman statue: take the OIL LAMP hanging from it and the HOOK from its chest, and fit the WOODEN HAND on its empty wrist.
- Open the THIN ROD in the inventory and add the HOOK and the STRING to make the HOOK AND LINE.
- Fish behind the music box grille with the HOOK AND LINE: the COMEDY MASK and the MATCHES come out. Fit the COMEDY MASK in the empty frame beside the doorman statue.
CHAPTER 3
Puzzle: line up the masks
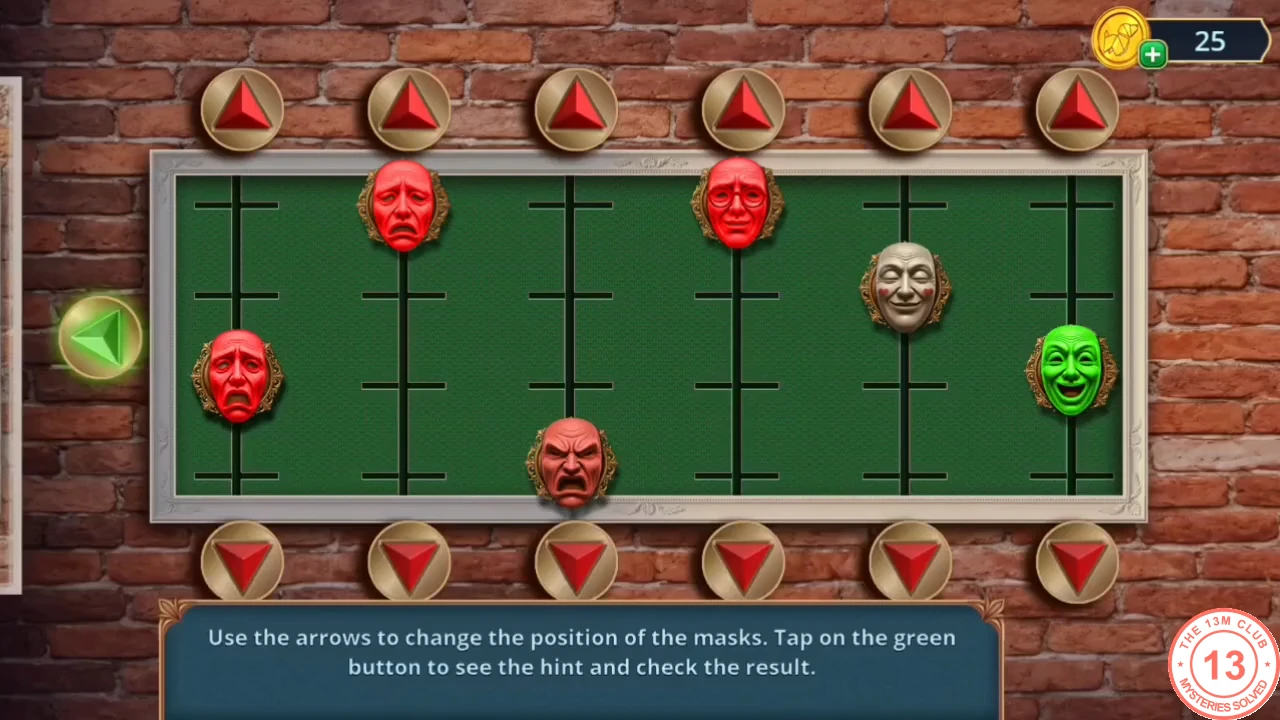
Move the masks on six rails to match the hint.
- There are six vertical rails, each with one mask and four notches; the arrow above a rail moves its mask up one notch and the arrow below moves it down. Tap the green button to see the target pattern. Counting notches from the top, the rails from left to right need: 4 (bottom), 1 (top), 2, 3, 3 and 2. Tap the green button again to check. Take the OLIVE OIL.
- Open the OIL LAMP in the inventory and add the OLIVE OIL and the MATCHES to get the WORKING OIL LAMP.
- Light the dark seat row with the WORKING OIL LAMP and find the listed instrument parts in the hidden-object scene to get the CAN OPENER.
CHAPTER 3
The cat and the wax note
Feed Marco's cat and cast a note from wax.
- Open the CAT FOOD on the stage table with the CAN OPENER and take it.
- Give the CAT FOOD to the cat in Marco's dressing room and take the LENSES.
- Search the wardrobe hidden-object scene again to get the SHOEHORN; dig in the plant pot by the harp with it and take SWAN BROOCHES 1/2 and the AWL.
- Clear the music-note mould on Marco's desk with the AWL, then melt the CANDLE into it to make the WAX NOTE.
- Put the WAX NOTE in the note slot of the stage music box.
CHAPTER 3
Puzzle: send the balls home
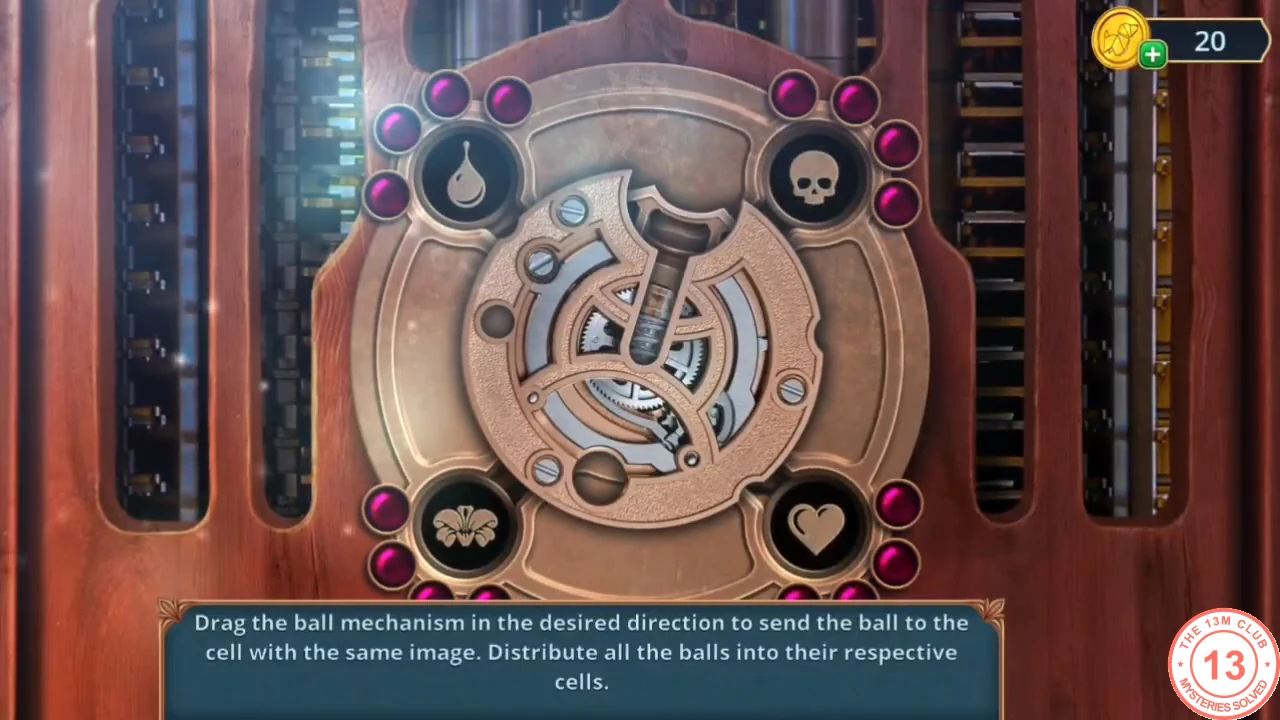
Tilt the mechanism to roll each ball into the cell with its matching picture. The guide gives the method rather than a full move list.
- Drag the ball mechanism in a direction to send the balls rolling. Guide each ball (drop, skull, heart, lotus and others) into the cell with the same picture. The lift opens to the Gridiron above the Stage.