CHAPTER 2
Best Journalist award
Break the glass dome and reach Johann Weber's office.
- Shatter the newsroom glass dome with the TUNING FORK; read the evidence notes and take the HEAVY GOBLET.
- Zoom into the briefcase on the newsroom desk and hammer down the bent nail sticking out of the drawer below it with the HEAVY GOBLET. The desk hidden-object scene opens.
- Find the listed items in the newsroom desk hidden-object scene to get the "BEST JOURNALIST" AWARD.
- Stand the award on the green stand beside the typewriter and take the WIRE CUTTERS.
- In the academy hall, cut the wire in the wall niche with the WIRE CUTTERS and take NUMBER 4.
- Fix NUMBER 4 on door 04 upstairs and enter Johann Weber's office.
- Talk to Johann. Seeing the archive costs 90 coins (+6 stars); "I'll manage without the archive for now" is free.
CHAPTER 2
The cat and the birdcage
Clean the spill under the desk and free the bird.
- Spray the spilled ink under the desk with the BOTTLE, wipe it with the ERASER and take the BOTTLE OPENER from the drawer.
- Open the birdcage beside the ballerina box with the BOTTLE OPENER and take the BIRD.
- Use the BIRD on the tree nest on Fell Street.
CHAPTER 2
Puzzle: help the bird up to the nest
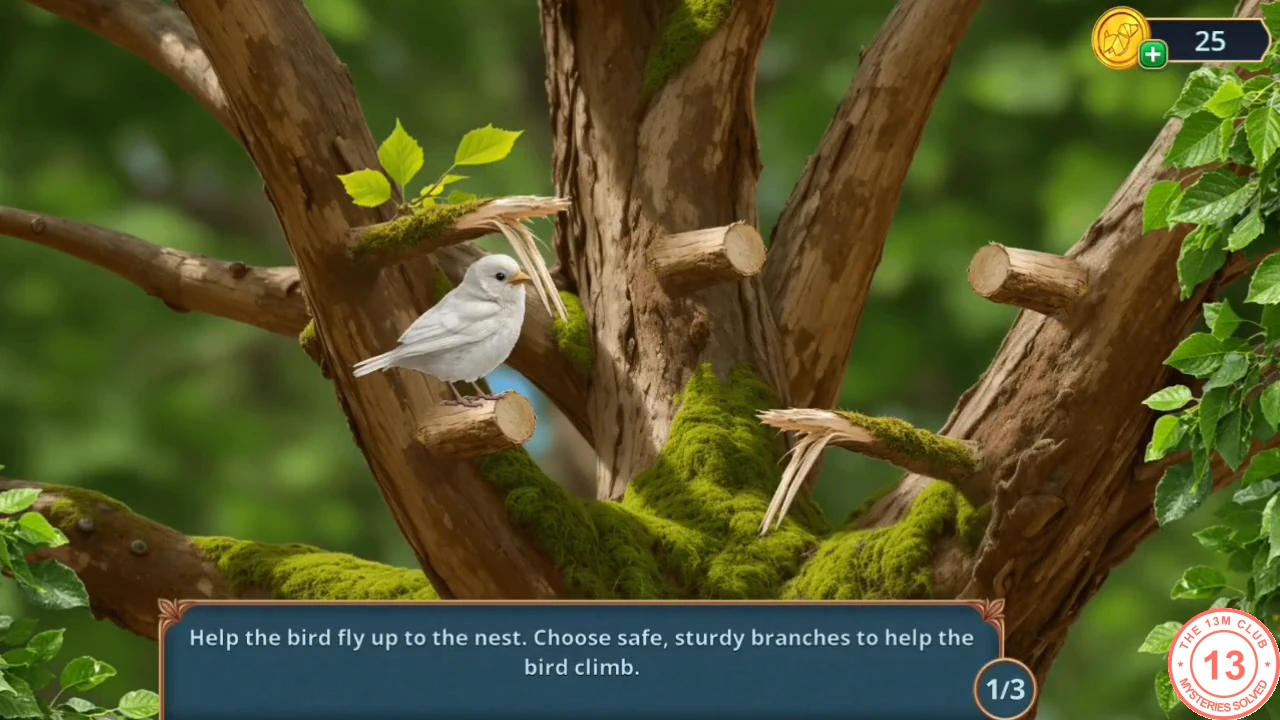
Help the bird climb to the nest by choosing safe, sturdy branches. There are three rounds.
- In each round, tap only branches that are whole and sturdy and avoid cracked, thin or rotten ones. Choose a chain of branches that leads up to the nest. Take the HANDKERCHIEF from the nest.
- Cover the broken glass in the flower crate with the HANDKERCHIEF and take the TORN BELT.
CHAPTER 2
Typewriter roller
Repair the typewriter to get the second poster piece.
- In the newsroom, find the missing pieces of the items in the desk fragment hidden-object scene to get the TYPEWRITER ROLLER.
- Install the TYPEWRITER ROLLER and take the second POSTER FRAGMENTS from the fed paper.
- Add the POSTER FRAGMENTS to the Grand Herald poster board beside the safe.
CHAPTER 2
Puzzle: restore the poster
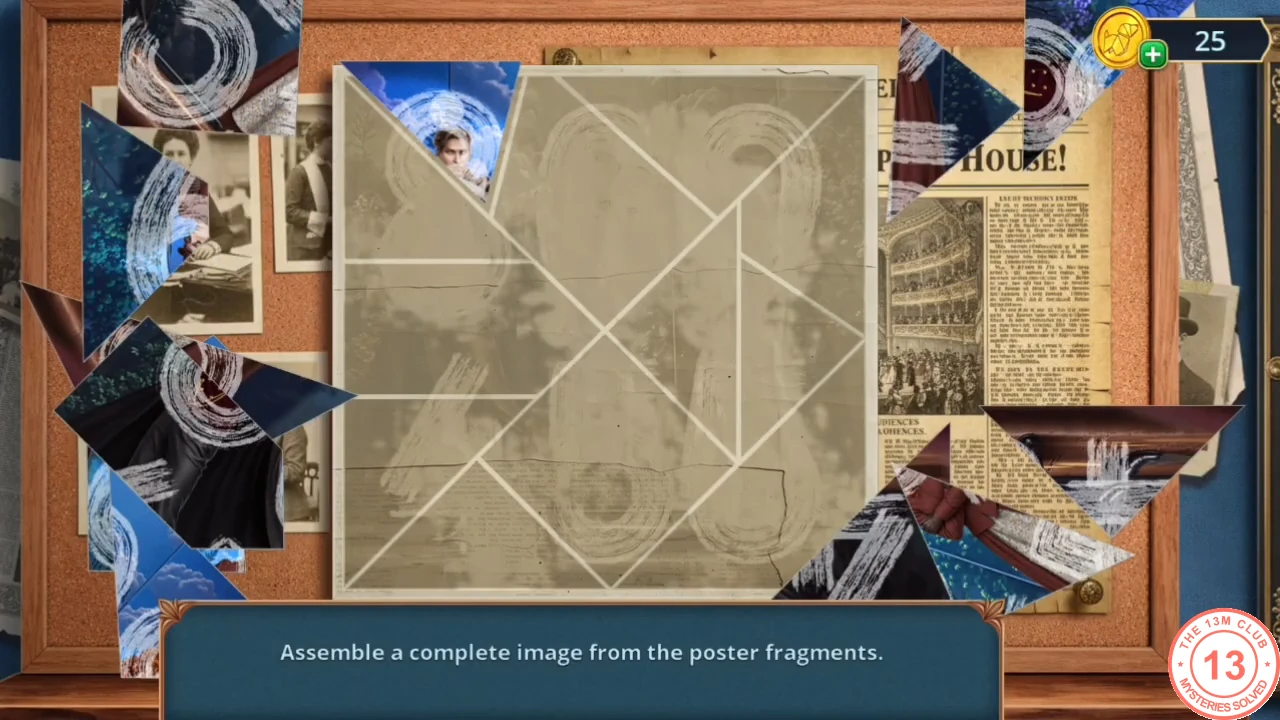
Drag the poster fragments into place to rebuild the complete image.
- Drag the fragments into place, starting with the pieces that have straight edges and corners, then fill the middle by matching the picture. The finished poster shows the numbers 809 and 455.
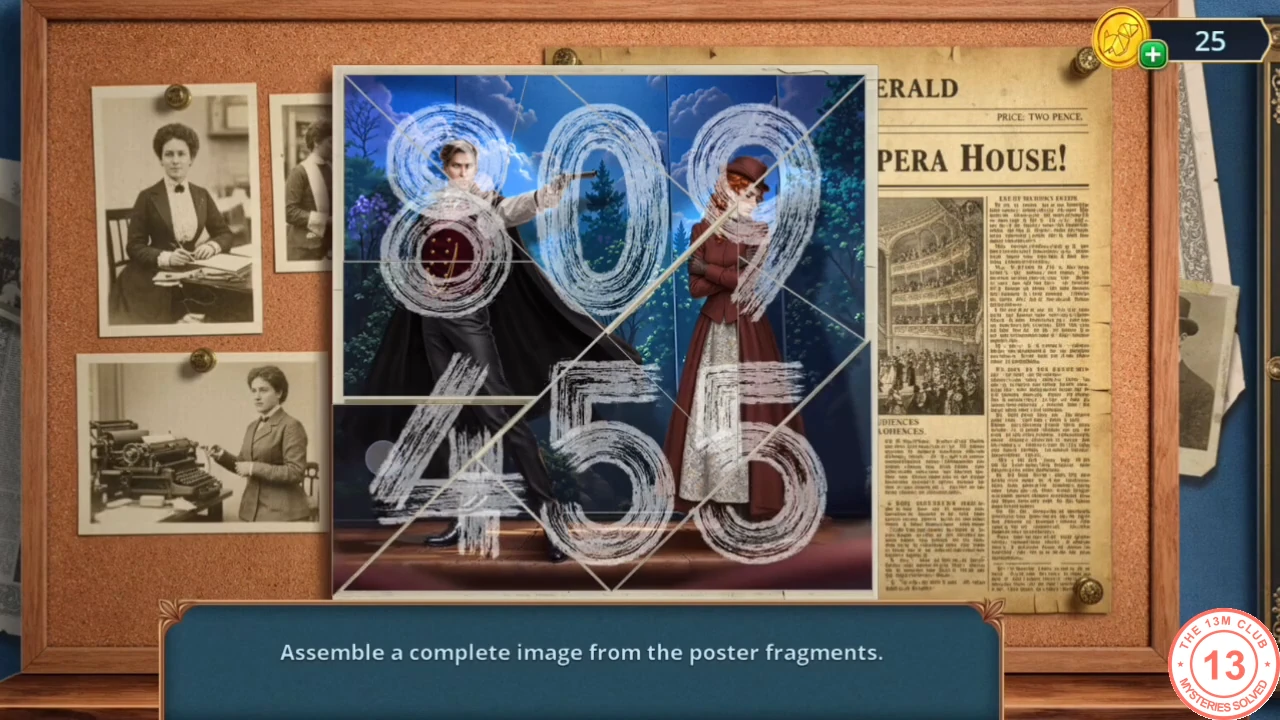
The finished poster shows 809 and 455. - The wall safe beside the poster opens (no code needs to be entered). Take the FEATHER FAN.
CHAPTER 2
Johann's piano
Dust the piano and make a belt for the glass cabinet.
- Use the FEATHER FAN on the piano and ashtray in Johann's office: take the CIGAR GUILLOTINE, the NEEDLE AND THREAD and PIANO KEYS 2/4.
- Take the SHEET OF MUSIC from the ballerina music box.
- Combine the TORN BELT with the NEEDLE AND THREAD in the inventory to make the LEATHER BELT.
- Put the LEATHER BELT on the glass cabinet in the office.
CHAPTER 2
Puzzle: sort the chips
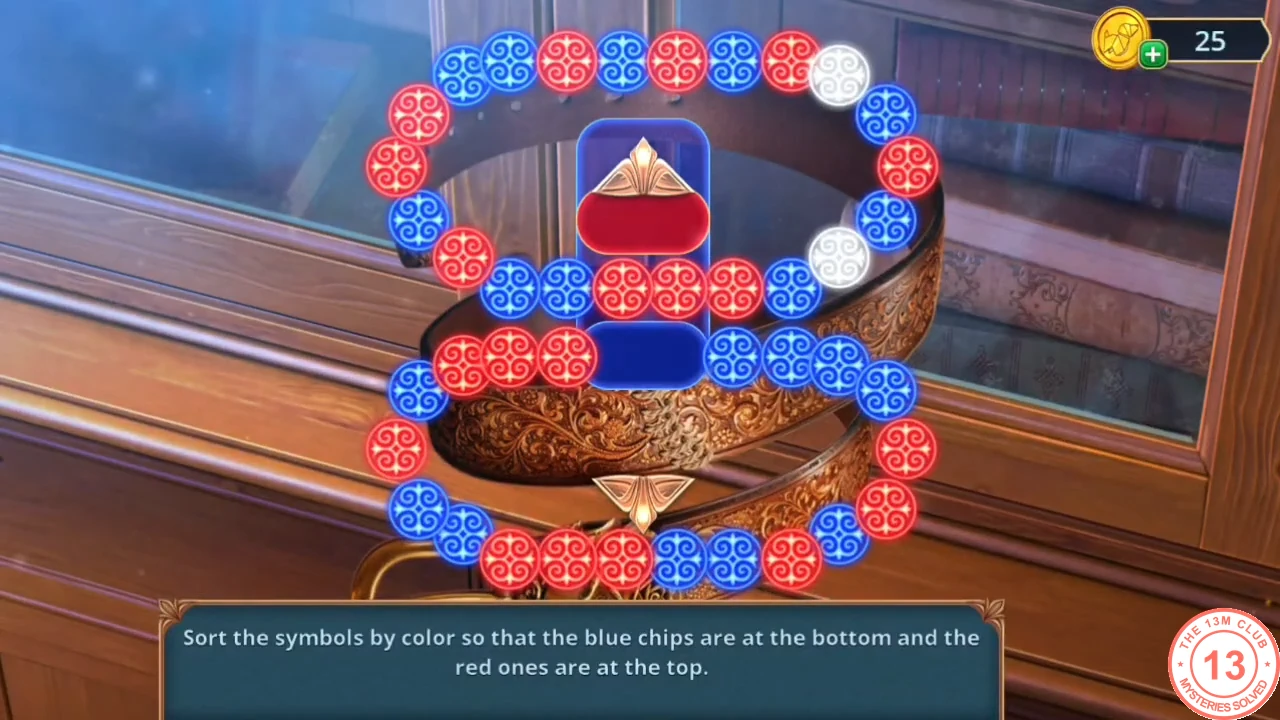
A lengthy sorting puzzle, so this guide gives the target and a method rather than every move. Red chips must end in the upper loop and blue chips in the lower loop.
- Drag chips along the upper or lower loop to turn that loop. Between the loops is a sliding column holding a red bar, a pair of chips and a blue bar. The triangle buttons above and below it slide the column up or down: the pair of chips in the centre moves into the other loop, and a bar closes the gap it leaves. To move chips across, turn a loop until the chips you want to send sit in the centre pair, then press the triangle that slides the column towards the other loop. Turn that loop to bring two chips that belong back into the centre and send them back the same way. Finish with every red chip in the upper loop and every blue chip in the lower loop. In our accepted finish the two white chips were also in the lower loop, both on its upper edge: one in the right-hand slot of the lowered centre column and the other two places to its right, with one blue chip between them. We did not test other white positions.
- Take the PUNCH CARD from the cabinet. The red book inside is missing its clasp button.
CHAPTER 2
Collect the piano keys
Gather the remaining piano keys for Johann's piano.
- Insert the PUNCH CARD into the ballerina music box and take the KNIGHT FIGURINE.
- Stand the KNIGHT FIGURINE beside the other knight on the hall gramophone: take the MAKEUP BRUSH and PIANO KEYS 3/4.
- On Fell Street, solve the riddles in the flower-shop hidden-object scene (for example candle, footsteps, piano, fire, coin, map, sponge, egg, camera, needle, comb) to get the UMBRELLA.
- In the academy hall, zoom into the fishbowl and hook the BOTTLE OF MILK out of the red coat pocket behind it with the UMBRELLA.
- Pour the BOTTLE OF MILK into the cat's bowl in Johann's office; when the cat moves, take PIANO KEYS 4/4.
- Fit the PIANO KEYS and then the SHEET OF MUSIC on the piano. A warning marks the end of Chapter 2 collectibles in earlier locations; collect anything left, then tap YES.
CHAPTER 2
Puzzle: one kind of note
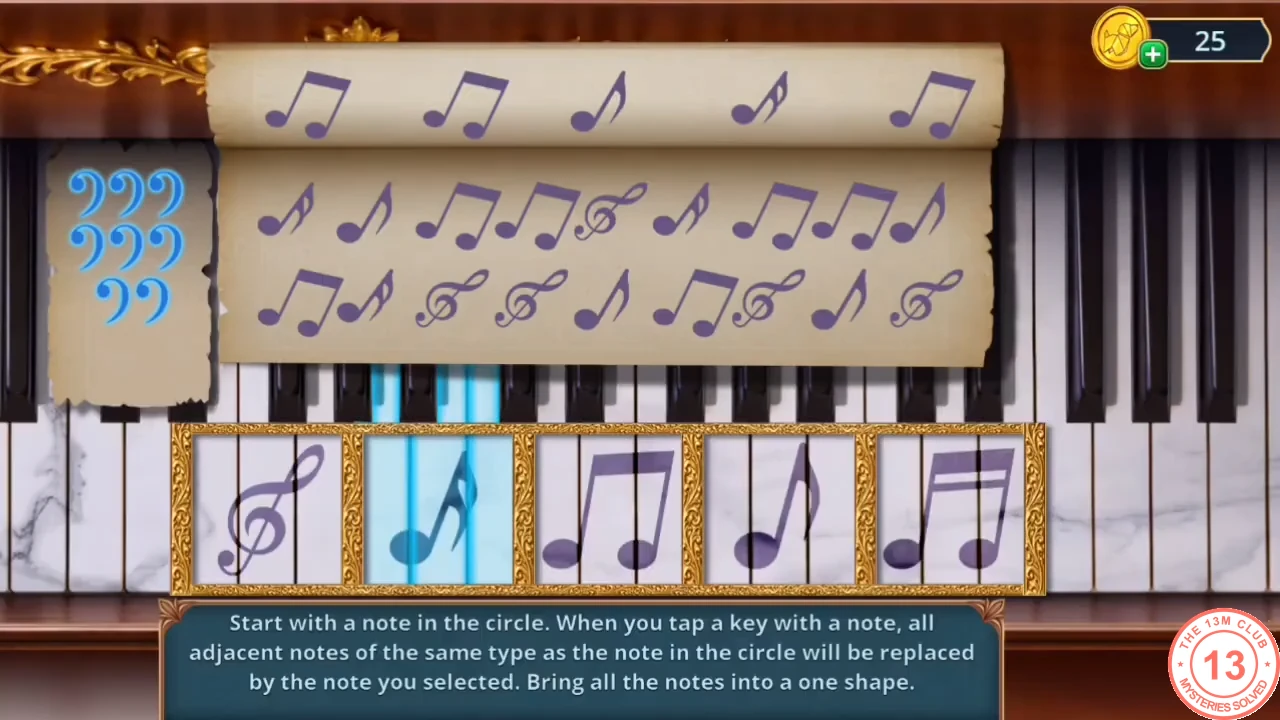
A flood-fill puzzle: turn every note on the board into a single type before the move counter runs out.
- Start from the note in the circle. Tapping one of the five note keys turns the circled note, and every connected note of the same type, into the note you chose, so the group grows. Before each tap, check which note type touches your group the most and choose that one. Repeat until the whole board is one type. Take the GOLD EARRING.
CHAPTER 2
Astrid's photo
Open the red book and ask Johann about Astrid.
- Fit the GOLD EARRING as the clasp button of the red book in the glass cabinet; read the notes on Astrid Vilard and take ASTRID'S PHOTO.
- Show Johann the photo. Asking who else knows about Astrid costs 60 coins (+1 star); the free reply ends the conversation and sends you to the theater backstage.