CHAPTER 2
The Newsroom
Barbara reports that Adrian survived but lost his memory, and points you to the Music Academy on Fell Street.
- Listen to Barbara. The free reply is enough to continue; the 60-coin reply only adds a decision star.
- Take the HEART AMULET from the typewriter desk and read the clipping and photo about the switched drum.
- The briefcase code lock is blocked by a hammered nail; it needs something else for now.
- Place the HEART AMULET on the bust beside the window blinds.
CHAPTER 2
Puzzle: fill the heart with light
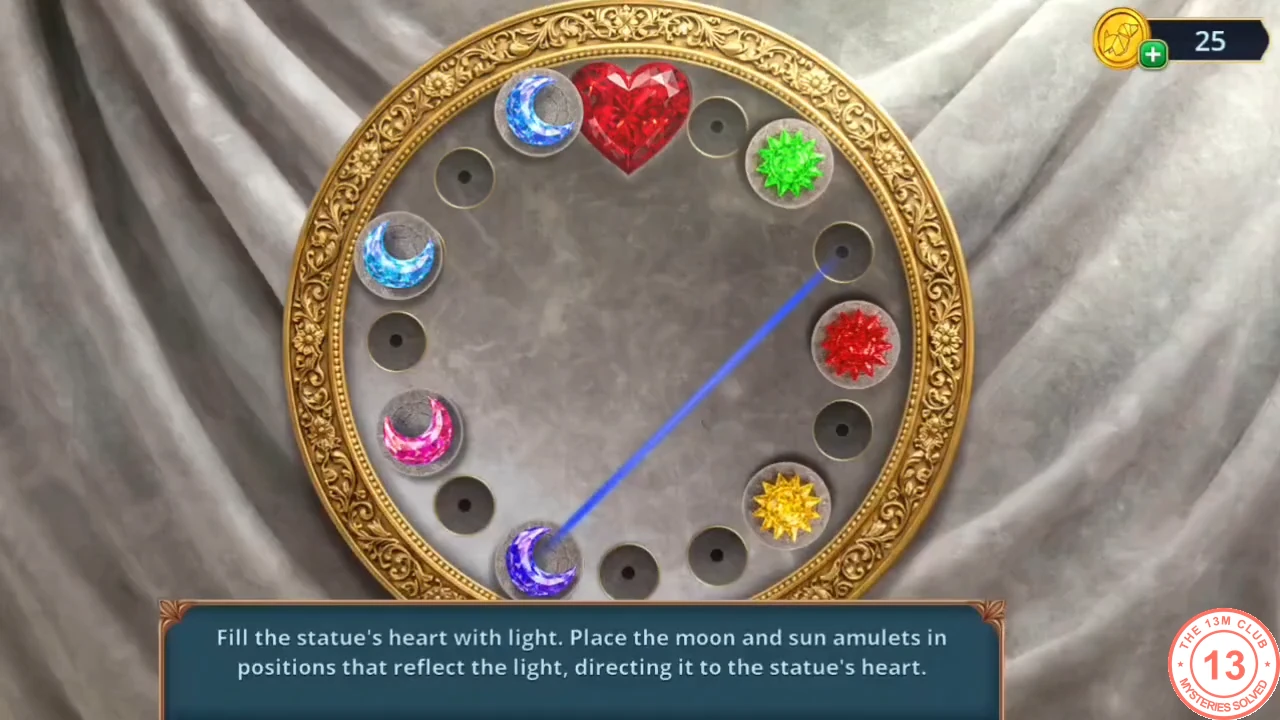
Place the moon and sun amulets in sockets where they reflect the light from one to the next and finally into the statue's heart.
- Drag the five amulets between the sockets. Follow the beam from its source: each amulet in the path redirects it, so build the path one amulet at a time and check where the beam goes after each move. Example of a completed layout: green sun middle left, blue moon lower left, purple moon at the bottom, gold sun upper right and pink moon on the right.
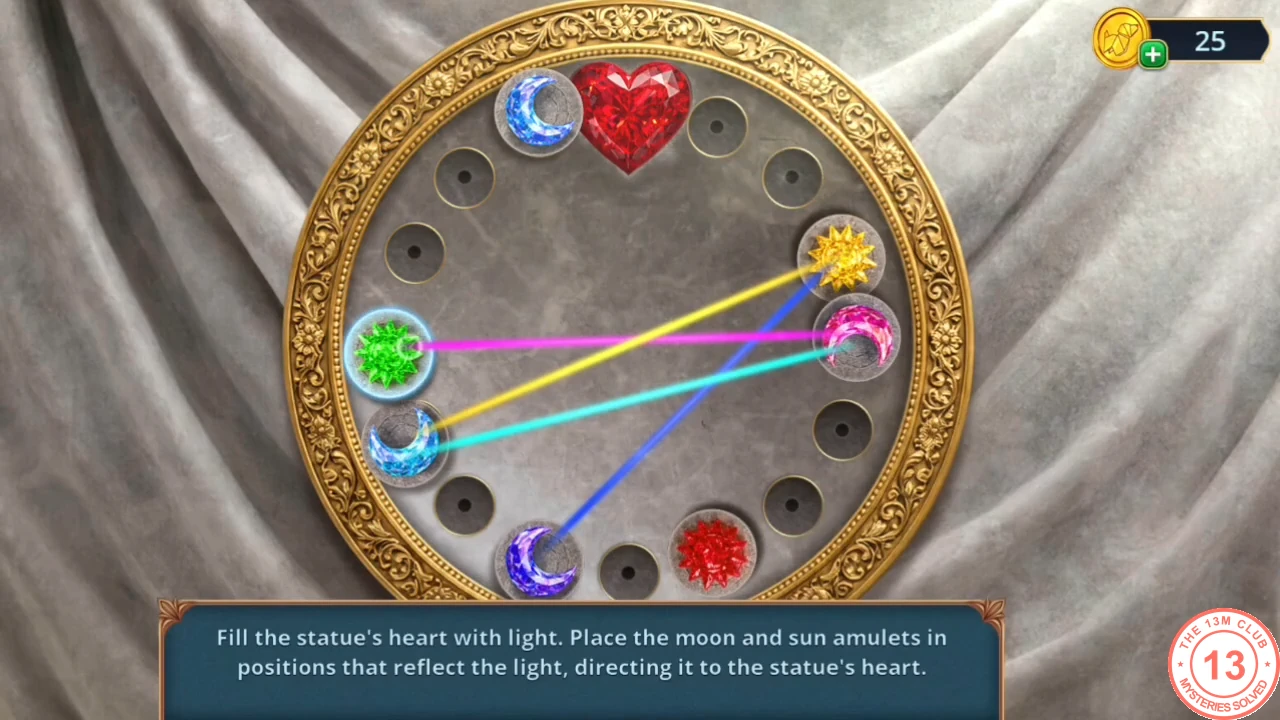
Example of a completed layout from our game; the beam ends in the heart.
CHAPTER 2
Press card and Fell Street
Open the briefcase, then head for Fell Street.
- Take the LOCK CYLINDER from the bust and fit it into the briefcase: take the JOURNALIST'S DOCUMENTS (press card).
- Travel to Fell Street. Cut the bark of the tree hollow with the SCRAPER to get the GOLDEN GEAR.
- Put the GOLDEN GEAR into the gear lock on the blue door.
CHAPTER 2
Puzzle: chain of gears
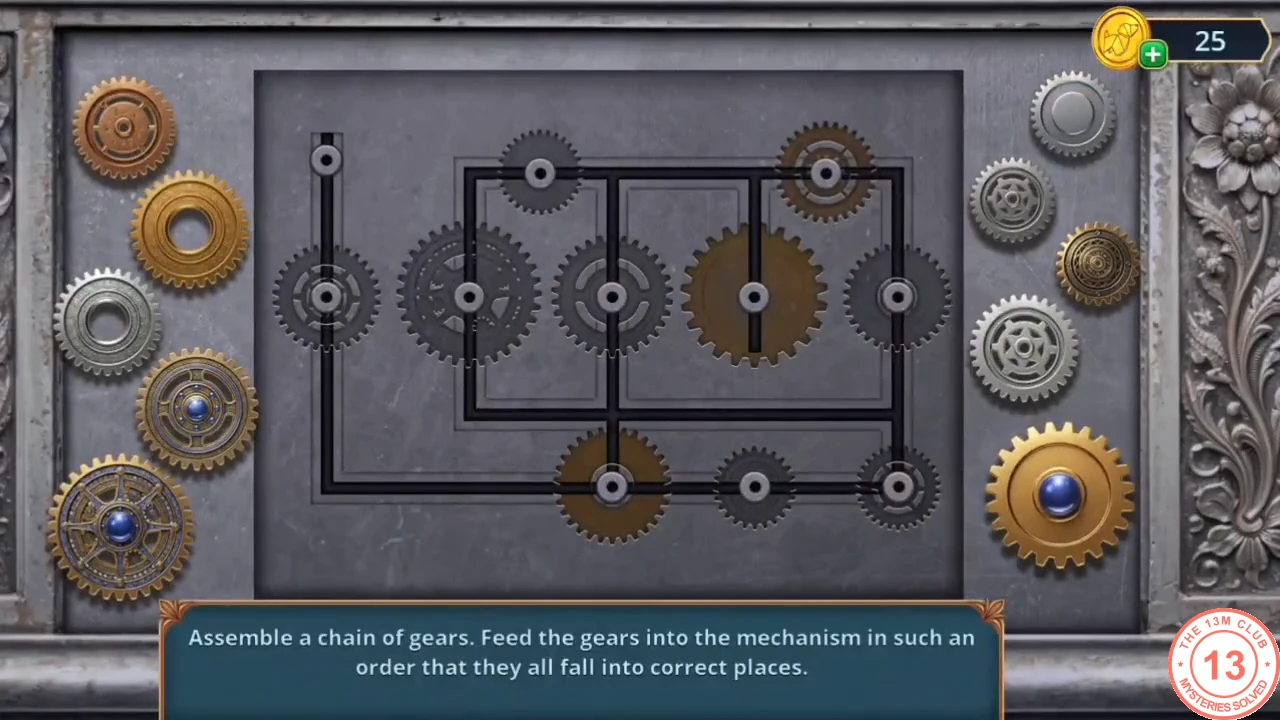
Queue the nine loose gears, then release them so that every gear falls into its correct place.
- Tapping a loose gear adds it to a queue and marks it with its number, 1 to 9. When all nine are queued, tap the large silver spoked gear fourth from the top on the right; it glows blue and releases the queue, and the gears roll into the mechanism in that order. This order worked in our game: 1 the big gold gear with a blue centre (bottom right); 2 the copper gear (top left); 3 the silver ring gear (third on the left); 4 the gold gear with a blue centre (fourth on the left); 5 the small plain silver gear (top right); 6 the large blue ornate gear (bottom left); 7 the silver star gear (second on the right); 8 the small dark gold gear (third on the right); 9 the large gold ring gear (second on the left). Every gear then lights green in its place.
- Read the Chronicle clipping, then take the LEATHER HUNTING HORN from the mailbox.
CHAPTER 2
The flower shop
Pay the florist and get the bell for the academy door.
- Dig in the flower crate with the LEATHER HUNTING HORN to find BANKNOTES 2/2.
- Give the BANKNOTES to the hand at the flower-shop counter and take the blue spray BOTTLE.
- Find the listed flowers in the flower-shop hidden-object scene to get the SMALL BELL.
- Hang the SMALL BELL on the knocker hook of the blue door to enter the Music Academy.
CHAPTER 2
Music Academy hall
Read about Professor Johann Weber and fish out the frame fragment.
- Read the booklet on the desk and take PIANO KEYS 1/4 beside the fishbowl.
- Fish the FRAME FRAGMENT out of the fishbowl with the ANCHOR PENDANT.
- Add the FRAME FRAGMENT to the ornate wall frame where keys hang.
CHAPTER 2
Puzzle: assemble the frame
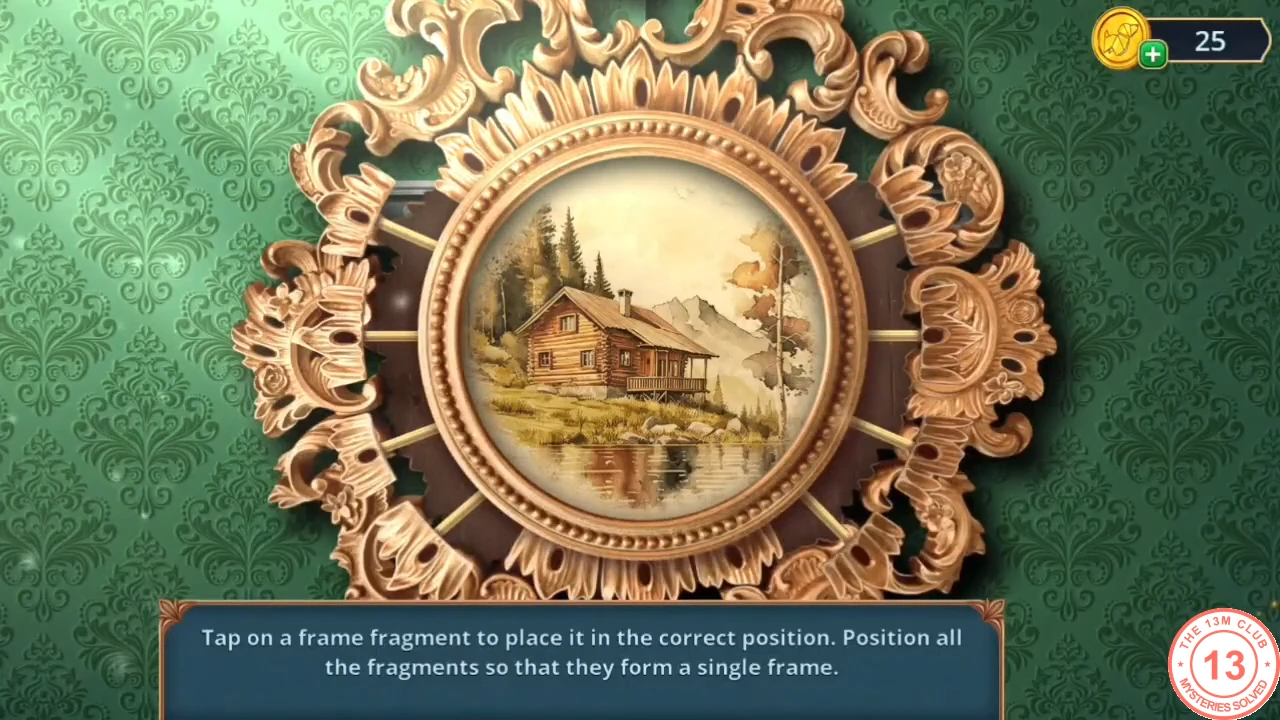
Tapping a frame fragment moves it to another position. Arrange all the fragments into one continuous frame.
- Tap a fragment and watch where it goes. Join the corner pieces first, then fill the straight sides so the carved pattern runs unbroken around the frame. When it is complete, the frame opens. Take the POSTER FRAGMENTS and the BLINDS CHAIN.
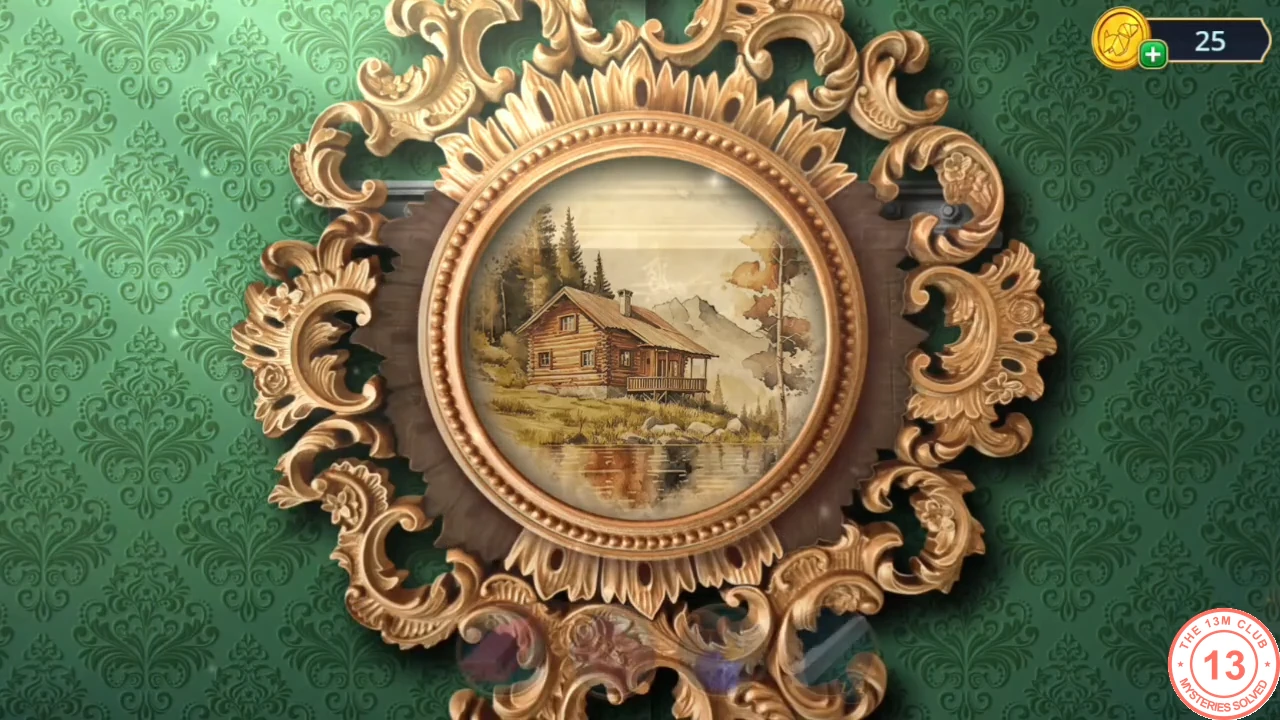
The completed frame.
CHAPTER 2
Vinyl record
Open the newsroom blinds and play the record in the academy.
- In the newsroom, attach the BLINDS CHAIN to the window blinds and take the VINYL RECORD. The typewriter has chewed up a part; leave it for now.
- Put the VINYL RECORD on the gramophone in the academy hall.
CHAPTER 2
Puzzle: play the melody
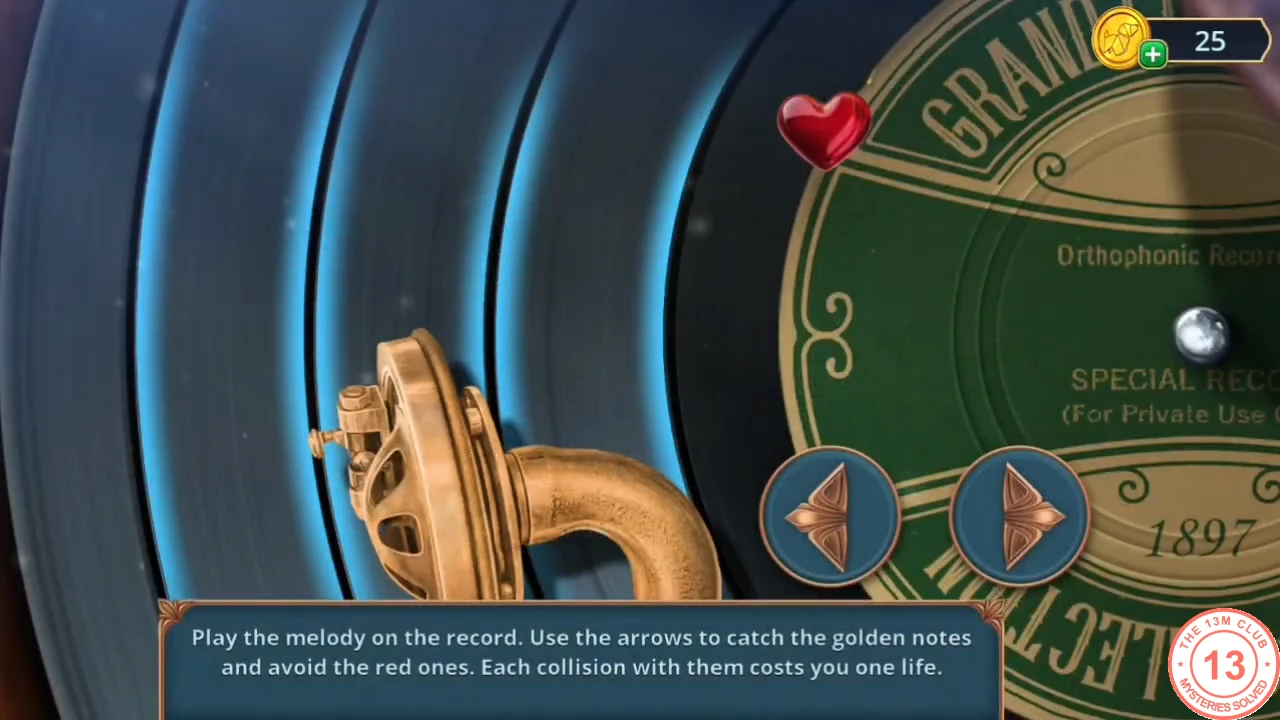
A reflex game: the falling notes are not fixed, so there is no sequence to copy.
- Use the arrow buttons to move the catcher under the golden notes and away from the red ones. Each collision with a red note costs one life. Keep catching golden notes until the melody is complete, then take the TUNING FORK.