CHAPTER 4
Theater Street at night
The theater is closed and the hotel entrance is boarded up. Find another way in.
- Fill the FLASK at the lion fountain to get the WATER.
- Look at the nest in the tree hollow, then lower the red YO-YO into it.
CHAPTER 4
Puzzle: fill the yo-yo meter
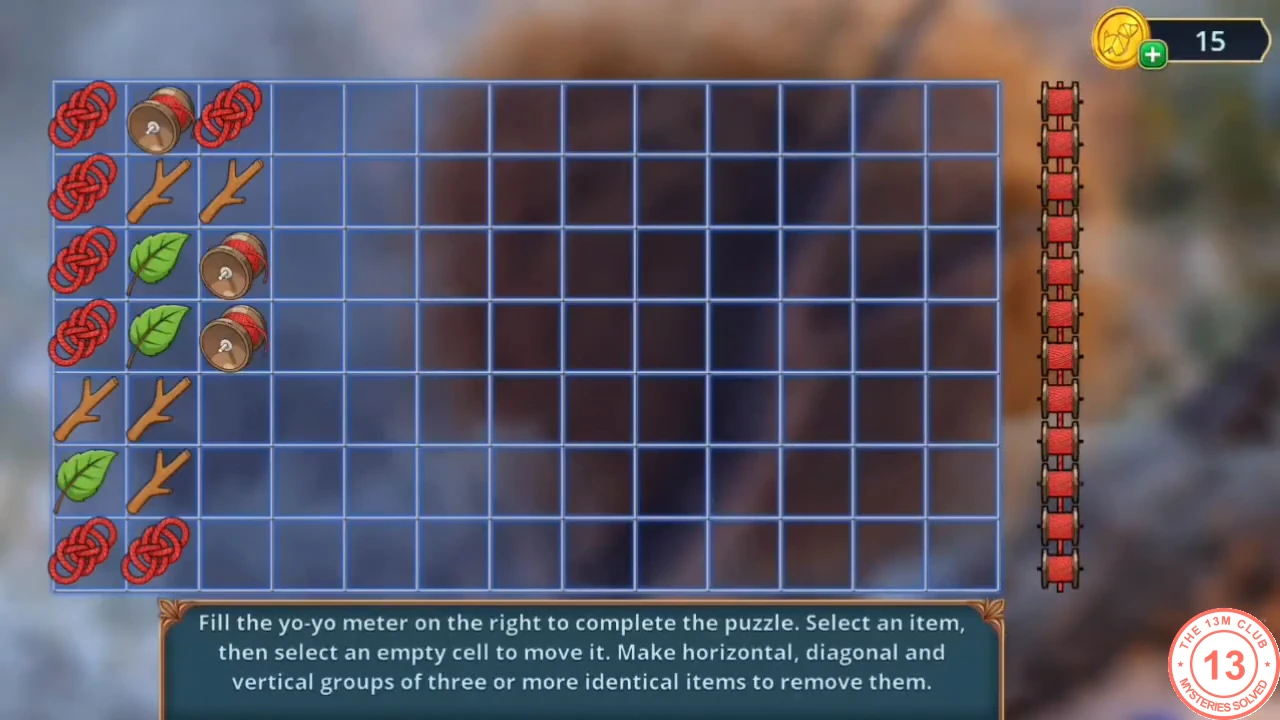
A match-three board.
- Select an item and then an empty cell to move it. Line up three or more identical items horizontally, vertically or diagonally to remove them and fill the meter on the right. When the meter is full the nest drops: take the TIN FIGURINE. A large spider now guards the hollow.
- Read the newspaper on the crate by the hotel steps. On the armchair take the BROKEN KEY and the CLAY MOLD.
- Pry the armchair with the FORK and take the BELT.
- Open the KEROSENE BURNER in the inventory and add the BROKEN KEY, the CLAY MOLD, the TIN FIGURINE and the WATER. A new lion-head key is cast.
- Unlock the grille under the lion head at the fountain with the lion-head key and take the SPRING and BOARDS 2/2.
- Place both BOARDS over the rat hole in the Interrogation Room mirror.
CHAPTER 4
Puzzle: board up the hole
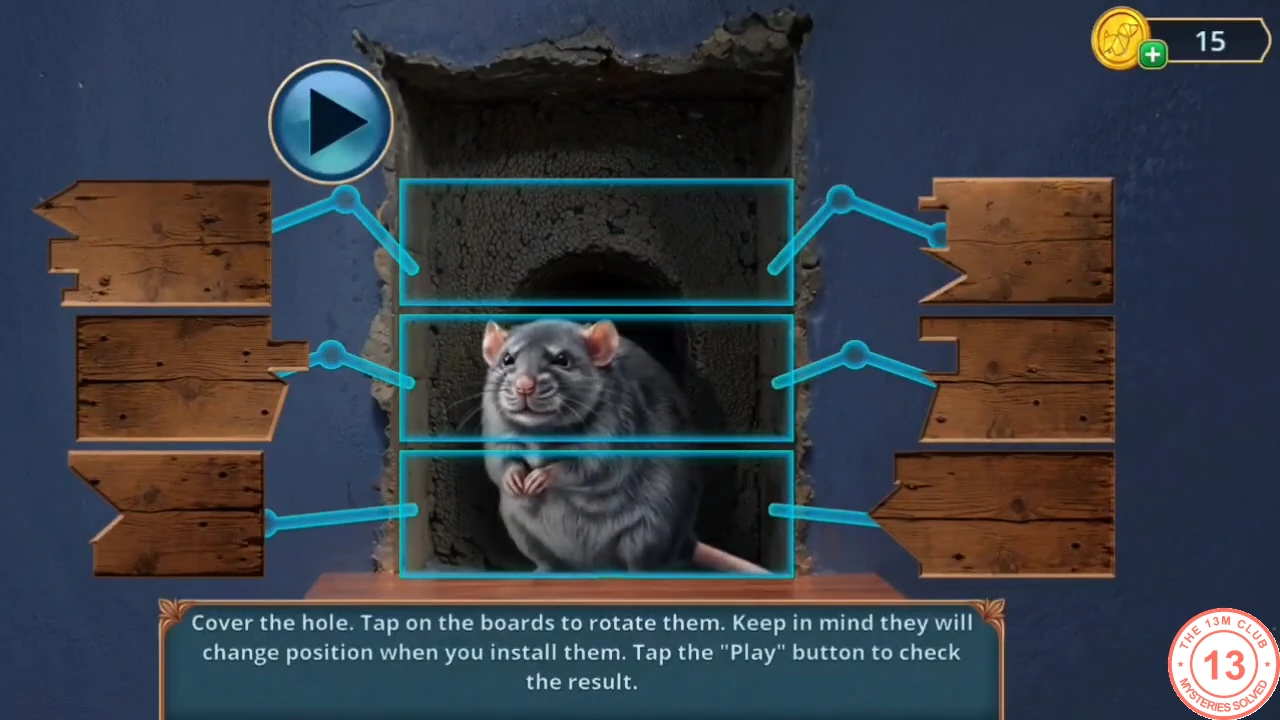
Cover the hole completely.
- Tap the boards to rotate them; they shift when installed, so check with Play after each change until no gap remains. Take the SCREWDRIVER from the shelf.
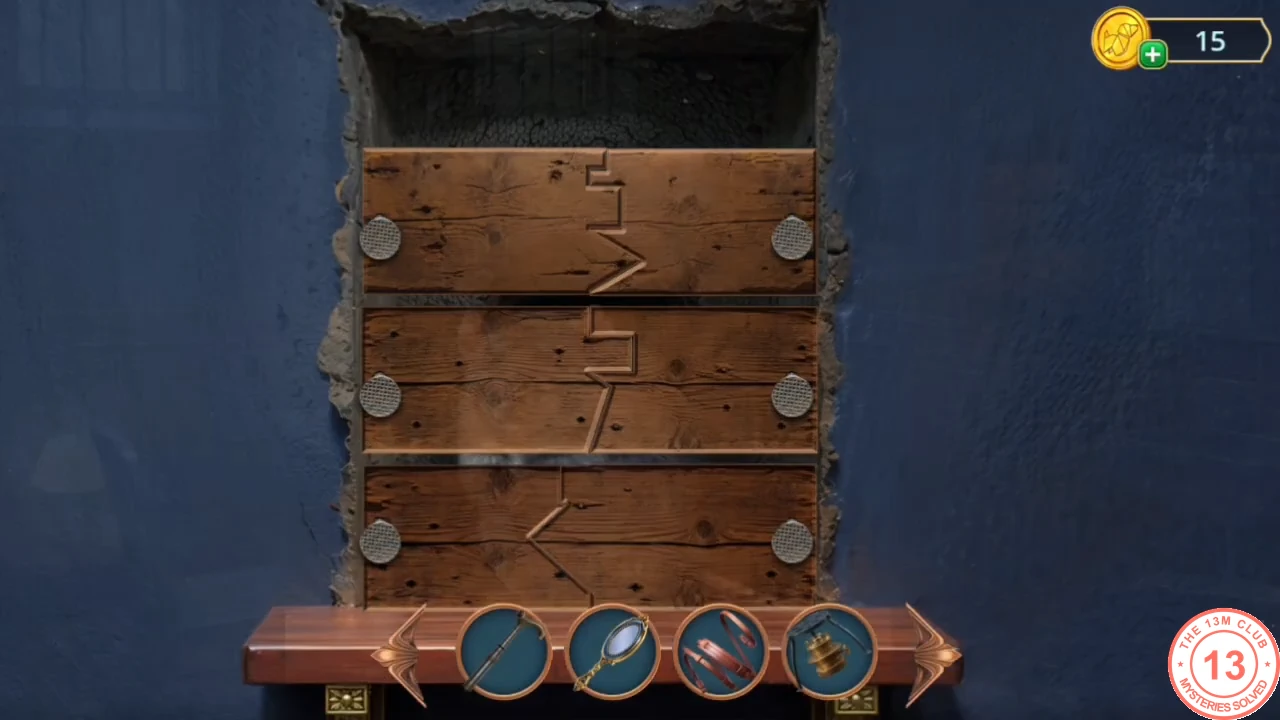
Solved: the three boards cover the hole. - Unscrew the metal box beside the red bag with the SCREWDRIVER and take the HOSE.
- Attach the HOSE to the fire hydrant on Theater Street.
CHAPTER 4
Puzzle: direct the water
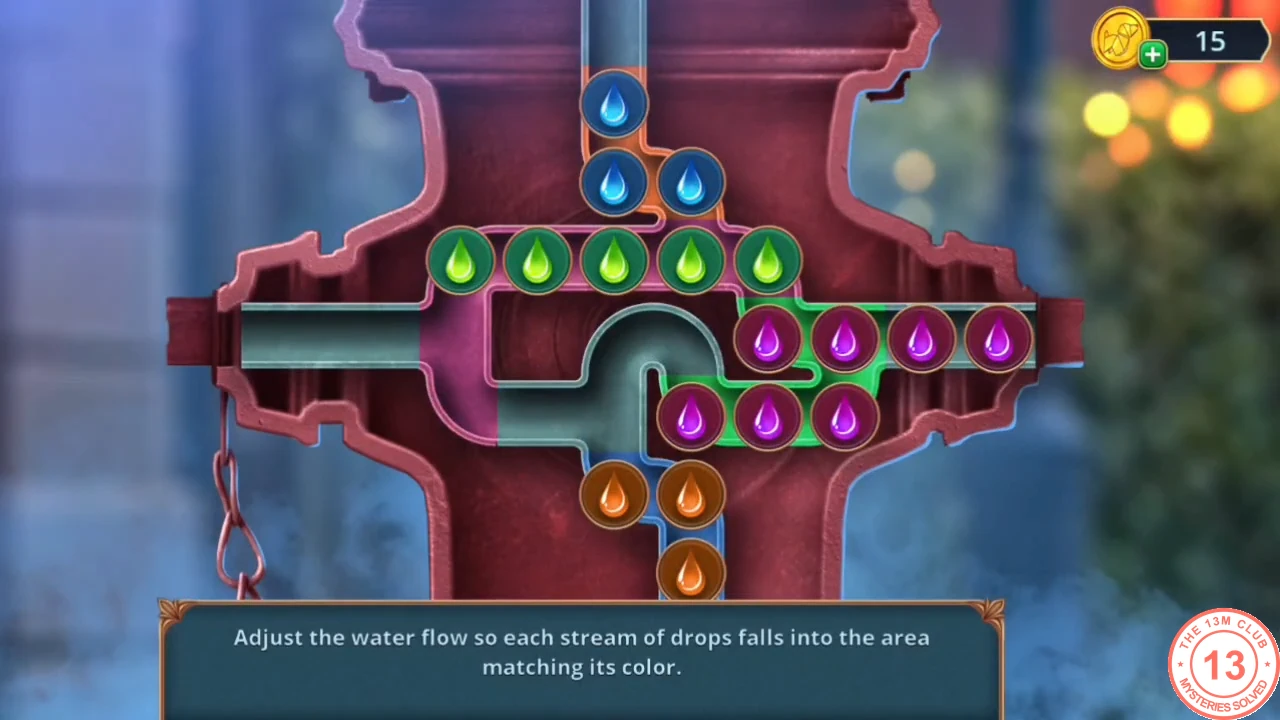
Move each colour of drops into the pipe area outlined in the same colour.
- This guide gives the target and a method rather than every turn. The pipes are fixed; the drops move. Drops of one colour form a chain: drag the front drop along the pipes and the rest of the chain follows it, but only into empty pipe space. Coloured outlines mark the target areas: the top row and the upper-left loop are purple (7 drops), the top pipe is orange (3), the bend on the right is green (5) and the bottom pipe is blue (3). The grey side channels on the left and right and the U-bend in the middle belong to no colour; use them to park chains that are in the way. At the start blue sits in the top pipe, green in the top row, purple on the right and orange in the bottom pipe. Order that worked in our game: move green round into the left loop and drag blue out of the top pipe into the right channel; park purple in the empty top pipe and drag orange up from the bottom pipe into the left channel; drag blue down into the bottom pipe; bring orange round through the lower row to the right channel while purple leaves the top pipe; finally drag orange up into the top pipe, purple along the top row and loop, and green into the right bend. The water clears the way and a new location opens.
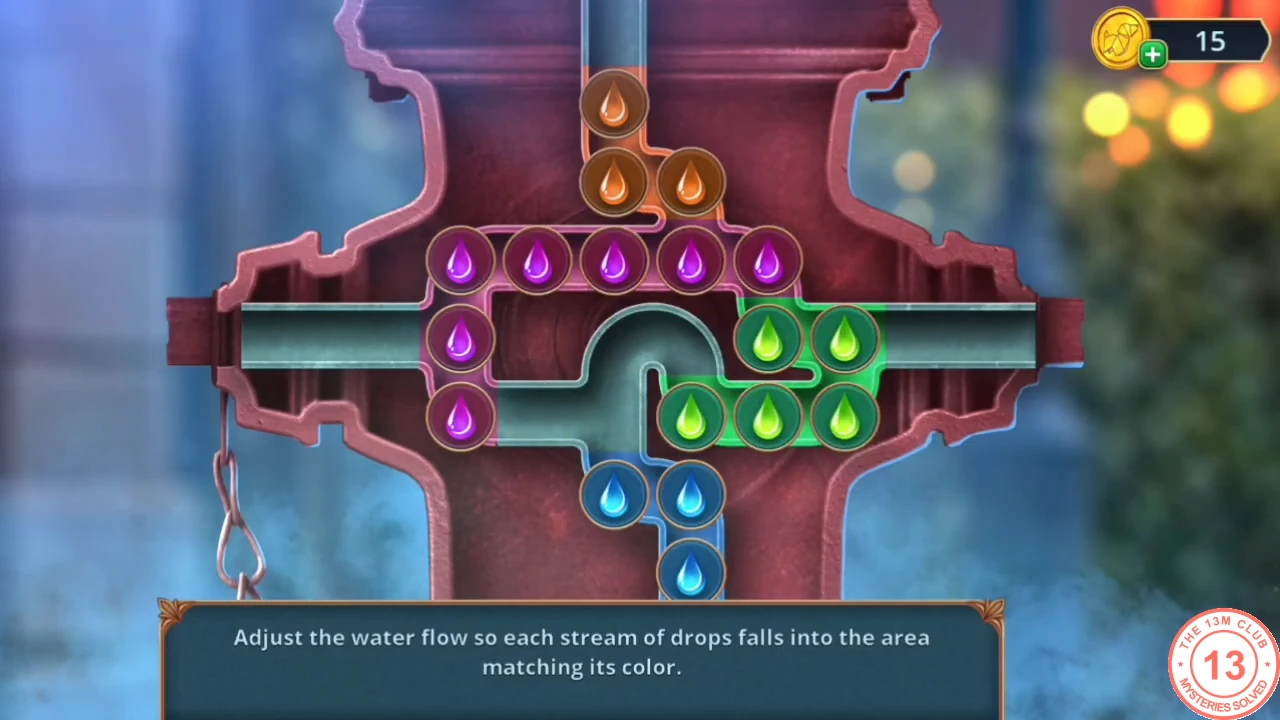
Completed water flow: each colour in its own area.
CHAPTER 4
The Technical Corridor (prop workshop)
Mr. Hale insists the premiere will go ahead. Search the workshop.
- Talk to Mr. Hale. Look at the shelf and the heavy wall grate.
- Take the SAFE HANDLE, attach it to the bell-shaped safe and take the RULER.
- Pry open the crate with the RULER: read Mr. Hale's instructions and take the INVENTORY LIST.
- Use the INVENTORY LIST on the shelf and find the silhouetted items in the hidden-object scene to get the MUSICAL NOTE AMULET.
- Put the MUSICAL NOTE AMULET in the bass-clef slot of the cello case on the door; take the JACK from inside.
- Raise the wall grate with the JACK to reach the control panel.
CHAPTER 4
Puzzle: set up the control panel
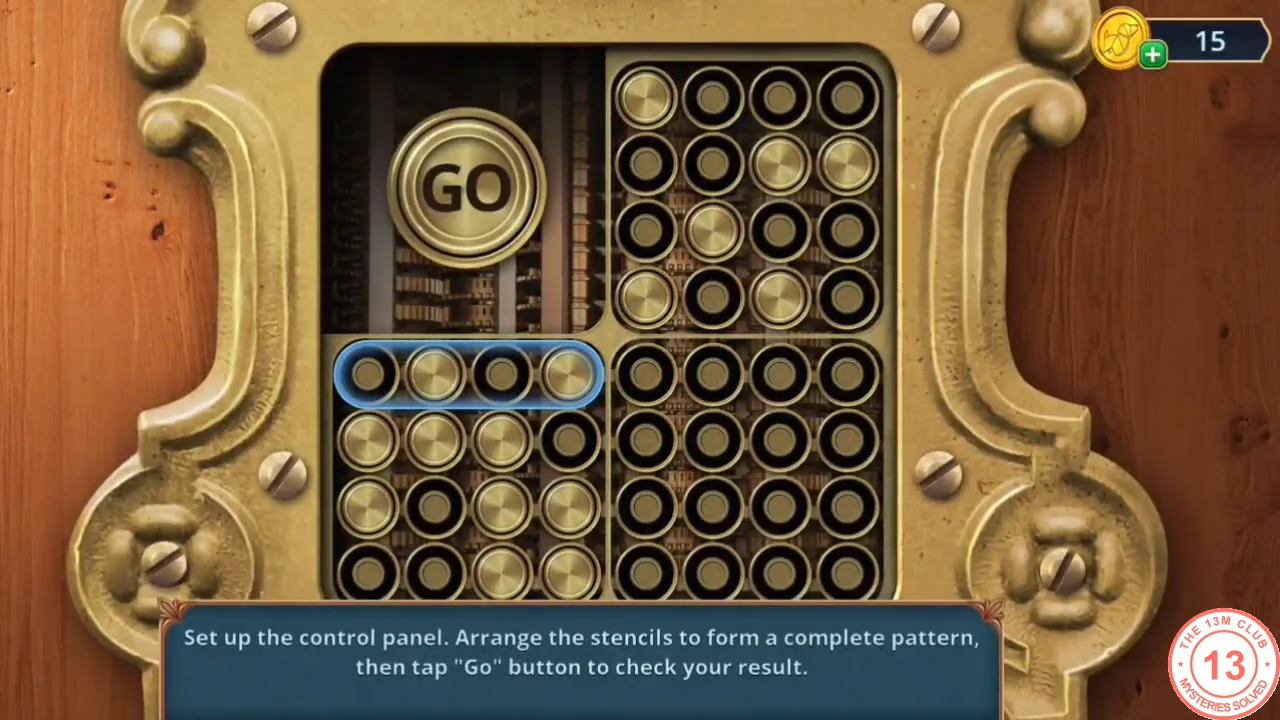
Complete the pattern with sliding stencils.
- Slide the stencil bars on both grids until together they form a complete pattern, then tap GO. The passage to the Orchestra Room opens.