Near the Church: The Tangled String Lights
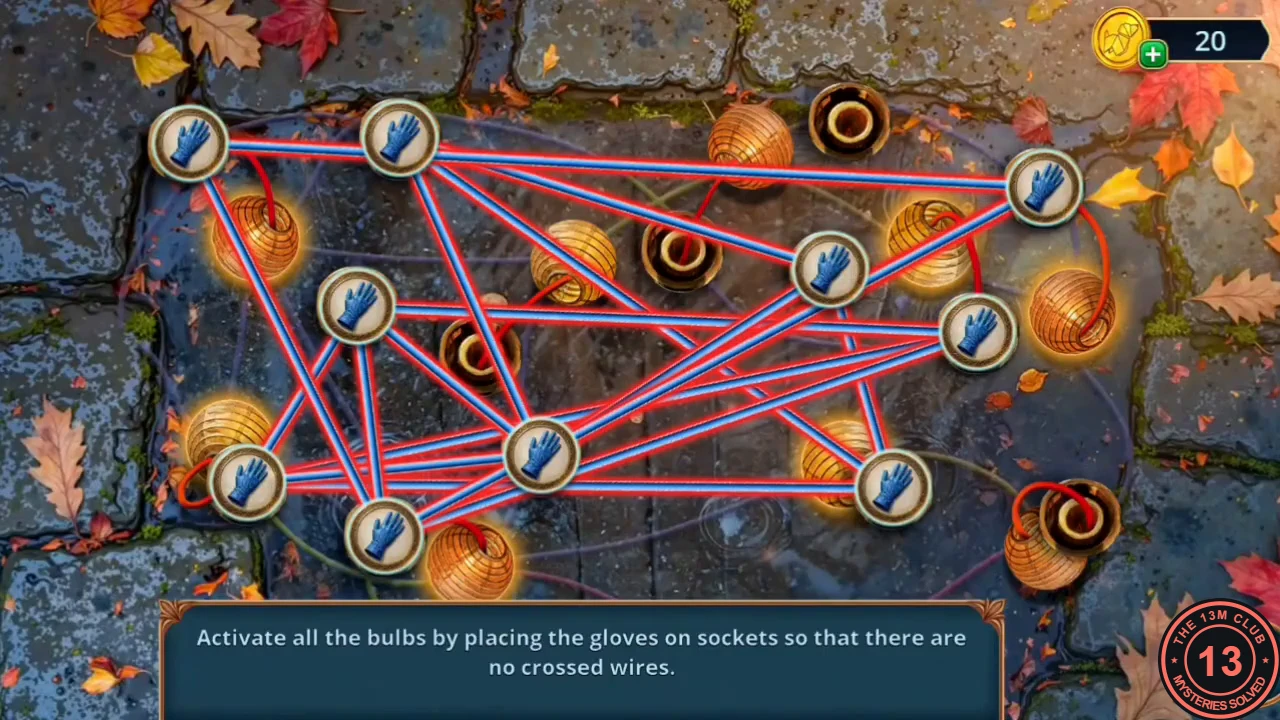
Victor is safe, but the harvest dinner is in danger. Get a token from the bird, then untangle the lights blocking the door.
- Near the church, zoom into the Harvest Charity notice board by the red donation box. Read the seating note pinned on it, then take the green Book piece (1/3) and the gold Bracelet with the purple gem.
- A bird holding a token sits on the red mailbox. Set off the Firecracker next to it; the bird drops the Parish Token.
- Put the Parish Token in the red donation box by the Harvest Charity notice board (Token of Mercy achievement). The box opens; take the silver flask, the Millbrook bag and the Rubber Gloves.
- Use the Rubber Gloves on the tangled string lights by the closed door. Tap a glove, then an empty socket, to move it there. Wires turn cyan once they no longer cross. Keep moving gloves until every wire is cyan and all the bulbs light up. There is no fixed move list: pick one crossing, move a glove to undo it, and leave any wire that has turned cyan in place.
The Dining Hall Lantern
Clean the hardened spill, collect a lens and light the shelf lantern to reveal the costume cupboard.
- In the dining hall, take the Figs and the Pie Baking Pan from the long table with the orange cat.
- Pour the silver flask on the hardened blue spill on the table, then wipe it with the white handkerchief you already carry. Take the Lens and the Fountain Pen.
- Take the Sheet of Paper from the Book of Gratitude on the lectern.
- Light the candle in the shelf lantern with the Matches and put the Lens in its round frame. The beam lights up the costume cupboard and a hidden-object scene opens.
Hidden Objects: The Costume Cupboard Riddles
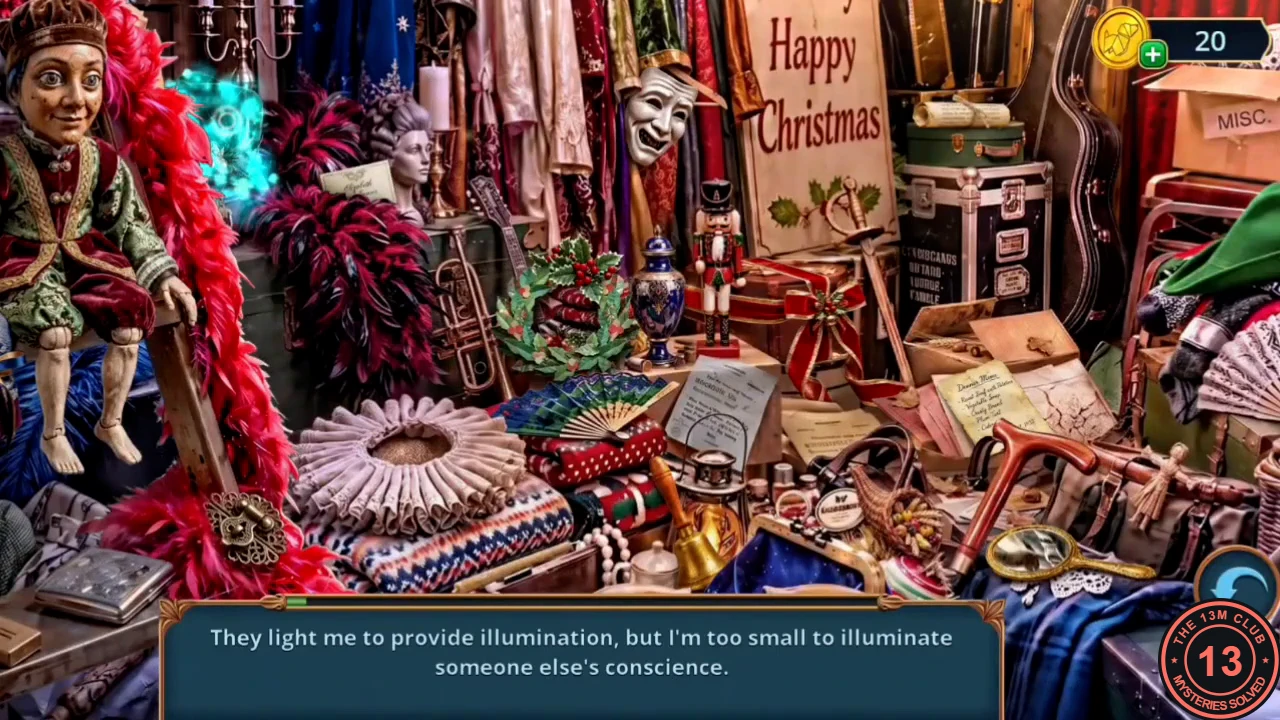
Each riddle at the bottom describes one object in the costume cupboard.
- This hidden-object scene is in riddle mode; the riddles appear one at a time in this order. 1) A crown like a dusty stage dome: the green hat at the top left behind the puppet. 2) Lit for light but too small for a conscience: the thin gold taper lying on the box in front of the striped sweater. 3) Keeps things organised tonight: the Dinner Menu card. 4) Tied nicely to hide the root of the problem: the red ribbon bow on the trunk beside the nutcracker. 5) Meant to decorate the stage, now hiding: the holly wreath. 6) Neither key nor lock, but the old case needs it: the ornate brass clasp on the red feather boa at the bottom left. 7) Depicts a face: the gold hand mirror at the bottom right. 8) Jingles during the holidays: the gold hand bell. 9) Worn on the wrist to look generous: the bracelet on the puppet's wrist. 10) Points out the place: the name place card in the dark feathers beside the bust. 11) Keeps other people's words until going on stage: the rolled scroll on the green case at the top right. 12) Needed by an artist hiding behind a polite smile: the smiling white theatre mask. Your reward is the Carpet.
The Corridor Angel and the Amber Door Knob
Cross the wet floor, free the resin from the angel statue and make a new door knob for the kitchen.
- Lay the Carpet on the wet floor by the sign and go through the right-hand door into the corridor with the angel statue.
- Zoom into the rug in the corridor. Take the gold Patch from the top of the nail dryer, then take the Nail Drying Lamp and the painted Folding Screen panel lying on the rug. Note the suspiciously fresh stitches in the rug; you will come back for them with the Knitting Needles.
- Put the gold Bracelet on the angel statue's wrist. The hand releases a jar; take the Resin.
- At the door with the missing glass knob, pour the Resin on the knob mount to form an amber knob. Plug in the Nail Drying Lamp beside it to harden it, then open the door to the kitchen.
The Parish Kitchen Pie
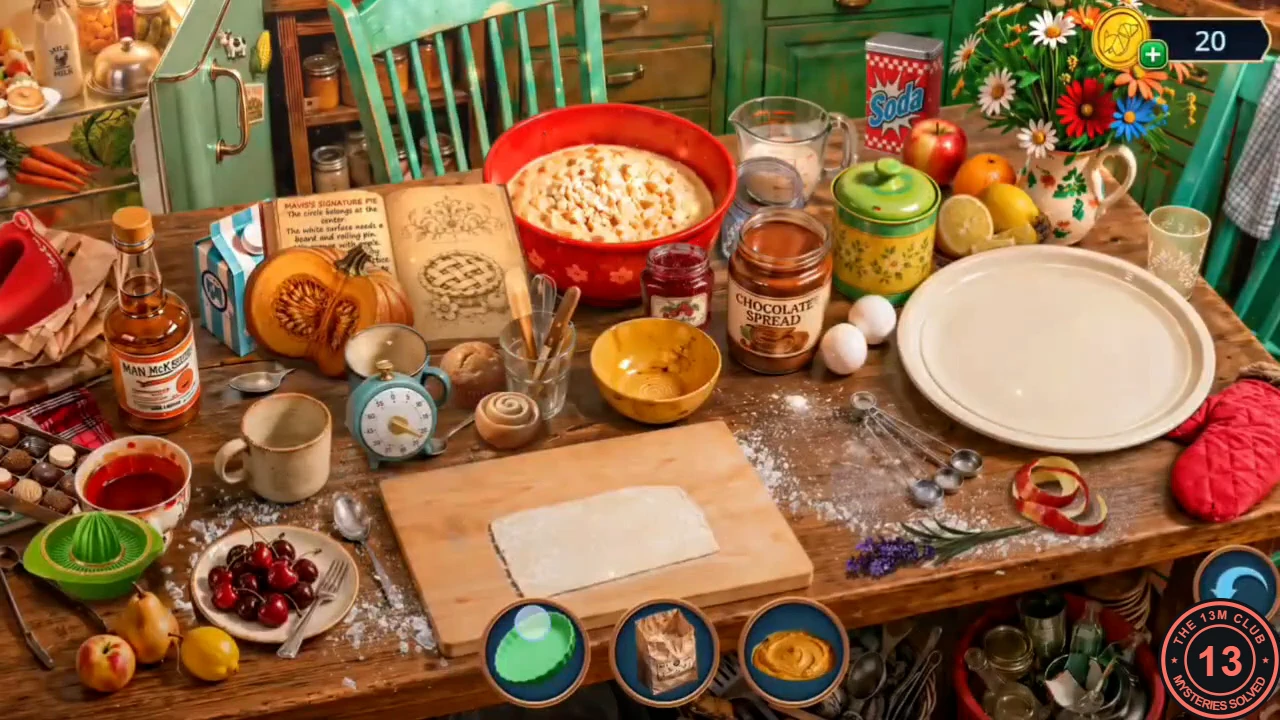
Calm the committee's turkey crisis, bake the signature pie and earn the pantry key.
- The committee lady insists on turkey. Decision point: Make it sound official (2 stars) or Offer to fix the dish (free, 0 stars).
- On top of the fridge, take the Pumpkin Stuffing and the jar of berries. The radio there has no signal yet, and the freezer ice needs a container.
- Put the Pumpkin Stuffing and the Pie Baking Pan on the recipe book (Mavis's Signature Pie). In the pie scene, drag each item from the bottom tray to its place on the table, following the recipe. The tray shows three items at a time and refills as you go. 1) Put the green scalloped pie dish on the white plate in the centre. 2) Put the orange Pumpkin Stuffing into the empty yellow mixing bowl. 3) Put the flour bag on the cutting board. 4) Put the cinnamon sticks beside the orange bowl. 5) Put the rolling pin on the board. 6) Put the apple slices into the orange bowl. 7) Put the lattice strips on the pie dish. 8) Put the leaf cookie cutter on the rolled dough. 9) Put the sprinkles beside the sugar jar behind the chocolate spread. 10) Put the 'Mavis's Signature Pie' name card in front of the pie, facing it. 11) Put the pastry brush next to the small cinnamon bun at the edge of the board. If you put an item in the wrong place, you get 'Oops!' and the item goes back to the tray. Your result is the Unbaked Cake.
- Mend the Torn Potholder from the freezer: in its close-up, place the gold Patch and the Sewing Kit (from Chapter 3) in the two empty slots. Take the Potholder.
- Open the oven with the Potholder and bake the Unbaked Cake. After the conversation you receive the Pantry Key.
The Pantry Key
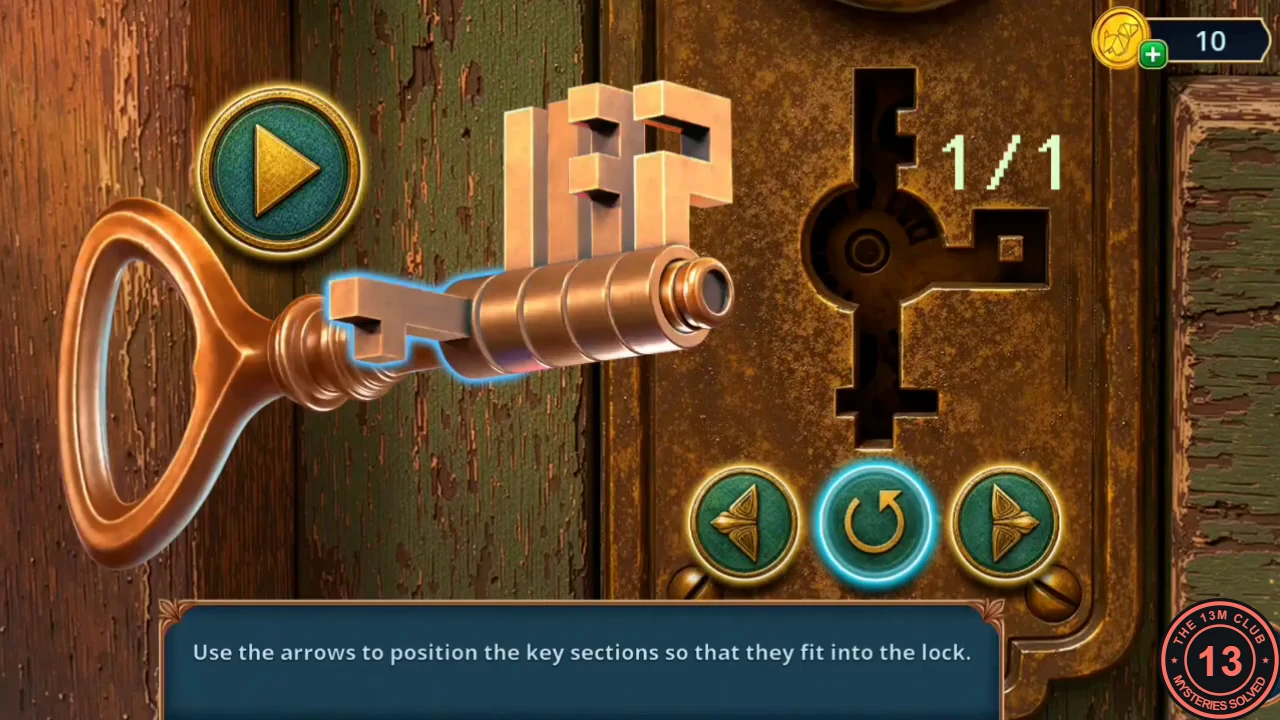
Shape the pantry key and search the pantry.
- Use the Pantry Key on the SUPPLIES door. The left and right arrows select a key section and the circular arrow rotates it. Turn the sections until the key's profile matches the lock outline, then press Play to test. The pantry opens.
- In the pantry, take the Pepper Mill Handle from the cupboard. Zoom into the spice box on the shelf: take the Black Pepper packet and the Crescent Pendant from its lid, and the Scented Herbs from the spilled spices.
Apple Bobbing and the Turkey
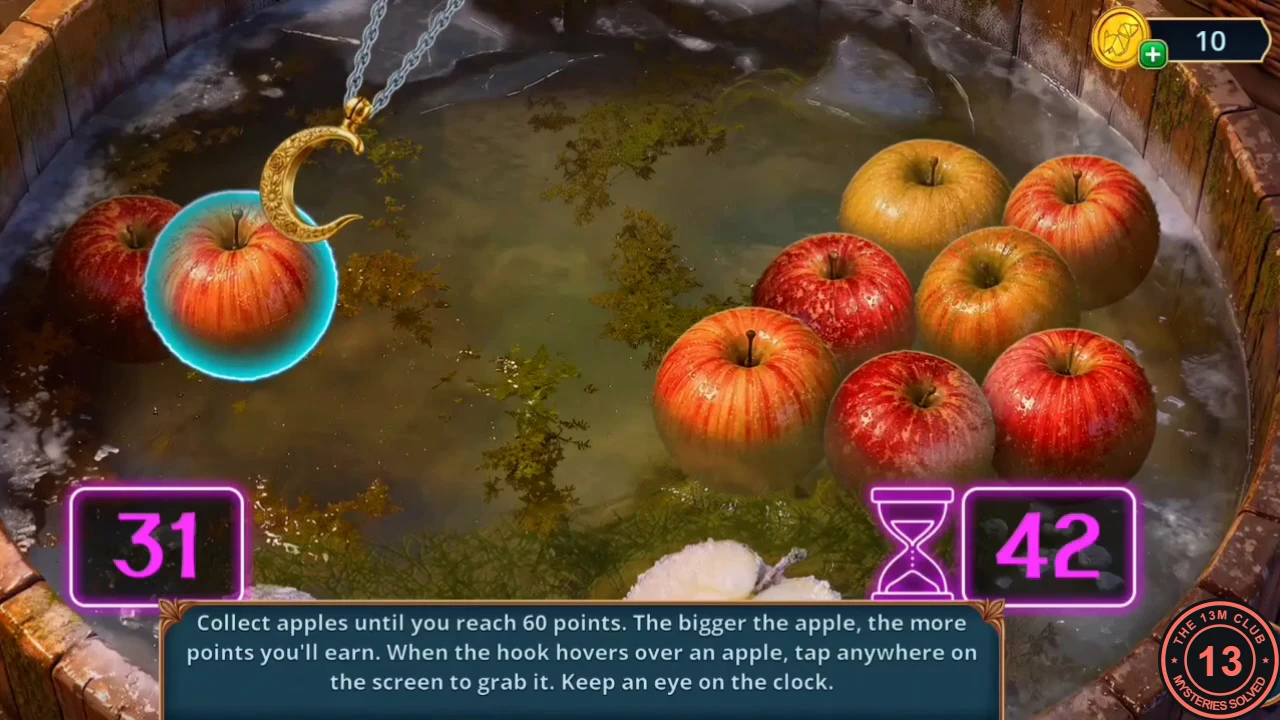
Hook apples for the freezer amulet and start the turkey roasting.
- Hang the Crescent Pendant over the apple tub as a hook. Score 60 points within the 60-second timer. Bigger apples are worth more; tap anywhere while the hook is over an apple to grab it. In one completed round the score reached 57, and hooking the Snowflake Amulet then won it.
- Open the pantry freezer's padlock with the Snowflake Amulet. Take the Frozen Turkey and the Corkscrew.
- Put the Frozen Turkey in the yellow roasting pan on the kitchen stove. Fit the Pepper Mill Handle and the Black Pepper on the pepper mill, season the turkey and roast it in the oven.
The Radio Waves
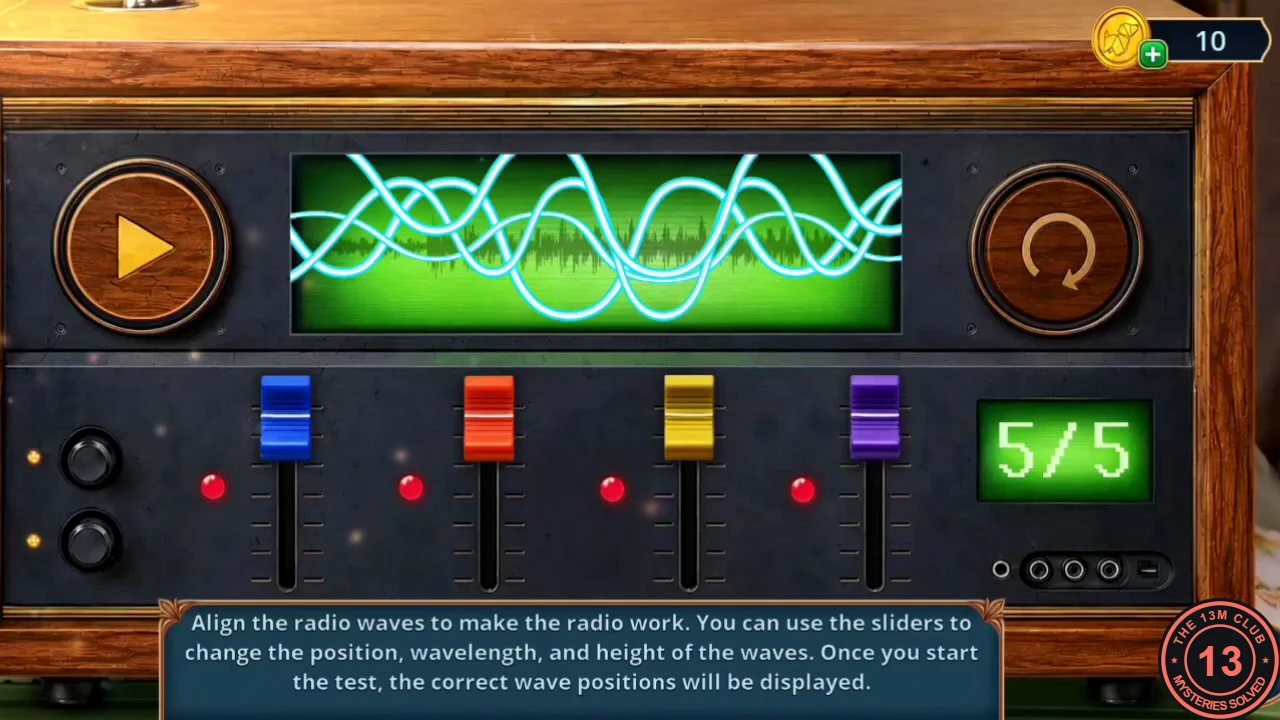
Tune the kitchen radio for the serving instructions.
- Tune the radio on the fridge. Use the four sliders (blue, red, yellow, purple) to change the position, wavelength and height of the waves. Each test shows which waves are right with a green or red lamp, and you have five tests. Example setting that passed on the first test: blue high, red and yellow low-middle, purple middle. If yours differs, match the target wave on your screen.
- Listen to the broadcast (Recipe on Air achievement); the heroine writes down the Serving Instructions. The note reads: serve the meat on a large platter; arrange sprigs of fresh herbs, dried figs and apple slices around the edges; place the sauce on the right and the carving knife next to it, but not on the platter; place a napkin under the edge of the platter; attach the serving card to the front; garnishes should not cover the meat.
The Turkey Table
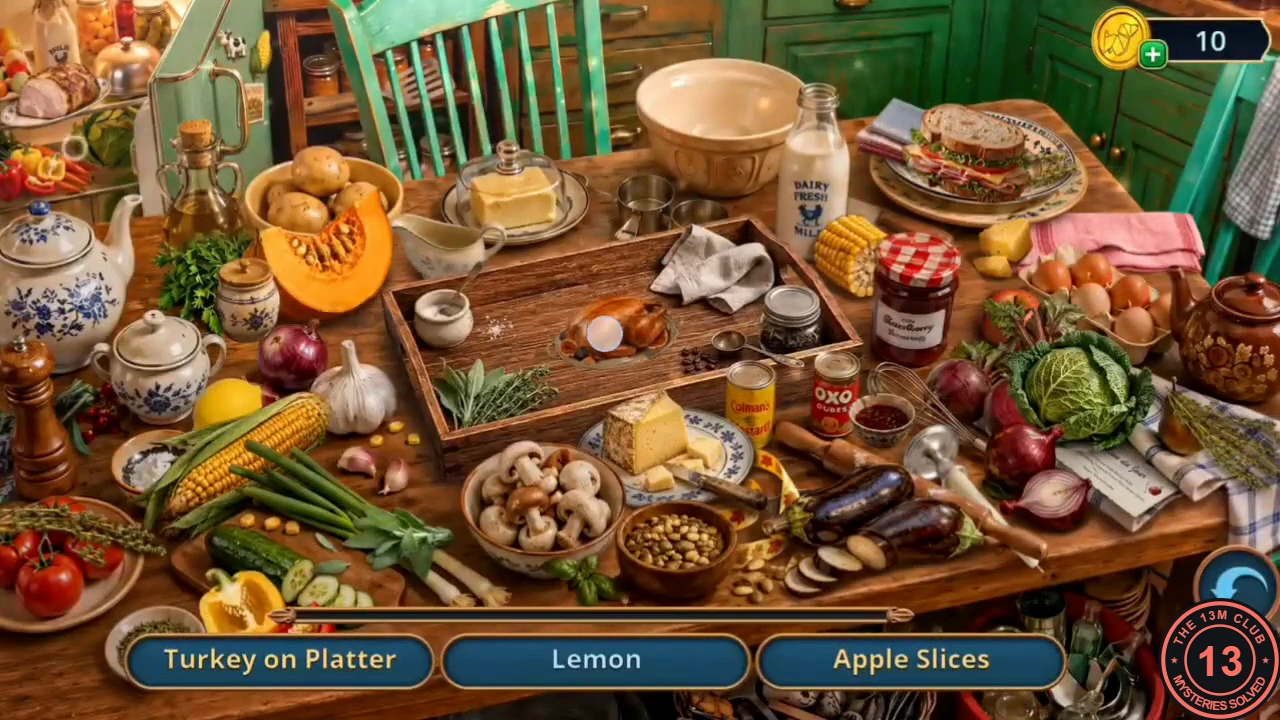
Set the turkey table following the serving instructions.
- Put the roast turkey on the recipe book to start the turkey table hidden-object scene. Find and place the listed items, such as the Lemon, Apple Slices, Serving Fork, Kitchen Spatula, Little Serving Candle, Fall Ribbon, Clean Napkin, Saucer, Rosemary Sprigs, Serving Card and Sage. Your reward is the Metal Spinning Top.
- Decision point: Question his concern for order (2 stars) or Ask about Blackwood's reasons (free, 0 stars; in the dialogue: Ask what Blackwood was doing at the warehouse).
The Backyard Leaves
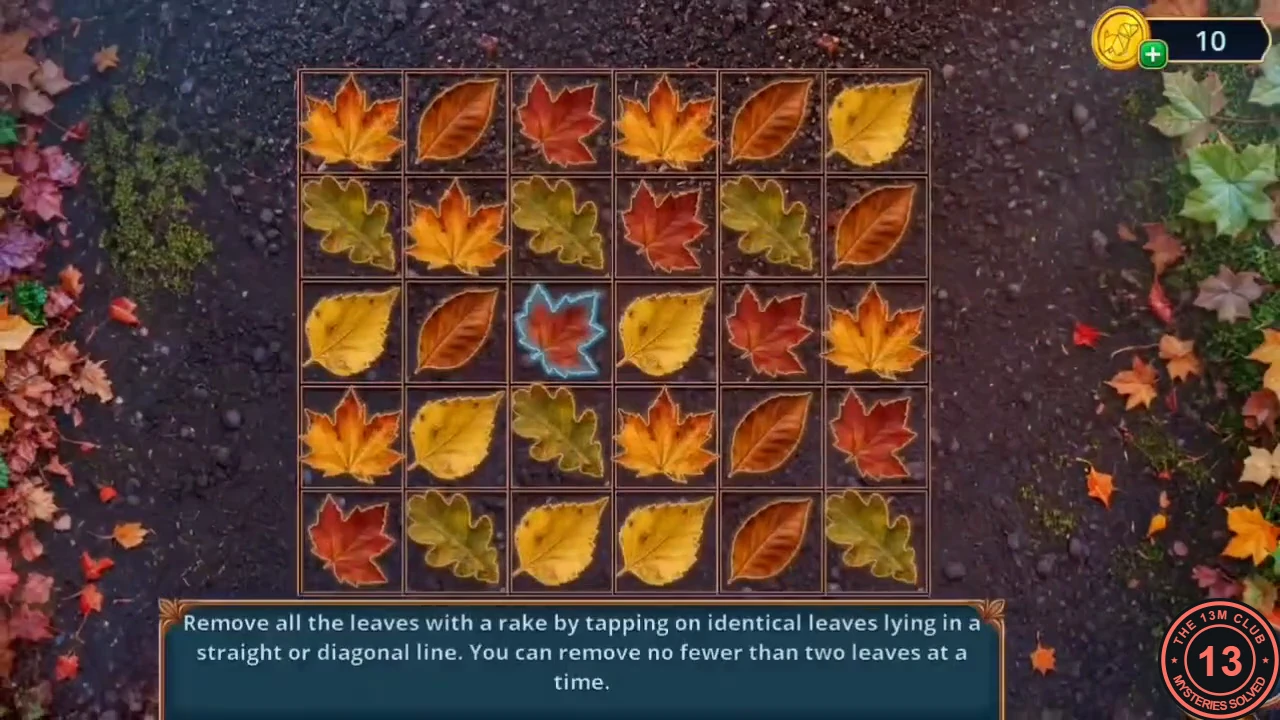
Open the passage to the backyard, rake the leaves and run the pump.
- In the Service Hall, fit the Metal Spinning Top into the empty wheel bracket of the screen cart. It rolls aside; go through the passage to the backyard.
- In the ivy, take the Screen Panel and the Rake.
- Rake the leaf heap. Tap matching leaves (maple, birch or oak) that lie in a straight or diagonal line; you must remove at least two at a time. Clear the whole board without leaving a single leaf stranded.
- Take the Adjustable Wrench from the cleared soil. Fit it on the garden pump, pump water and take the Pocket Mirror from the drain.
The Storage Door Token Maze
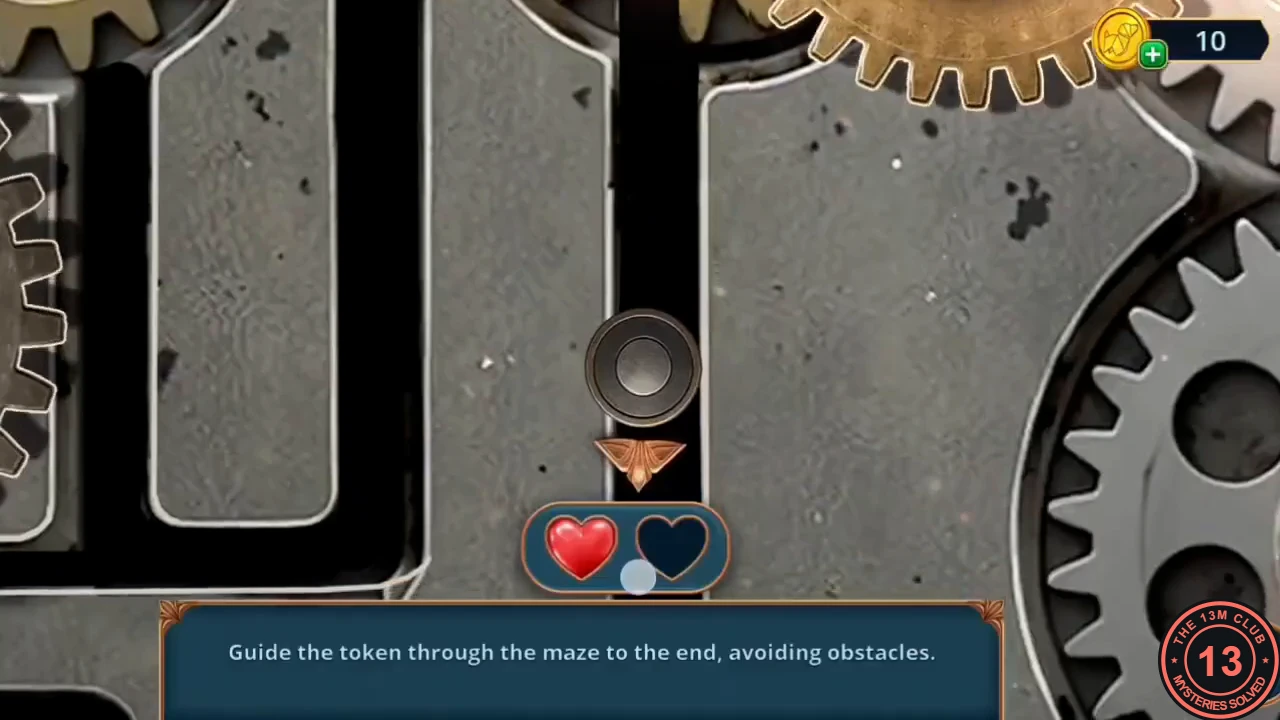
Steer the token through the storage door maze to reach the cider cellar.
- Put the Pocket Mirror into the mechanism on the storage door to start the token maze. The view scrolls with the token, so you only see the part of the maze around it. Tap the arrow next to the token to send it along a channel, and pick a new direction at each junction. Turning gears sit beside and across some channels and count as obstacles: touching one costs a heart, and you have two. In the recorded run the token lost one heart passing the large silver gear near the start and still finished. The token went up from the start, then mostly right and up through the gear sections, and reached the gold padlock from the left. When the token touches the padlock, it opens and the door leads to the cider cellar.
The Cider Cellar and the Donations Memory
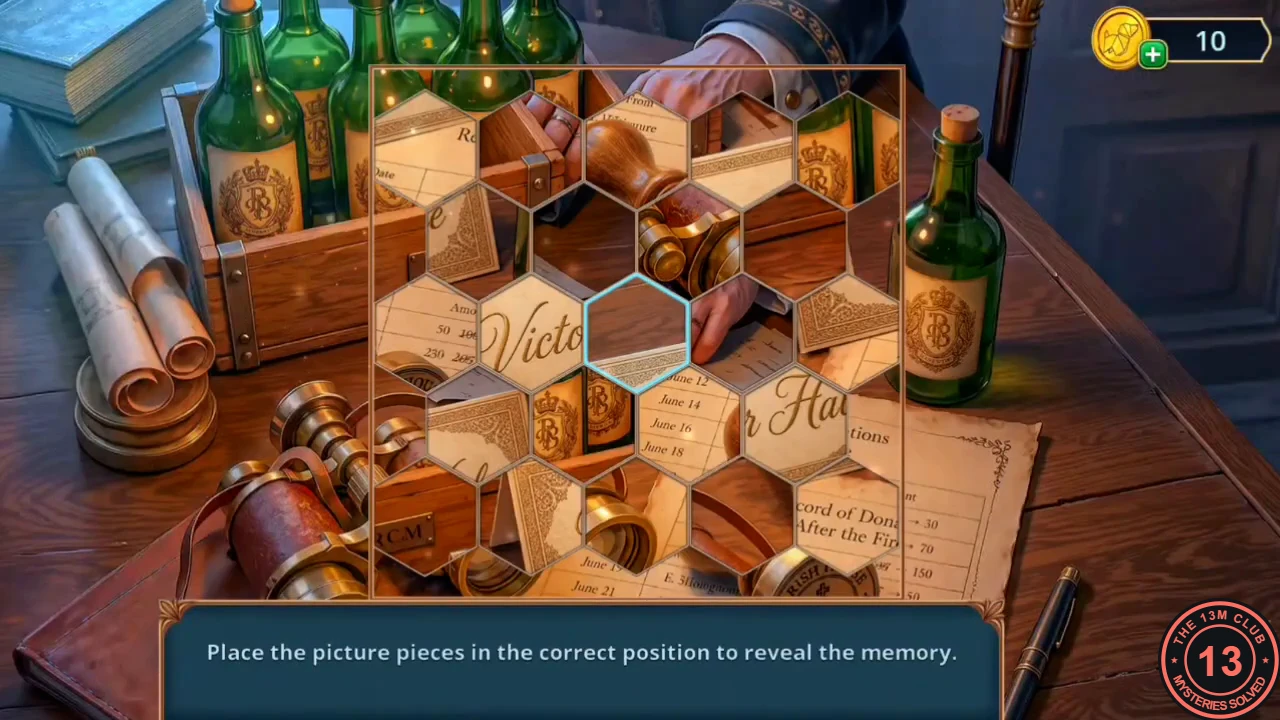
Scare off the rat with a flashlight and see the memory of the donation ledger.
- In the cider cellar, take the Cider from the shelf (the red leather case there has a broken zipper pull). Take the Butterfly Net from the drain grate by the blue chest.
- Read the Sommelier's Guide on the table, then take the Hand Flash from the blue box.
- Shine the Hand Flash at the rat on the shelf. It flees; take the Broken Binoculars. A memory starts: swap the hexagonal pieces to show Victor Hale's plaque, the binoculars and the Record of Donations After the Fire.
- Take the Cold Coal Iron from the rat's shelf. Back in the kitchen (task Help with the dinner complete), put it on the stove and light the burner with the Matches to get the Hot Coal Iron.
Blackwood's Crate and the Rug Threads
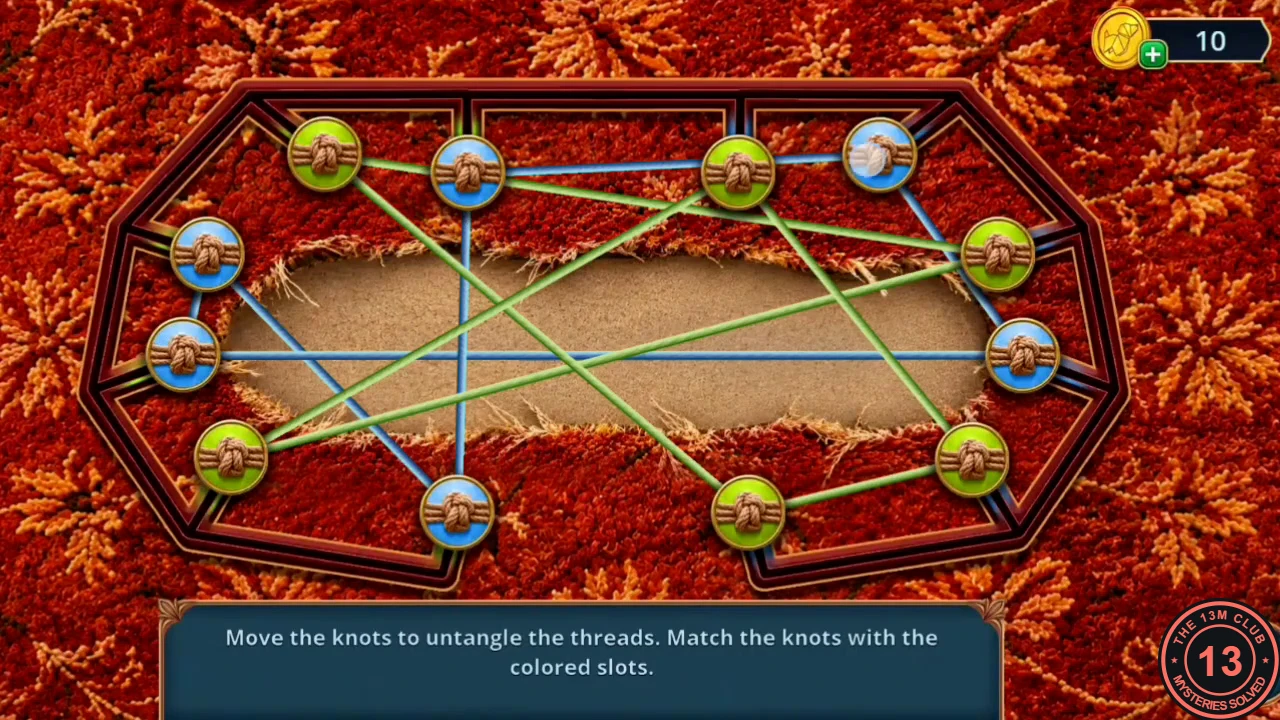
Steam the label off Blackwood's crate, then untangle the threads in the corridor rug.
- In the cellar, press the Hot Coal Iron on the label of Blackwood's crate (The Label Does Not Lie achievement) and take the Cider Label. The crate opens; use the Corkscrew on the crested stopper in the straw and take the Bottle Stopper.
- Back in the pantry, fit the Bottle Stopper into the spice box drawer as a handle. Open the drawer and take the Knitting Needles.
- Use the Knitting Needles on the stitched patch of the corridor rug. Move the knots so that no threads cross: the green knots go to the green slots on the left and the blue knots to the blue slots on the right.
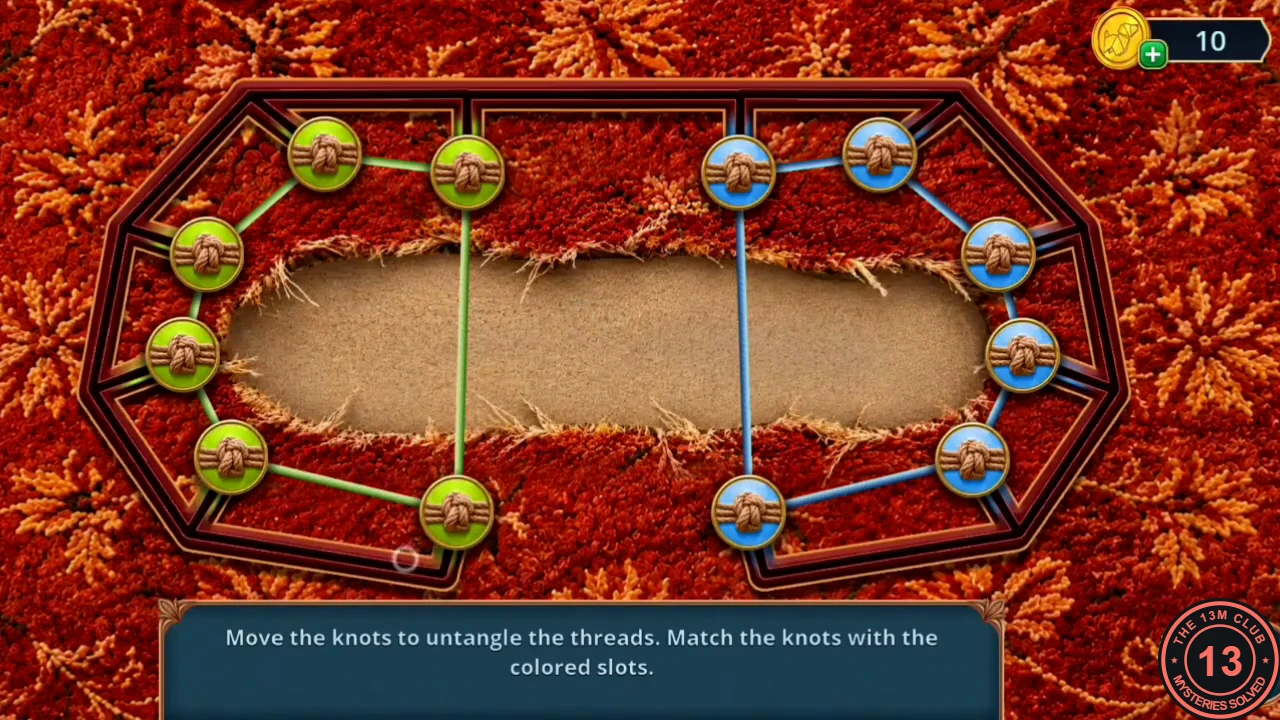
The untangled threads: green knots left, blue knots right. - Take the Aromatherapy Oil from under the loose rug edge.