Decision Points, Stars and the Memory Photos
Each chapter has four decision points. The free answer earns 0 stars; the other answers earn 2, 3 or 6 stars and some show a coin price. Paid answers change only the reply or short cutscene and your stars; the tasks and puzzles that follow are the same either way. At the end of every chapter, Your Decision Points adds up your stars and shows one of three memory photos. The main walkthrough follows the free answers; this section describes the paid answers from a second complete playthrough that took the highest answer every time.
- How stars work: where a price is shown, 2-star answers cost 60 coins, 3-star answers 30 coins and 6-star answers 60 coins. Each chapter offers up to 12 stars. The chapter photo tiers need 0, 4 or 10 stars, so you need at least 4 stars for the middle photo and 10 for the best one. Within a chapter, 10 stars means the 6-star answer plus two 2-star answers; taking every highest answer gives 12/12.
- Chapter 1: Overcome the weakness (0) or Calmly acknowledge the vision (2): admitting the vision makes Mimi offer to cover for you. Simply hand over the pie (0) or Gently suggest he keep his speech brief (2): Blackwood promises to do his best. Comfort Mimi (0), Protect the evidence (3) or Help Victor (6): with Help Victor, Mavis tends him and Blackwood leaves to unlock the side gate for the doctor. Ask for the full story (0) or Show compassion (2): Eleanor explains she only wants her mother's side heard. With 10 or more stars, the Chapter 1 photo shows a young man writing at a desk.
- Chapter 2: Promise to be careful (0) or Say it's urgent (2): Mrs. Croft grants temporary access to avoid the press. Ask for evidence (0) or Trust Eleanor (2): Eleanor says she stayed to restore her mother's name. Point out the danger to Victor (0) or Follow the paper trail (2): Marcus agrees to demand access to the committee records. Call Marcus to the record (0), Show empathy (3) or Pressure with facts (6) (in the dialogue: Call Marcus in, Show empathy, Confront with facts): Mrs. Croft admits Blackwood told the committee the truth would bring scandal, and that she hid the papers without knowing it was a cover-up. With 10 or more stars, the Chapter 2 photo shows a man at a window.
- Chapter 3: Put a stop to the row (0) or Hear Eleanor out (2): Eleanor points you to the volunteers' room and its duty rota. Suggest going to the mill (0) or Point out Thomas's fear (2): Marcus agrees it is too soon to treat Thomas as a suspect. Ask about the next steps (0) or Reassure Thomas (2): Thomas talks about his father believing he was a coward. Freeze in fear (0), Catch the criminal (3) or Help Victor (6): Marcus calls an ambulance and you start first aid. With 10 or more stars, the Chapter 3 photo shows a young man in a suit at an evening fair.
- Chapter 4: Offer to fix the dish (0) or Make it sound official (2): Mrs. Croft comments on the convenient menu adjustments. Ask about Blackwood's reasons (0) or Question his concern for order (2): you realise he was checking his alibi, not the cider. Look for what Blackwood missed (0) or Look for hard evidence (2): Marcus agrees to bend procedure. Accuse Blackwood (0), Expose the false heroism (3) or Present the evidence (6): Eleanor and Thomas open the chest, Mrs. Croft admits Blackwood pressured her, Victor speaks up, and Blackwood starts the fire. The fire puzzle follows either way. With 10 or more stars, the Chapter 4 photo shows an open old book.
- The 0-star ending: the final photo shows Blackwood being led away in handcuffs. Marcus walks him out, followed by the Unsolved Case: Forgotten Name title card.
- The 10-star ending: Marcus still leads Blackwood out, and then there is an extra scene. The villagers gather at the Thank-You Book and Mavis writes the name Oliver Davies in it, apologising that it took so long to set things right. The book closes on a slice of pie before the title card.
- This guide covers the recorded low-star (0 stars) and high-star (10 or more stars) chapter outcomes. The middle outcome for 4 to 9 stars is not covered.
Collectibles: The 140 Sunflower Flags
Sunflower Flags look like two small sunflowers with a leaf. They hide in the main scenes and close-ups; tap one to collect it. The counter rises by two or three for each flag, and the 140 points are spread over about 55 flags. The numbers in brackets are the counter after each pickup in a complete reference playthrough. Collect them as you go: each chapter's flags are in that chapter's scenes.
- Chapter 1 (35 by the end of the chapter): Main Street, on the pumpkin pile beside the small scarecrow doll, below the blue van's number plate (2); herb stall close-up, bottom left on the stone ledge under the herbs crate (5); Elderwick Square, on top of the green-and-white striped awning right of the cider stall (8); produce table close-up, on the table edge below the cheeses (10); church front, on the lower steps left of the scarecrow and lantern (13); rose-bed close-up, among the rose canes on the right above the pumpkin (16); Parish Hall, on the purple tablecloth at the front end of the right-hand table (19); lectern close-up, bottom left among the purple flowers under the book (21); guest-house street, in the crate of pumpkins by the lamp post left of the porch steps (24); collapsed-steps close-up on that street, among the rose leaves at the bottom right (27); red bicycle close-up, on the rear carrier (30); guest-house hall, on the reception desk in front of the bell (33); armchair close-up, on the armchair's back right of the cream cushion (35).
- Chapter 2 (70 by the end): in your minivan, on the stove top beside the Mimi's mug (38); van sofa close-up, top left against the wall between the curtain and the floral cushion (40); library street, on the shawl over the end of the bench by the lamp post (42); goose close-up, among the flowers at the foot of the tree left of the goose (45); Library Hall, on the floor behind the two book stacks in front of the librarian's desk (48); marble sink close-up, top left above the basin (50); Reading Room, on the seat of the front chair at the reading table (52); close-up of the girl, on the shelf behind her on the right, below the books (55); Parish Committee Archive, on the front edge of the desk right of the red leather chair (58); archive window close-up, in the plant pot at the top left (60); Hospital Square, on the wet paving at the left front of the fountain (62); storm-drain grate close-up, top-left corner (65); Victor's room, on the sink counter at the left beside the trolley (68); nightstand close-up, on the base of the brass lamp (70).
- Chapter 3 (105 by the end): Parish House yard, on the seat of the wooden bench at the left (72); Parish House hall, on the broken staircase at the top left above the newel post (75); harpsichord close-up, on the tray right of the blue pouch (77); Volunteer Room, on the bed by the pillow (79); aquarium close-up, bottom-right corner below the tank (82); Utility Room, on the shelf right of the tall wooden cabinet beside the jars (85); stove close-up, lower left on the side of the stove (87); mill yard, on the bonnet of the red tractor (89); close-up of the cart with the Thomas Reed's Mill sign, bottom right on the ground (92); well close-up, bottom right beside the wall (95); inside the mill, on the brick ledge behind Thomas left of the red jar (98); flour-sack close-up, top-left corner of the sack (100); Harvest Park entrance, on the pumpkin wheelbarrow beside the park sign (102); Harvest Park drain-grate close-up, top-left corner (105).
- Chapter 4 (140): church front in the evening, on the scarecrow beside the steps right of the lantern (107); mailbox close-up, right edge against the fence behind the red mailbox (110); Parish Hall, on the tablecloth at the front corner of the long table by the plate (113); lectern close-up, on the ledge right of the open book (115); corridor, on the little side table at the far left beside the vase (117); angel-statue plinth close-up, right end of the ledge (120); kitchen, on the green dresser left of the fridge, beside the flower jug (123); stove close-up, top left on the counter by the jars and apples (125); pantry, in the small wicker basket on the shelf right of the cabinet (127); spice-box close-up, right of the green spice box beside the olive jar (130); backyard, on top of the wooden compost bin (133); pump close-up, top left on the wet paving (135); cider cellar, in the apple crate on the shelf left of the blue net (137); trapdoor close-up in the cellar, top-right corner beside the green chest (140).
- Reward: the last flag unlocks the Inspiration Archive achievement (find all the collectibles in the game). The Extra mini-game, Sunflower Flags, also unlocks; it is described in the next section.
Extra Mini-Game: The Sunflower Flags Picture
Collecting all 140 Sunflower Flags unlocks an extra mini-game. To open it from the title screen, tap the gear button at the top right and choose Extras. The MINI-GAMES window shows Sunflower Flags 140/140, Extra mini-game, with a Play button.
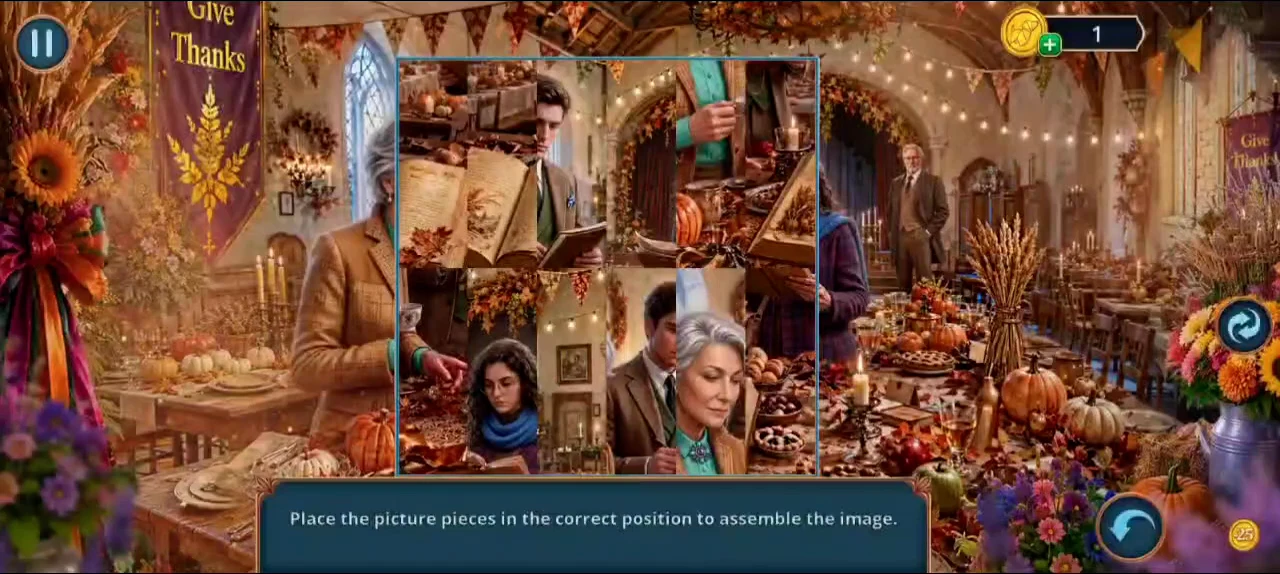
- Press Play. The puzzle shows a Thanksgiving feast picture cut into tall rectangular pieces in a frame, with the instruction to place the pieces in the correct positions. Tap a piece, then tap another piece to swap them; the selected piece is outlined in blue.
- Build the picture of the feast in the Parish Hall: a grey-haired woman holding a teacup on the left with the Give Thanks banner behind her, a young man reading a booklet in the centre, a curly-haired woman in glasses and a blue scarf reading on the right, and an open book at the front. Use the edges of the frame and lines such as the table edge to place pieces. Both reference playthroughs that play this mini-game stop with the picture almost complete, so the completion screen is not shown.
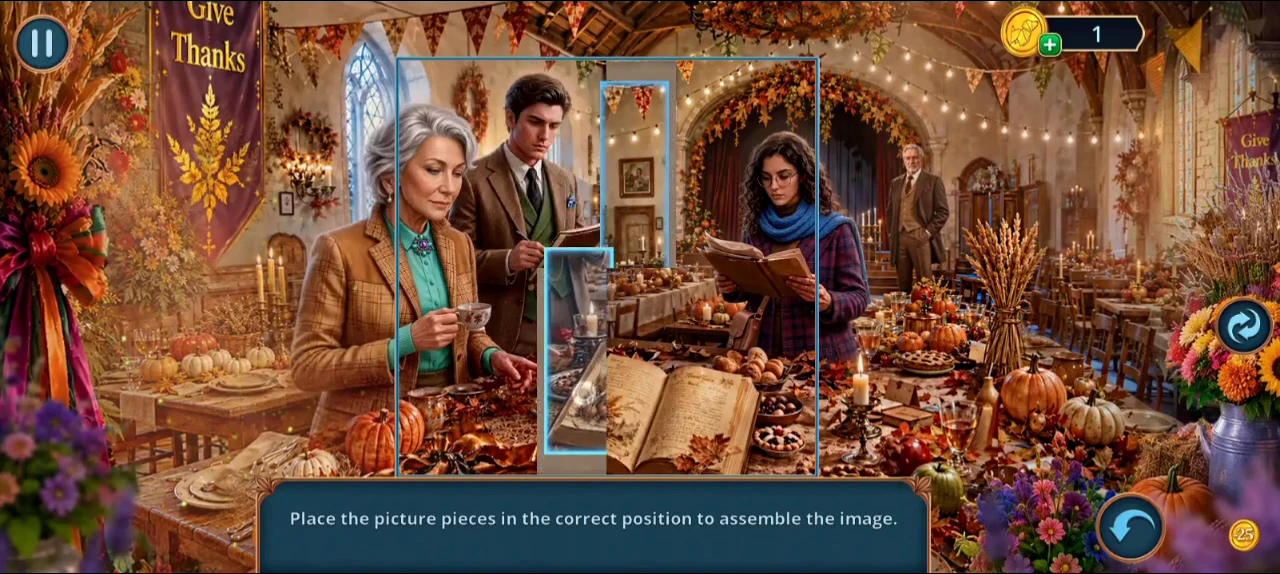
The picture nearly assembled in the reference playthrough; the two highlighted strips in the middle are still being moved.
Achievements
Achievements appear as banners during play. Most come from normal story actions; others reward speed or accuracy in hidden-object scenes and mini-games. This list covers the achievements that could be verified and is not exhaustive.
- Story actions, Chapter 1: High Pressure Bird (put the porcelain bird whistle on the teapot); Shiny Past (wash the old pie pan); Screw It Out (take the corkscrew from the door handle); Apple Argument (distract the pony with a red apple); Ticket From the Past (get the scorched ticket from the ticket machine).
- Story actions, Chapter 2: Escape Medal (open the minivan door with a medal); Distracting Maneuver (shoot paint at the window); Keeper of Secrets (record the password on the tape recorder); Elderwick to the Rescue (open the cosmetic bag with the Elderwick keychain); Goose Chaos (startle the goose with the homemade firecracker).
- Story actions, Chapter 3: Bird Cacophony (scare the magpie with the bagpipes); Wheel of Good Deeds (repair the wheel of the parish cart); Beneath a Layer of Lies (find the hidden door); Pumpkin Carriage (use a pumpkin in place of a wheel); Mouse Threat (disperse the crowd with a mouse).
- Story actions, Chapter 4: Token of Mercy (put the church token in the donation box); Snow Castle (open the freezer with the snowflake amulet); Recipe on Air (listen to and record the radio instructions); The Label Does Not Lie (scrub off the cider batch label); Toast in the Crosshairs (watch Blackwood through the binoculars). Inspiration Archive is for all the Sunflower Flags.
- Skill achievements: Seeker (find 20 hidden objects) and Vault of Knowledge (find 40); Instant Reaction (find 3 hidden objects in 3 seconds); Beam of Truth (finish a hidden-object scene in one minute), Tracker (in two minutes) and Cold Calculation (in three minutes); Pinpoint Accuracy (finish a hidden-object scene without a wrong tap); Instant Solution (finish a mini-game in one minute) and Lightning Mode (finish three mini-games in one minute each).