Mimi's Kitchen: Find the Old Pan
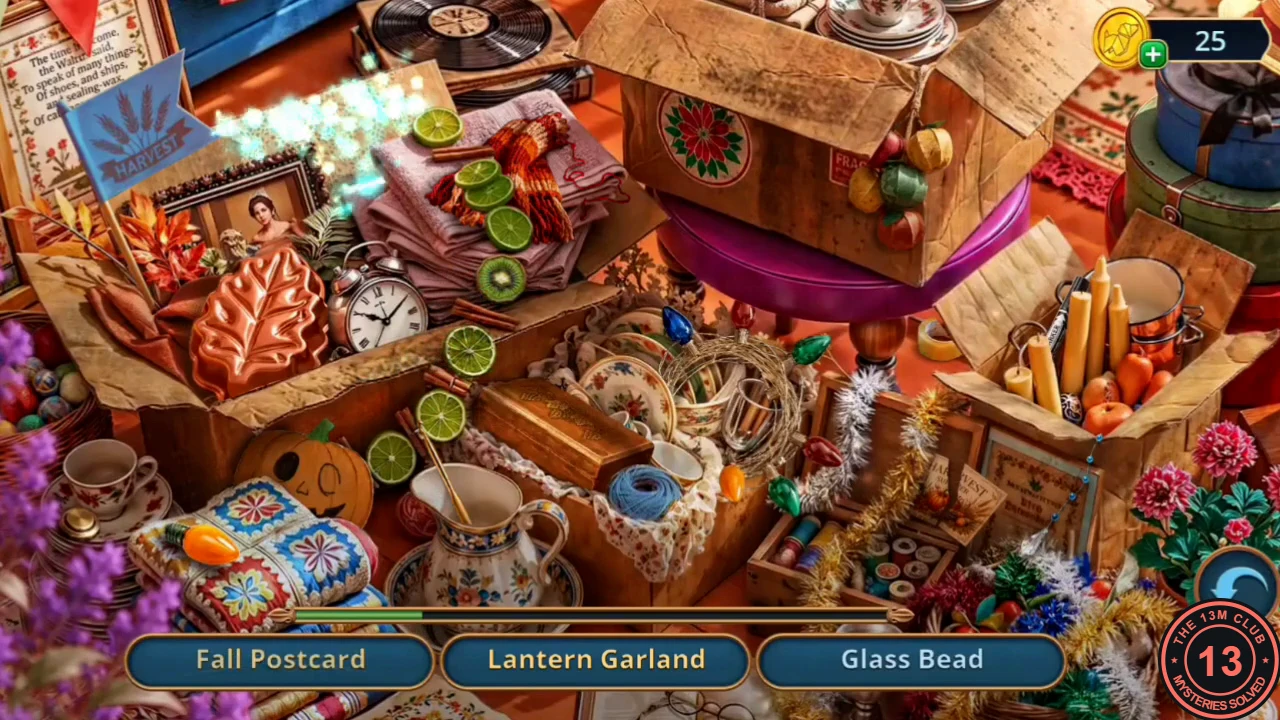
The story opens in Mimi Donaghue's kitchen on the day of the Harvest Festival. Your first task is to find the old baking pan and show it to Mimi. The game offers a tutorial at the start; you can decline it.
- Tap the table with the open recipe book (Donaghue's Pie for Rainy Fall Days). Take the Books (1/4) and the Lemon.
- Zoom into the sink. Take the Coins (1/3) and the Silicone Potholder.
- Zoom into the taped boxes on the floor. Take the Sieve, then the Button underneath it. The tape needs something sharp.
- Zoom into the steaming stove. Take the Porcelain Bird from the counter and fit it on the teapot spout as a whistle (this unlocks the High Pressure Bird achievement). When the steam clears, take the Baking Soda, the Wooden Spoon and the Kitchen Knife.
- Go back to the boxes and cut the tape with the Kitchen Knife. This opens a hidden-object scene.
- Hidden-object scene: find the objects shown in the three slots at the bottom; each slot refills until the list is finished. Some objects only appear after you interact with the scene. Your reward is the Old Baking Pan.
Bake the Festival Pie
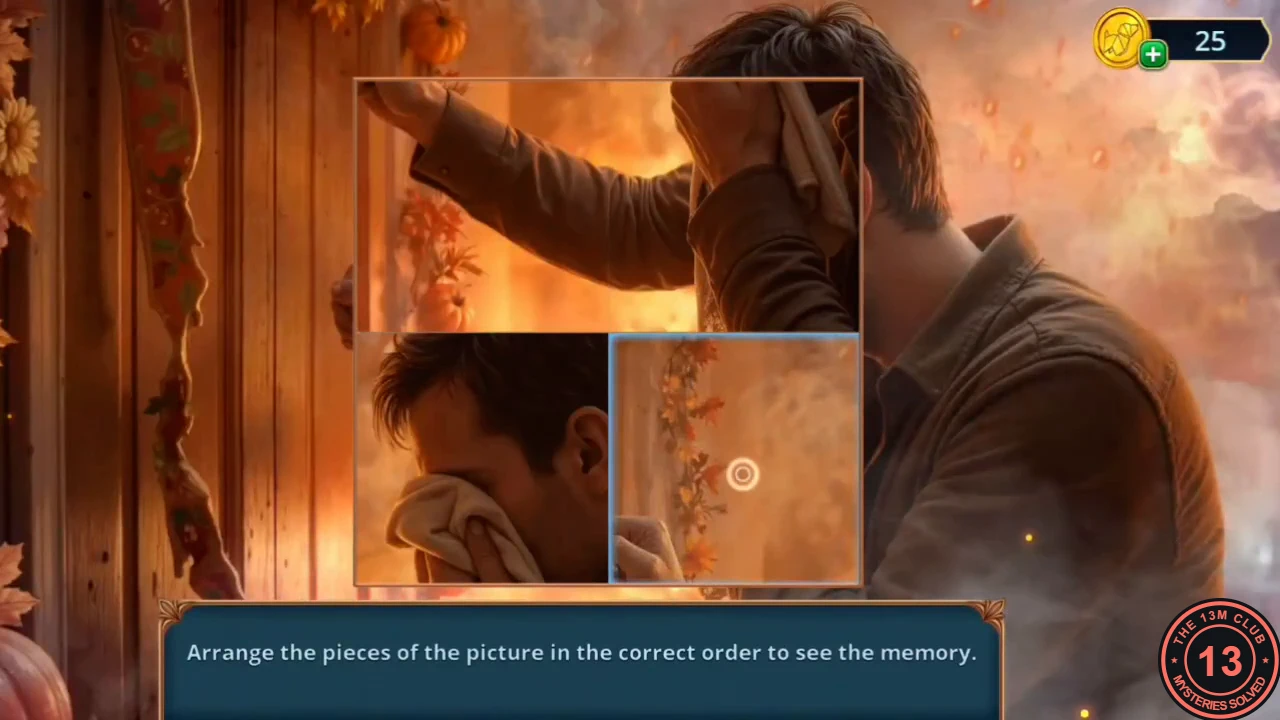
Showing Mimi the pan sets a new task: bake a pie and pack it in a basket. Memory pictures appear as glowing vortexes; tap one, then swap the picture pieces until the image is complete.
- Tap the vortex at the counter and swap the pieces to restore the memory picture.
- Decision point: Mimi asks about your vision. Choose Overcome the weakness (0 stars) or Calmly acknowledge the vision (2 stars). Stars decide which memory photo you earn at the end of the chapter; see the chapter's final section.
- At the sink, put in the Old Baking Pan, then add the Baking Soda and the Lemon. The pan is cleaned automatically; take the Clean Pan.
- At the table, use the Wooden Spoon on the green bowl and the Sieve on the blue bowl. The batter and pumpkin filling go into the Clean Pan; take the Unbaked Pie.
- At the stove, put the Unbaked Pie in the oven. Take the Handle from the oven drawer. When the pie is baked, use the Silicone Potholder to take it out. New task: put the pie in a basket.
- Fit the Handle on the drawer above the sink and open it. Take the Handheld Vacuum Cleaner, the Wire Bracket and the Caduceus Emblem.
- Open the vacuum cleaner in inventory and fit the Button as its power button. Use the working vacuum on the flour mess in the boxes to open a second hidden-object scene.
- Hidden-object scene: find the listed objects, then assemble the basket handle onto its base to earn the Woven Basket.
- Put the Woven Basket over the pie at the stove to get the Basket with Pie. Mimi asks you to take it to the square.
Main Street: The Volunteer Wristband
The festival gate only lets volunteers through. Collect three coins and make a volunteer wristband.
- Zoom into the ticket machine at the bus stop and take the coin from its handrail (Coins 2/3). Back on the street, pick up the Lighter and the Paper Band.
- Zoom into the herb stall and take the Purple Cellophane. A Sunflower Flag sits on the blue cabinet.
- Zoom into the back of the blue van. Place the Caduceus Emblem on the lock of the pink First Aid case to open it. Take the coin (Coins 3/3), the Syringe and the Stethoscope. Remember the Medical Handbook here; you need it later.
- Put the three Coins in the slot above PAY HERE at the herb stall. The stall gives you the Volunteer Stamp.
- Open the Paper Band in inventory and stamp it with the Volunteer Stamp to make the volunteer wristband.
- Show the wristband to the volunteer at the gate to enter the festival square.
Elderwick Square: The Harvest Festival
Deliver the pie to Sir Reginald Blackwood and find a way through to the church.
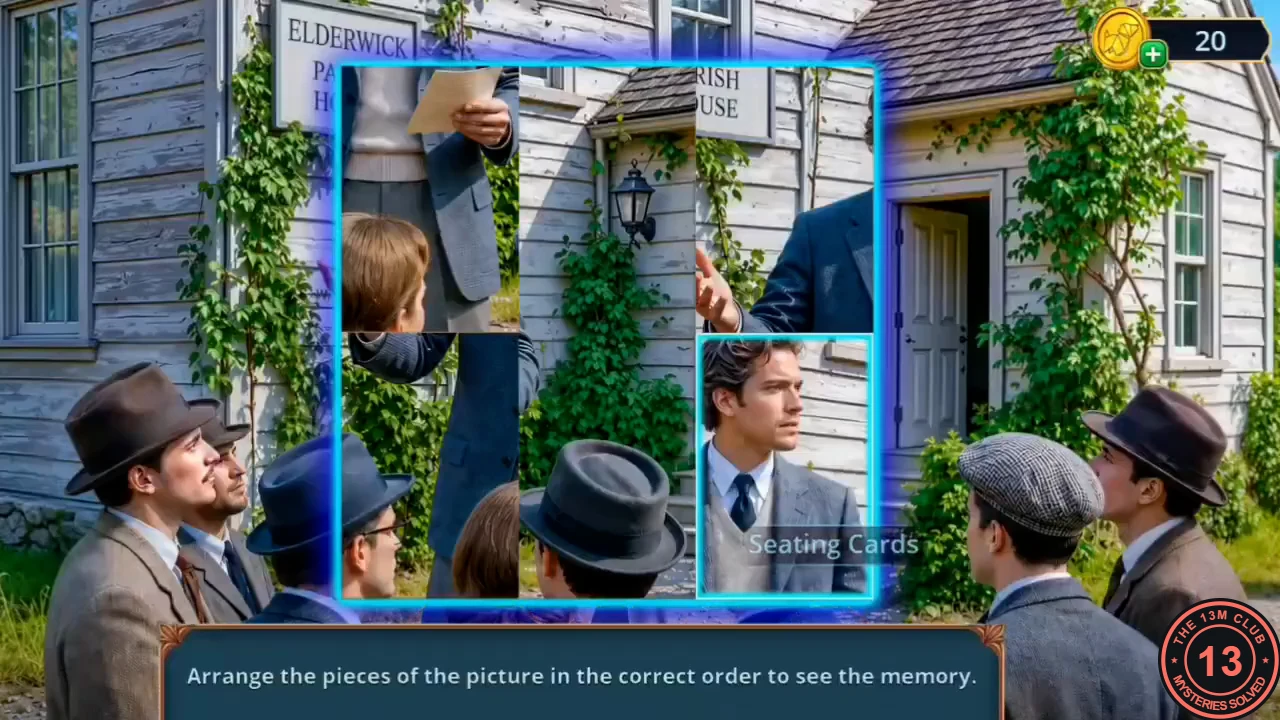
- Zoom into the Heroes of the Elderwick Fire booth and take the Seating Cards (1/3). Tap the vortex and swap the pieces to restore the memory picture of the parish-house speech.
- Zoom into the donation box at the booth and take the Round Handle.
- Zoom into the produce table. A Sunflower Flag is on the table edge. The green chest has an empty Halloween-shaped slot; you open it later in this chapter.
- Take the Corkscrew beside the cider barrel. In inventory, fit the Round Handle on the Corkscrew, then use the tool on the cider barrel and take the Umbrella.
- At the produce table, use the Umbrella to pull down the apple basket. Take the SPARK Battery and a Red Apple. Give the Red Apple to the pony; it walks away.
- Give the Basket with Pie to Sir Reginald Blackwood. Decision point: Gently suggest he keep his speech brief (2 stars, shown with a 60-coin price) or Simply hand over the pie (0 stars, free). After the conversation you receive the Long Garland.
- Hang the Long Garland on the lantern wire of the pumpkin archway, then walk through it to the church.
Near the Church: The Rose-Branch Puzzle
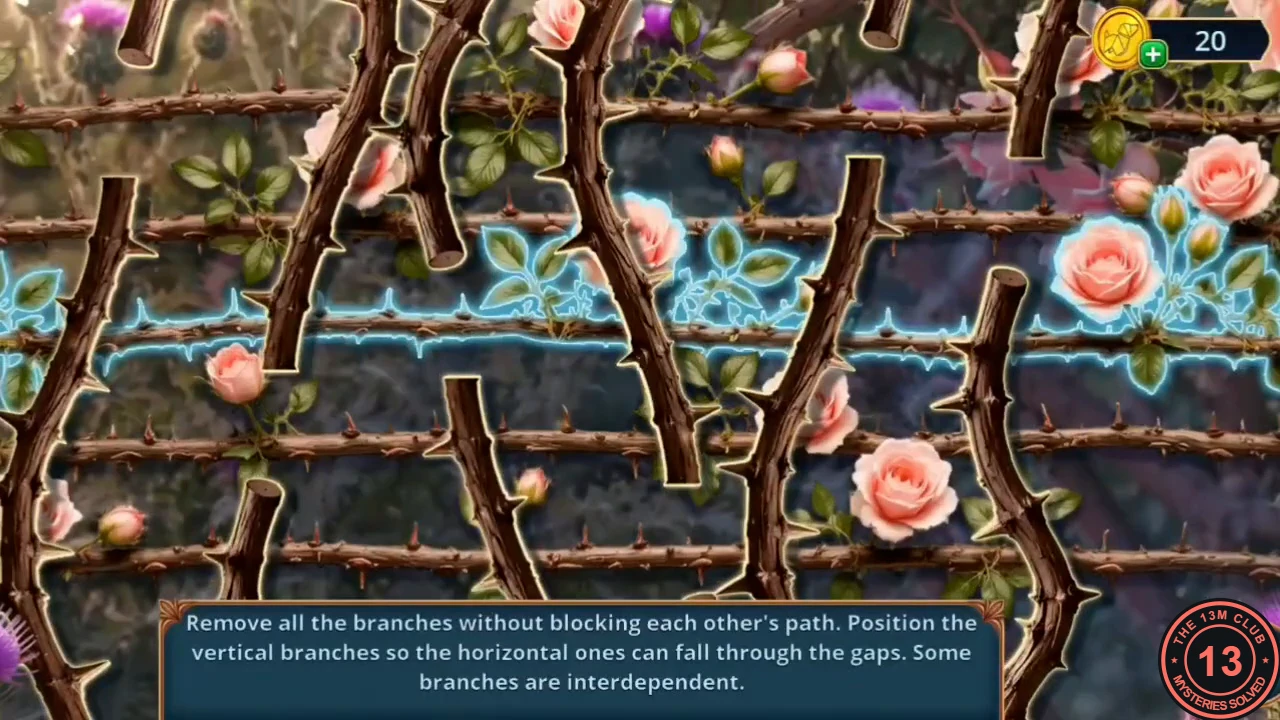
A thorny rose bed blocks the path to the church doors. The branch puzzle is long; the method below works without listing every move.
- Zoom into the side gate to the right of the church steps (its notice says the gate is kept closed). Take the Garden Shears and the book Wild Plants of Britain from the bottom left, under the notice. The book shows no name label as it flies to your inventory; it is your second recipe book (Books 2/4).
- Use the Garden Shears on the thorny bush to start the branch puzzle. Slide the vertical branches until their gaps line up under a horizontal branch, then tap that horizontal branch to drop it out. Clear one horizontal branch at a time and recheck the gaps after each removal until the whole bed is clear.
- Tap Victor Hale's robotic mower so it drives off. In the cleared bed, take the Seating Cards piece (2/3) and the Knocker. A Sunflower Flag is in the roses.
- Zoom into the church doors. Hang the Knocker on the lion head and tap the knock button. Mrs. Croft opens the door and invites you in.
Parish Hall: The Dinner Seating Plan
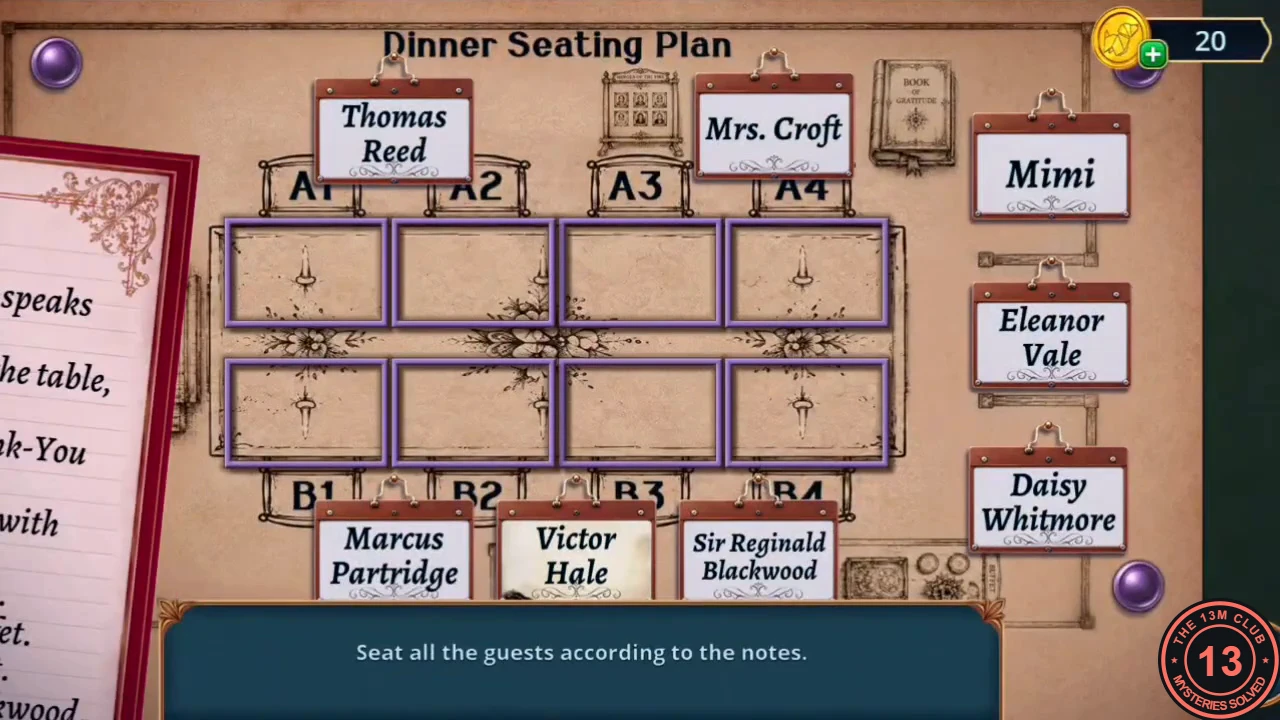
The Thank-You Dinner needs a seating plan. Collect the last name card, then place all eight guests.
- Read the Thank-You Dinner Budget note. At the lectern display, find Mrs. Croft's place card; a Sunflower Flag is on the purple drapery at the bottom left.
- Zoom into the seating board and take the Sample of Victor's Speech pinned to it.
- At the glass book case (the Thank-You Book), take Mrs. Margaret Croft's card to complete the Seating Cards (3/3). The book itself is sealed under glass for now.
- Place the Seating Cards on the board to start the seating puzzle. Use the rules note beside the board. Solution: table A, seats 1-4: Victor Hale, Sir Reginald Blackwood, Daisy Whitmore, Mrs. Croft. Table B, seats 1-4: Thomas Reed, Marcus Partridge, Mimi, Eleanor Vale.
- Pull the nails from the board and take the Dinner Seating Plan. Place it on the banquet table. During the speech Victor collapses. Decision point: Comfort Mimi (0 stars), Protect the evidence (3 stars) or Help Victor (6 stars). This guide follows Comfort Mimi; the paid answers are described in Endings and Extras.
Parish Hall: The Banquet Table Hidden Objects
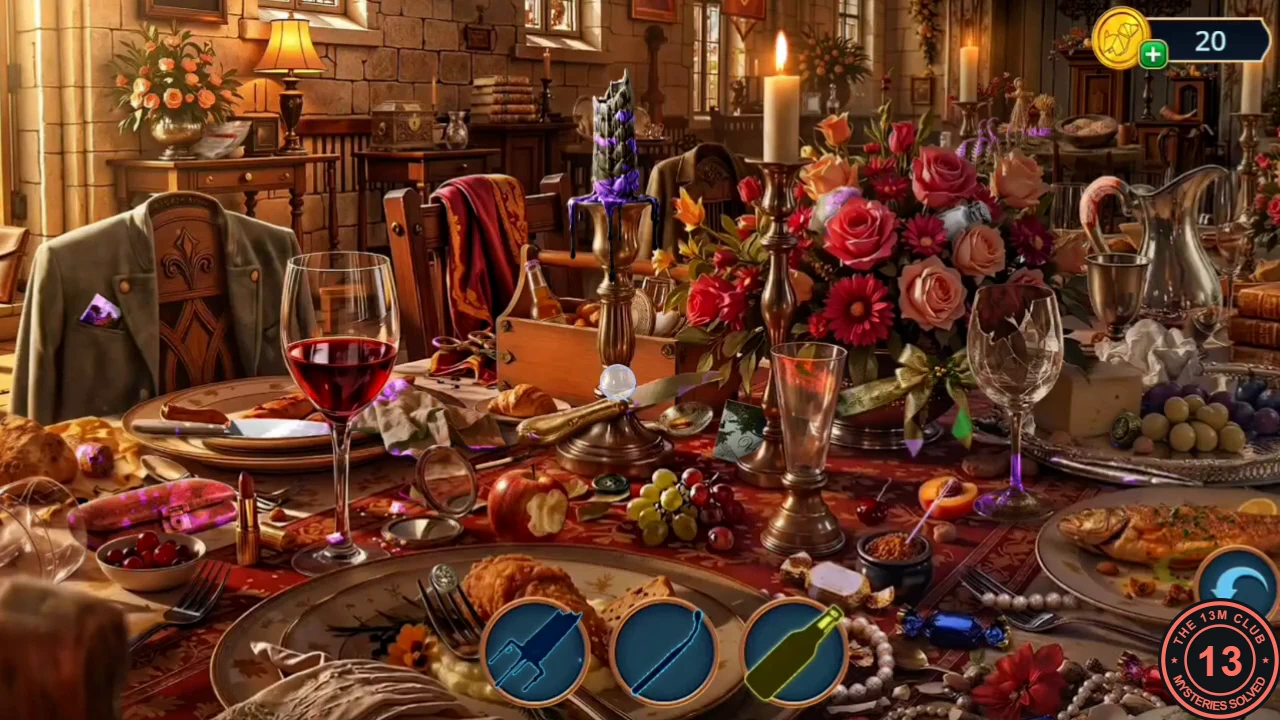
Inspector Blackwood's team arrives. Build a UV flashlight and search the banquet table for clues.
- Receive the CSI Kit. Open it in inventory to get the Empty Notebook and the Flashlight. Open the Flashlight and add the SPARK Battery and the Purple Cellophane to make the Homemade UV Flashlight.
- Shine the UV Flashlight on the banquet table to open a hidden-object scene. At the end, wipe the smudge with the green napkin and take the Gate Key.
Parish Hall: The Bottle Memory and the Side Gate
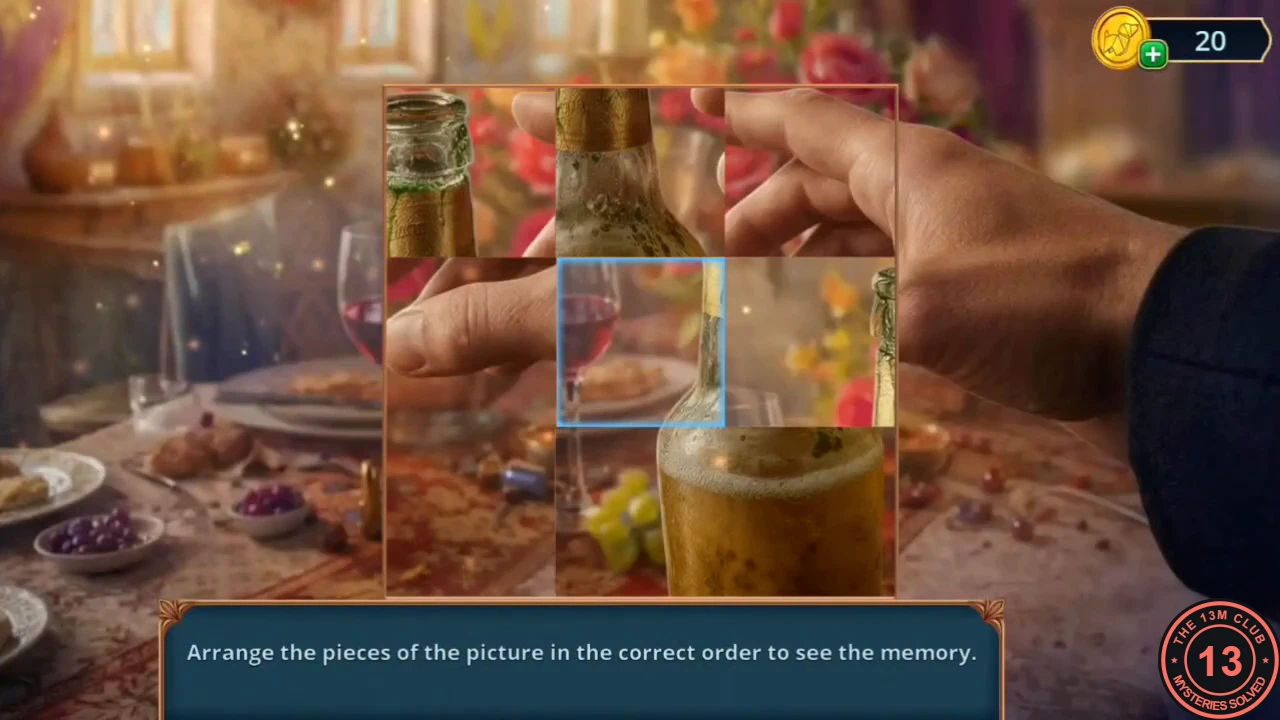
Report the Gate Key to Marcus, restore the memory and question the guests.
- Back in the Parish Hall, give the Gate Key to Marcus Partridge. He concludes that someone slipped in through the side gate. New task: question the guests. Restore the memory picture from the vortex (a hand holding a bottle at the dinner table) and take the Oil.
- Talk to Eleanor Vale and Mrs. Croft. Outside, an elderly man is stuck behind the rusted side gate; oil its hinge with the Oil to free him (no key is needed here). After the talk you receive the Notebook with Interrogation.
Parish Hall: The Evidence Table
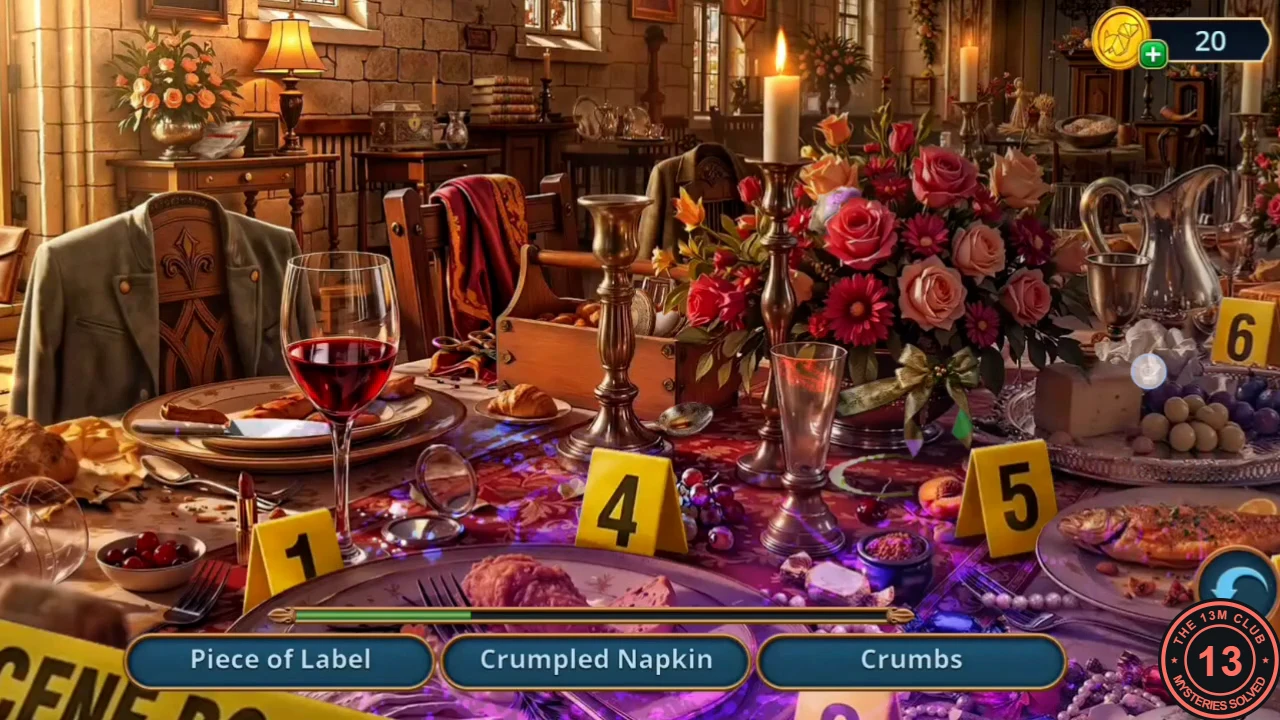
Mark every piece of evidence on the dinner table.
- Give the report to Marcus Partridge. The evidence table then opens as a hidden-object scene. Find the marked evidence: Cork Piece, Bitten Apple, Torn Thread, Crumbs, Large Scratch, Crumpled Napkin, Tape with Imprint, Wet Glass Ring, Mark on Jug Handle, Medicine on Spoon and Piece of Label.
- Marcus tells you that Eleanor is staying at the guest house and gives you a Bus Ticket so you can search her room.