My Minivan: The Wheel Path Lock
Marcus wants older records: newspapers, parish records and a plan of the parish house. You start inside your minivan.
- At the van table, open the scrapbook. Take the Slide (1/3) and the red Button underneath it.
- At the dashboard, put the red Button in its socket. Fit the red knob from the dashboard on the glovebox and open it. Take the Blotting Paper, the Cassette Tape and the Spikelet Figurine.
- At the bench, take the Paintball Gun and the Trowel. The bench drawer has a puzzle latch that needs a missing piece; you come back later.
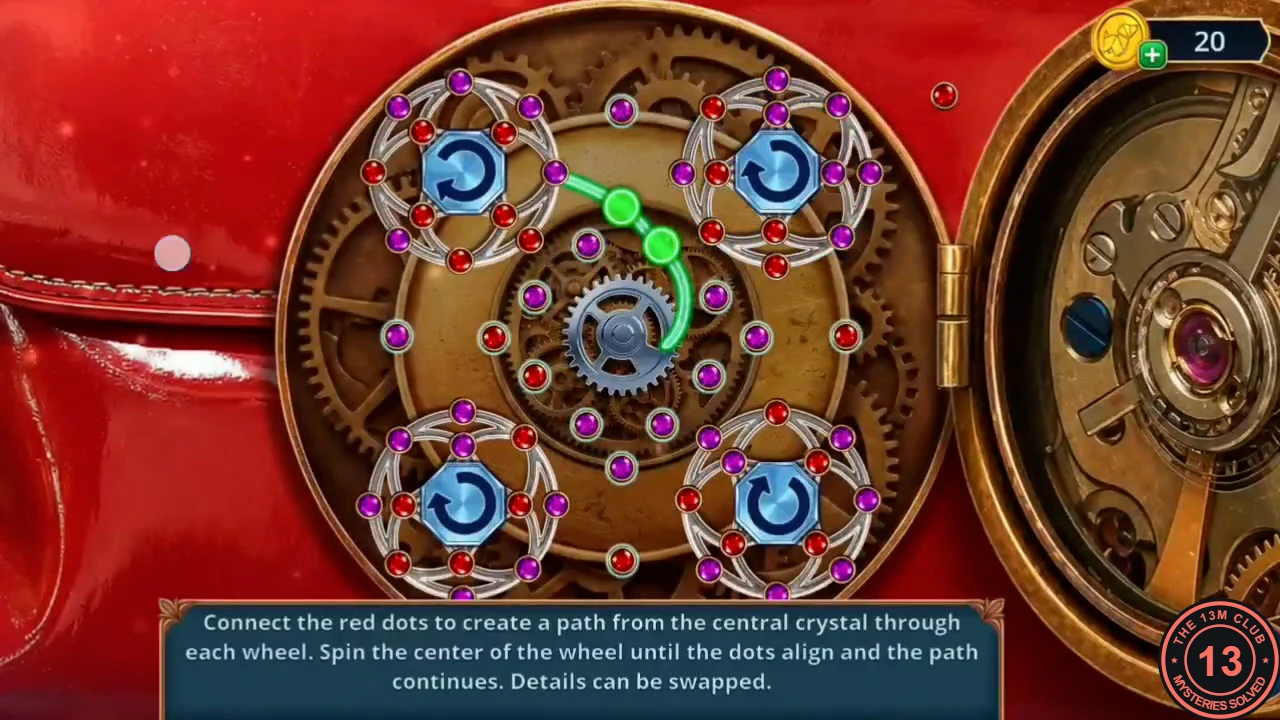
- Place the Spikelet Figurine on the red handbag's lock to start the wheel path puzzle. Goal: link the red dots in one path from the central crystal through every wheel to the exit. Tap a wheel's centre to spin it; tap one wheel and then another to swap them. Work outward from the crystal: fix the wheel touching it first, then turn and swap the others until each joins the path. When the path is complete, it leaves the board at the top right.
- Open the handbag and take My Wallet, the Mirror and the Medal of Honor (Elderwick's Best Pie).
- Use the Medal of Honor on the van's side-door lock and step out to the library street.
Elderwick City Street: The Cart Packing Puzzle
The library is locked while a donation cart blocks the way. Fix the cart and load it.
- At the lamppost base, take the rolled Temporary Reader's Ticket by the post and the first Gears piece (1/3) from behind the glass panel. Dig the dirt mound with the Trowel and take the Cart Wheel.
- By the goose under the apple tree, use the Forceps from Chapter 1 on the crevice and take the Wing Screw. Keep the Forceps; you need them again. A Sunflower Flag is on the rim of the stone planter.
- Read the note from M. Croft by the cart, then fit the Cart Wheel on the cart to start the packing puzzle.
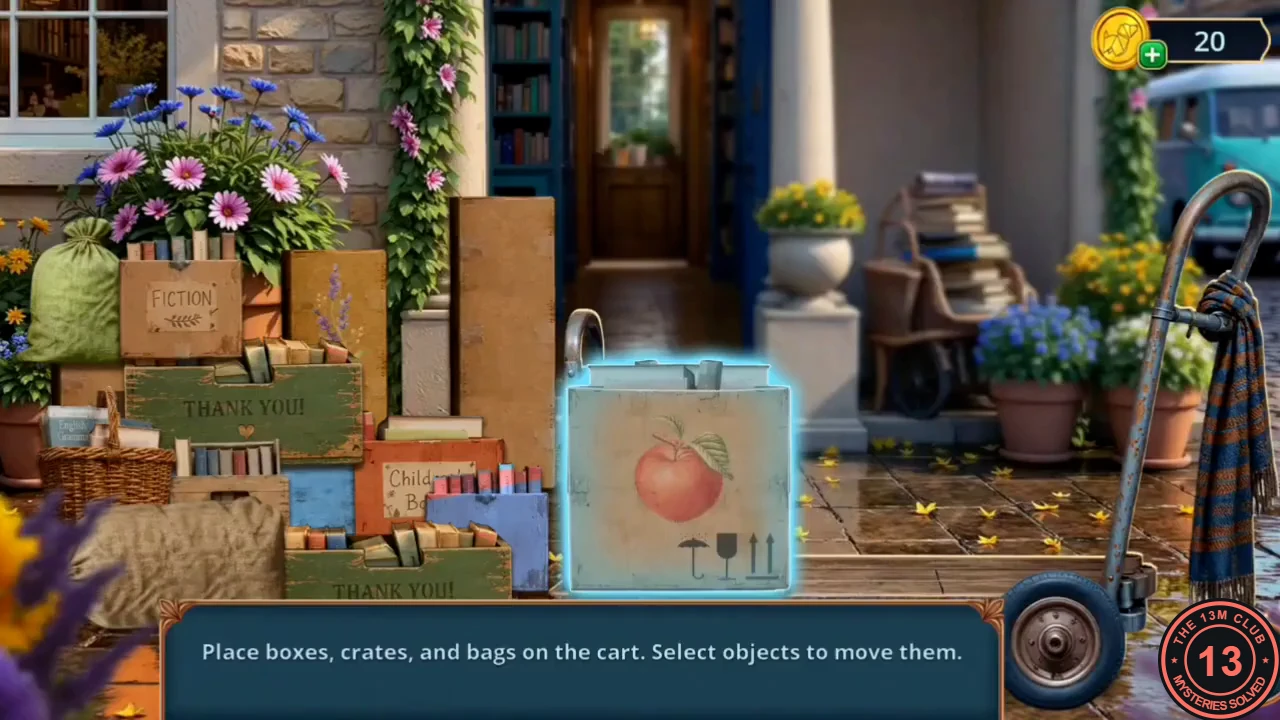
- Cart packing: select an object, then tap where it should go. All 13 boxes, crates and bags must fit. Place the largest pieces (the green THANK YOU crates, DONATIONS crate and apple box) first along the cart bed and fill gaps with the sacks, basket, tall lavender box and pencil tin. When everything fits, the library door unlocks.
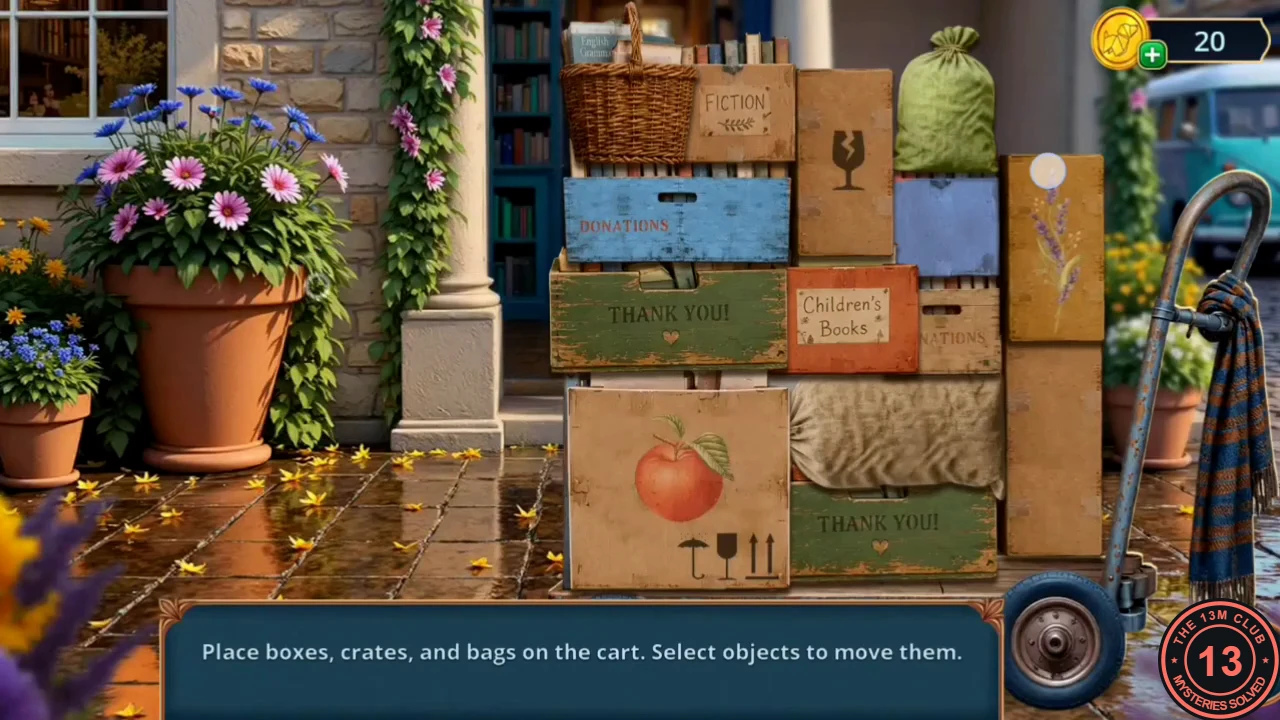
One completed packing of the cart.
Library Hall: The Reader's Pass
Mrs. Croft runs the library. You need a stamped reader's pass for the reading room.
- Talk to Mrs. Croft. Decision point: Say it's urgent (2 stars, 60 coins) or Promise to be careful (0 stars, free).
- At the covered birdcage table, read the reading-room rules card and take the Candle in its glass jar.
- At the reception desk, take the Paper Knife and the Gears piece (Gears 2/3) lying on the desk. Take the Confetti from the table. Cut the knot on the cage cover with the Paper Knife; the parrot squawks a fake password (seven, eleven). The rules tell you to forget it.
- At the cage, take the Torn Book Pages (1/2) from the feeding dish and the Library Stamp from the base of the rules sign.
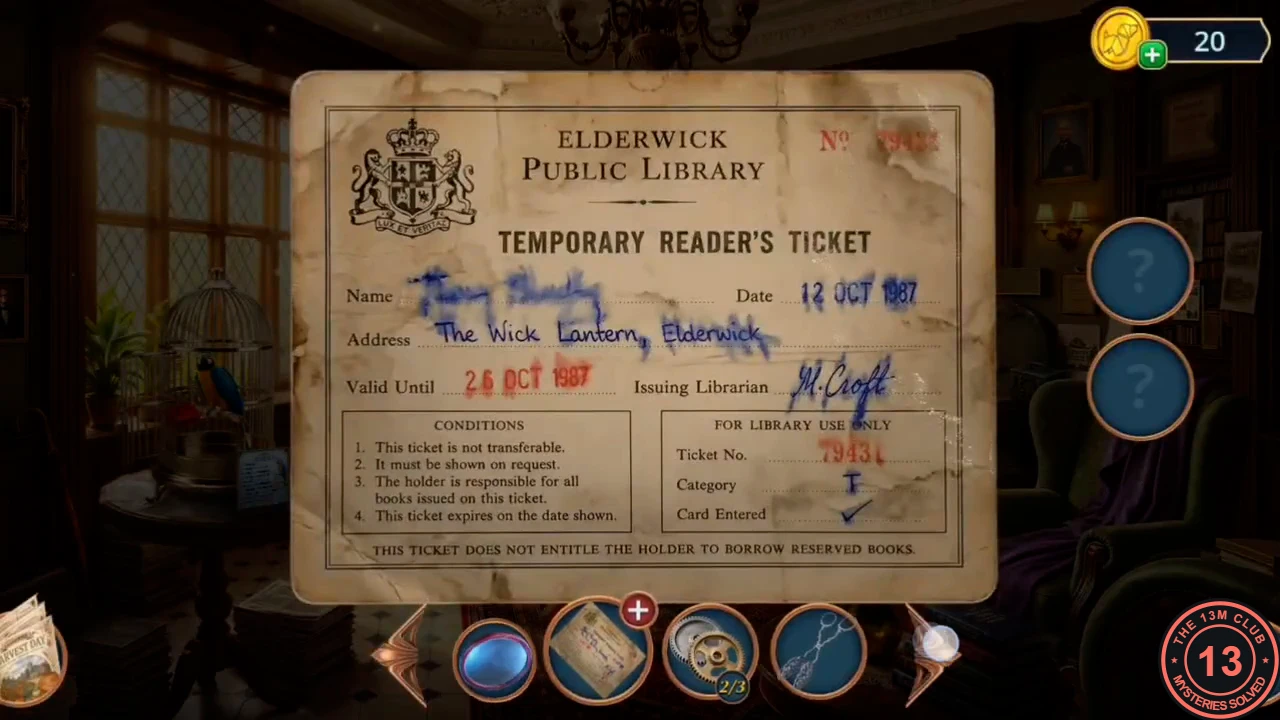
- Open the Temporary Reader's Ticket from the lamppost in inventory. Fill its two sockets with the Library Stamp and the Blotting Paper to stamp it. You get the Reader's Pass.
- Insert the Reader's Pass in the turnstile by the reading-room arch to enter.
Reading Room: The Archive Alcove Hidden Objects
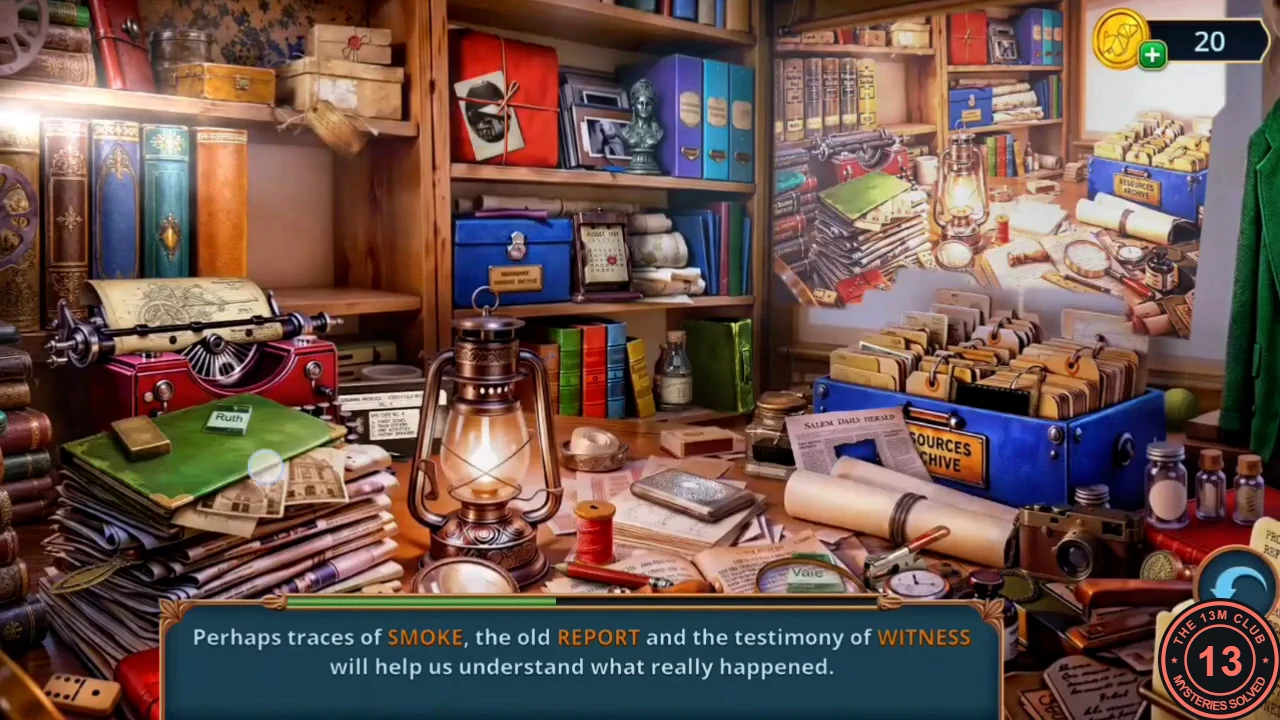
Make a lantern and search the dark alcove by the green door.
- In the reading room, read the History of Elderwick note on the table. Take the Slide piece (Slide 2/3) and the Wooden Ruler from the table by the girl in the armchair. Open the lantern and fill its three sockets: the Candle at the bottom, the Mirror in the middle and the red stick Lighter from Chapter 1 at the top. You get the Lantern.
- Light the dark alcove by the green door with the Lantern to open a hidden-object scene. Here each row describes a story group (for example storeroom, volunteer, caretaker), and some objects need an action first, such as rubbing with the pencil or cutting rusted pages apart.
Reading Room: The Memory Match
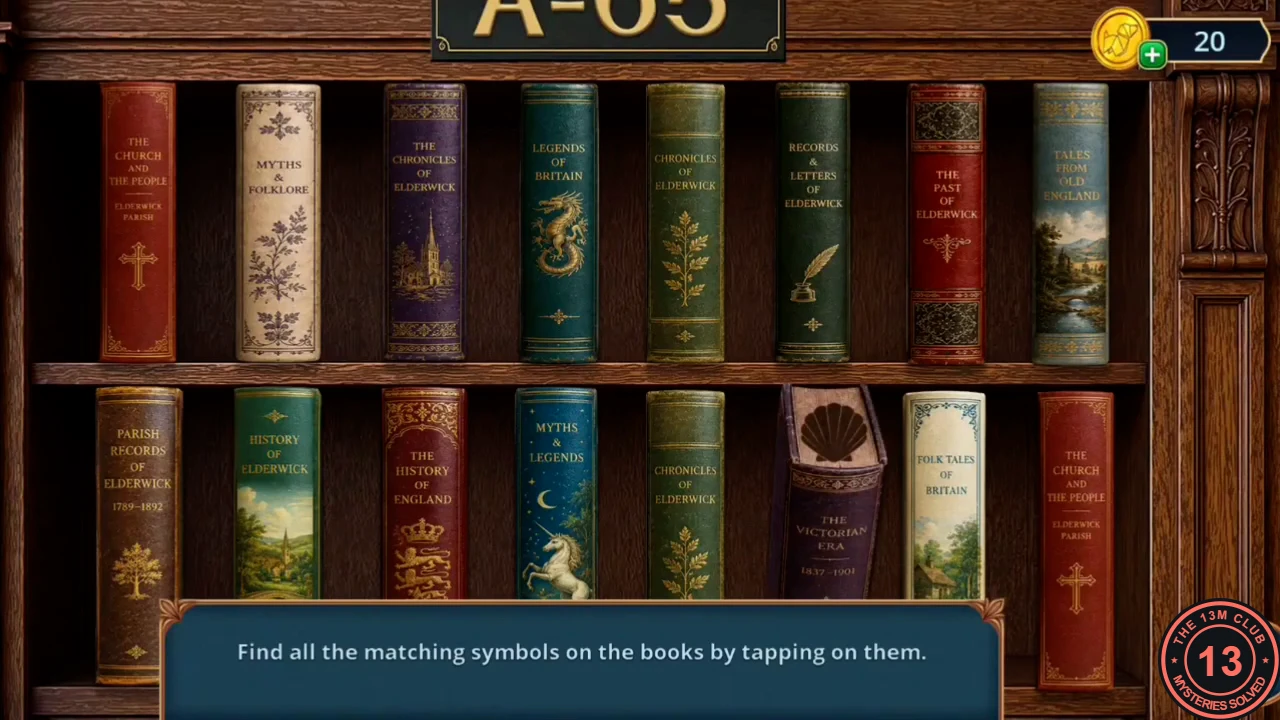
Talk to the girl in the armchair and solve the memory match on the history shelf.
- Talk to the girl in the armchair. Decision point: Ask for evidence (0 stars, free) or Trust Eleanor (2 stars, paid). You receive the R.V. Handkerchief.
- At shelf A-65 (Elderwick History), start the memory match: tap two books to reveal their symbols; matching pairs disappear. The symbols are hidden, so remember each one you reveal and pair it as soon as you see its partner.
- Take the Metal Pin and the Architecture of Elderwick book from the shelf.
Restore the Parish House Plan
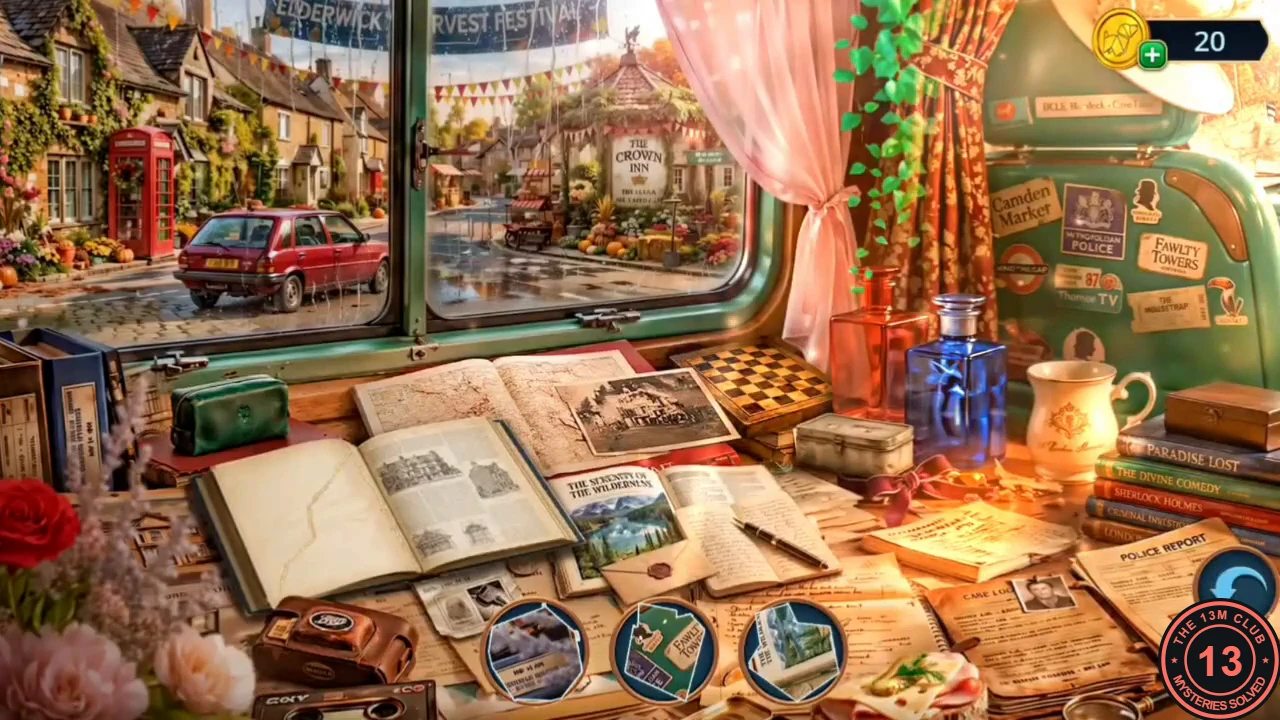
The page with the original parish house plan was torn out of the architecture book. Put it back together.
- In the minivan, use the Metal Pin on the bench drawer latch. Take the Broken Tape Recorder and the Glue.
- Give the Architecture of Elderwick book to the girl in the reading room. Page 165 should show the parish house plan, but the wing where the fire started has been torn out; she gives you the torn piece.
- At the scrapbook table in the minivan, place the Glue, the book and the torn piece in the three sockets to restore the page.
- Hidden-object scene at the desk: find the pictured fragments, then place the three Photo Fragments on the camera, decanter and book cover. The result is the Parish Committee floor plan, which shows a service door used as a side exit.
- Talk to Marcus. Decision point: Point out the danger to Victor (0 stars, free) or Follow the paper trail (2 stars, paid). You receive the Archive Access Warrant.
The Archive Key Lock
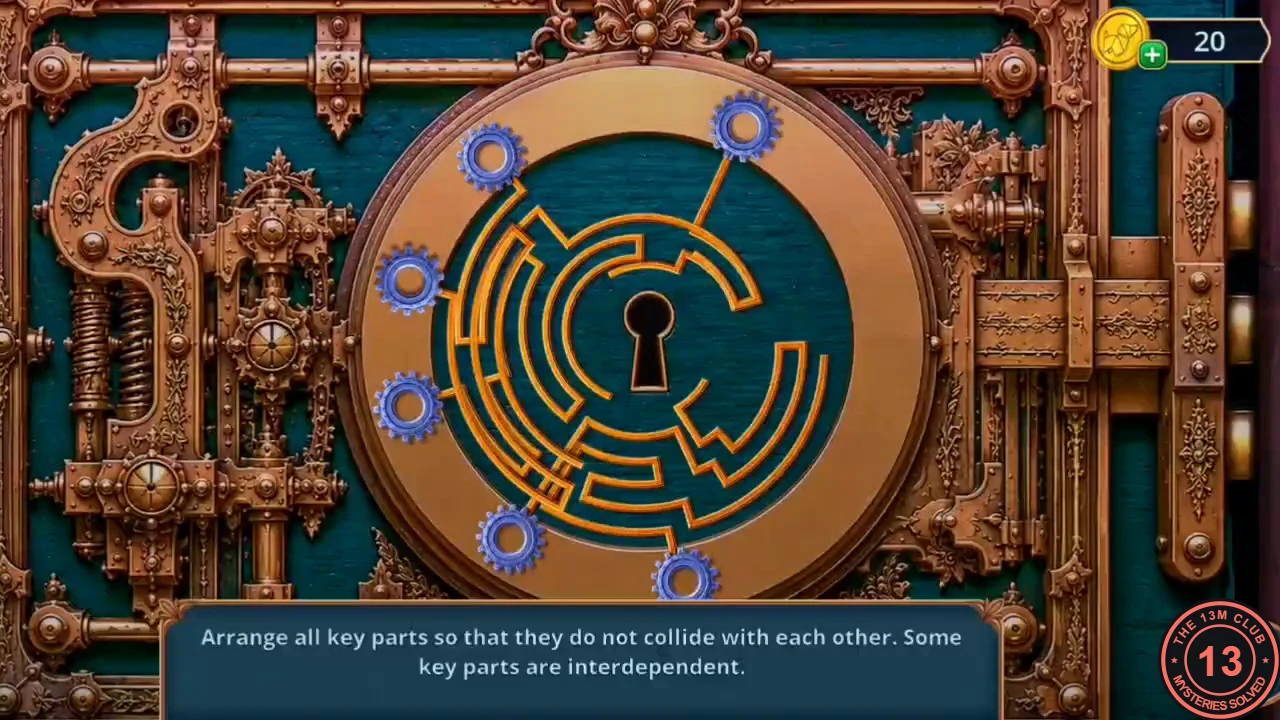
Assemble the archive key and work its lock puzzle.
- Show the Archive Access Warrant to Mrs. Croft at the library desk. She gives you a Repairman Figurine.
- At the toolbox by the basin, one repairman is already in place; put the Repairman Figurine in the empty right slot. Take the Screwdriver and the Hammer.
- At shelf A-65 in the reading room, unscrew the two screws of the nameplate with the Screwdriver and take the Metal Nameplate; the broken Archive Key lies behind it. Complete the Archive Key (a key linked to a small ARCHIVE book) with the Metal Nameplate, the Hammer and the Forceps.
- Use the Archive Key on the green ARCHIVE door to start the key-parts lock. Goal: swing every key part into place without collisions. Rotating a gear swings its arc segment; green means placed and cyan means a collision. Some parts depend on others, so clear the parts blocking a path before setting it, then set the rest.
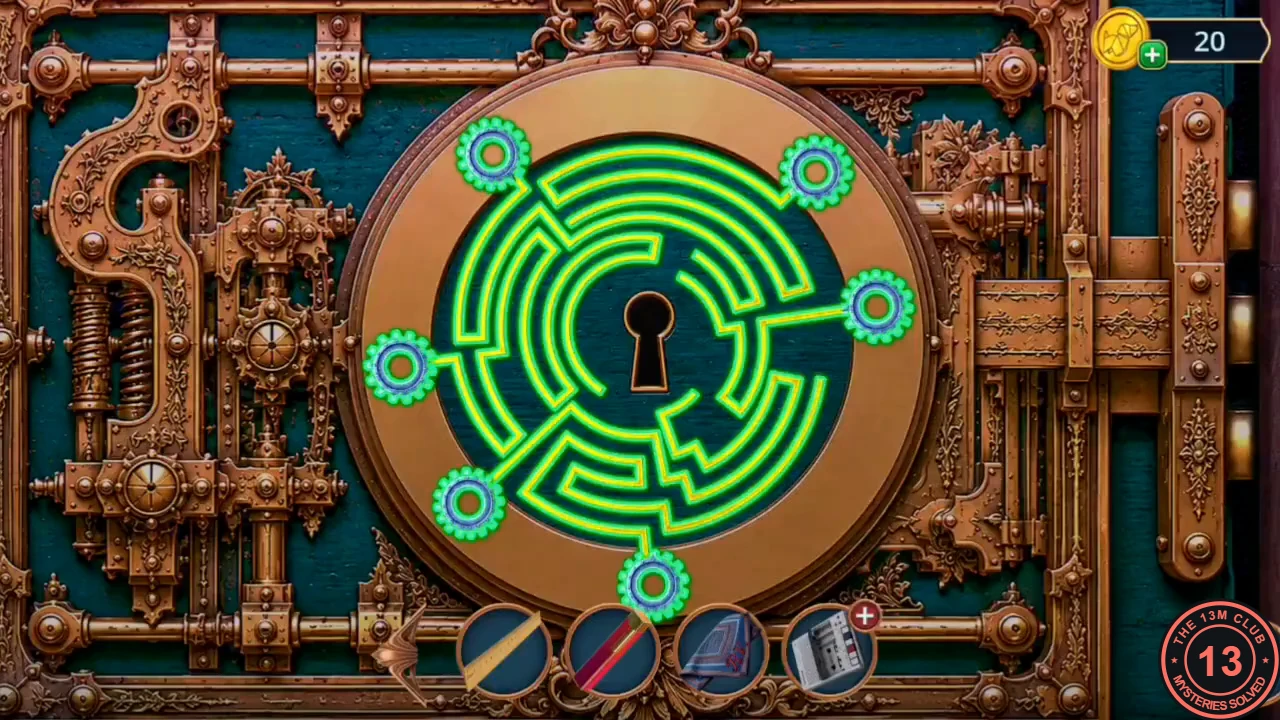
The solved key-parts lock: every part is green.
Parish Committee Archive: The List of Lost Property
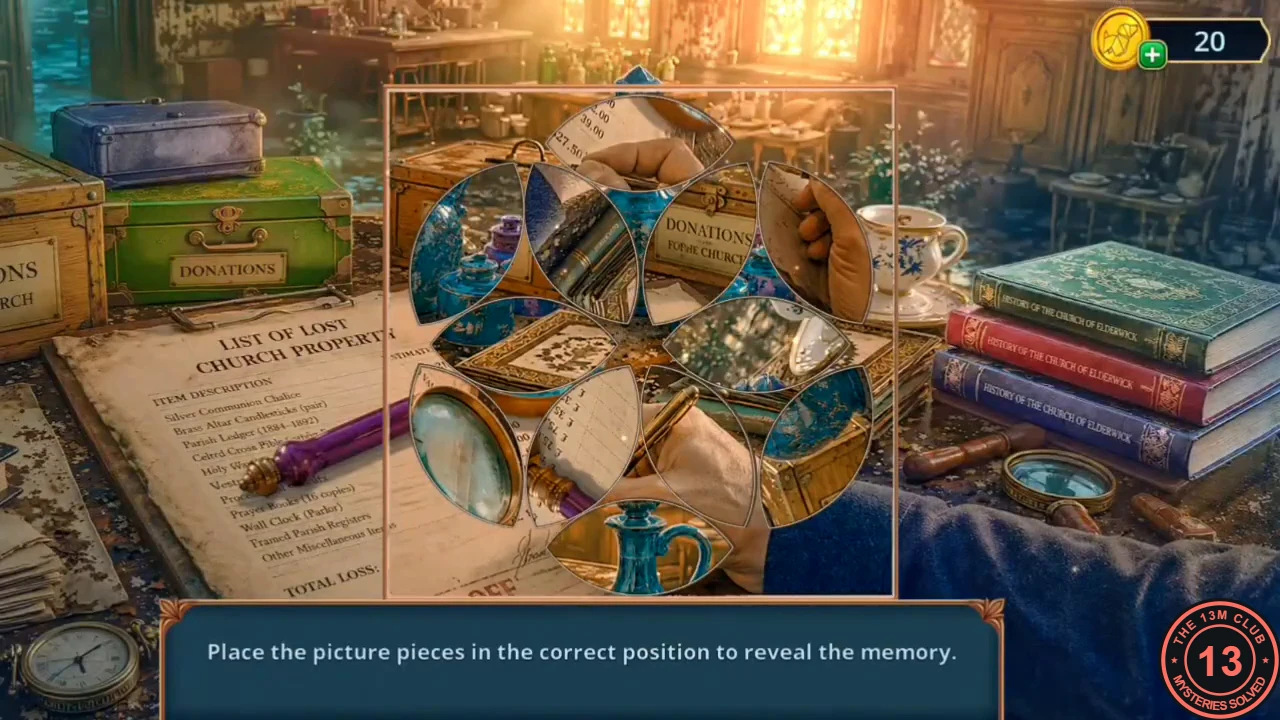
The archive holds the records written off after the fire.
- Zoom into the archive trolley and read the After the fire note; the cart needs organising. Take the folded floral Umbrella and the last Slide piece (Slide 3/3) from the trolley. At the workbench (CAUTION! GLASS! crate), take the Document Sorting Tray.
- Open the window latch with the Ruler. Take the red Battery (Batteries 2/2) and the Staple Remover from the sill.
- Remove the staples from the cardboard box with the Staple Remover. Take the Cardboard Tube and the Archive Paperweights (1/2).
- Tap the vortex and drag the round lens pieces into place over the List of Lost Church Property to reveal the memory.
- From the box on the floor at the left, take the Paintballs, the pink Balloon and the Bag.
The Parrot's Password and the Desk Safe
Distract Mrs. Croft, record the parrot's real password and open the safe under the reception desk.
- Open the Paintball Gun in inventory and load it with the Air Power canister (from the Chapter 1 saddlebag) and the Paintballs.
- Scoop the spilled seeds on the archive window sill with the Bag to get the Grain.
- Open the Broken Tape Recorder and add the Cassette Tape and both Batteries to get a working Tape Recorder.
- On the library street, fire the loaded Paintball Gun at the window with the archivist behind it. Mrs. Croft leaves her desk.
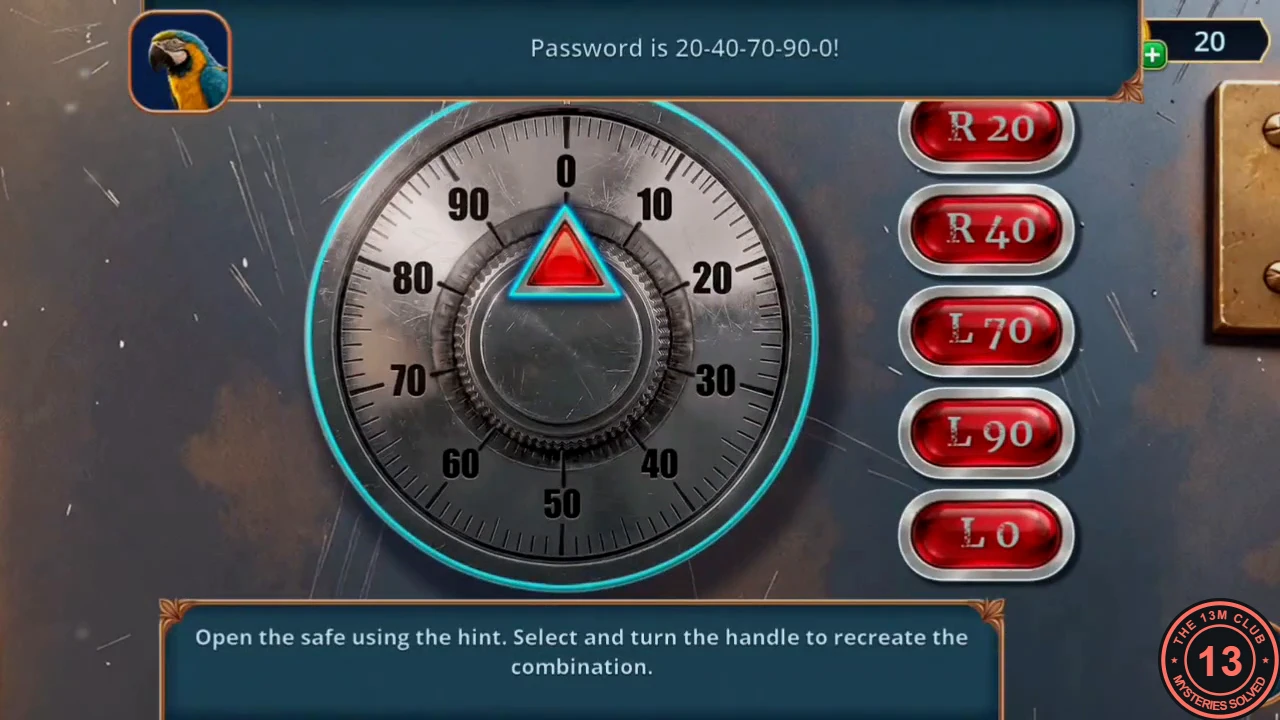
- In the library hall, pour the Grain into the parrot's red trough. While it eats it repeats the real password, 20-40-70-90-0; record it with the Tape Recorder.CODE20-40-70-90-0
- Open the safe in the reception desk cabinet. Select the handle and turn it to recreate the combination shown by the hint: right to 20, right to 40, left to 70, left to 90, left to 0.CODER20 R40 L70 L90 L0
- Read the Parish Committee memo about the 1989 fire materials moved to a locked box. Take Croft's Internal Memo, the Broken Slide Projector Remote and the roll of Scotch Tape from the safe.
The Slide Projector Differences
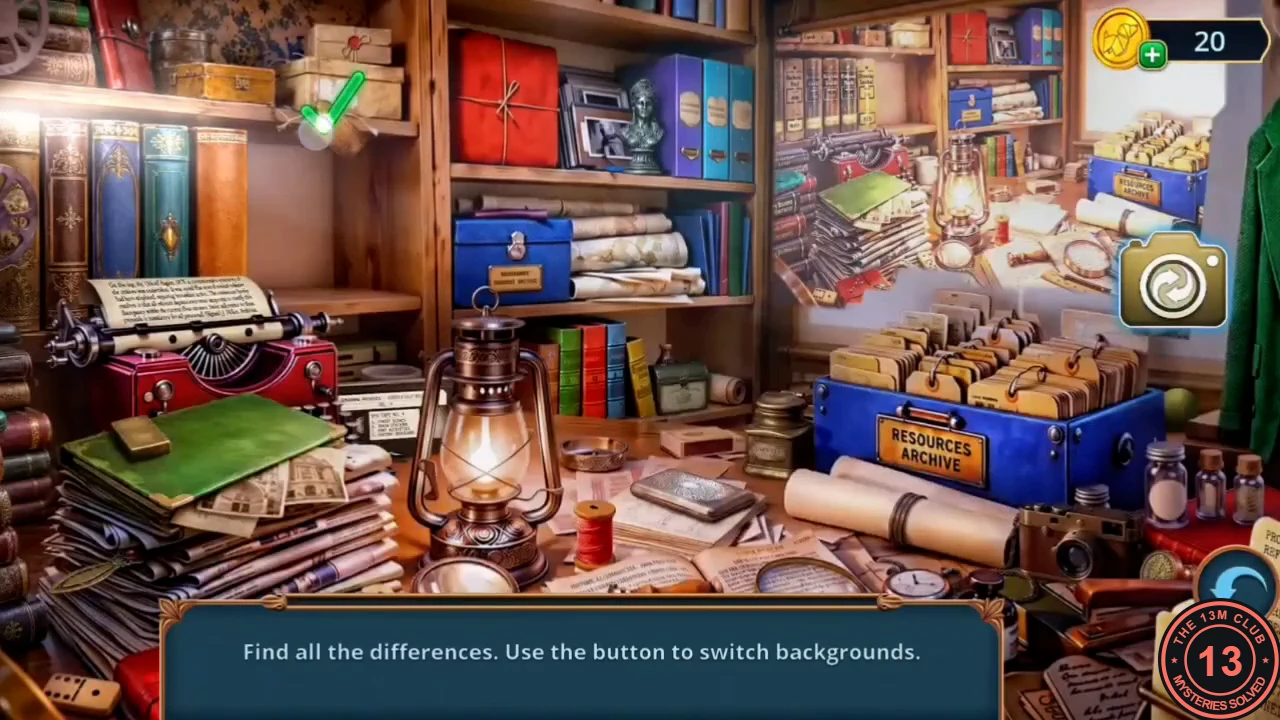
Repair the projector remote and compare the projected archive photo.
- At the archive workbench, place the Broken Slide Projector Remote on the cutting mat and repair it with the soldering iron. Take the Remote Control.
- In the reading room, go to the projector on the shelf by the dark archive doorway. Attach the Remote Control, insert the completed Slide and press the switch.
- Find all 10 differences between the projection and the background; use the button to switch backgrounds. Your reward is the Elderwick Stamp.
- Press the Elderwick Stamp into the crest recess of the cupboard under the archive doorway. Take the Archive Paperweights (2/2).
The Archive Cart Hidden Objects
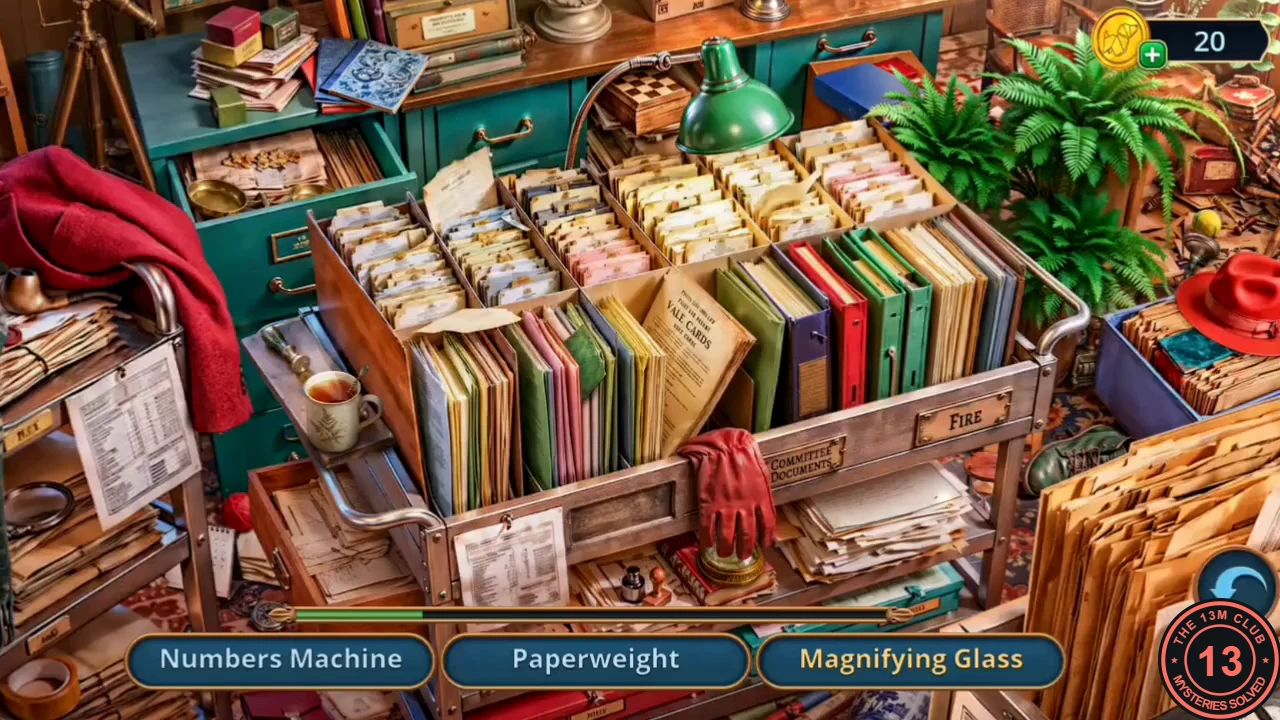
Sort the archive cart and open the cosmetic bag on the window sill.
- At the archive trolley, place the Document Sorting Tray and the Archive Paperweights (2/2) on the files. This opens a hidden-object scene listing items such as the Desk Bell, Typewriter, Hourglass and Old Write-Off Ledger. For the Parish Watermark, hold the blank slip over the steaming teacup. Your reward is the Elderwick Keychain.
- Hook the Elderwick Keychain on the zipper of the cosmetic bag on the archive window sill and take the Manicure Scissors. A Sunflower Flag is on the right window pane.
The Lamppost Gear Maze
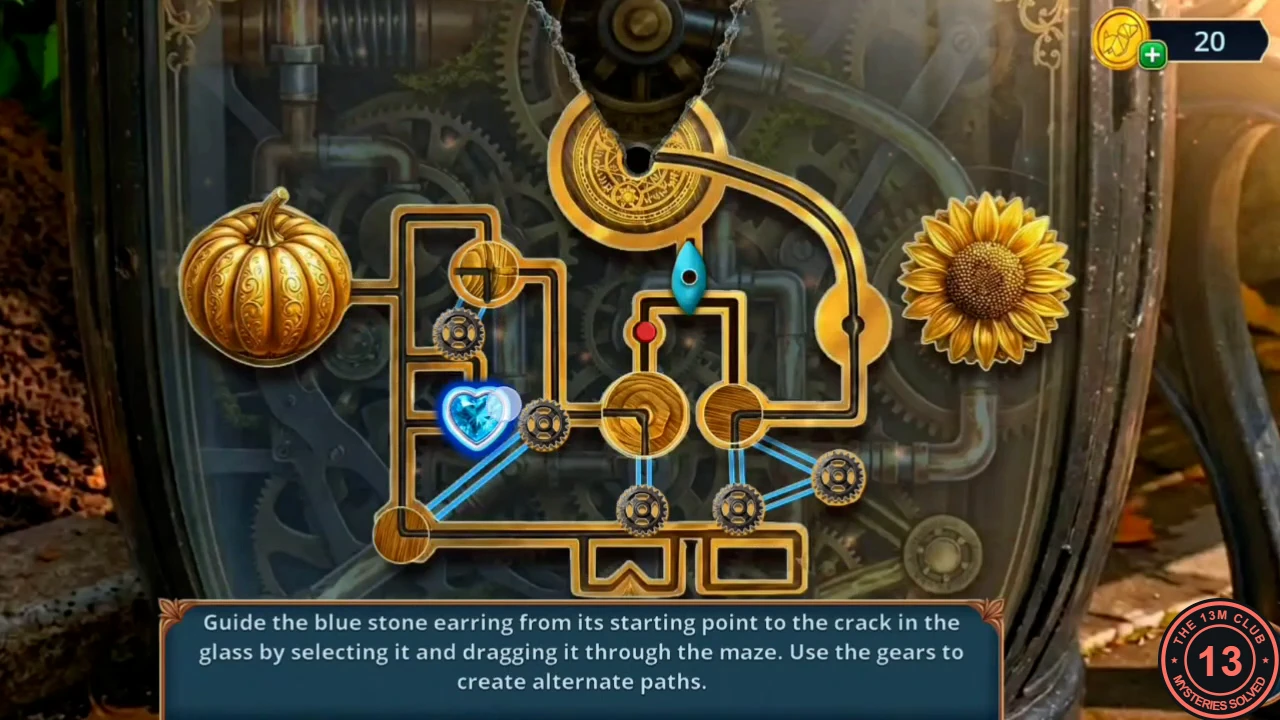
Scare off the goose and free the earring trapped in the lamppost.
- Open the Cardboard Tube and add the Balloon, the Confetti, the Scotch Tape and the Manicure Scissors to build the Homemade Firecracker.
- On the library street, set off the Homemade Firecracker by the goose under the apple tree. It flees (Goose Chaos achievement). Take the Magnet from the boxes.
- Use the Magnet on the lamppost's glass panel to start the gear maze. Drag the blue stone earring to the crack in the glass; gears open other paths. The bottom route is a dead end. Working route: from the start right of the pumpkin, go along the upper-left track into the centre column under the red dot. Push up past the blue teardrop pin (it drops into the lower slot), then follow the top-right curve to the crack. Your reward is the Stud Earring.
- Put the Stud Earring on the clasp of My Wallet to open it and take the Minivan Keys.