The Wick Lanterns: Get into the Guest House
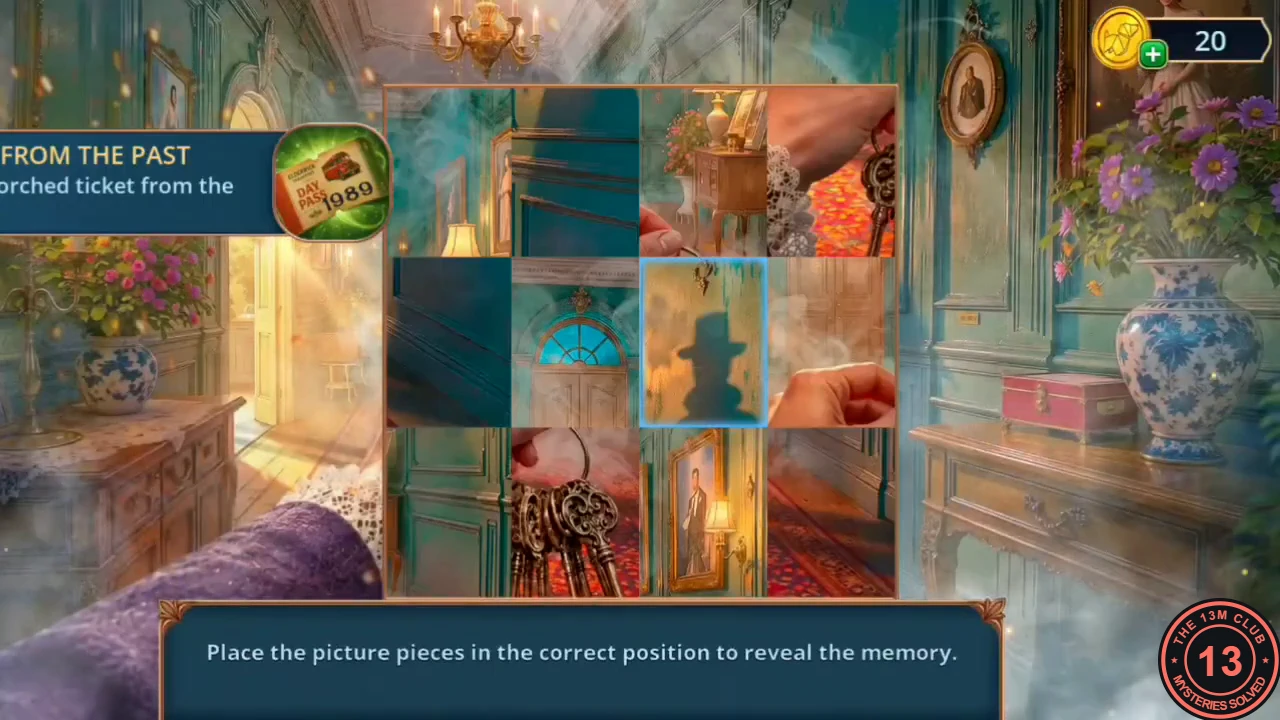
Use the map to travel back to Main Street, then take the bus to the guest house.
- On Main Street, use the Bus Ticket on the ticket machine. It prints a scorched Elderwick Transport Day Pass from 1989, the year of the parish-house fire. This earns the Ticket From the Past achievement. Restore the memory picture that appears.
- Tap the bus to travel to The Wick Lanterns guest house.
- Zoom into the stone bench and read the leaflet. The bench is too heavy to move. Zoom into the brass clasp of the red satchel: take the Sheet of Paper tucked beside it, then take the Elderwick Magnet.
- Use the Elderwick Magnet on the latch of the green shutters. On the window sill, take the Dried-Up Marker and the Gum.
- Use the Silicone Potholder on the hot soup pot on the sill and take the Bone.
- Give the Bone to the dog on the porch. It leaves; go through the door into the guest house.
Guest House Hall: The Luggage Hidden Objects
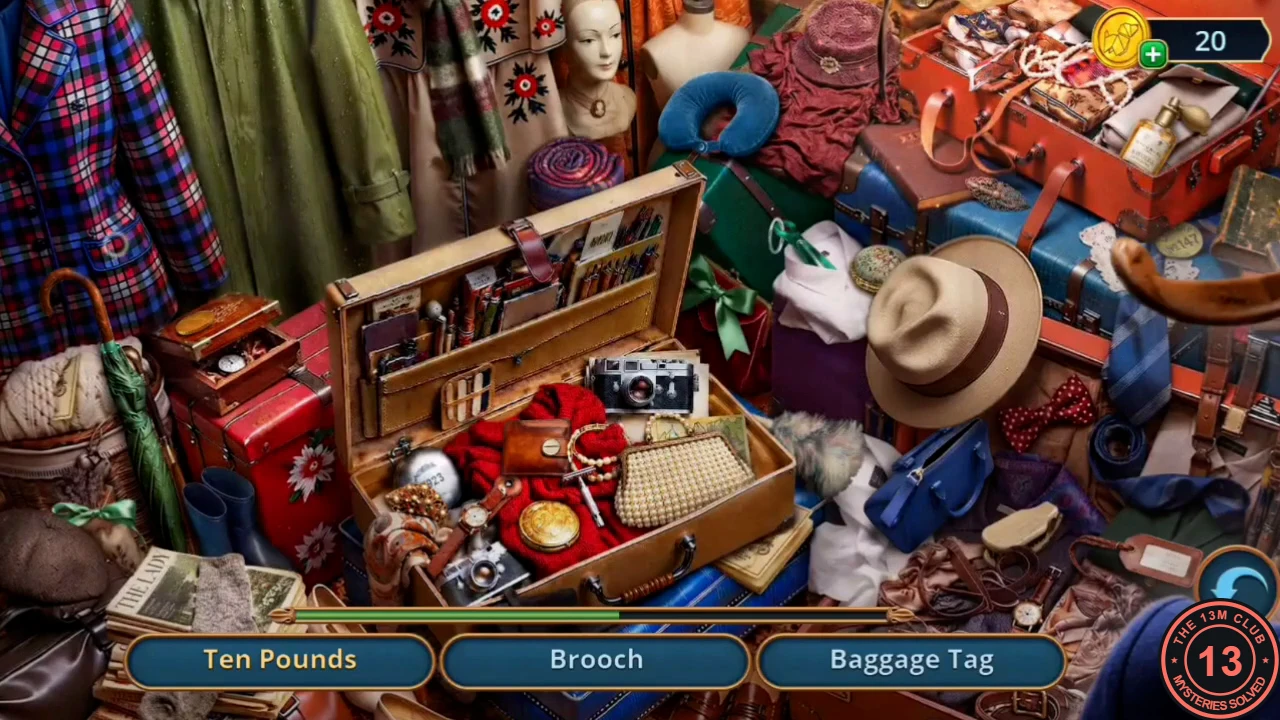
Find a way into the locked storage room and search the luggage.
- At the reception desk, take the Mint Candy. Next to the storage door, take the Seam Ripper from the shelf; the storage door itself is locked.
- Zoom into the armchair and cut its seam with the Seam Ripper. Take the Key and the Bottle of Alcohol from the armrest. A Sunflower Flag is here too.
- Open the Dried-Up Marker in inventory and add the Bottle of Alcohol and the Syringe to revive it. You now have a working Marker.
- Unlock the storage door with the Key to open a hidden-object scene of luggage. Your reward is the Resident Token. Inside the storage room take the Cherry Blade soda bottle; moths block the wardrobe for now.
Guest House Hall: The Door Route Puzzle
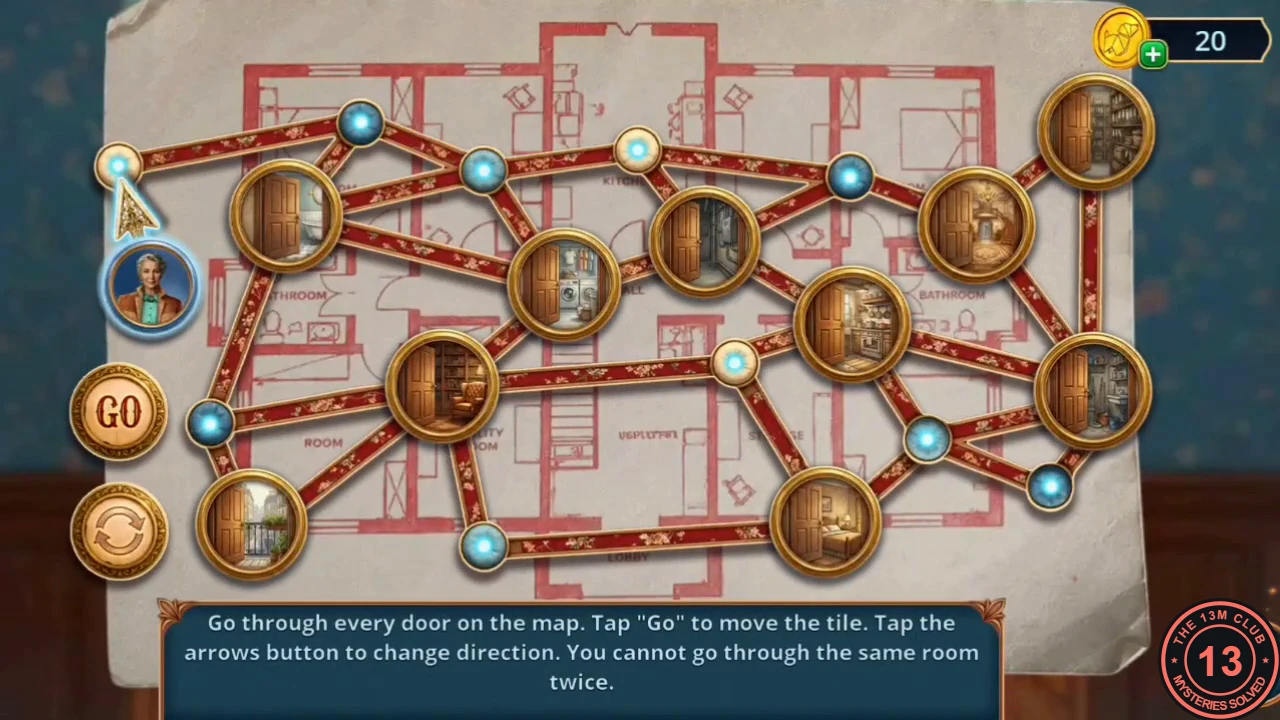
The landlady will not let you upstairs. Distract her, make a plan of the house and work through the guests-only door.
- Open the soda bottle in inventory and drop in the Mint Candy and the Gum. Give the fizzing soda to the landlady, Clarissa. It spills on her dress and she leaves to change.
- At the reception computer showing the floor plan, lay the Sheet of Paper from the satchel on the screen and trace it with the Marker. Take the Guest House Plan.
- Put the Resident Token in the slot of the GUESTS ONLY door and add the Guest House Plan to start the route puzzle. Goal: walk your token through every door on the map without entering a room twice. Tap the arrows button to choose a direction, then GO to move. Plan the whole path before moving. Working route, starting top left: top-left bathroom, bottom-left balcony, centre-left study, laundry, upper-centre kitchen, centre-right pantry, bottom-centre bedroom, mid-right door, upper-right bathroom, then the top-right corner room.
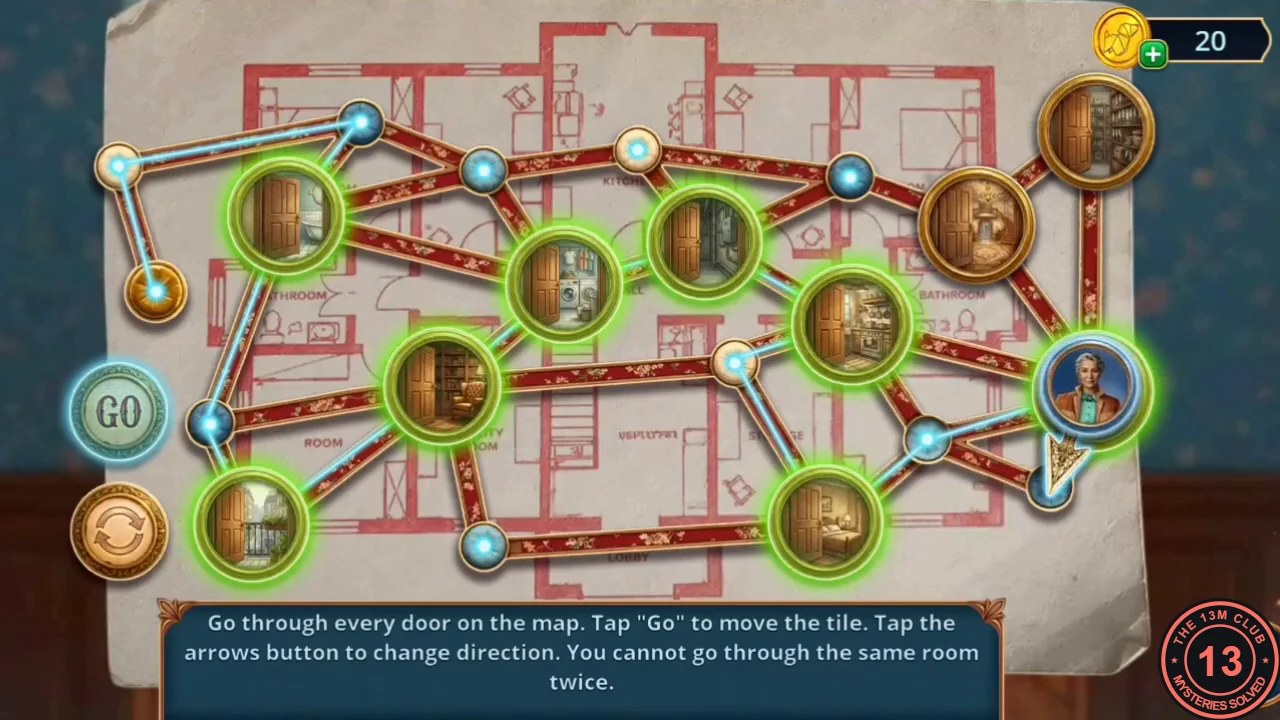
The route so far; finish through the upper-right bathroom and the top-right room.
Eleanor's Room: Suitcase Code 783
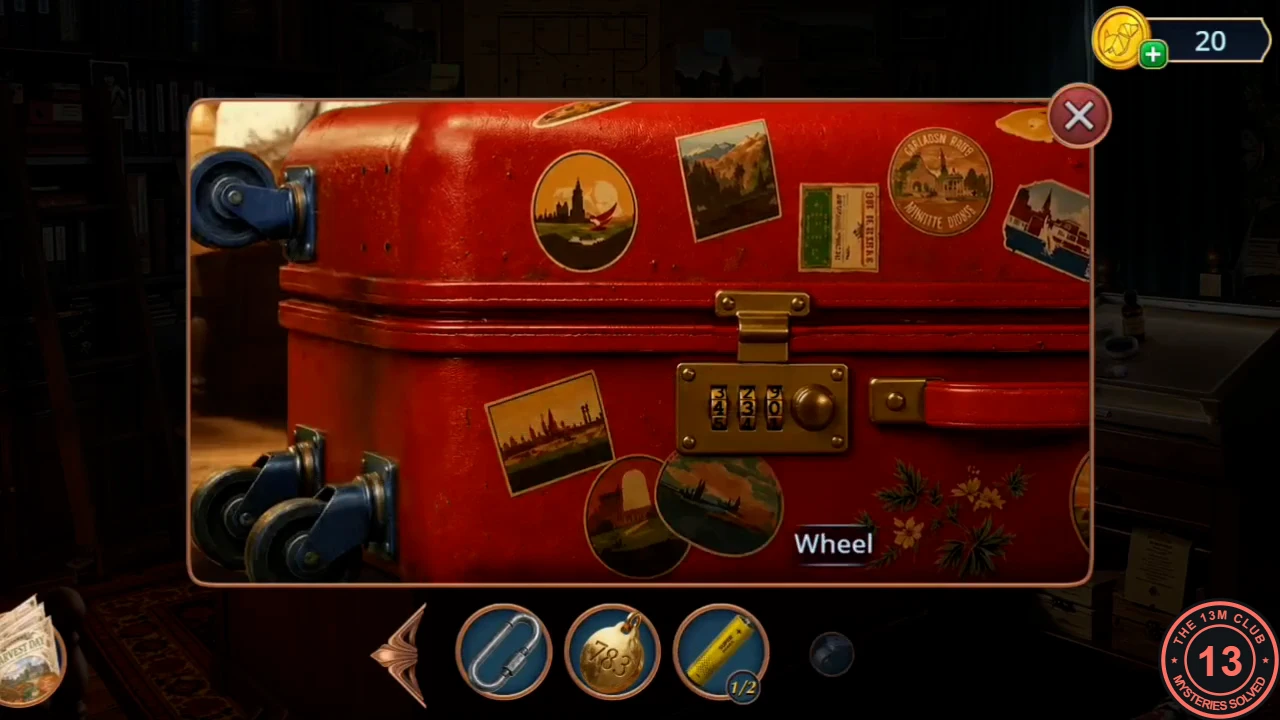
Search Eleanor's room. You need light, the code for her suitcase and the parts of a magnifier.
- The room is dark. Light the desk candle with the Lighter to turn the light on.
- The letters on the desk are too small to read; you need a magnifier. Zoom into the light table: take the Wooden Handle and the Carbine (carabiner). Attach the Carbine to the gold paw-print tag to get the Dog Tag with Code: 783. Read Ellie's letter about the side door that was locked from outside.CODE783
- Use the Umbrella to pull the red suitcase from under the bed. Tap the suitcase wheel and take the Batteries (1/2).
- Use the Dog Tag on the suitcase lock to enter 783. The suitcase opens.CODE783
- Take the Lens from the desk near the globe. At the bookshelf beside the cuckoo clock, tap the blue Legends of Elderwick book. It is one of the recipe books (Books 3/4). Then take the Magnifying Glass Frame from behind it. Combine the Wooden Handle, Frame and Lens into the Travel Magnifier.
Eleanor's Room: The Desk Hidden Objects
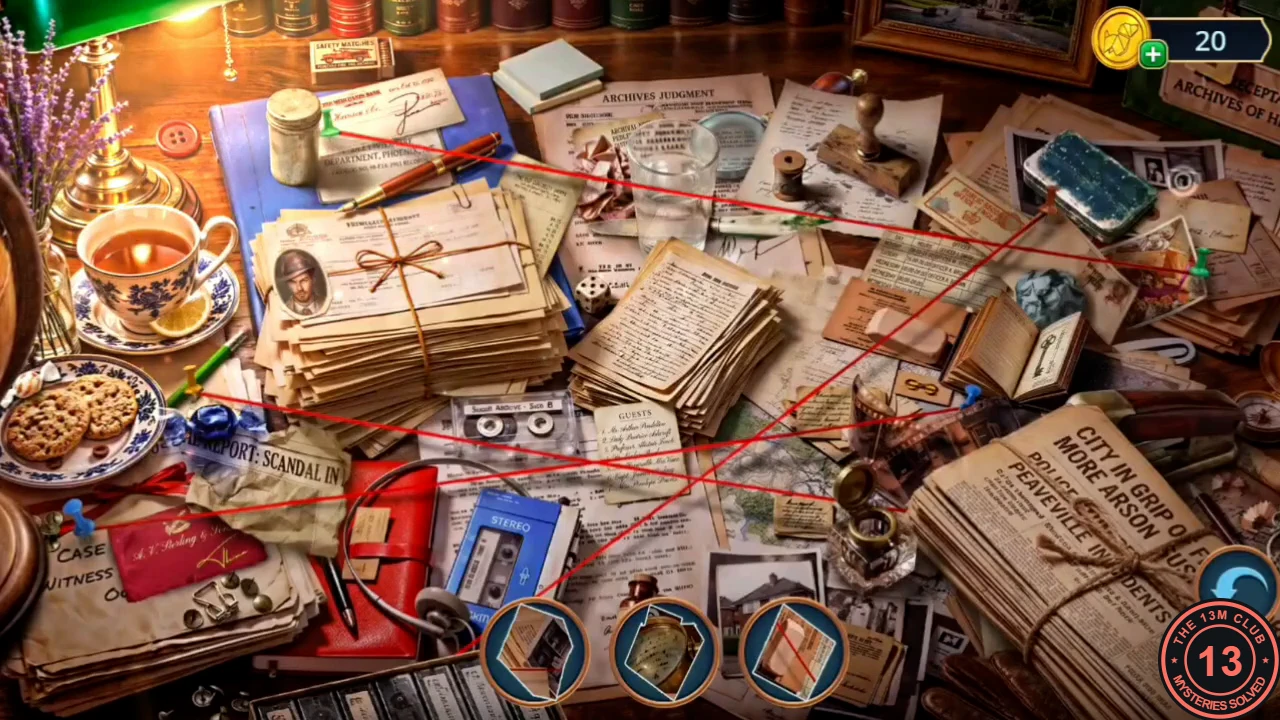
Use the magnifier on the papers on Eleanor's desk.
- Use the Travel Magnifier on the desk papers to open a hidden-object scene. Your reward is the Elderwick Heroes photo.
Eleanor's Room: The Fire Memory
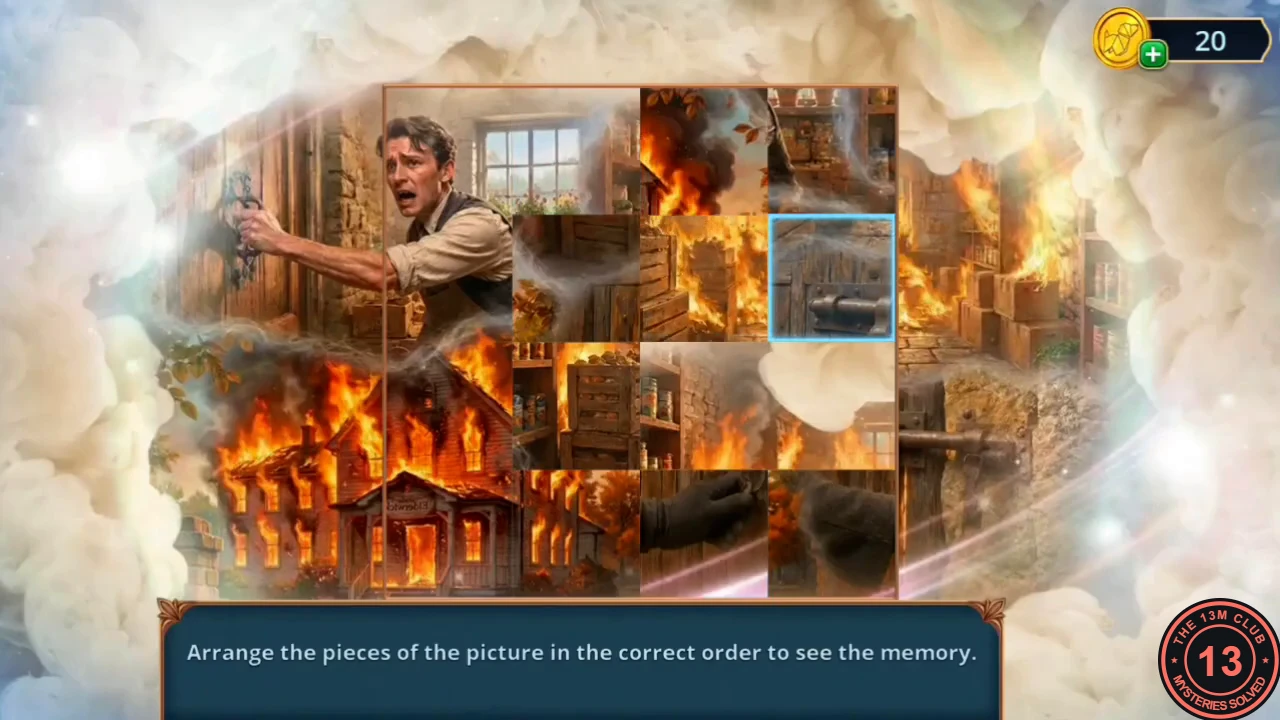
Restore the memory of the fire, then talk to Eleanor.
- A vortex appears at the desk. Restore the memory picture of the fire: tap two pieces to swap them until the picture of the young man in the burning house is complete.
- Eleanor walks in. Decision point: Show compassion (2 stars, 60 coins) or Ask for the full story (0 stars, free). After the conversation you receive the Eleanor File.
Elderwick Square: The Heroes Photo Differences
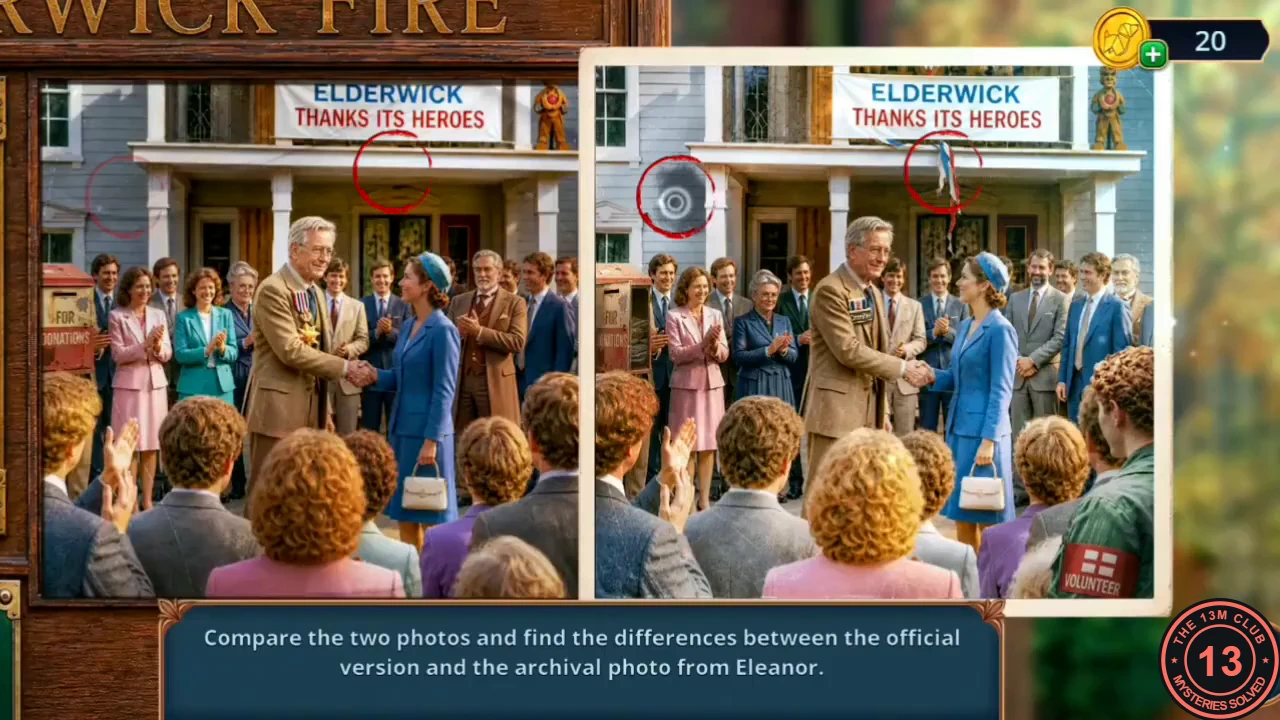
Compare the official heroes photo with Eleanor's archive copy.
- Return to the Heroes booth in Elderwick Square and use the archival photo for a spot-the-differences puzzle: compare the official photo (left) with Eleanor's archive copy (right). There are seven differences: a dark stain on the house wall at the upper left; a blue-and-white ribbon hanging from the porch roof under the ELDERWICK THANKS ITS HEROES banner; the FOR DONATIONS box at the left edge, which stands open in the archive copy; a grey-haired woman in a navy dress where the official photo has a woman in teal; a plain ribbon badge on Blackwood's chest instead of his medals and gold star; a grey-haired man to the right of the woman in blue instead of the man in the brown coat; and, at the bottom right, a green sleeve with a red VOLUNTEER armband where the official photo shows a child's curly head.
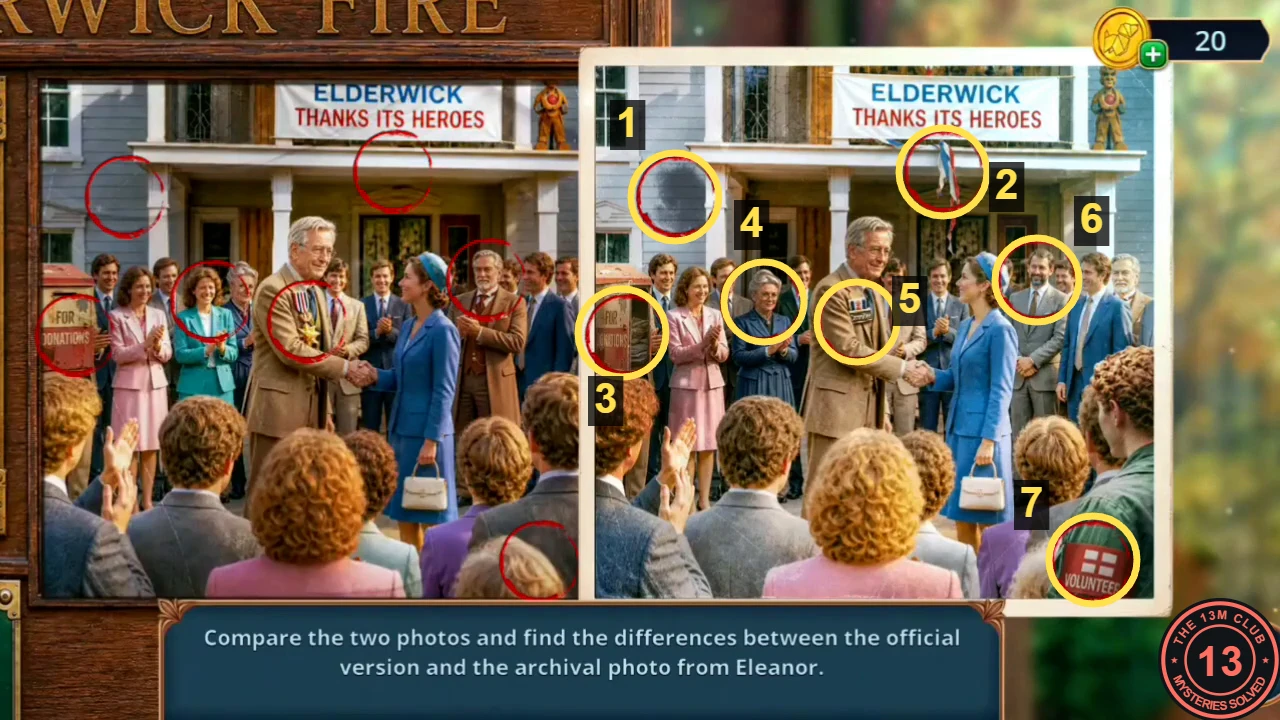
The seven differences, numbered in the order of the step text: 1 wall stain, 2 hanging ribbon, 3 open donation box, 4 woman in navy, 5 ribbon badge, 6 grey-haired man, 7 VOLUNTEER armband.
Match the Evidence
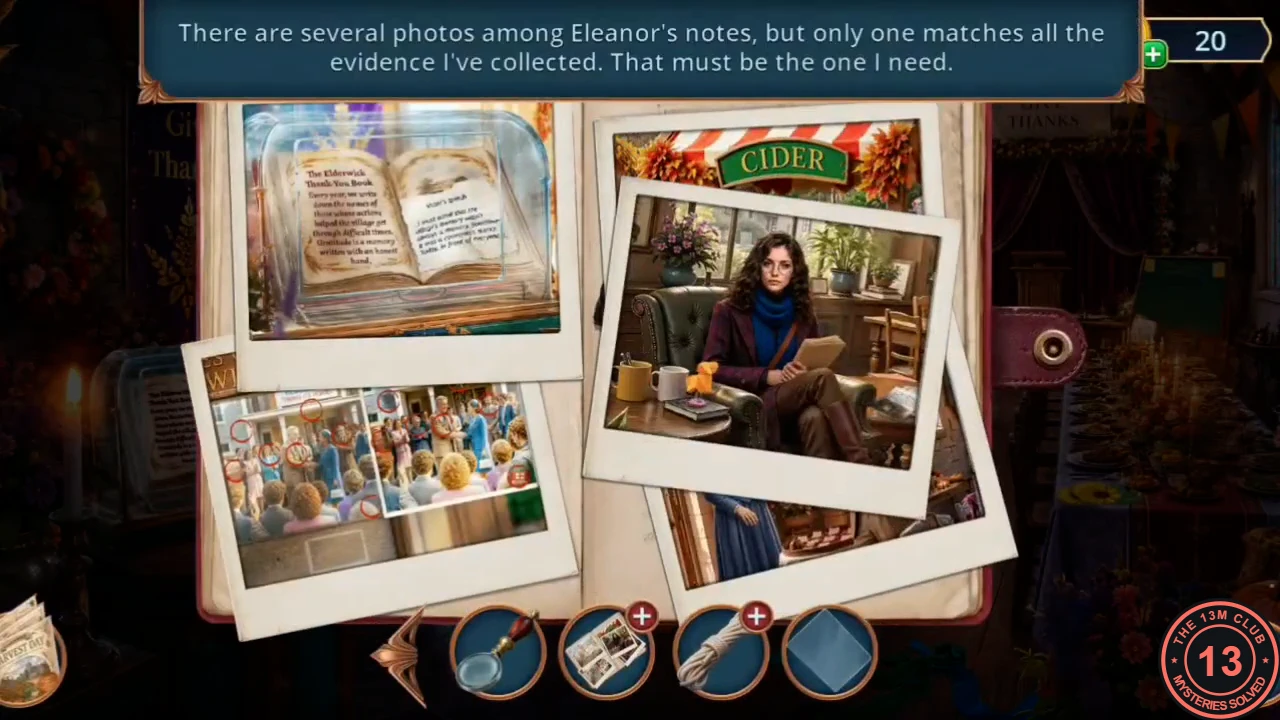
Collect tools around the village, photograph Victor's speech and reveal the torn archival photo in the Eleanor File.
- At the guest house, take the Chain from the bicycle. Near the Church, attach the Chain to the gears of the lamp post to lower the hanging flower basket, and take the Laundry Rope and the Glass Cutter from the flowers.
- In the Parish Hall, cut the glass dome over the Thank-You Book with the Glass Cutter and take the Glass Plate. Place the Sample of Victor's Speech on the book; it is photographed for the investigation.
- Open the Eleanor File. Slide the three candidate photos aside to reveal the torn archival photo. Take the Torn Group Photo and the Paper Clip.
Guest House Street: The Satchel and the Door Memory
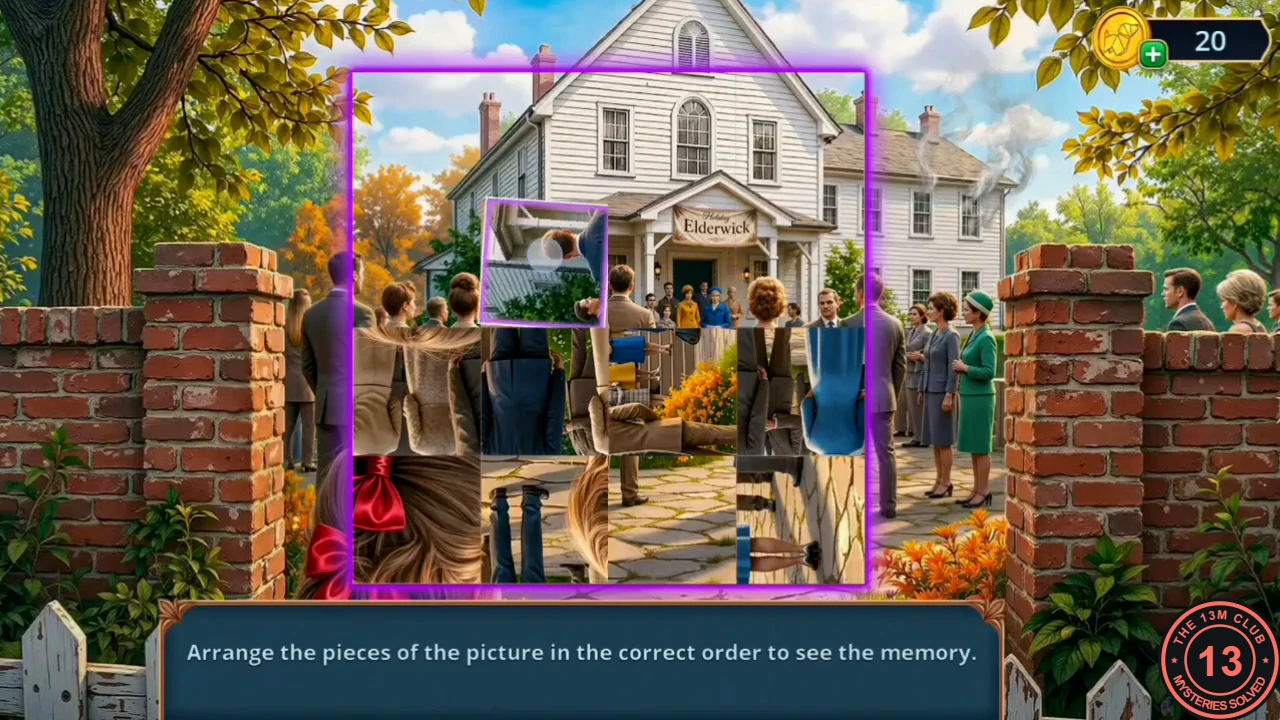
Open Eleanor's satchel, restore the memory at the guest-house door and find something to deal with the moths.
- On the guest house street, pick the satchel lock with the Paper Clip and read the diary page about smoke from the utility room and a hand on the side-door latch. Restore the memory picture at the guest house door.
- Open the red satchel by the bench and take the Wind-Up Grasshopper. Put it on the window sill so the snapping plant goes for it, then take the Clothes Brush from the plant's pot.
- In the Guest House Hall, zoom into the armchair by the fireplace and sweep up the broken flowerpot with the Clothes Brush. Take the Insecticide Spray.
Guest House Hall: The Wardrobe Riddles
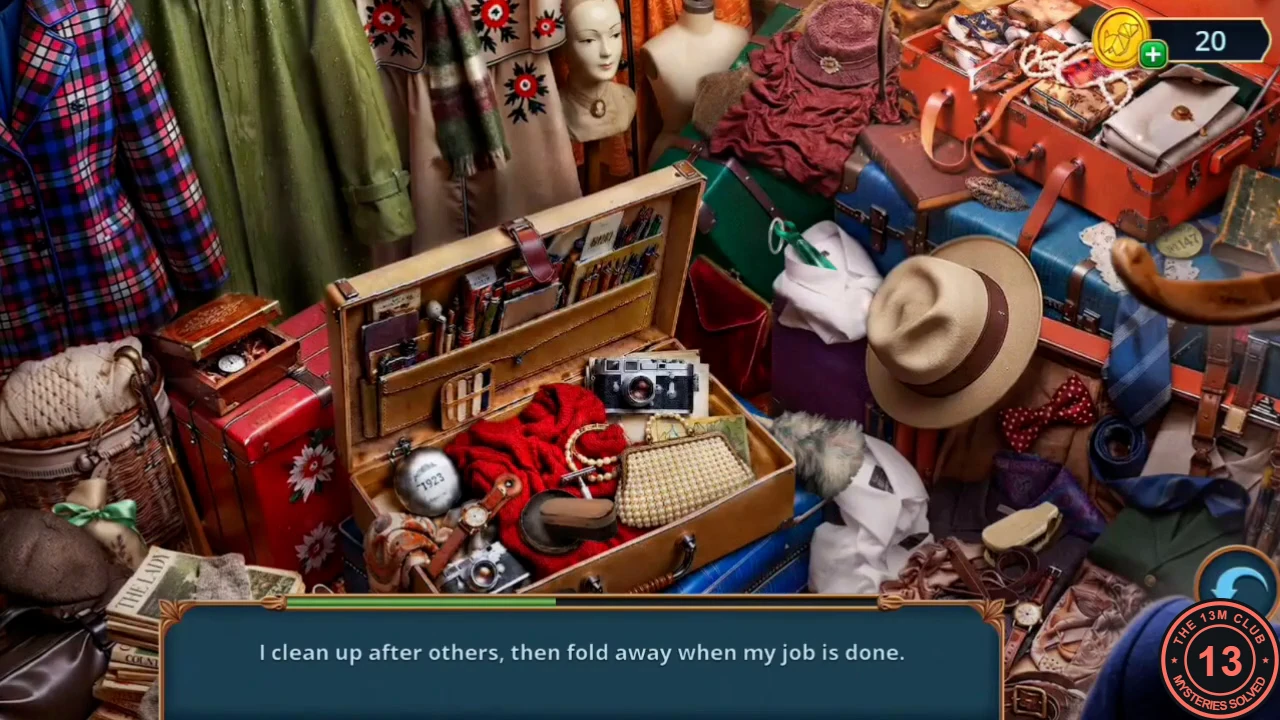
Clear the moths from the storage wardrobe, solve its riddles and retrieve Victor's medicine bottle.
- Spray the moths on the storage wardrobe. This opens a riddle hidden-object scene: each clue describes an object instead of naming it (for example, I guide my heel to where it doesn't want to go = shoehorn). Your reward is the Metal Shoehorn.
- In the Parish Hall, use the Metal Shoehorn to prise off the nailed strip under the chalkboard easel. Take Victor's empty medicine bottle.
The Medicine Mixing Puzzle
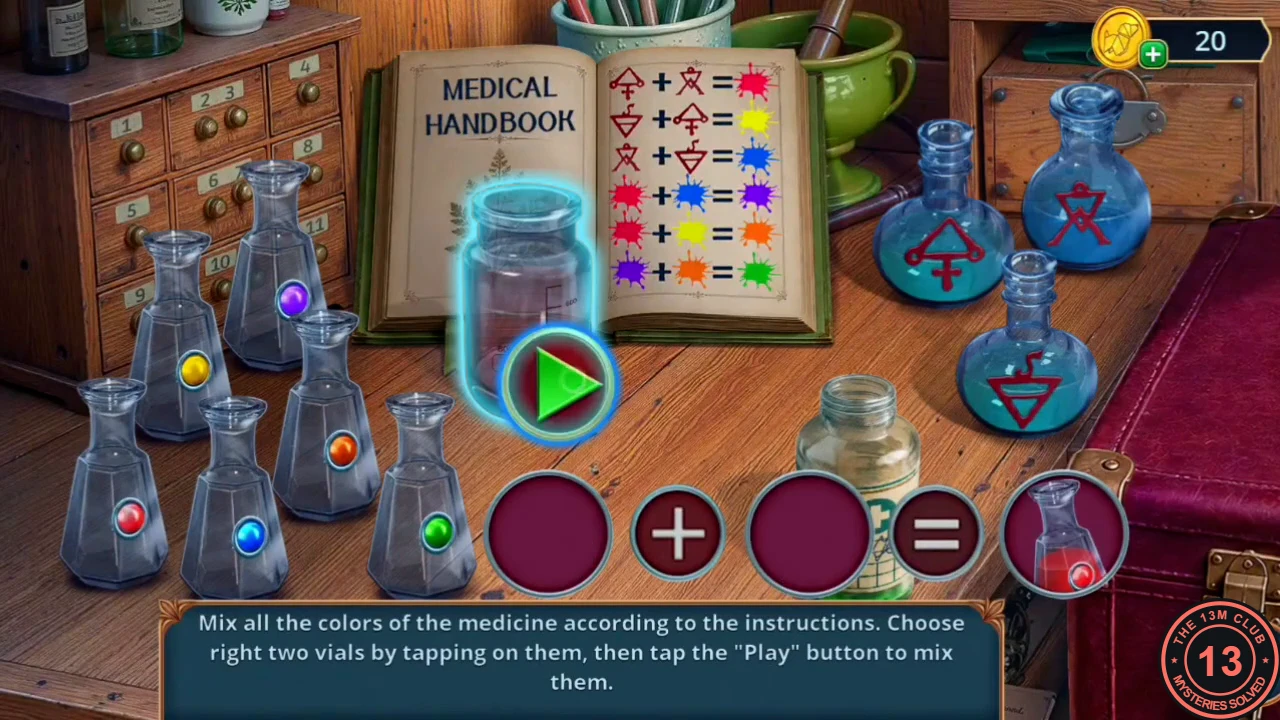
Find out what was in Victor's bottle.
- On Main Street, open the Medical Handbook in the First Aid case to start the mixing puzzle. Tap two vials, then tap Play to mix them. The three base flasks carry symbols: A (upright triangle on a cross), B (crossed sticks) and C (downward triangle with a cross on top). Make the colours in this order: A + B = red, C + A = yellow, B + C = blue, red + blue = purple, red + yellow = orange, purple + orange = green. Your reward is the Medical Herb Label.
- Give the Medical Herb Label to the PAY HERE hand at the herb stall. You get a receipt for strong Sleepy Wormwood with the warning not to mix it with alcohol.
Eleanor's Desk: Grouped Objects, the Safe and the Cellar Hatch
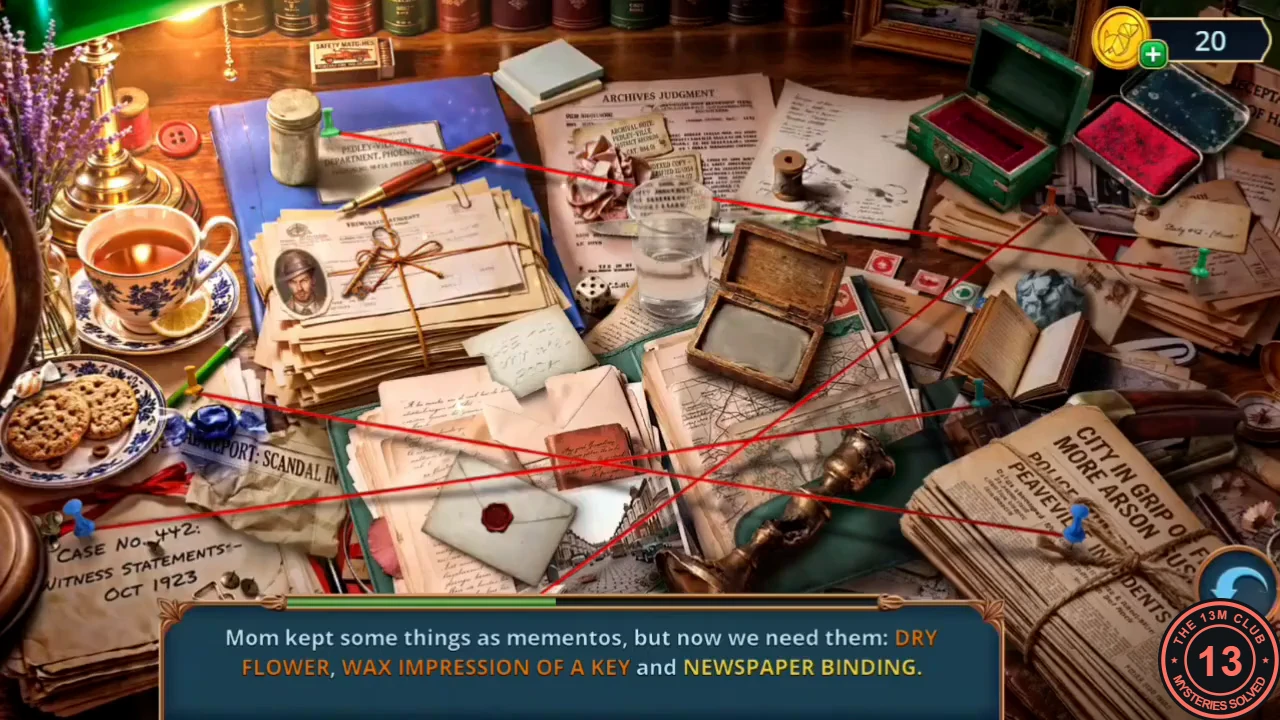
Follow the receipt to a second desk search, then open the safe, the green chest and the cellar hatch.
- In Eleanor's room, place the receipt on the marked spot on the desk to open a hidden-object scene, where you find grouped story objects. Your reward is the Time of Fire newspaper clipping: August 16, 1989, 18:15.
- Use Time of Fire on the cuckoo clock on the bookshelf. The hands move to 18:15 and the bird pops out; take the Safe Handle.CODE18:15
- At reception, attach the Safe Handle to the green safe and listen at the door with the Stethoscope. The safe opens; take what is inside.
- Take the Flask with Water from the armchair and pour it on the fireplace. Take the Pumpkin Token.
- In Elderwick Square, put the Pumpkin Token in the green chest's slot. Open it and take the Forceps and the last recipe book (Books 4/4).
- Open the Laundry Rope in inventory and put the four recipe books on it. The stack is tied together.
- On the guest house street, hang the tied books on the cellar hatch pulley as a counterweight. Take the Rose Amulet from the opened hatch.
- Put the Rose Amulet in the floral recess of the red bicycle's saddlebag. Take the Air Power canister and the Fluffy Brush. A Sunflower Flag is on the bicycle.
Eleanor's Room: Restore the Old Photo
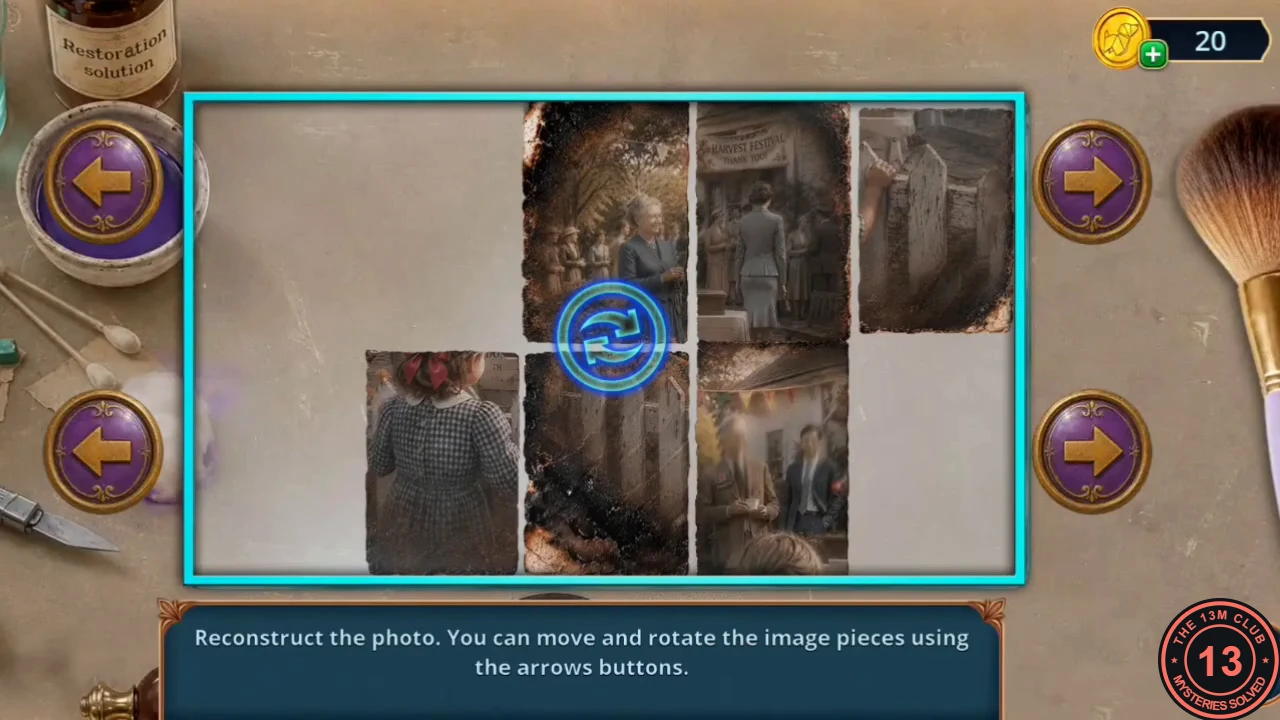
Restore the torn archival photo on Eleanor's light table to finish the chapter.
- At the light table, lay out the Torn Group Photo. Sweep off the soot with the Fluffy Brush, clean it with the cotton swab and Restoration Solution, lay the Glass Plate over it and use the Travel Magnifier.
- Reconstruct the photo: move each piece with the arrow buttons and rotate it until the picture lines up. Work from the edges and corners inward, using the Harvest Festival archway as a landmark. The finished photo shows a girl in red gingham under the archway.
- The chapter ends with Your Decision Points. Chapter 1 has 12 stars available: vision (0 or 2), pie (0 or 2), Victor's collapse (0, 3 or 6) and Eleanor (0 or 2). The memory photo tiers need 0, 4 or 10 stars. With fewer than 4 stars (for example, only the 2 stars from the vision choice) you receive the 0-star photo. The paid answers and the memory photos are described in Endings and Extras. For the 10-star photo you need Help Victor (6) plus two of the 2-star choices.