CHAPTER 3
The Burnt Barn: Winch, Briefcase and Wardrobe
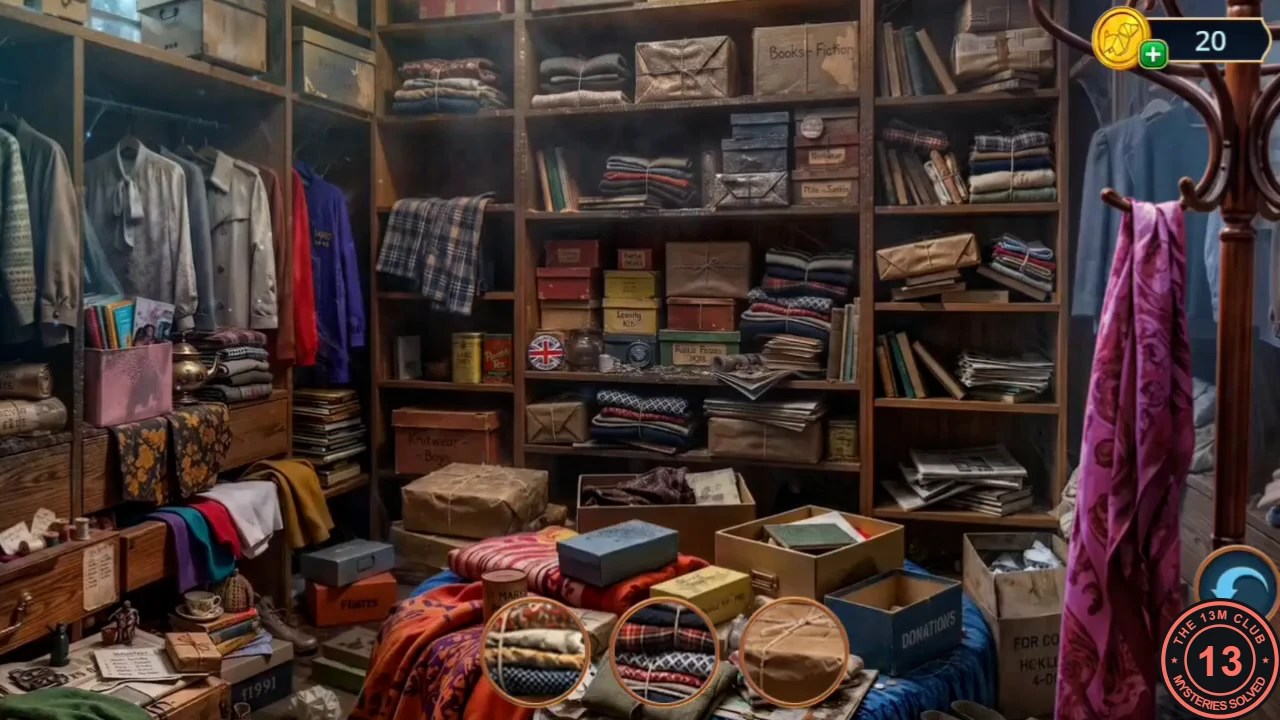
Drag the donation box off the floor hatch, open the Volunteer Room briefcase and search the bed.
- Go through the hidden door to the Burnt Barn. On top of the green donation box, move the bellows aside and take the pumpkin. Read the donation box tag and take the Swivel Handle. Then tie the Rope to the box's carabiner.
- Fit the Swivel Handle on the winch on the wooden post and crank it. The box is dragged away, uncovering a floor hatch with a windmill relief. Take the Airplane Figurine from the hatch; the hatch itself needs a boomerang.
- Back in the Volunteer Room, put the Airplane Figurine in the briefcase's world-map lock. The plane turns and the briefcase opens; take the Metal Bowl and the Handheld Vacuum Cleaner.
- Clean the bed with the Handheld Vacuum Cleaner to start another clothes hidden-object scene. Your reward is the Wooden Wedge.
CHAPTER 3
The Boomerang Hatch and the Barn Memory
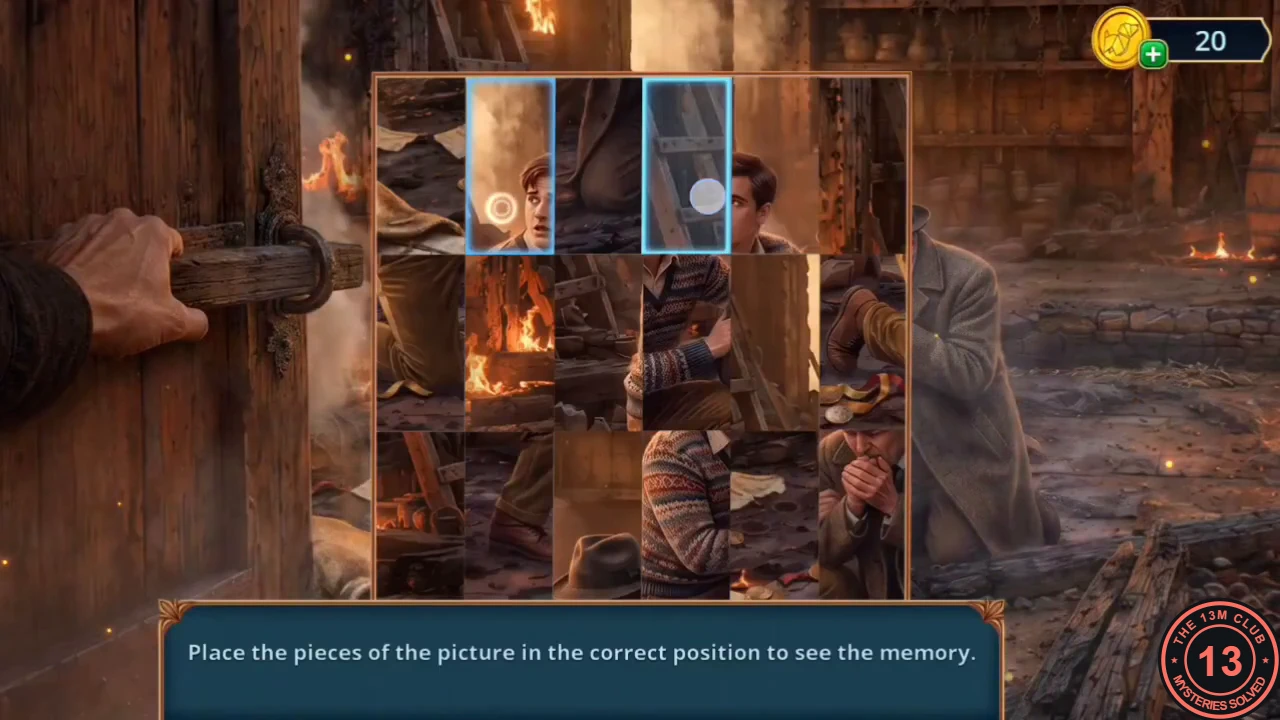
Melt the resin to free the boomerang, open the hatch, then dig up the committee's note.
- In the Utility Room, prop the collapsed shelf with the Wooden Wedge and take the Hardened Resin.
- A Sunflower Flag is on the lower-left frame of the stove. Put the Hardened Resin in the pot on the coals, pump the coals with the bellows to melt it, then lift out the prize with the fireplace tongs: the Boomerang.
- Fit the Boomerang in the centre of the barn's floor hatch. The blades turn and the hatch opens; take the Chain, the Small Scoop and the clue paper about the lock buttons.
- Dig the dirt by the red padlocked chest with the Small Scoop and read the Parish Committee note. A strip memory starts: swap the vertical strips to show the young man kneeling by an older man in the burning barn.
- Take the Chisel from the dirt by the chest. Use it on the winch post to free the embedded Axe.
- Chop through the carved planks of the barn's back door with the Axe and go out to the street behind the Parish House.
CHAPTER 3
Putting Out the Fire: The Water Tubes
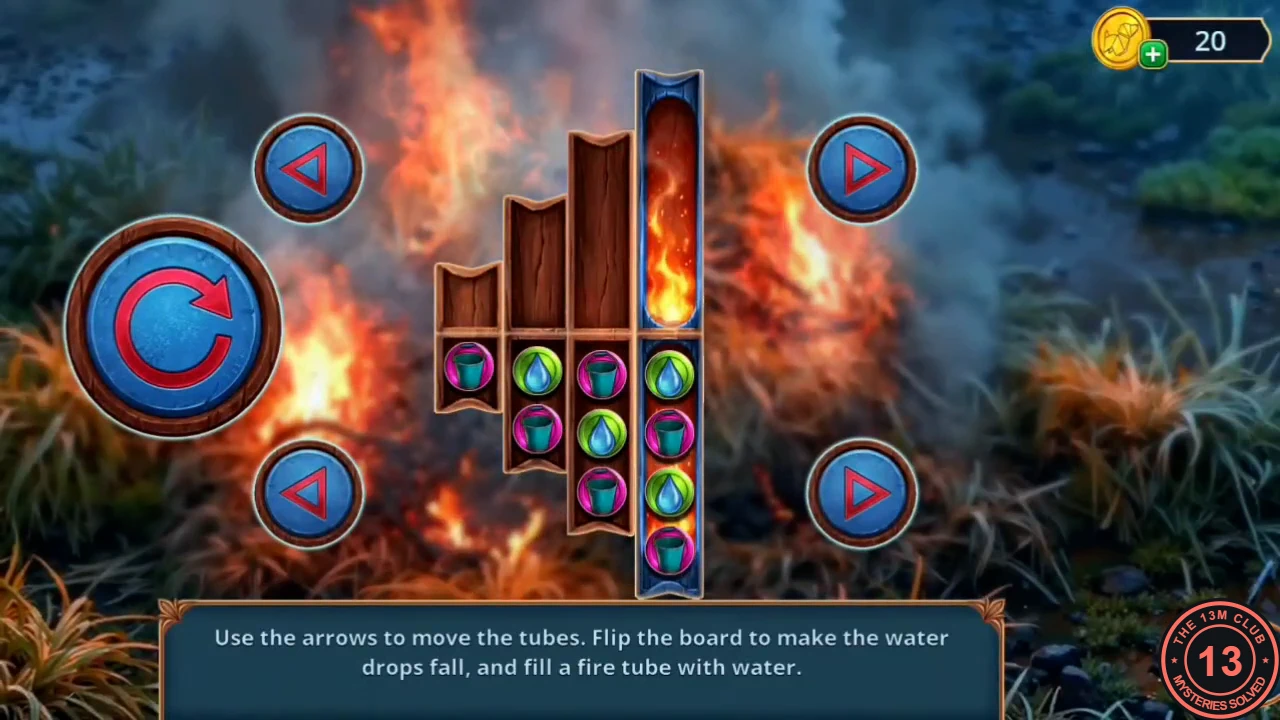
Find pesticide, free the handbag pocket, draw water from the well and put out the fire.
- On the street behind the Parish House, search the hay under the broken cart and take the Signs and the Broken Dial. Put the pumpkin under the cart frame in place of the missing wheel and take the Pesticide.
- In the Parish House yard, spray the Pesticide on the vines over the bench. The handbag's side pocket comes free; take the Weather Vane.
- Hang the bucket on the well winch with the Chain, then lower and raise it to get the Bucket of Water.
- Use the Bucket of Water on the fire behind the Parish House to start the tube puzzle. The four arrow buttons stay in place: the top pair slides the upper row of tubes left or right, and the bottom pair slides the lower row. The big round button on the left flips the board, and drops fall whenever there is room in the tube below. Goal: fill one blue fire tube with four blue-green water drops (the pink bucket drops are not water). The starting layout was identical in two separate playthroughs; from it, press in this order: top-right arrow; flip; top-left arrow; flip; top-left arrow twice; flip; top-right arrow; flip; top-left arrow; flip; top-right arrow. The fire tube in the lower row fills with four water drops and the fire goes out. If your layout differs, use the rules above to steer four water drops into one fire tube; every press can move drops, so check the board after each one.
- Decision point: Point out Thomas's fear (2 stars, 60 coins) or Suggest going to the mill (free, 0 stars).
CHAPTER 3
Thomas Reed's Mill: The Key in the Lock
Find an awl in the hay and push the key out of the mill door's lock.
- On the street behind the Parish House, search the hay pile by the tractor and take the Awl. The rest of the hay needs a rake later.
- The red door of Thomas Reed's Mill is locked with the key still inside. Slide the Volunteer Room rules note under the door, push the key out with the Awl so it drops onto the paper, then pull the paper back and unlock the door.
- Inside, Thomas Reed warns you not to stir up the past. The Interrogate Thomas task is complete.
CHAPTER 3
The Mill Clock Numbers
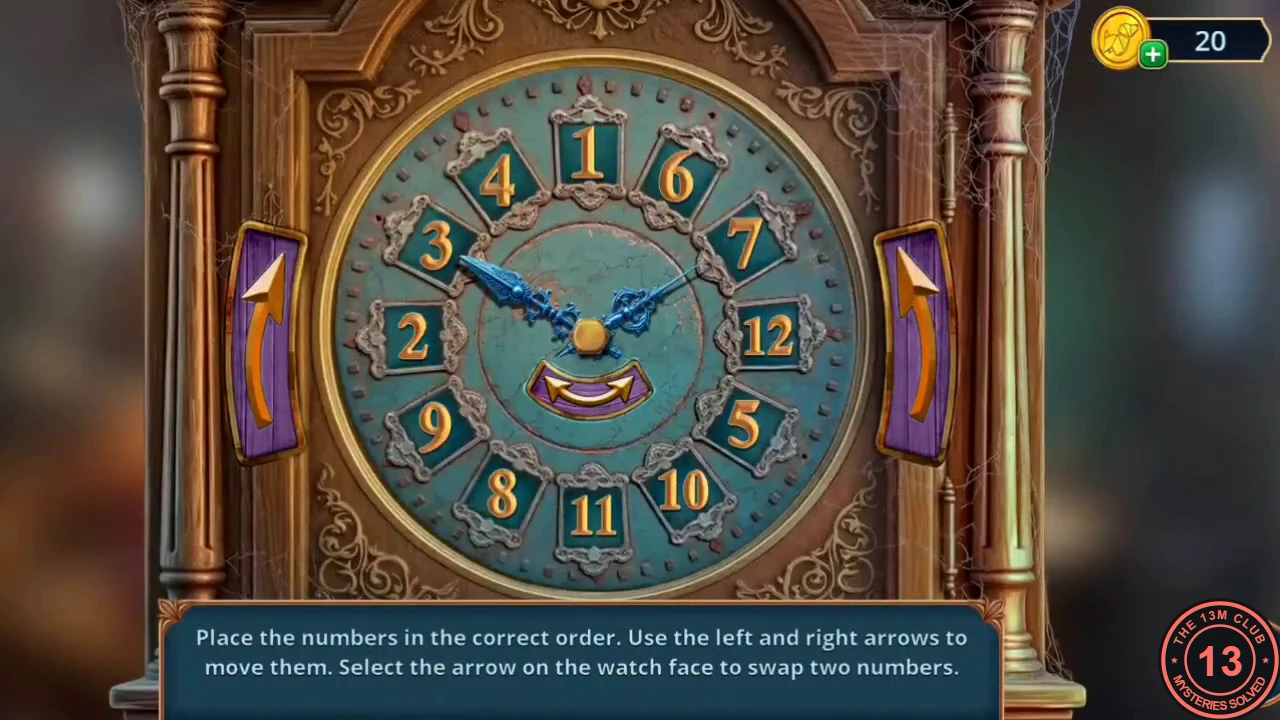
Clear the water chute, rebuild the clock dial and put the numbers in order.
- At the water wheel, lever the splintered wood out of the jammed chute with the Old Walking Cane. Water flows and washes out an ornate Clock Hand; take it and the Stick.
- In your inventory, open the Broken Dial (the round teal clock face) and place the Clock Hand on it.
- A Sunflower Flag is on the mill desk. There is also a note in invisible ink there for later.
- At the flour sack with the mouse, take the Engraved Handkerchief (monogram F.R.) and the Bolt with Nut underneath it.
- Secure the hands on the Dial with the Bolt with Nut to finish it.
- Place the Dial on the grandfather clock's movement. Put the numbers in order: the side arrows rotate the whole ring, and the clock hand selects a position to swap two numbers. Solution: 12 at the top, then 1-11 clockwise in normal clock order. The clock case opens; take the Wire.
CHAPTER 3
The Volunteer Room Globe Flags
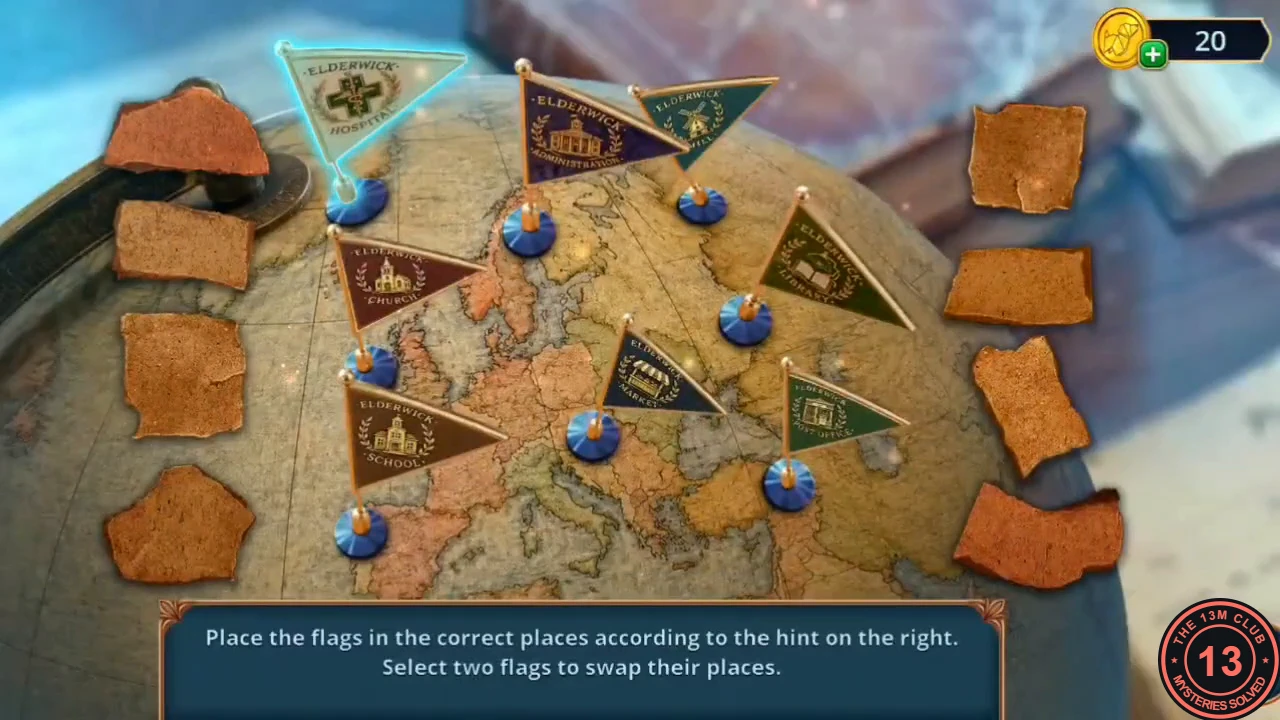
Sift the flour for a flag tile and set the globe's flags by the map hint.
- Fit the Piece of Fine Mesh and the Wire into the embroidery hoop in your inventory to make the Homemade Sieve.
- Sift the mill's flour with the Homemade Sieve and take the triangular flag tile. A Sunflower Flag is in the top-left of this close-up.
- Place the tile on the globe on the Volunteer Room desk. Set the flags as the cork hint tiles show; select two flags to swap them. Final arrangement: top-left MILL, top-centre CHURCH, top-right MARKET, upper-left SCHOOL, right LIBRARY, lower-left HOSPITAL, centre ADMINISTRATION, and lower-right POST OFFICE, just below LIBRARY.
- The globe opens; take the Wind-Up Frog.
- Put the Wind-Up Frog into the aquarium on the dresser. It brings up a golden Comb and drops it on the cloth; take the Comb and the second lockpick piece, which completes the Lockpicks (2/2). A Sunflower Flag is in the bottom-right of the aquarium close-up.
CHAPTER 3
The Spikelet Lock and Code 387
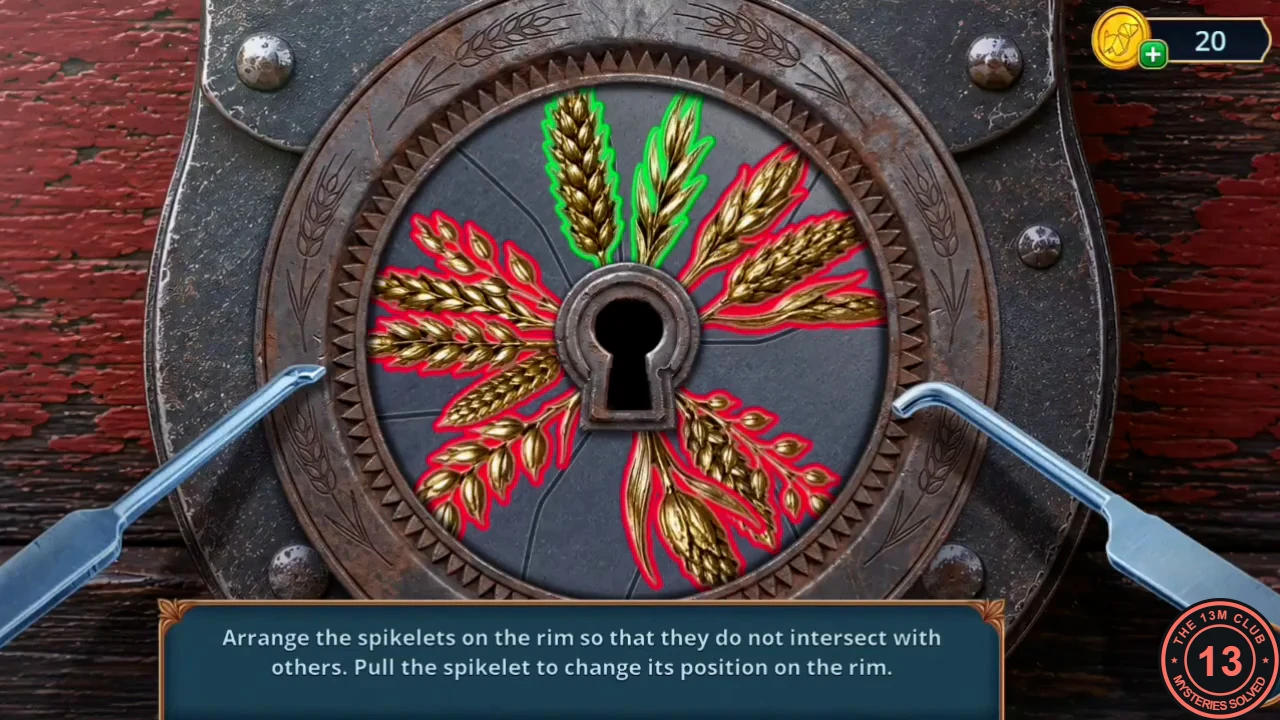
Pick the barn chest's lock and reveal the invisible ink.
- Use the Lockpicks on the padlock of the red chest in the Burnt Barn. Arrange the spikelets on the rim so that none of them cross: pull a spikelet to move it around the rim. Red outlines show crossings and green means clear. Solution: every spikelet points straight out from the keyhole in its own rim position, fanned all the way round. Take the Candle from the chest.
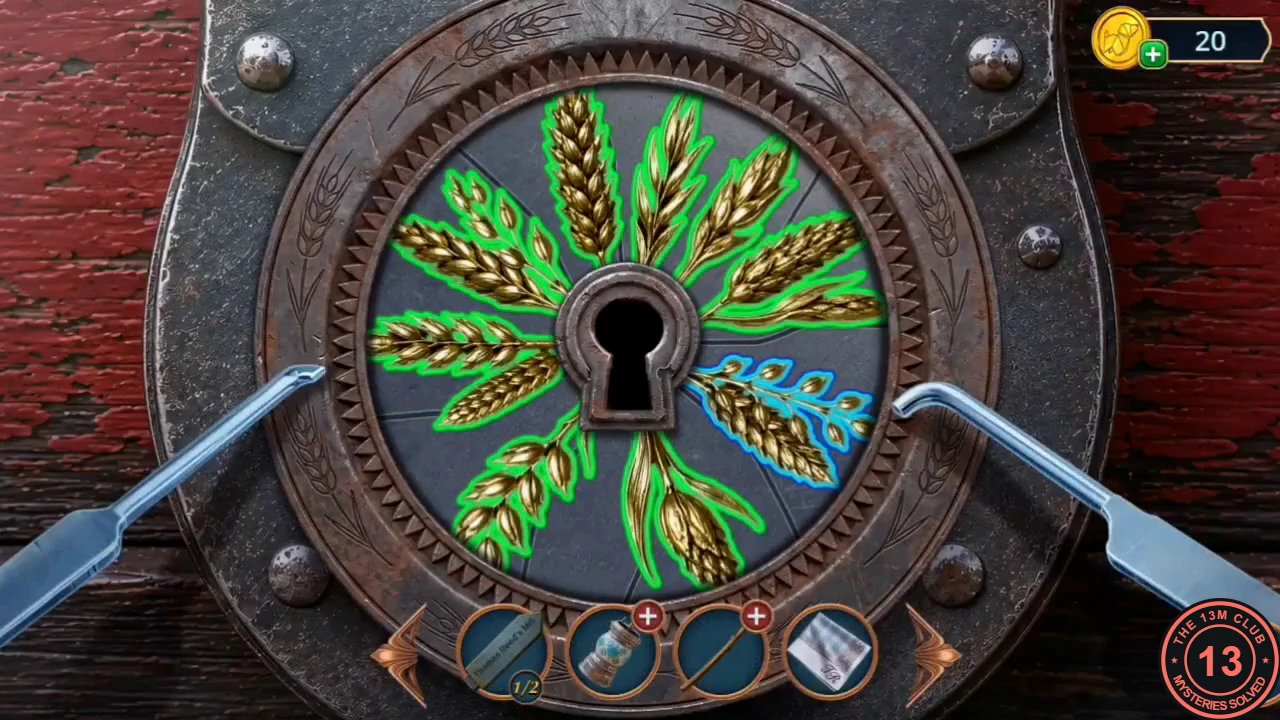
The solved spikelet lock. Green means clear; the blue outline only marks the spikelet last selected. - At the mill desk, put the Candle in the brass holder and light it with the Lighter from Victor's property box (Chapter 2). The heat reveals the invisible ink: the lock code is 387.
- Enter 387 on the combination padlock in the mill to open the storeroom.
CHAPTER 3
The Mill Storeroom Hidden Objects
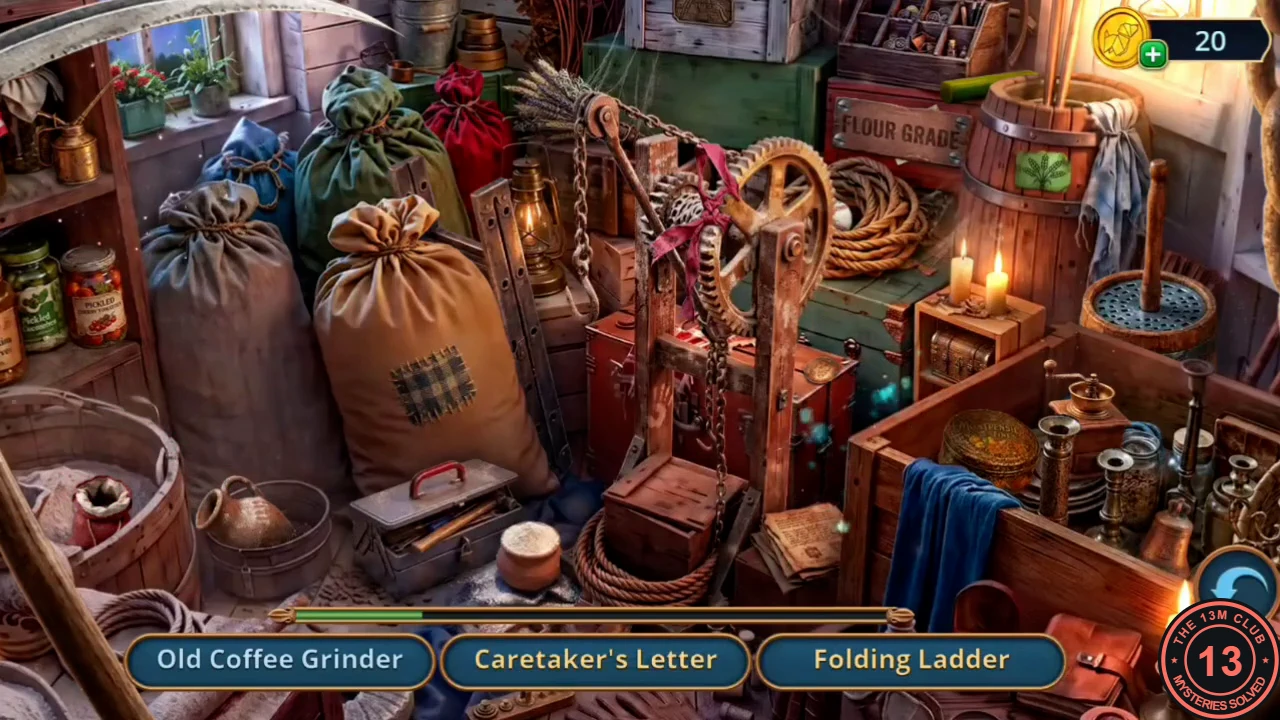
Open the storeroom with code 387, search it and talk to Thomas.
- Find the listed items in the mill storeroom, such as the Old Coffee Grinder, Large Sieve, Folding Ladder, Caretaker's Letter, Large Mill Bell, Volunteer Badge, Clay Jug, Tool Box, Festive Ribbon and Old Butter Churn. Some need an action first, such as pouring the jug. Your reward is the Small Burnt Chest.
- Thomas explains what his father found after the fire and says Victor will be at the old park pavilion. Decision point: Reassure Thomas (2 stars) or Ask about the next steps (free, 0 stars). You receive the Parish Volunteer Corkscrew.
CHAPTER 3
The Rescue Memory
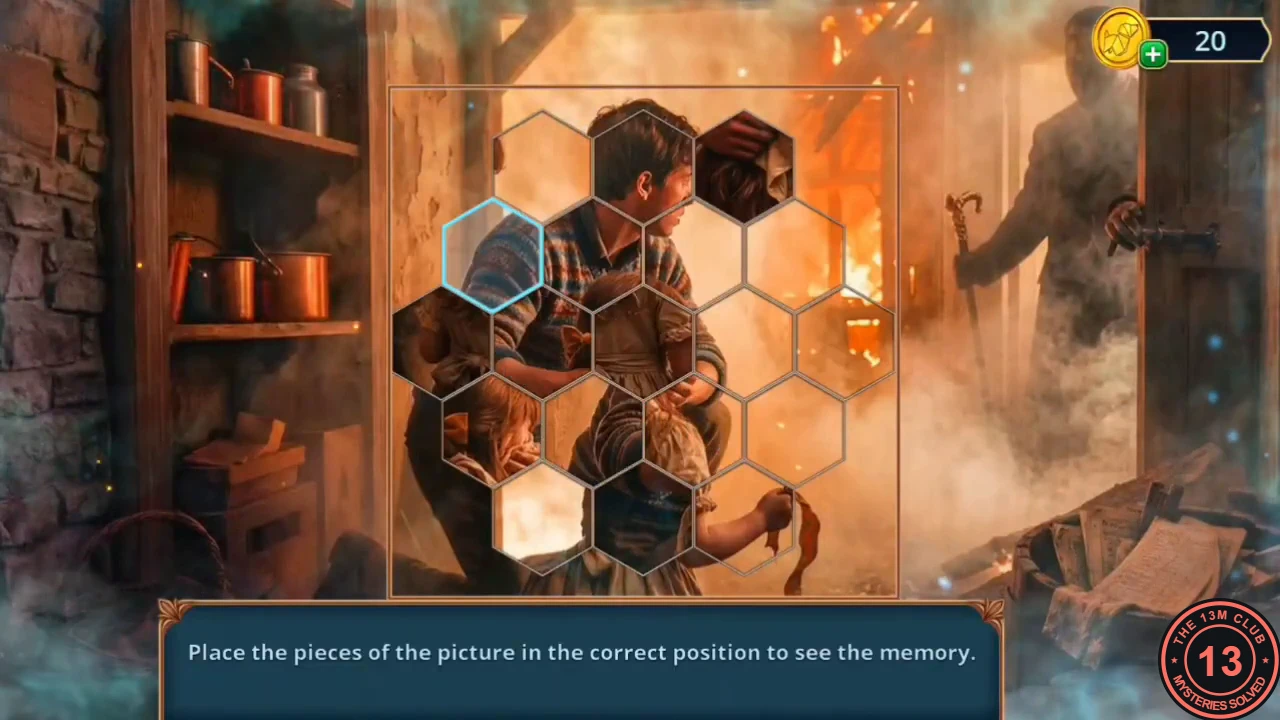
Restore the memory of the rescue from the burning room.
- A memory follows: place the hexagonal pieces to show the young man carrying a child out of the burning room. The task changes to Get to the Old Park.