Parish House Yard: The Post Box Gears
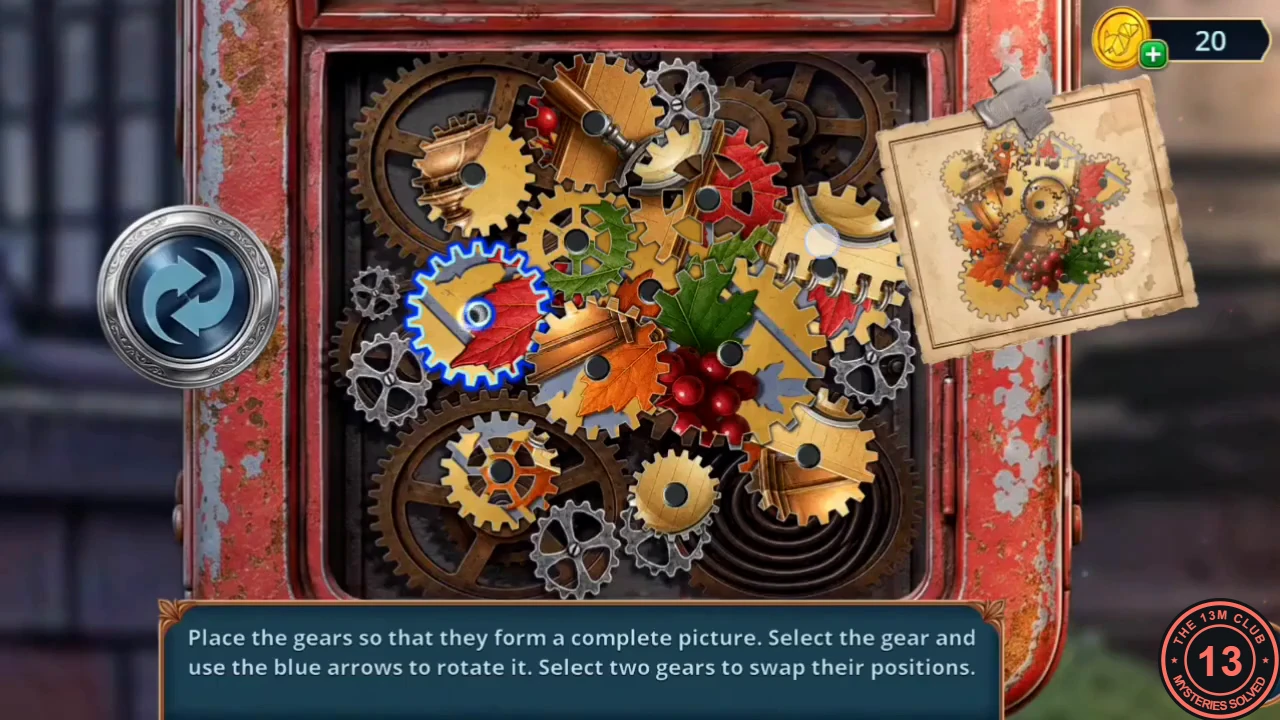
Victor's trail leads to the Elderwick Parish House. Open the well lid and the post box, then build a ladder to get in through the window.
- Chapter 3 starts with a few items already in your inventory: a wooden stick, the ladder rungs, the Nails, a mallet, a signet ring and the first Rail (1/2). In the Parish House yard, take the Pocket Mirror from the top of the red handbag by the vine-covered bench. The handbag's gem lock and side pocket are for later.
- At the well, take the board lying on the lid (Rail 2/2). Then put the Pocket Mirror in the round lock on the lid. The lid opens; take the Golden Gear.
- Put the Golden Gear on the red POST box to start the gear picture puzzle. Select a gear and use the blue arrows to rotate it; select two gears to swap them. Match the reference photo pinned at the top right (autumn leaves, berries and gears) until the picture is complete.
- From the open post box compartment, take the orange Stiff Brush, the Small Weight and the first Feathers (1/3).
- Below the left porch window, build the ladder: place the two Rails, add the rungs and the Nails, then hammer them in with the mallet. Climb the ladder through the window.
- Inside, Eleanor and Marcus are arguing. Decision point: Hear Eleanor out (2 stars, 60 coins) or Put a stop to the row (free, 0 stars).
The Parish House Hall and the Rusted Bolt
Search the keyless harpsichord, then clean the rusted bolt on the side door.
- At the harpsichord, take the Pen Refill and the Broken Bagpipes.
- The lid won't stay up on its own. Prop it open with the wooden stick and take the Vinegar. A key is caught in the strings; you need a tool for that later.
- On the side door's rusted bolt, pour the Vinegar and scrub with the Stiff Brush. The door opens into the storage room, where a hidden-object scene starts.
Hidden Objects: The Storage Room
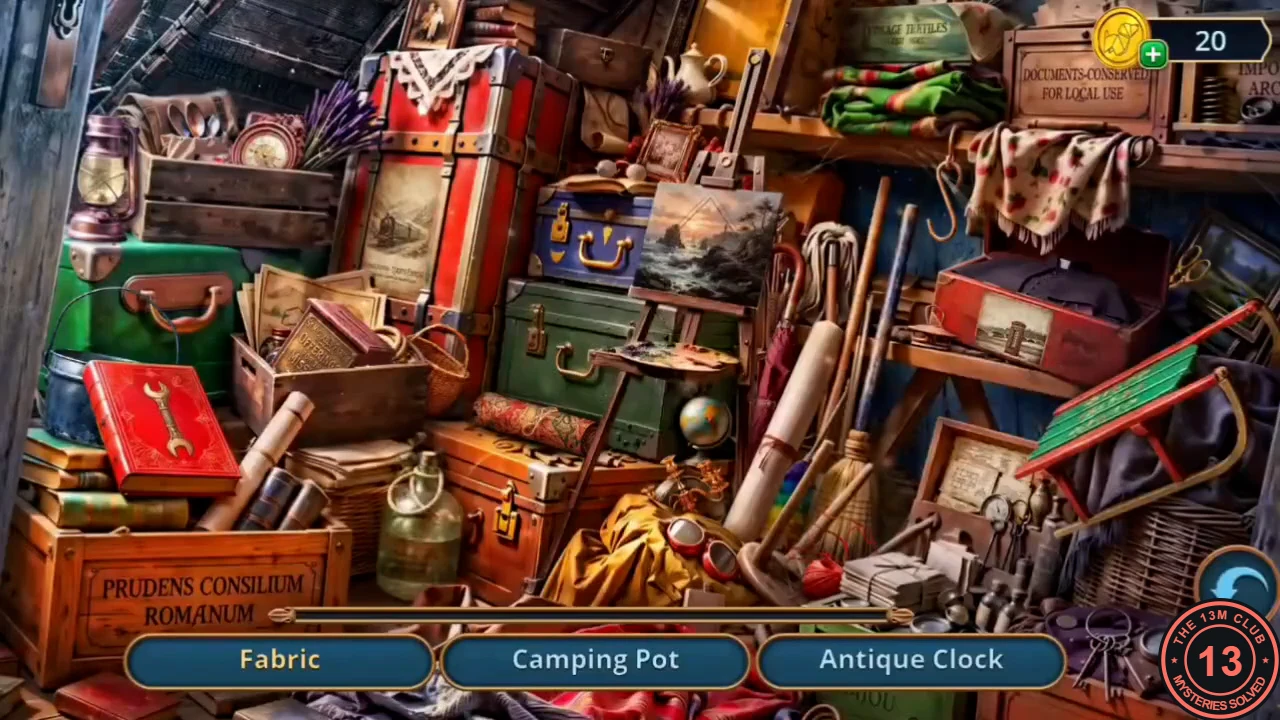
Find the listed junk in the parish storage room.
- Find the listed items; three names show at a time and the list refills. Items include the Fabric, Camping Pot, Antique Clock, Photo Frame, Priest's Cloak, Winter Sled, Knitted Shawl, Wicker Basket, Kerosene Lamp, Candlestick, Donation Box and Umbrella. Some are hidden: for example, the lamp needs its top put back, and the dusty glass needs a soft cloth wiped across it. Your reward is the Volunteer Room Key.
The Volunteer Room: Drawer, Duty-Roster Memory and Aquarium
Light the Volunteer Room, open the desk drawer and its false bottom, and use the aquarium.
- Unlock the blue Volunteer Room door in the hall with the Volunteer Room Key and go in. The room is dark.
- Take the Box of Light Bulbs from under the bed. The briefcase under the bed is out of reach for now. The room lights up after this pickup.
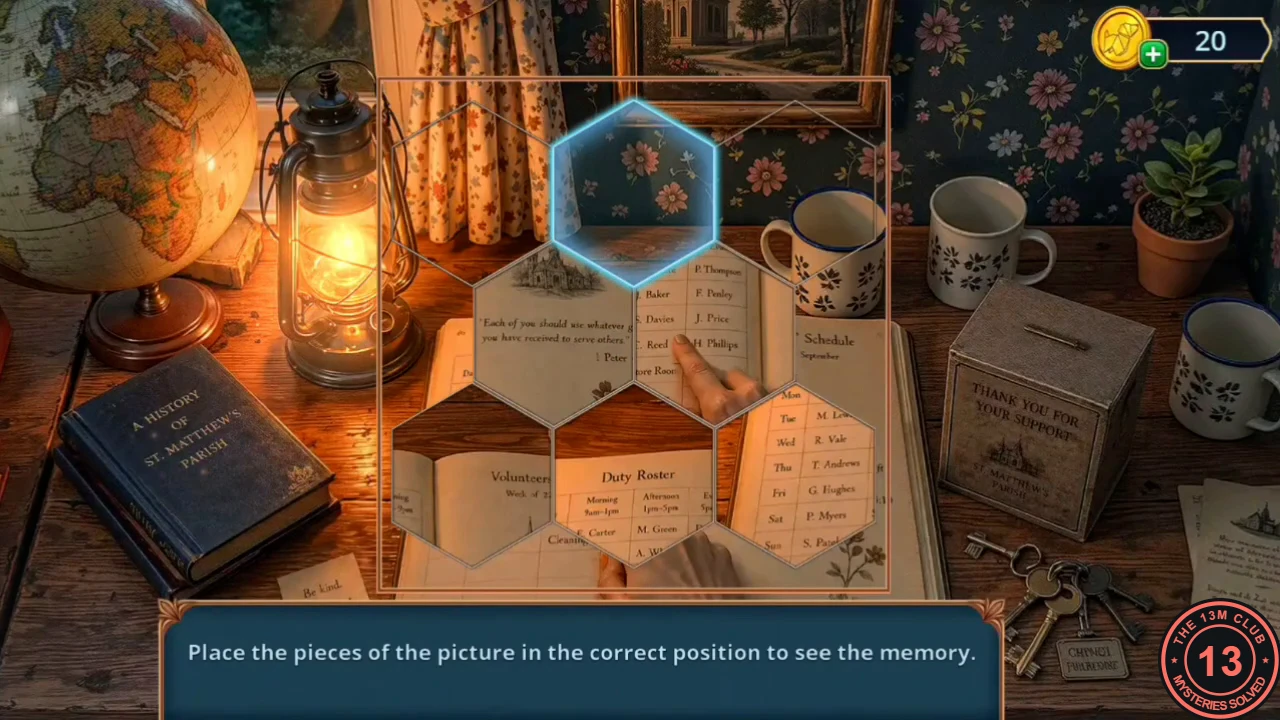
- Put the signet ring (red stone) into the lock of the desk drawer. Read the Volunteer Room rules note and keep it; you will need a sheet of paper later. A memory starts: put the hexagonal pieces of the duty-roster picture into their correct places.
- Take the Ribbon from the drawer. The drawer has a false bottom.
- Look into the drawer with the round mirror to find the small hole, then push the Pen Refill into it. The false bottom lifts; take the Magnet.
- Drag the Magnet along the murky aquarium glass on the dresser. The mechanical frog brings out the Colorful Cufflinks (1/2).
The Volunteer Room Wardrobe
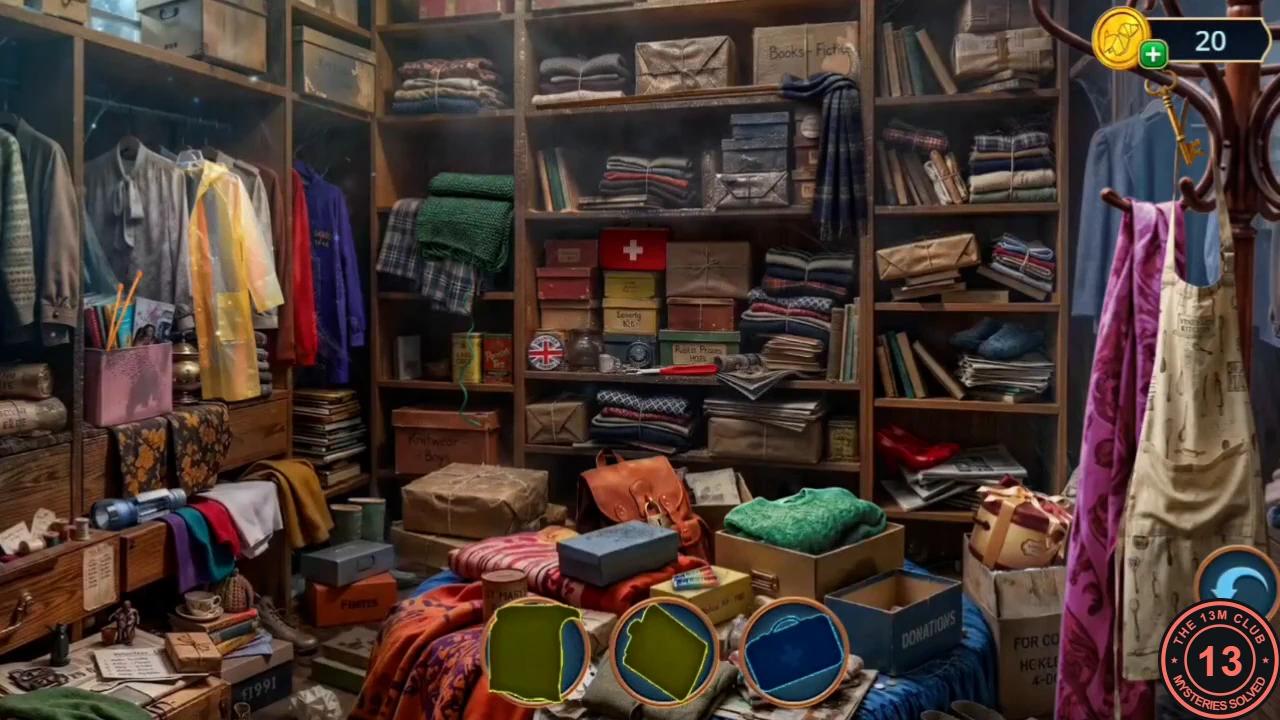
Open the central wardrobe and find the outlined clothes items.
- Tap the loose hinge pin of the central wardrobe; the folding doors open into a hidden-object scene of clothes (silhouette mode: find the items whose outlines are shown). Your reward is the Old Walking Cane.
The Briefcase and the Bagpipes
Hook the briefcase out from under the bed, repair the bagpipes and scare off the magpie.
- Hook the briefcase under the bed with the Old Walking Cane. Take the Small Wheel (1/4) and the Bagpipe Tubes. The briefcase itself has a world-map lock (nameplate C. MCGILL, 78619, DUNDEE) for later.
- Attach the Bagpipe Tubes to the Broken Bagpipes to repair them.
- In the Parish House yard, play the bagpipes at the magpie on the red post box. It flies off (Bird Cacophony achievement). Take the Rubber Patch.
The Handbag Gem Lock
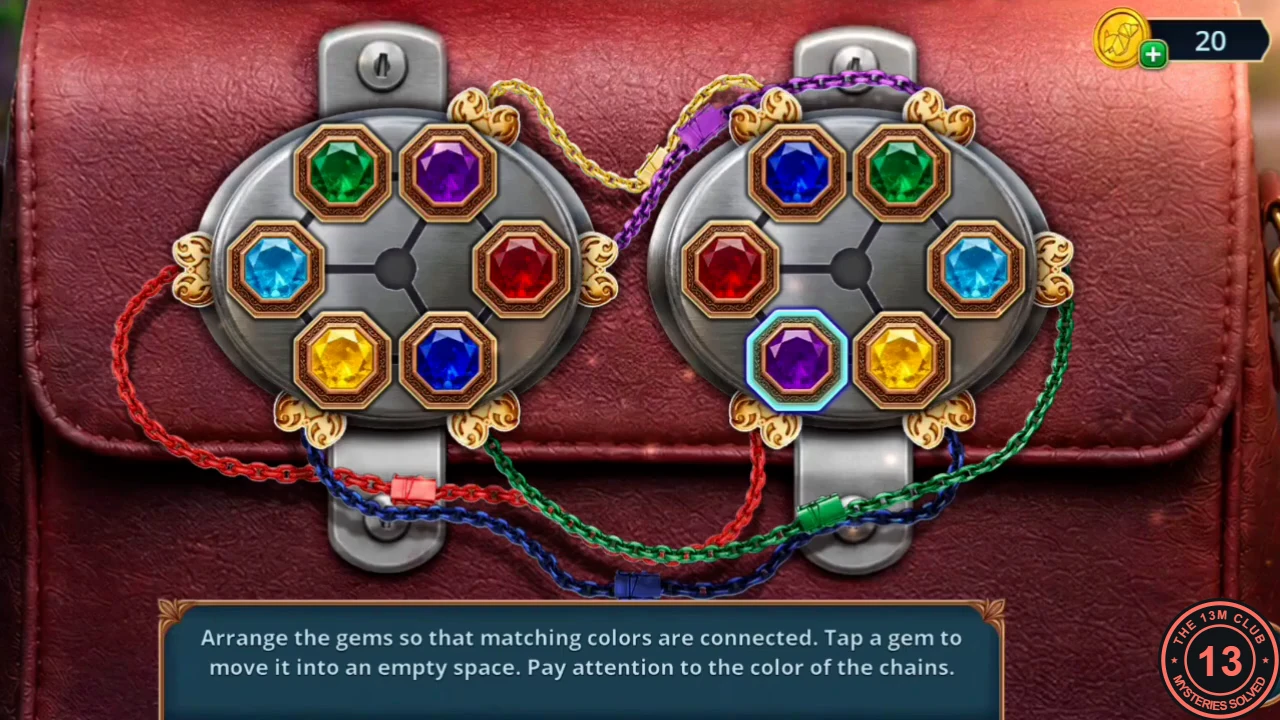
Open the red handbag and get a working light bulb.
- Open the red handbag's gem lock. Tap a gem to move it into the empty space; each gem must touch the chain of its own colour. Solution, left plate: yellow in the top-right socket; middle row red, cyan, purple from left to right; bottom row blue, green; top-left empty. Right plate: top row yellow, purple; middle row empty, cyan, green; bottom row red, blue.
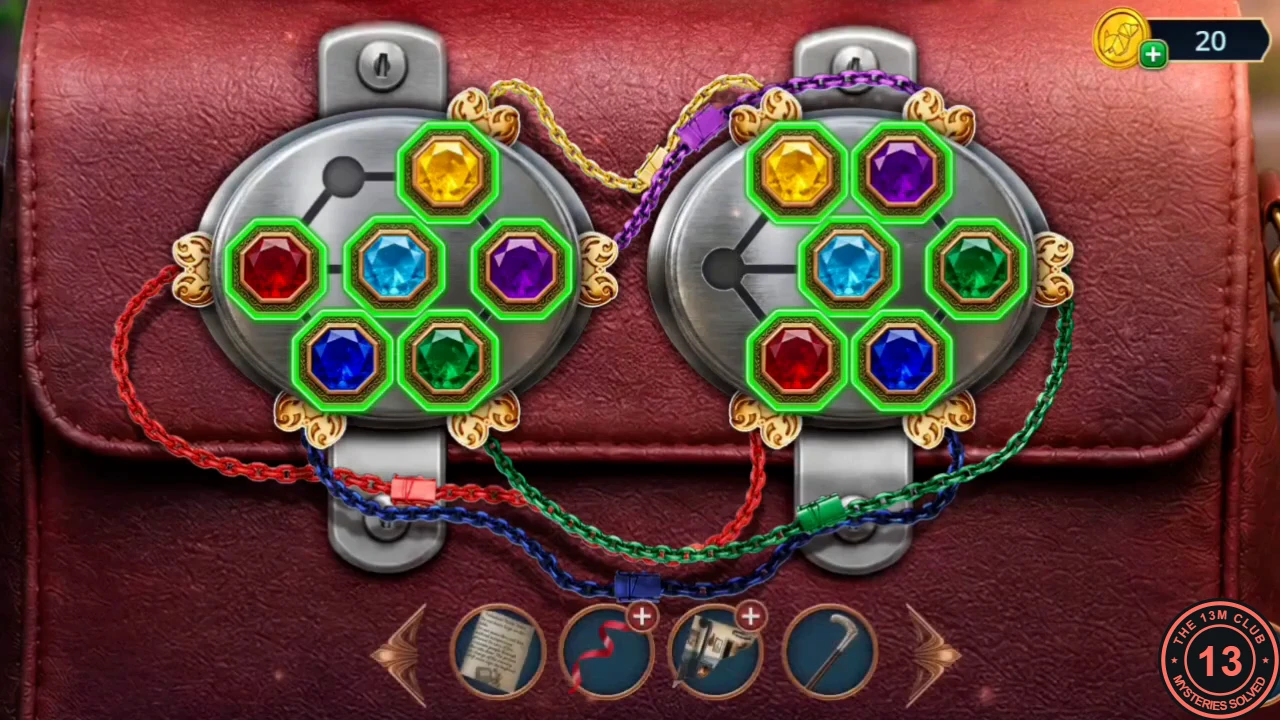
The solved gem lock on both plates. - Take the yellow feather (Feathers 2/3) and the pink Staple Remover from the handbag.
- Open the Box of Light Bulbs in your inventory with the Staple Remover and pick out the one intact Light Bulb.
The Storage Closet Differences
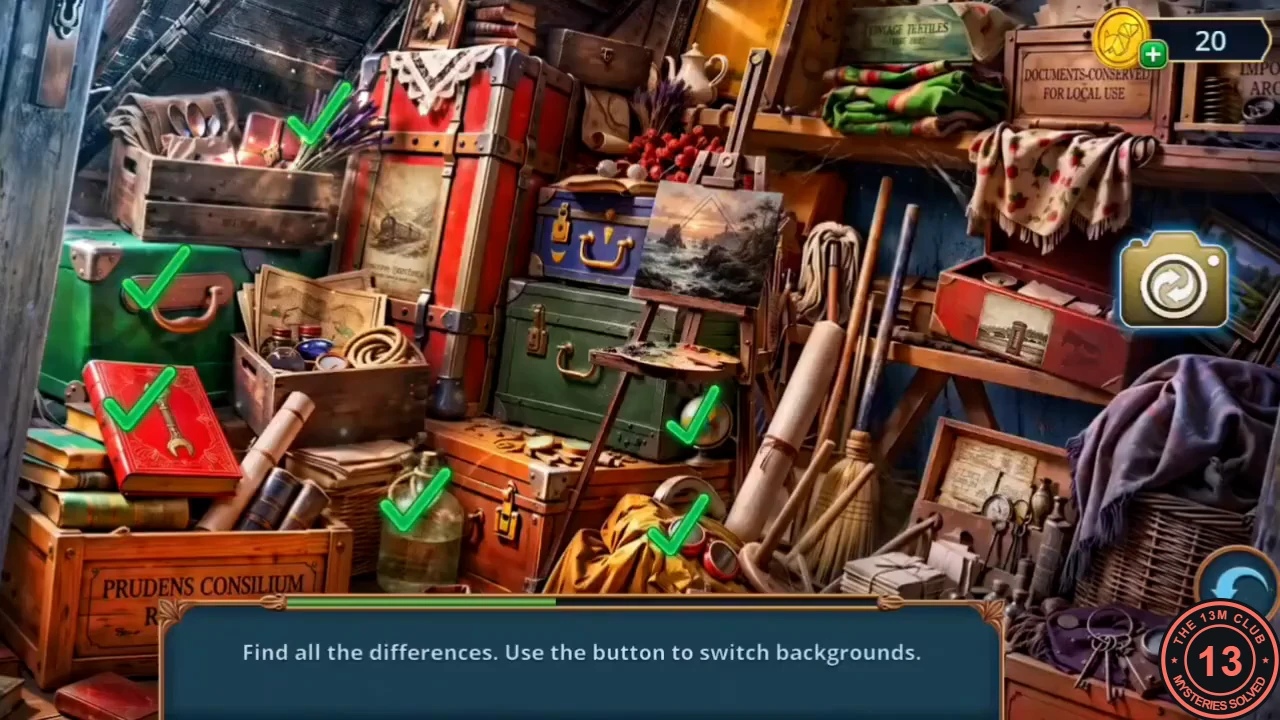
Light the storage closet and find the differences.
- Screw the Light Bulb into the dark socket in the storage closet. Find all the differences between the two pictures; the button switches backgrounds. Your reward is the Metal Spreader.
The Donation Cart Packing Grid
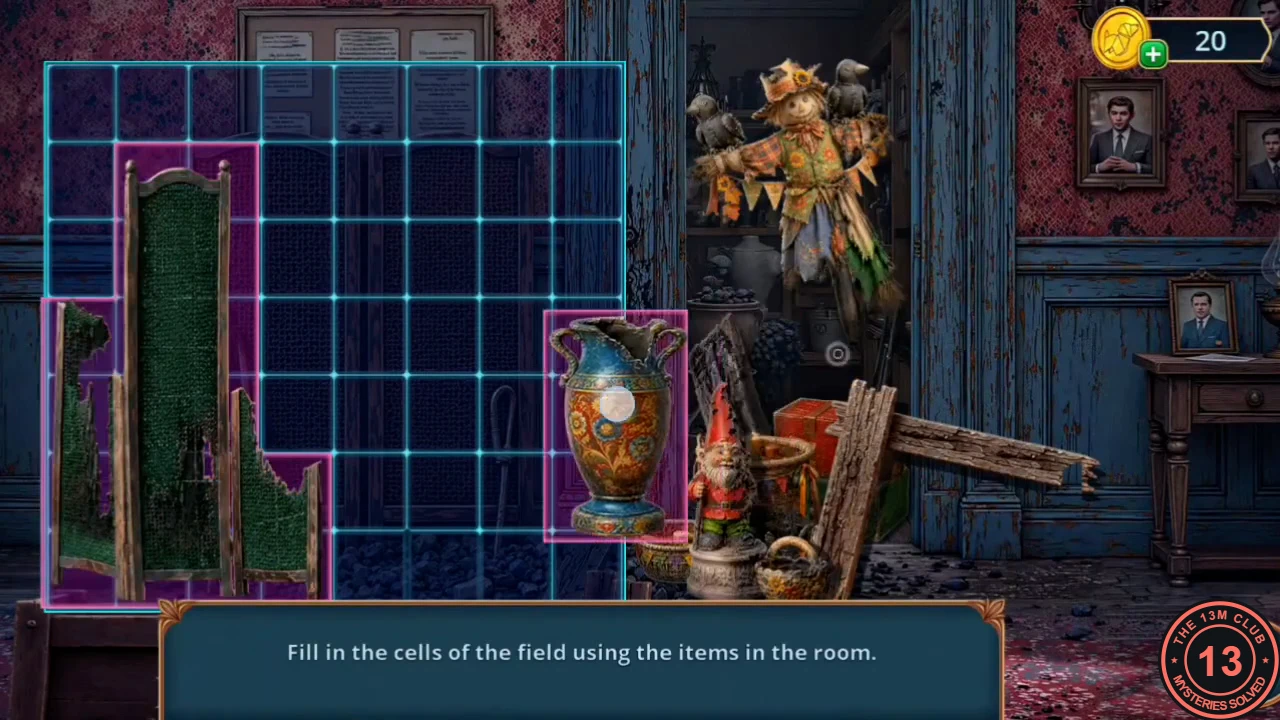
Free the item in the harpsichord strings, fix the donation cart and pack it to clear the sealed passage.
- Part the harpsichord strings with the Metal Spreader and take the Screw.
- Fix the wheel on the charred Parish Donations cart with the Small Wheel and the Screw (Wheel of Good Deeds achievement). The cart moves and a packing puzzle starts: fill every cell of the grid with the room's items.
- Packing solution (see the picture below): the wooden L-beam runs along the top edge and down the upper part of the left edge. The tall green screen panel stands left of centre. One broken side panel goes under the beam at the far left; the other goes along the bottom just right of the screen. The burnt board stands upright right of the screen, under the end of the beam. The garden gnome goes at the top centre, with the small basket at its right foot. The scarecrow takes the top-right block, the nesting baskets sit under the gnome, the red and green luggage stack goes bottom centre and the floral vase bottom right. The sealed passage opens to the Utility Room.
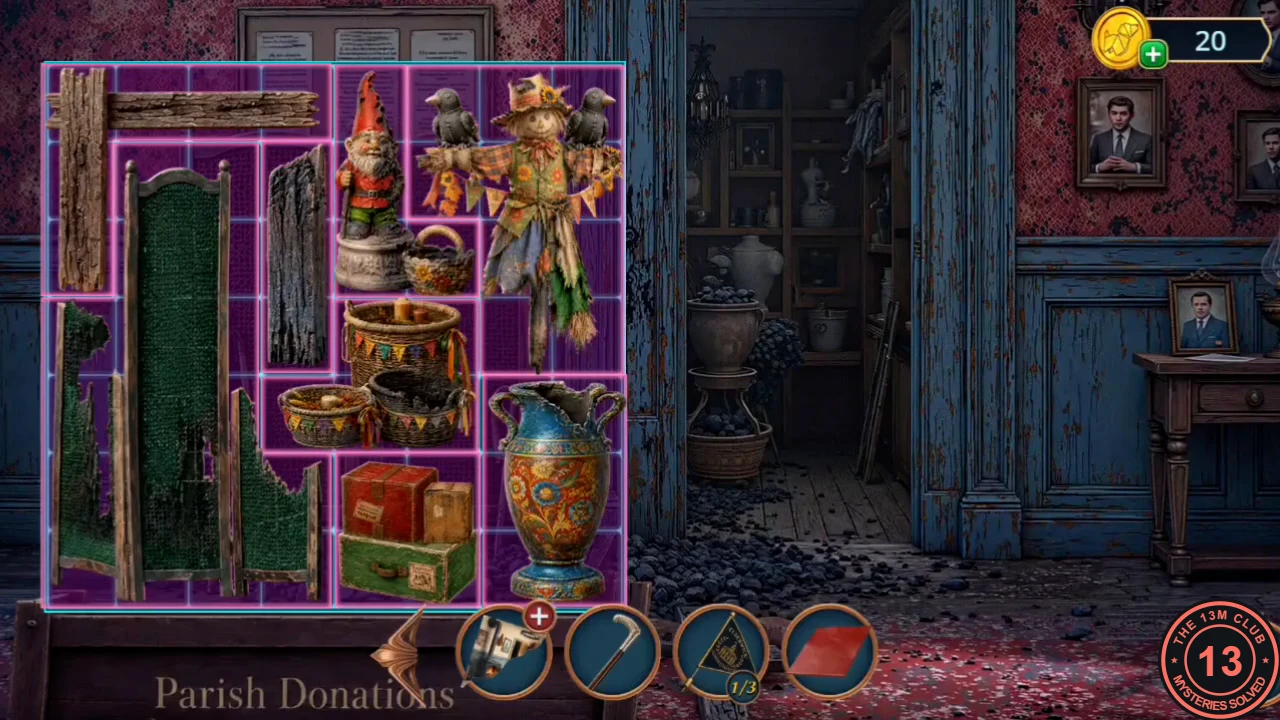
The completed packing grid.
The Utility Room and the Old Photo
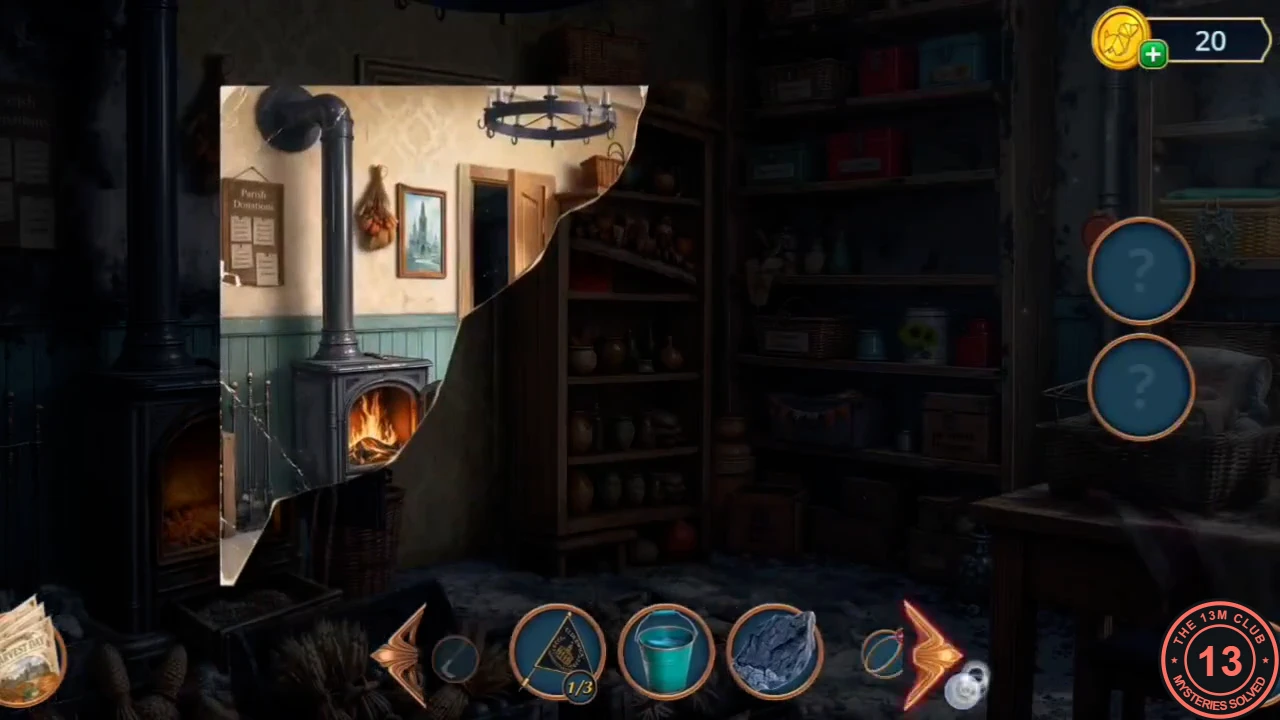
Make a duster, patch the steam pipe and line up the old photo with the room.
- At the stove in the Utility Room, take the turquoise bucket, the Embroidery Hoop and the purple feather (Feathers 3/3). The resin on the hearth and the handle-less drawer come later.
- In your inventory, tie the three Feathers together with the Ribbon to make the Bundle of Feathers.
- Dust the collapsed shelf by the door with the Bundle of Feathers. Take the Photo Fragments and the Clamp (1/2).
- Put the Rubber Patch on the leaking steam pipe by the cupboard. Take the Rope, the Piece of Fine Mesh and the Cork.
- Press the Cork onto the sharp pin of the stove drawer to make a handle. Open the drawer and take the Spatula.
- Lay the Photo Fragments over the room view and line the old photo up with the scene; the restored photo shows three people by the stove.
The Pantry Memory and the Papered Door
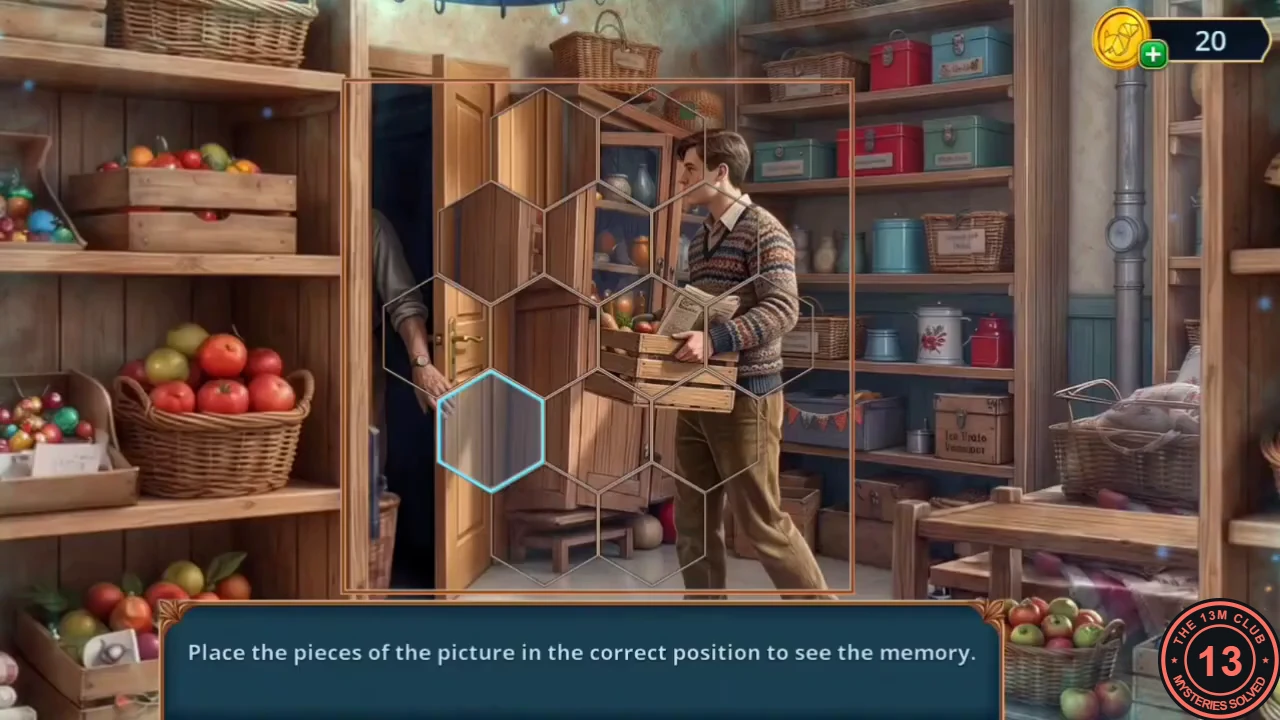
Restore the pantry memory, then strip the wallpaper to find a hidden door.
- A vortex appears by the shelves. In the memory, place the hexagonal pieces to show the young man carrying an apple crate in the pantry.
- On the papered-over wall right of the shelves, fill the three slots with the bucket, the Spatula and the Paint Roller from the hospital mantel clock in Chapter 2. The wallpaper comes off and a hidden door appears (Beneath a Layer of Lies achievement).