My Minivan: The Vent Dials
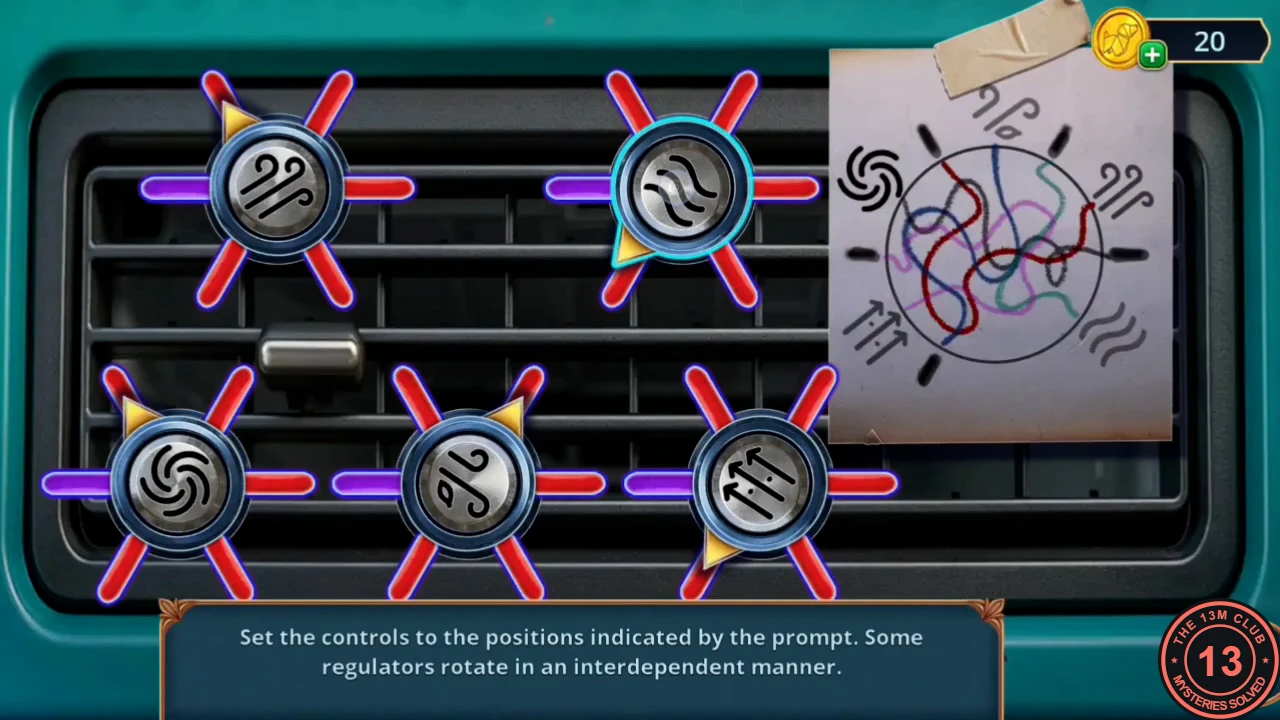
Set the minivan's vent controls and recover Mrs. Croft's signet ring.
- At the minivan dashboard vents, start the dial puzzle and set each dial to the position shown by the prompt; some dials turn together. Final positions: top-left wind dial at 11 o'clock, top-right waves at 11, bottom-left spiral at 3, bottom-middle leaf at 7 and bottom-right three arrows at 9. Your reward is the Chinese Coin.
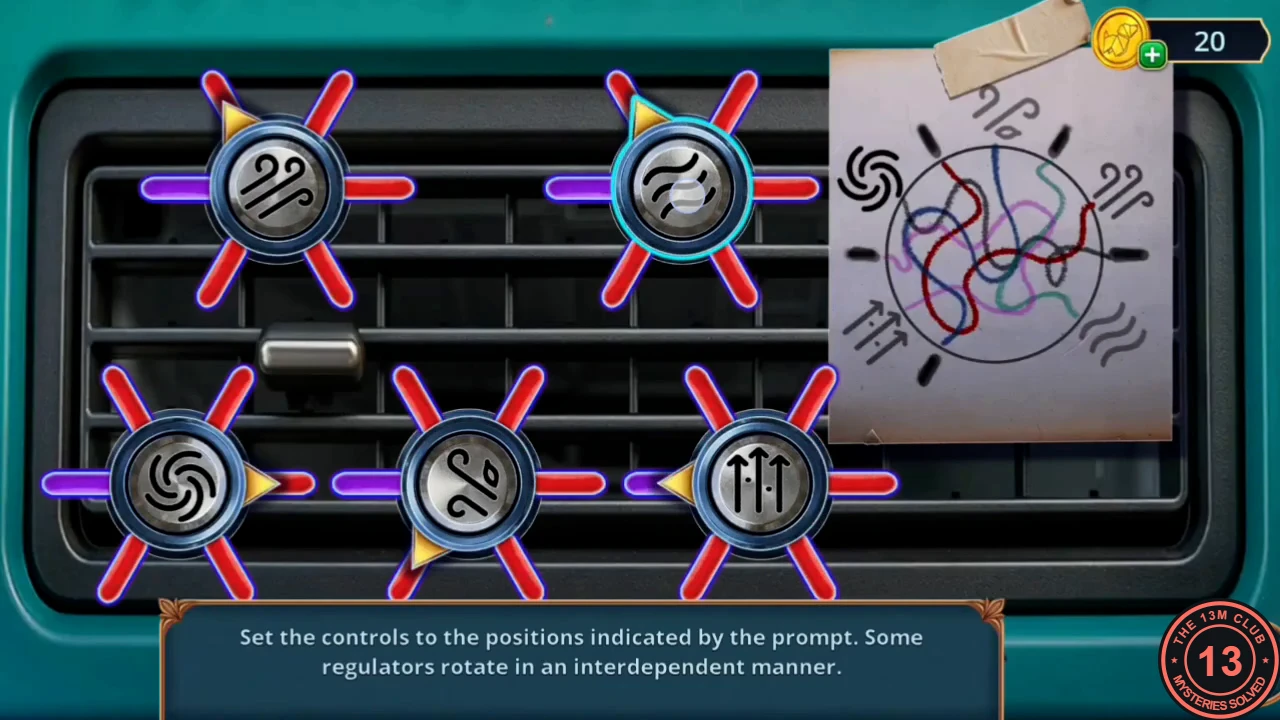
The vent dials in their final positions. - At the marble sink in the library hall, put the Chinese Coin on the tap as a handle and run the water. The ring floats up; take the Croft Signet Ring. A Sunflower Flag is also in this close-up.
The Croft Folder Cards
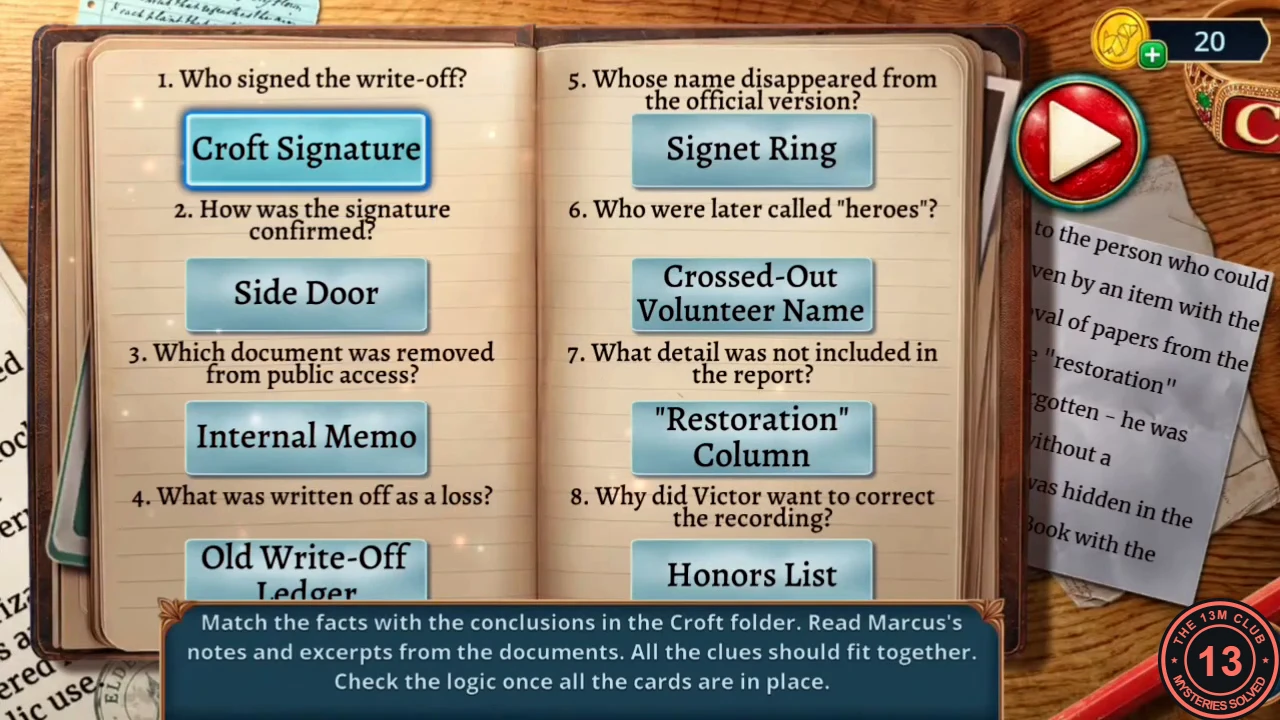
Match each question in the Croft folder with its fact, then confront Mrs. Croft.
- Give the Croft Signet Ring and the folded document to Mrs. Croft to open the Croft folder. Swap cards by tapping two at a time until each question has its fact, then press Play. Solution: 1 Who signed the write-off? Croft Signature. 2 How was the signature confirmed? Signet Ring. 3 Which document was removed from public access? Internal Memo. 4 What was written off as a loss? Restoration Column. 5 Whose name disappeared from the official version? Crossed-Out Volunteer Name. 6 Who were later called heroes? Honors List. 7 What detail was not included in the report? Side Door. 8 Why did Victor want to correct the record? Old Write-Off Ledger.
- Decision point: Call Marcus in (0 stars, free), Show empathy (3 stars, 30 coins) or Confront with facts (6 stars, 60 coins). This guide follows Call Marcus in. Mrs. Croft admits hiding documents, and you receive the Hospital Address.
Hospital Square: The Gear Ring Lock
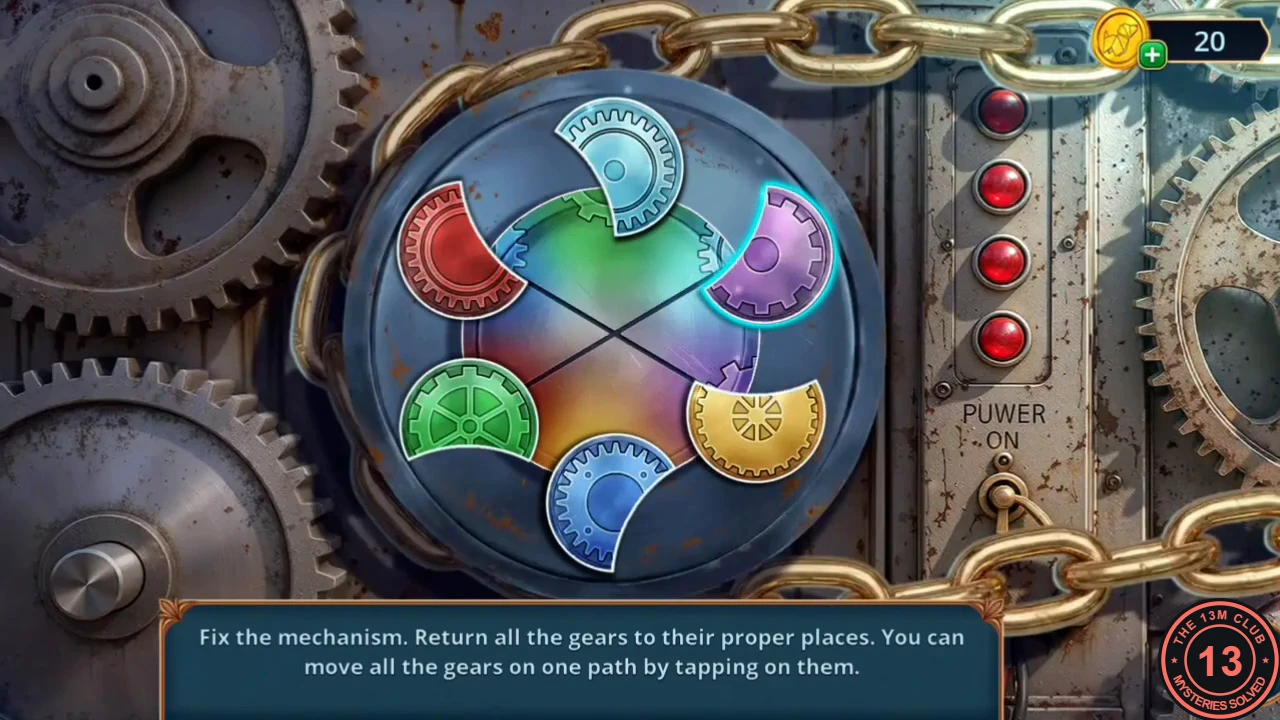
The hospital door is powered down. Restore its gear mechanism.
- From the library street, take the right exit to the hospital square. At the fountain rim, read the repeller manual and take the Ultrasonic Repeller and the Hand Pump. Pull out the red drain plug with the Hand Pump.
- At the storm drain grate, take the last Gears piece (Gears 3/3). A Sunflower Flag is at its top left.
- At the fountain cascade, open the floral Umbrella from the archive trolley over the falling water and take the Chain. The Umbrella goes back to your inventory.
- At the lock box on the hospital door, put the Chain over the gears and fit the last Gears piece (Gears 3/3) on the empty axle, then turn the crank to start the gear ring puzzle. Tapping a gear moves all the gears on its path one step. Match each coloured gear to its sector. Finished layout: dark blue at 10-11 o'clock, green at 12, light blue at 2, purple at about 4, yellow at 6 and red at 8. The starting positions may differ, so move one path at a time and lock in finished colours. The hospital door unlocks.
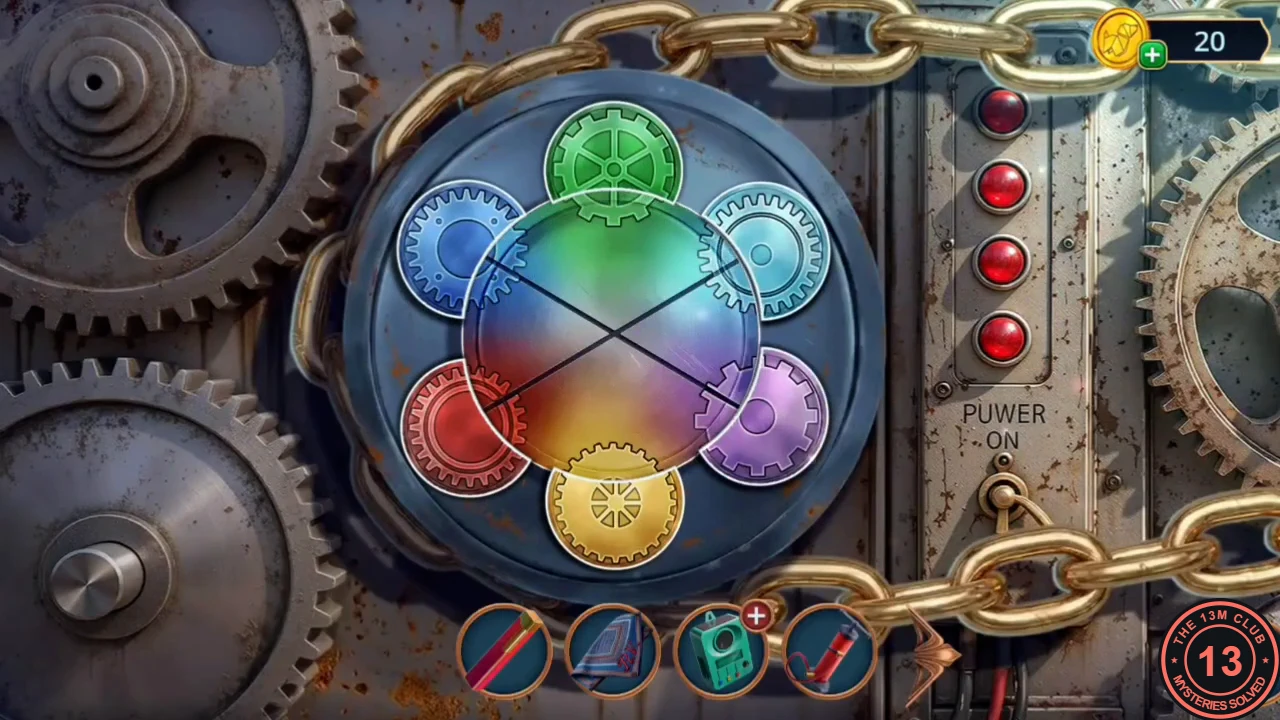
The solved gear ring: green at the top, then light blue, purple, yellow, red and dark blue clockwise.
Hospital Hall: The Route to Room 204
The doctor will only help once you return his pen.
- Talk to the doctor. At the reception clock, take the Albion Power battery and the first Lock Pick part (Lock Pick 1/2). Move the floral umbrella on the counter and take the Perfume. The stopped clock needs its hands (later).
- At the gift basket, spray the grimy card with the Perfume (it reads For Victor Hale, from the Elderwick Foundation) and take the Doctor's Engraved Pen.
- Give the pen to the doctor. He hands over Victor's chart with his room number: 204.CODE204
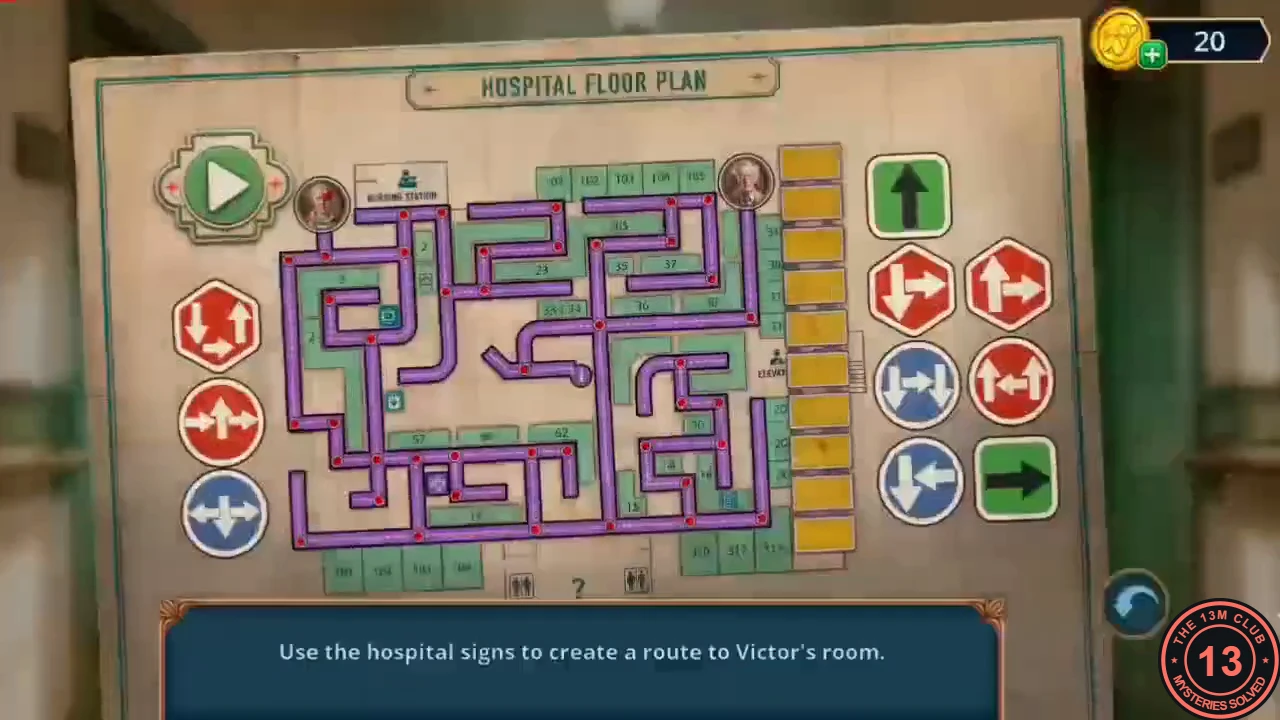
- Place the chart at the staircase to start the floor plan puzzle. Fill the six yellow slots with hospital signs so the nurse walks to room 204, then press Play. Working order: 1 red hexagon (down and right arrows), 2 blue round (down-left arrow), 3 blue round (two down arrows and a right arrow), 4 green right arrow, 5 red round (right, up, right arrows), 6 green up arrow.
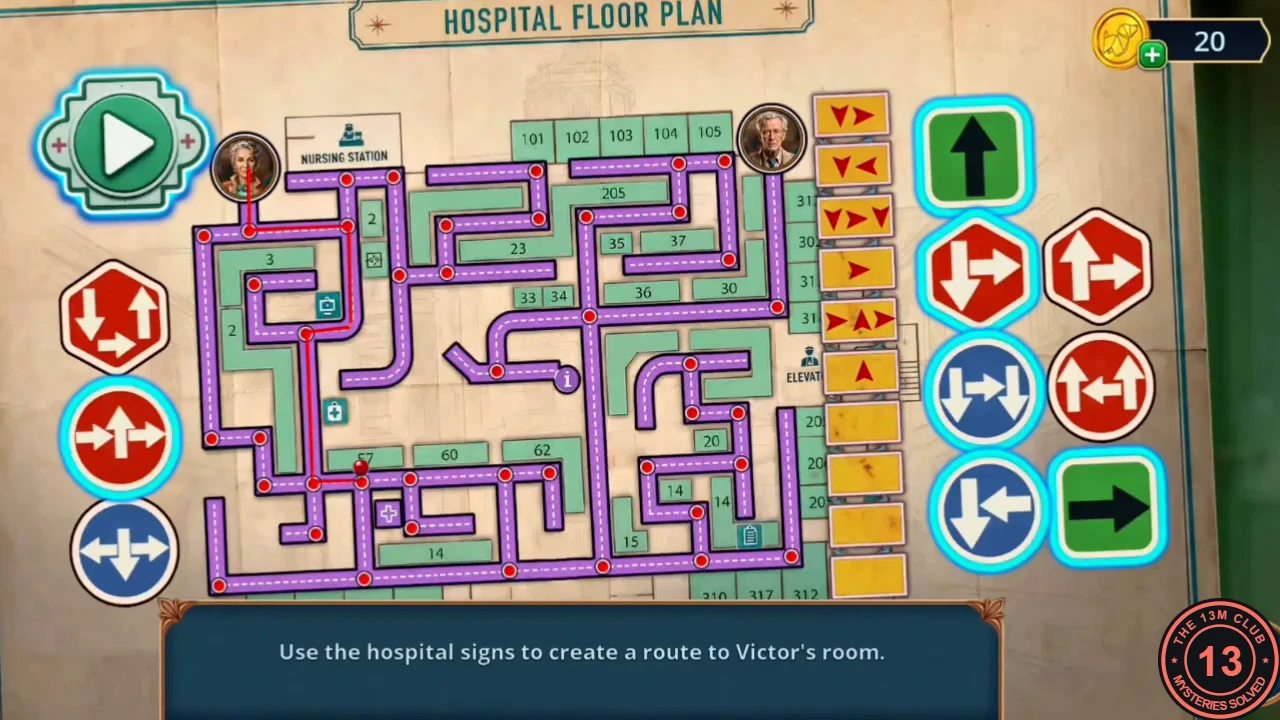
The six signs in the working order, shown in the yellow column, with the route playing. - Victor lies unconscious in his room. Task complete: check Victor's condition.
Victor's Room: The Property Box Memory
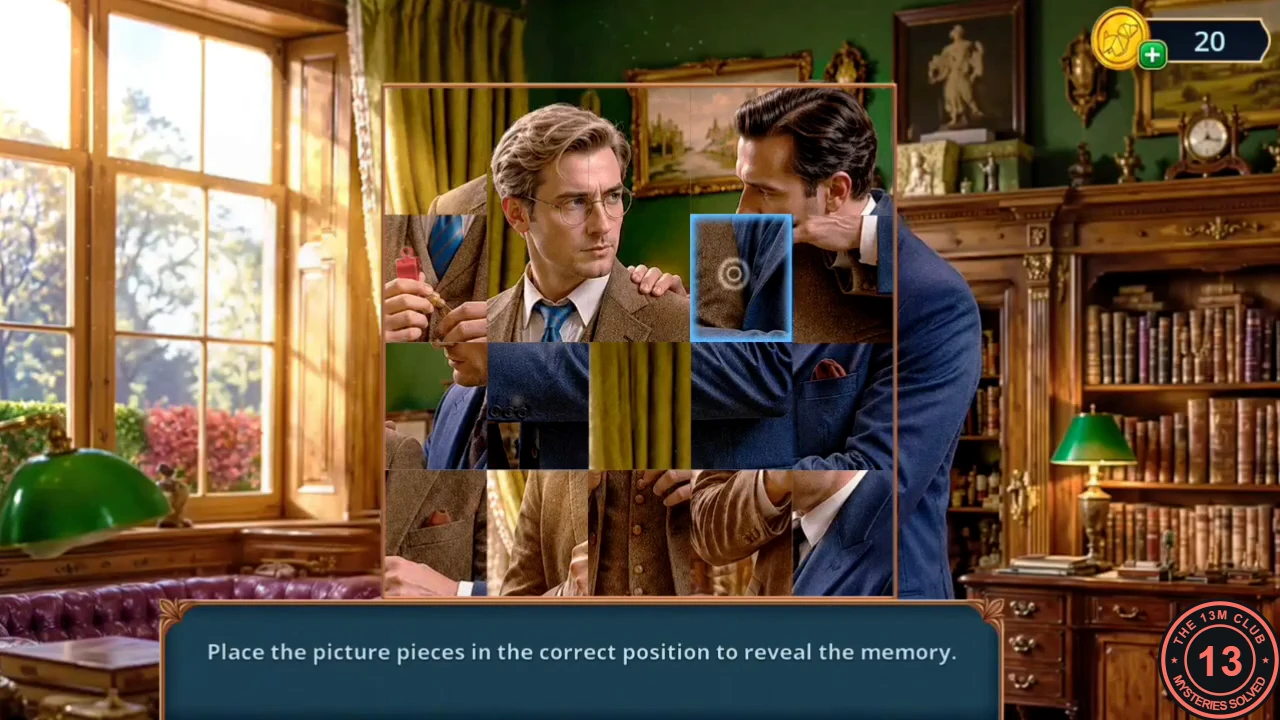
Search Victor's nightstand and property box, then restore the memory.
- At the nightstand, take the Empty Test Tube and the Clock Hands.
- At the clear property box, read Victor's 1989 diary. Melt the red wax seal with the Lighter, open the box and take the Lighter back together with the Burnt Volunteer Whistle. Then restore the 4x4 memory picture from the vortex.
Victor's Room: Examine Victor
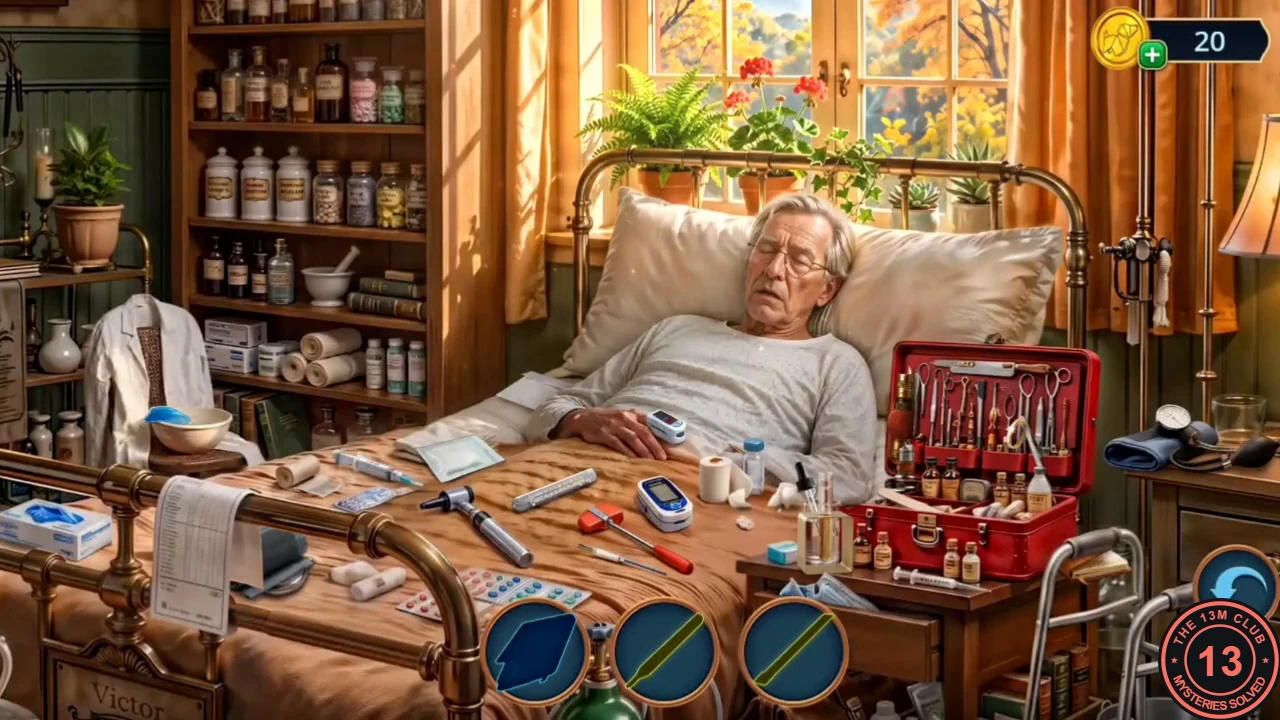
Open the doctor's bag and examine Victor.
- At the bedside doctor's bag, take the Caduceus Element and place it in the bag's six-symbol lock to get the Examination Kit.
- Examine Victor: find the instruments shown in the three silhouette slots in the bed scene (for example the dried crumb from the red kit), check his collar, then use the found tools on the red kit, the oxygen tank and his chest. The doctor concludes it is not his heart and the cider must be tested.
- Talk to Marcus. You receive the Violin Peg.
The Sonic Repeller
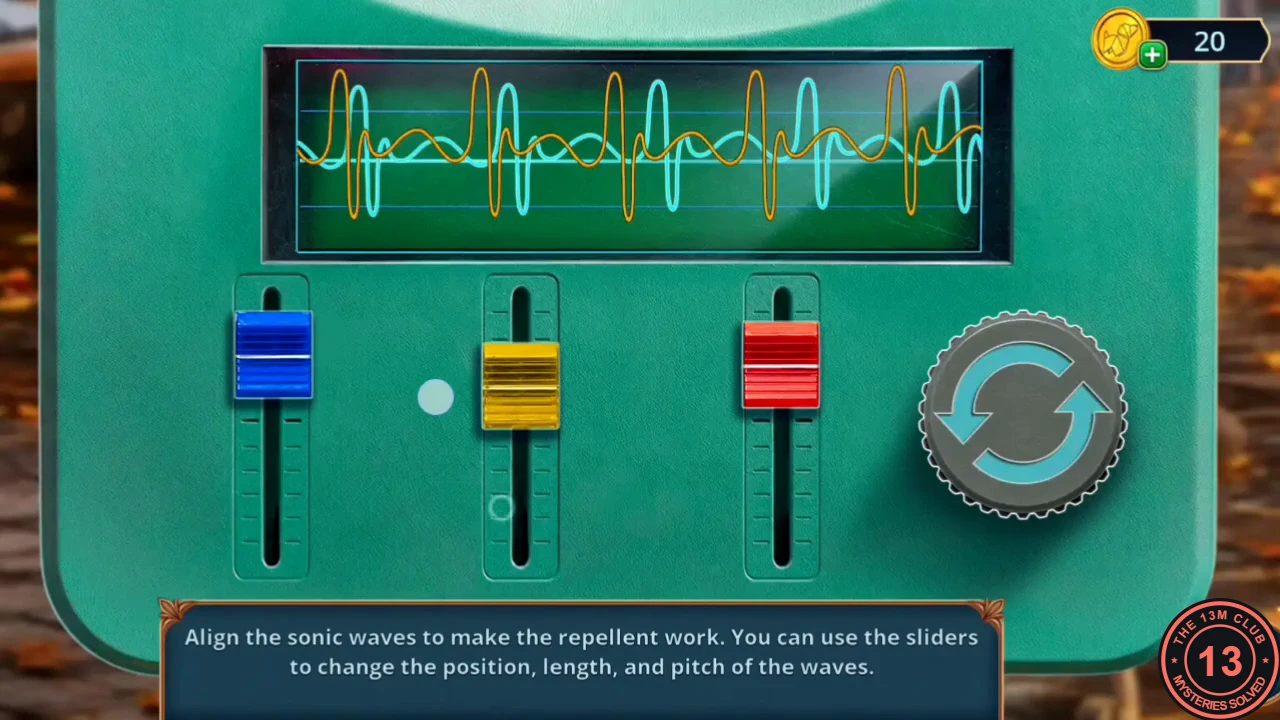
An aggressive dog keeps a visitor from Victor. Build and tune the repeller.
- At the reception gift basket, wind the pink music box with the Violin Peg and take the Nails. Fit the Clock Hands on the mantel clock; the face opens and gives you the Paint Roller and the Knob.
- Open the Ultrasonic Repeller in inventory and fill its sockets with the Knob and the Albion Power battery to get the Sonic Animal Repeller.
- In the hospital square, use the repeller on the dog. Use the blue, yellow and red sliders to change each wave's position, length and pitch until the three waves overlap. Example final positions: blue slider high, yellow near the top, red at the bottom. If your waves sit differently, move one slider at a time until its wave lies exactly on the others.
The Second Archive Cart Hidden Objects
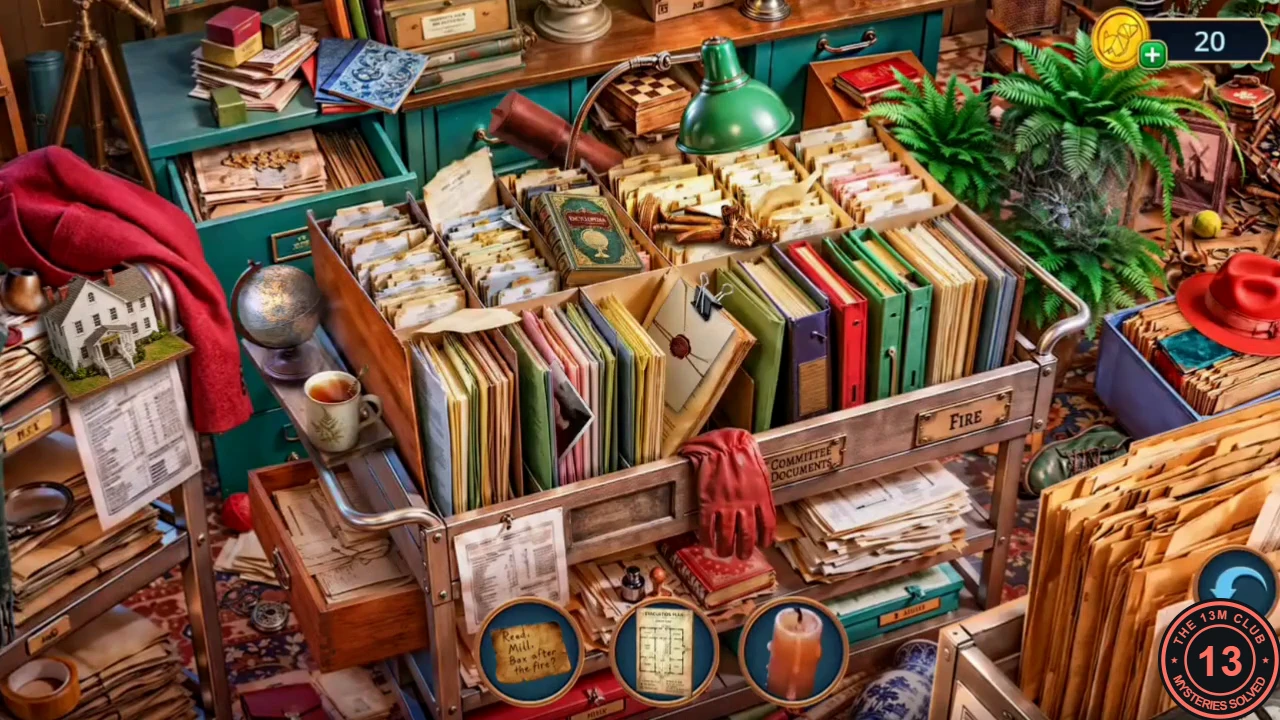
Get the basketball from the visitor, light the workbench lamp and search the second archive cart.
- Talk to the elderly visitor and take the Deflated Basketball. Pump it up with the Hand Pump at the archive workbench.
- At the archive workbench, take the Roll Thread and the Light Bulb. Screw the bulb into the desk lamp to light it and open the second cart hidden-object scene. Your reward is the Letter Opener.
The Cider Test
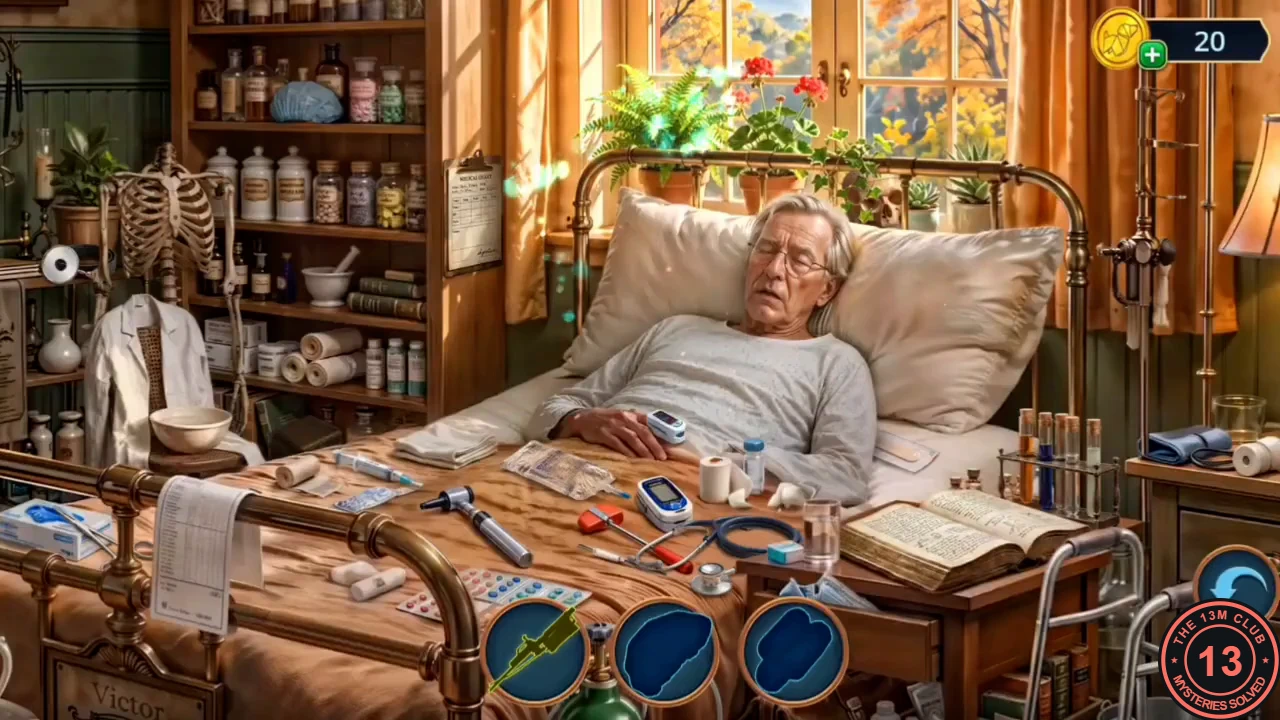
Test the cider Victor drank and examine his kit.
- At the hospital hall gift basket, cut the cellophane with the Letter Opener. Take the Wooden Rooster and the Special Cider bottle.
- Place the Special Cider at the reception microscope and put a sample on the slide. You get the Cider Test Result.
- In the reading room, read the medical reference about Verdanol poisoning on the girl's side table and take the Medical Handbook. A Sunflower Flag is on the desk behind her.
- In Victor's room, put the Medical Handbook on the red medical kit to open a hidden-object scene at his bed. Your reward is the Burnt Pearl Necklace.
Victor's Room: The Mill Memory
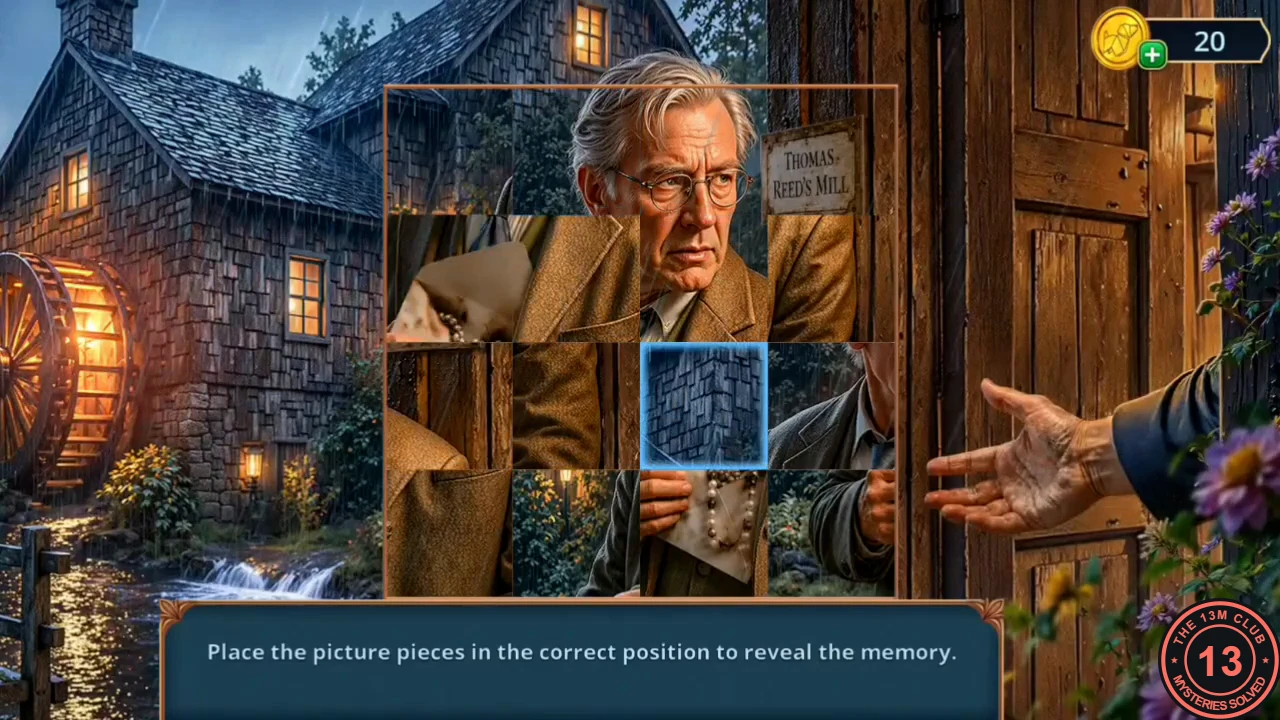
Open Victor's nightstand drawer and the brown bag, then restore the memory of Victor and Thomas.
- The drawer of Victor's nightstand has no handle. Attach the Burnt Pearl Necklace as a handle and open the drawer. Take the E Emblem and the bent paper clip beside it. The clip shows no name label, but it completes your Lock Pick (2/2). A Sunflower Flag is in Victor's room.
- Press the E Emblem into the crest of the brown bag in the property box. Take Victor's Envelope and the Septum Ring, then restore the memory picture of Victor and the miller Thomas.
My Minivan: The Scrapbook Riddles
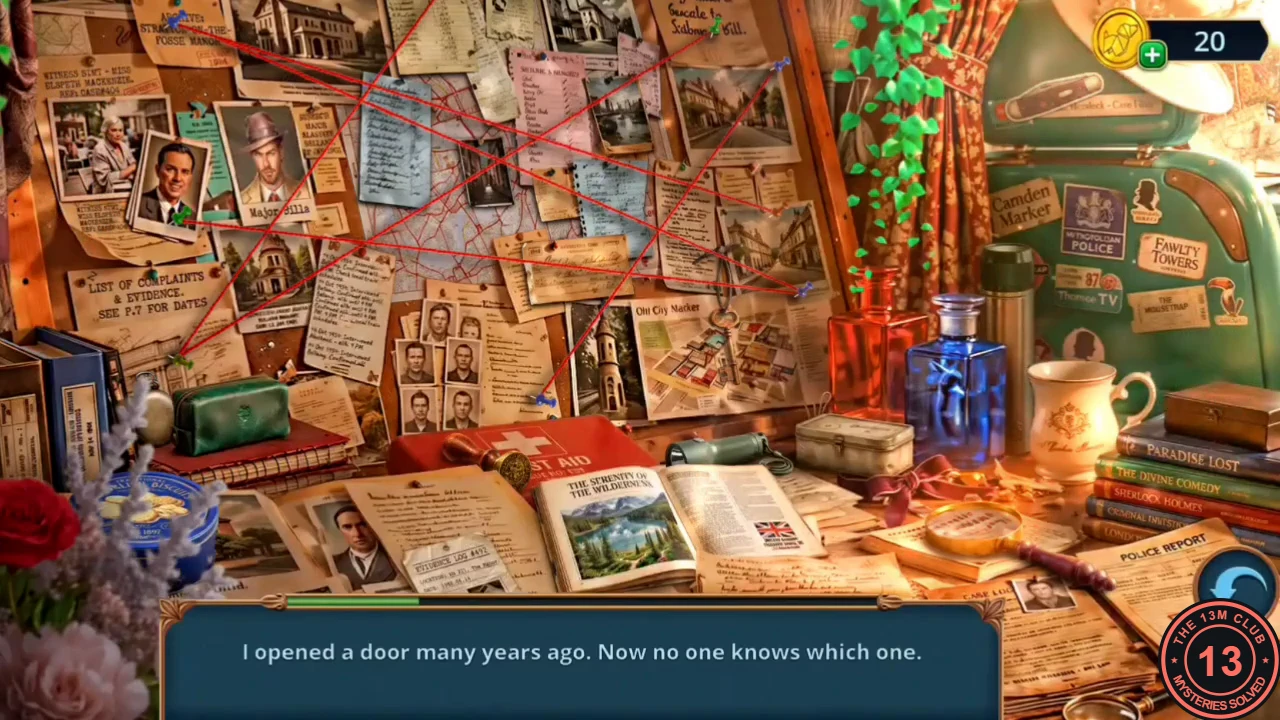
Fill the scrapbook sockets and solve the riddle hidden-object scene.
- At the minivan scrapbook table, fill the three sockets with Victor's Envelope, the Roll Thread and the Burnt Volunteer Whistle. This opens a riddle hidden-object scene: each clue describes an object, for example I should have called for help, but I was silenced first = the whistle. Your reward is Marcus's Police Badge.
Victor's Locked Door: The Lock-Pick Puzzle
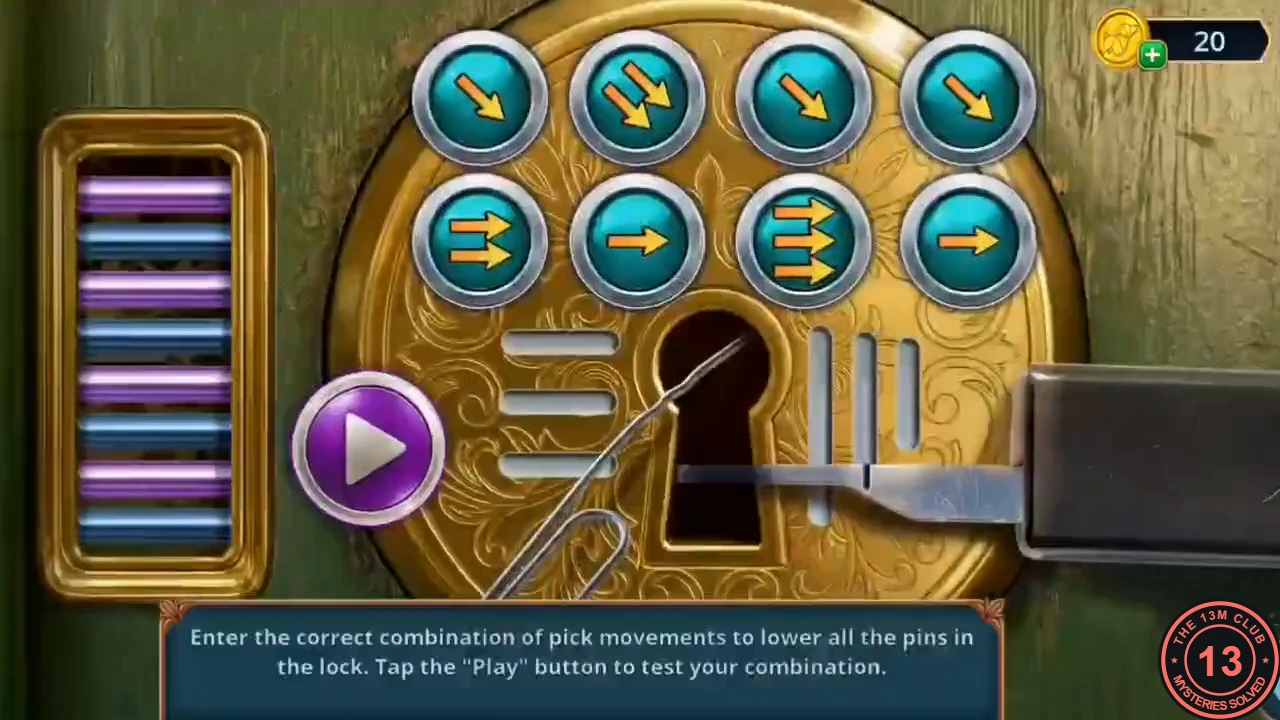
Break into Victor's room when it is locked from the inside.
- Marcus reports that Victor's room is locked from the inside. At the door, use the completed Lock Pick (2/2): the tension tool goes in on the right and the paper clip on the left, which starts the lock-pick puzzle. Each button cycles 1-3 arrows. Set the top row, left to right, to 2, 1, 3, 2 diagonal arrows. Set the bottom row to 3, 2, 1, 3 right arrows. Then press Play.CODETop 2-1-3-2, bottom 3-2-1-3
- Chapter 2 ends with Your Decision Points: Promise to be careful 0 / Say it's urgent 2; Ask for evidence 0 / Trust Eleanor 2; Point out the danger to Victor 0 / Follow the paper trail 2; Call Marcus to the record 0 / Show empathy 3 / Pressure with facts 6 (in the dialogue these read Call Marcus in and Confront with facts). Photo tiers need 0, 4 or 10 stars; with fewer than 4 you receive the 0-star photo. The paid answers and the memory photos are described in Endings and Extras.