Mountain Slope: the skier figurine and the light bulb
The cable car is dead. Task: start the cable car.
- Zoom in on the pile of packs on the right. Use the SCREWDRIVER on the brown bag's buckle and take the INFLATABLE LIFE VEST, the MIRROR and the LOST BAG (it has a red "+" badge).
- Zoom in on the signal box: one lamp has no bulb. Take the BROKEN CONTROL LEVER from the briefcase on the post.
- In the Hotel Hall put the MIRROR in the fireplace embers to see something stuck in the flue, then hook it out with the CARPET BEATER: STONE STATUE FEATHER.
- At the Mountain Slope give the STONE STATUE FEATHER to the angel statue; its hands open. Take the FIGURINE PART.
- In the Rescue Station zoom in on the workbench vise: place the FIGURINE PART on the broken skier and apply the GLUE. Take the SKIER FIGURINE.
- In the Hotel Hall place the SKIER FIGURINE in the chess box on the table and take the NEW LIGHT BULB.
- At the Mountain Slope screw the NEW LIGHT BULB into the empty green socket of the signal box to open its panel.
Signal lights wiring
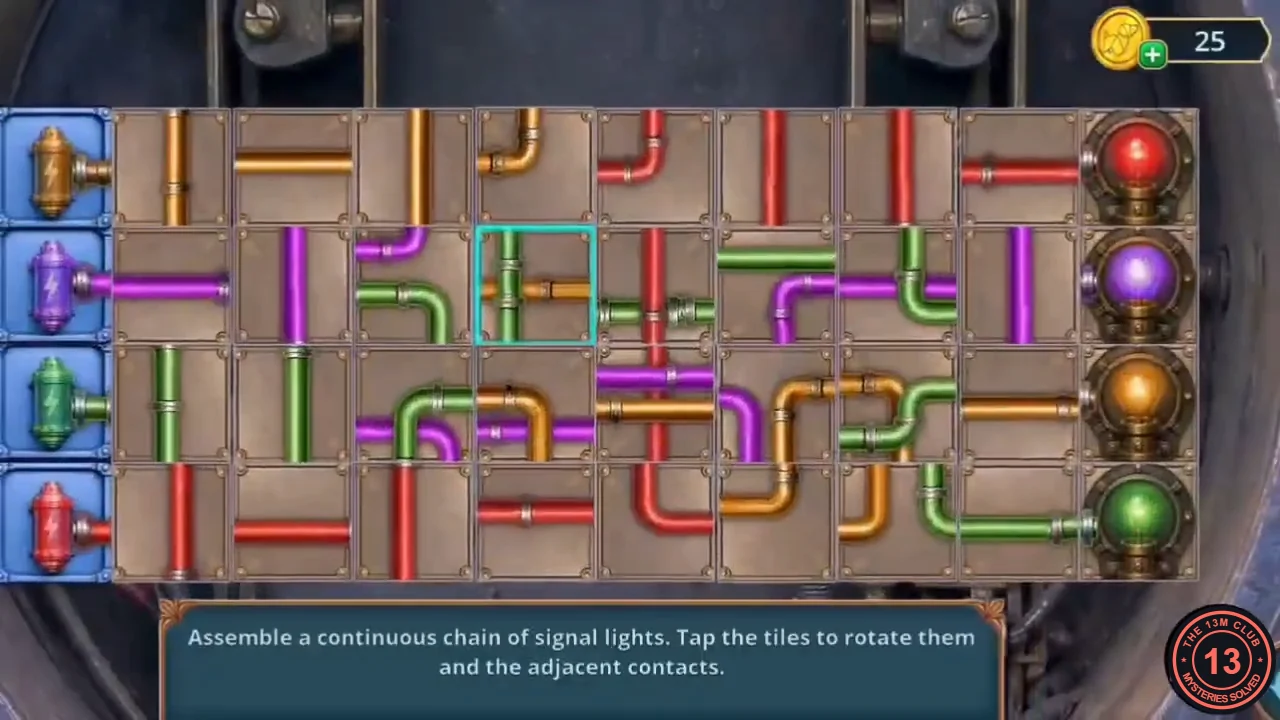
Rule: "Assemble a continuous chain of signal lights. Tap the tiles to rotate them and the adjacent contacts." Sources on the left (top to bottom: orange, purple, green, red) must reach the lamp of the same colour on the right (red, purple, orange, green).
- Rotate tiles until each coloured source is joined by an unbroken line to its matching lamp; lines may cross. Each tap also turns the neighbouring contacts, so fix one colour at a time, starting with the shortest connection, and check that earlier lines stay lit. The solved image shows the finished wiring.
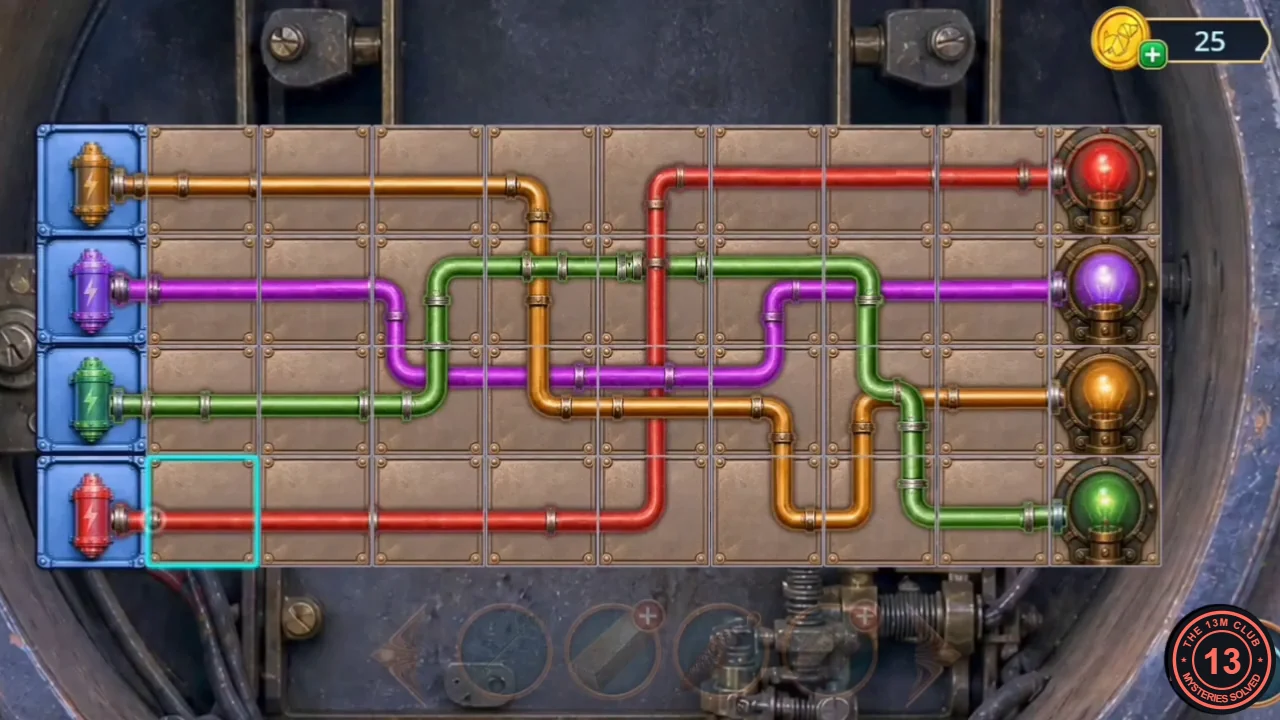
Solved: each source reaches the lamp of its own colour; lines may cross. - The lamp turns green and the lower compartment opens: take the SECOND CRAMPON.
Spacer, iron handle and the stove
Repair the crampons and use them on the icy climb at the Mountain Slope, retrieve the spacer from the frozen pond and use it to reach the broken iron handle in the cable car.
- Open the CRAMPONS in the inventory and add the SECOND CRAMPON and the BOOT STRAPS to repair them.
- At the Mountain Slope, use the repaired CRAMPONS on the icy climb just right of the angel statue. The crampons are used up here, not at the pond.
- Travel to the Mountain Road and zoom in on the frozen pond. Tap the snowy fence at the upper left of the close-up: the SPACER drops onto the ice. Take it.
- At the Mountain Slope use the SPACER to force the frozen cable-car doors and take the BROKEN IRON HANDLE from the console inside.
- Near the Rescue Station zoom in on the stove and soldering box by the woodpile and place the BROKEN IRON HANDLE.
Soldering seam
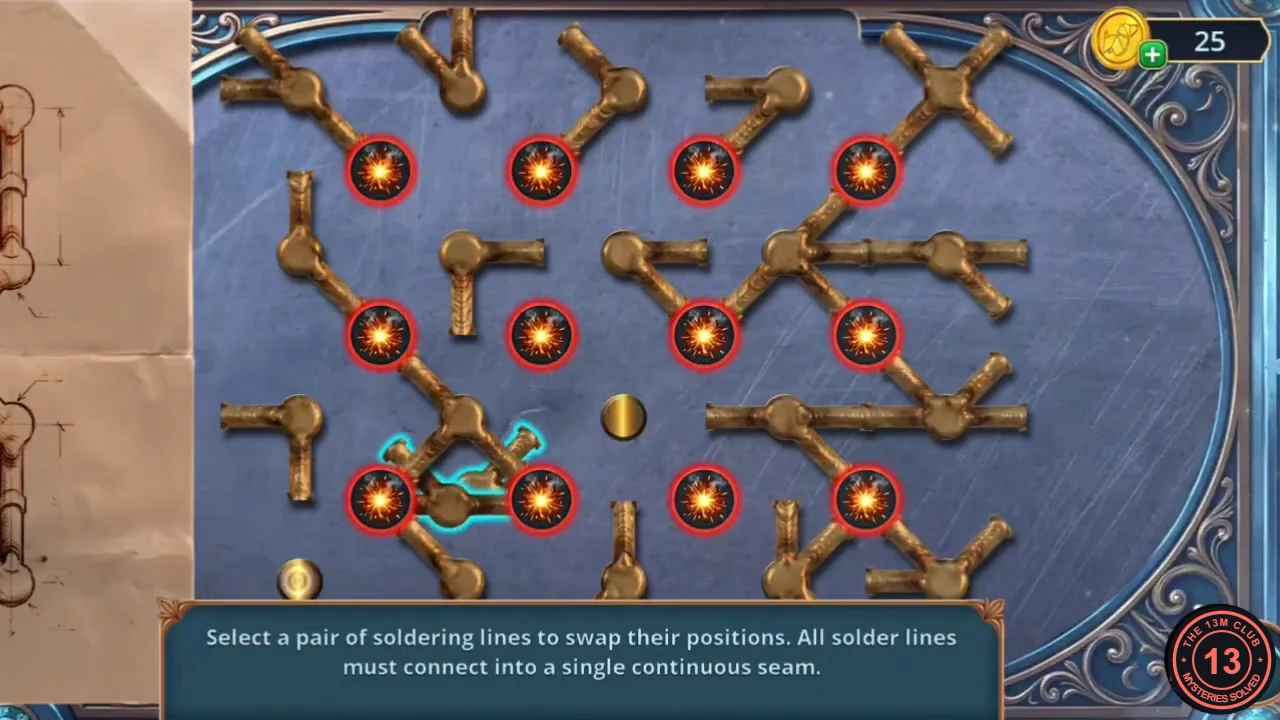
Rule: "Select a pair of soldering lines to swap their positions. All solder lines must connect into a single continuous seam."
- Tap two tiles to swap them. Keep swapping until every joint ring turns gold and the seam runs as one continuous line. Start from one end of the seam and bring in the tile whose line continues it, then carry on joint by joint. The solved image shows the finished seam.
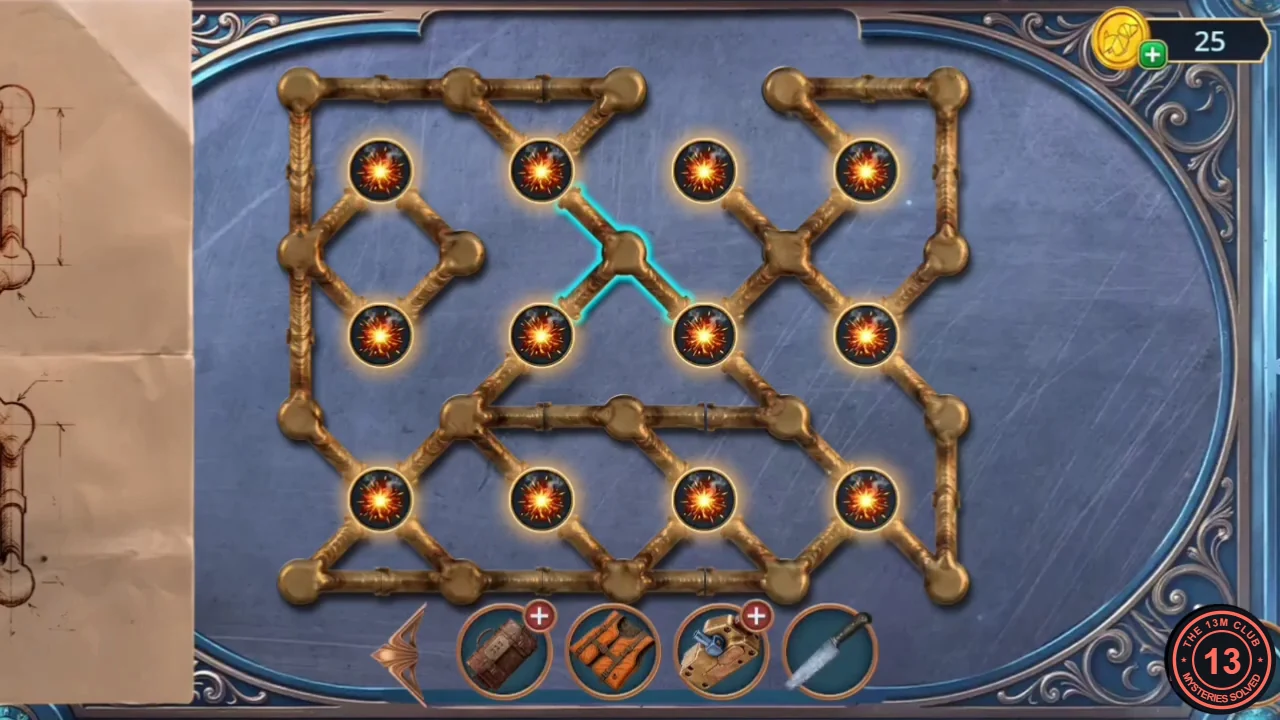
Solved: the seam runs as a single unbroken line. - Take the HANDLE from the stove. In the inventory combine the BROKEN CONTROL LEVER with the HANDLE to make the NEW LEVER.
- At the Mountain Slope place the NEW LEVER in the cable-car console to open the button panel.
Cable-car button blocks
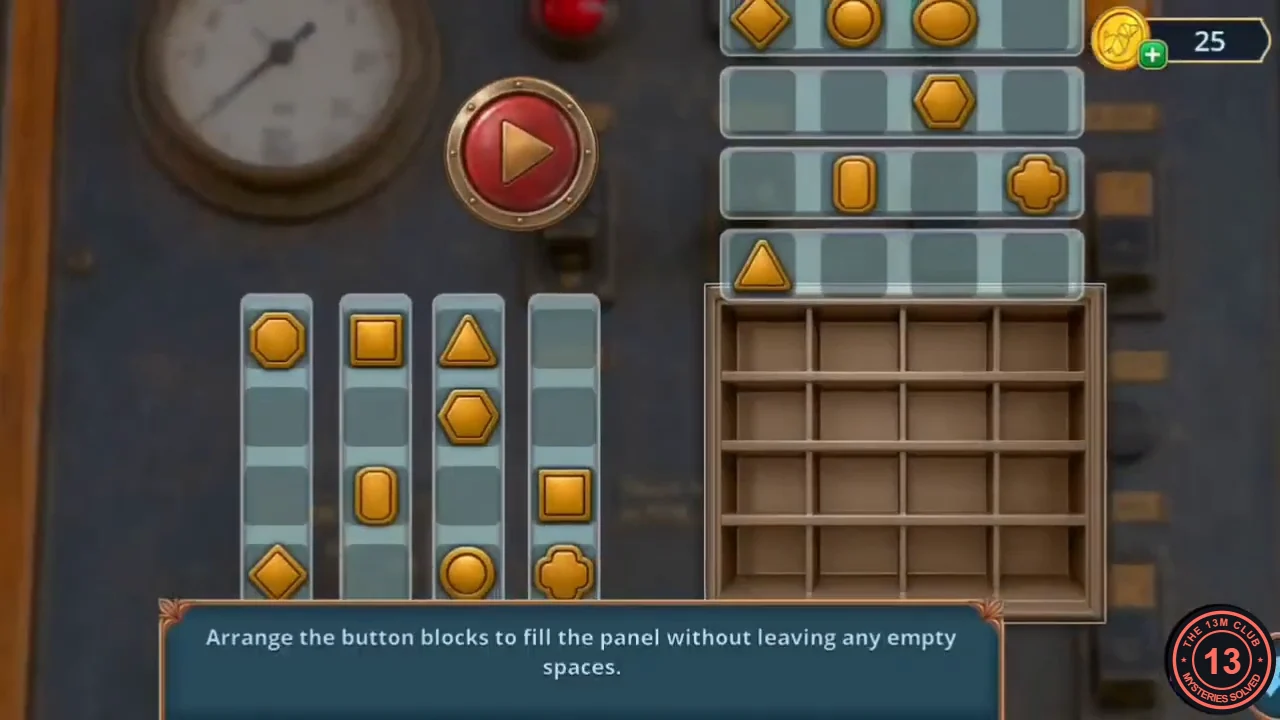
Rule: "Arrange the button blocks to fill the panel without leaving any empty spaces." Four horizontal strips run along the top and four vertical strips down the left; tap two strips of the same kind to swap them.
- Make three swaps: swap the top two horizontal strips; swap vertical strips 1 and 2; swap vertical strips 3 and 4. The panel fills completely.CODEH1↔H2, V1↔V2, V3↔V4
- The cable car carries you to the Winter Forest. New task: find tracks.
Winter Forest: the trapped cache
In the Winter Forest, spring the bear traps around the cache to open a hidden-object scene.
- Zoom in on the snowdrift and cache on the left. Take the ACORNS, then use the CARPET BEATER to spring the bear traps. The cache opens a hidden-object scene.
Forest cache by category
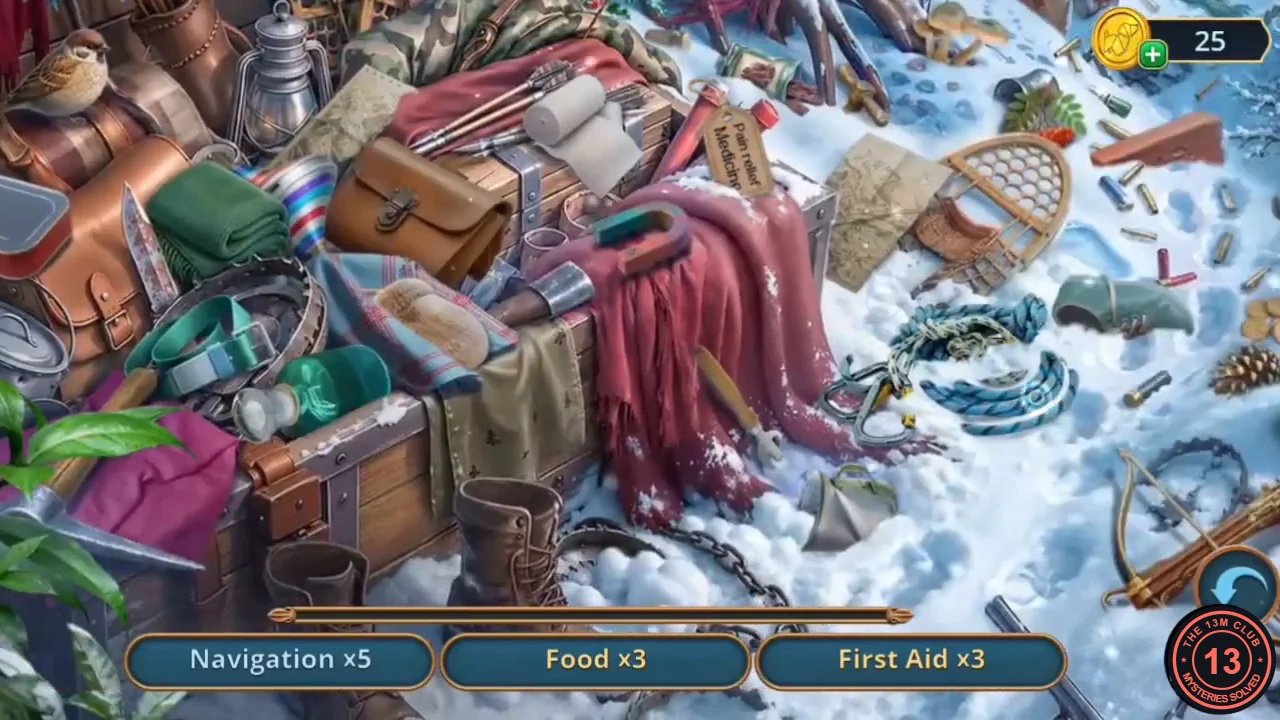
A category scene: find the listed number of objects for each group (Navigation ×5, Food ×3, First Aid ×3, then Survival Gear ×3). The scene scrolls to the right.
- Find every object in each category. The reward is the WOODEN HANDLE.
- Zoom in on the fire pit and attach the WOODEN HANDLE to the headless rod: FIREPLACE POKER. The pit holds dry tinder that only needs a spark.
- In the Hotel Hall use the FIREPLACE POKER on the coals to start the map puzzle.
Restore the forest map
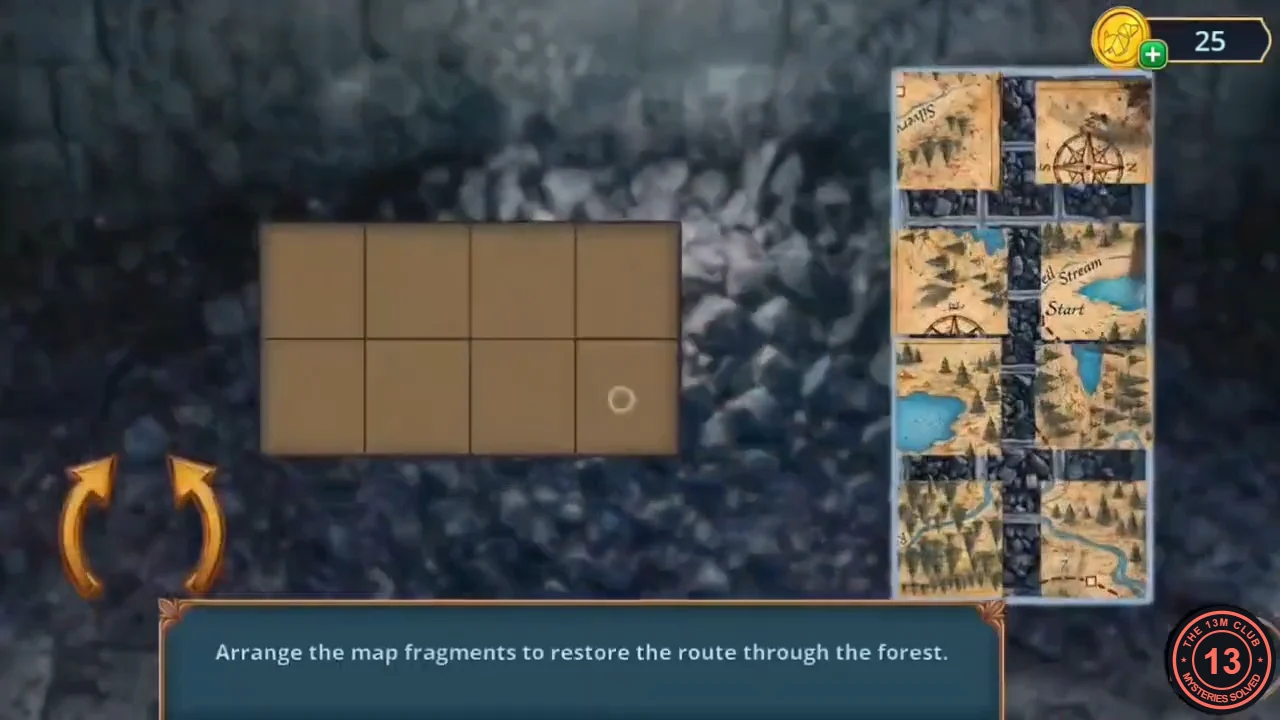
Rule: "Arrange the map fragments to restore the route through the forest." Four rounds; each is a 2×4 board with eight square fragments in the rack on the right. The curved arrows at the lower left rotate every fragment still in the rack together; fragments already moved off the rack stay as they are.
- In each round turn the rack with the curved arrows until the fragment you want is the right way up, then drag it onto the board. Place fragments so rivers, lakes, labels and the red dotted trail continue across the edges, and repeat until the board is full.
- In the final round tap two quarters to swap them until the whole map joins: the compass rose goes top-left and the quarter with the red X bottom-right.
- Take the UNDEVELOPED PHOTO and the FOREST MAP from the fireplace.
- In the Winter Forest use the FOREST MAP on the forest path. A wolf blocks the way. Decision: "Scare the wolf off with a stick" (free, 0), "Hide behind Michael" (30 coins, 3 points) or "Slowly back away" (60 coins, 6 points).
Frozen Lake: the well and the boat
The wolf was guarding the spot where the guests' tracks led. New task: examine the lake.
- Zoom in on the well. Take the DEER HARNESSES (1/2) and the MATCHBOX from the ledge, then the KNIFE from the rim.
- Zoom in on the boat and cut the fishing net with the KNIFE. A hidden-object scene opens.
Boat riddle hidden-object scene
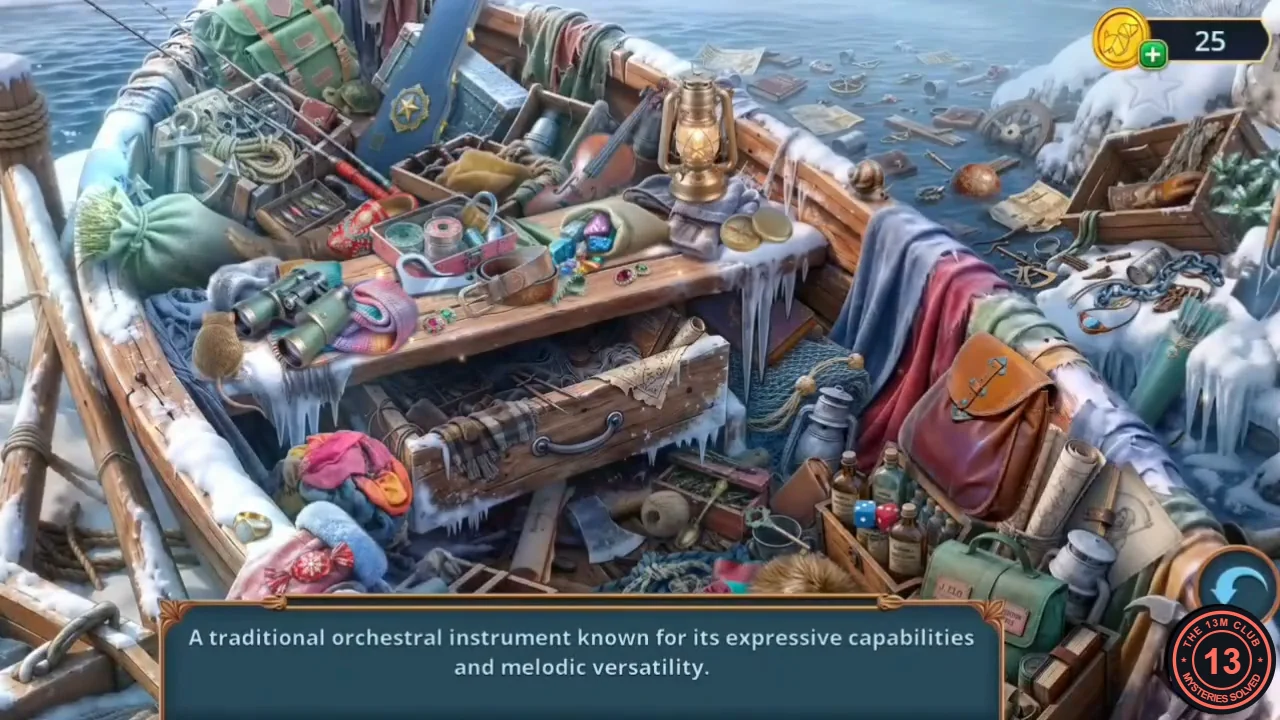
Riddle clues appear one at a time (violin, fishing net, ship's wheel, anchor, key, dice, bike lock, compass, sickle, ring, chain, turtle). The final saw silhouette is in two parts: one at the upper left and the orange handle on the right.
- Solve each riddle by tapping the matching object, then find both saw parts. Reward: FISHERMAN'S SAW.
- In the Winter Forest zoom in on the stag by the fallen log (too heavy to move for now) and take the FROZEN PIECE from the snow.
Winch chain and the cuckoo clock
Free the winch chain with the fisherman's saw and hang it with the pinecone weight on the cuckoo clock.
- Near the Rescue Station zoom in on the hanging winch box on the right. Use the FISHERMAN'S SAW on the frozen gear casing and take the CHAIN.
- Inside the station zoom in on the cuckoo clock. Hang the CHAIN on the left gear and the PINECONE CLOCK WEIGHT on the chain.