School hall and dormitory
The dormitory hides 13 leaves for a herbarium; a leaf counter appears in the inventory when you pick up the first one. Twelve are in the dormitory and the last one appears later in the teacher's bedroom.
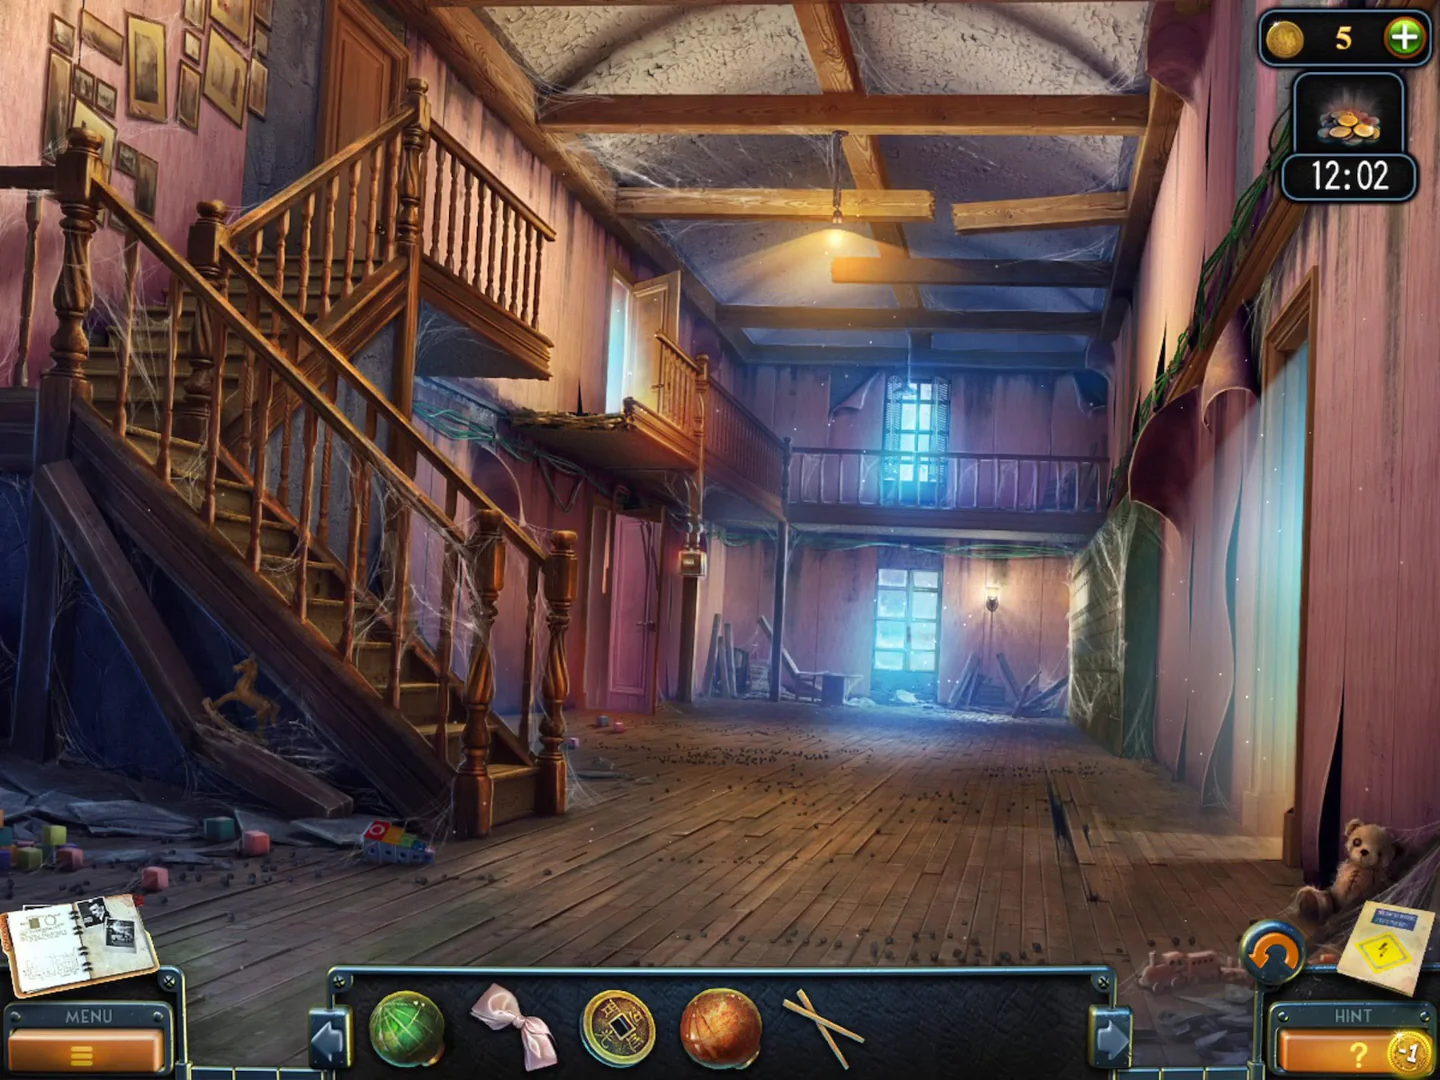
- Enter the school hall. Note three things for later: the small lockers under the stairs are covered in cobwebs, the hall window needs a handle, and the electrical box on the right wall is missing a switch.
- Zoom into the broken upper landing at the top of the left-hand staircase. Take the Coloured stick (a red, green and blue rod) lying there; Samuel says "To cross I'll need to make a bridge of some sort." Lay the Planks across the gap in the landing floor, then go through to the dormitory.
- Collect the first three leaves: the orange leaf on the blanket of the front-left bed by its footboard rails, the yellow leaf further up the same blanket, and the red leaf on the sill of the left-hand window (3/13). Open the herbarium album on the chest of drawers (centre right) to see the 13 leaf outlines.
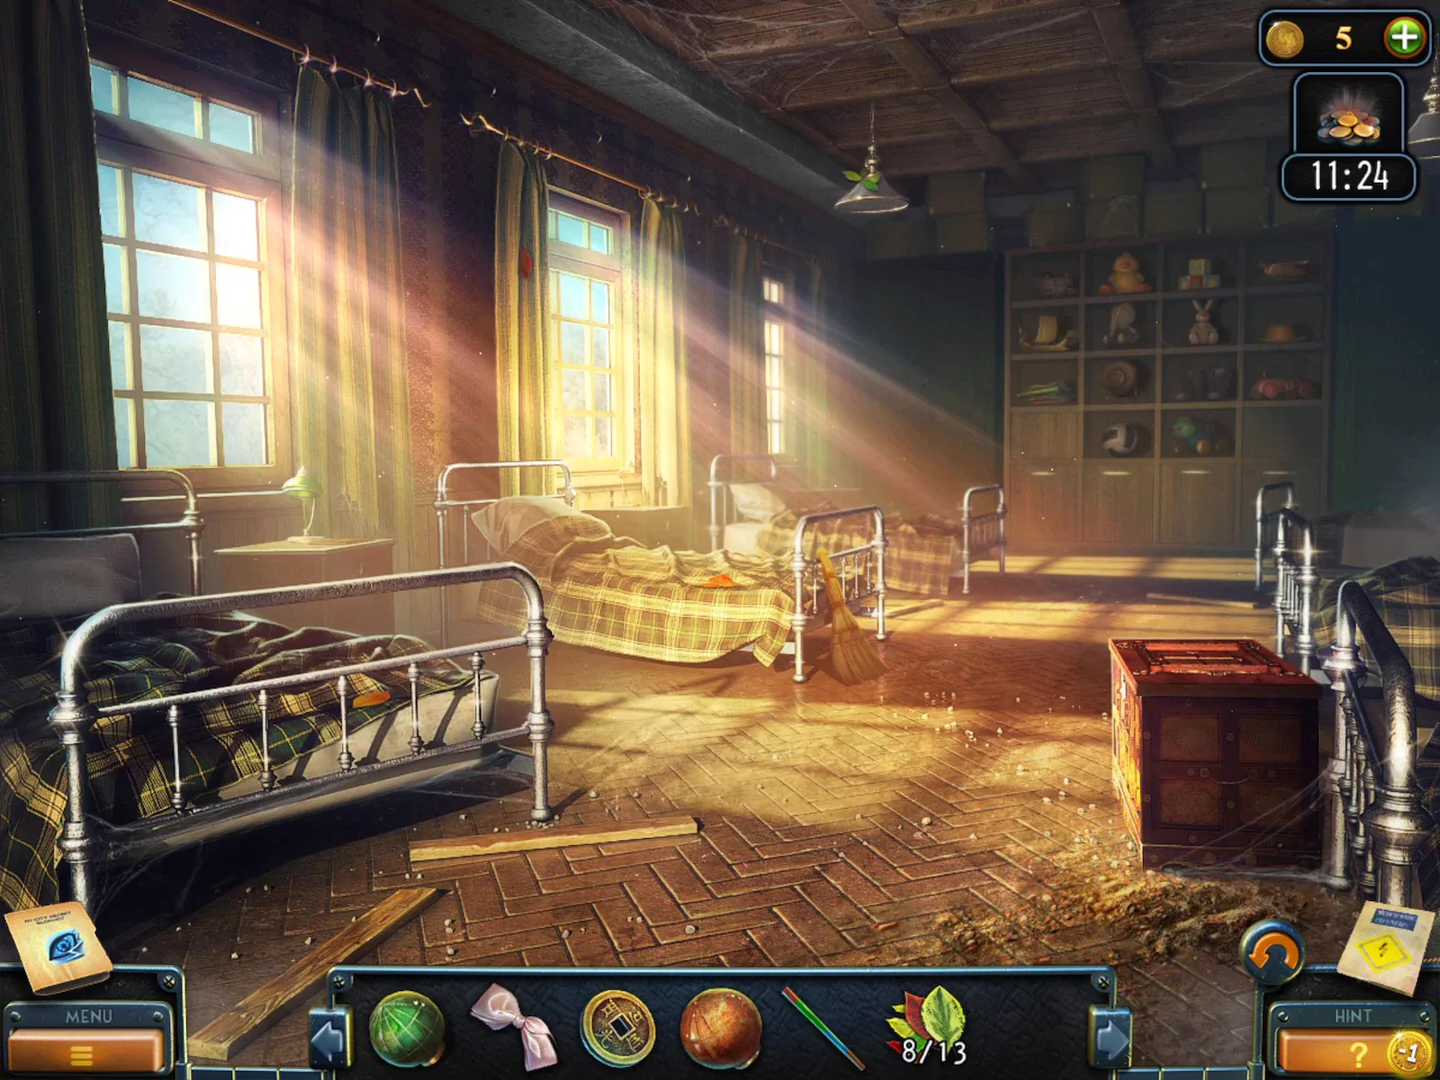
The dormitory: the carved chest is at the lower right and the toy shelf at the back. - Pick up four more leaves (7/13): the orange leaf on the blanket of the middle bed, the small red leaf on the floor just right of the middle bed's foot, the green leaf on the floor in the centre of the room, and the red leaf on the floor in front of the carved chest. Take the hand Broom leaning against the foot of the middle bed.
- Zoom into the carved chest at the lower right and take the three leaves on its lid (10/13). The lid has a picture-tile puzzle with missing pieces; leave it for now.
- Take the leaf by the ceiling lamp (upper right, 11/13) and the leaf by the window (upper left, 12/13).
Locker memory puzzle
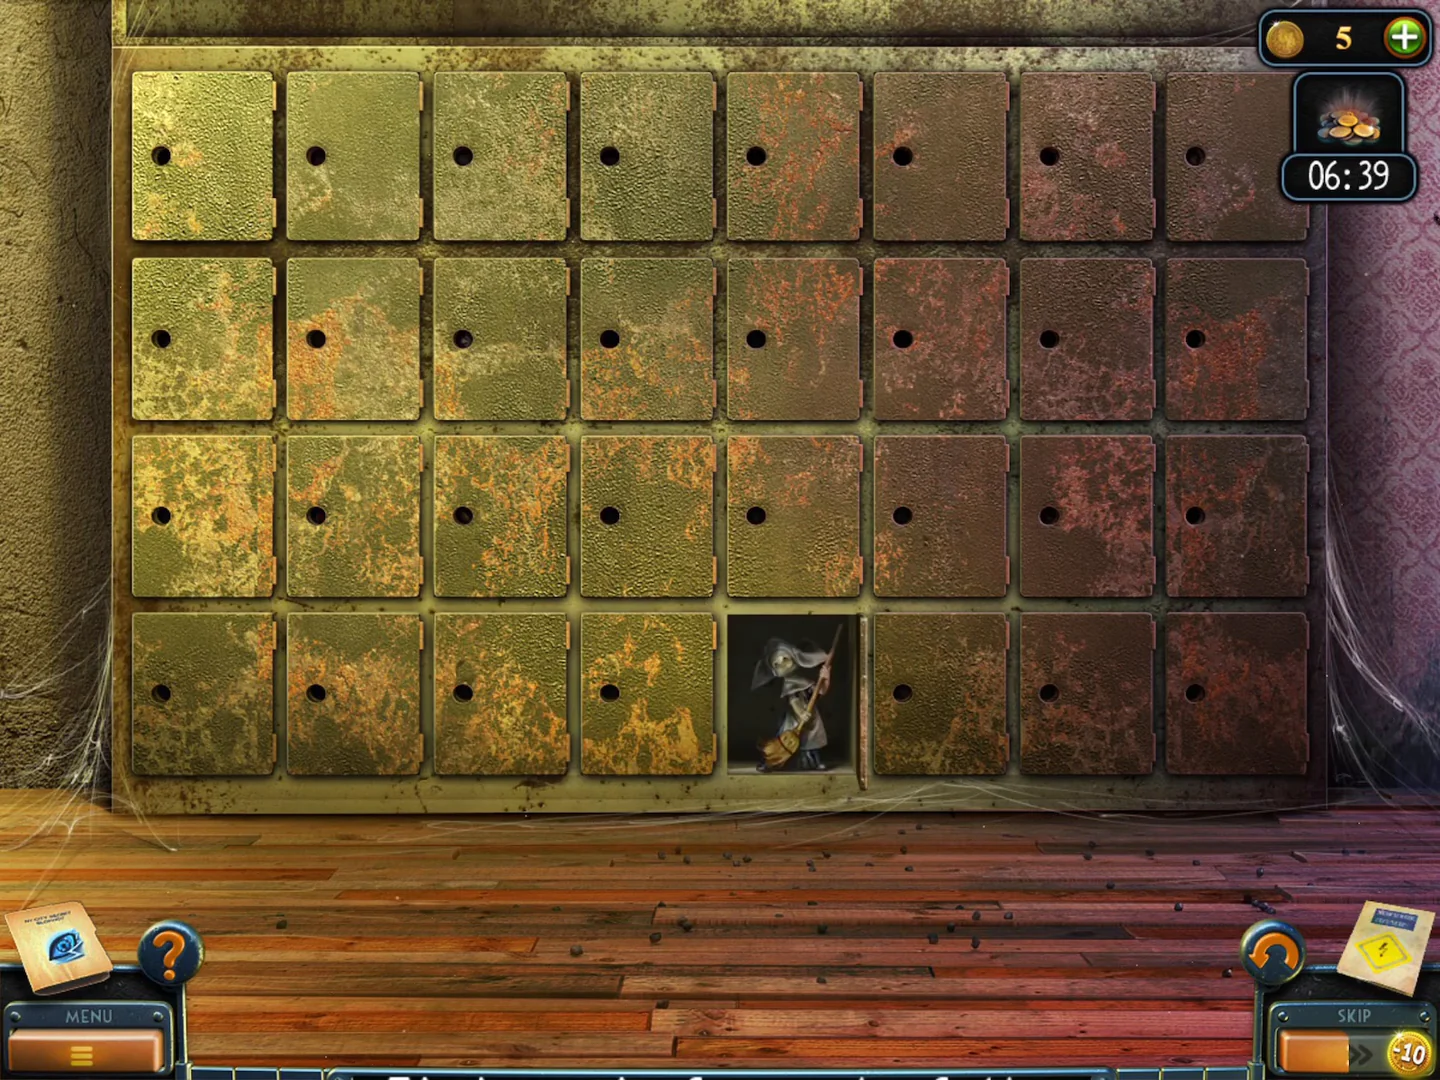
A pair-matching puzzle with 32 lockers (8 columns, 4 rows) hiding 16 pairs of toys. The toy layout was identical in both recordings we checked (PC and iPad), so the map below should work; if your first doors show different toys, fall back to opening two at a time and remembering what you saw.
- In the hall, sweep the cobwebs off the small lockers under the stairs with the Broom. The lockers become a memory puzzle.
- Open two locker doors at a time; a matching pair stays open, a wrong pair closes again. The "Thrifty" achievement needs every pair found in fewer than 34 clicks, so open each pair below directly (32 clicks, no mistakes). Rows are counted from the top (1-4), columns from the left (1-8): Christmas bauble bundle R1C1 + R3C7; mittens R1C2 + R3C5; goat on wheels R1C3 + R3C6; pumpkin R1C4 + R2C8; pig R1C5 + R2C1; rabbit R1C6 + R3C1; snail toy R1C7 + R4C1; spinning top R1C8 + R3C3; button doll R2C2 + R3C8; stocking R2C3 + R4C6; old woman with a broom R2C4 + R4C5; toy train R2C5 + R4C2; jewellery box R2C6 + R4C3; bird R2C7 + R3C4; sleigh R3C2 + R4C7; boot R4C4 + R4C8.
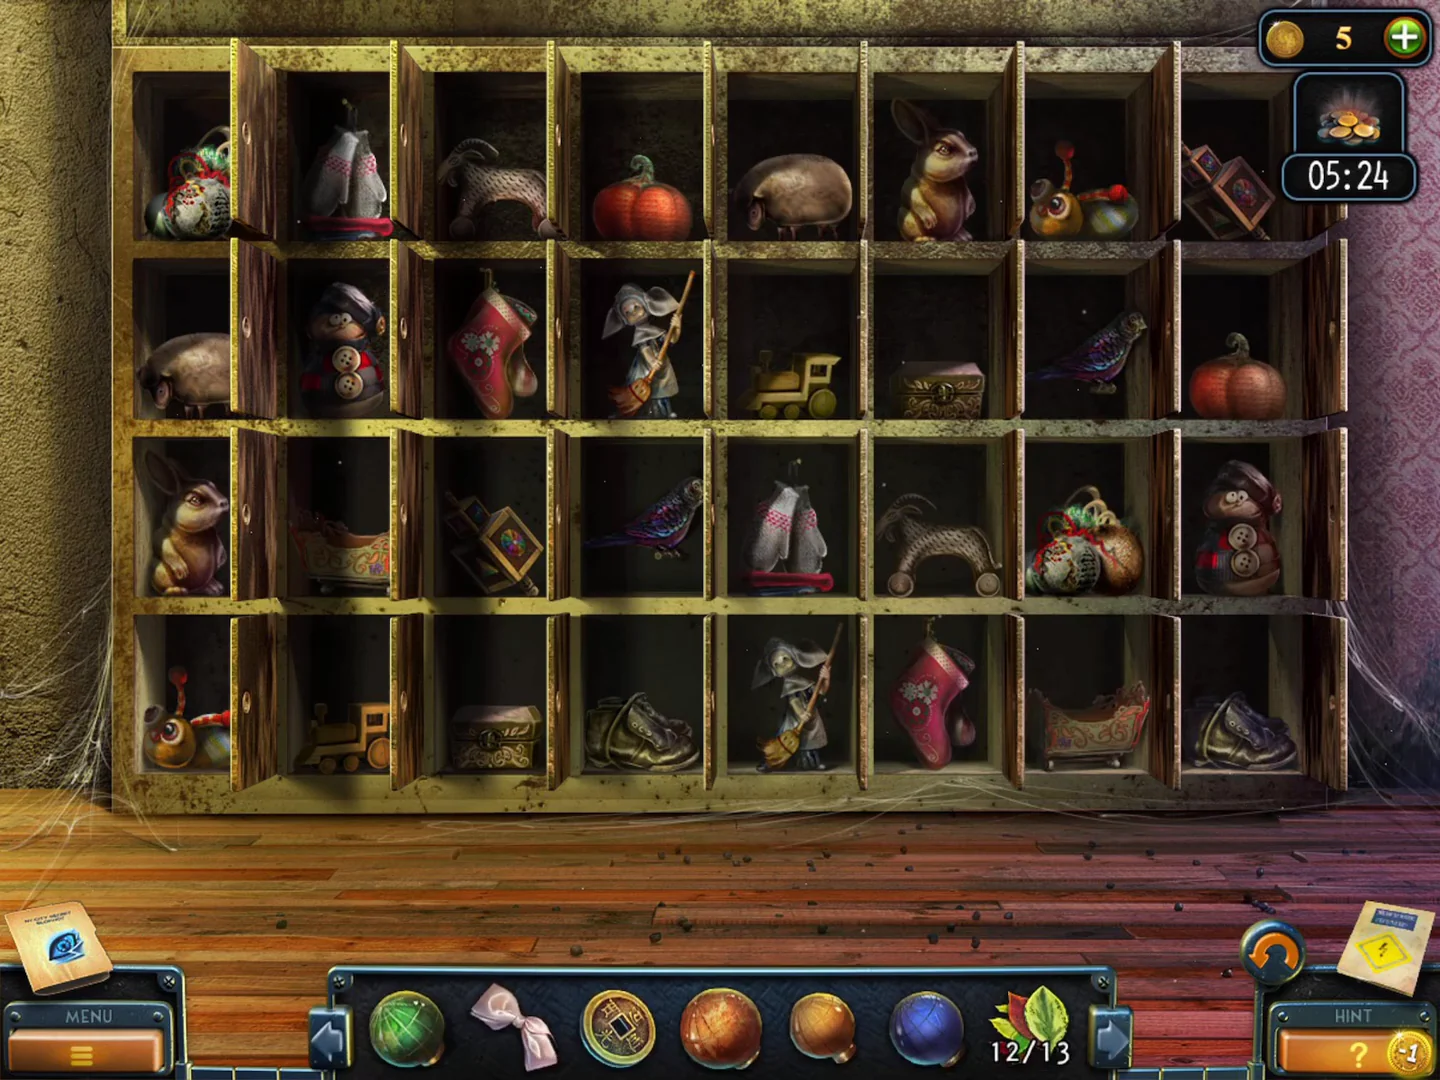
The finished locker grid (iPad recording): use it to check the row/column pair map. - Take the Rope with rock from the open locker at the lower right.
- In Van Cortlandt Park, throw the Rope with rock over the tree branch at the upper left and pull. Take the Spring that falls.
Spring lock crate
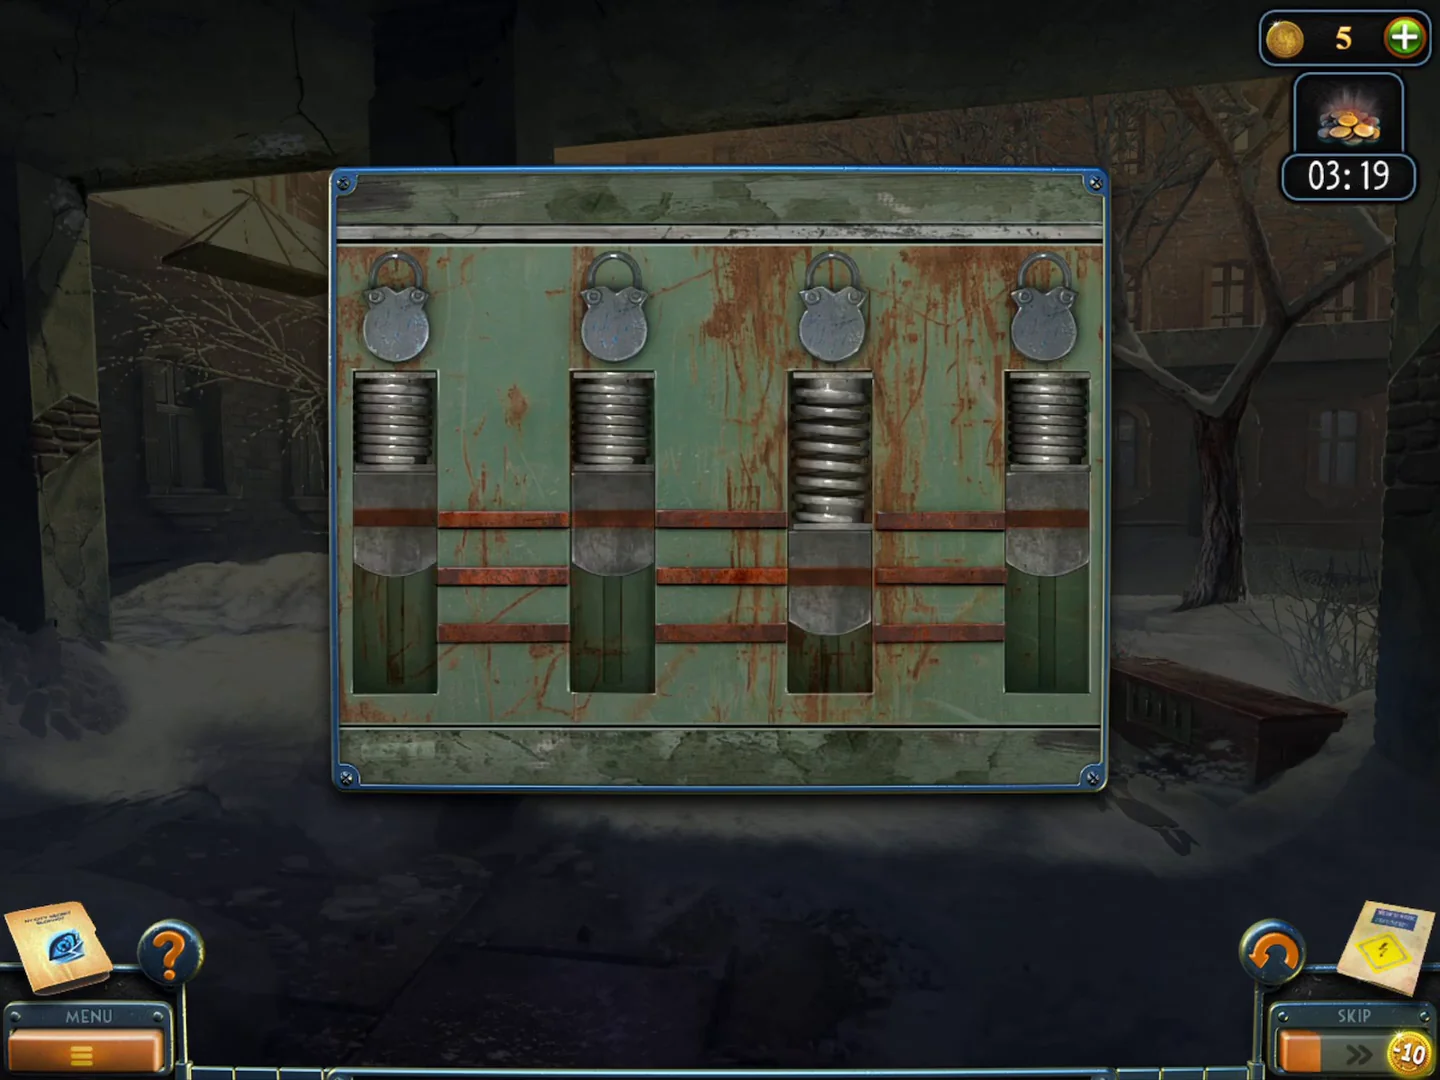
The inner courtyard behind the school is reached from the hall. Its crate has a lock with four springs.
- Go through the hall to the snowy inner courtyard, zoom into the wooden crate in the snow at the lower right and put the Spring in its lock. A panel with four springs appears.
- Each spring's plunger has three heights (bottom, middle, top); clicking a spring raises its plunger one step. Numbering the springs 1 to 4 from the left, the target is: spring 1 bottom, spring 2 top, spring 3 middle, spring 4 top. The clue is the red drawing on the hall window (zoom into the tall window at the back of the hall): four cups at those same heights. All plungers start at the bottom, so click spring 4 twice, spring 3 once and spring 2 twice; leave spring 1 alone. The shackles then open.
- Take the Planet (bronze ball) and the Screwdriver from the crate.
Mailbox, snowball and piñata
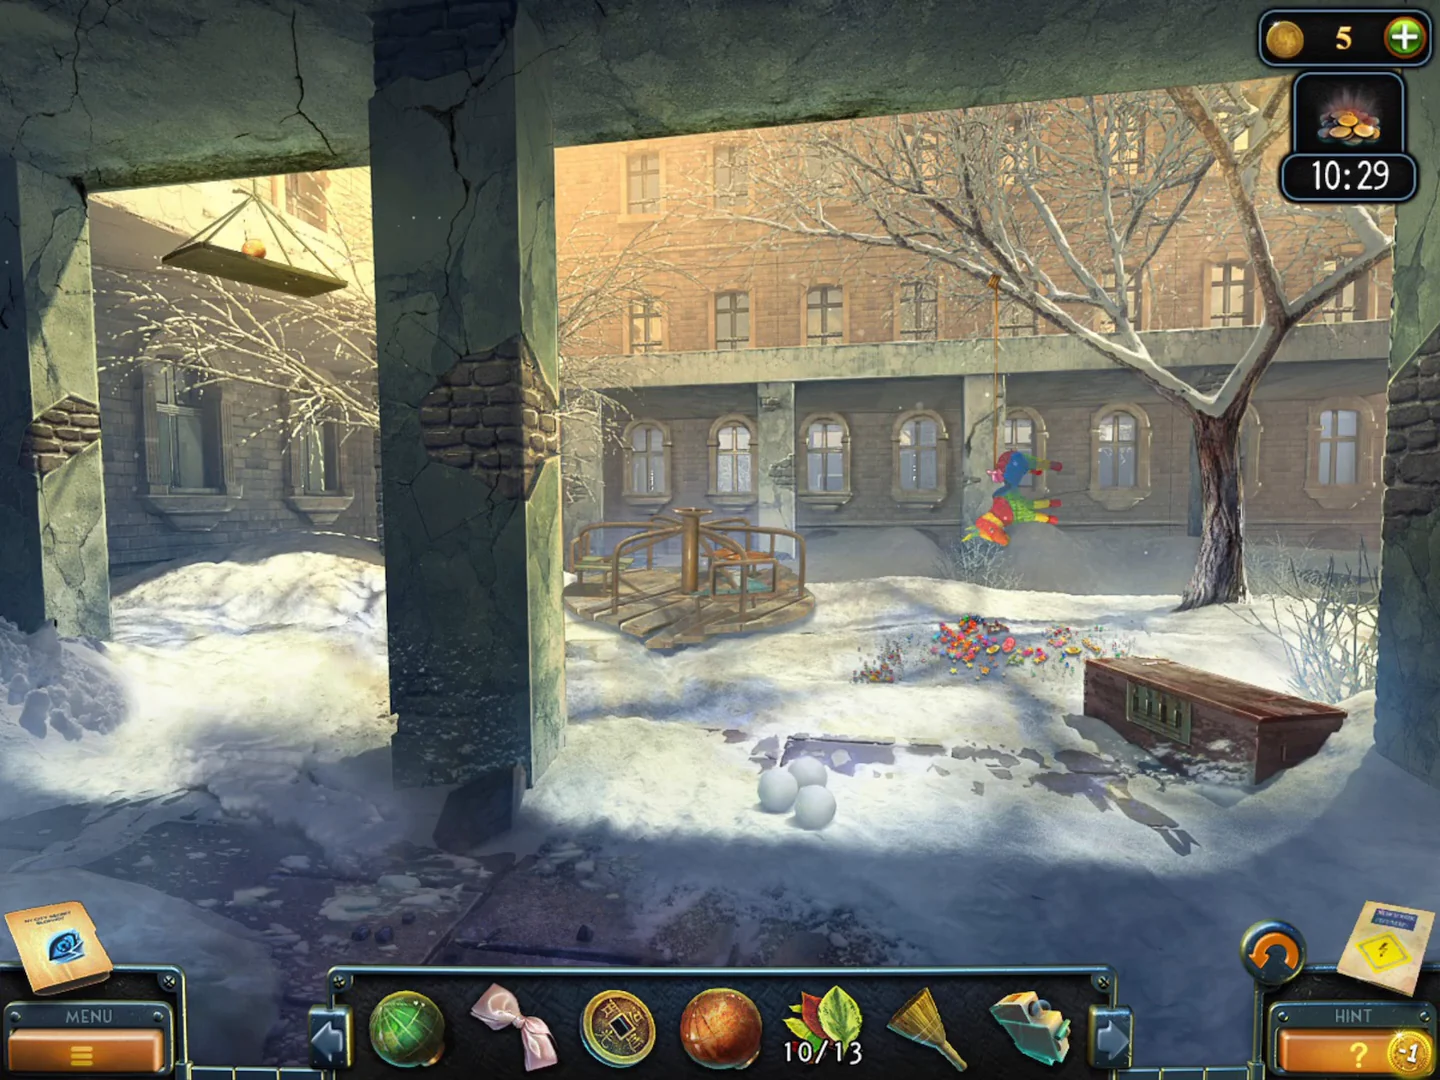
Open the mailbox for the Chess piece and "Puzzle No. 3", then collect a Planet and the Switch in the inner courtyard.
- At the school gate, remove the mailbox bolt with the Screwdriver. Take the Chess piece and read Hugo's note about the teacher's terrifying room. The task "Puzzle No. 3" starts.
- In the inner courtyard, click the snow in the left foreground to make a snowball and throw it at the tree at the top right. Take the Planet that falls.
- The rusty merry-go-round will not move yet. Zoom into the piñata (a colourful donkey) and hit it with the Coloured stick. Take the Switch from the spilled sweets.
Breaker lights
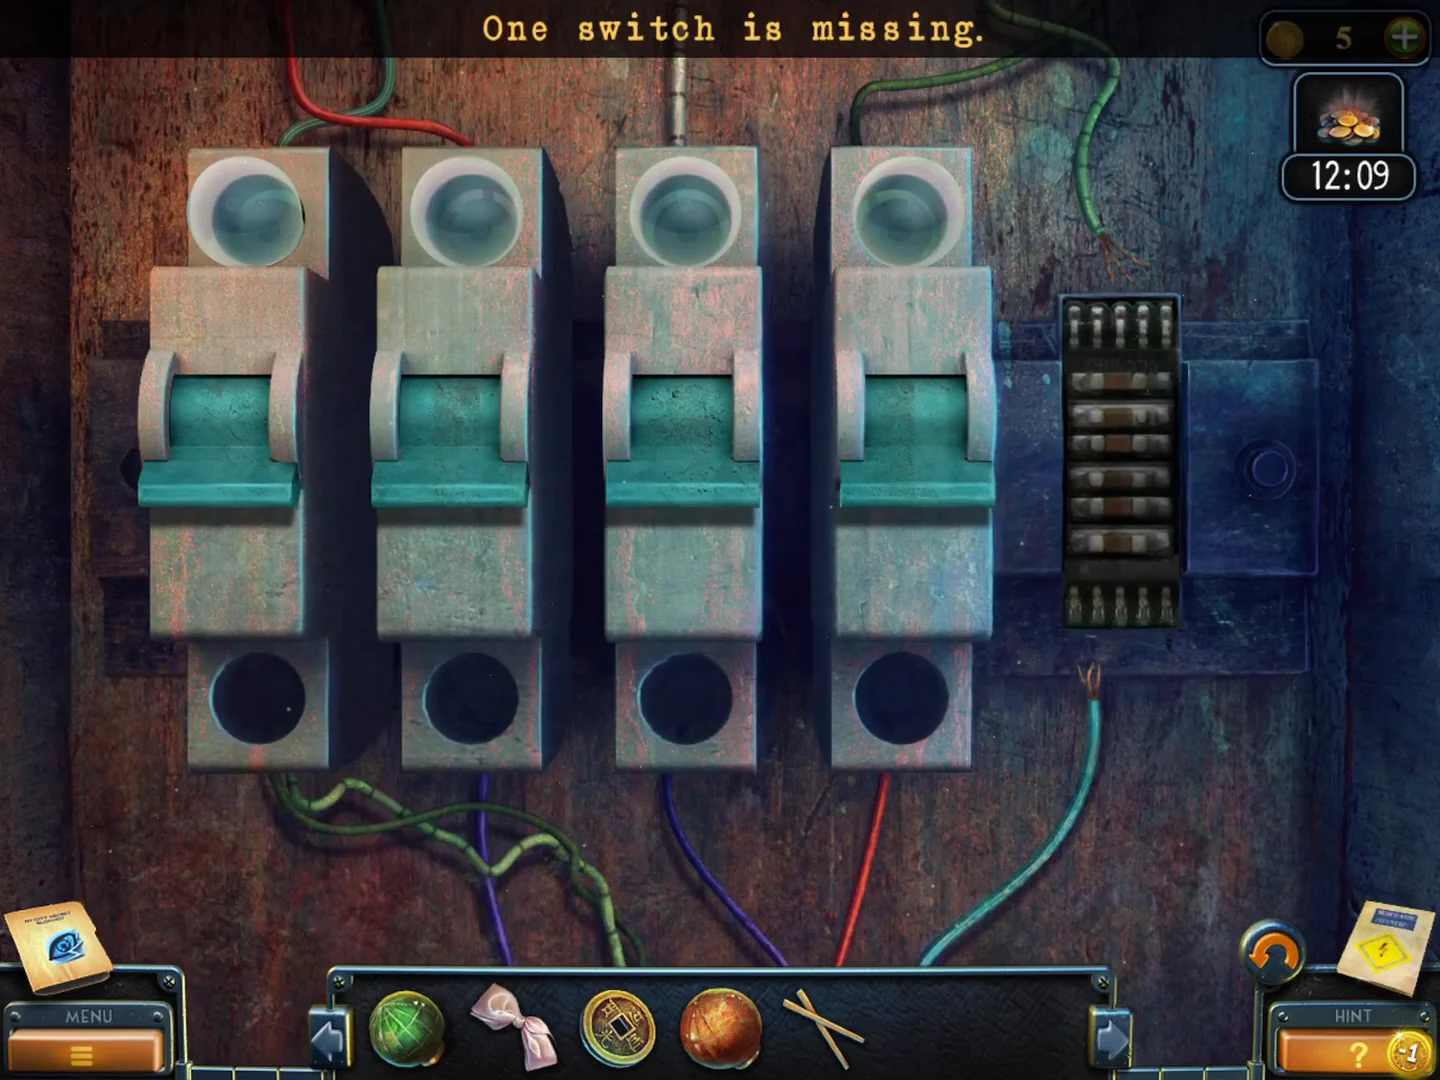
Five breakers each have a bulb above them. A wrong click turns all bulbs off, so you simply start again.
- In the hall, zoom into the electrical box and put the Switch in the empty fifth slot.
- Numbering the breakers 1 to 5 from the left, click 4, 1, 5, 2, 3. All five bulbs light and the hall lights come on. If your order differs, find each next breaker by trial; a correct click keeps the lit bulbs on.CODE4-1-5-2-3
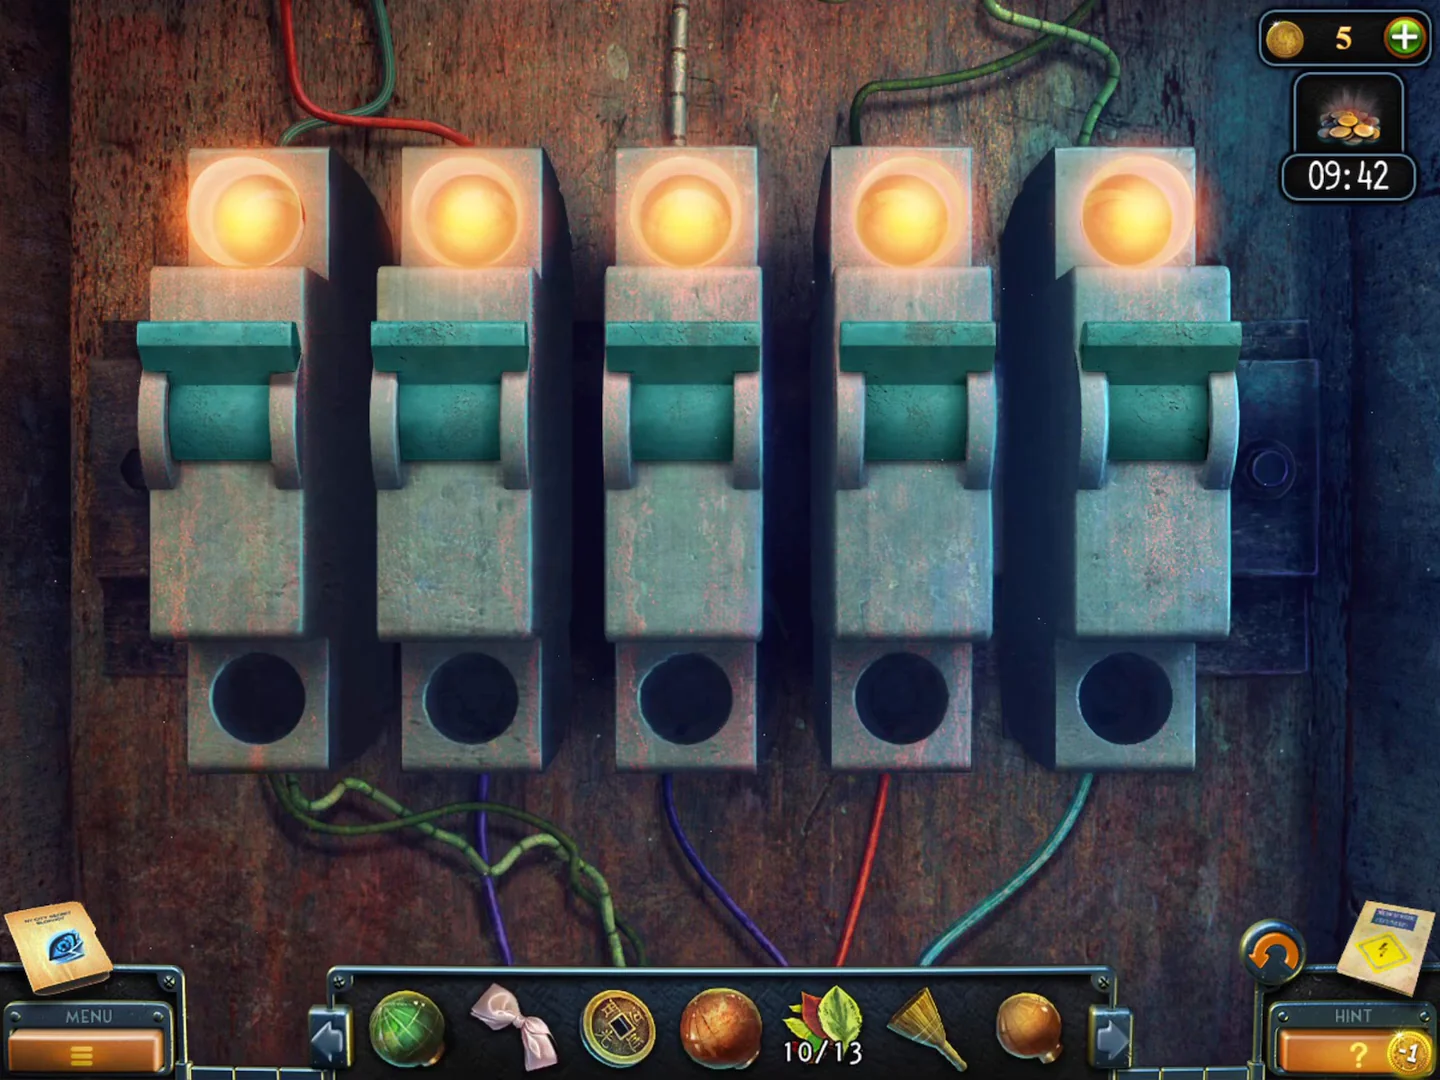
Solved: all five bulbs are lit.
Teacher's bedroom
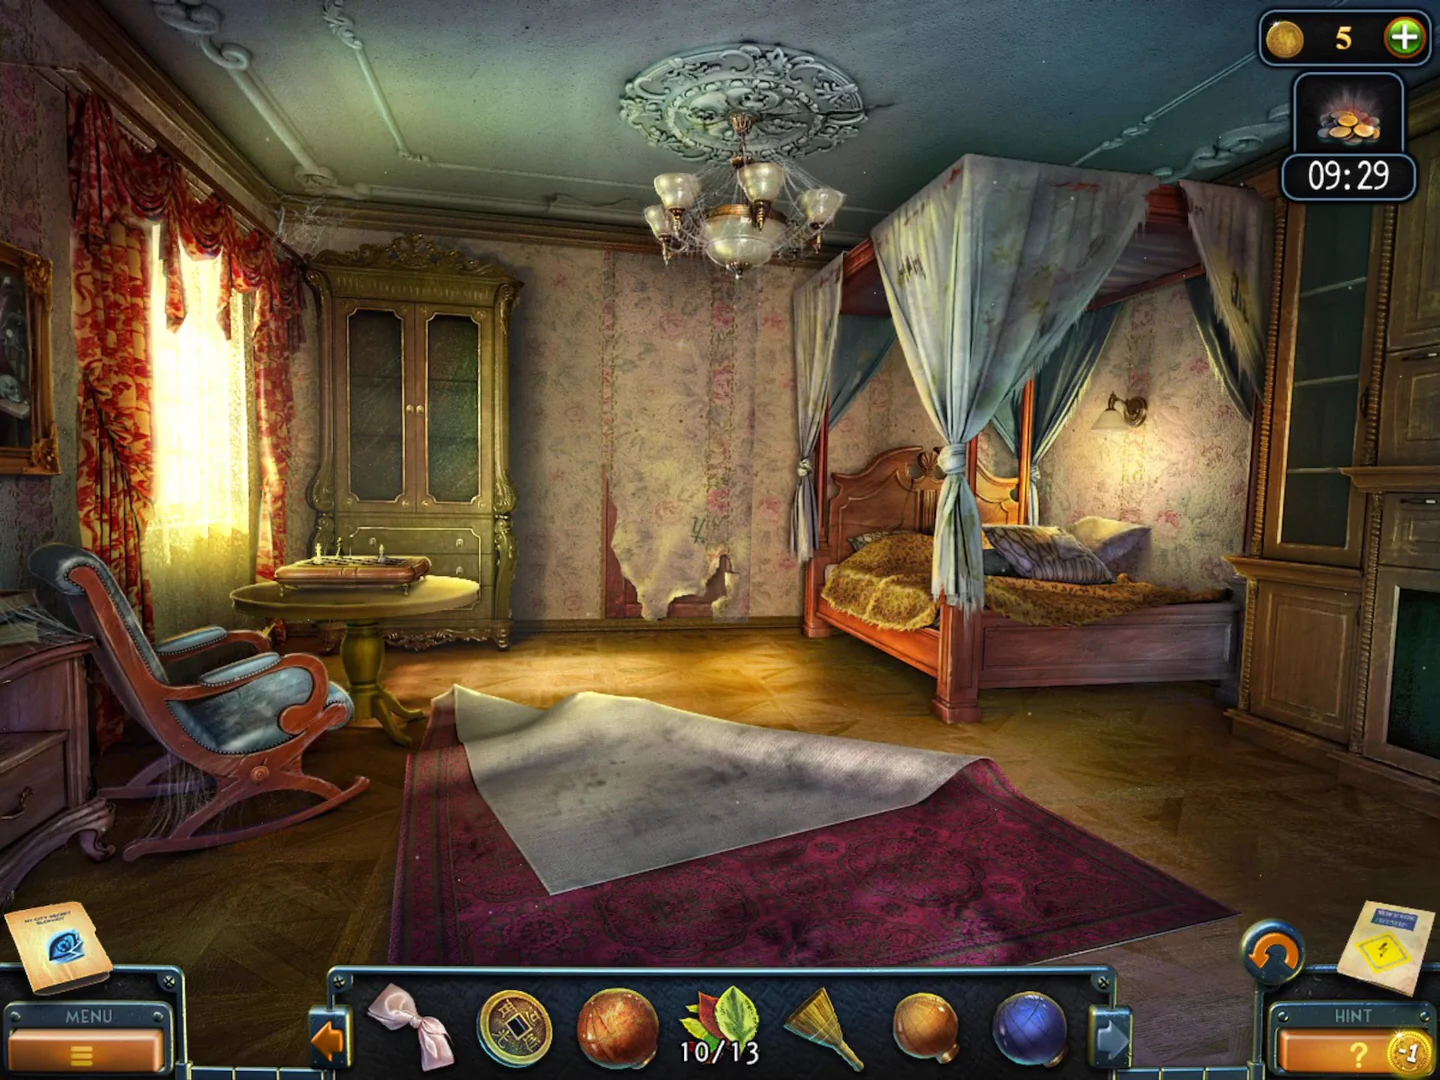
Search the teacher's bedroom with the Chess piece and the Razor blade, then trade the Pigeon figurine for the Buddha statue on 51st Street.
- With the lights on, enter the teacher's bedroom from the hall. Zoom into the chessboard on the round table and place the Chess piece on the board. Take the Razor blade from the side drawer that opens.
- Zoom into the striped pillow on the bed and cut its stitched patch with the Razor blade. Take the Pigeon figurine.
- Click the rug in front of the bed to fold back its corner and take the blue Planet.
- Zoom into the torn wallpaper between the wardrobe and the bed: there seems to be a hidden door underneath, and you need a tool to remove the wallpaper.
- Travel to 51st Street. Zoom into the wooden box on the left brick wall and put the Pigeon figurine in the bird-shaped recess. Take the Buddha statue.
Chinatown curio shop
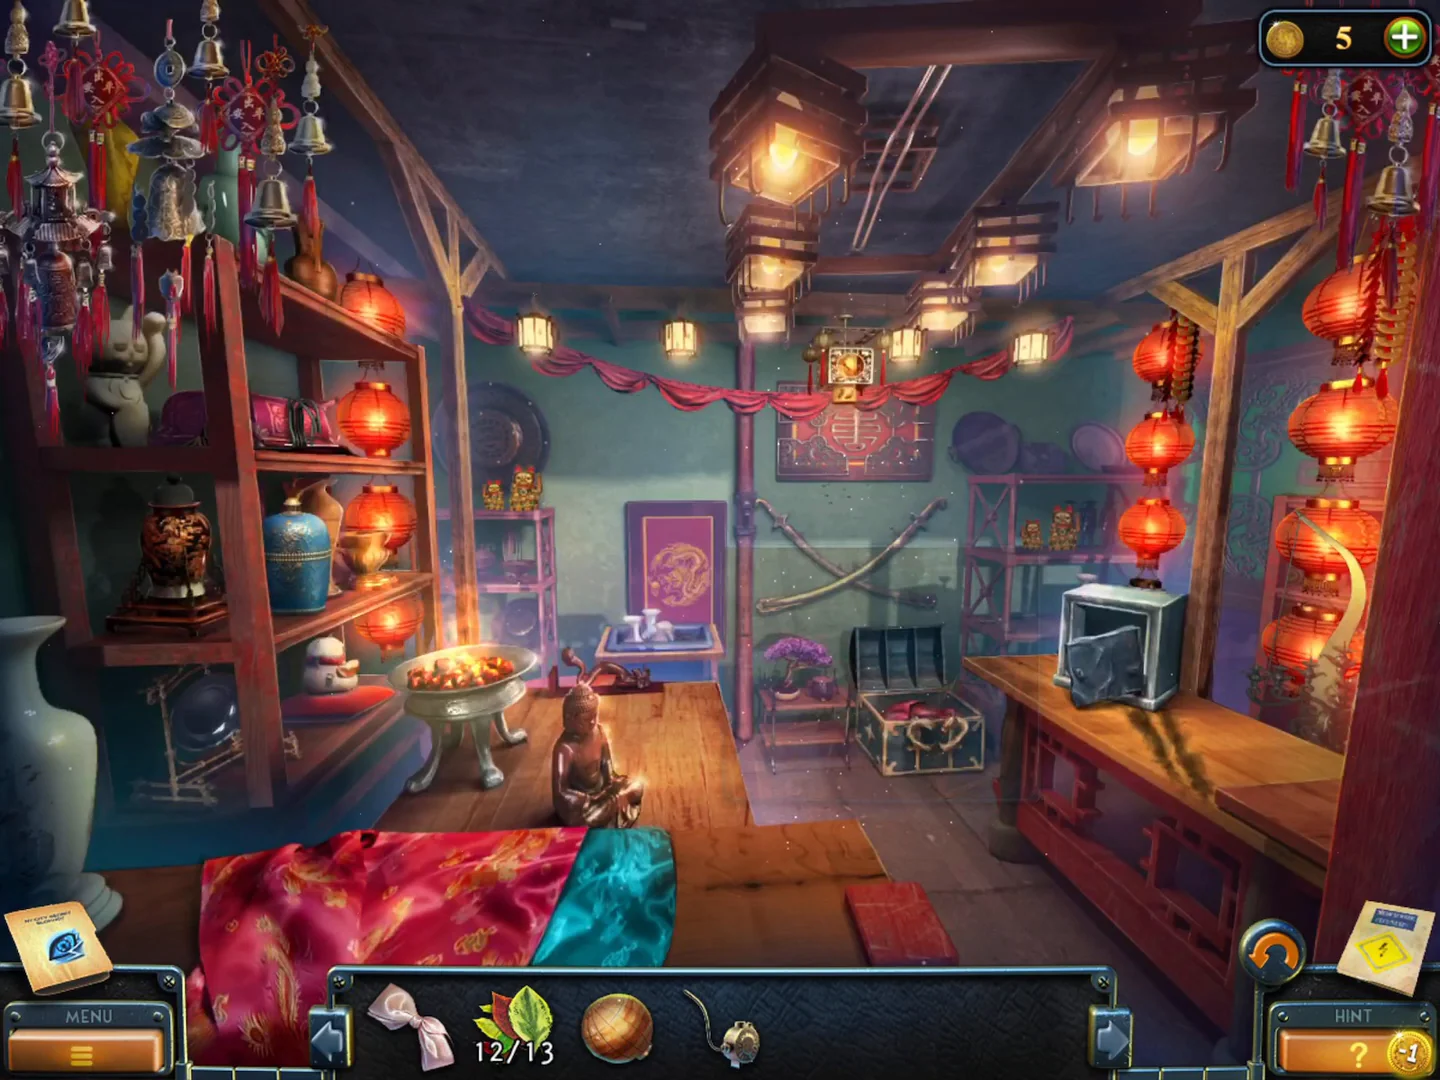
The curio shop is an interactive scene: the bottom bar shows item silhouettes, and you use each found item inside the shop.
- Go to the Chinatown food stall and give the Coin from the man in the red scarf to the cook. Take the Cup of tea.
- Zoom into the round lock on the red door left of the stall and put the Buddha statue in the recess. Enter the curio shop.
- Zoom into the brazier at the left foreground and take the Ladle lying on the table beside it.
- Take the Tape roll from between the jugs in the crate of pitchers at the lower left, and the Scissors from the counter on the right.
- Cut the cords on the red lacquered box on the left shelf with the Scissors, and take the Dynamite standing next to it. The box holds ash that you need to scoop out.
- Take the Fan from the back wall (top centre) and fan the dark embers in the brazier at the left foreground until they glow. Scoop the ash out of the red box with the Ladle.
- Look up at the large lantern hanging from the ceiling in the top centre of the shop. A thin Stick hangs from its left side; take it.
- Back at the crate of pitchers, push the Stick into the pitcher to get the Tongs out.
- Take a burning Coal from the brazier with the Tongs.
- At the small metal safe on the counter, use the Dynamite, then the Tape to stick it to the door, then the Ladle of ash to pour a powder trail, then the Coal to light it. Take the Dragon's head from the blown-open safe.
- Put the Dragon's head on the lid of the chest on the floor at the right and take the Oilcan.
Merry-go-round, window and herbarium
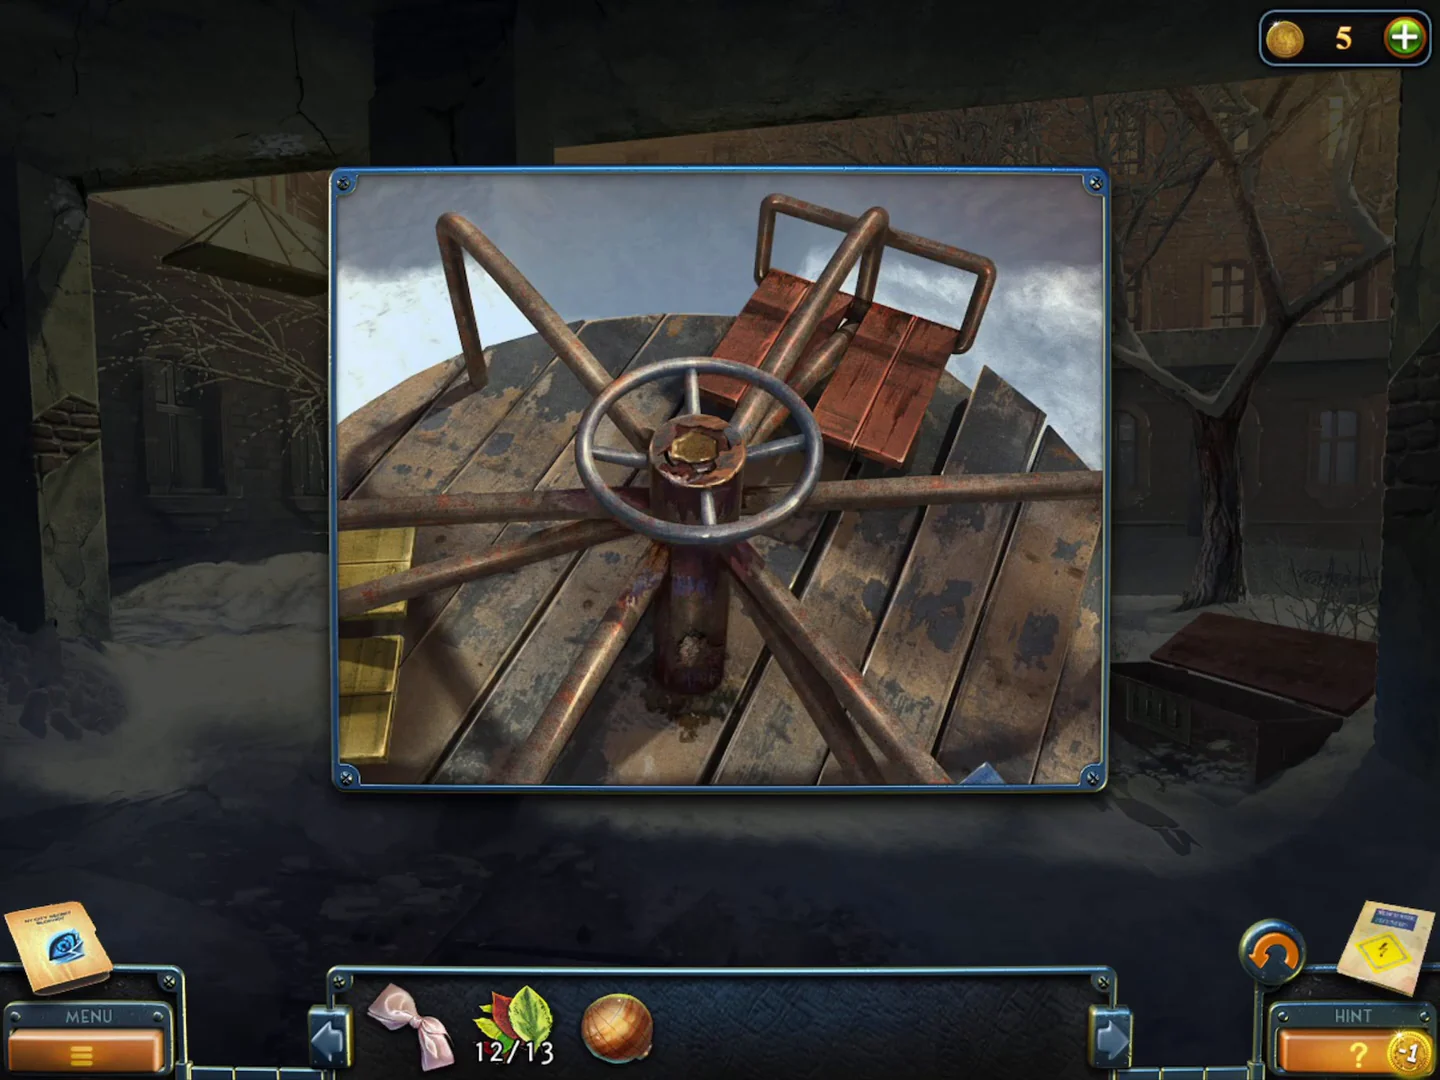
Free the Window handle from the merry-go-round, uncover the hidden door and complete the herbarium for the Photo of the shelf.
- In the school's inner courtyard, oil the merry-go-round hub with the Oilcan. It turns and reveals the Window handle in the snow; take it.
- In the hall, fit the Window handle on the window frame and open it. Take the Spatula.
- In the teacher's bedroom, scrape off the torn wallpaper with the Spatula. A hidden door with an ornate lock appears; it needs a special key. Take the last leaf at its foot (13/13).
- In the dormitory, open the herbarium on the chest of drawers and drag each of the 13 leaves onto its matching outline.
- The page lifts to reveal a note for Jackie about a secret in the tidy toy shelf. Take the Photo of the shelf.
Toy shelf
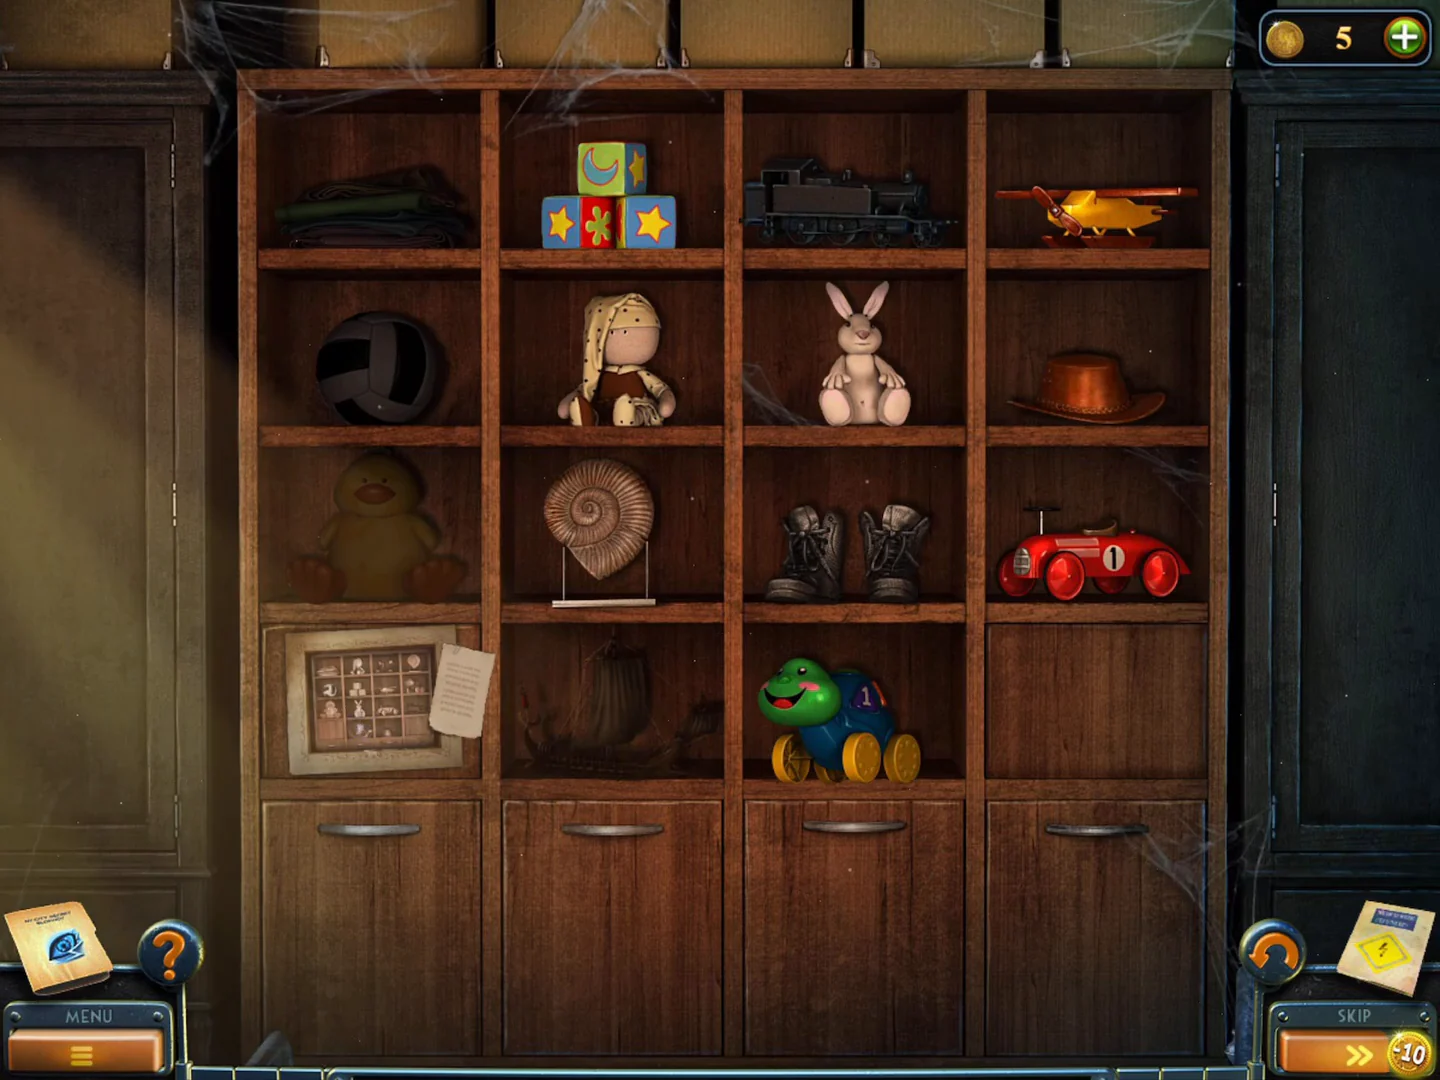
Click two toys to swap them until the shelf matches the photo.
- Place the Photo on the lower-left door of the toy cubby shelf at the back right of the dormitory.
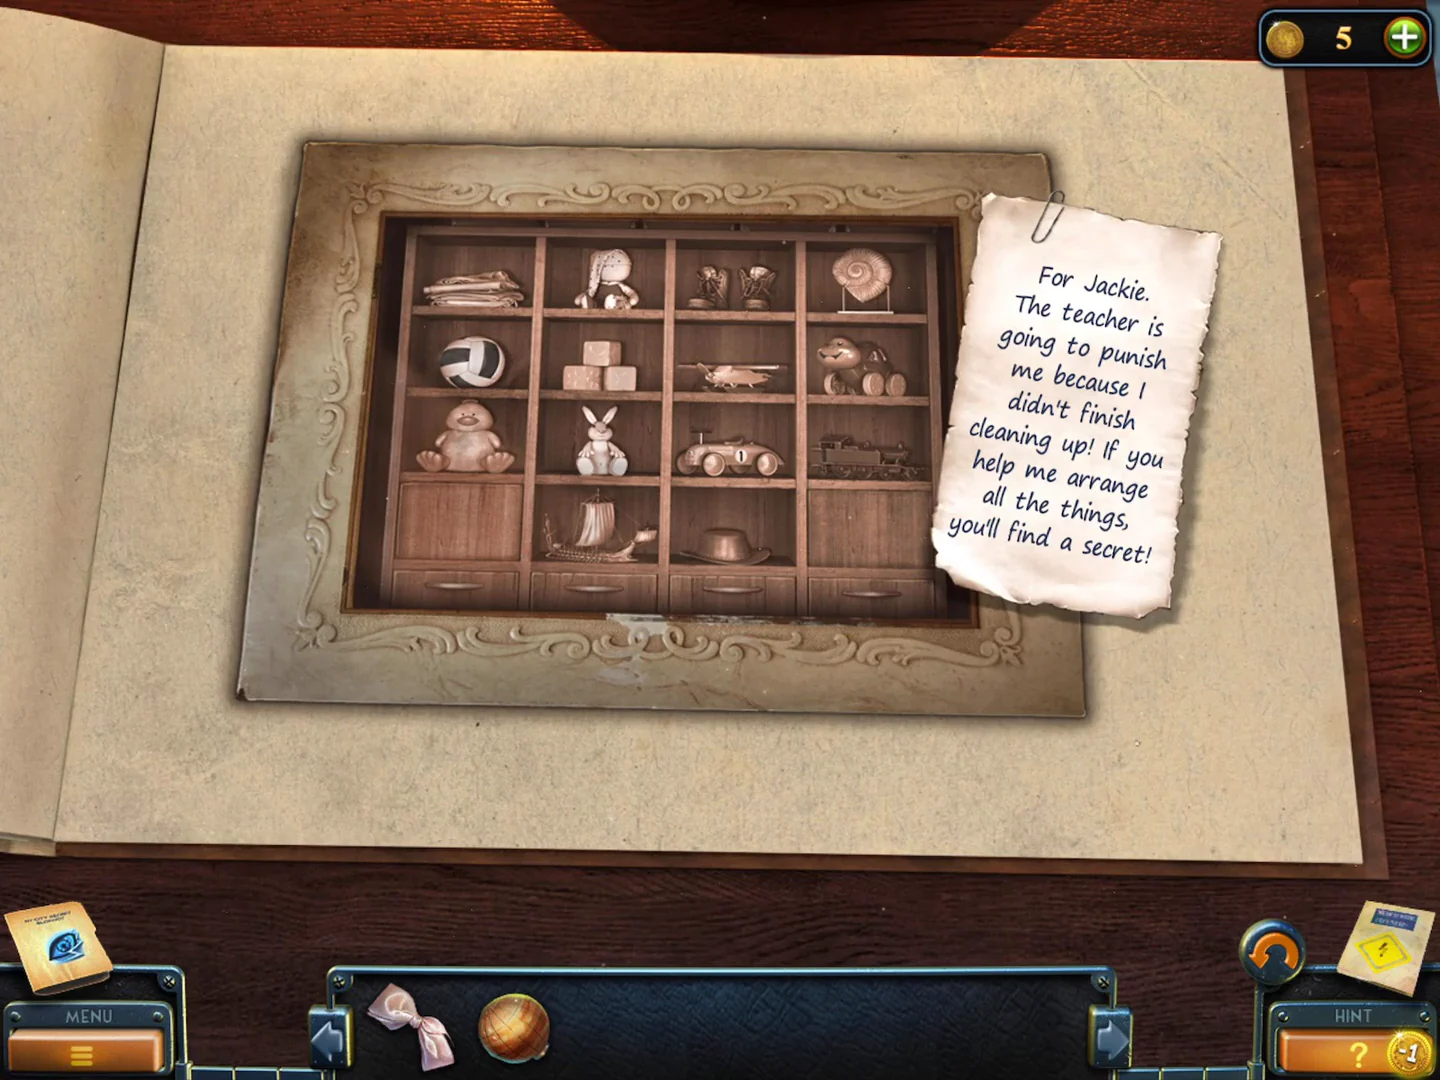
The Photo shows the tidy shelf to copy. - Arrange the toys as in the photo. Row 1: folded clothes, doll in a nightcap, boots, ammonite shell. Row 2: volleyball, toy blocks, toy aeroplane, turtle pull-toy. Row 3: rubber duck, rabbit, race car "1", toy train. Row 4: closed door, sailing ship, hat, closed door.
- Take the Puzzle pieces from the shelf.
Chest tile puzzle
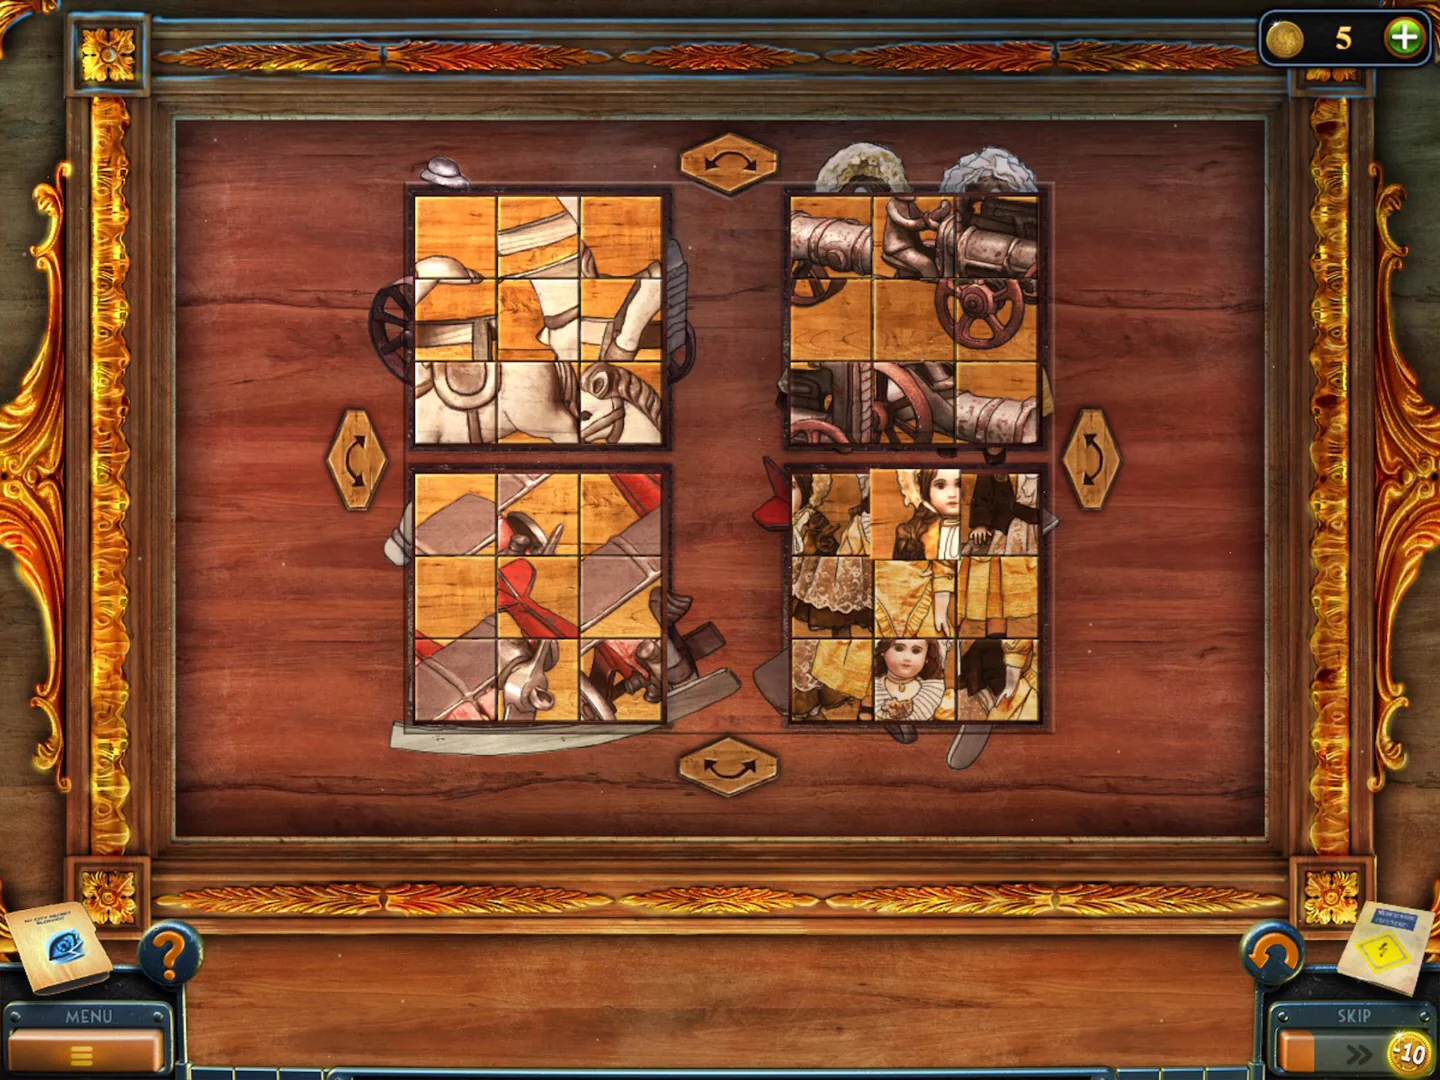
Four 3x3 picture frames sit in a 2x2 layout, with a round-arrow button on each side (top, bottom, left and right). An arrow button swaps the whole pictures in the two frames on its side. Inside a frame, tap one tile and then another to swap the two tiles. The outline drawn around each frame shows which picture belongs there.
- Zoom into the carved chest in the dormitory and put the Puzzle pieces in the gaps of the lid.
- The pictures start in the wrong frames: rocking horse top left, cannon top right, biplane bottom left, dolls bottom right. Press the top arrow, then the right arrow, then the bottom arrow. The cannon is now top left, the dolls top right, the rocking horse bottom left and the biplane bottom right. Then, in each frame, swap tiles two at a time until the picture is whole. Use the solved image below as the target.
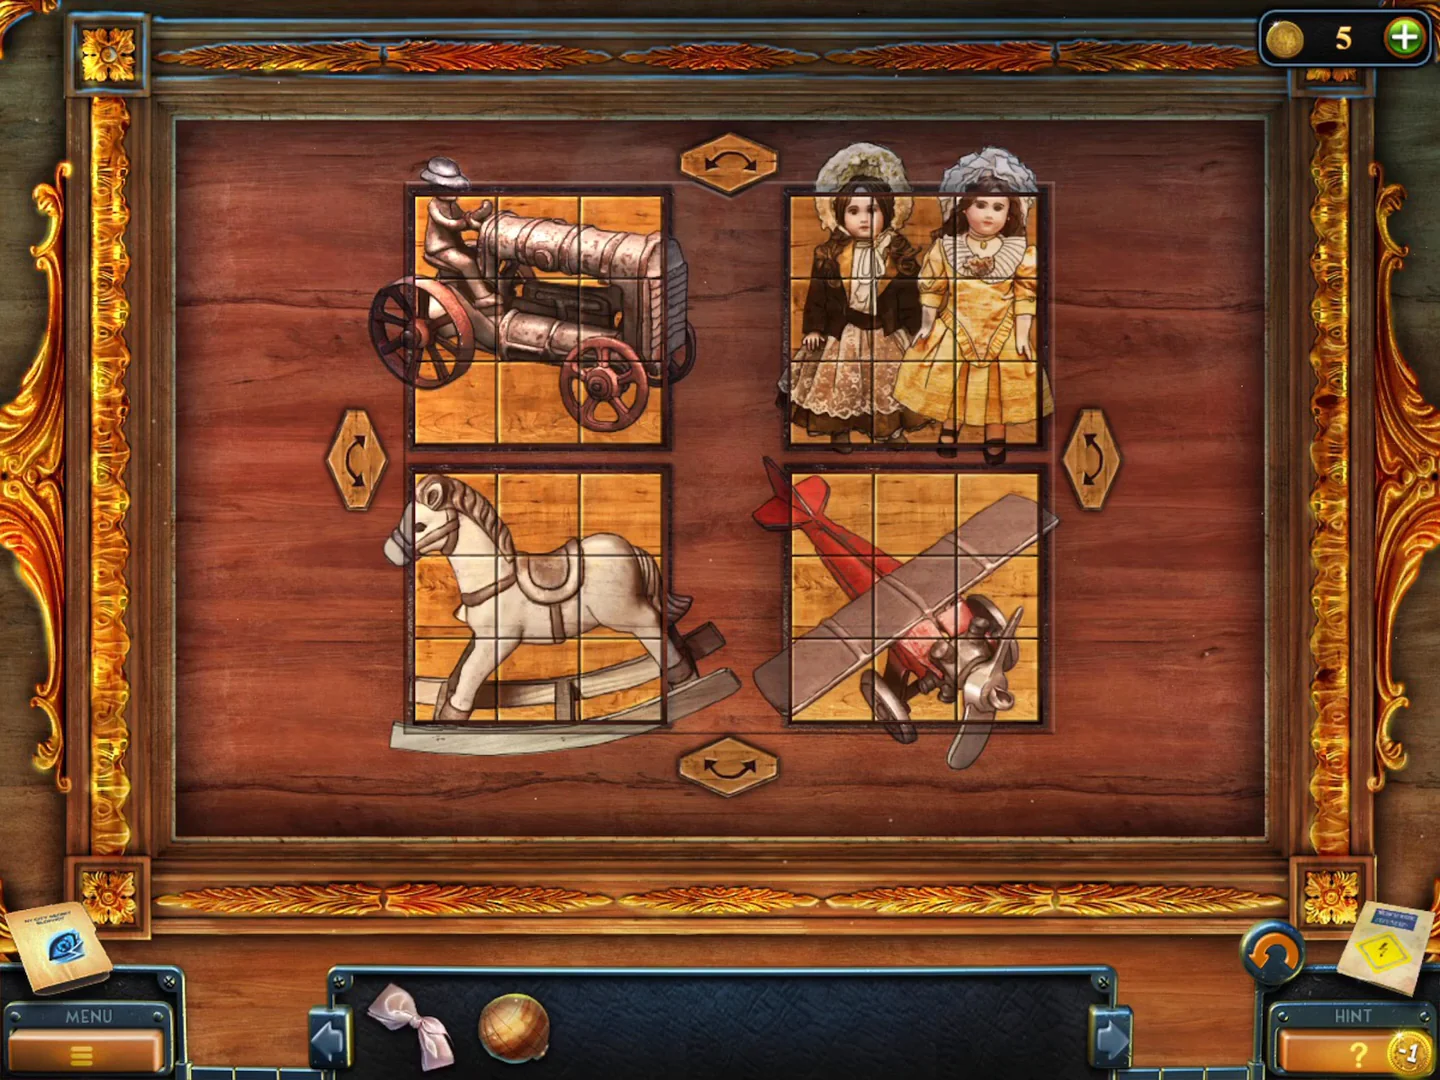
Solved: cannon top left, two dolls top right, rocking horse bottom left, biplane bottom right. - The chest opens; take the Ladder.
Hunter's Lodge
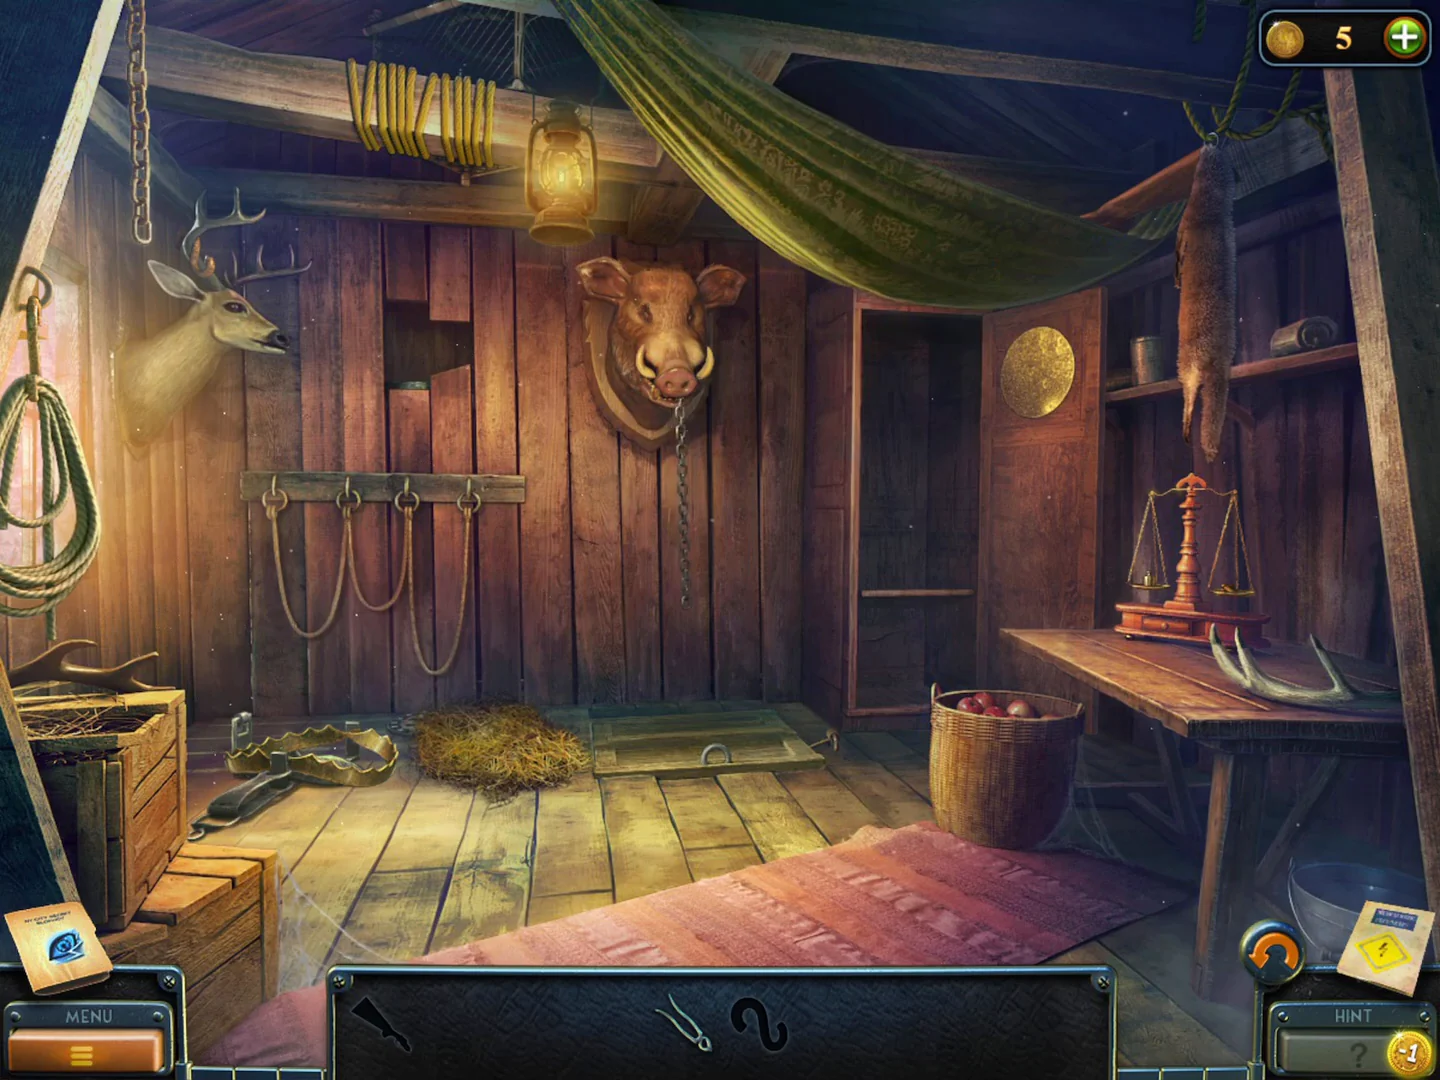
The lodge is an interactive scene. The bottom bar shows silhouettes of the items to find here, including the Rifle butt, Dart, Tusk, gold Ornament, S-hook, Ring, Weight, Bowl and Knife.
- Go through Van Cortlandt Park to the forest clearing. Hang the Ladder on the treehouse and climb up.
- Take the Rifle butt from the floor at the lower left by the crate. As the hint says, use it on the open trap lying on the floor next to the crate; the rifle is set into the trap's jaws.
- Take the S-shaped Hook from the deer head at the upper left, the Knife stuck in the table left of the scales, and the brass Weight from among the apples in the basket under the table.
- Zoom into the boar head on the wall right of the dartboard. One tusk is missing; take the scales Bowl hanging from its remaining tusk.
- On the scales on the right-hand table ("One of the bowls is missing."), hang the Bowl and put the Weight on it. The base drawer opens; take the gold Ornament.
- Brush away the straw pile on the floor to reveal a trapdoor with a ring, and take the red Dart. Hang the Hook on the hanging chain and hook it to the trapdoor ring.
- Throw the Dart at the dartboard. The board swings aside to reveal a wall cache; take the Ring and open the metal can with the Knife to get the Tusk.
- Put the Tusk on the boar head on the wall. The trapdoor opens, showing a sprung iron trap that you cannot open with bare hands.
- Zoom into the round golden shield on the back wall. Put the gold Ornament in its empty centre, then fit the Ring around it. The message "Rotate the rings to restore the image" appears. Rotate the rings until the lion's face is complete.
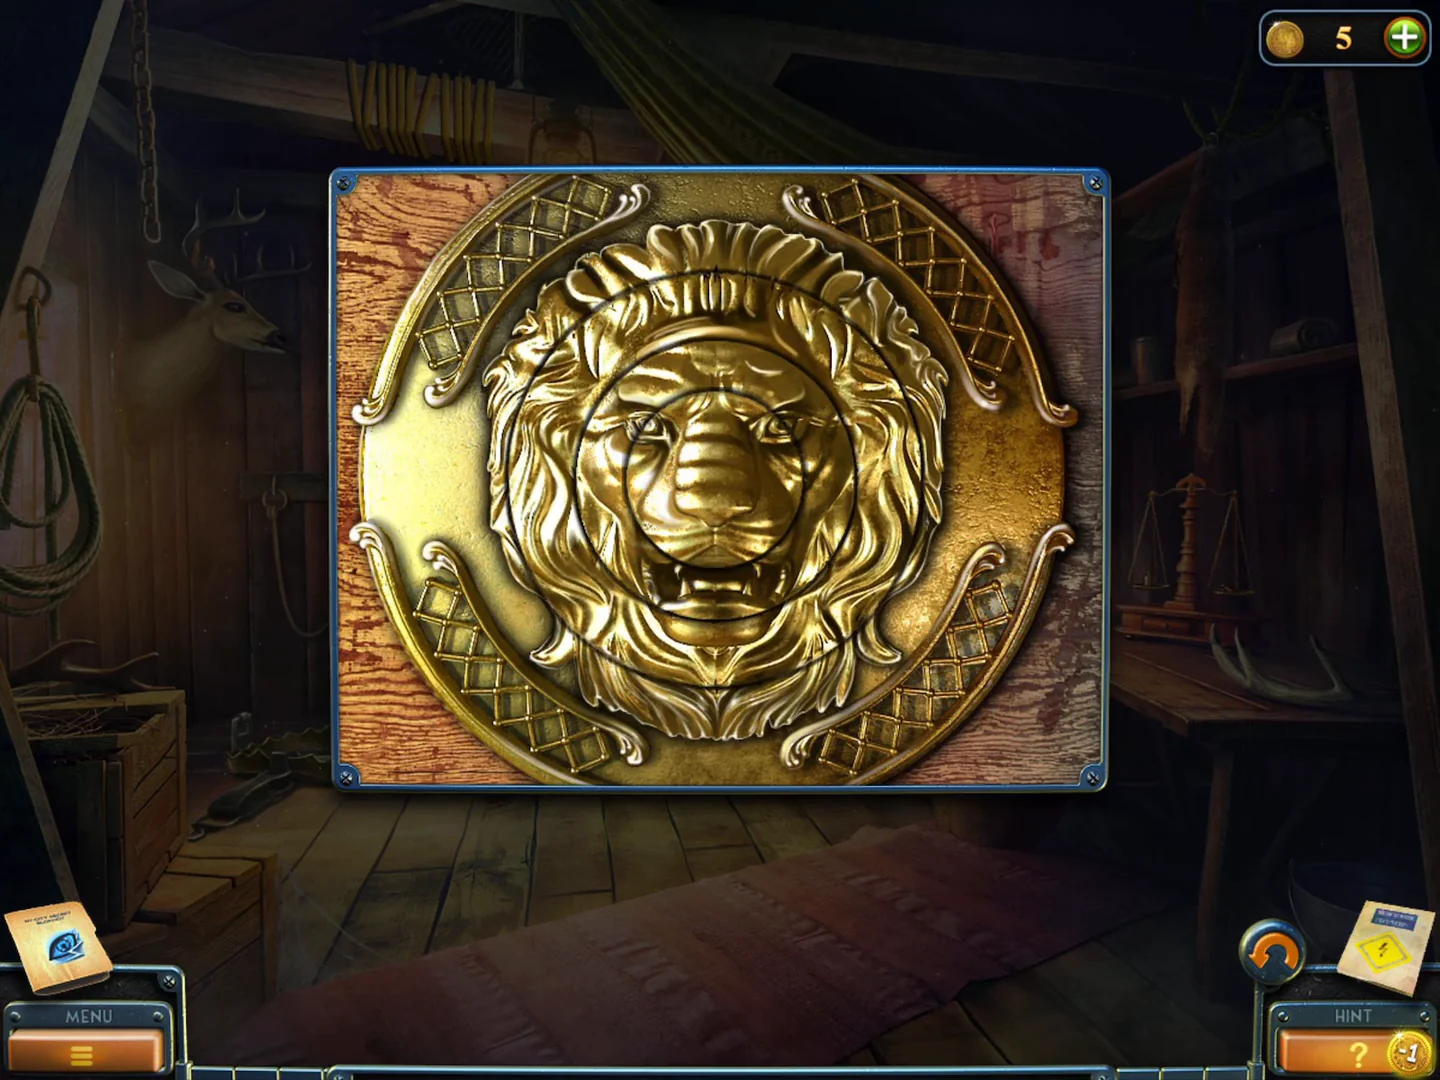
Solved: the rings of the golden shield form the lion's face. - The shield opens; take the Tongs from it. Zoom into the trapdoor and use the Tongs to open the iron trap on it. Take the Planet. The Hunter's Lodge task is complete. If you have not used a hint in any Hidden Objects Puzzle in the main story or the bonus chapter, the "Persistent" achievement appears here; to keep it available, find hidden-object items without the hint button.
Treehouse clearing and frozen pond
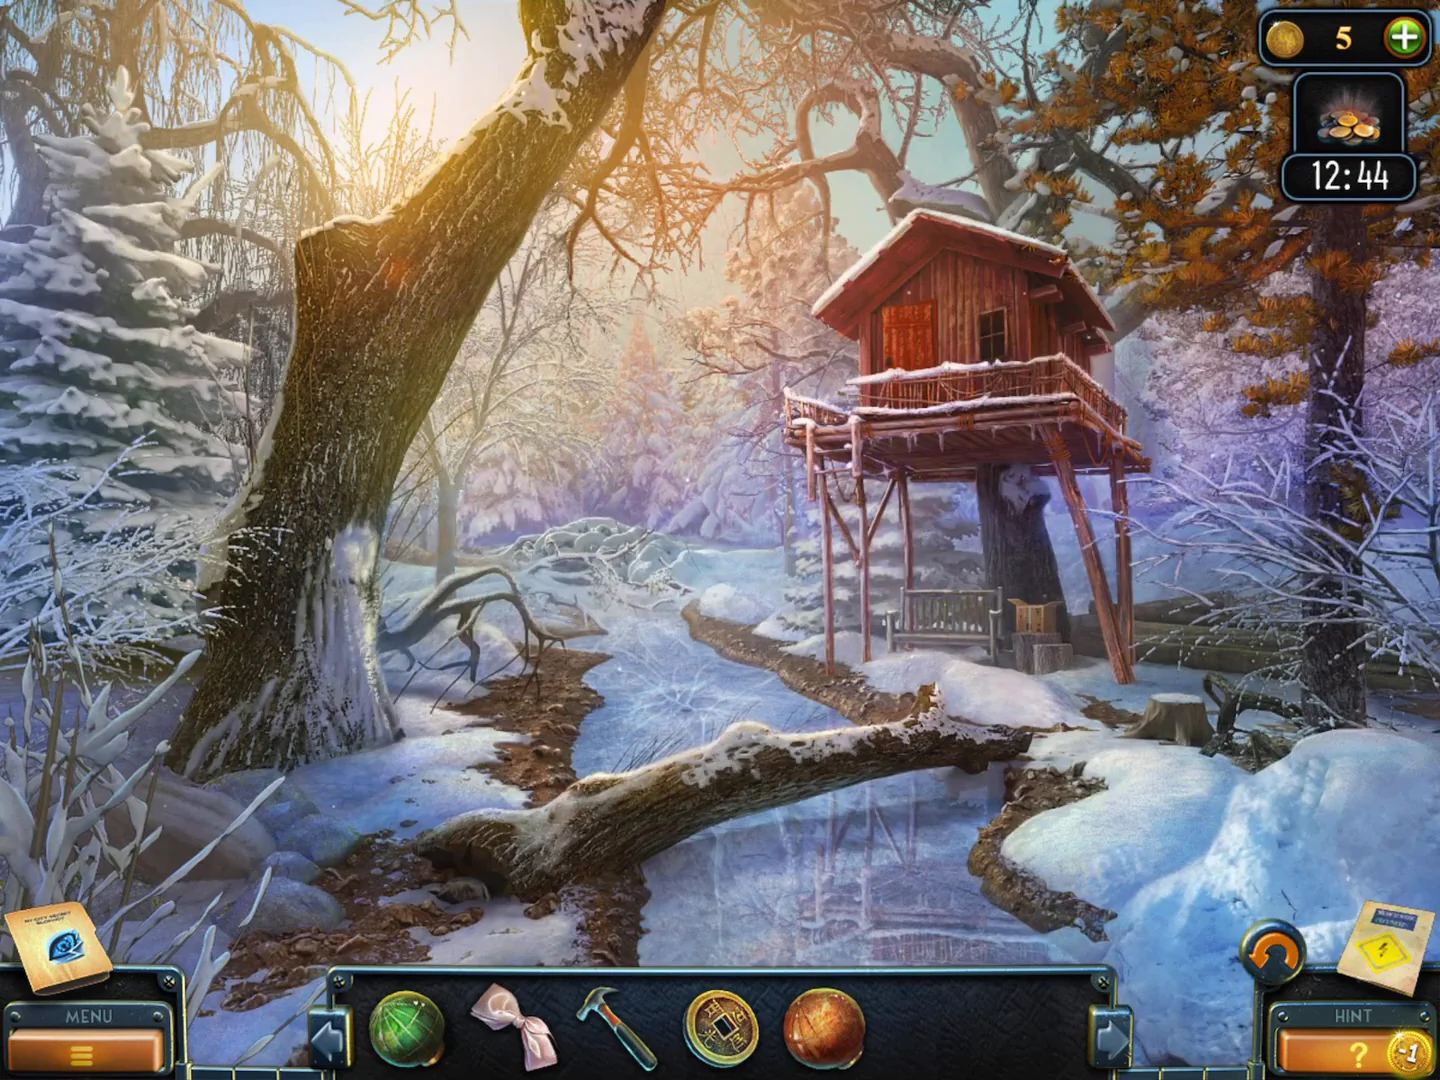
In the treehouse clearing, the Shuriken and the Ice auger give you another Planet from the frozen pond.
- Back in the treehouse clearing, take the Shuriken from the snow-filled hollow in the tree trunk on the left.
- Cut the tape on the cardboard box by the treehouse ladder with the Shuriken and take the Ice auger.
- Drill the frozen hole in the ice at the lower right with the Ice auger and take the orange Planet.
Orrery, skeleton and Hugo's ball maze
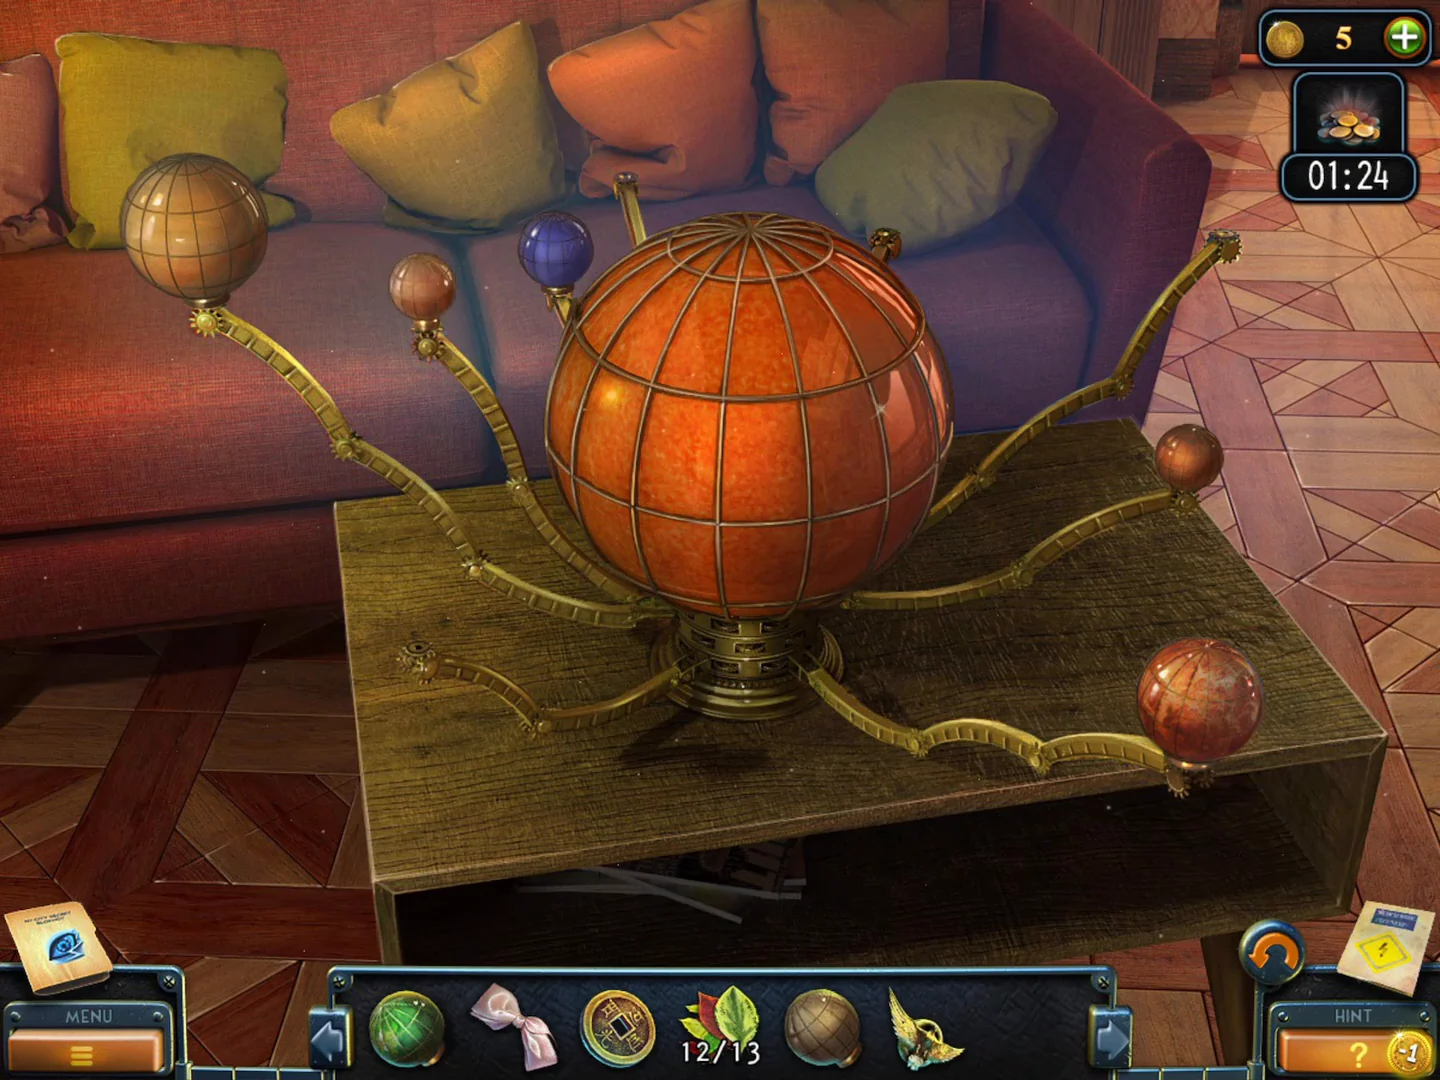
Restore Samuel's orrery, rebuild the skeleton in the wardrobe and guide the ball through Hugo's final maze.
- Go to the Chinatown street. Pour the Cup of tea on the frozen puddle in the road to melt the ice, and take the Planet.
- In Samuel's living room, zoom into the orrery on the coffee table and put every Planet on a free brass arm; any order works. The globe opens; take the Skull.
- Go up to the bedroom wardrobe and drag each bone from the shelves into place on the wardrobe back. In this recording the order was legs, pelvis, spine, ribcage, the Skull on top, and finally both arms. The skeleton glows; take the Key from the small box that opens on the right shelf.
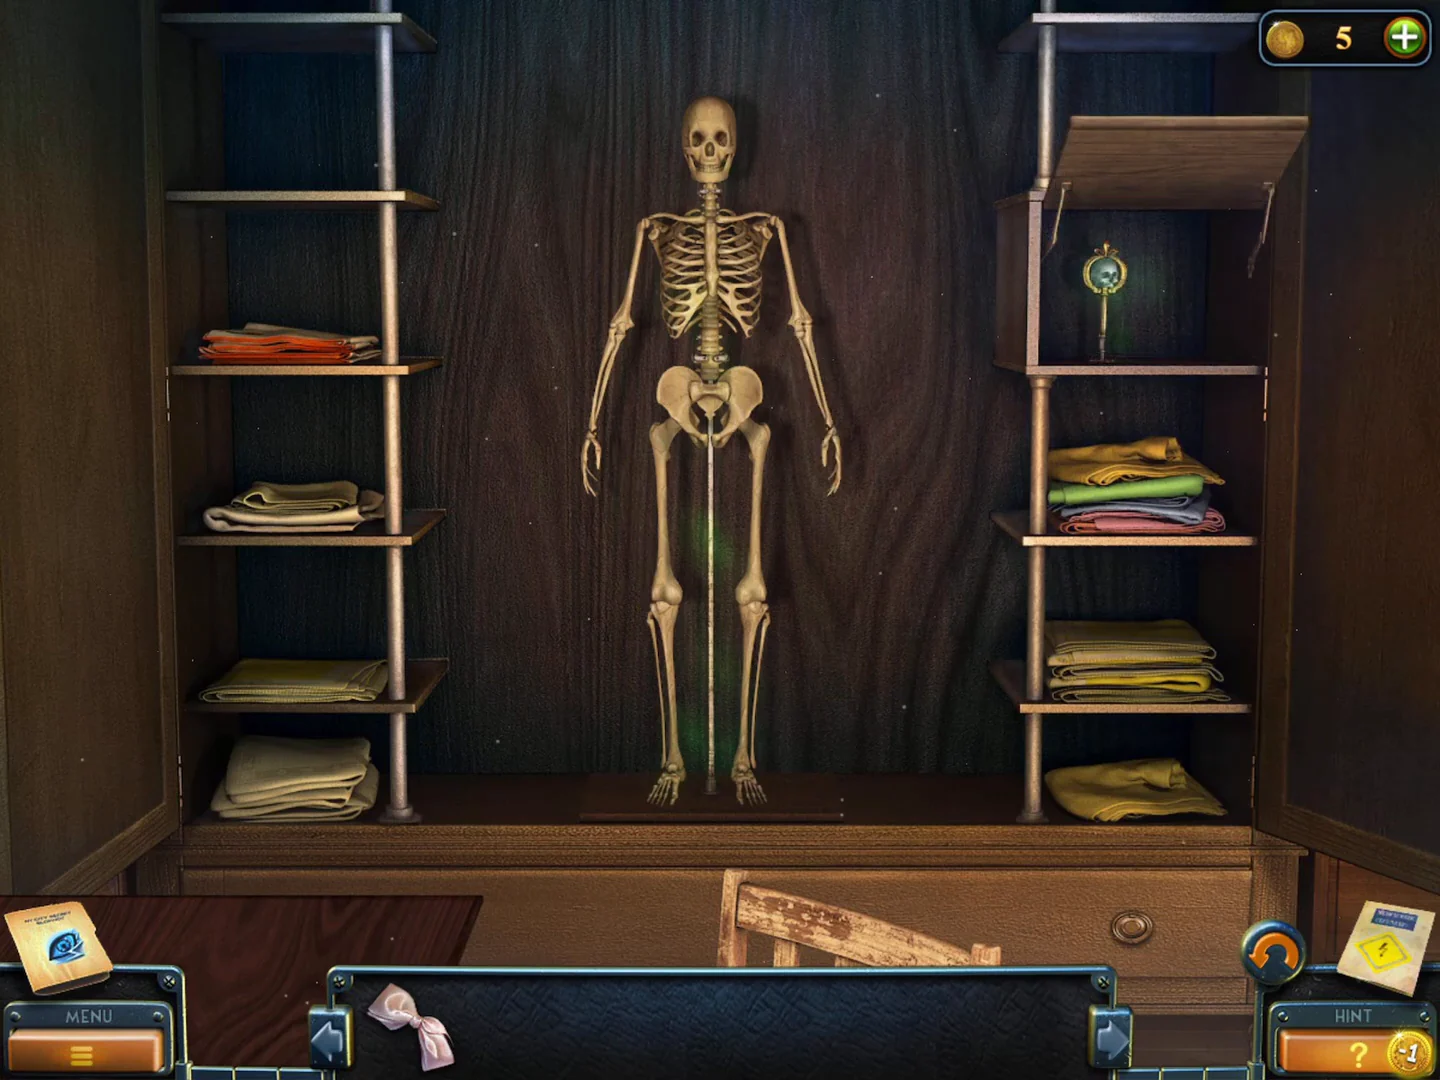
The skeleton complete with both arms attached; it starts to glow and the small box on the right shelf opens with the Key. - In the school's teacher's bedroom, use the Key on the hidden door's ornate lock. A round ball maze appears behind the door panel.
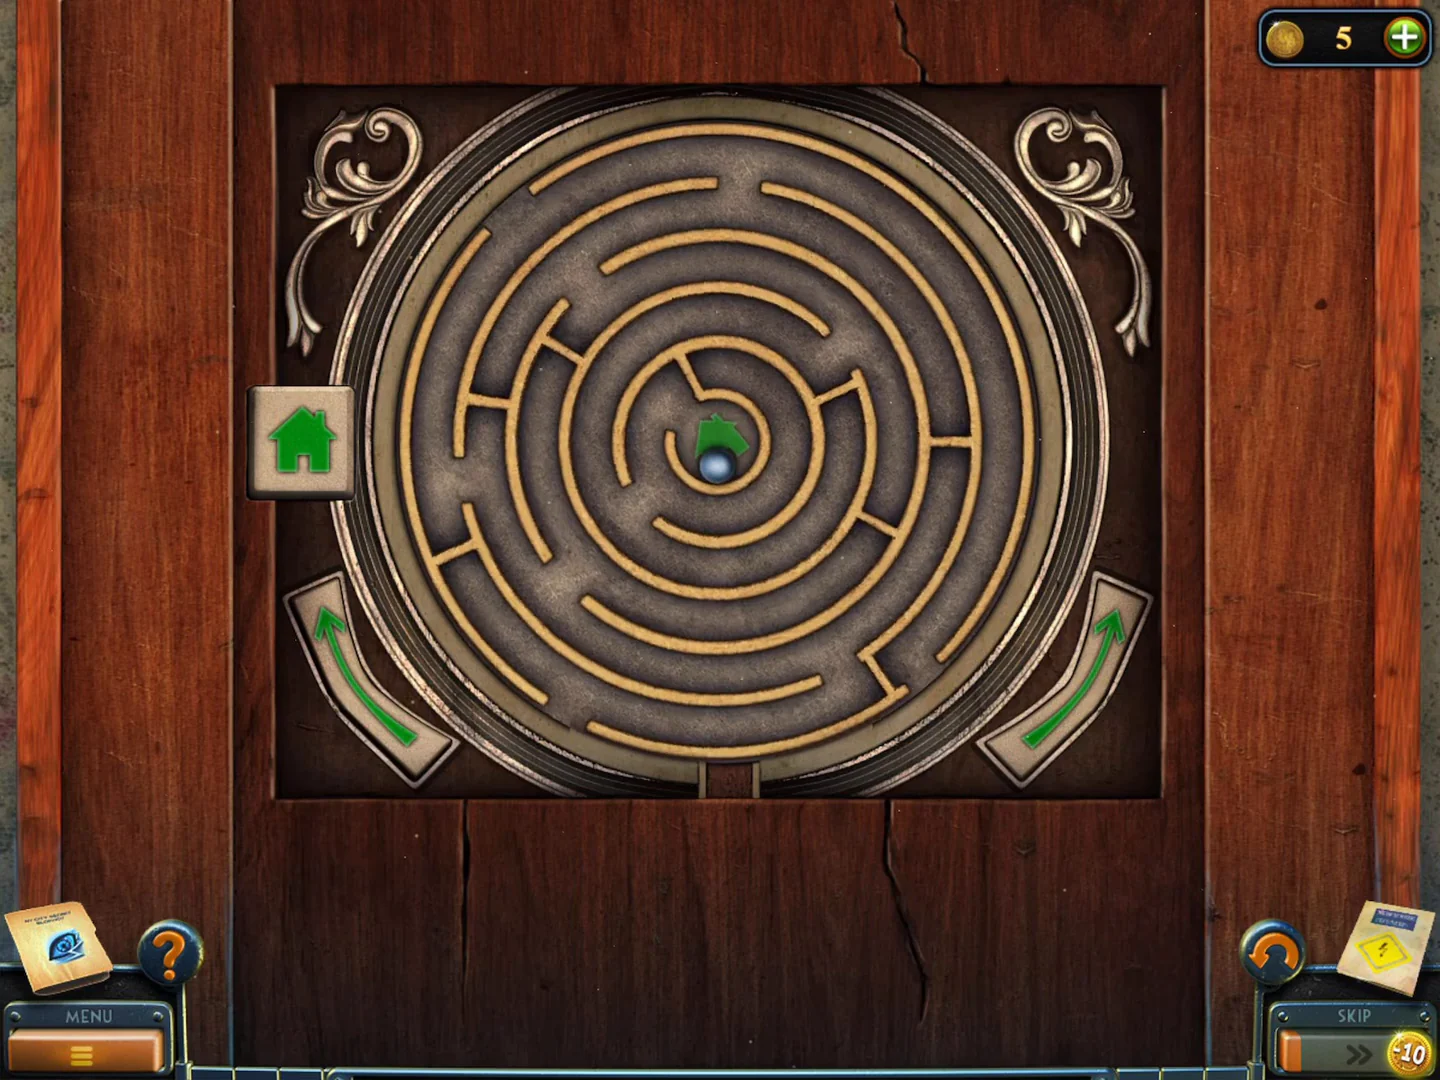
Hugo's ball maze: the green arrows at the lower left and right rotate it; the ball starts in the centre. - The ball starts in the centre, and gravity pulls it down. Use the two green curved arrows (bottom left and bottom right) to rotate the maze so that a gap in each ring lines up under the ball. Let it drop ring by ring to the exit at the bottom. Press and hold an arrow to keep the maze turning, and release it when a gap is under the ball. In one playthrough the player held right about 2 seconds, so the ball left the centre ring. Then left about 1 second, and right about 1.5 seconds, so it dropped another ring. Short holds left, right and left then brought it to the exit, about 11 seconds in all. If you have not skipped any mini-game in the main story or the bonus chapter, the "Puzzle Lover" achievement appears now; one Skip anywhere rules it out for this playthrough, so solve every mini-game yourself if you want it.
- The closing cutscene of the bonus chapter plays; no further puzzle follows the maze.