Police station
The bonus chapter unlocks when you finish the main game ("You may now play the bonus chapter." appears in the main menu). Start it from the main menu. You play as Samuel, who is searching for a kidnapped girl and following clues left by his son Hugo.
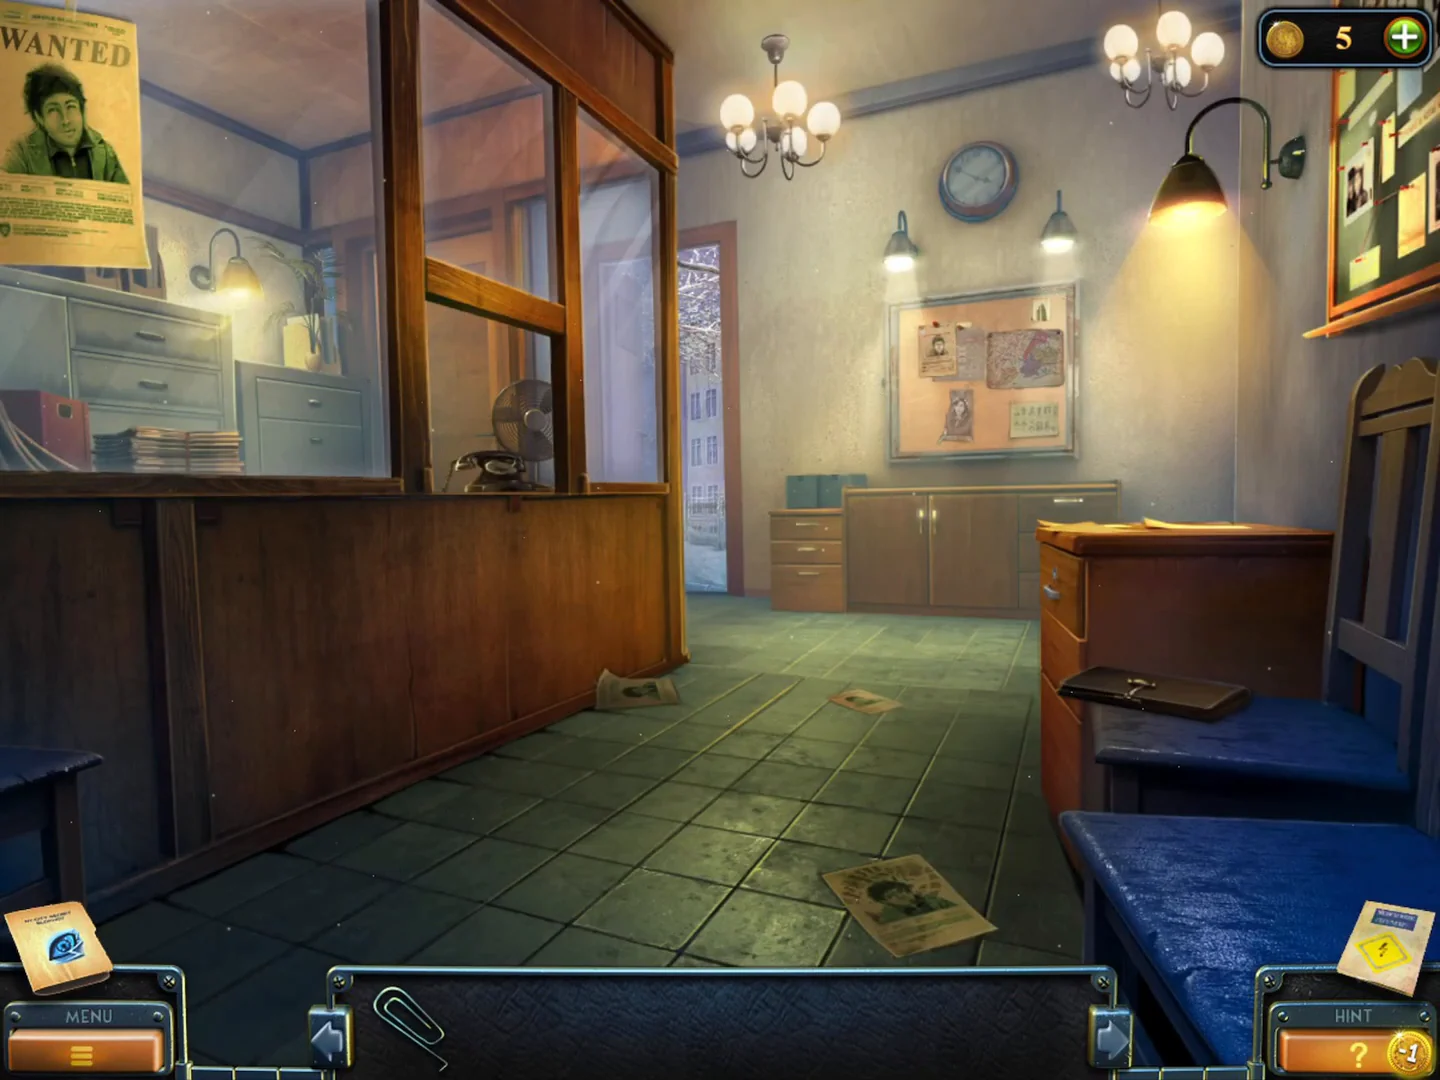
- In the police station lobby, talk to the officer at the guard window.
- Zoom into the wallet lying on the blue chair in front of the right-hand desk and take the Receipt from under the money (a Red Dragon Bar receipt: 21:30, total 6$). The Receipt goes into your inventory.
- Select the Receipt and give it to the officer at the guard window; it proves your alibi ("Well, you're free to go now."). He leaves. Zoom into the counter by the telephone and take the Paper clip from the lower left.
- Use the Paper clip on the keyhole of the right-hand desk drawer. Push the five pins down one at a time in the right order; a wrong pin pops them all back up. Numbering the pins 1 to 5 from the left, the order in one playthrough was 3, 5, 4, 1, 2. If that order resets in your game, try each pin in turn: a correct pin stays down. Take the Knife from the drawer.CODE3-5-4-1-2
Corkboard photo and Chinatown street
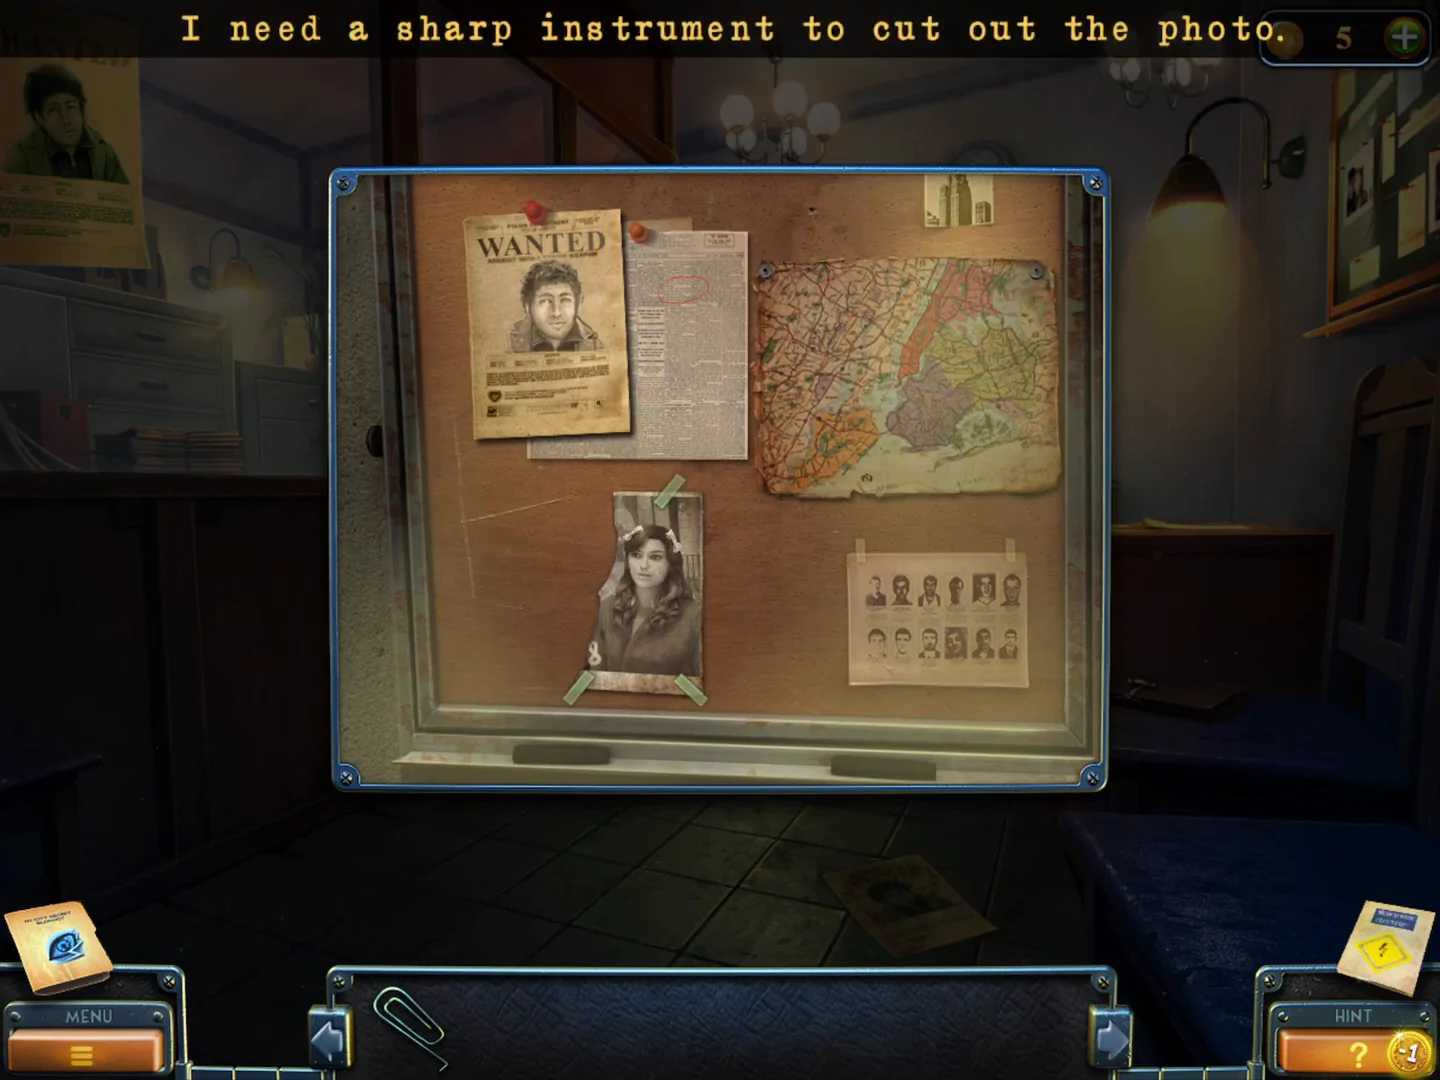
The taped photo on the station corkboard starts the "Torn Photo" task. The snowy street and Chinatown provide the Bat, the Fire hose and the first Planet.
- Zoom into the corkboard on the left back wall. Use the Knife to cut out the taped photo of the woman (lower centre). This starts the "Torn Photo" task and adds the first photo piece.
- Leave through the station door to the snowy street. Zoom into the burning trash barrel on the front steps and take the metal Bat lying by the fire.
- Go forward to the Chinatown street. Zoom into the red fire-alarm box on the left brick wall, break the glass with the Bat and take the Fire hose.
- Zoom into the locked lattice gate at the end of the alley and take the green Planet ball. The gate stays chained.
Putting out the fire and Samuel's house
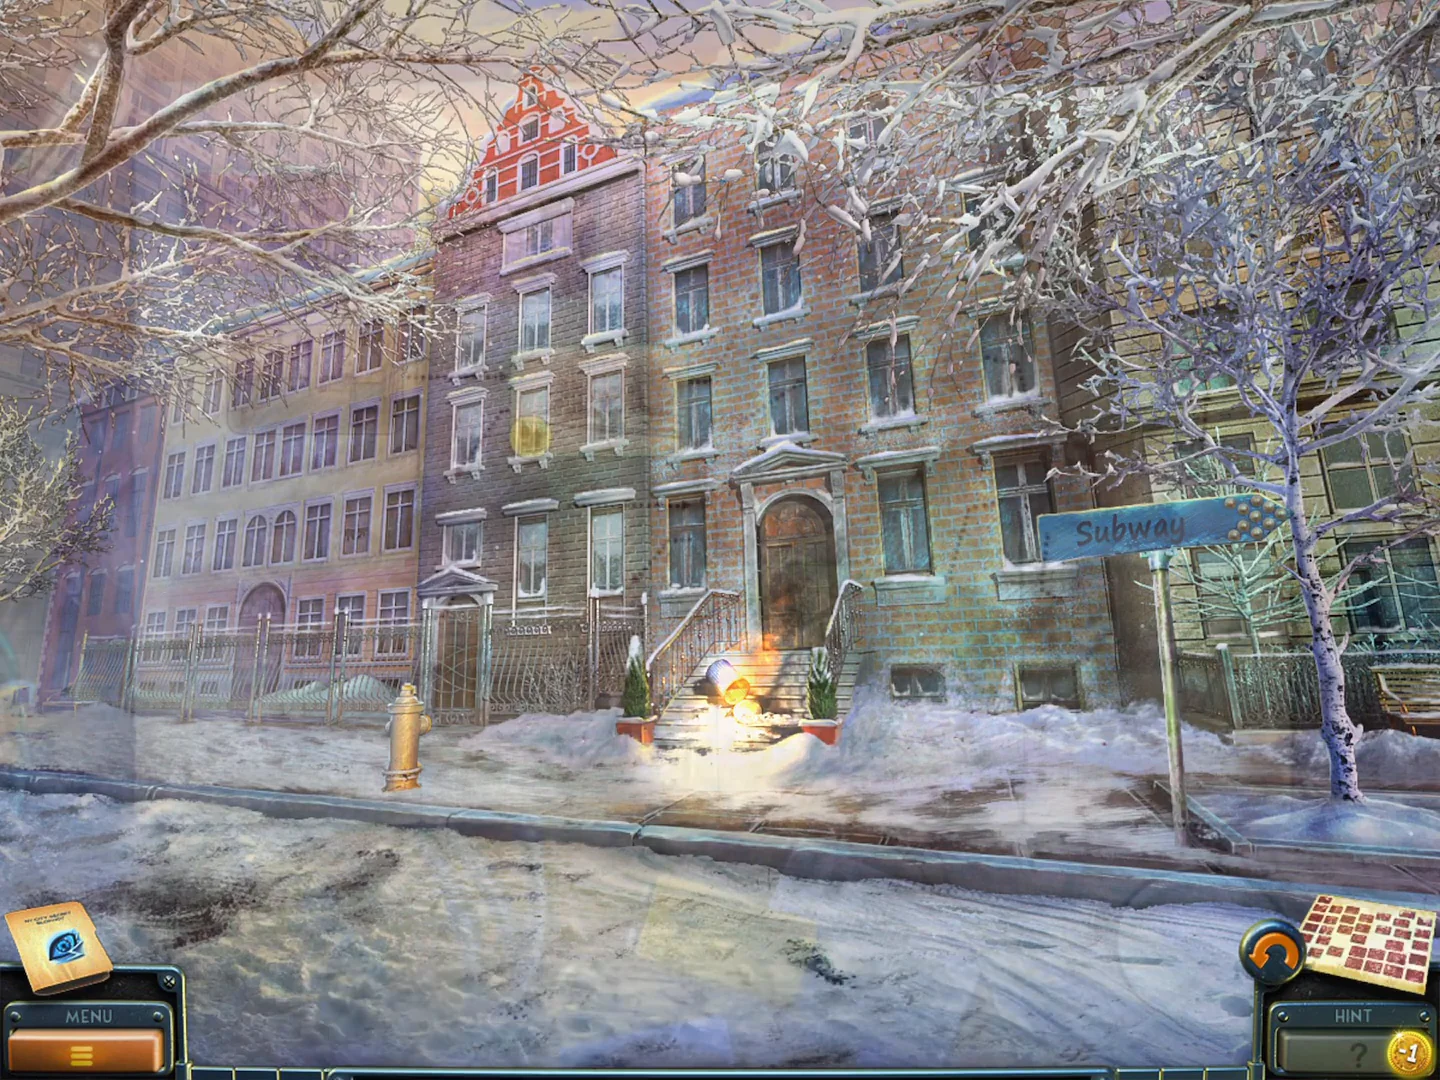
Put out the burning barrel to reach Samuel's house, where the solar-system model needs its missing planets.
- The food stall on the right of the Chinatown street sells tea, but you have no money yet. Return to the snowy street.
- Zoom into the yellow fire hydrant in the left foreground and use the Fire hose on its side outlet: the outlet cap comes off and the hose is coupled on. Click the coiled hose so it unrolls toward the steps, then click the small lever handle on top of the hydrant to turn the water on (it swings down). Then zoom into the burning barrel on the steps; the hose sprays water and puts out the fire.
- Enter the building door to Samuel's living room. Zoom into the orange solar-system model on the table: Samuel must gather all the planets to restore it. Take the Shoehorn from the table.
- Climb the stairs to Samuel's bedroom. Zoom into the left window and take the orange Planet from the sill. Faint marks remain on the frosted glass: click the glass there. A breath of mist clouds the pane and a drawn symbol appears: a U-like shape whose left arm curls over at the top, while the right arm runs further down and crosses a short horizontal bar near the bottom. Samuel notes it in the journal.
- Zoom into the teddy bear on the floor by the bed and click its head to pull it aside from the neck. Take the Cassette tape from the stuffing in the neck opening.
Torn photo album
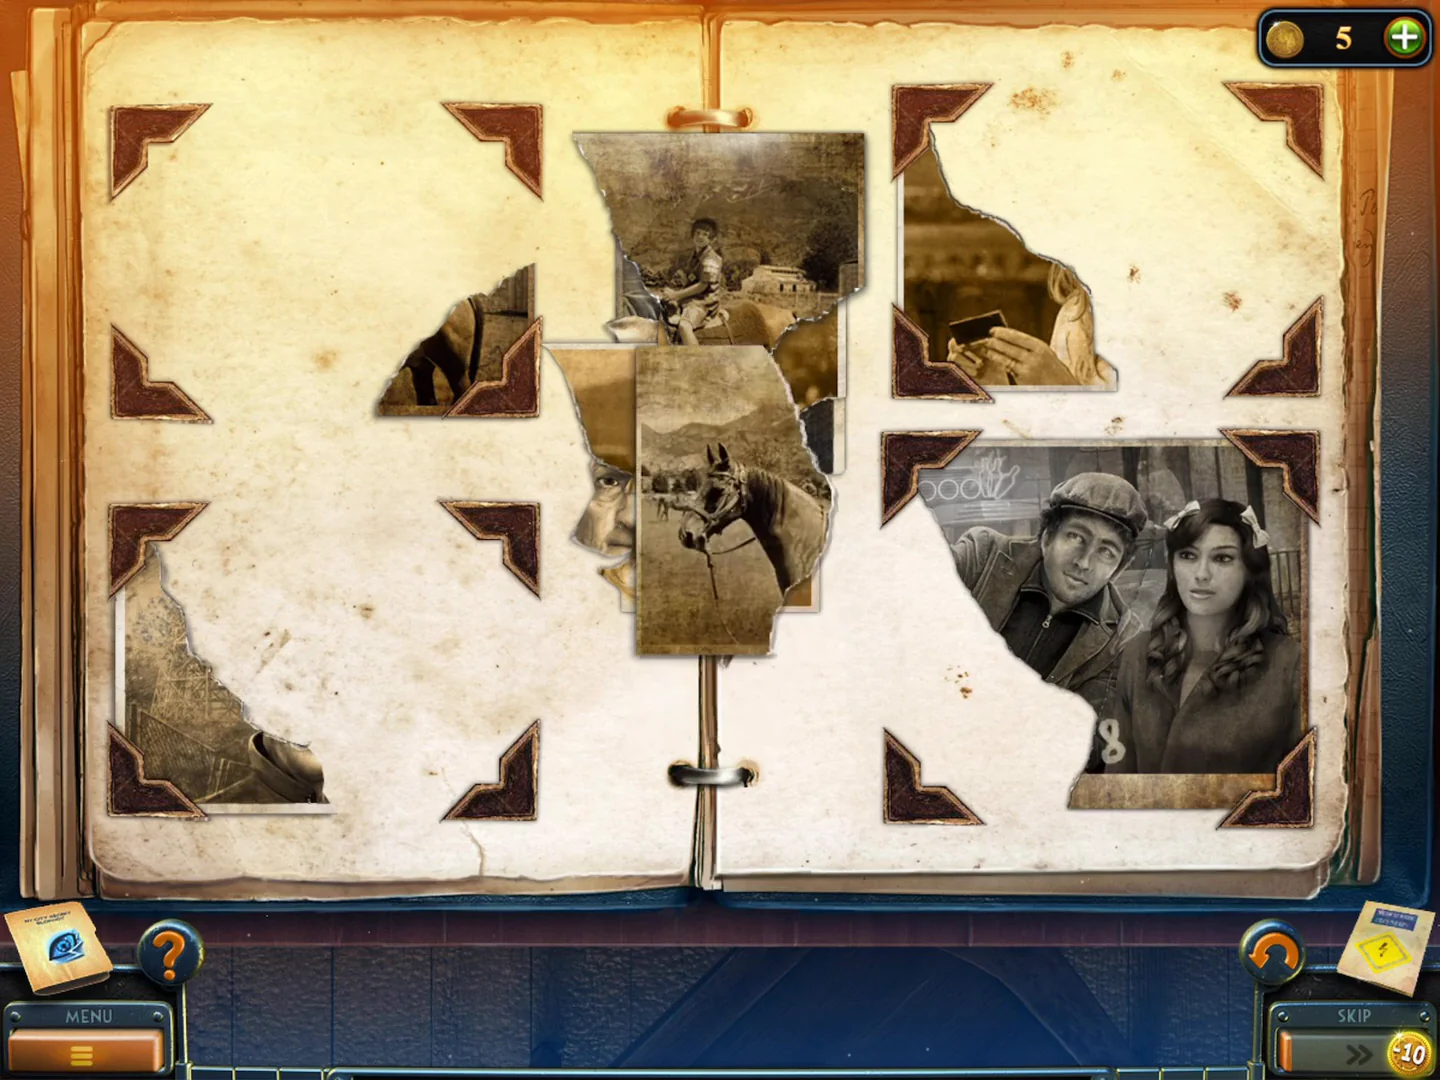
The photo album puzzle for the Torn Photo task comes next, once Samuel is in his bedroom.
- In the album with four photo frames, drag the photo piece from the inventory onto the album ("Looks like one more piece of the photo is missing.").
- Drag each torn piece onto the photo it continues, rotating it until it snaps: top left a boy on a horse, top right a blonde woman holding a card, bottom left an old man's portrait, bottom right a young man in a cap with a dark-haired girl.
- Note the number 4758 in the lower-left corner of the bottom-right photo; it is a door code later. Samuel realises his son kidnapped the girl, and the Torn Photo task is complete.CODE4758
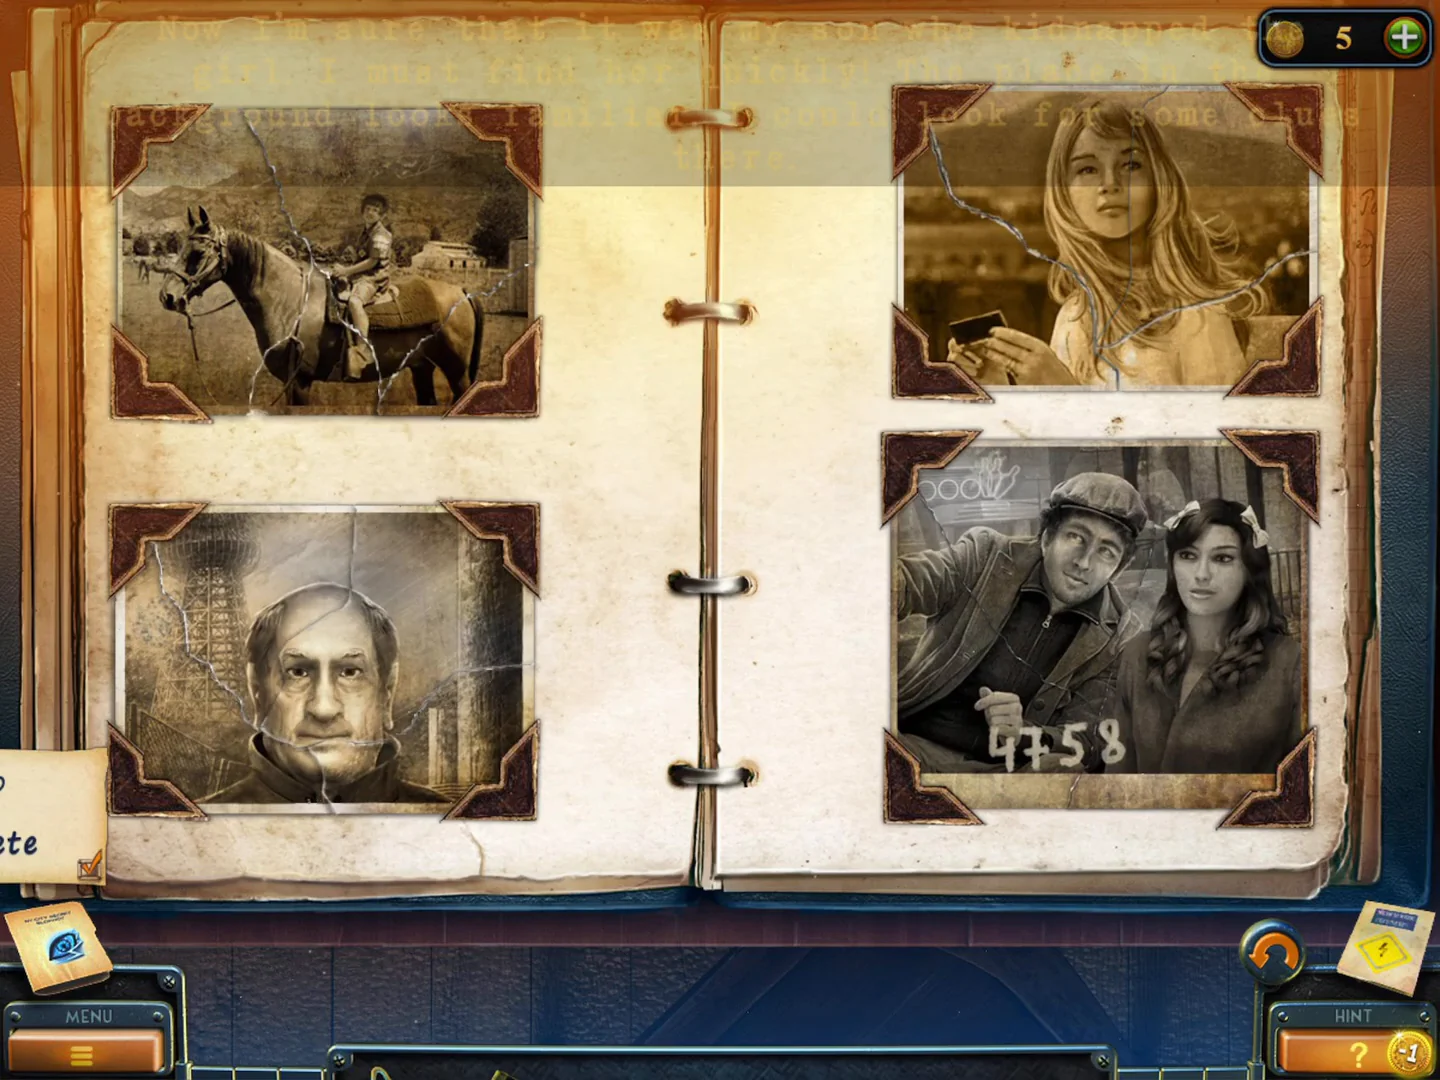
Solved: all four photos are whole. Note the number 4758 on the bottom-right photo.
Hugo's tape and the stair cache
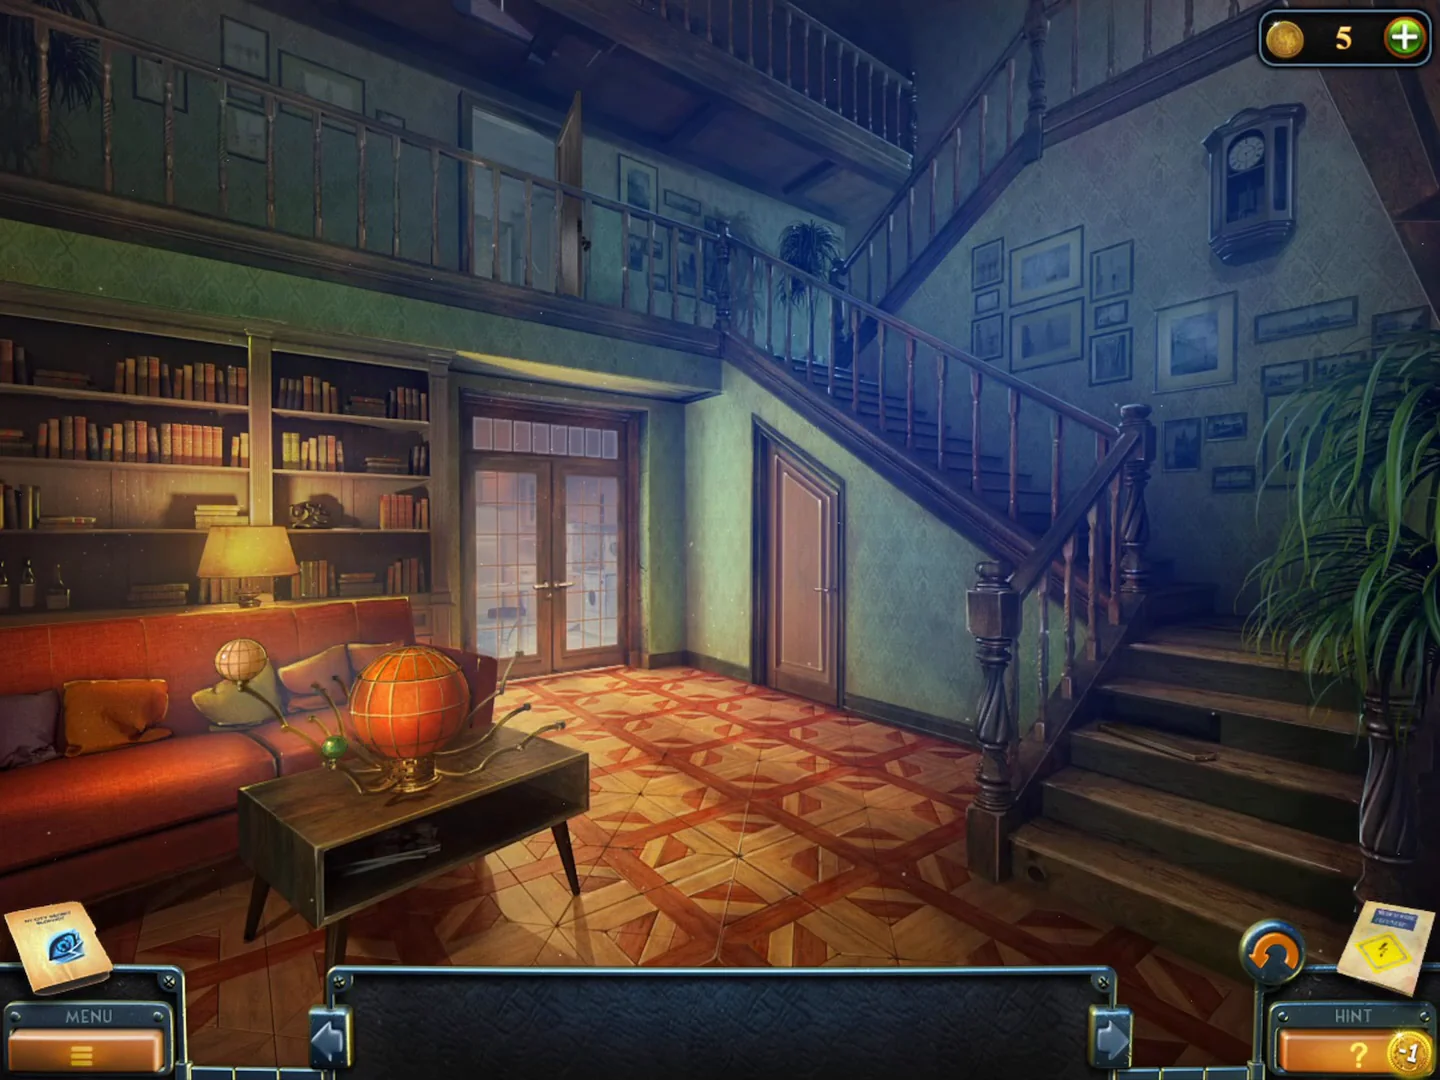
Hugo's tape points to a cache in the staircase, which starts "Puzzle No. 1".
- In the bedroom, zoom into the wardrobe on the right: bones are laid out around an empty stand, but the skull is missing. You will return with it at the end of the chapter.
- Go down to the living room. Zoom into the bookshelf left of the double doors and put the Cassette tape in the reel tape recorder. Hugo's message hints: "when climbing up, watch your steps."
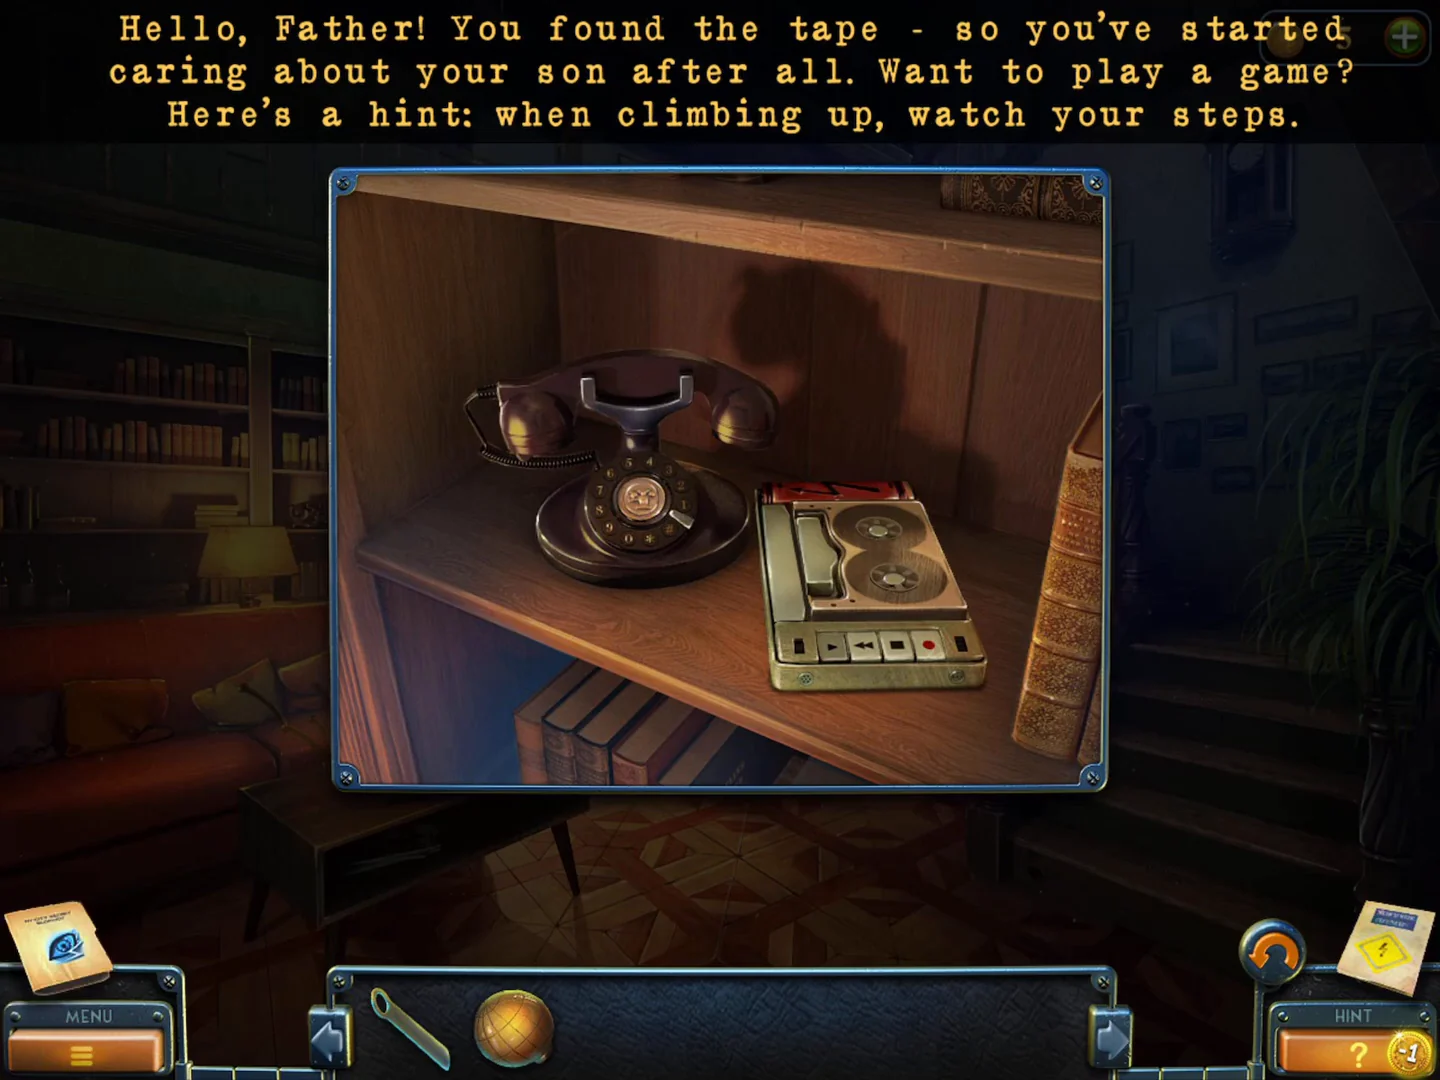
Hugo's tape: "when climbing up, watch your steps." - Zoom into the bottom steps of the staircase on the right and pry up the loose riser with the Shoehorn.
- Read Hugo's note in the cache about the old bowling alley; the task "Puzzle No. 1" starts. Take the red Planet ball from the cache.
51st Street
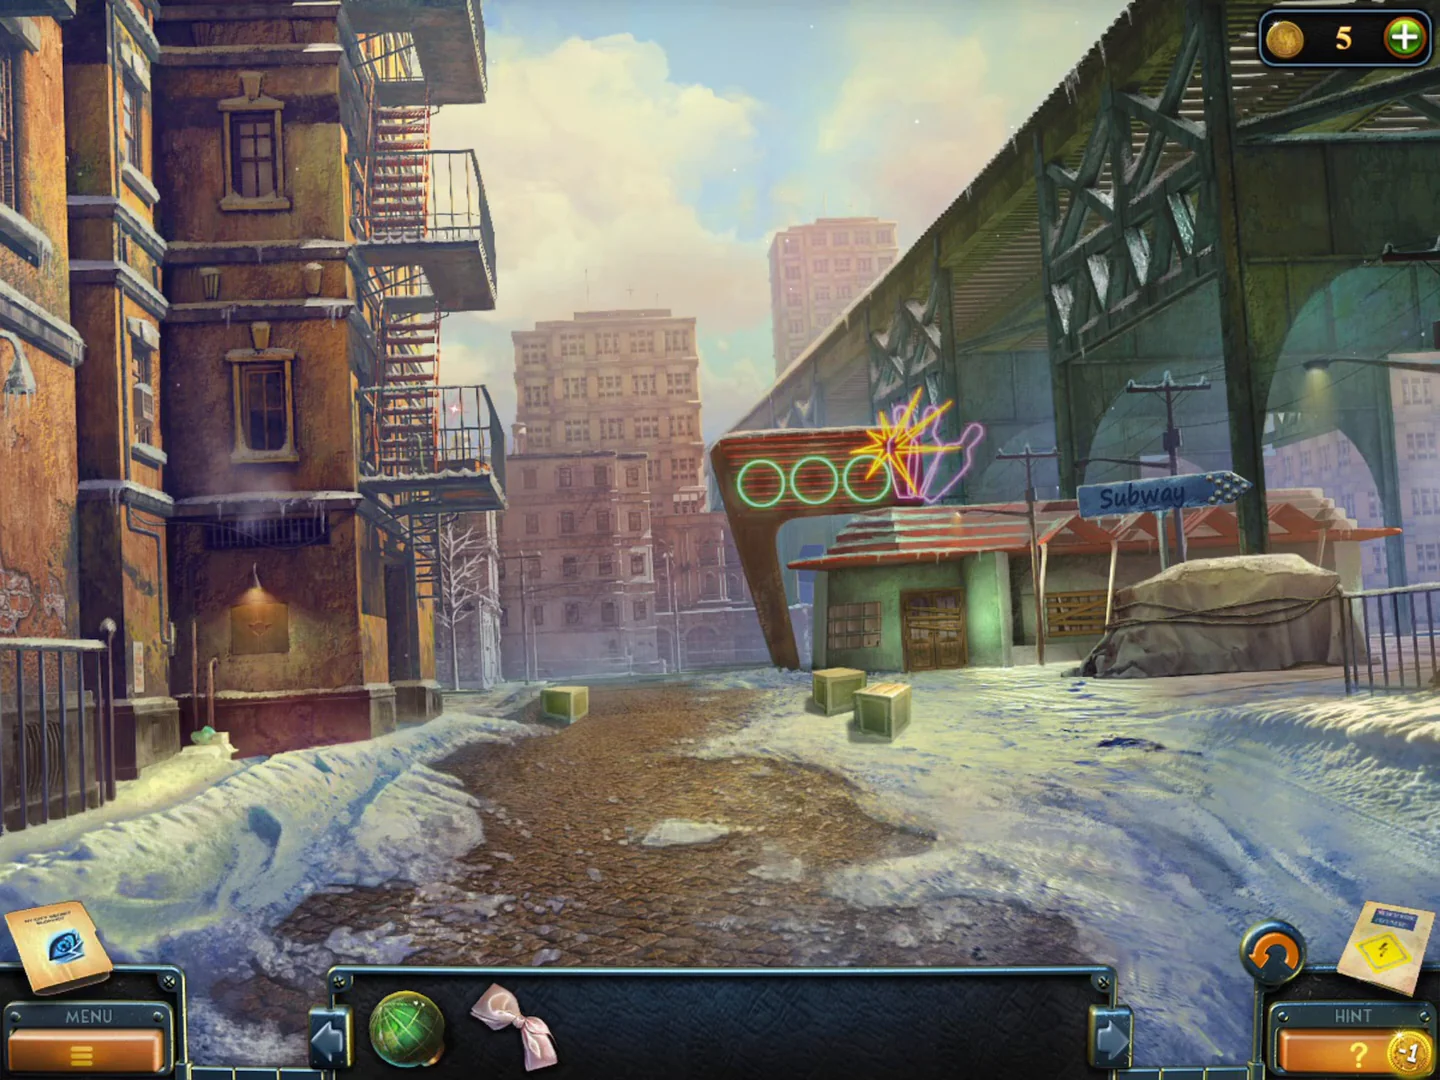
Travel to 51st Street, talk to the snow shoveler and open the boarded bowling alley.
- Leave the house: go back from the living room to the snowy street in front of it, then click the blue "Subway" arrow sign on the post to the right of the front steps. The scene moves on to 51st Street.
- Talk to the snow shoveler. After the conversation you receive the Bow (pink ribbon).
- Click the three small green crates lying on the road (one near the left-hand building, two in the middle of the street). They are stacked one on another under the fire escape left of centre. Climb up: zoom into the fire-escape grating above the stack and take the green Crowbar hanging behind the bars.
- Zoom into the boarded double doors of the bowling alley and pull off the planks with the Crowbar. Enter the dark lobby; Puzzle No. 1 is complete.
- Pick up the Pliers from the lower right of the checkered lobby floor.
- Back outside, zoom into the snow-covered tarp over the crates on the right, cut its ropes with the Pliers and take the Dissolvent (red can).
Bowling alley lobby
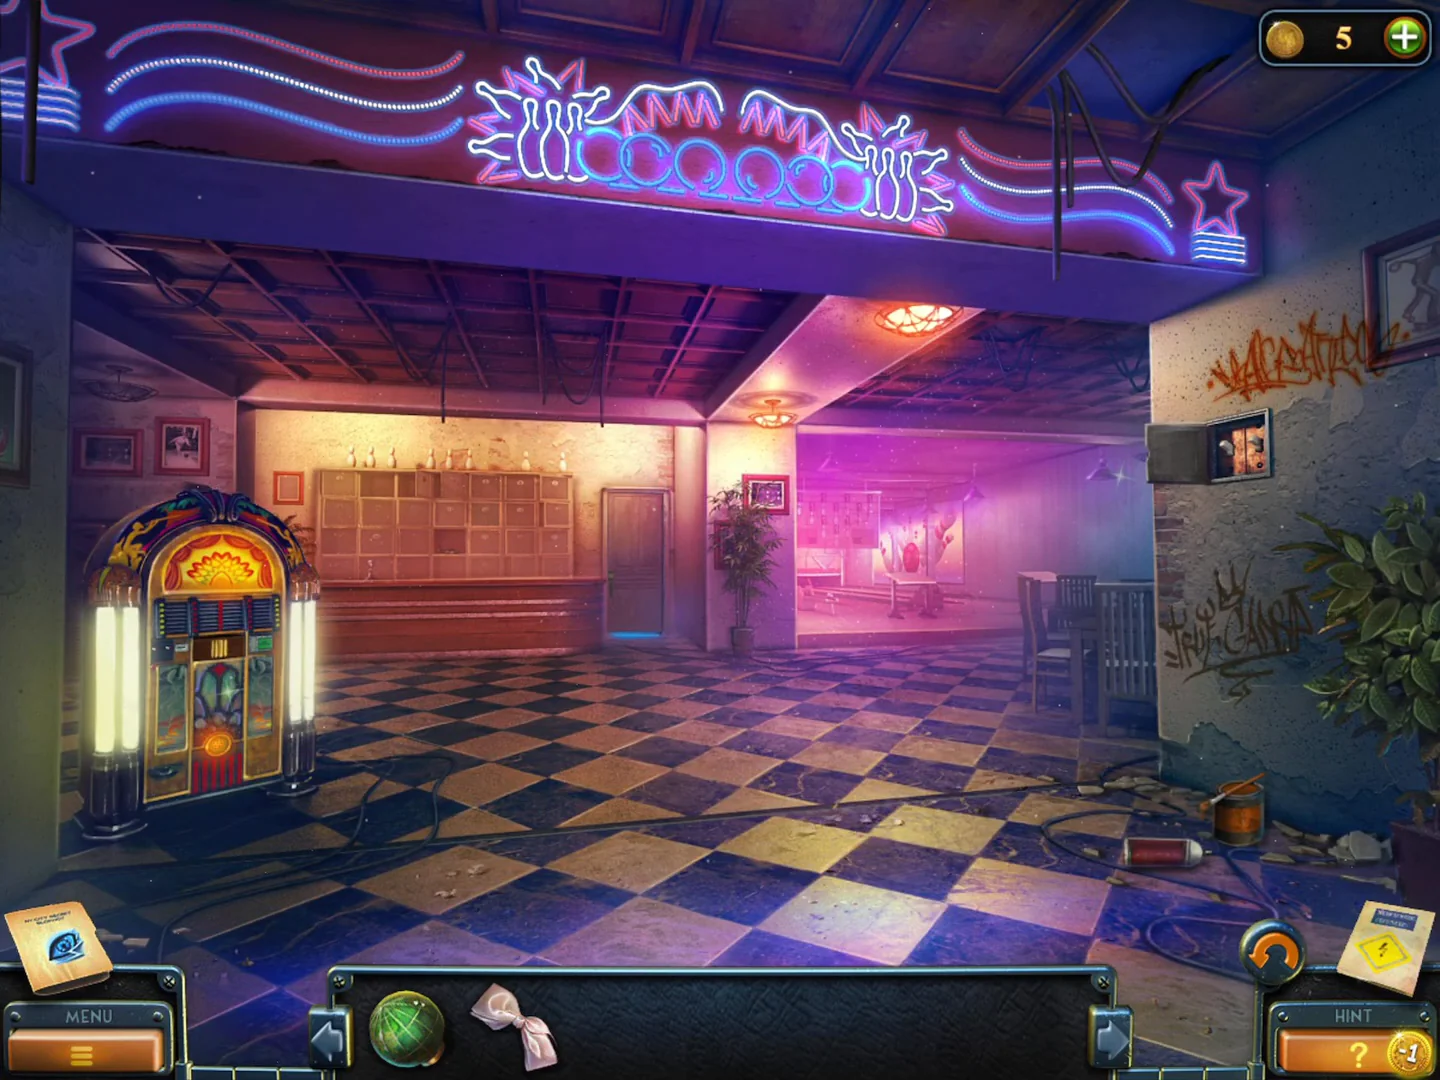
Light the bowling alley lobby, take the Hammer from the lockers and open the storage room with the photo code.
- In the lobby, zoom into the orange paint splash on the right wall and wash it off with the Dissolvent. A small cabinet with two light switches appears; flip both switches up to turn on the lights.
- Zoom into the wall of numbered lockers. Take the Hammer from the open compartment at the lower left of the close-up, left of locker 19. Locker 12 above it stays locked for now.
- Zoom into the wooden door right of the lockers and enter 4758 (the number on the torn photo) on its keypad. The door opens into the storage room.CODE4758
Storage room: items and the safe
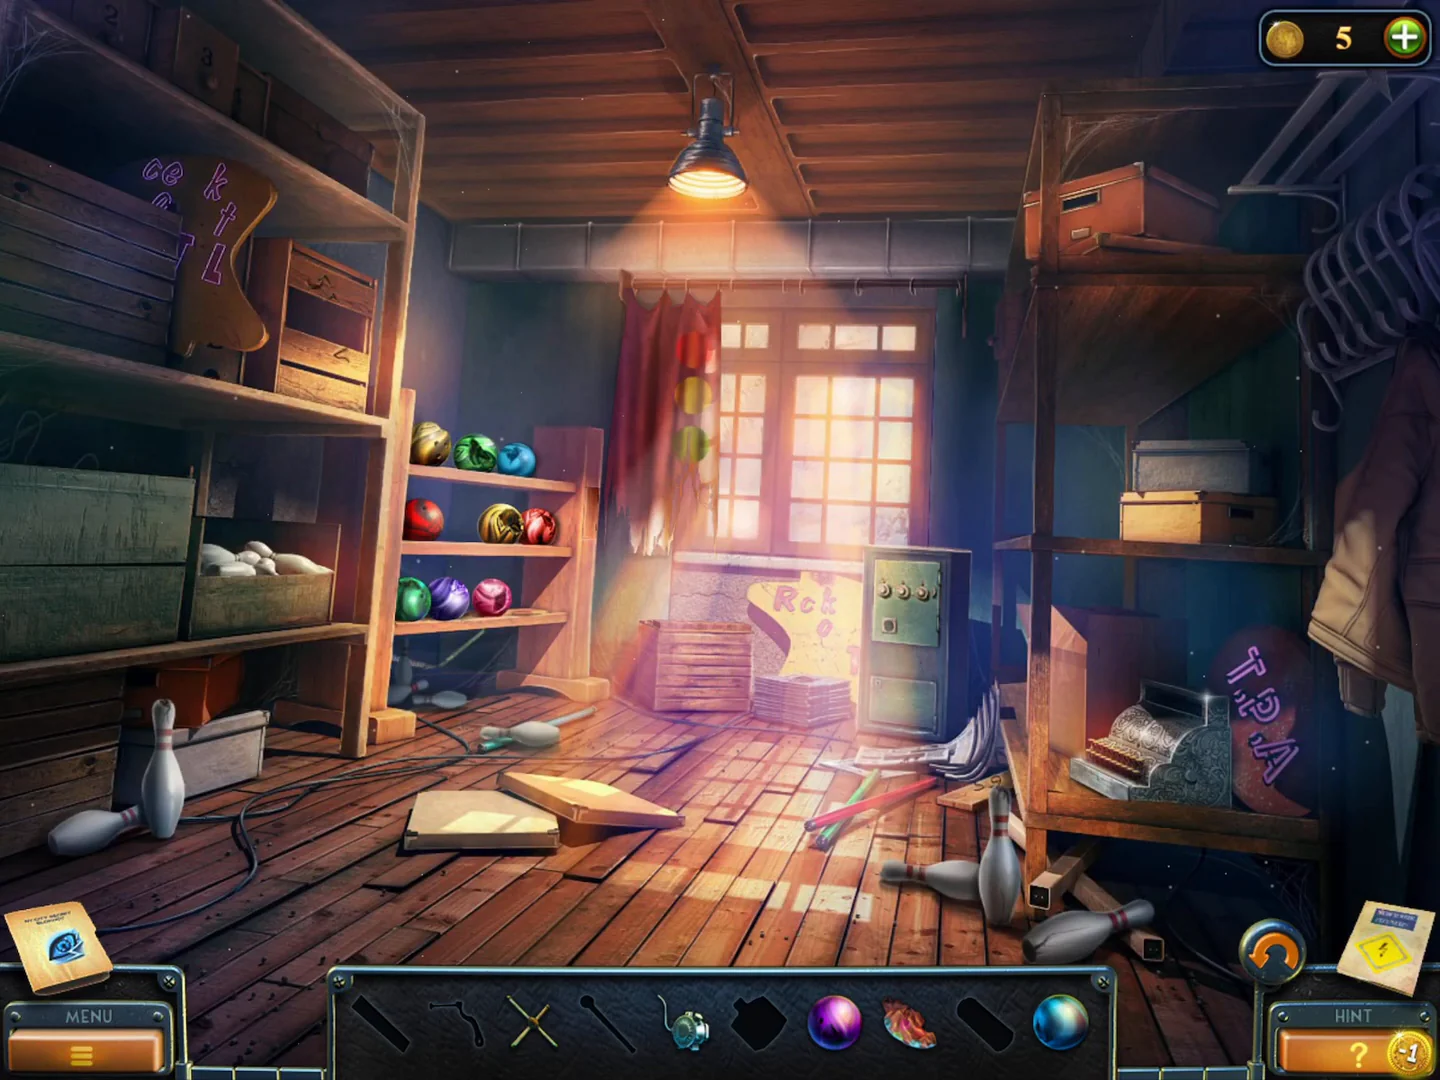
The storage room is an interactive scene: the bottom bar shows ten item silhouettes (Plank, crank Handle, cross-shaped safe handle, Lever, Oilcan, Gear, purple ball, Curtain, Powder, blue ball). Find each item and use it in the room.
- Zoom into the ornate cash register on the right bench: the most-pressed buttons must be found later. Take the Plank from the floor at the foot of the register bench.
- Take the Curtain (polka-dot cloth) from the right-hand shelf beside the small box, then the cross-shaped Safe handle and the purple bowling ball from the top-right shelves.
- Hang the Curtain over the window. Sunlight through it projects a grid of coloured circles on the wall; this is the pattern for the ball rack.
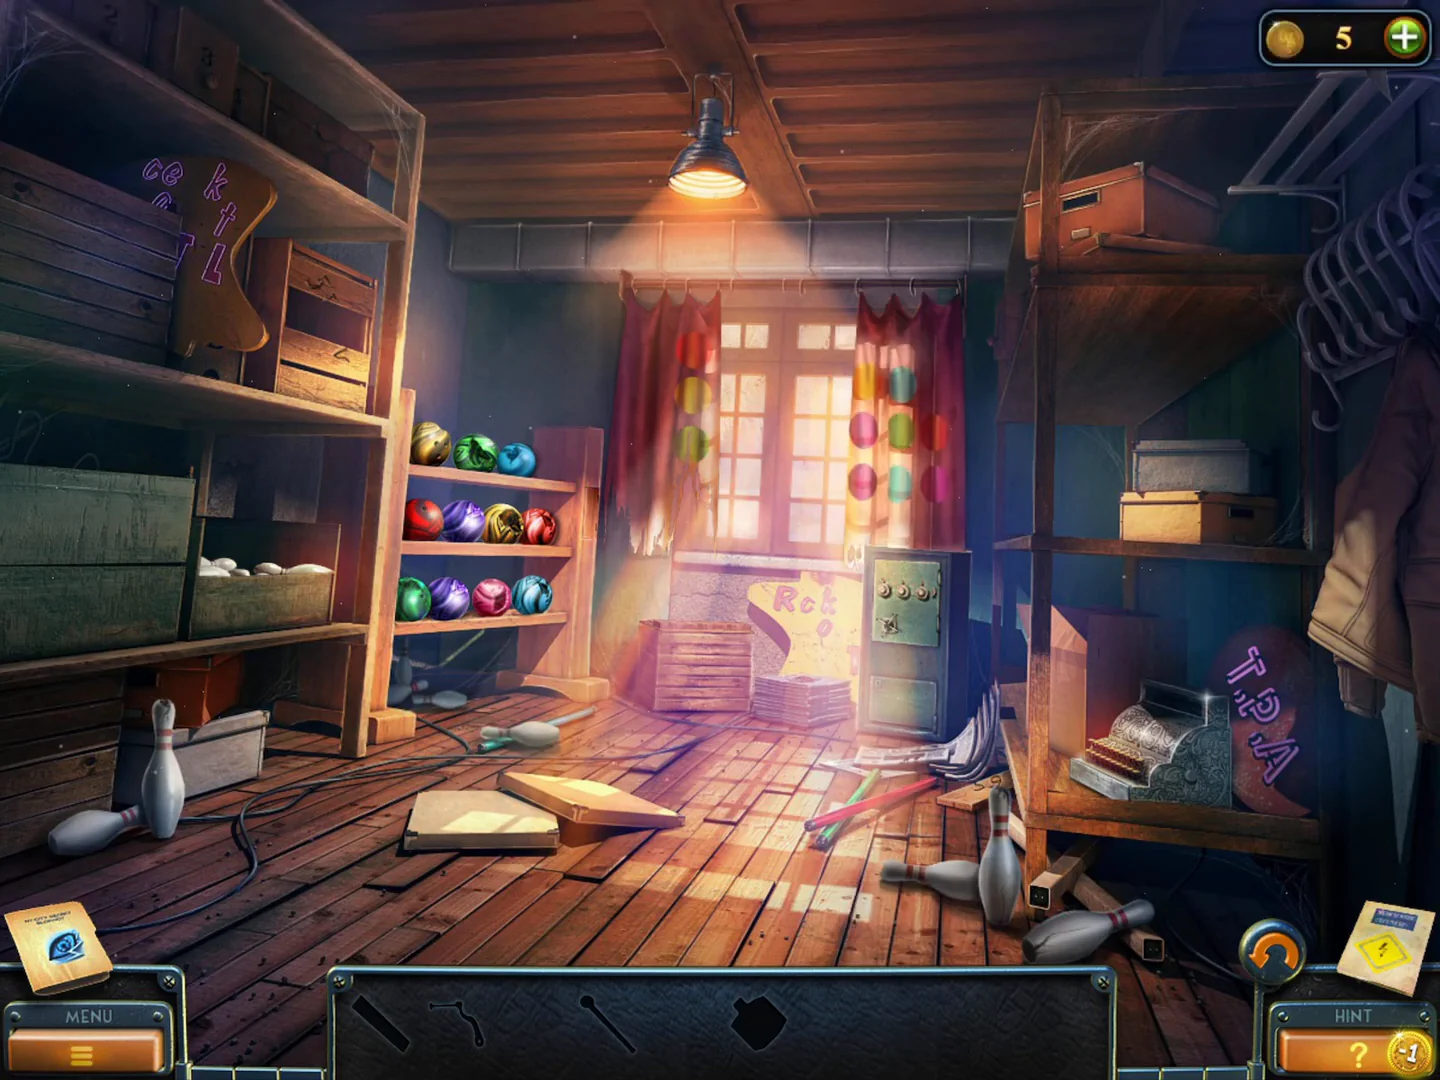
With the Curtain hung, the window shows the coloured circle pattern for the ball rack. - Take the blue bowling ball from the floor in the middle, the Powder (a pale cylinder) from among the pins in the crate on the lower-left shelf, and the Oilcan from the top of the left shelving.
- Zoom into the slatted crate on the upper-left shelf and put the Plank in the gap between its boards. The chalk marks on the boards now read 5 9 2.
- Zoom into the green safe under the window and set its three dials, left to right, to 5, 9, 2. Insert the cross-shaped Safe handle in the socket, oil the rusty mechanism with the Oilcan, turn the handle and take the Gear.CODE592
- Zoom into the wooden chest with the gear-slot lid on the floor in the middle and place the Gear in the empty slot. It still needs a handle.
Storage room: ball rack and cash register
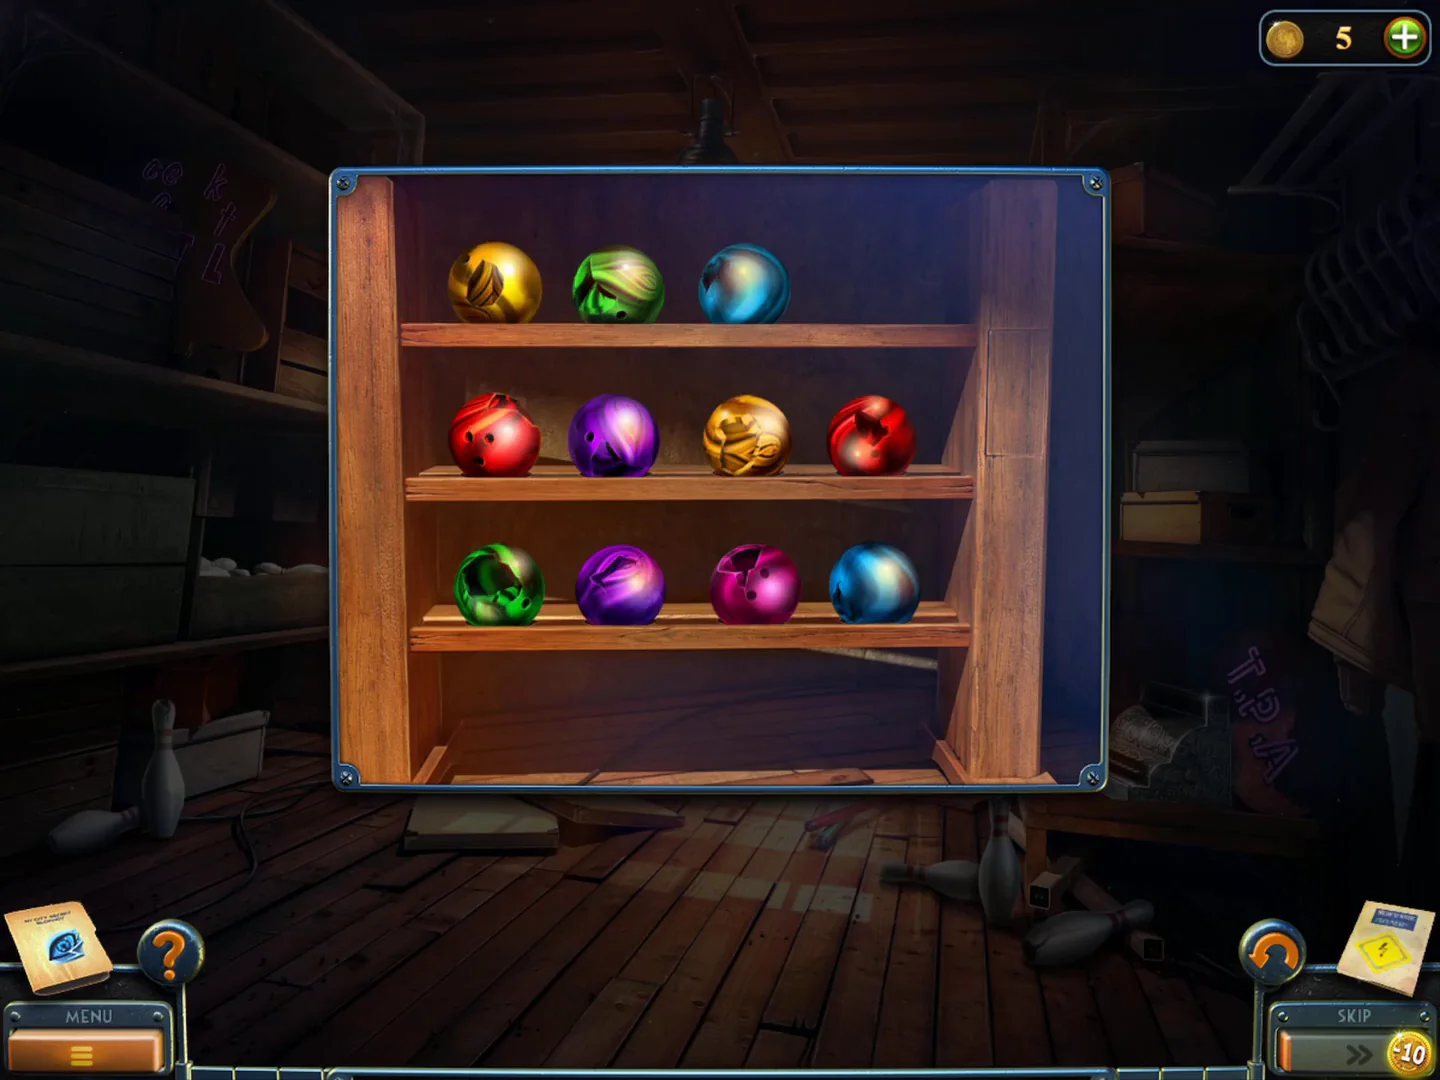
In the storage room, copy the window light pattern on the ball rack and work the cash register to reach the Bowling ball.
- Zoom into the small three-shelf ball rack left of the window and place the purple and blue balls in the empty spots. Rearrange the balls to copy the window light pattern. Target, top shelf: red, yellow, cyan, empty; middle shelf: yellow, purple, green, red; bottom shelf: green, purple, blue, magenta.
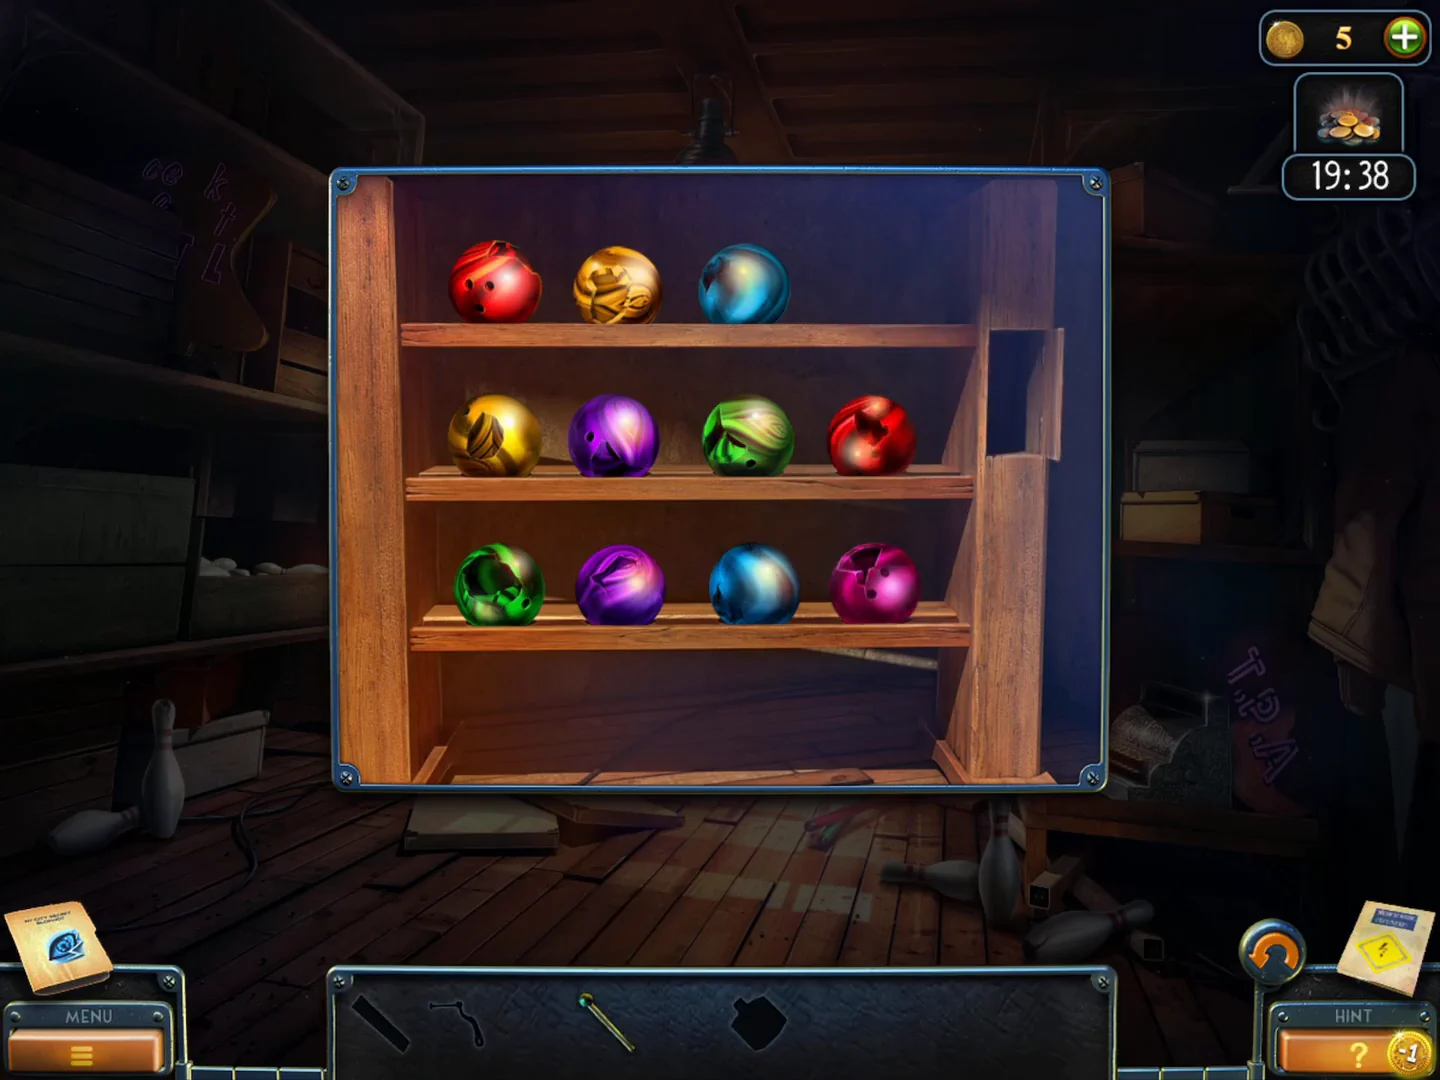
Solved: top shelf red, yellow, cyan, empty; middle yellow, purple, green, red; bottom green, purple, blue, magenta. The side panel opens. - The side of the rack opens; take the Lever.
- Attach the Lever to the right side of the cash register. Dust the keys with the Powder: four keys stay white. Counting from the left (ten keys per row), press the 6th key of the top row and the 4th, 7th and 8th keys of the bottom row, then pull the side lever. Take the crank Handle from the drawer.
- Fit the Handle on the gear chest and turn it. The lid opens; take the Bowling ball.
Bowling lanes and the jukebox
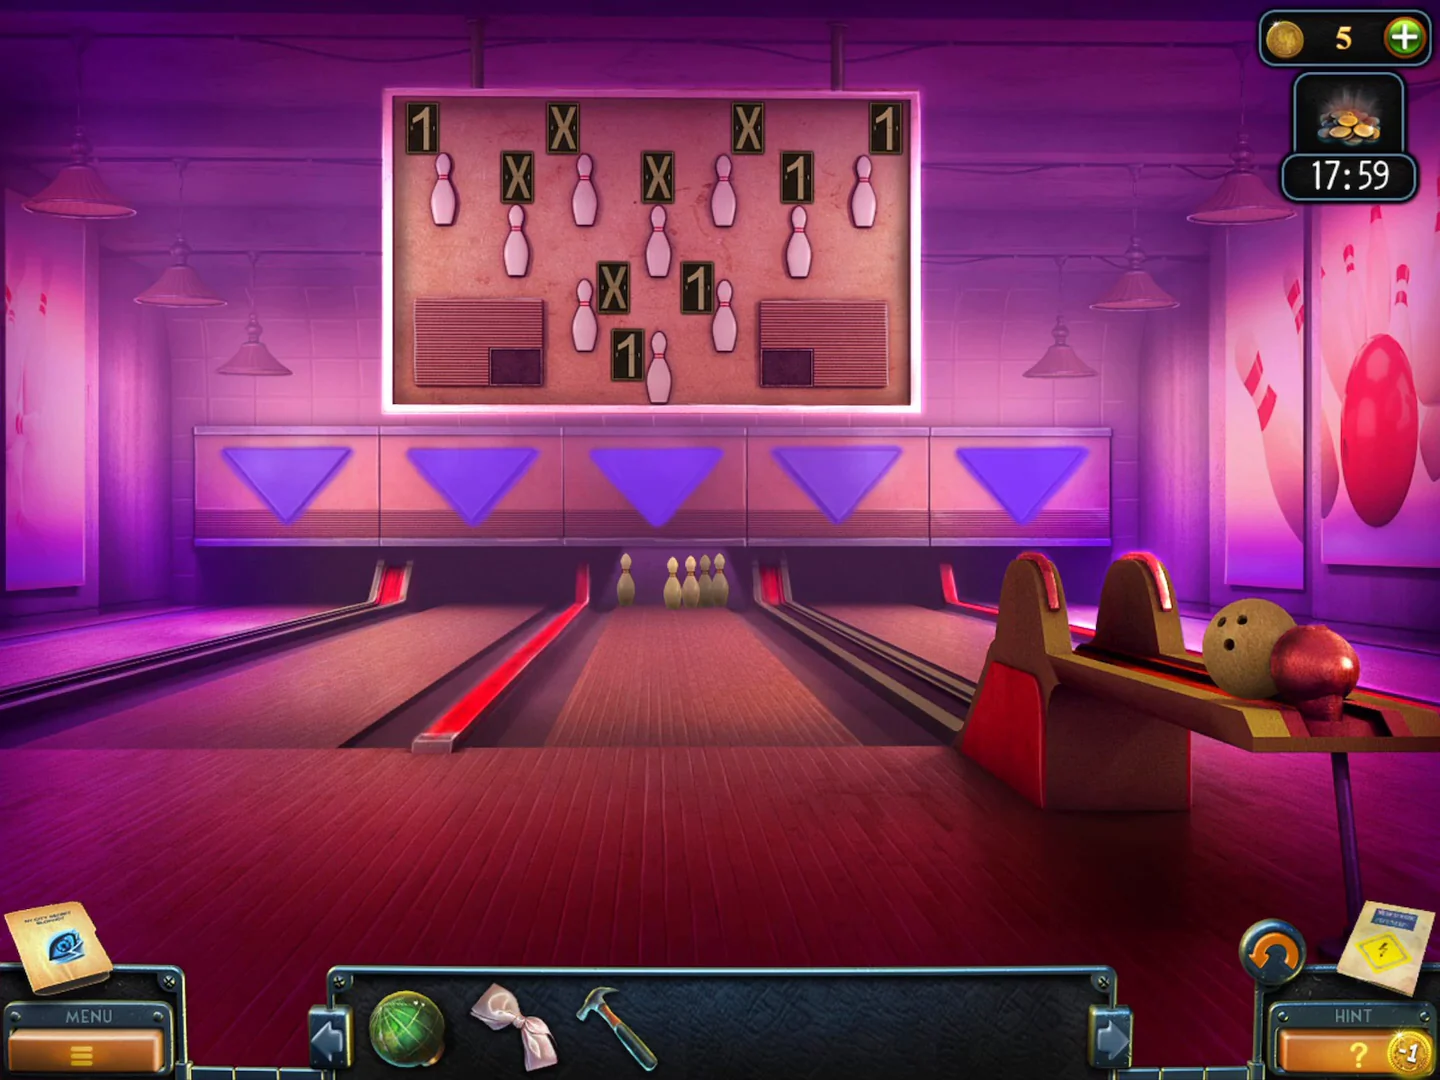
Bowl until every pin has fallen for the Key to locker 12, then feed the jukebox for the Nails.
- Go through the lobby to the bowling lanes. Put the Bowling ball on the ball-return rack on the right.
- Click the ball on the return rack to pick it up (it is shown larger), then click the middle lane, near the pins, to roll it. The "1" cards on the scoreboard turn to X as pins fall. Each time the ball comes back to the rack, pick it up again and click the middle lane. Keep bowling until every card on the scoreboard shows X (three rolls were enough in one playthrough).
- A dark metal ball rolls back and splits open; take the Key tagged 12.
- In the lobby, open locker 12 with the Key. Take the Token and read Hugo's note about the boarding school at St. Patrick's. The task "Puzzle No. 2" starts.
- Zoom into the jukebox on the left of the lobby and put the Token in the coin slot. Take the Nails from the drawer that opens.
Van Cortlandt Park signpost
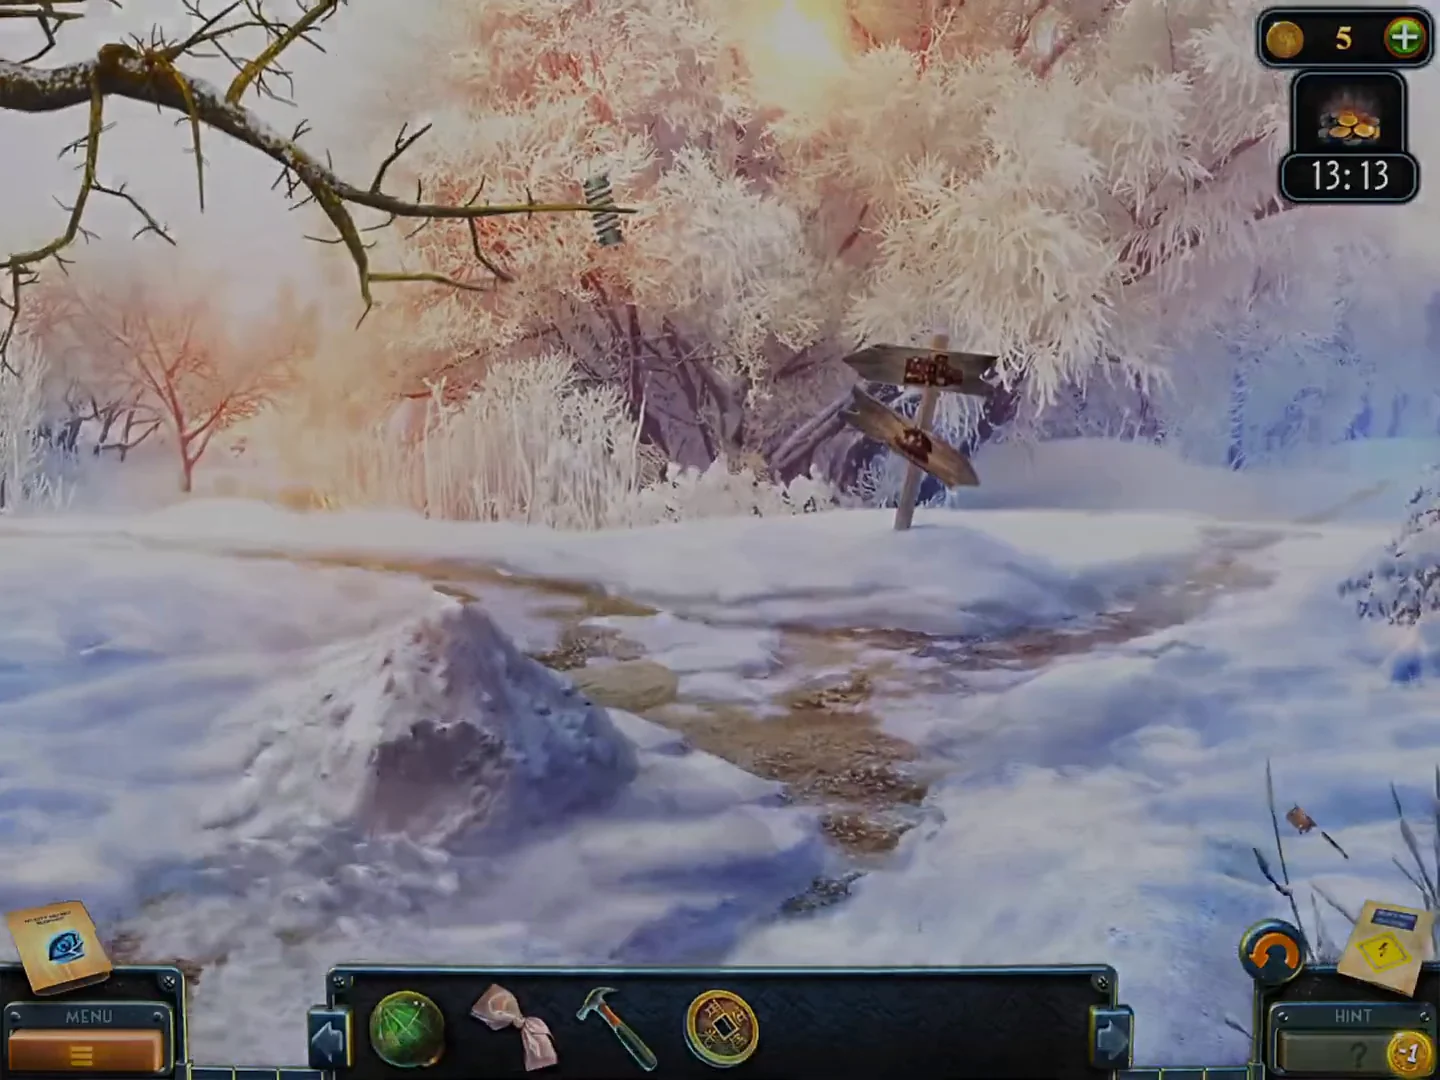
Travel to Van Cortlandt Park and repair the broken signpost to find the way to the school.
- In the lobby, tap the orange Back arrow (bottom right) to go out to the snowy street with the bowling sign. Under the blue "Subway" arrow sign, which points right, tap the right end of the tarp-covered stall beside the railing. The cutscene "Approaching Van Cortlandt Park" plays.
- Zoom into the snow pile left of centre and take the Sign-post part. A hooked rod is still buried; you need a shovel for the rest of the pile.
- Take the second Sign-post part from the snow bank right of the stream.
- Zoom into the broken signpost and place both Sign-post parts. Then put the Nails on the boards and hammer them in with the Hammer. The arrows are fixed.
- Follow the repaired signpost to the school gate. A man in a green coat and red scarf says strangers rarely come here, gives you a Coin and the task "Hunter's Lodge" starts.
School gate and the stone pigeon
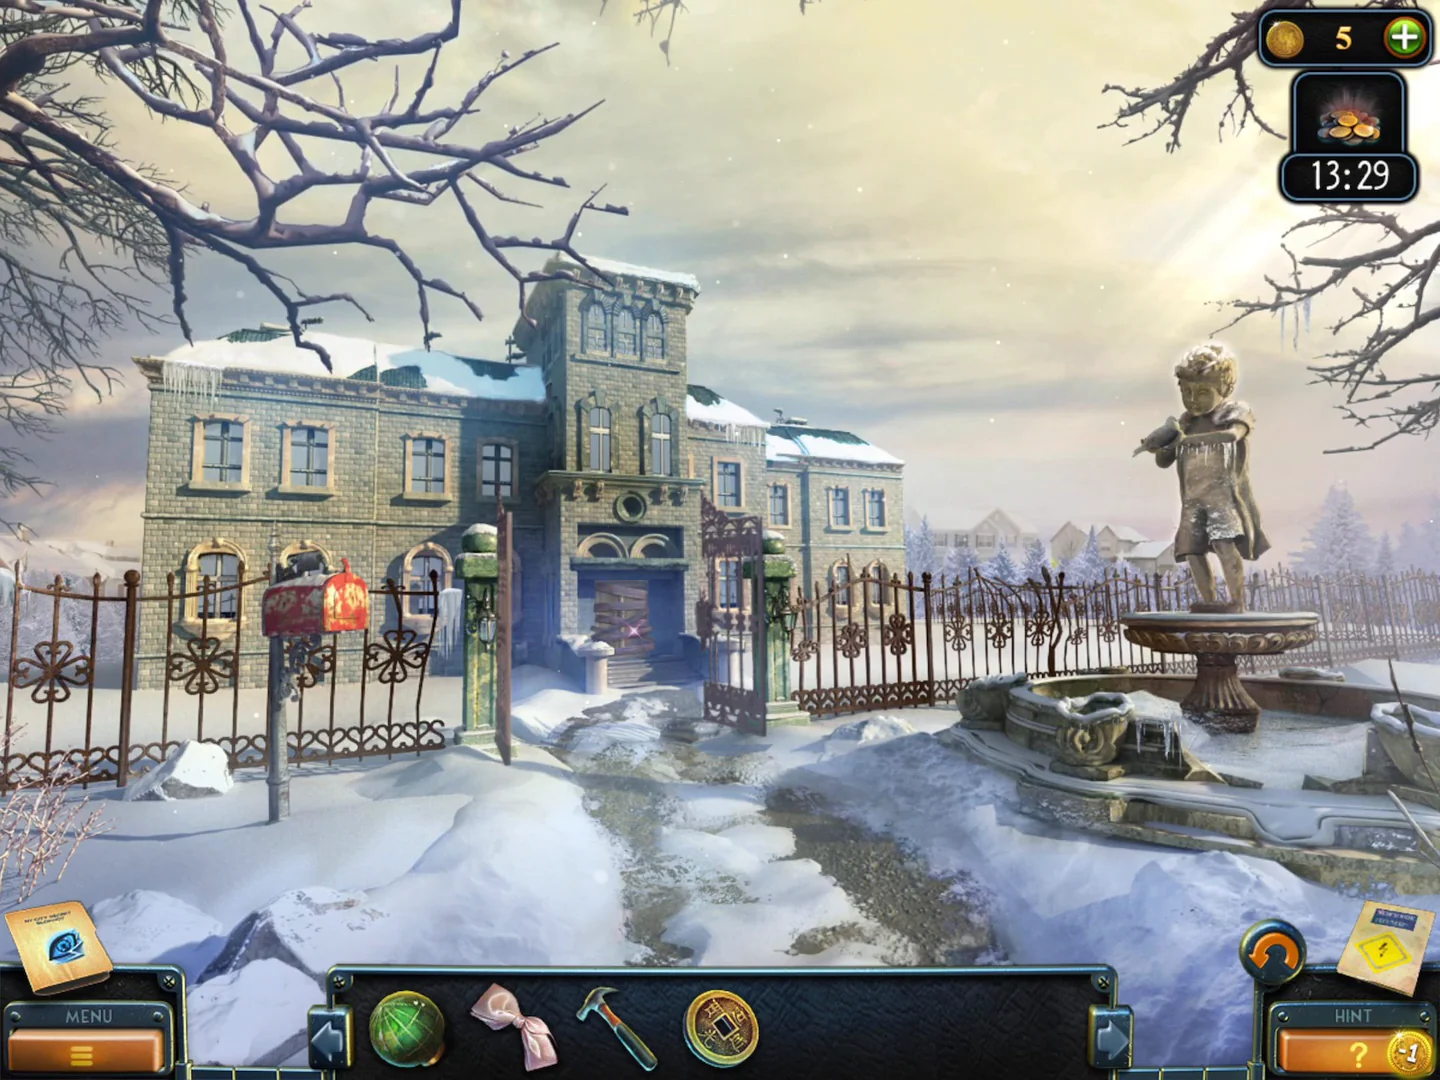
At the school gate, free the stone pigeon from the frozen fountain and give it to the cherub statue to open the gate.
- At the school gate, zoom into the red mailbox on the left fence: its bolt needs a tool. Pick up the Shovel from the snow by the left side of the frozen fountain.
- The pigeon frozen in the fountain basin cannot be freed yet. Go back to Van Cortlandt Park and clear the snow heap with the Shovel. Take the Gaffing hook.
- At the school gate, zoom into the fountain basin and pry the Stone pigeon out of the ice with the Gaffing hook.
- Zoom into the cherub statue and place the Stone pigeon in its outstretched hands. The gate opens.
- Go through to the boarded door and pull off the boards with the Hammer. Take the Planks.