Samuel's attic
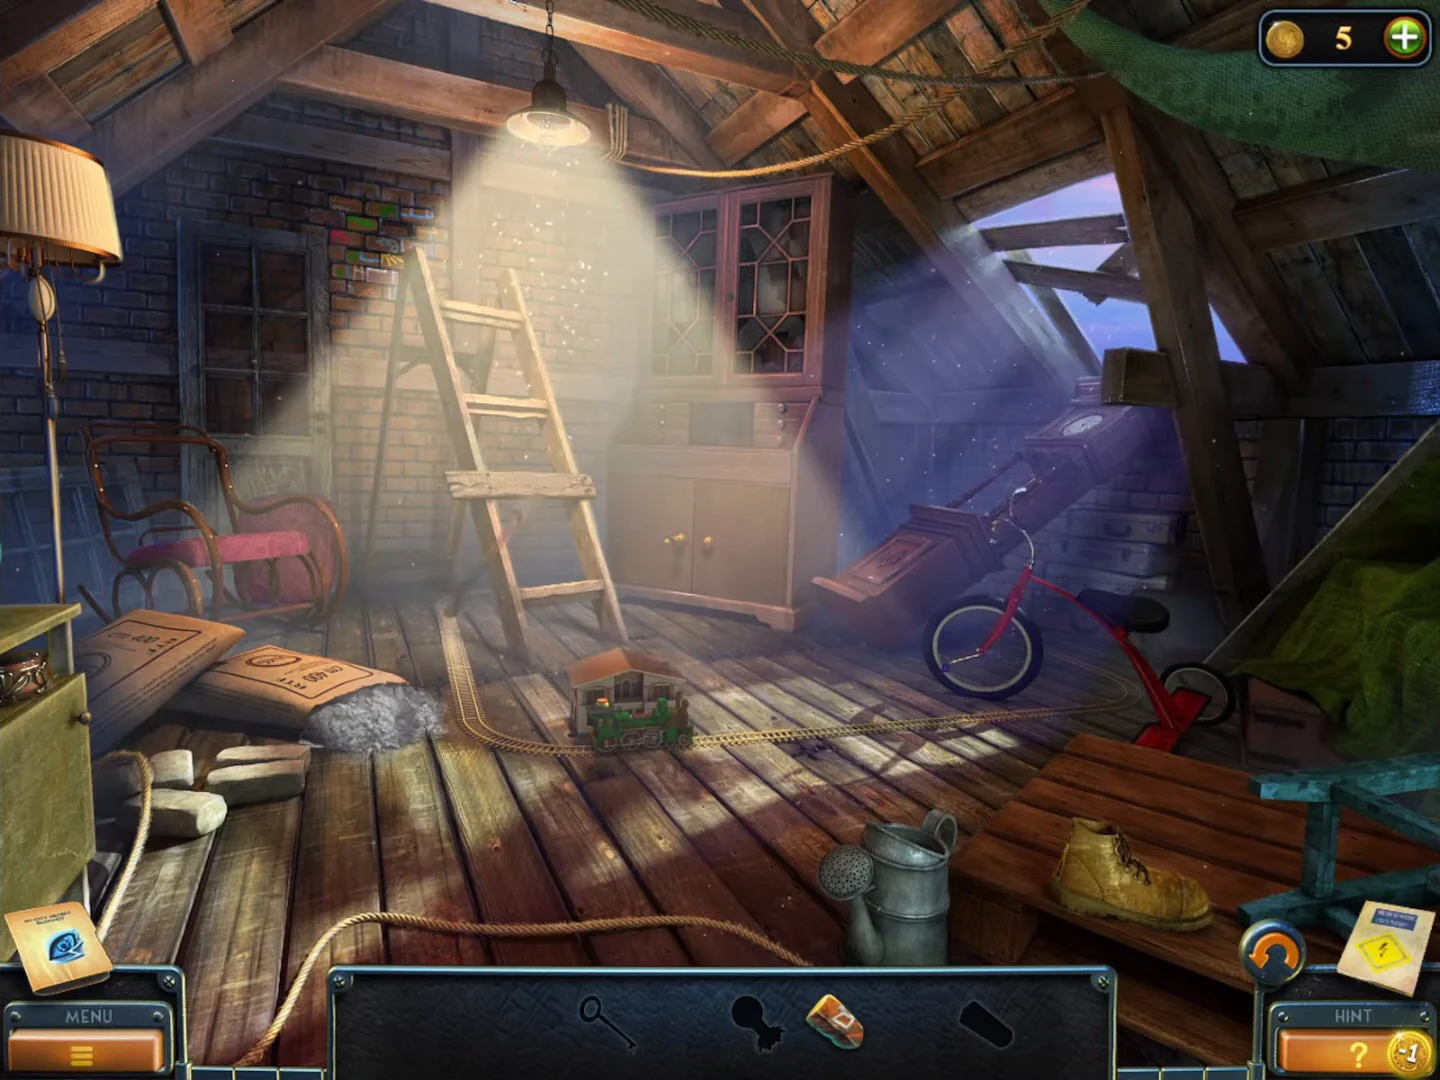
The attic is an interactive scene with a silhouette bar.
- In Samuel's living room, cut the wire on the trapdoor under the stairs with the Reinforced clippers. The ladder drops; climb into the attic.
- Take the Sieve from the floor right of the toy train (near the tricycle) and the Poker from the armchair on the left.
- Zoom into the torn cement sack on the left: take the Brick lying against the sack, then sift the spilled cement with the Sieve and take the Nails it leaves behind.
- Zoom into the open roof window on the right ("I can’t reach it."). Use the Poker to pull in the Railroad track fragment lying on the roof, then take the loose Plank lying across the window frame. Take the red-handled Axe stuck in the wooden post right of the window.
- Repair the broken ladder leaning against the chimney wall in the middle: put the Plank on it as the missing rung, add the Nails and hammer them in with the Axe.
- Climb to the top of the repaired ladder and zoom into the chimney brick wall, put the Brick in the gap and swap bricks to rebuild the chalk picture: smoke cloud top left, red roof with chimney, yellow sun top right, house with window and door, green grass on both sides, pink flower lower right.
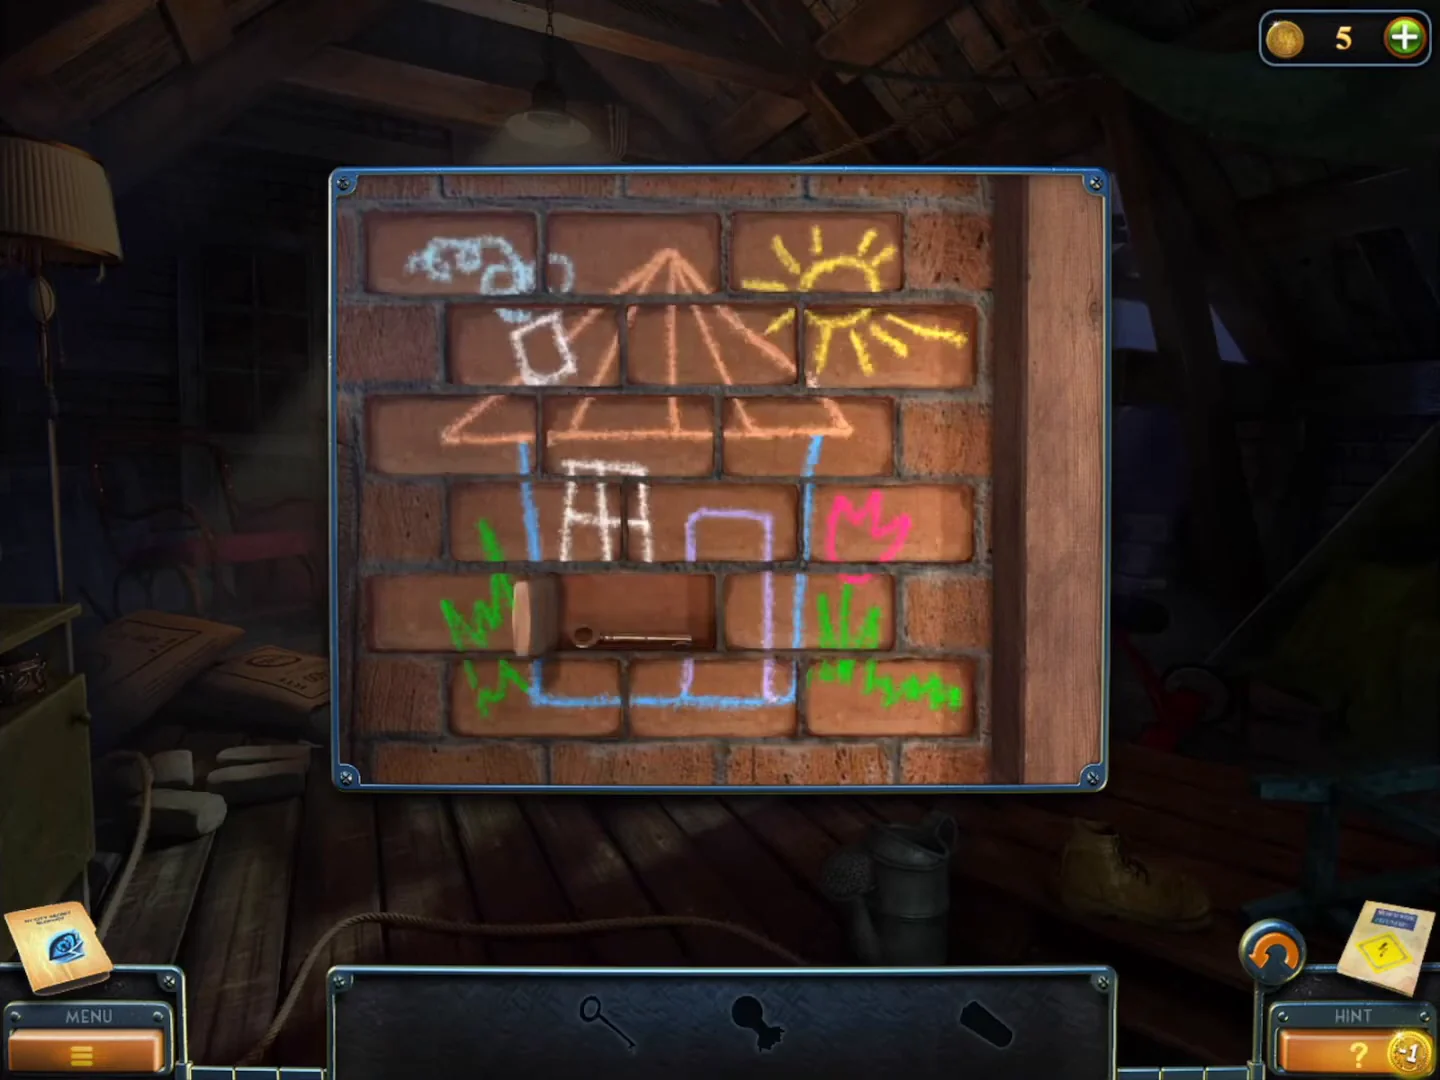
Solved: the chalk picture on the chimney bricks is complete. - Take the Key from the compartment, open the carved wooden box on the floor at the left and take the Battery.
- Put the Railroad track fragment in the gap of the toy-train loop. In the locomotive close-up, insert the Battery and press the orange button. The train goes round and the green wagon brings back the Door knob.
- Fit the Door knob on the double-door cabinet at the back centre and take the Wine press handle.
Coloured paper and the origami crane
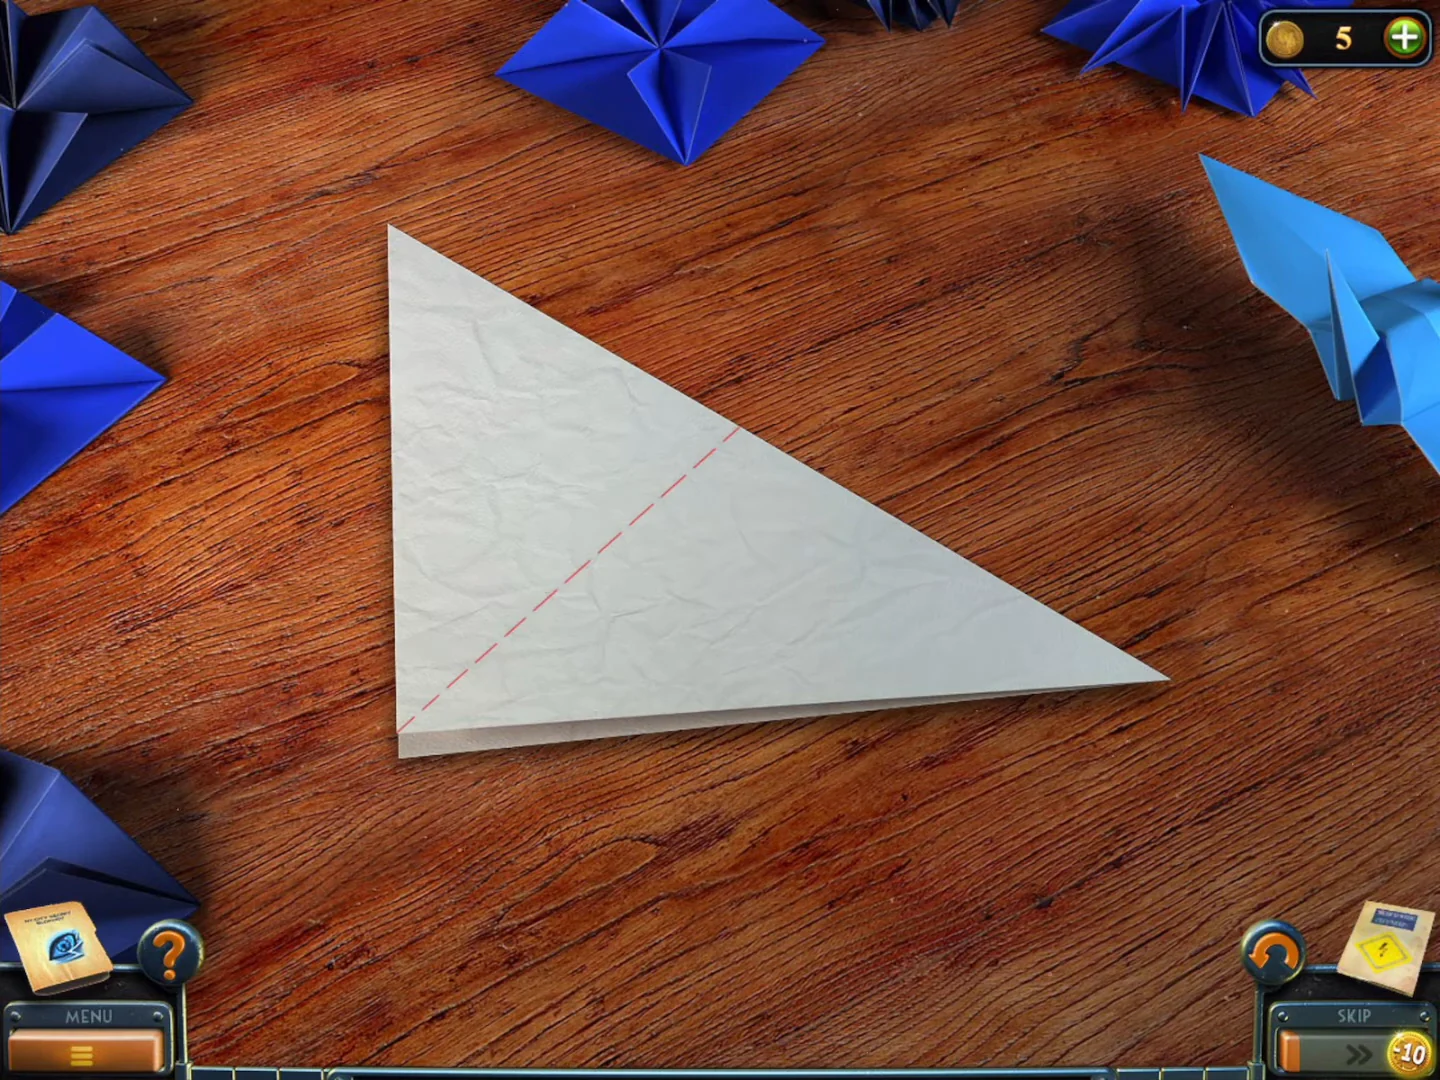
Press the Colored paper in the wine cellar and fold a crane for the origami boy. He gives you the Wheel.
- In the wine cellar, take the hidden slide on the upper-right ledge of the press alcove. Fit the Wine press handle on the press screw and turn it to get the Colored paper.
- Give the Colored paper to the origami boy. He has forgotten how to fold cranes.
- Fold the crane by dragging along each red dashed guide line in turn until the paper crane is finished.
- The boy tells you about a glowing man in the old machinery warehouse and gives you the Wheel he removed from the wagon blocking its door.
Warehouse TV room
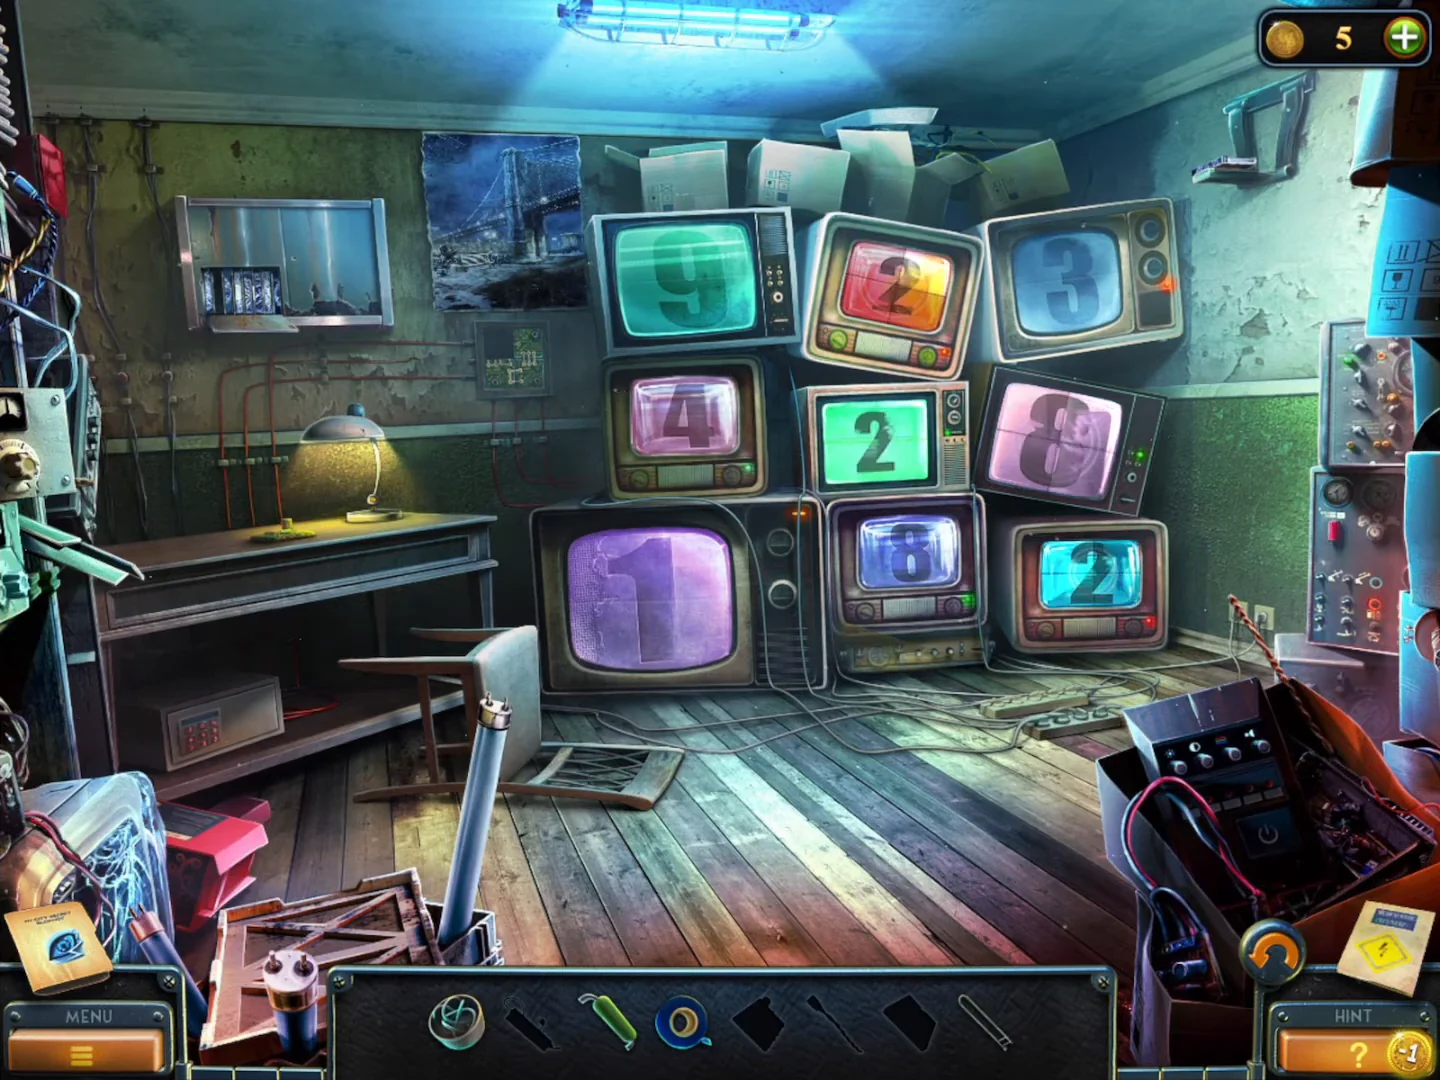
The TV room is an interactive scene with a silhouette bar; items found here are used inside the scene.
- Go left from the alley into the warehouse, put the Wheel on the wagon blocking the back door and push it aside.
- Take the feather Duster lying on the floor in front of the TV stack. Zoom into the floor keypad safe (nine red buttons; it is locked) and take the green Part lying beside it. Zoom into the desk under the lamp: there is a bare circuit board ("I must find a welder."); take the roll of Insulating tape lying beside it.
- Take the twisted Wire lying on the floor right of the TV stack, the Trombone slide hanging in front of the TV in the bottom row of the stack, and the Extension cord lying on the metal wall bracket high on the right wall.
- Fix the hanging TV by putting the Trombone slide in its wall bracket. Zoom into the power strips on the floor and connect the Extension cord; take the reel of Tin and the VHS tape lying there, then plug the last cable into the wall socket. The TV wall powers on: wipe the screens with the Duster and each TV shows a large coloured digit.
- Insert the VHS tape in the rusty panel on the left wall and slide the nine vertical strips until the lightning-ball picture is continuous. Take the Welder.
- On the desk, put down the Tin and the Welder, then the Part: the Part is soldered onto the circuit board. Take the Circuit board.
- At the junction panel on the right wall, insert the Circuit board, attach the Wire to the cut red cable and wrap the joint with Insulating tape. The TVs light up one after another: this is the keypad hint.
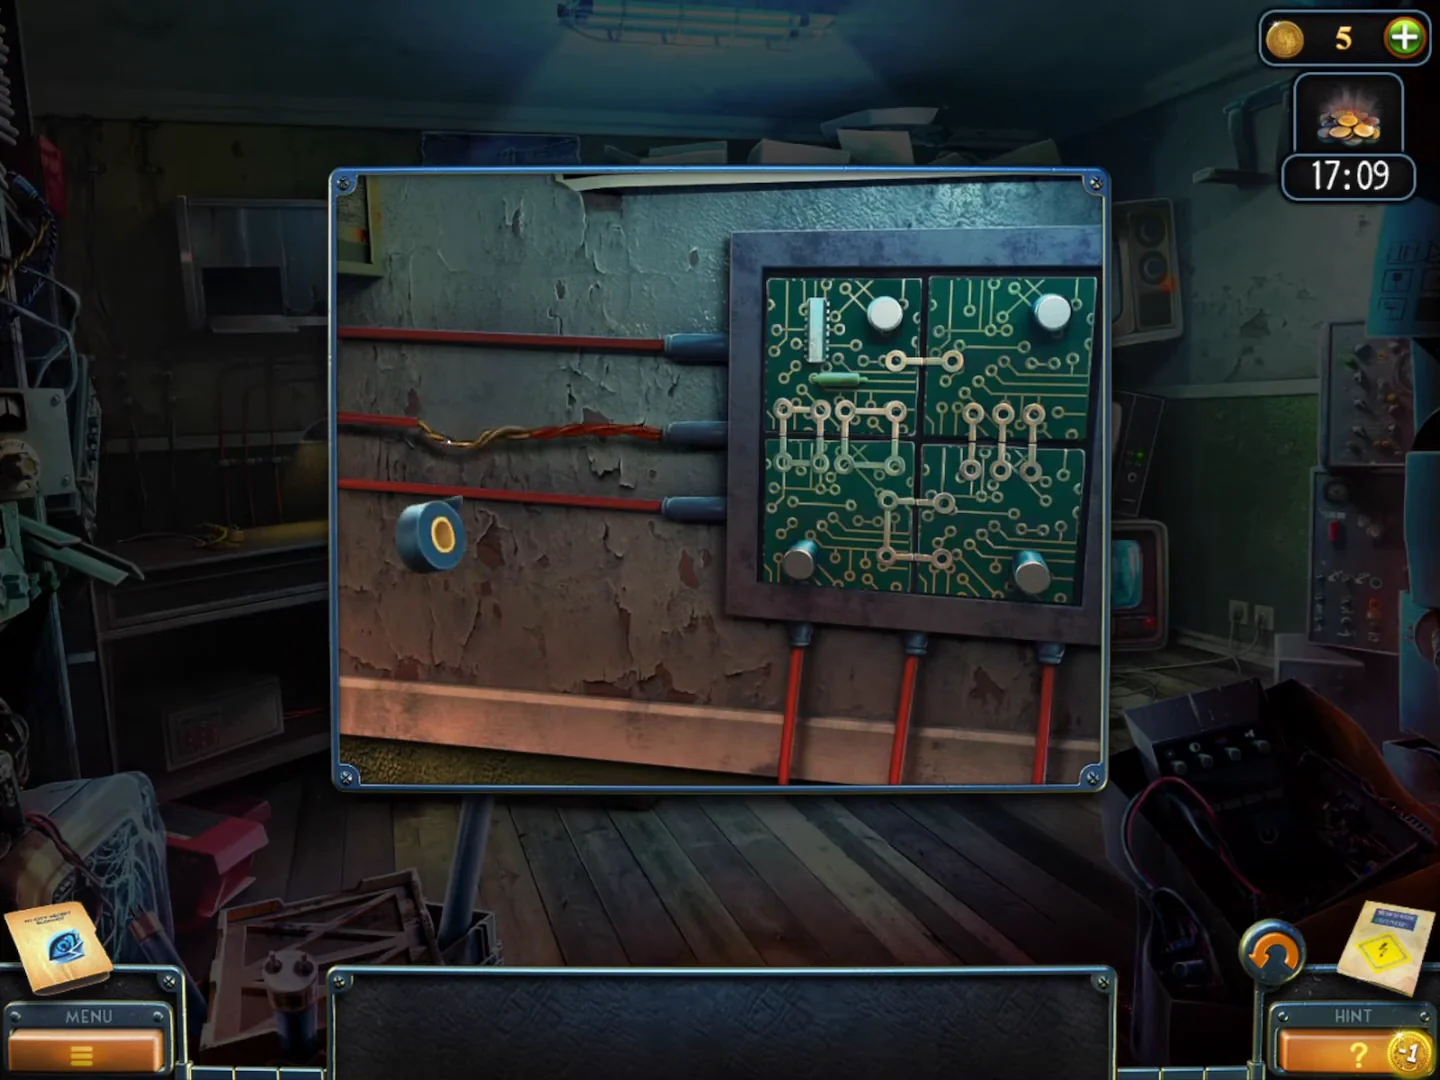
The junction panel on the right wall with the Circuit board inserted and the Wire joined to the cut red cable. Wrap the joint with Insulating tape. - At the floor keypad, press the buttons in the order the TVs lit up. Example order from one playthrough: 9, 2, 3, 4, 7, 5, 1, 8, 6; if your TVs lit in a different order, follow yours. Take the Figurine part.CODE9-2-3-4-7-5-1-8-6
Gramophone handle and the buried record
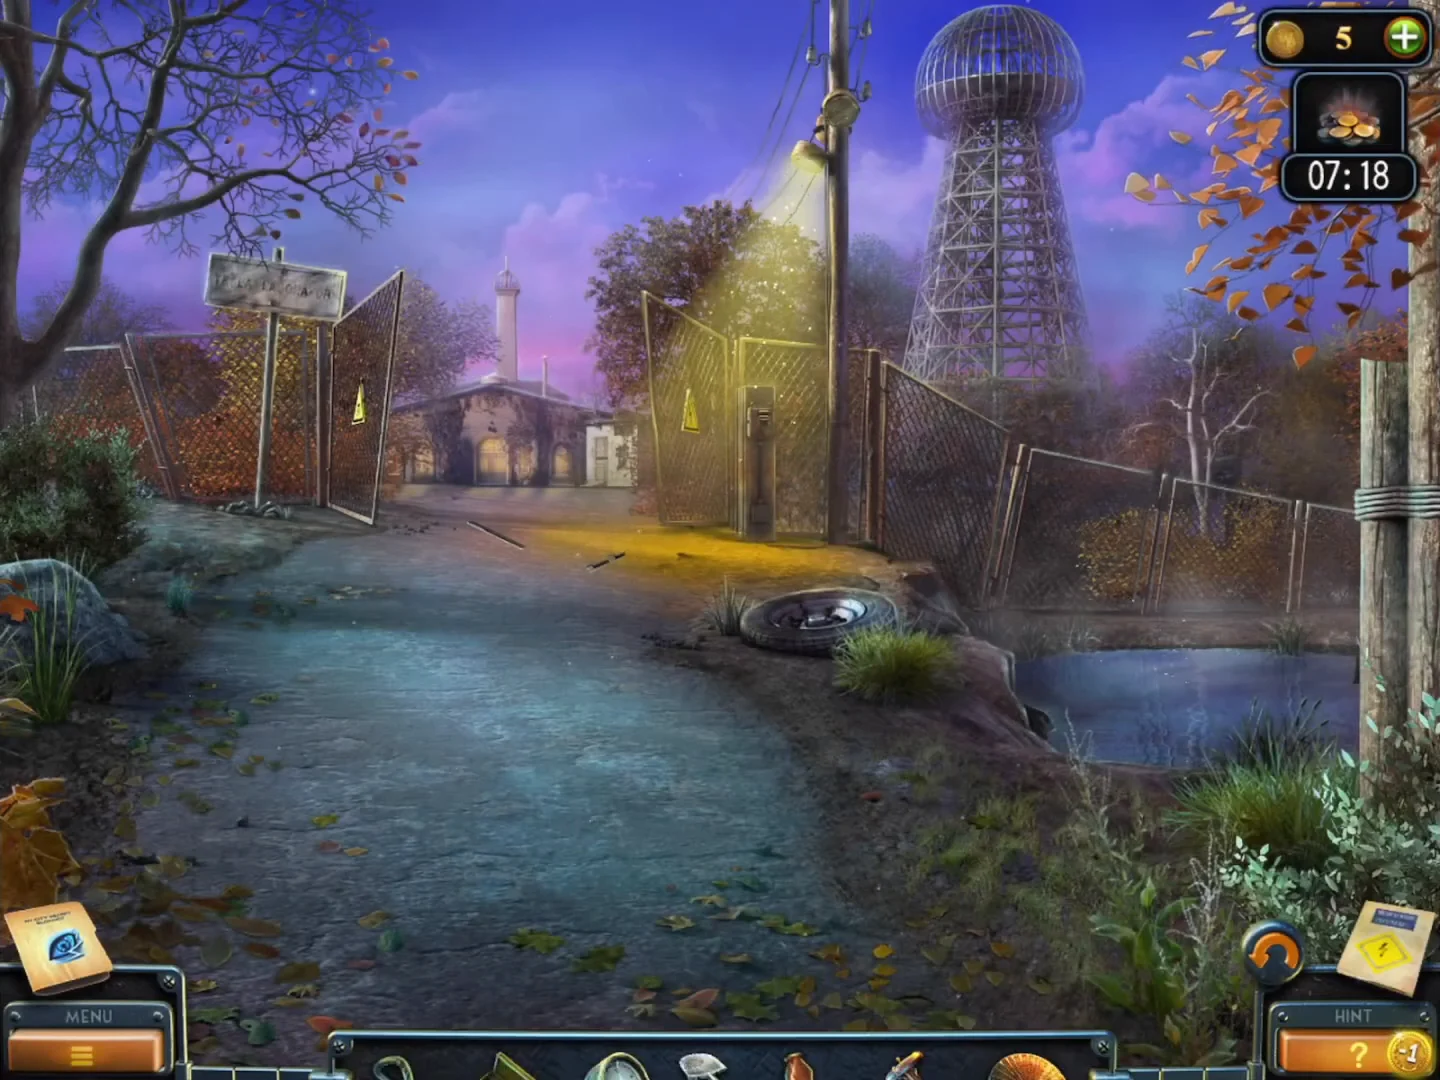
Get the Gramophone handle and the Figurine in the warehouse, then dig up the buried record on the Road to the Lab.
- Put the Coin in the red vending machine in the warehouse, turn the handle and take the Gramophone handle.
- In the inventory, open one of the Figurine parts: an assembly view shows a building with a tall tower. Drag the other two Figurine parts from the inventory onto it: the T-shaped stand on its base goes to the right of the building, and the large round wire wheel fits behind that stand. When all three parts are joined you get the Figurine.
- Go to the Road to the Lab. Dig at the foot of the streetlight pole with the Trowel and put the Figurine in the buried box. Take the Vinyl record and read Samuel's diary page (task "Abandoned Substation").
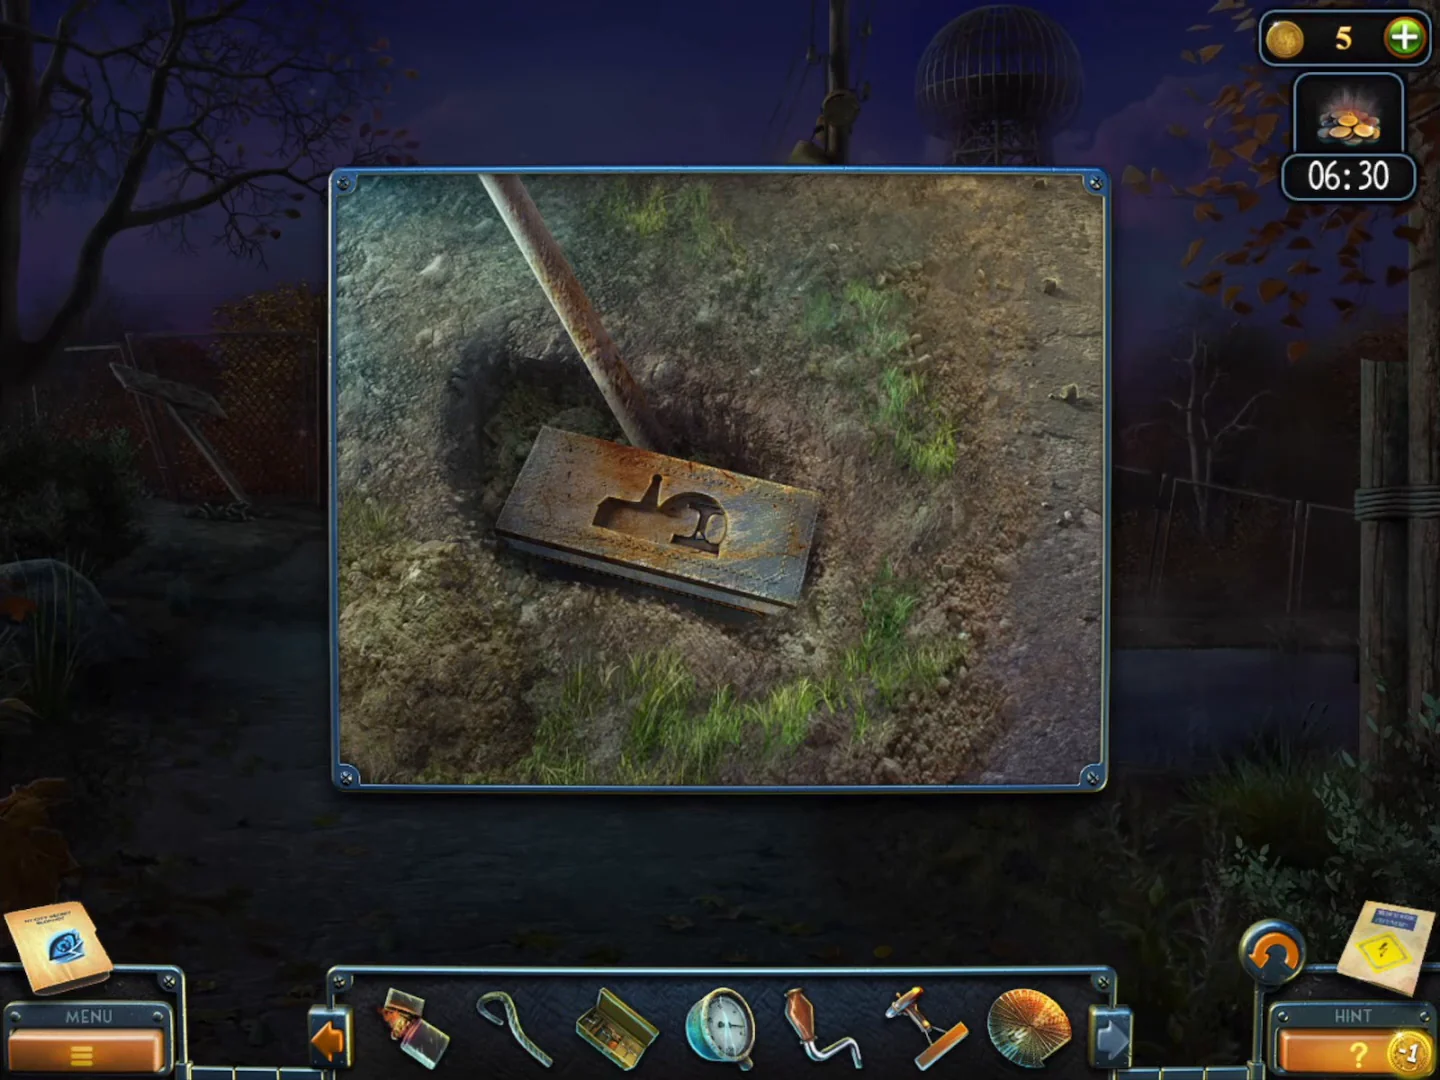
The buried box under the streetlight: put the Figurine in the shaped recess to open it. - Take the hidden slide from the hole.
Gramophone code and the track-board vault
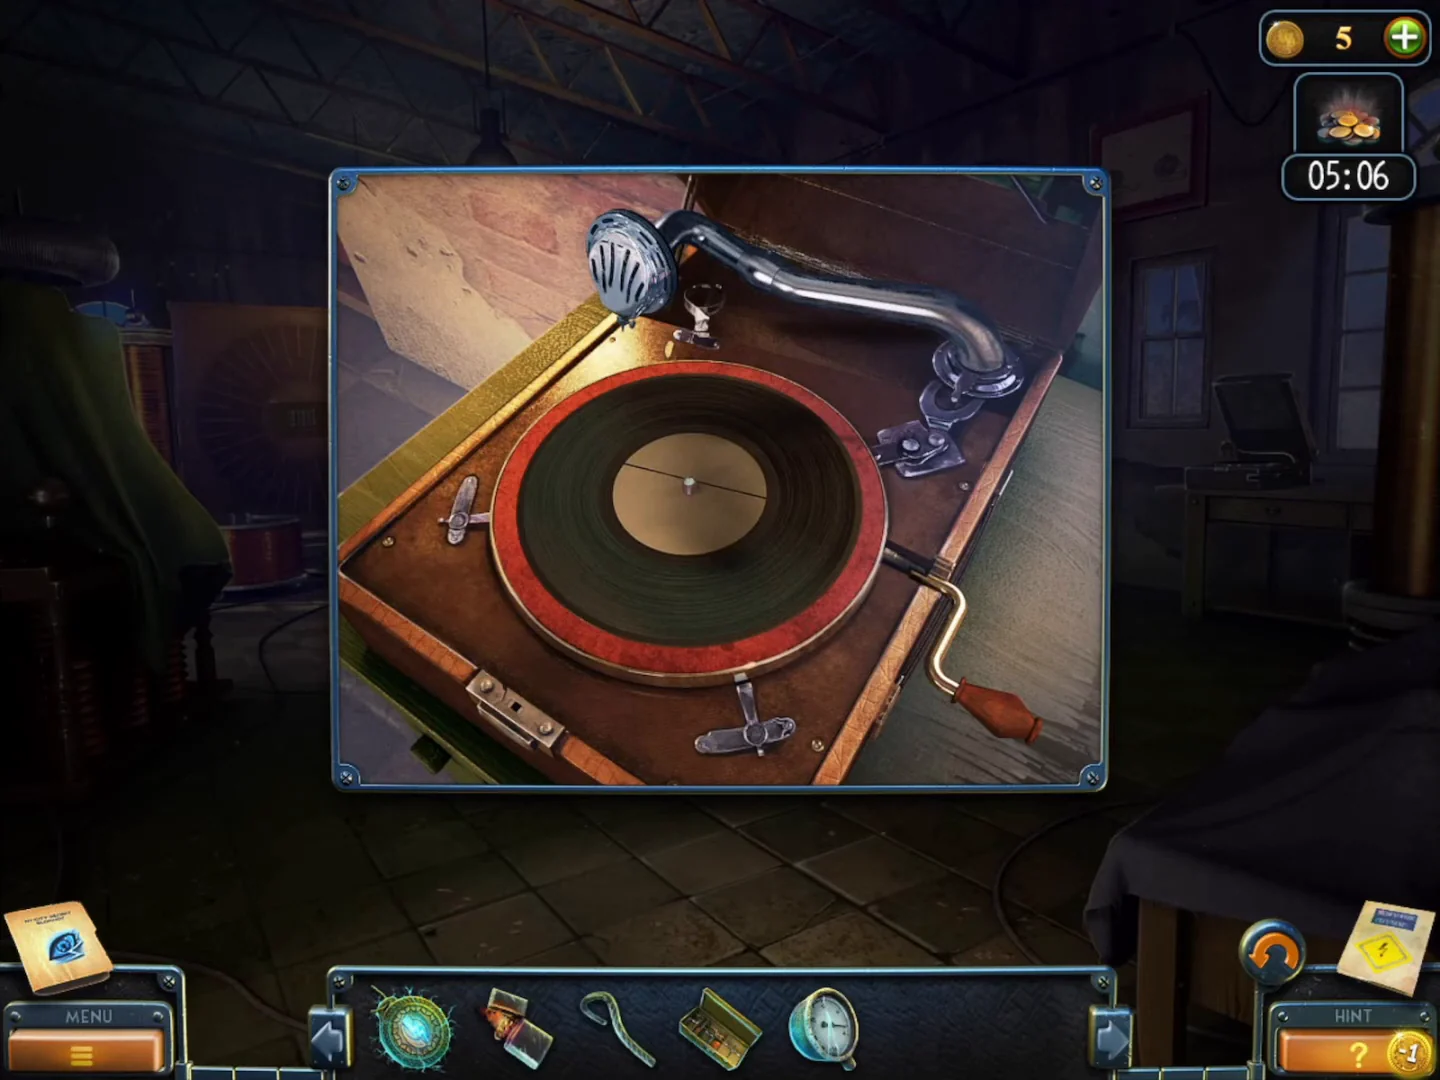
Play the record for the keypad code, then open the track-board vault in the lab hall for the forest Map.
- In the lab hall, put the Vinyl record on the gramophone, attach the Gramophone handle, wind it and lower the needle. A voice says: "Five... Two... Seven... One... Three..."CODE5-2-7-1-3
- Enter 5-2-7-1-3 on the 3x3 keypad on the desk.CODE5-2-7-1-3
- Zoom into the round vault on the back wall (left of the window). The board has seven nodes (top-left and top-right corners, left and right ends, centre, bottom-left and bottom-right corners) and six gear buttons; each gear sits inside a triangle of three nodes and rotates the three pieces on its corners. Call the gears A (top left), B (top middle), C (top right), D (bottom right), E (bottom middle) and F (bottom left). The board starts with insulators at the top-left corner and the left end, clouds in the centre and at the bottom-left corner, the tower at the bottom-right corner and lightning at the top-right corner and the right end. From this layout, press A, E, E, C, C, F. The finished board has clouds at the top-left and top-right corners, the tower in the centre, lightning at the left and right ends and insulators at the bottom left and bottom right. Solving this laboratory figurine puzzle in less than two minutes earns the "Terminal Velocity" achievement; enter the six presses straight away to stay well inside the limit.CODEA E E C C F
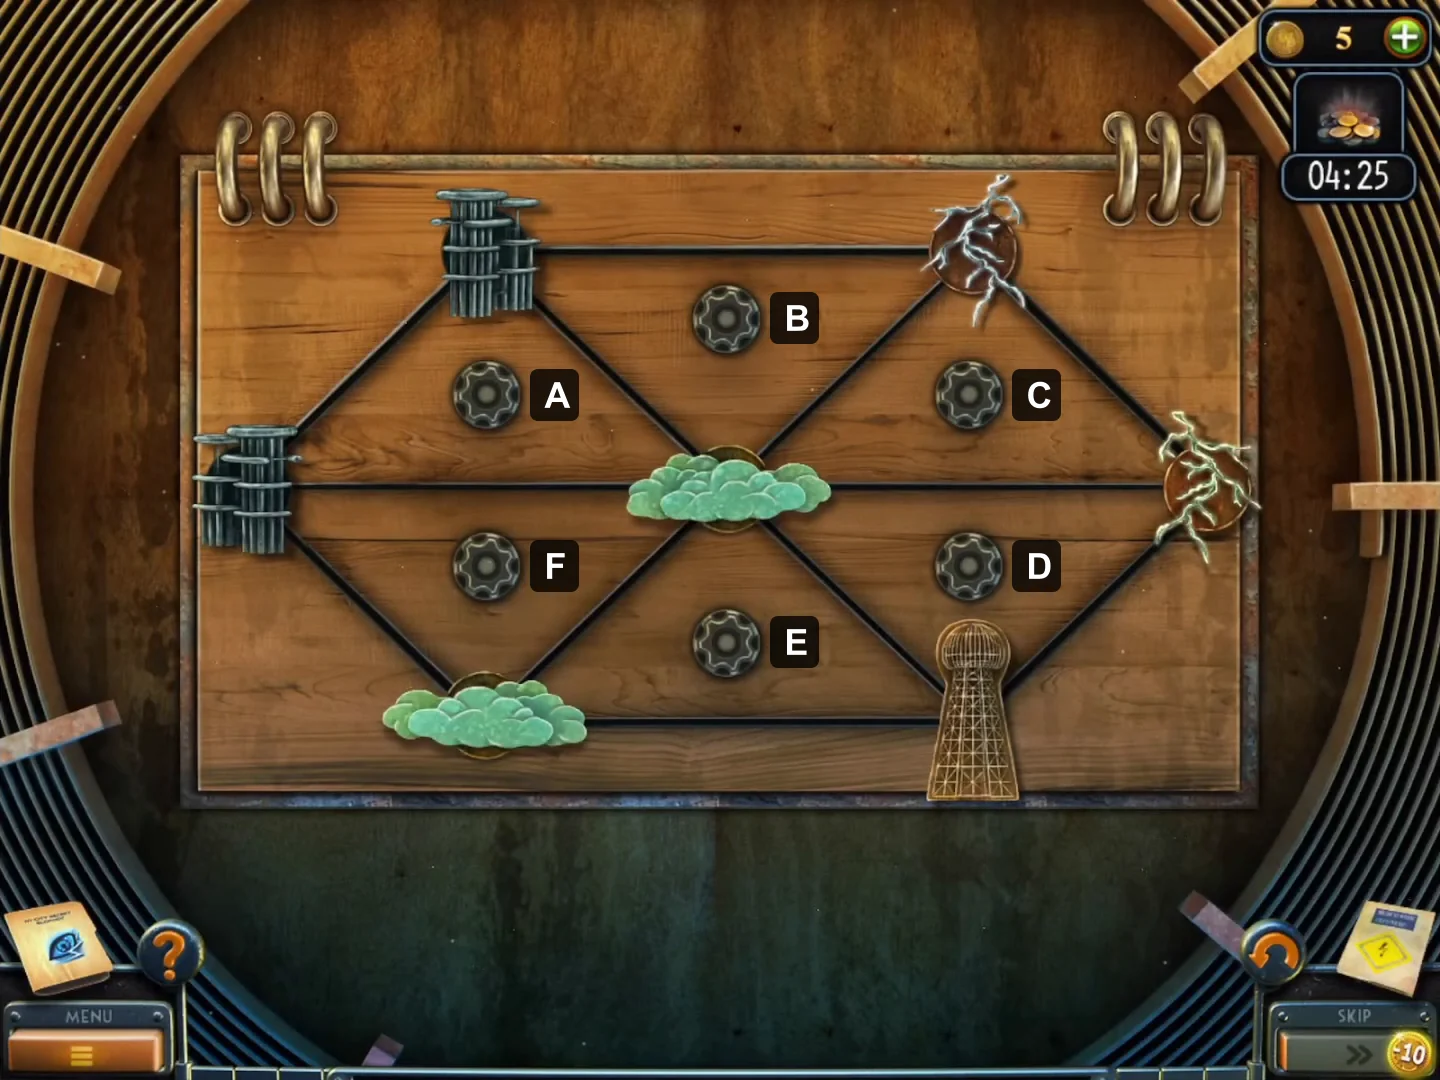
The track-board vault at the start, with the gear buttons labelled A to F. Press A, E, E, C, C, F. 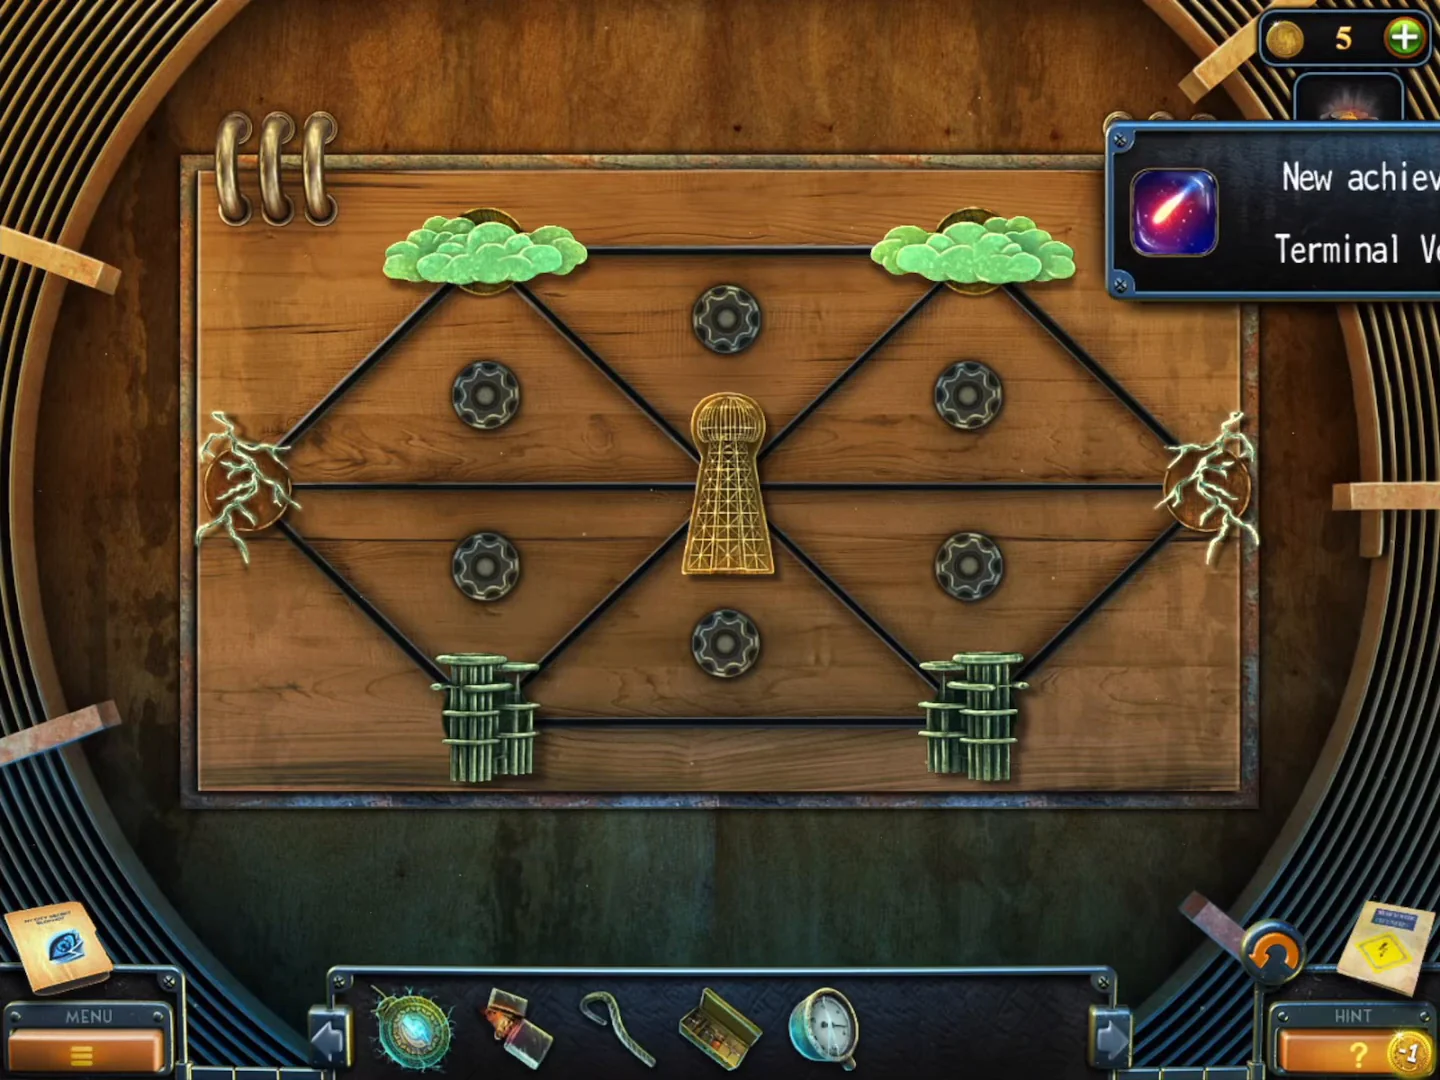
Solved: clouds top left and top right, tower in the centre, lightning at both ends and insulators bottom left and bottom right. In this recording "Terminal Velocity" pops up (it is awarded only for finishing within two minutes). - Take the Map from the vault. It marks seven forks: 1 right, 2 left, 3 forward, 4 forward, 5 left, 6 left, 7 forward.CODER L F F L L F
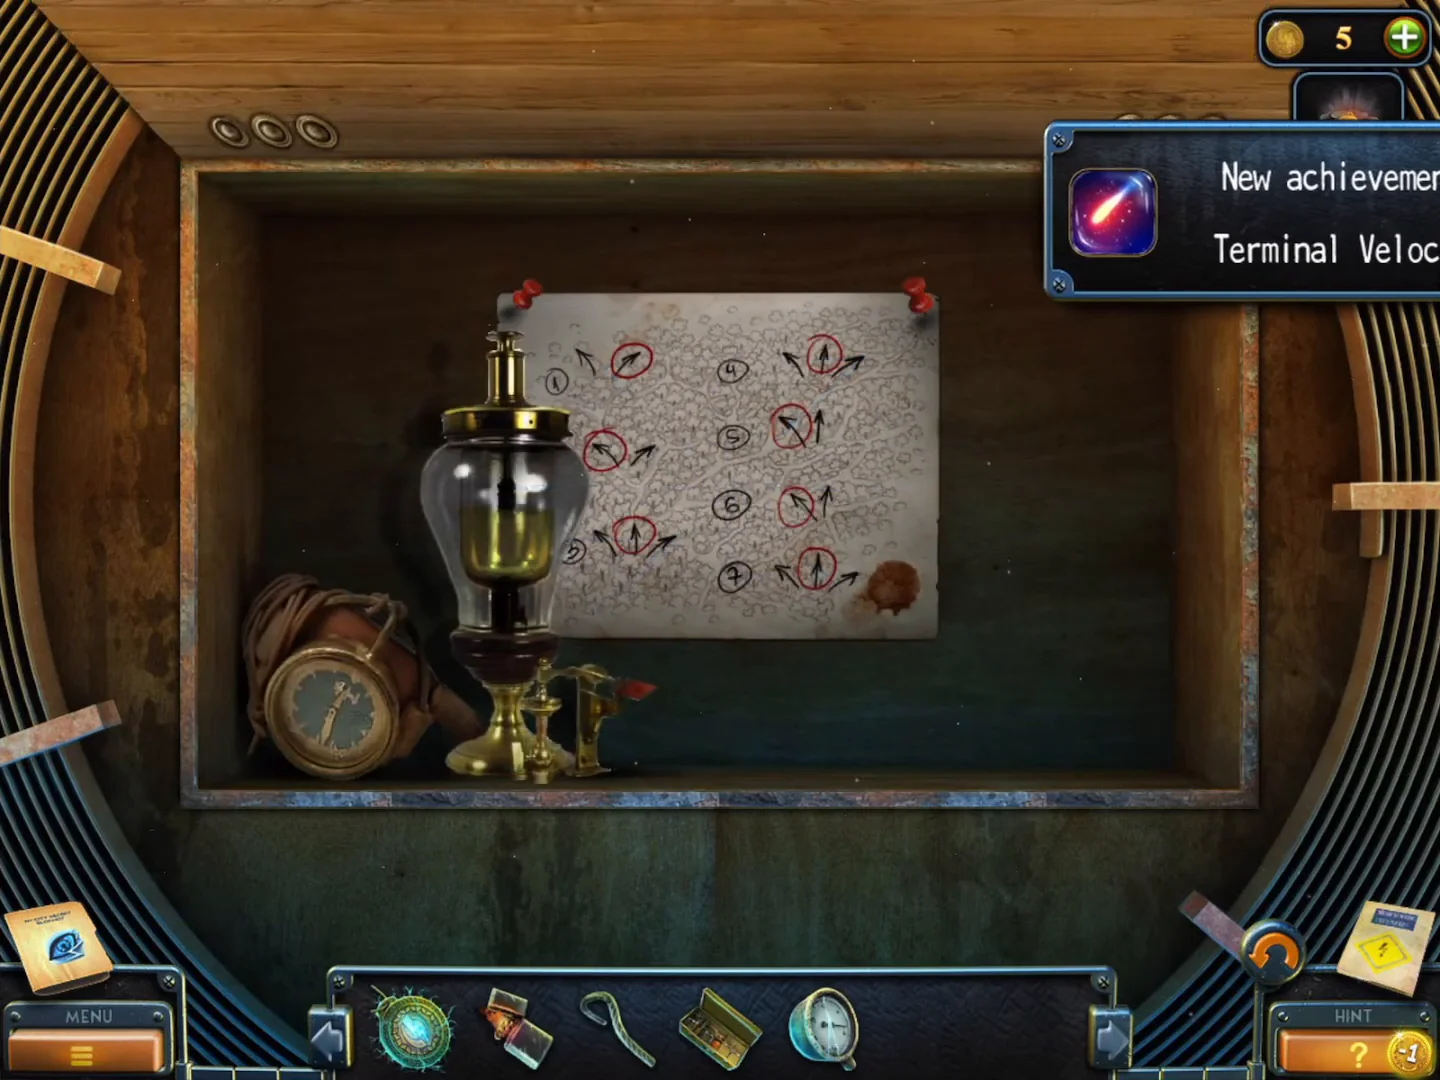
The opened vault with the Map pinned inside. - William says the secret lab is the perfect place for a trap and sends you to check Tesla's tower.
Pumpkin road and the forest forks
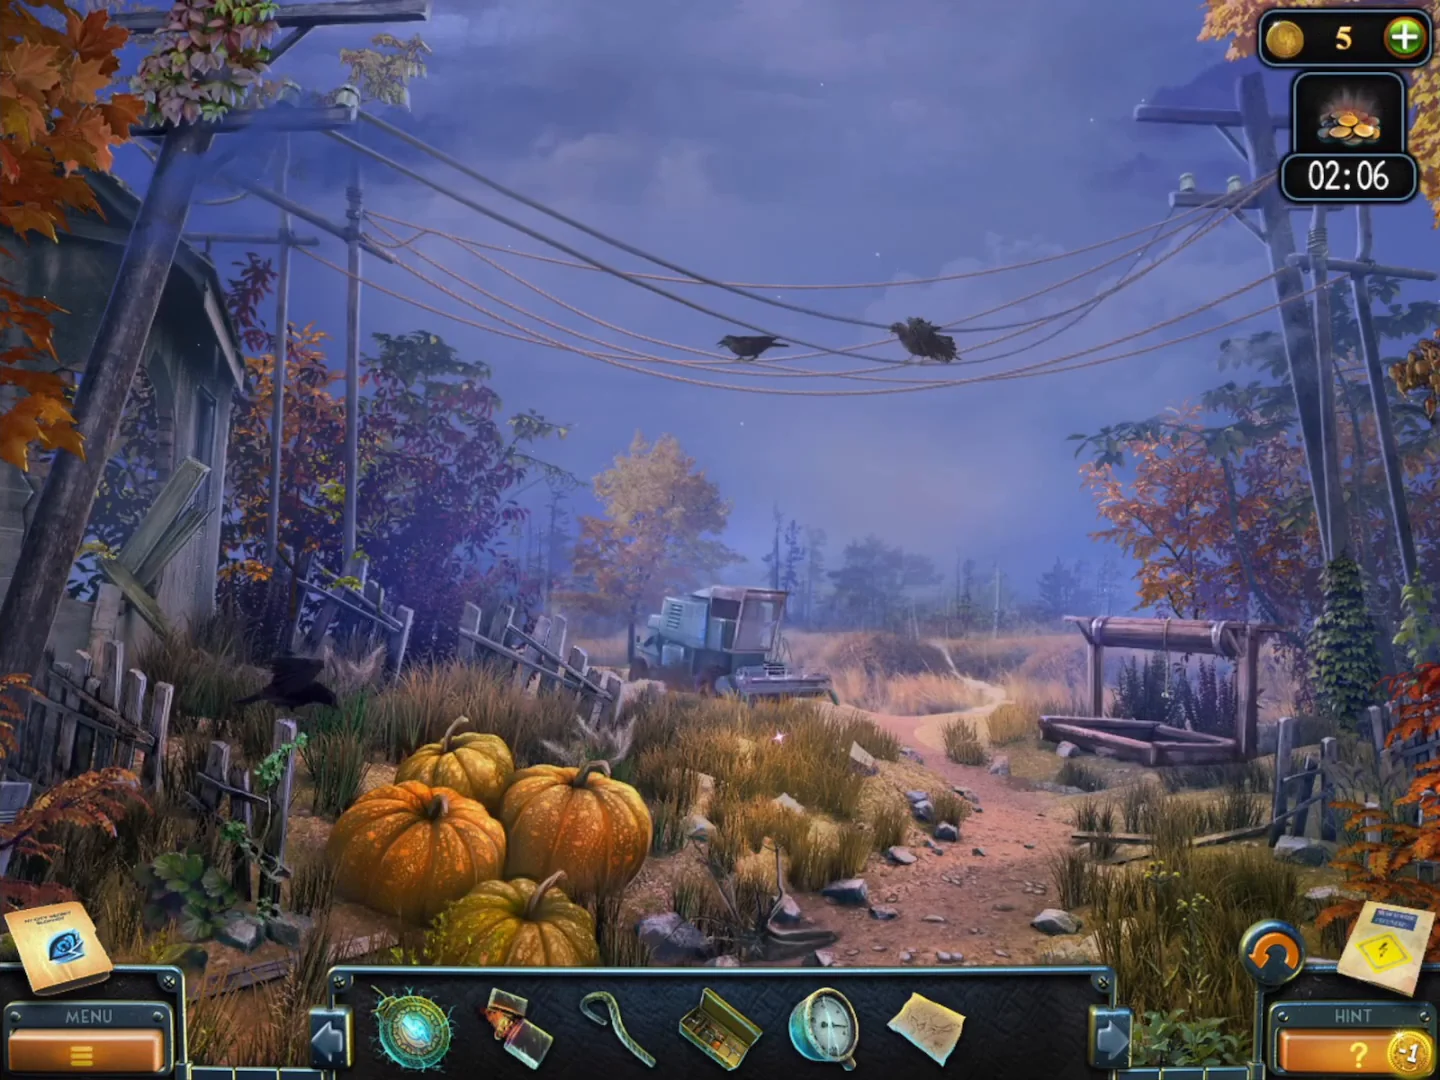
Follow the Map through the forest from the pumpkin road to Tesla's secret lab.
- On the pumpkin road, the well (right) has something in its bucket but no crank, and the truck's fuel tank needs a container. Take the hidden slide beside the tank.
- Enter the forest and follow the Map at each fork: right, left, forward, forward, left, left, forward. You reach Tesla's secret lab, a round stone building.CODER L F F L L F
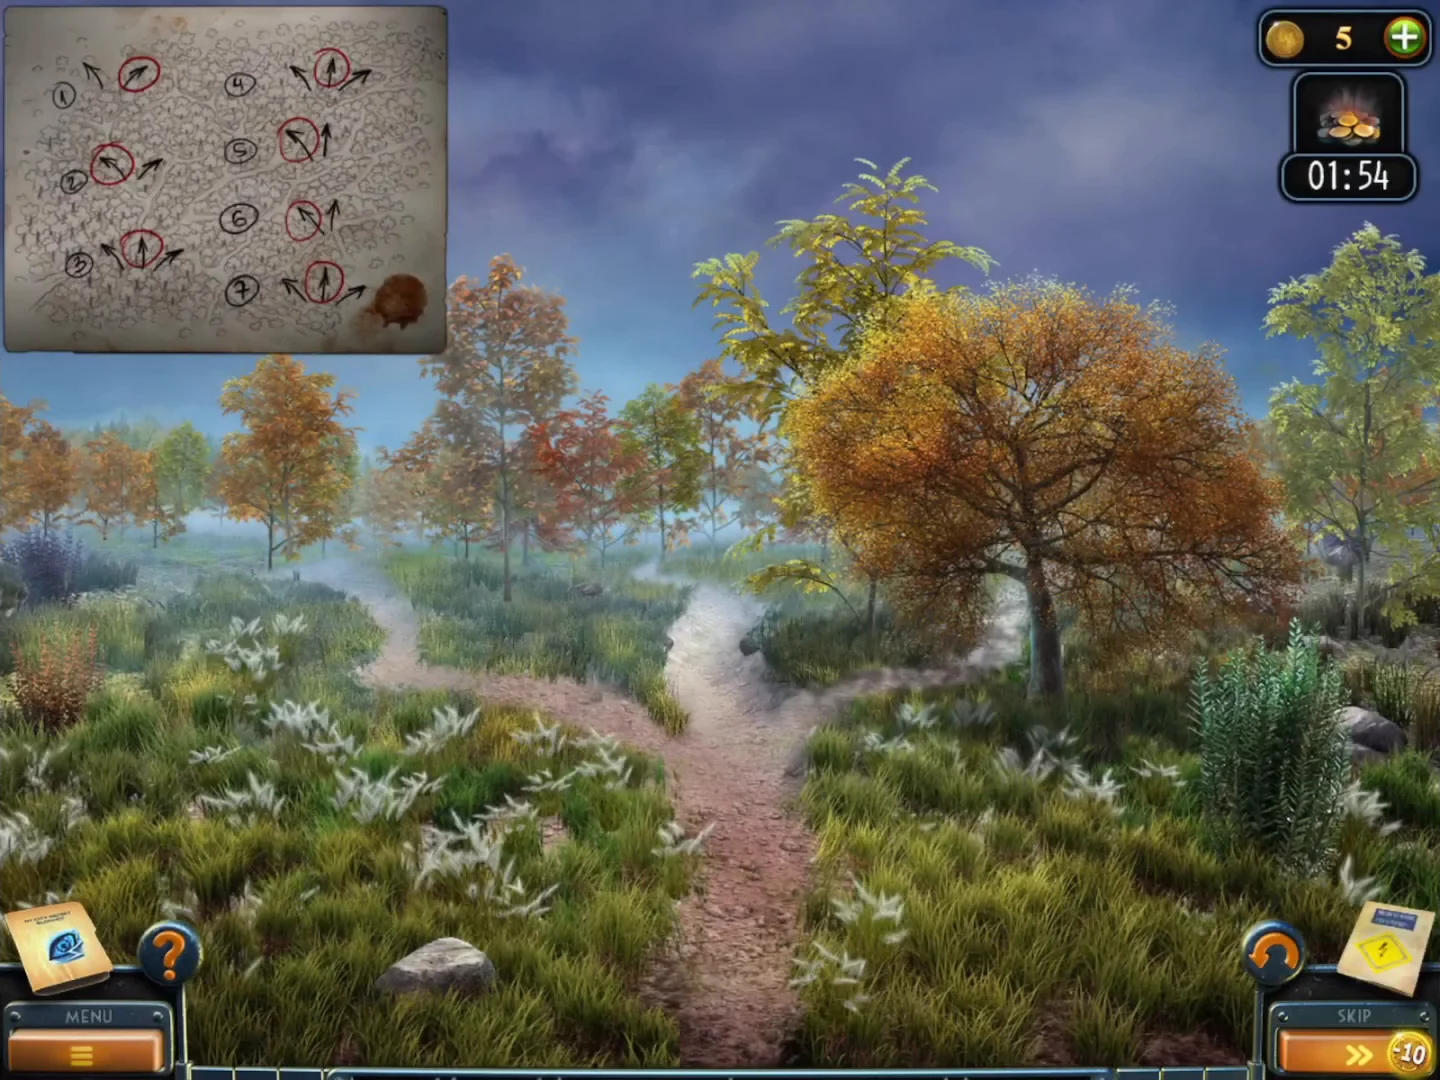
A forest fork with the Map open in the corner. Follow its arrows fork by fork. - Collect the collection item (a small blue object between two grey rocks at the edge of the dirt path, below the left side of the round building) and the Beyond object on the low hill left of the path. Take the Fruit picker leaning on the wall right of the door and the Stone from the red foliage at the lower right.
Secret lab basement
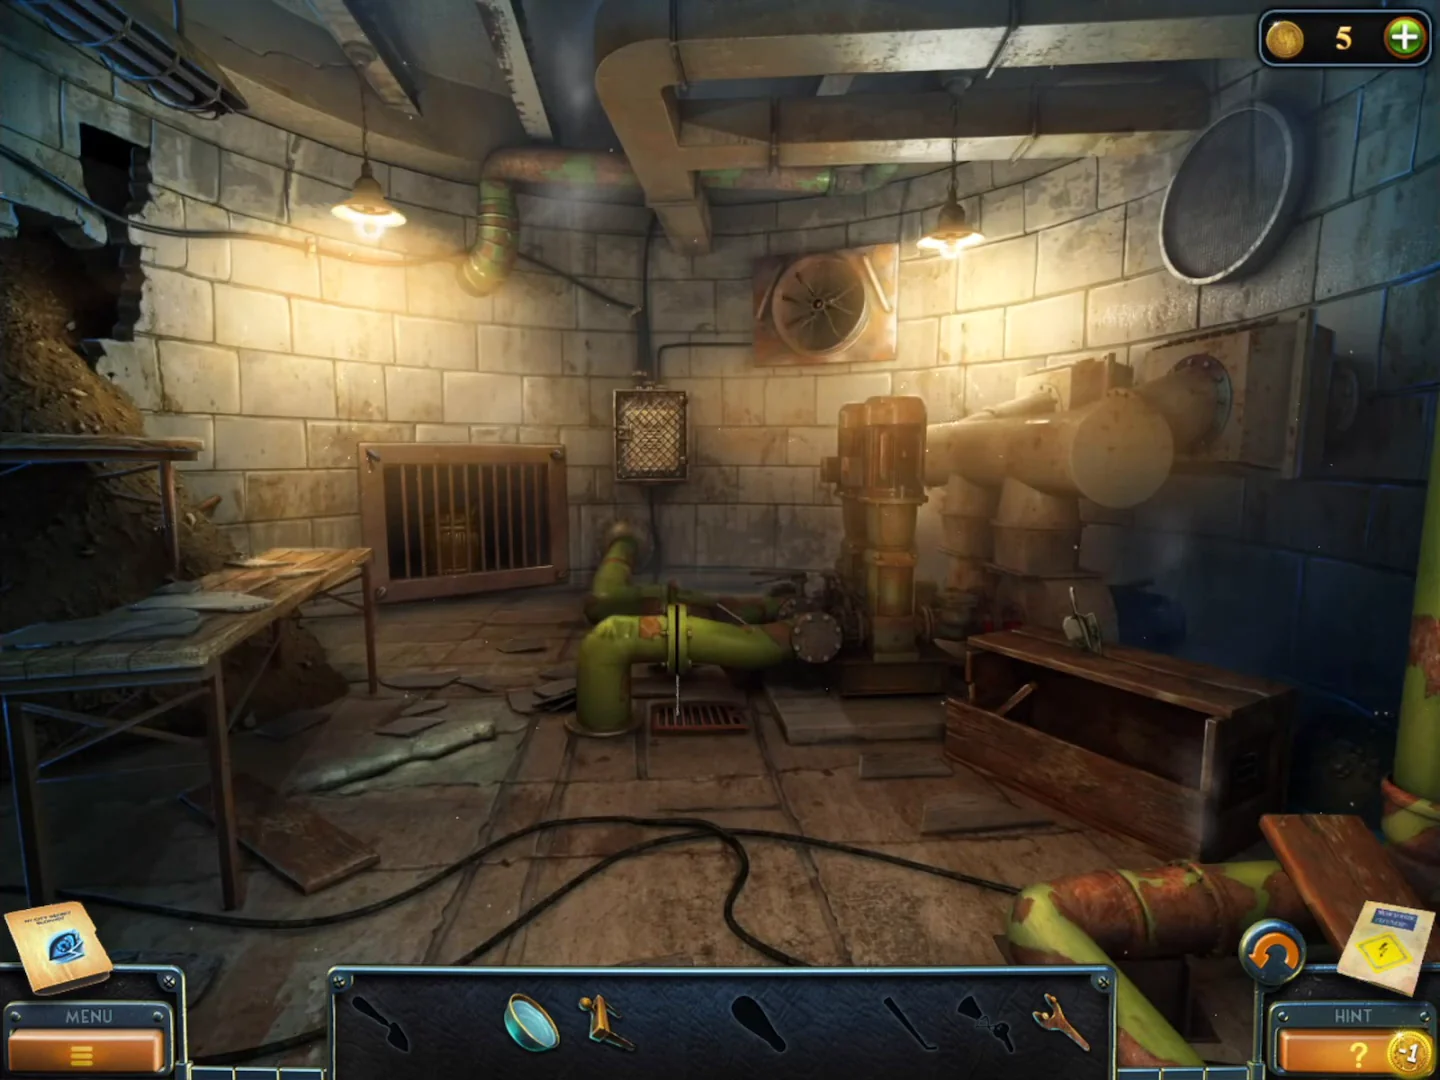
Take the path to the left of the building into the basement, an interactive scene with a silhouette bar.
- Zoom into the open wooden crate on the right, just right of the green pipe (a small trowel is stuck in the plank lying across it), and take the Basin from inside the crate, under that plank. Zoom into the floor crack in front of the left-hand table and take the Wrench. Zoom into the leaking green pipe: set the Basin on the drain grate, pick up the Lightbulb and the orange Hand switch lying on the floor beside the pipe, then use the Wrench on the pipe to fill the Basin. Pour the Basin of water into the floor crack; the Key floats up - take it.
- Use the Lightbulb on the empty ceiling lamp socket. Zoom into the wire-mesh cage on the back wall, open it with the Key, fit the Hand switch on the fuse box inside and pull it down to restore power.
- Remove the hub nut of the wall fan with the Wrench and take the Trowel handle from behind the blades. Zoom into the open crate on the right again and join the handle to the trowel blade stuck in its plank to make a Trowel.
- Dig in the dirt mound at the back left with the Trowel and take the bent Metal rod. Pry open the low wall grate with it and take the Jerry can.
Secret lab interior, fuel and the well
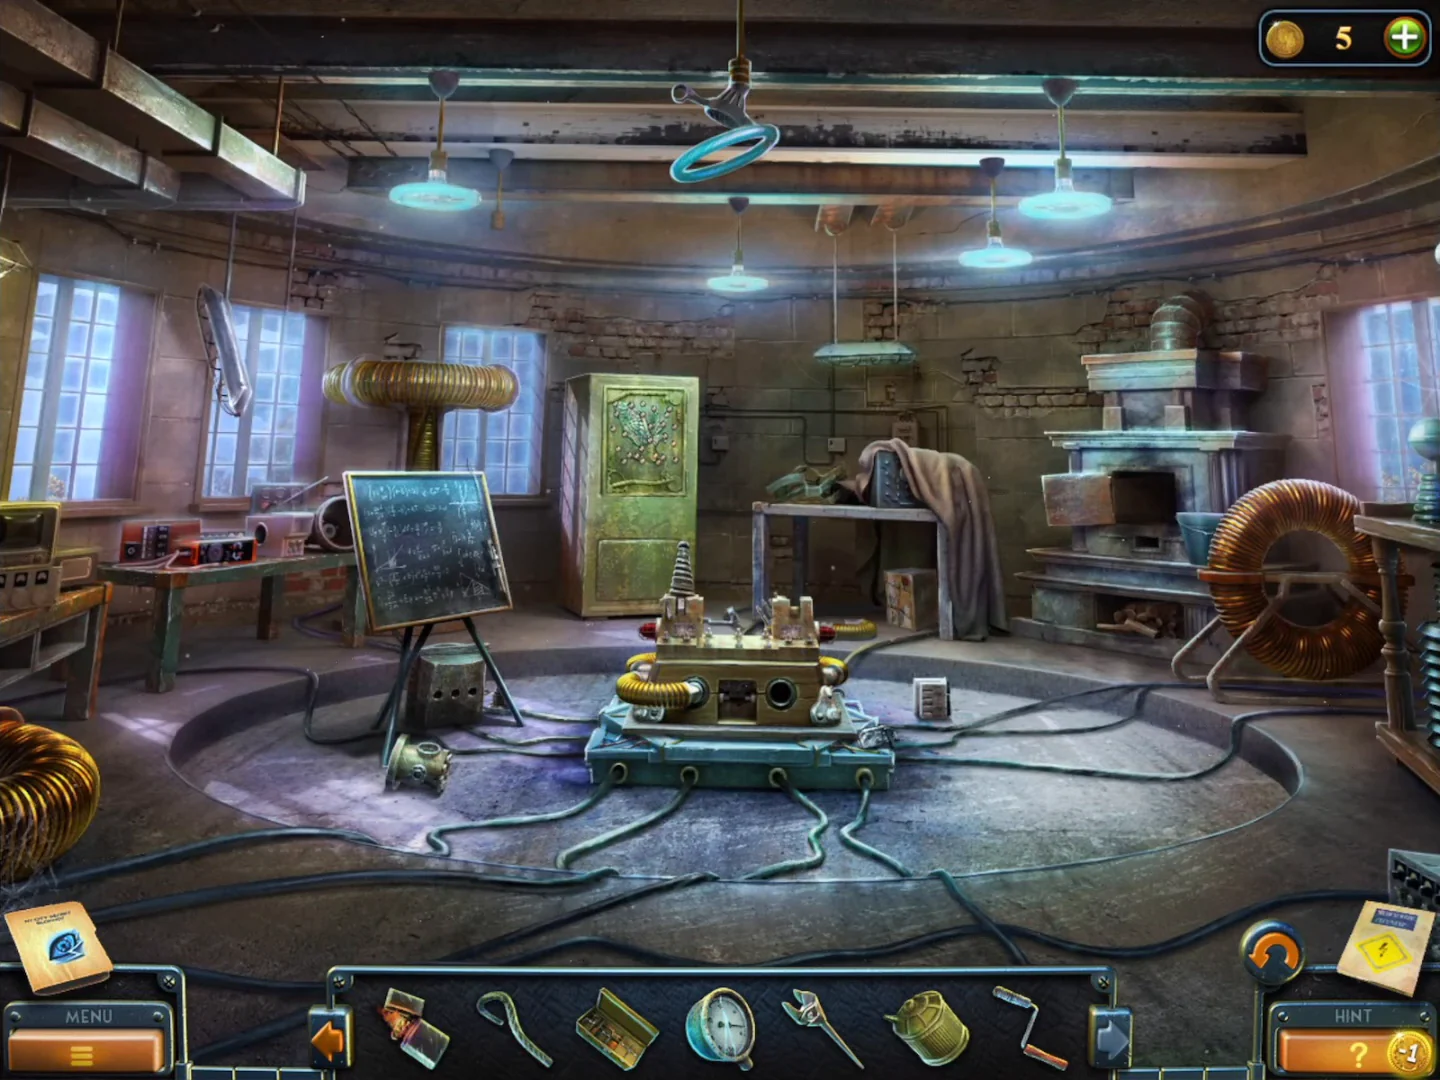
Break into the secret lab. Then use the pumpkin road truck and well for the Full jerry can and the Insulating tape.
- Break the pane of the glazed lab door with the Stone, open it and go in. The task "Abandoned Substation" is completed.
- Collect the collection item (a brass stand with leaf-shaped legs on the floor under the left workbench, just left of the chalkboard; "Souvenir Lover" achievement if this is the last of the 8-item set) and the Beyond object (a small wooden box with a round speaker, on the floor under the cloth-draped workbench behind the central apparatus). Take the Crank handle from the floor under the left workbench, left of the chalkboard.
- On the pumpkin road, siphon fuel from the truck's tank with the Hose into the Jerry can to get a Full jerry can.
- Fit the Crank handle on the well winch, raise the bucket and take the Insulating tape.
Tesla's tower: wires and the eagle template
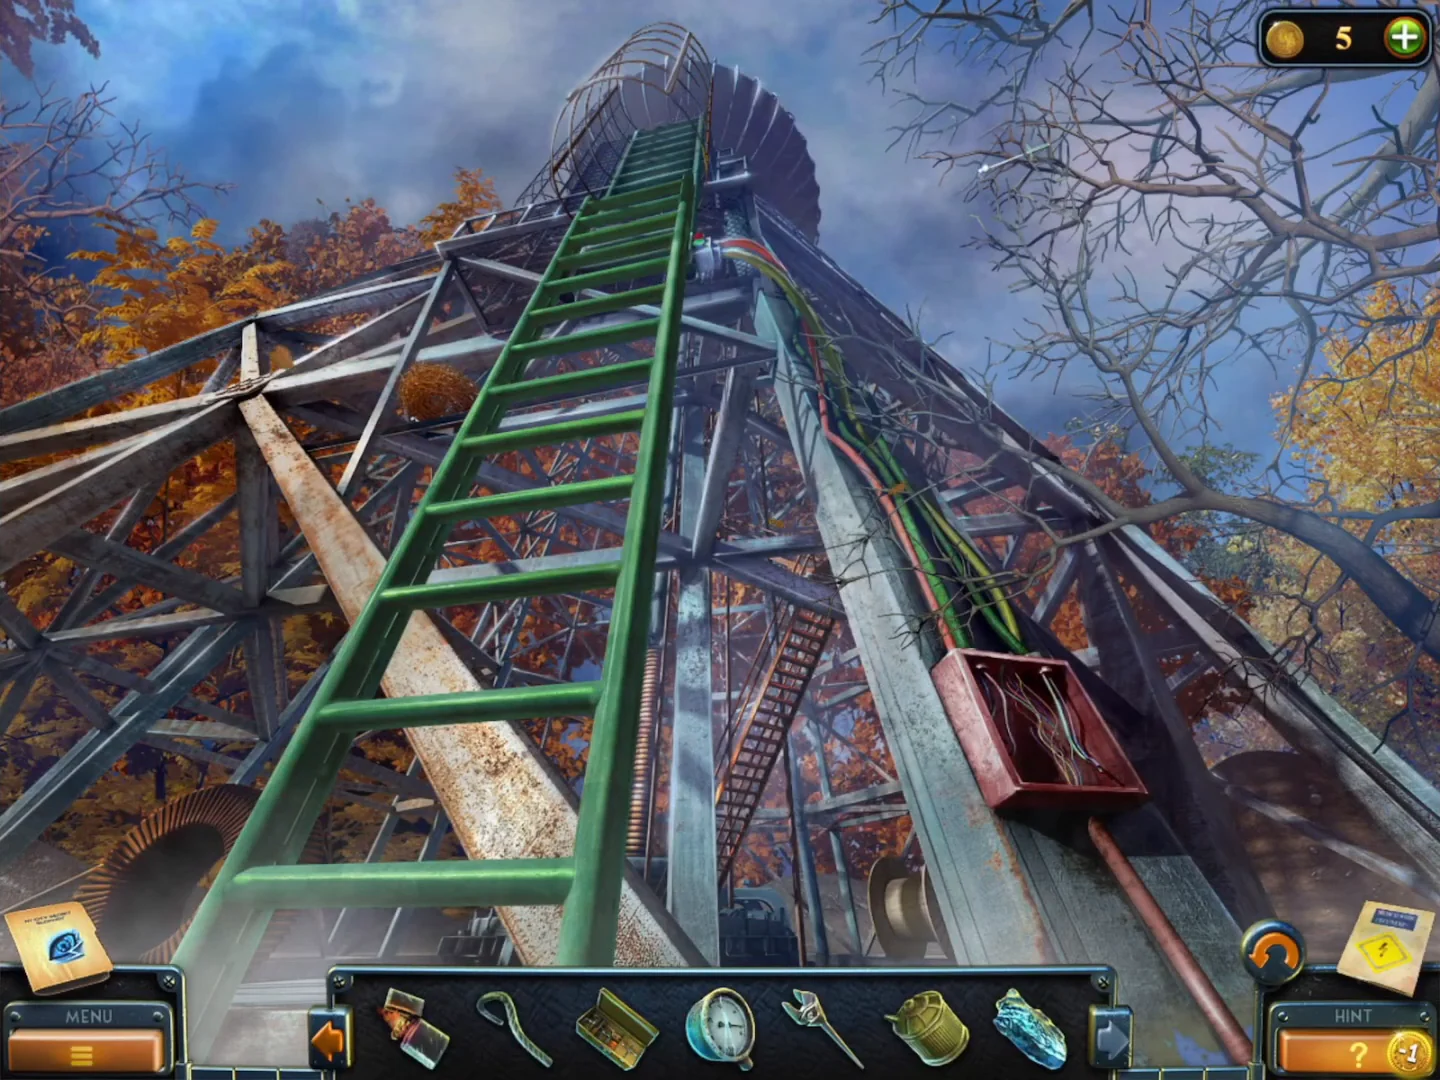
Repair the wiring at the foot of Tesla's tower, fit the Electrode at the top and mark the eagle template with Chalk.
- At the foot of Tesla's tower, open the electrical panel (right) with the Insulating tape. About ten cut wires hang from the top and ten loose ends rise from the bottom: drag each lower end to the upper wire with the same colour and pattern. Each joint is taped automatically.
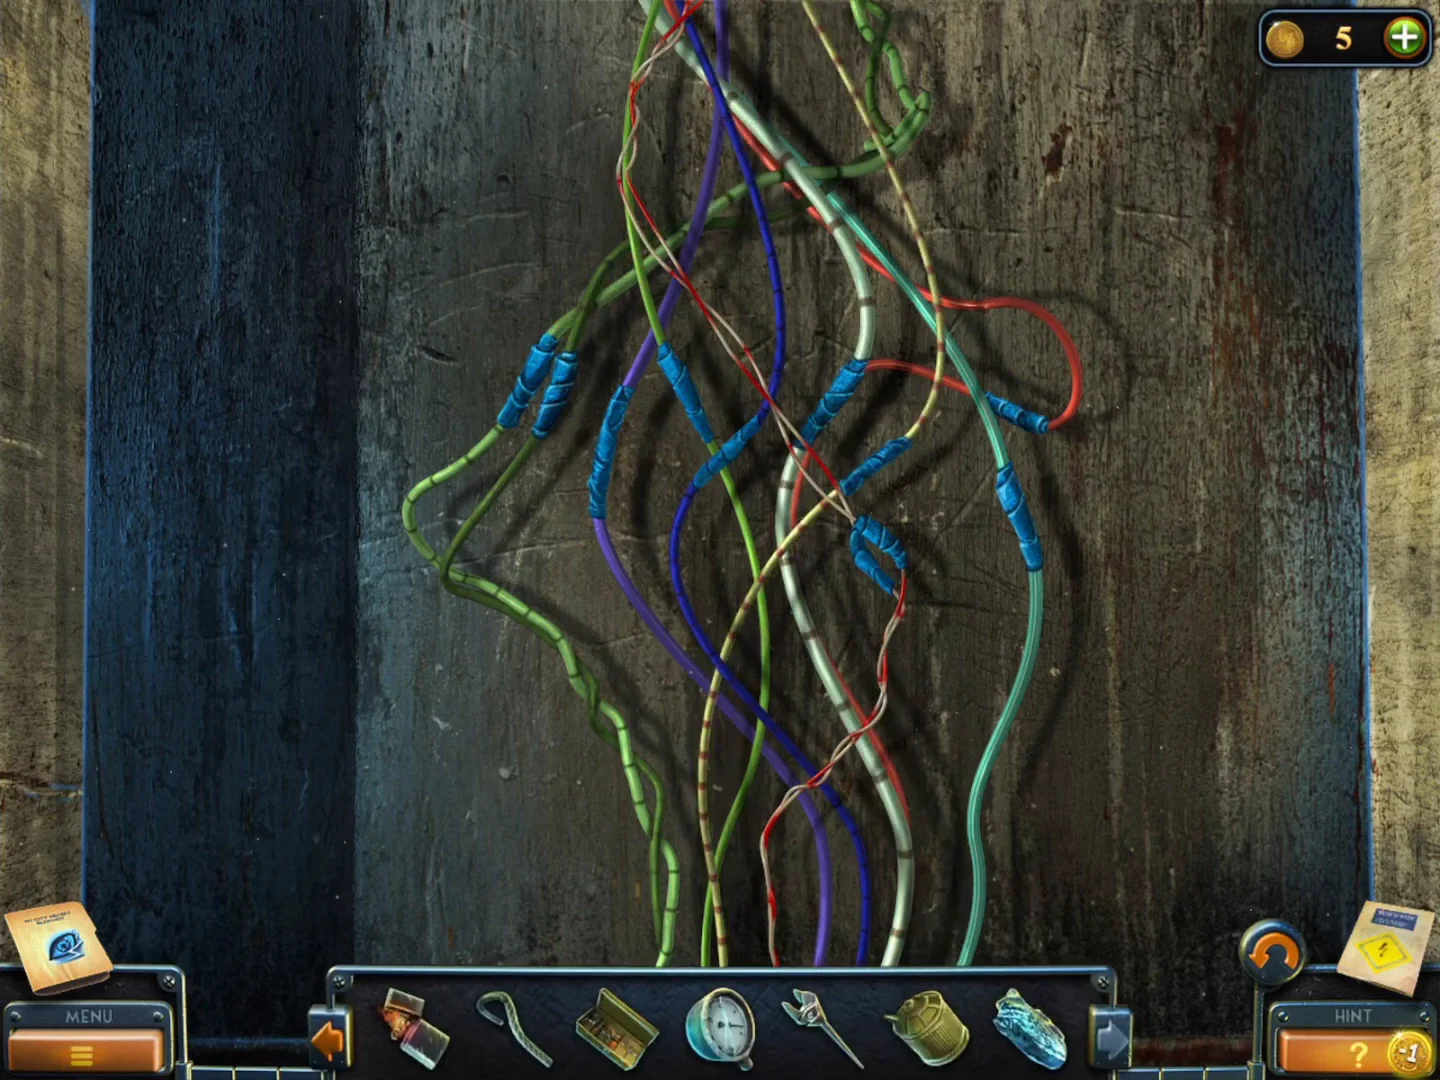
Solved: every lower wire is joined to the upper wire of the same colour and pattern. - Take the Chalk from the bird's nest on the left crossbeam and use the Fruit picker beside the ladder (right) to get the Electrode.
- Climb to the top platform. Collect the Beyond object (a small grey block on the railing ledge just left of the central column; "Master of Details" achievement if it is your last one) and the collection item of the 11-item set: a small Statue of Liberty figurine on the girder above the panel box at the top of the central column, upper right ("Traveler" achievement if it completes the set). Take the Sledgehammer at the base of the column (lower right) and the Template in the middle of the deck.
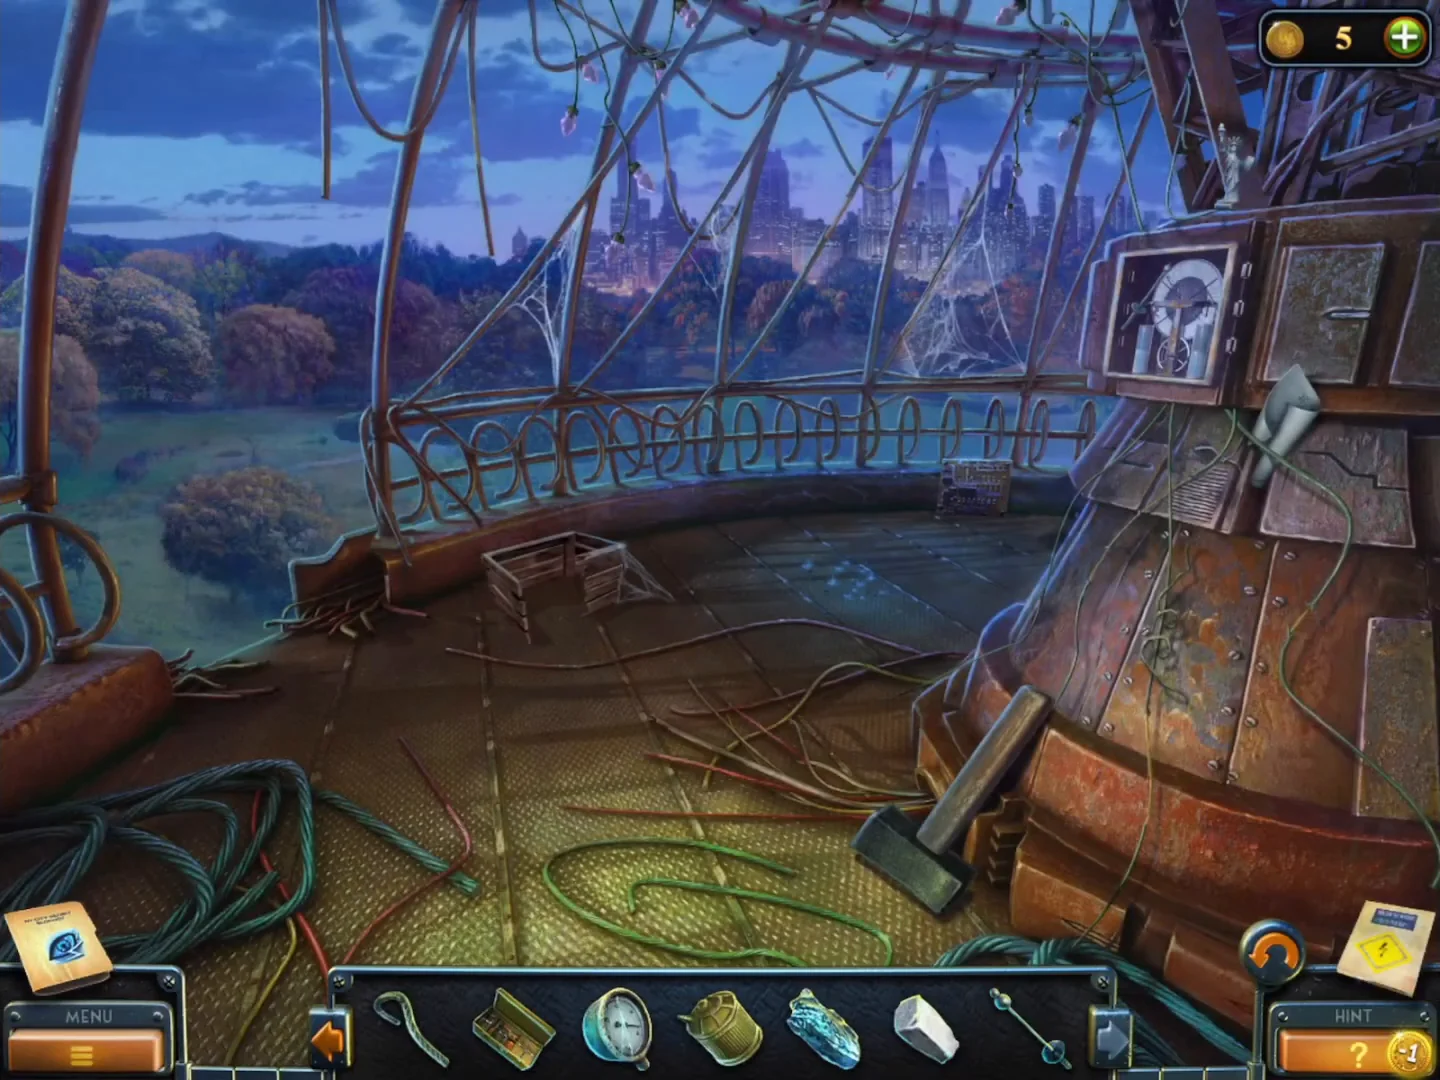
The top platform: the central column on the right, the Sledgehammer at its base and the perforated floor plate in the middle. - Fit the Electrode in the electrical box on the column (upper right).
- Lay the Template (an eagle with star points) on the perforated floor plate and mark with Chalk only the stars whose centres glow light cyan, leaving the dark ones. Lift the template to get the Diagram.
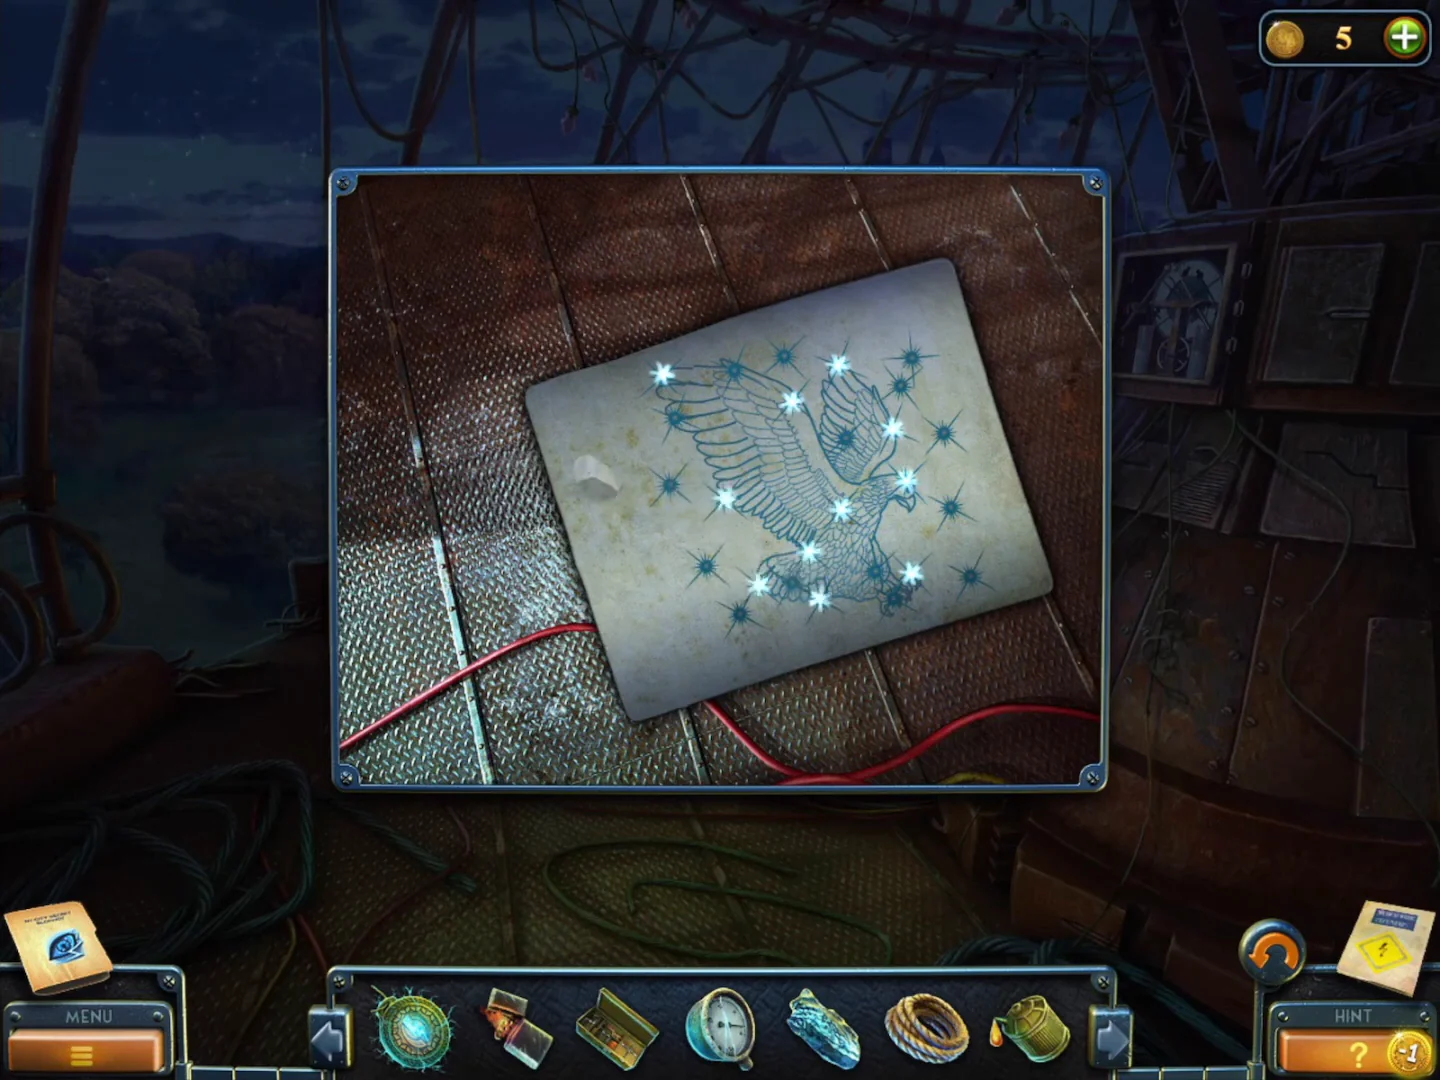
The eagle template on the floor plate with the light star points marked in chalk.
Lab courtyard shed
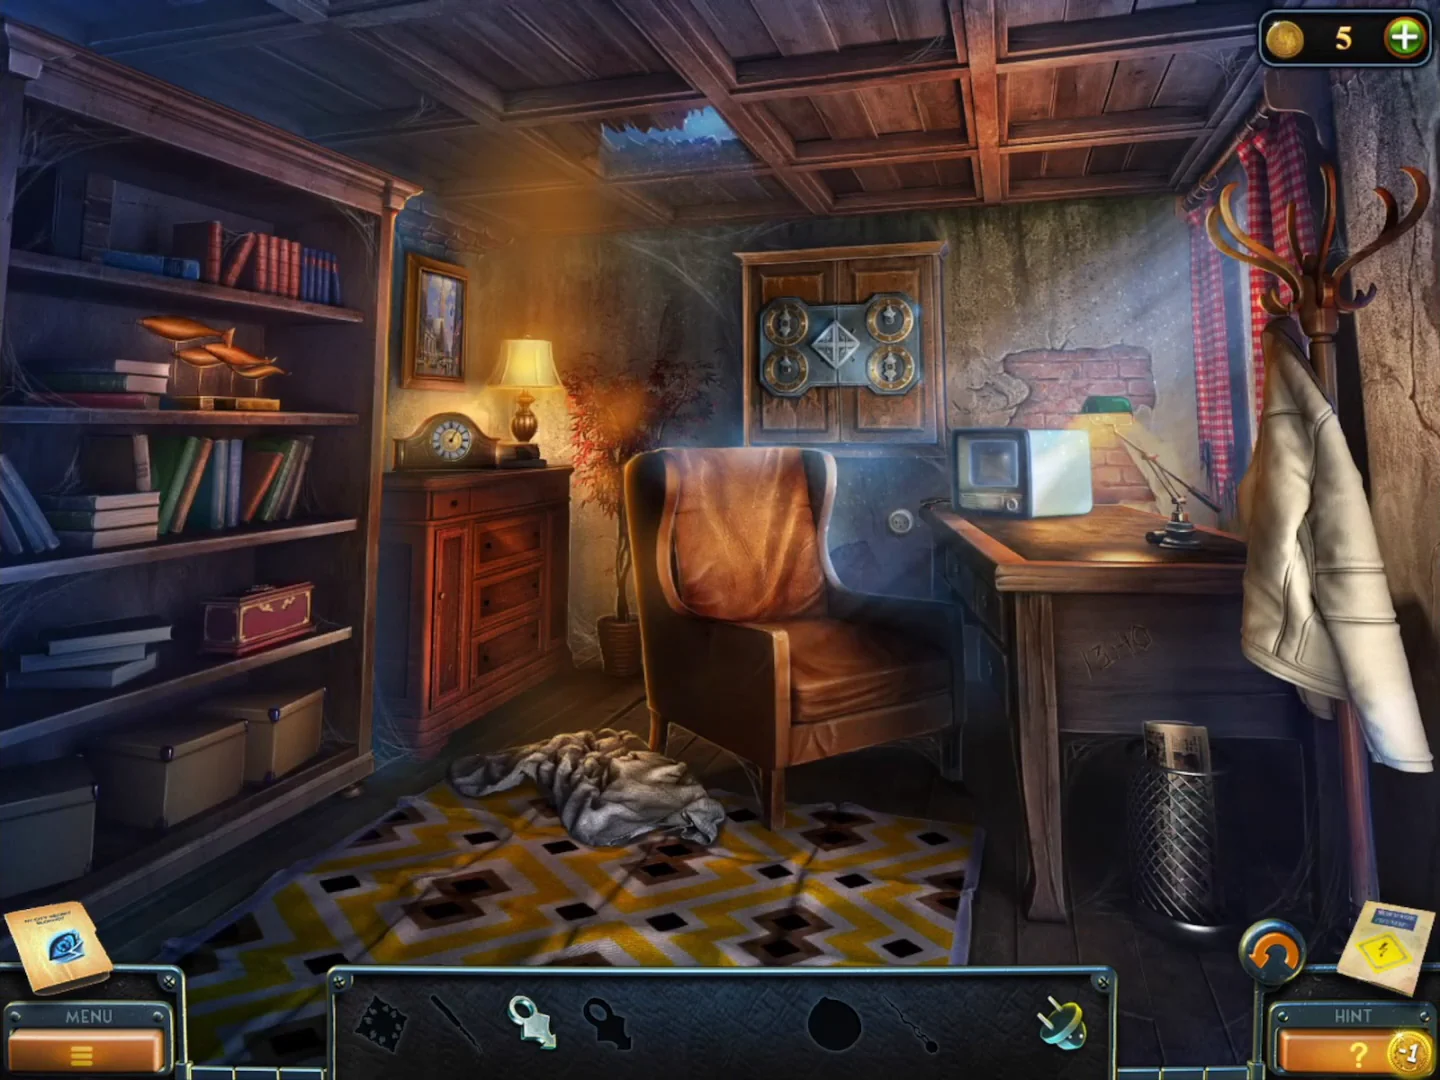
The shed is an interactive scene. Its bar lists: Key figurine, Key, two Lock parts, Pliers, Fish, Switch, Hand of a clock, Cane and Two-prong plug.
- In the lab courtyard, collect the collection item of the 9-item set by the planter at the lower right ("Lucky" achievement if it completes the set; the set can also be finished elsewhere depending on pickup order). Break the latch of the shed door on the right with the Sledgehammer and go in.
- Take the Cane leaning on the right of the sheet-covered armchair, pull off the sheet and take the Pliers from the seat. Take the Fish from the rug.
- On the fish stand on the left bookcase, hang the two loose fish on branches and put the Fish on the top branch. Take the Lock part from the drawer.
- Pull the broken key out of the red dresser door's keyhole with the Pliers. Use the Cane on the dark floor gap at the lower left to drag out the Two-prong plug.
- Take the wooden-handled Key from in front of the mantel clock. Open the red dresser door with it and take the Key figurine and the Hand of a clock. Open the ornate casket with the Key figurine and take the second Lock part.
- Attach the Hand of a clock to the mantel clock. Leave the short hand near I and turn the long hand to VIII. Take the Switch from behind the clock face.
- Fit the Switch on the desk TV, plug the Two-prong plug into the wall socket on the left and change channels until the screen shows four gauge dials.
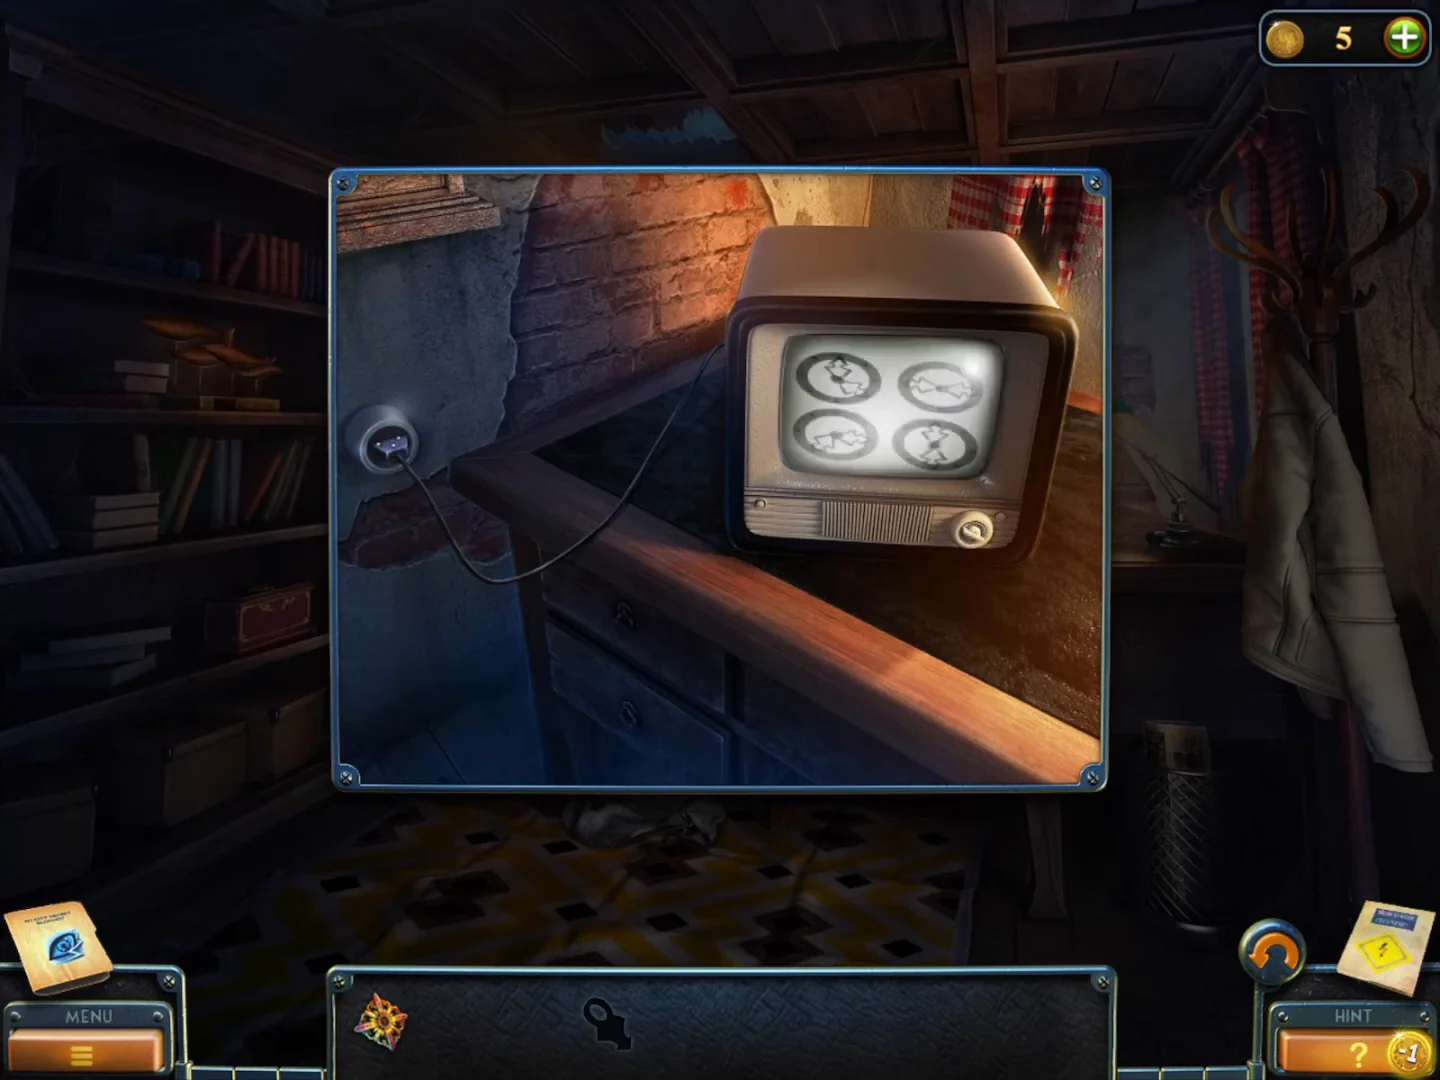
The TV channel with the four gauges to copy on the lock panel. - Put both Lock parts in the lock panel on the wall behind the armchair and turn the four dials to copy the TV gauges: top left one arm up and the other lower right; top right horizontal; bottom left nearly horizontal (left-down to right-up); bottom right vertical. Take the Rope.
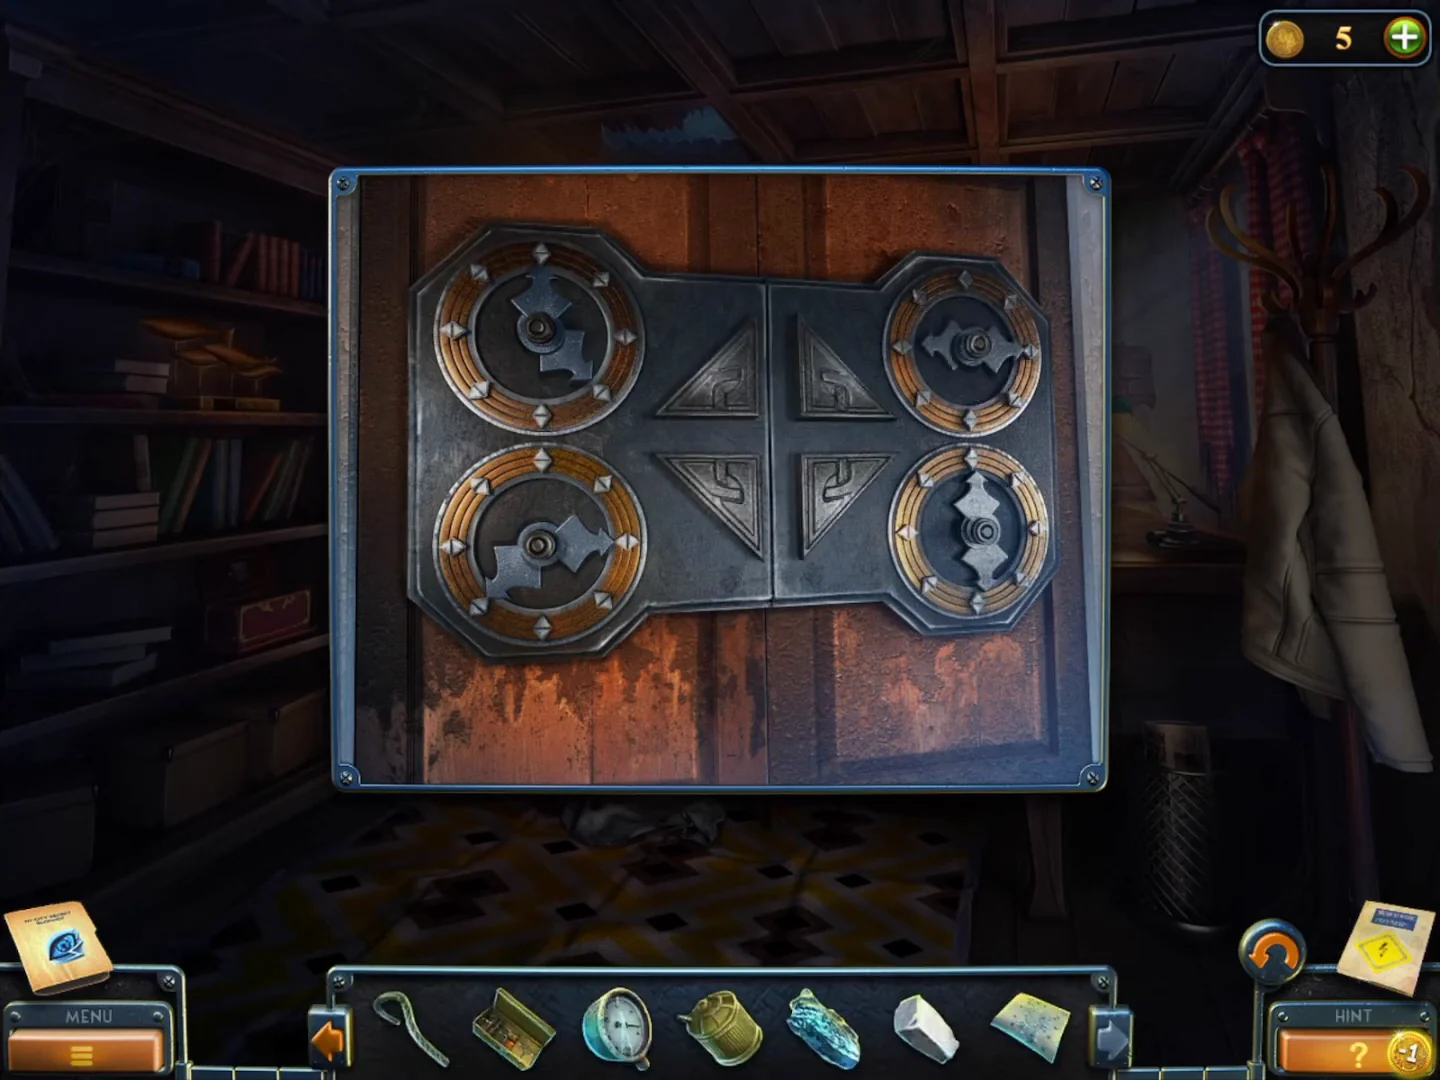
Solved dial positions: all four dials copy the TV gauges. A moment later the panel doors open on a key rack holding the Rope.
Last slide, tower rope and the brick wall
Pick up the last hidden slide, collect the Stone with drawing from the tower and open the brick wall at the secret lab.
- Use the map to go to Samuel's kitchen and take the last hidden slide from the counter right of the toaster. With 20/20 slides a message says 20 levels of an extra mini-game are now in the BONUS section of the main menu. On the main menu itself they are under Extras > Diascope.
- On Tesla's tower top platform, tie the Rope to the broken railing at the left-centre edge of the deck. Look under the deck and take the Stone with drawing.
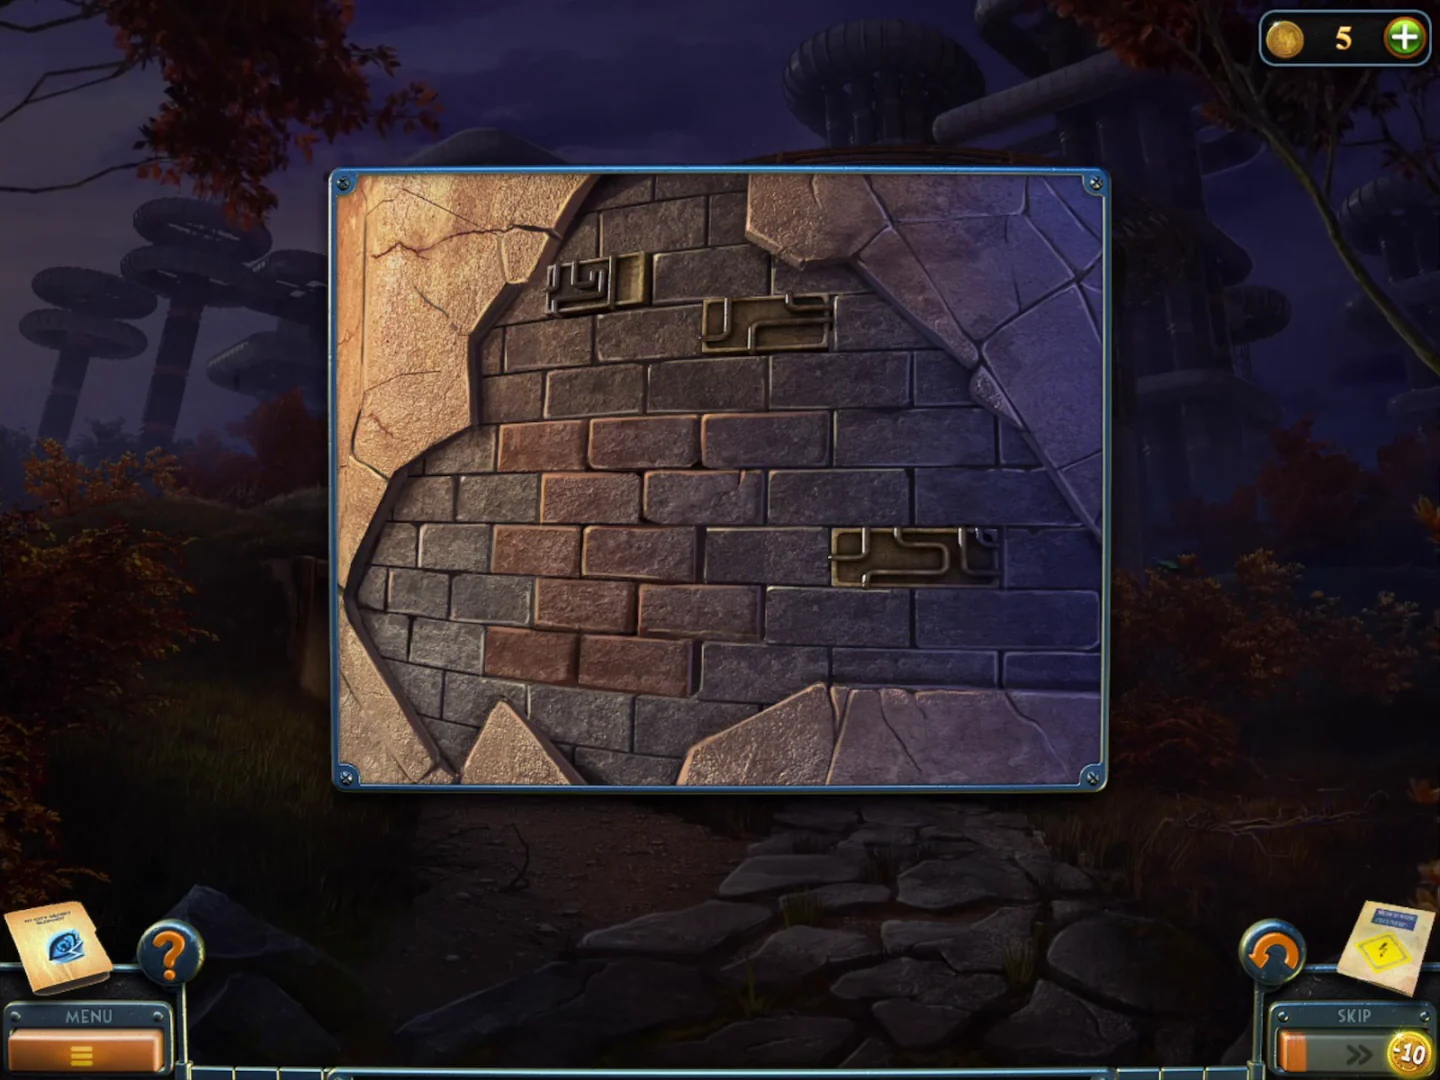
- At the secret lab exterior, zoom into the cracked plaster left of the door and put the Stone with drawing in the empty socket at the lower right. Then press the three glyph bricks in this order: the top-middle glyph, the inserted stone (lower right), then the top-left glyph. A wrong order pops the pressed bricks back out, so you can simply start again.CODEtop-middle, stone, top-left
- Take the Device part from behind the bricks.
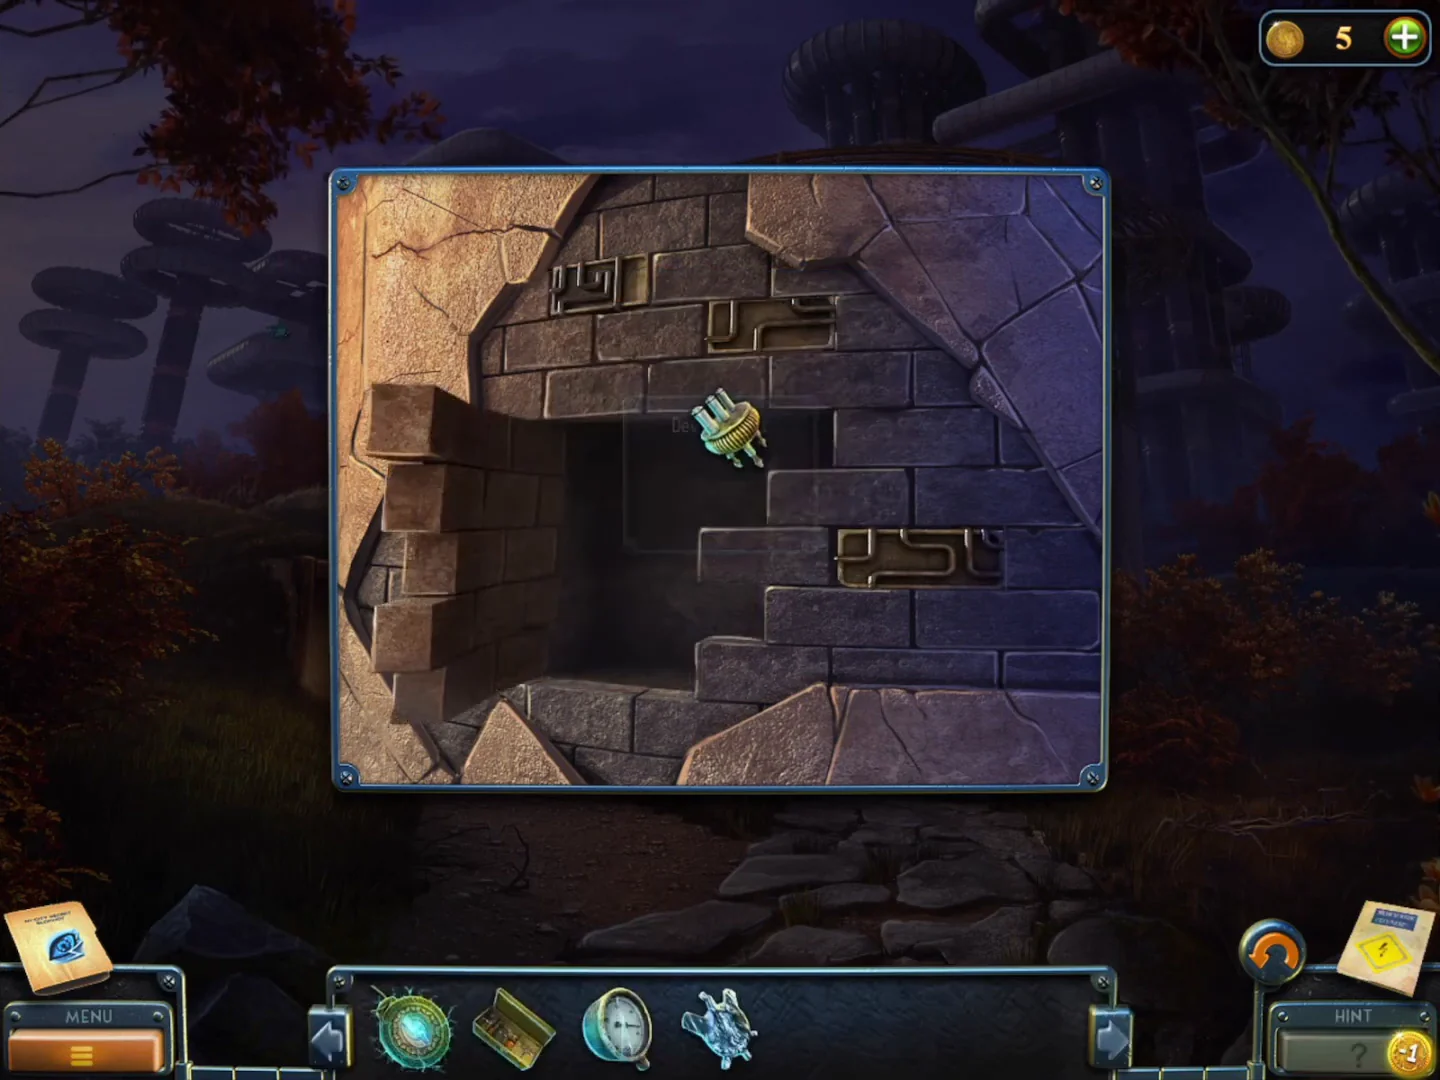
Opened: take the Device part from the cavity.
Tool box, eagle safe and the furnace
Gather the Tool box and Metal nugget, open the eagle safe and cast the missing part in the furnace.
- In the secret lab, William has drawn the device diagram on the easel and leaves you to assemble it.
- Use the map to go to the warehouse and take the green Tool box from the table on the right.
- Back in the device room, pick up the Metal nugget from the device platform.
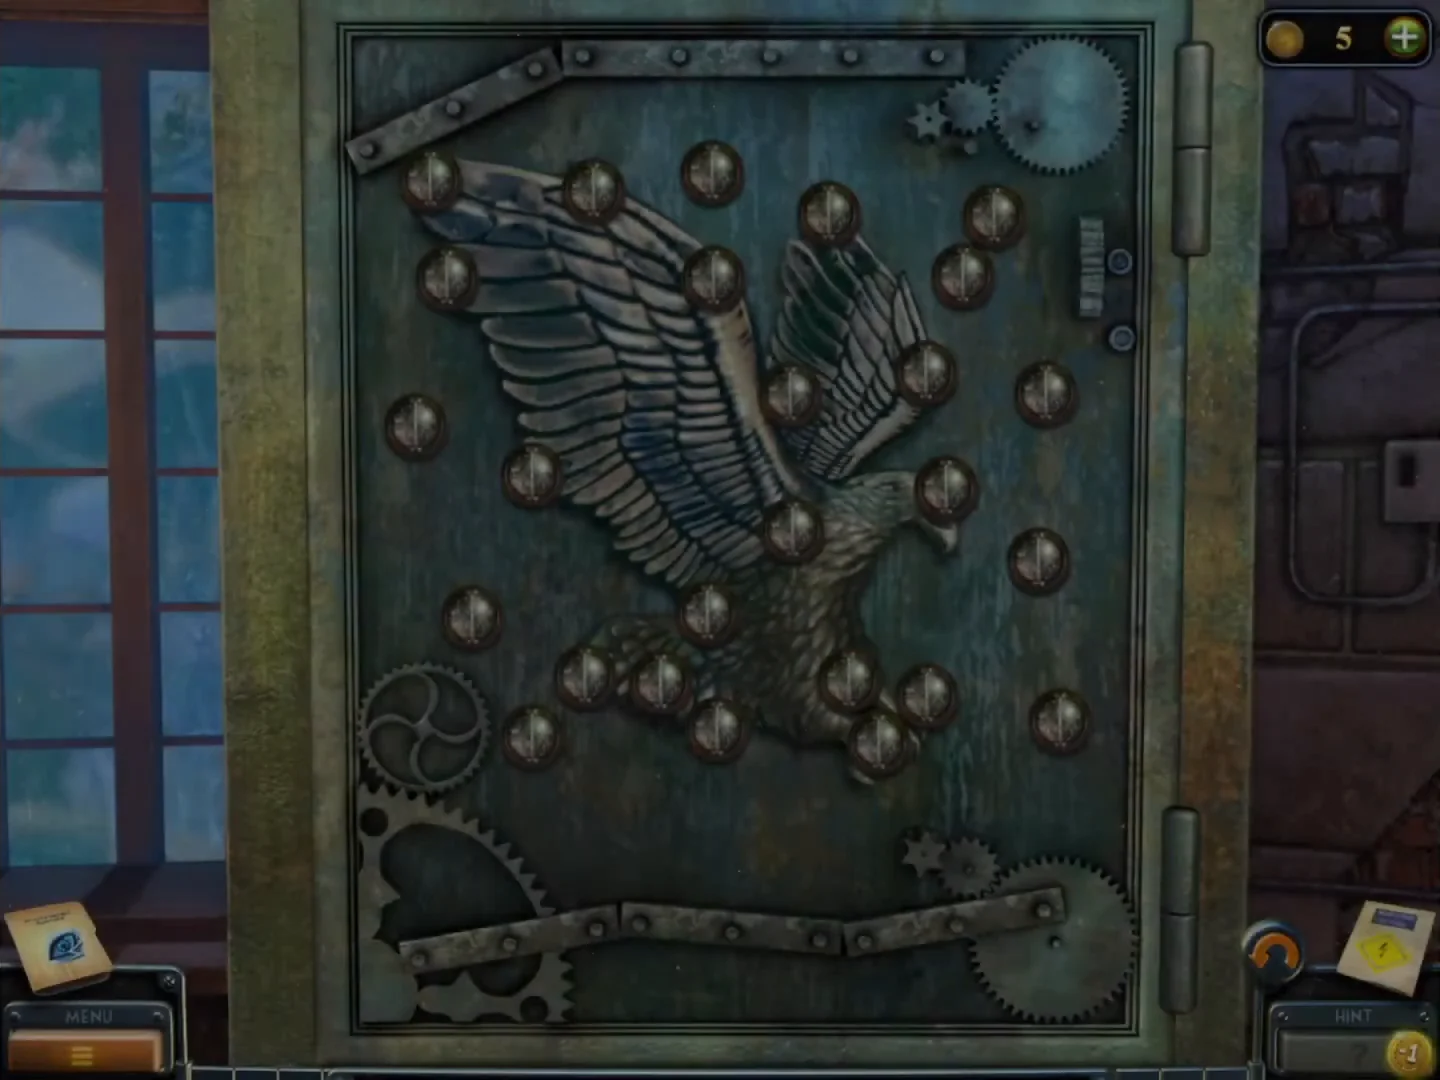
- Zoom into the eagle safe on the back wall (right of the coil) and pin the Diagram. Press the eleven studs that match the chalk stars: top-left wing tip, upper wing centre, top of the right wing, right wing tip, left of the left wing, body centre, right of the head, lower body centre, left of the tail, below the tail and by the lower-right claw. Take the Molding form.
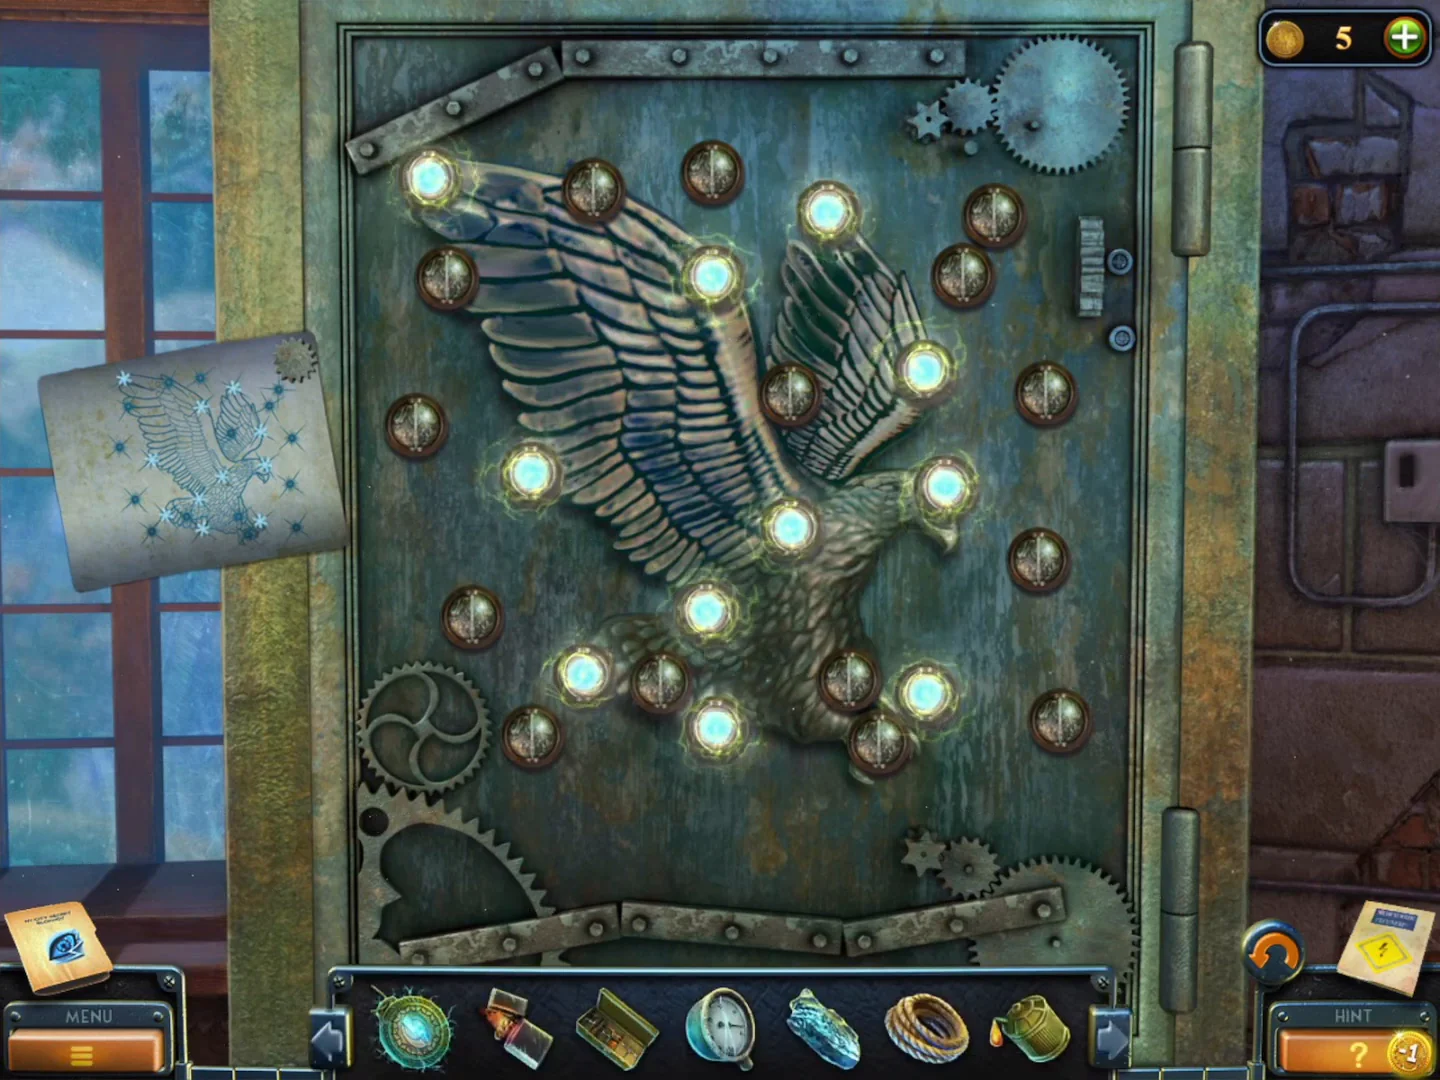
The Diagram pinned beside the safe and all eleven matching studs lit. - At the brick furnace on the right, pour the Full jerry can on the logs in the firebox and light them with the Lighter. In the forge opening, place the Molding form on the ledge, put the Metal nugget in it, push it into the fire and then dip it in the water bucket. Take the cast Device part.
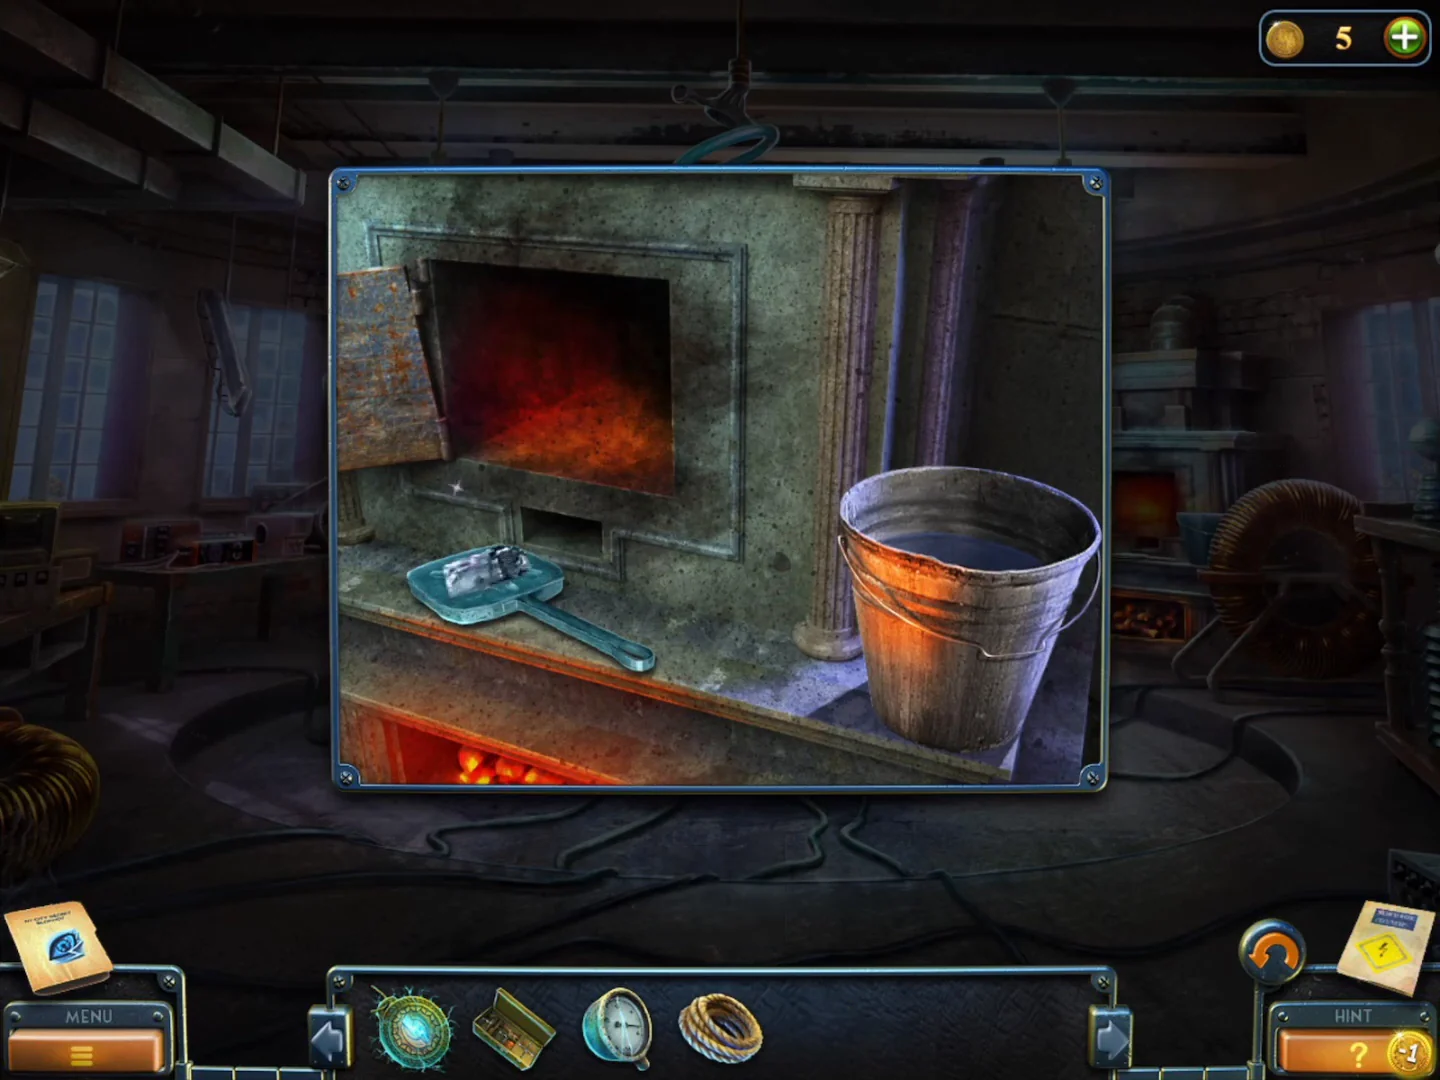
The forge opening with the fire lit, the Molding form on the ledge and the water bucket beside it.
Assembling the trap
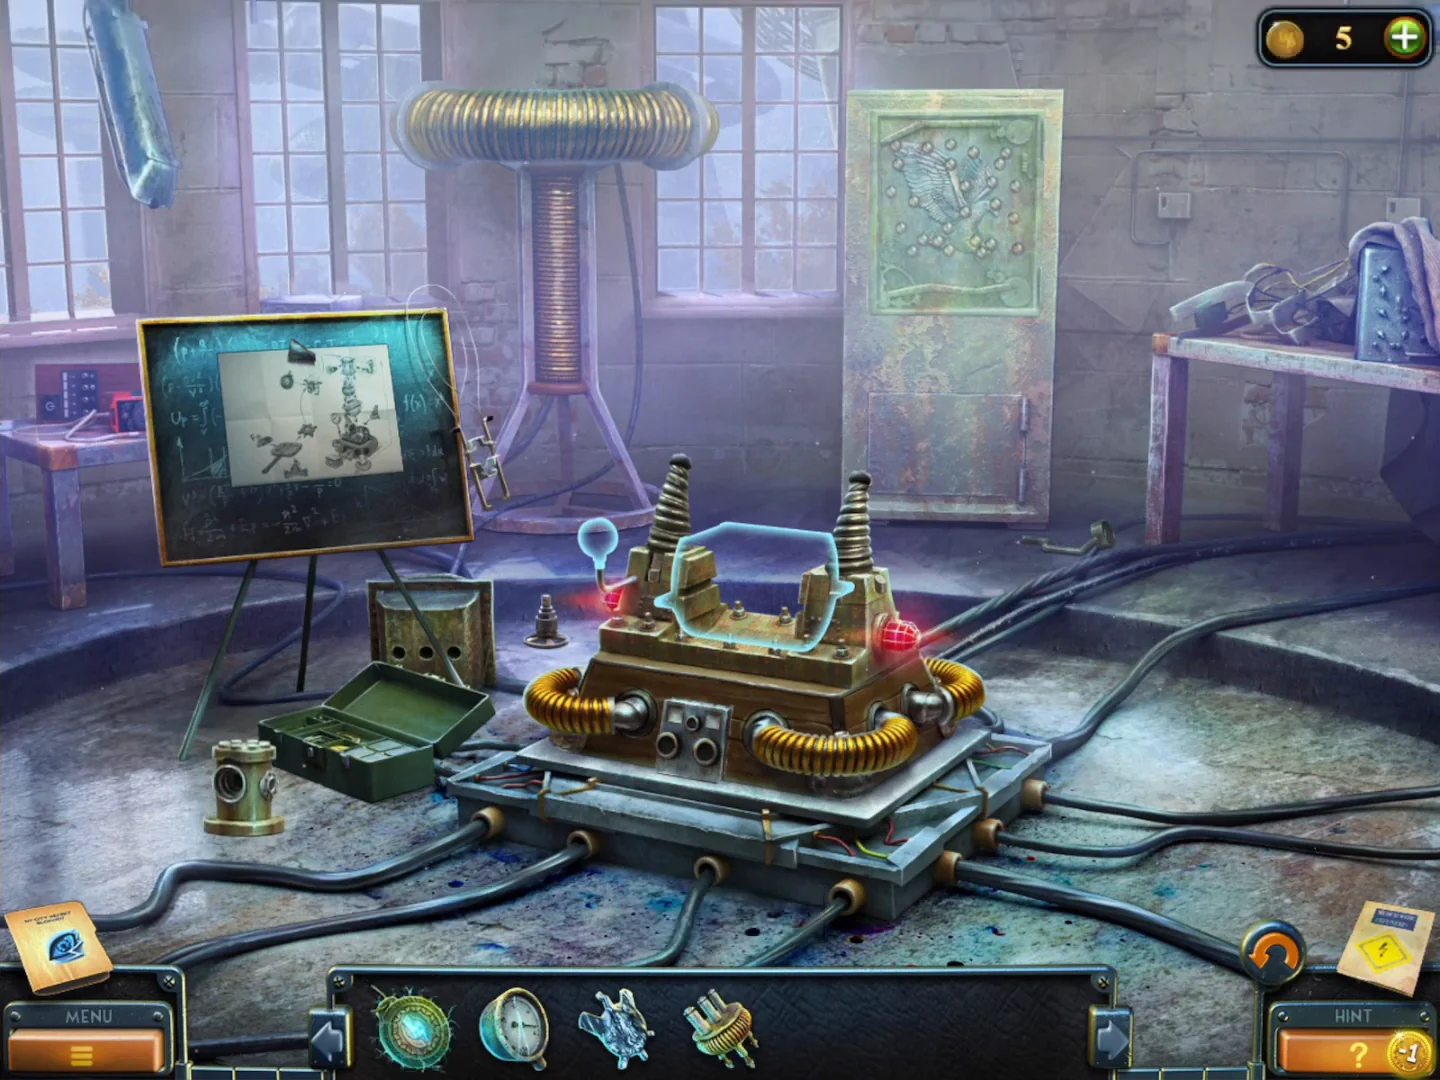
Assemble the device in the secret lab and use the Medallion to spring the trap.
- Put the Tool box on the floor left of the central platform; it opens. Click the device: blue outlines show each missing part. Drag each part onto its outline: the glass tubes and bulbs on top, the cast part on the top mast, the three-pronged electrode at the mast top, the ribbed copper coil (from the floor at the right) along the base and the gauge on the right side.
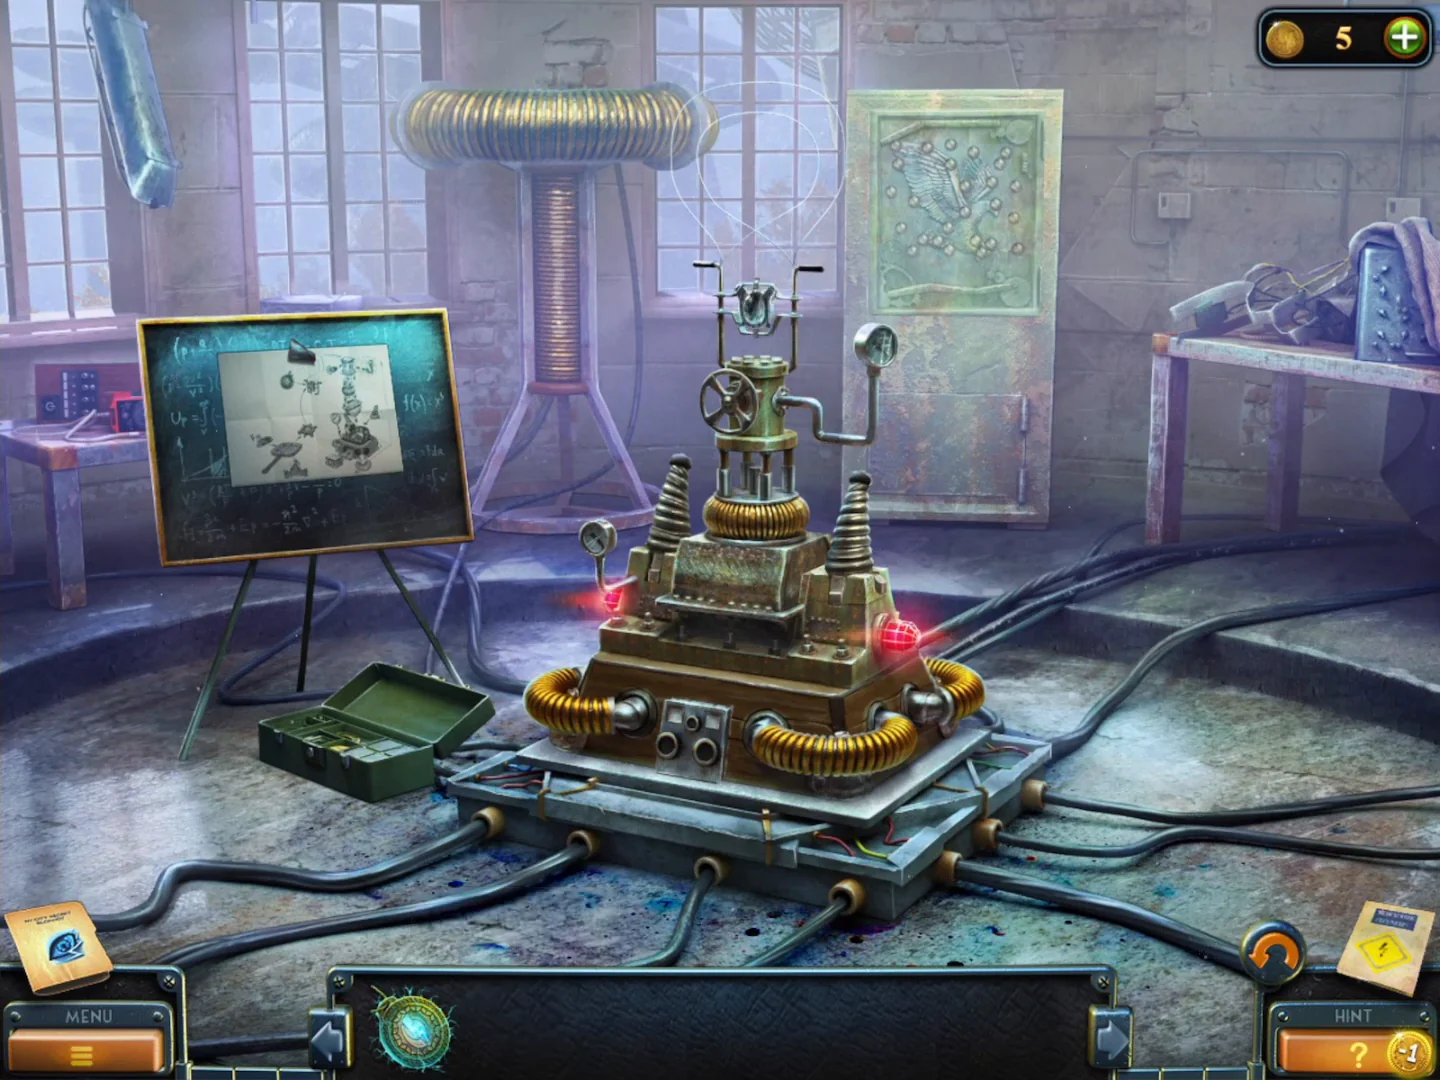
All parts fitted. Place the Medallion in the central round socket to spring the trap. - Place the Medallion in the central round socket to spring the trap. In the final cinematic the device drains the electrical entity.
- Back at the main menu: "CONGRATULATIONS! You have completed the main game! You may now play the bonus chapter." The "Expert" achievement (described as finishing the main story on Hard) appeared here in the playthroughs checked for this guide, without any difficulty being chosen.