To Tesla's tower
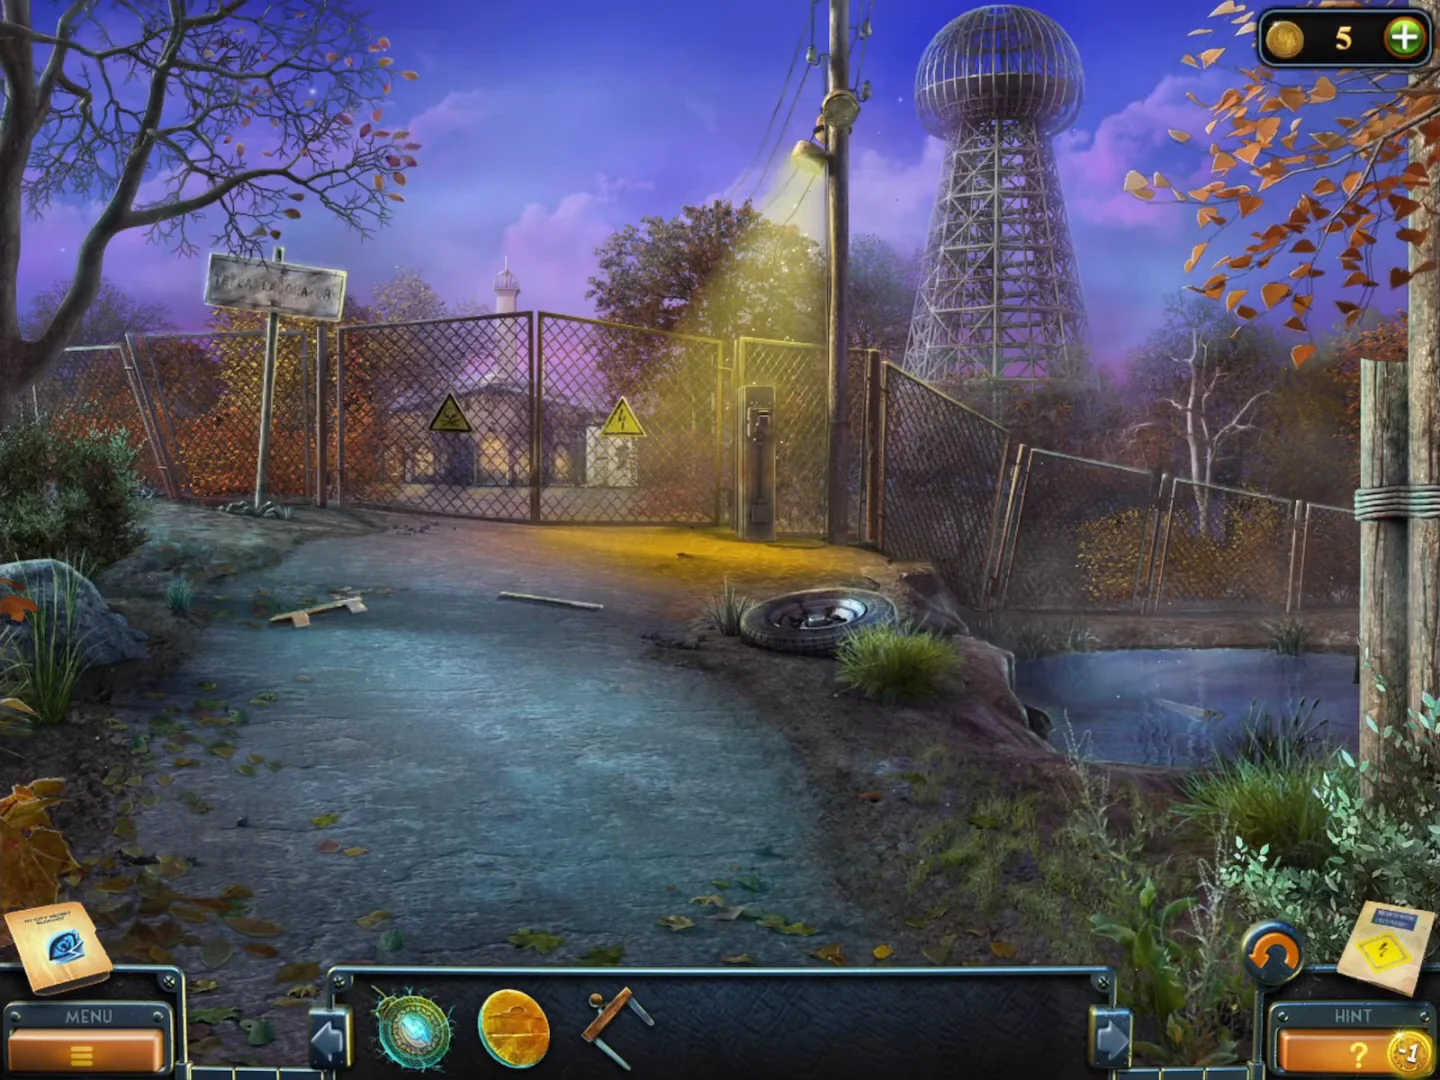
Take the tunnel train to Tesla's tower, open the electrified gate and get into the lab courtyard cellar.
- In the tunnel cavern, insert the Punch card in the "IN" slot of the walkway console and board the train. Laura rides to a park near Tesla's tower.
- Collect the Beyond object on the lamp head of the street lamp (top centre) and the collection item at the left edge of the path. This completes the set of 7 and gives the "Prisoner" achievement.
- The gate is electrified. Put the Hand switch in the power box on the post right of the gate and pull it down. The gate opens.
- In the lab courtyard, take the Fishing rod lying on the ground right of centre by the steps, and collect the Beyond object on the tall chimney at the top centre.
- Back at the tower gate, use the Fishing rod on the pond on the right and take the Saw.
- In the lab courtyard, zoom into the root-covered cellar hatch in front of the right windows. Cut the roots with the Saw, take the Handle from the hatch boards and open the hatch. Laura climbs into the building.
William and the book-spine dragon
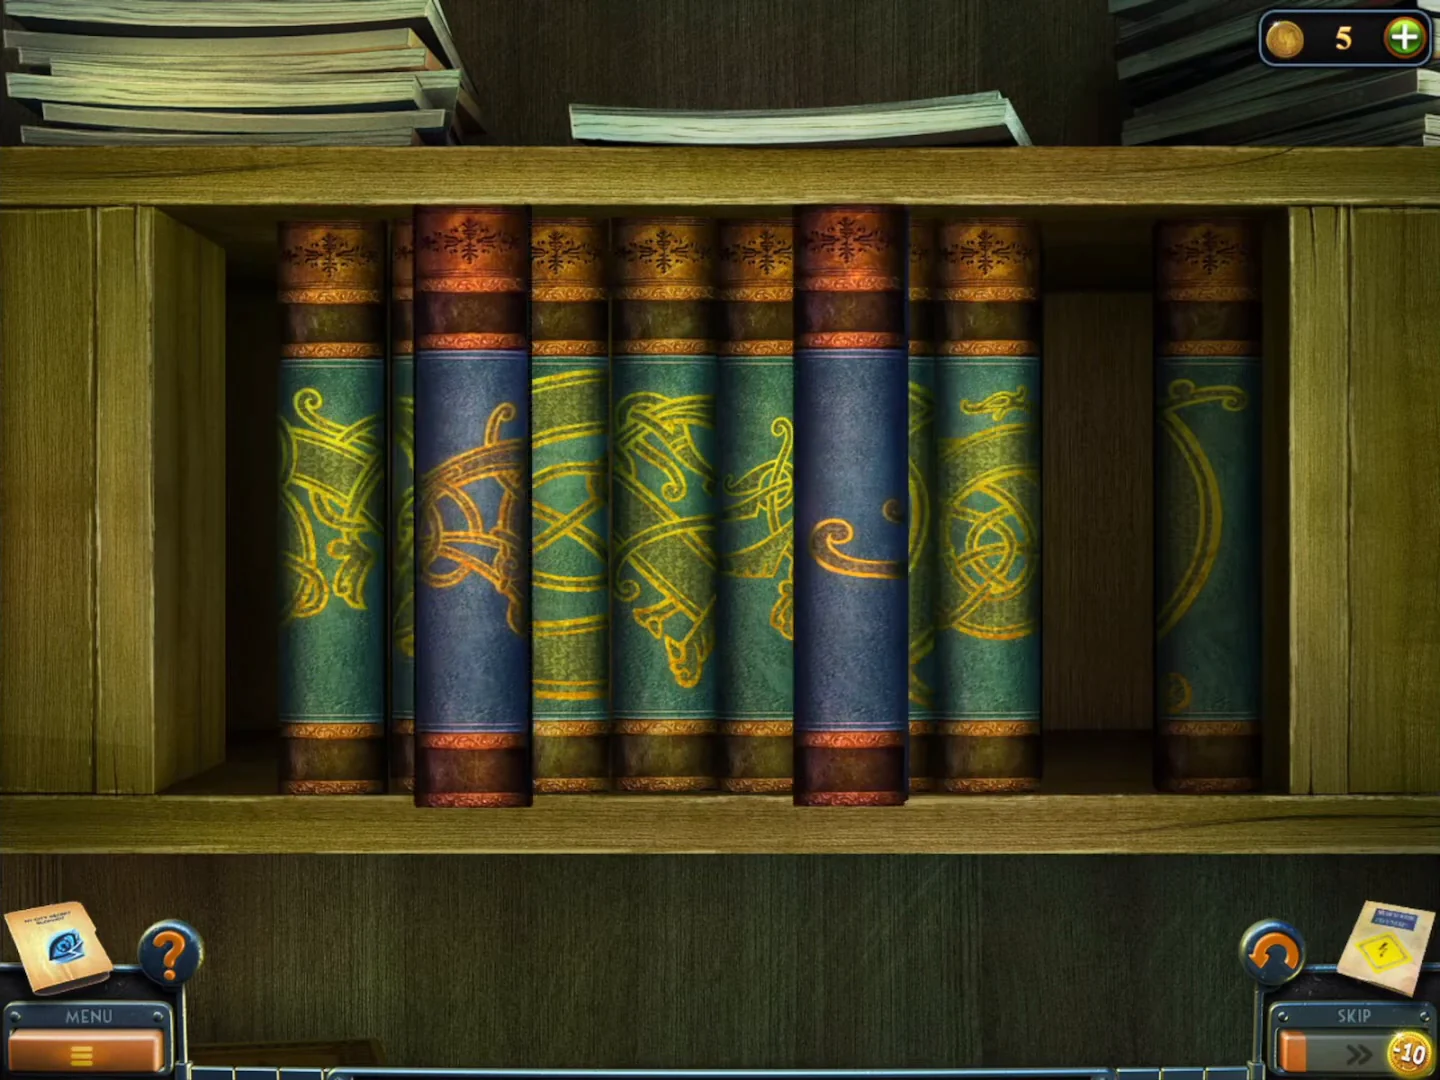
Meet William in the laboratory hall, then complete the dragon on the bookshelf in the derelict bedroom for a coded Note.
- Talk to William in the laboratory hall. He knows about the device but needs medicine for his fever first (task "Medicine").
- Collect the collection item (a small white cat figurine under the gramophone table on the right, against the wall) and take the Long plank leaning right of the double doors.
- Zoom into William's table and take the hidden slide (lower left). Switch on the hot plate and pour the hot pot into the glass so the ice melts. Take the Book from the floor in front of the table.
- Take the Figurine part from the turntable of the gramophone on the right.
- Use the map to go to the derelict bedroom and put the Book in the gap on the bookshelf. Swap books two at a time until the gold dragon runs continuously across all ten spines (head and claws on the left, looping tail on the right).
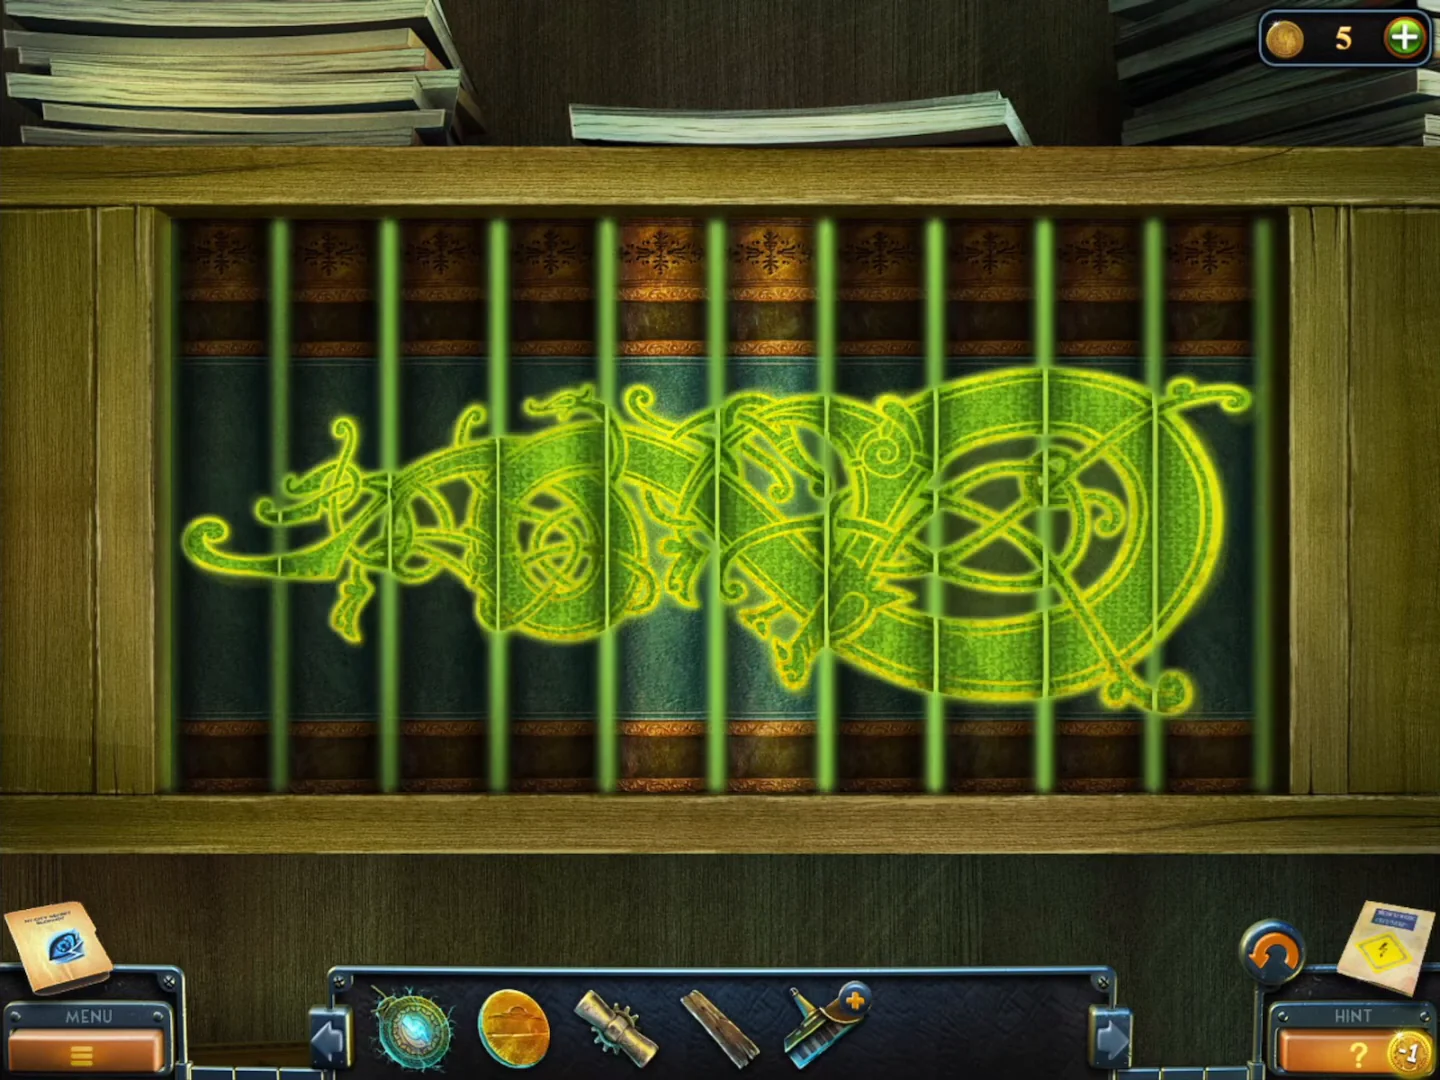
Solved: the dragon runs continuously from its head on the left to its looping tail on the right. - Take the Banknotes, the Lighter, the hidden slide and the Note from the compartment. The Note pairs shapes with numbers: square 7, triangle 3, circle 8, cross 2, diamond 6, star 1, inverted triangle 4, pentagon 5.
UV sterilizer and Samuel's wall safe
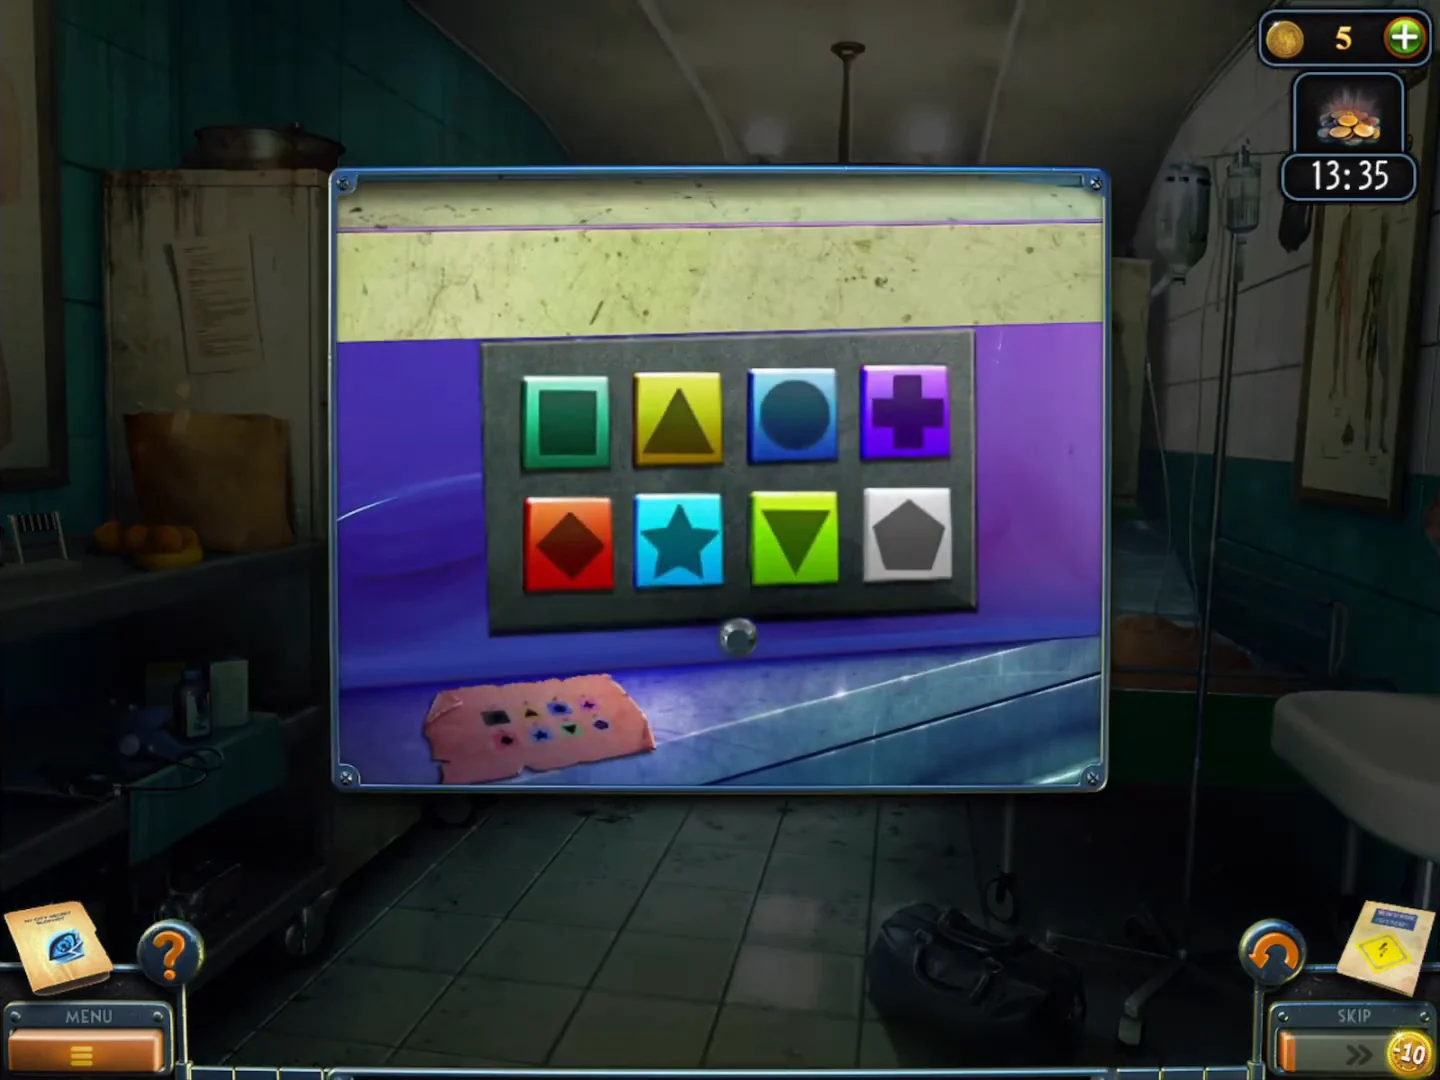
Use the shape code on the infirmary UV sterilizer for the Stethoscope, then open Samuel's wall safe by ear.
- Go to the prison infirmary and zoom into the UV sterilizer cabinet. Place the Note and press the shapes in number order: star, cross, triangle, inverted triangle, pentagon, diamond, square, circle.CODEstar-cross-triangle-inverted triangle-pentagon-diamond-square-circle
- Take the Stethoscope from the sterilizer.
- In Samuel's basement lab, put the Stethoscope on the green wall safe and turn each dial until you hear it click, then move on to the next dial. The safe opened at 9-5-3 (left to right) in both recorded playthroughs; if your dials click at other numbers, use those.CODE9-5-3
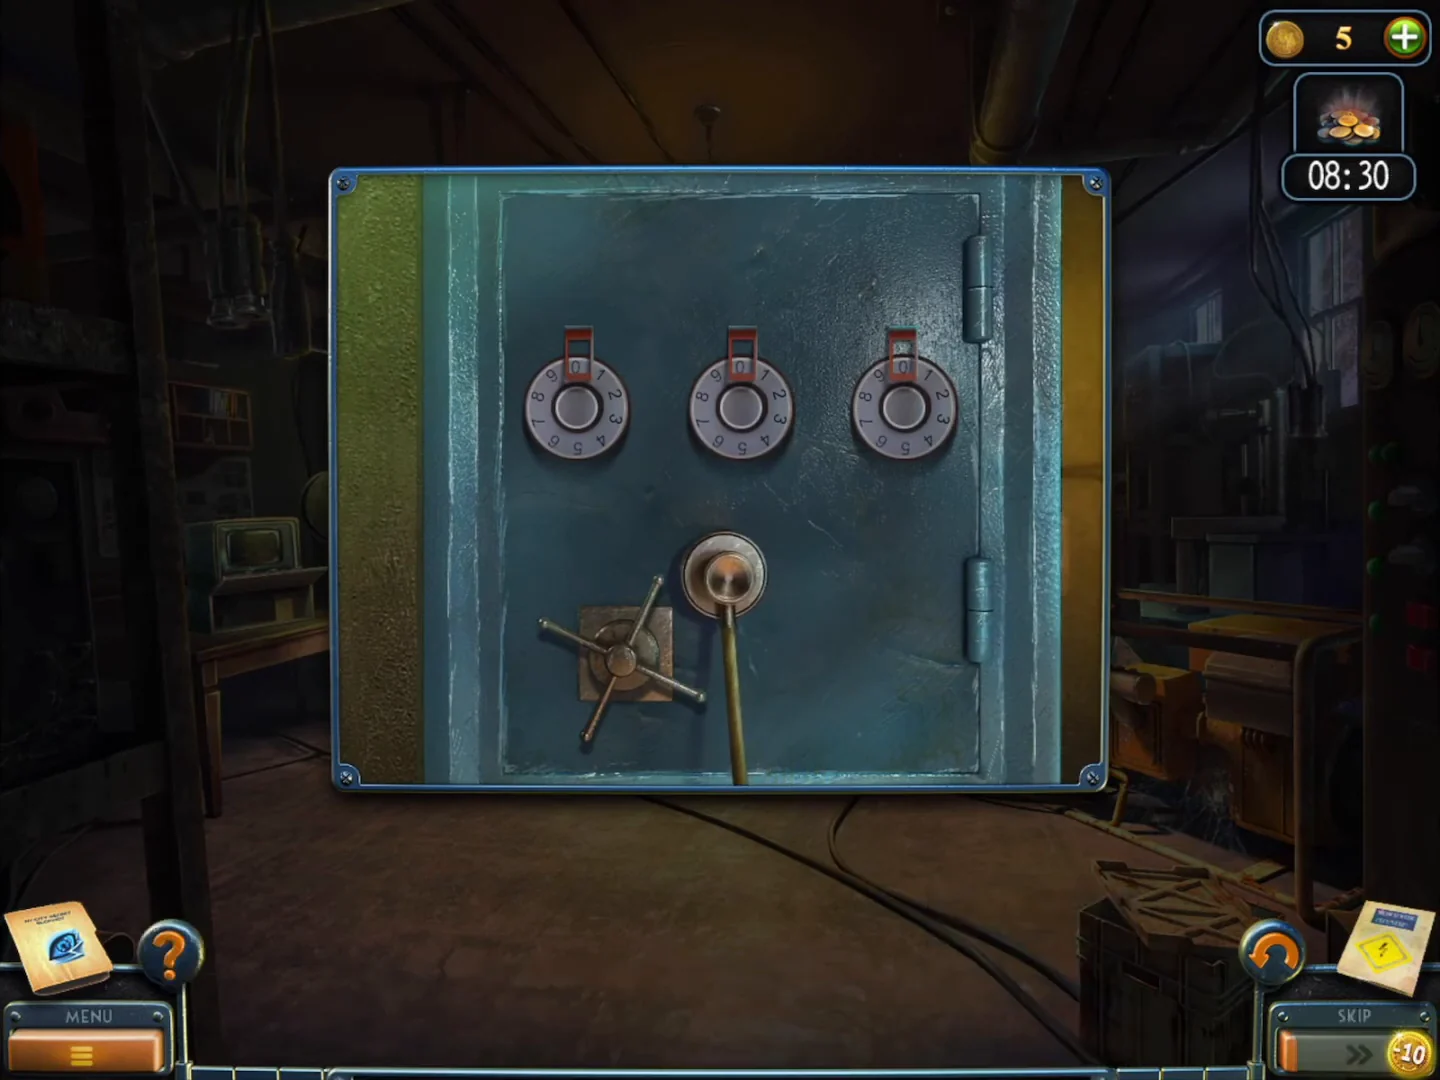
The wall safe in Samuel's basement lab. Listen with the Stethoscope and turn each dial until it clicks. - Take the second Figurine part from the safe.
Chinatown street
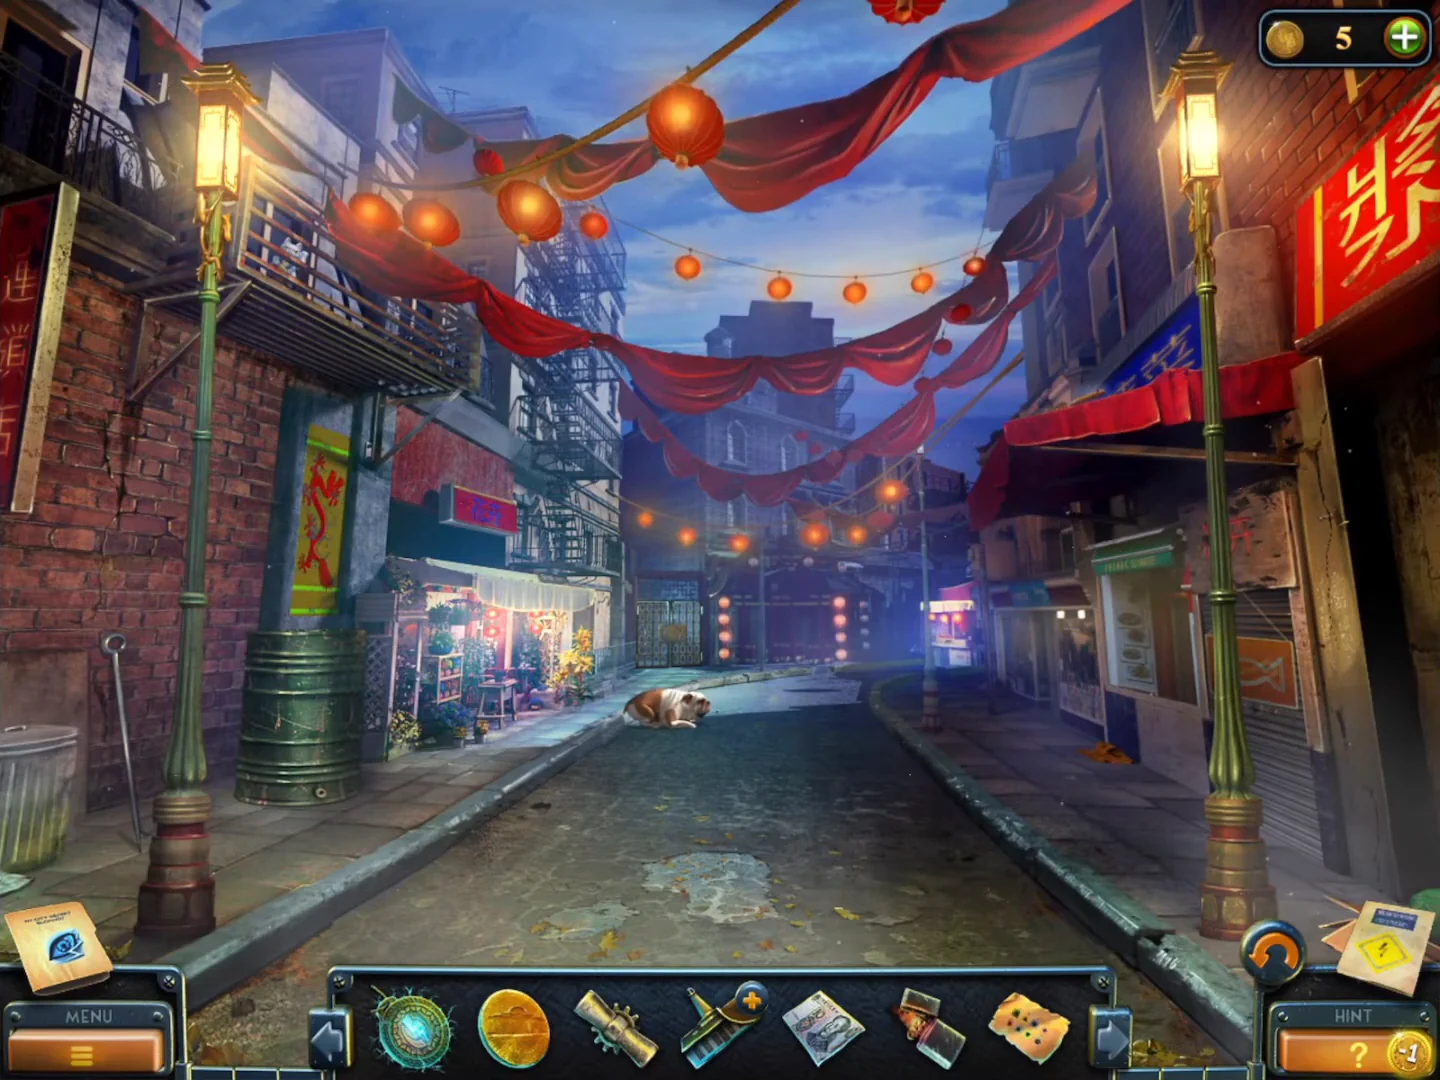
Bridge the sinkhole on Samuel's street to reach Chinatown, buy a Squid kebab and distract the bulldog.
- On Samuel's street, lay the Long plank across the sinkhole by the yellow road sign and cross to Chinatown.
- Take the Gaffing hook (a metal rod leaning against the brick wall at the far left). Collect the collection item (a small white cat figurine on the left balcony) and the Beyond object far down the street, just left of the foot of the street lamp in front of the pink-lit kiosk (it gives off a blue glow).
- Go to the food stall on the right side of the street. Collect the Beyond object (a small grey pot among the pans hanging on the rack at the upper right of the stall, under the big red lantern) and the collection item (a small golden lucky-cat figurine on the café table at the left side of the street behind the stall).
- Zoom into the vendor and pay with the Banknotes to get a Squid kebab.
- Give the Squid kebab to the bulldog lying in the street. While it eats you can enter the flower-shop courtyard on the left.
Flower-shop courtyard
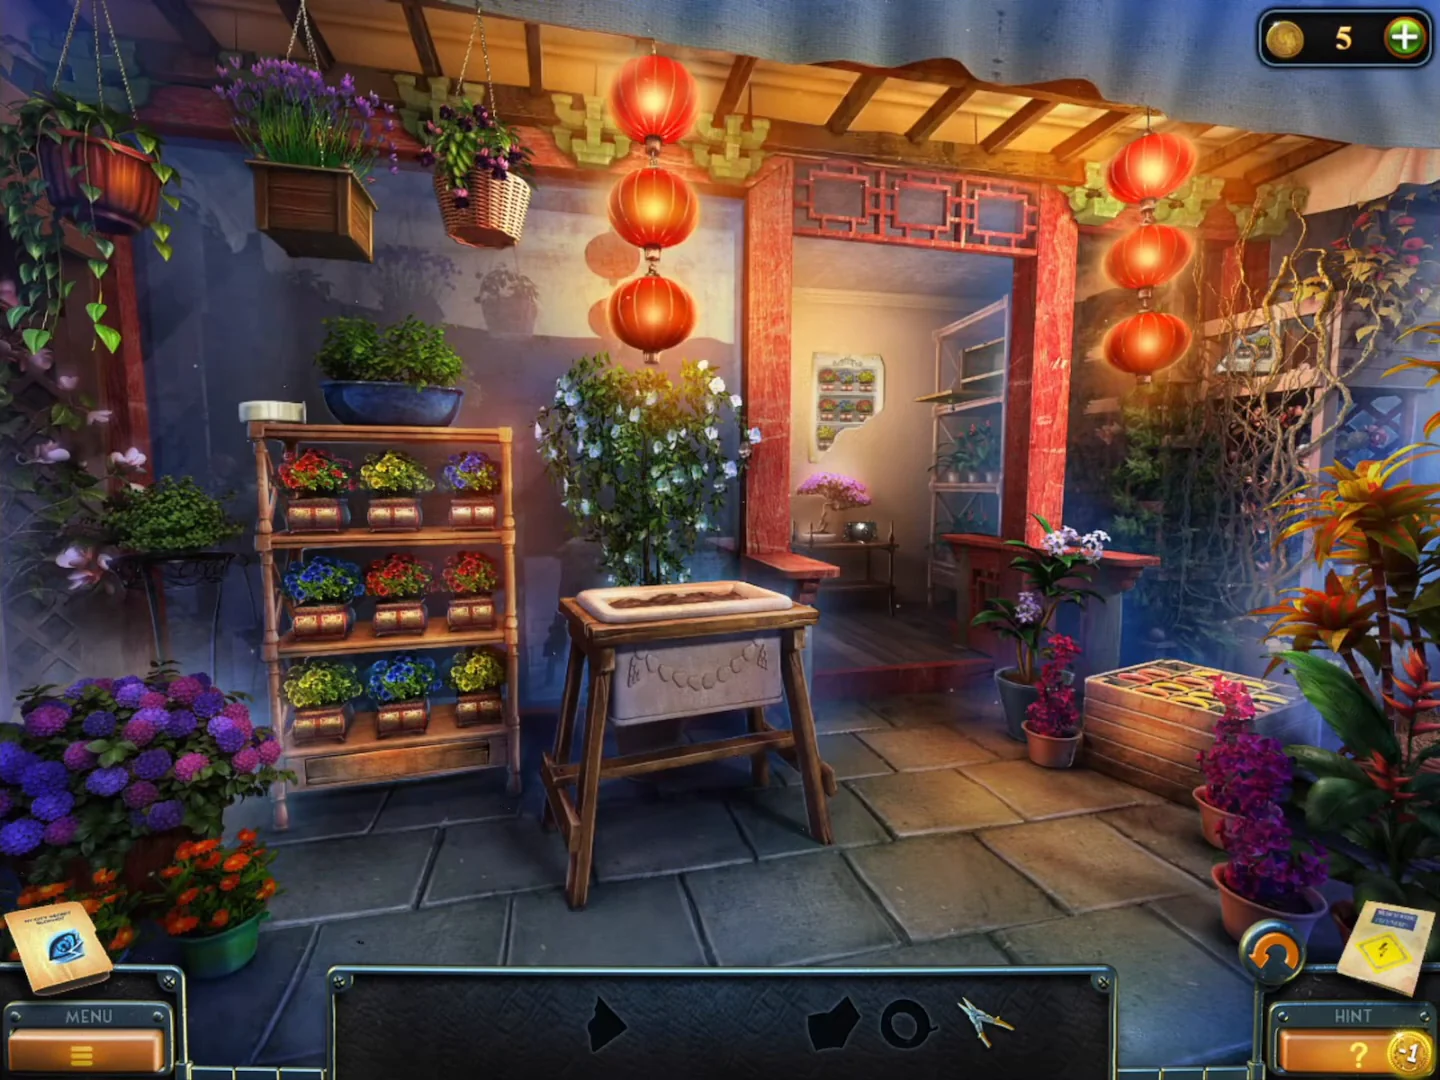
The courtyard is an interactive scene with a silhouette bar.
- A glove is stuck on top of the doorway lintel. Take the Stick (a hooked cane against the right side of the central planter table) and knock the Glove down with it. Take the Glove. Also take the white roll of Tape lying on the top-left corner of the flower shelf on the left.
- Search the wooden crate of empty pots on the right: take the Trowel and the Flowers in pot.
- Loosen the soil of the cactus planter with the Trowel and pull the cacti out with the Glove. Take the Key from the soil, open the locked box with it and take the Garden shears.
- Cut the thorny vines on the right trellis with the Garden shears and take the Torn poster piece.
- Zoom into the poster on the back wall inside the doorway, add the piece and fix it with the Tape from the shelf. It shows a 3x3 grid of pots: top red, blue, yellow; middle red, blue, red; bottom yellow, blue, yellow.CODERBY / RBR / YBY
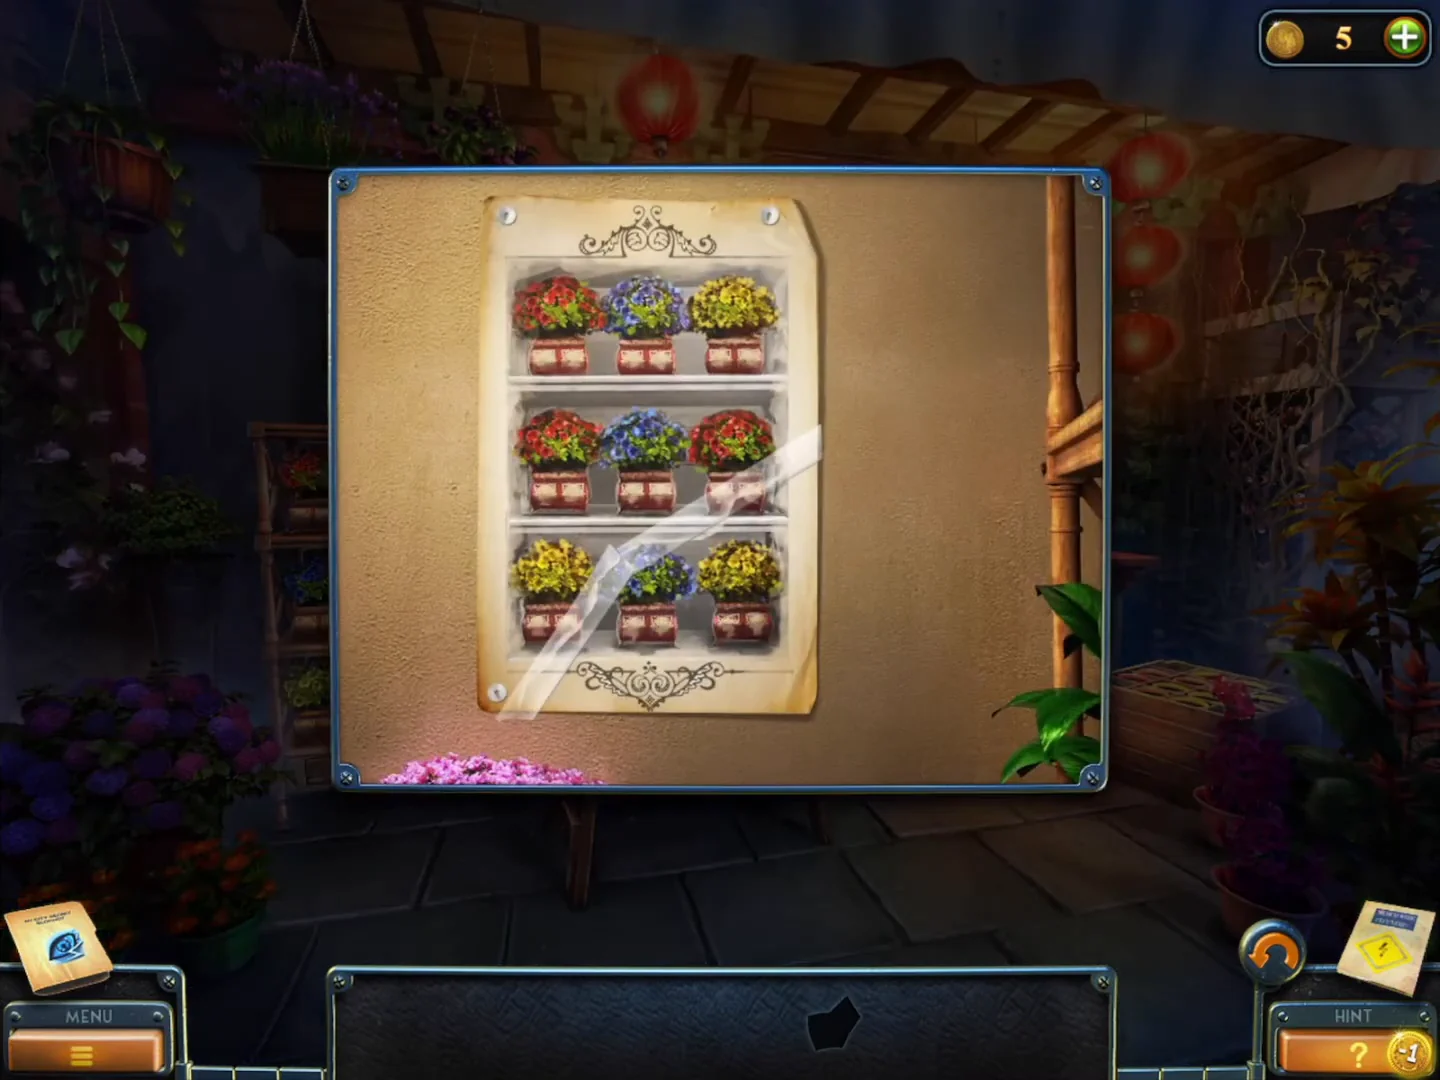
The repaired poster: red, blue, yellow / red, blue, red / yellow, blue, yellow. - Put the Flowers in pot in the empty slot of the flower shelf on the left and swap pots until the shelf matches the poster: red, blue, yellow / red, blue, red / yellow, blue, yellow. Take the Porcelain fragments from the bottom drawer.CODERBY / RBR / YBY
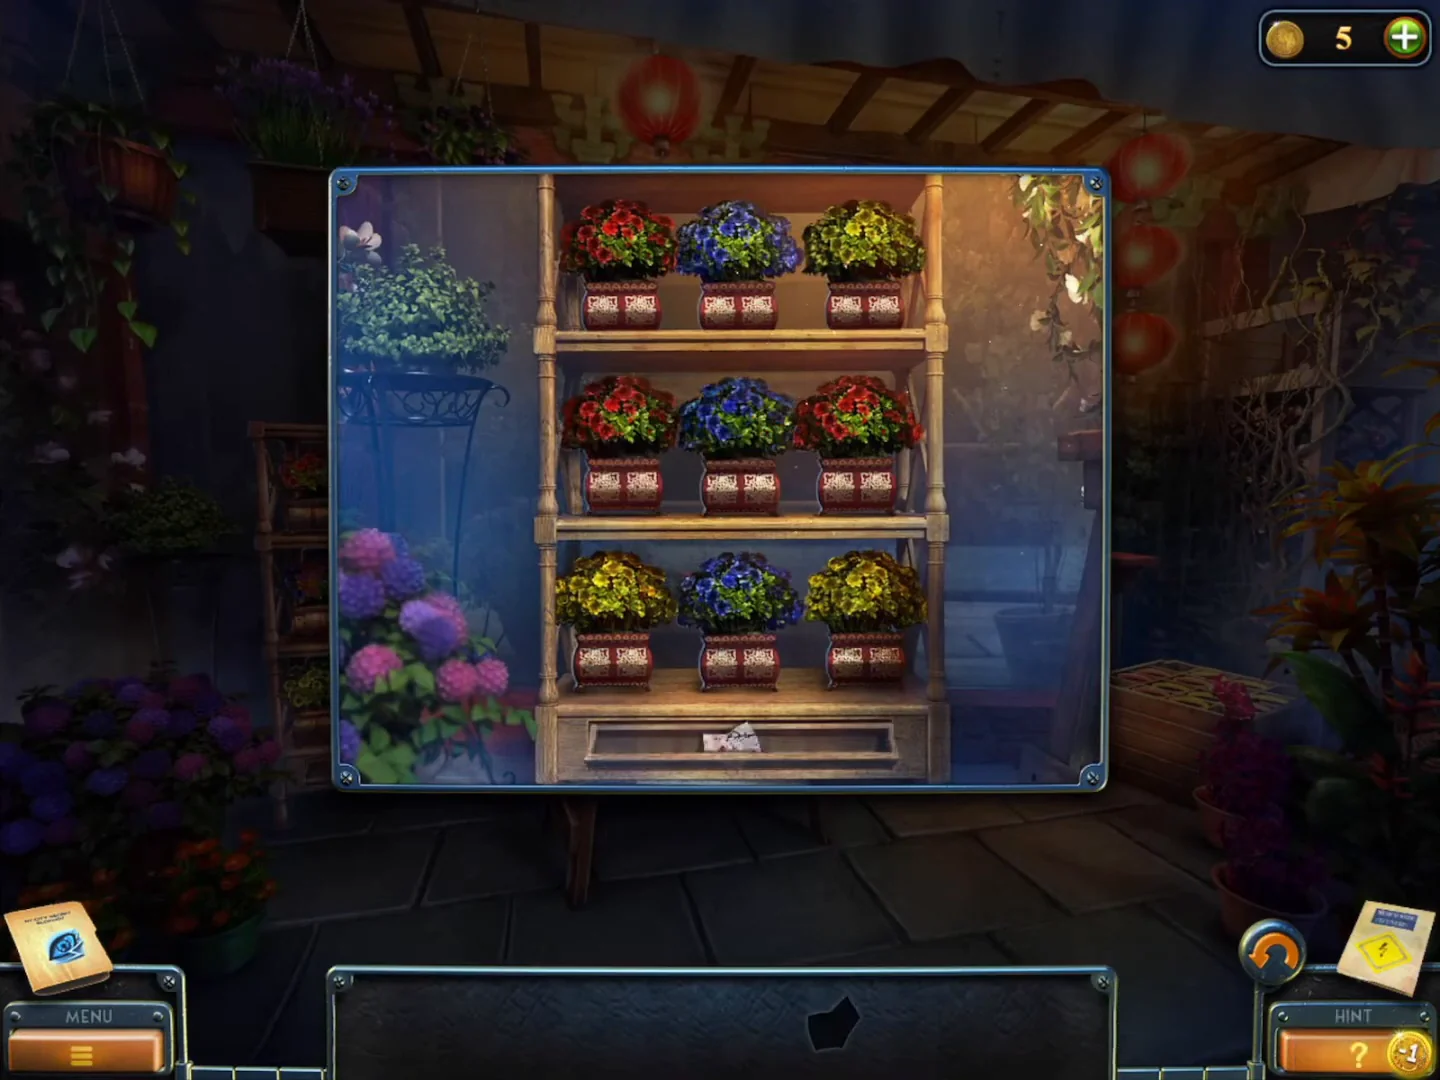
Solved: the shelf matches the poster. - Place the Porcelain fragments on the round tray on the central table and assemble the cherry-blossom plate by moving and rotating the pieces. Take the Fever pill.
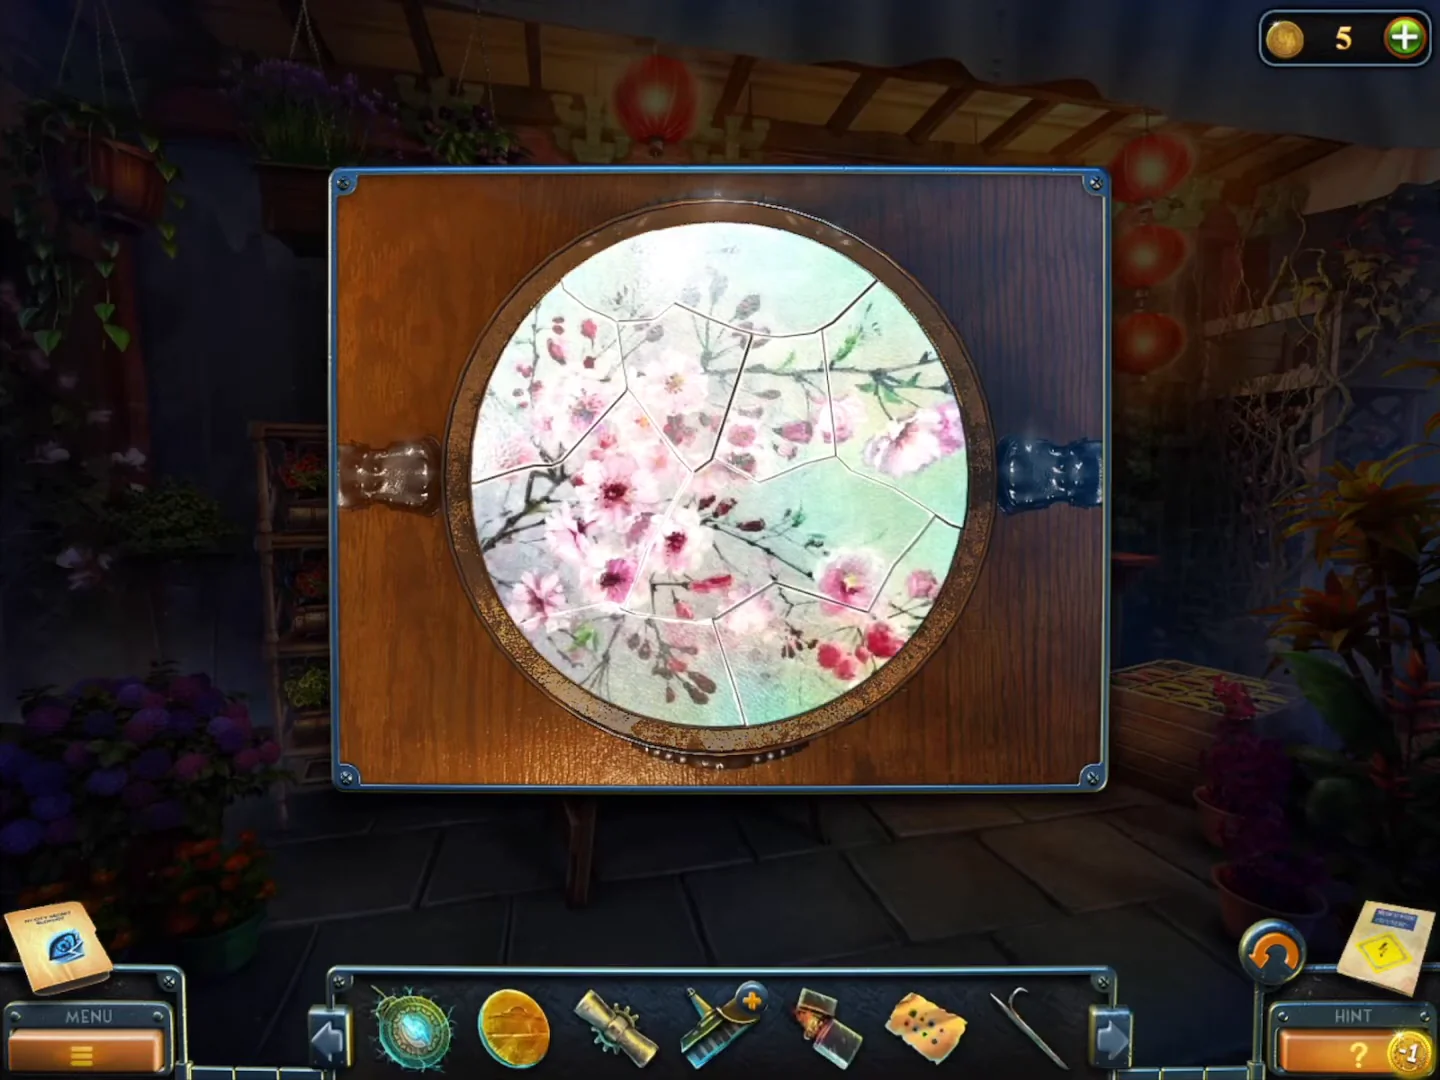
The porcelain plate assembled into one cherry-blossom picture.
Chinatown gate ball maze and the origami boy
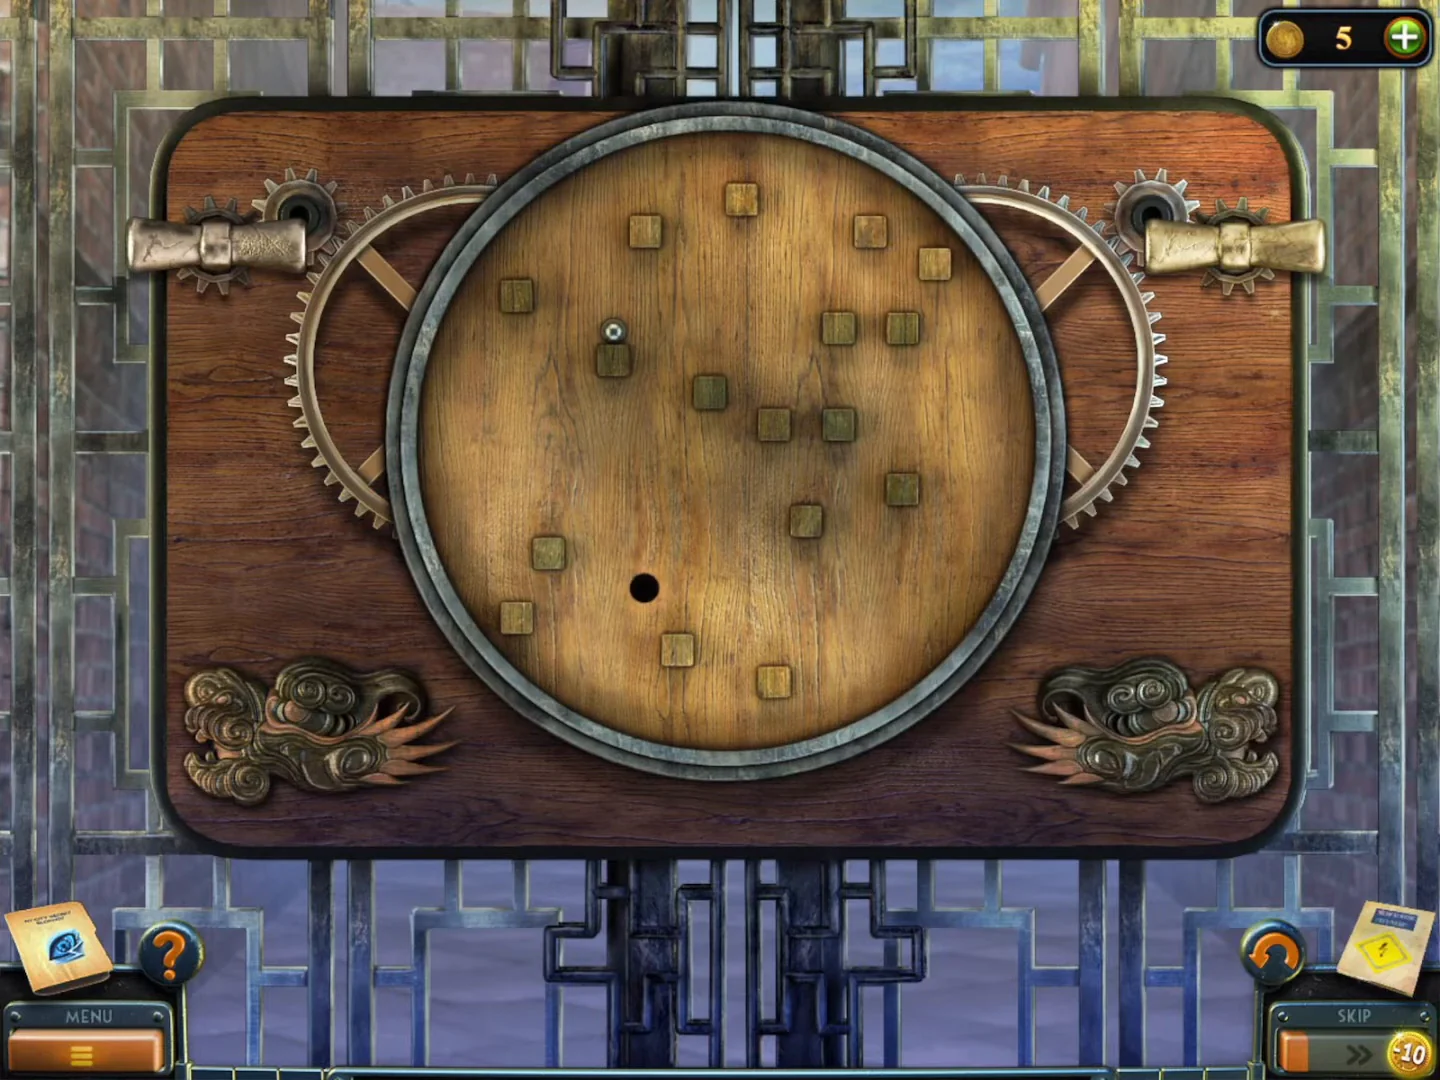
Open the round ball-maze lock on the Chinatown gate, meet the origami boy and take the Hose from the gas hatch.
- Zoom into the round wooden lock on the gate at the end of the street and put the Handle in the empty right socket.
- The left handle (A) and the right handle (B) each turn the disc a step; the ball rolls down between the pegs. Press: A, B, A, A, B, B, B, A, A, B, B, B, B, A, A, A, B, B, B. Wait for the ball to stop rolling before each press. The ball drops into the hole and the gate opens.CODEA B A A B B B A A B B B B A A A B B B
- In the alley behind the gate, talk to the origami boy. He wants coloured paper (task "Origami").
- Collect the collection item (a small grey lucky-cat figurine on the ground at the front left corner of the boy's stall) and the Beyond object (a small dark object on the ledge just right of the stall, beside the red-and-white bucket).
- Lift the "MAIN GAS" hatch in the cobblestones with the Gaffing hook and take the Hose.
William's medicine and the bell
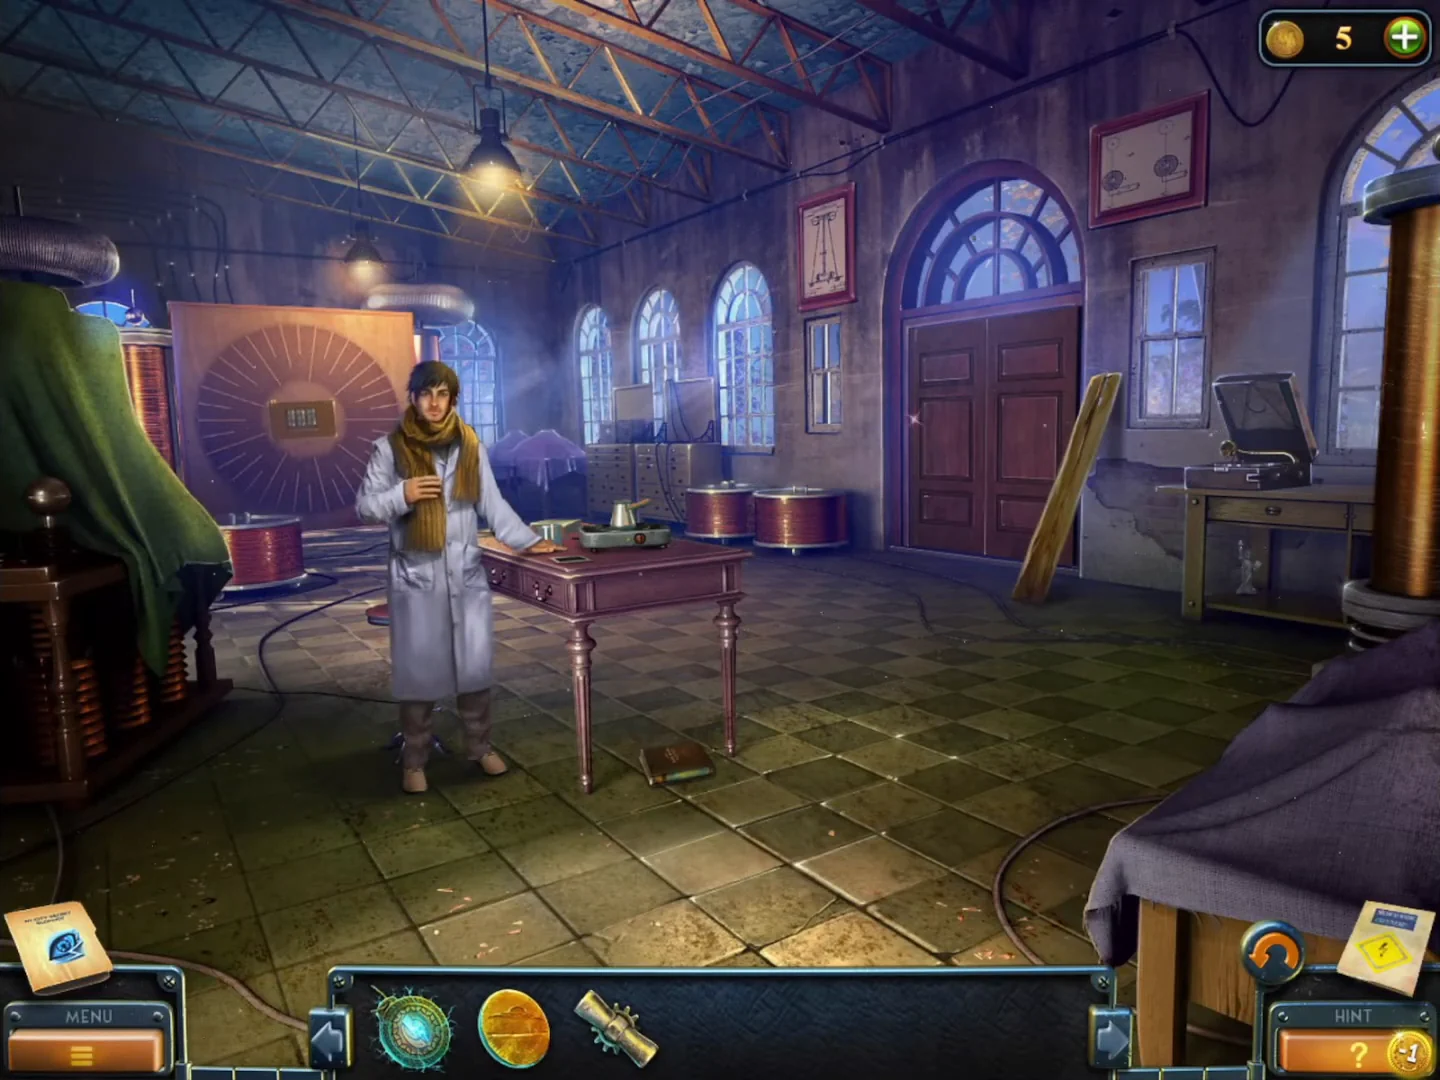
Cure William's fever. He receives the medicine and gives you the Bell.
- Return to William's table in the lab hall, put the Fever pill in the glass of warm water and take the Fever medicine. Give it to William.
- William plans to track Hugo through the medallion and needs parts from a friend's repair workshop in Chinatown. He gives you the Bell; the task "Medicine" is completed.
- Optional collectibles nearby: in the lab hall, a Beyond object by the guitar leaning against the back wall left of the table; outside below the tower, a collection item at the upper left where the long diagonal beam meets the left girders, and a Beyond object among the orange leaves at the far left edge, level with the top of that beam; on the pumpkin-field road, a Beyond object (a small brown cylinder) lying on the dirt path right of centre in front of the wooden trough, and a collection item on the broken fence at the left beside the shack's leaning planks.
Repair-shop shutter and the toolbox
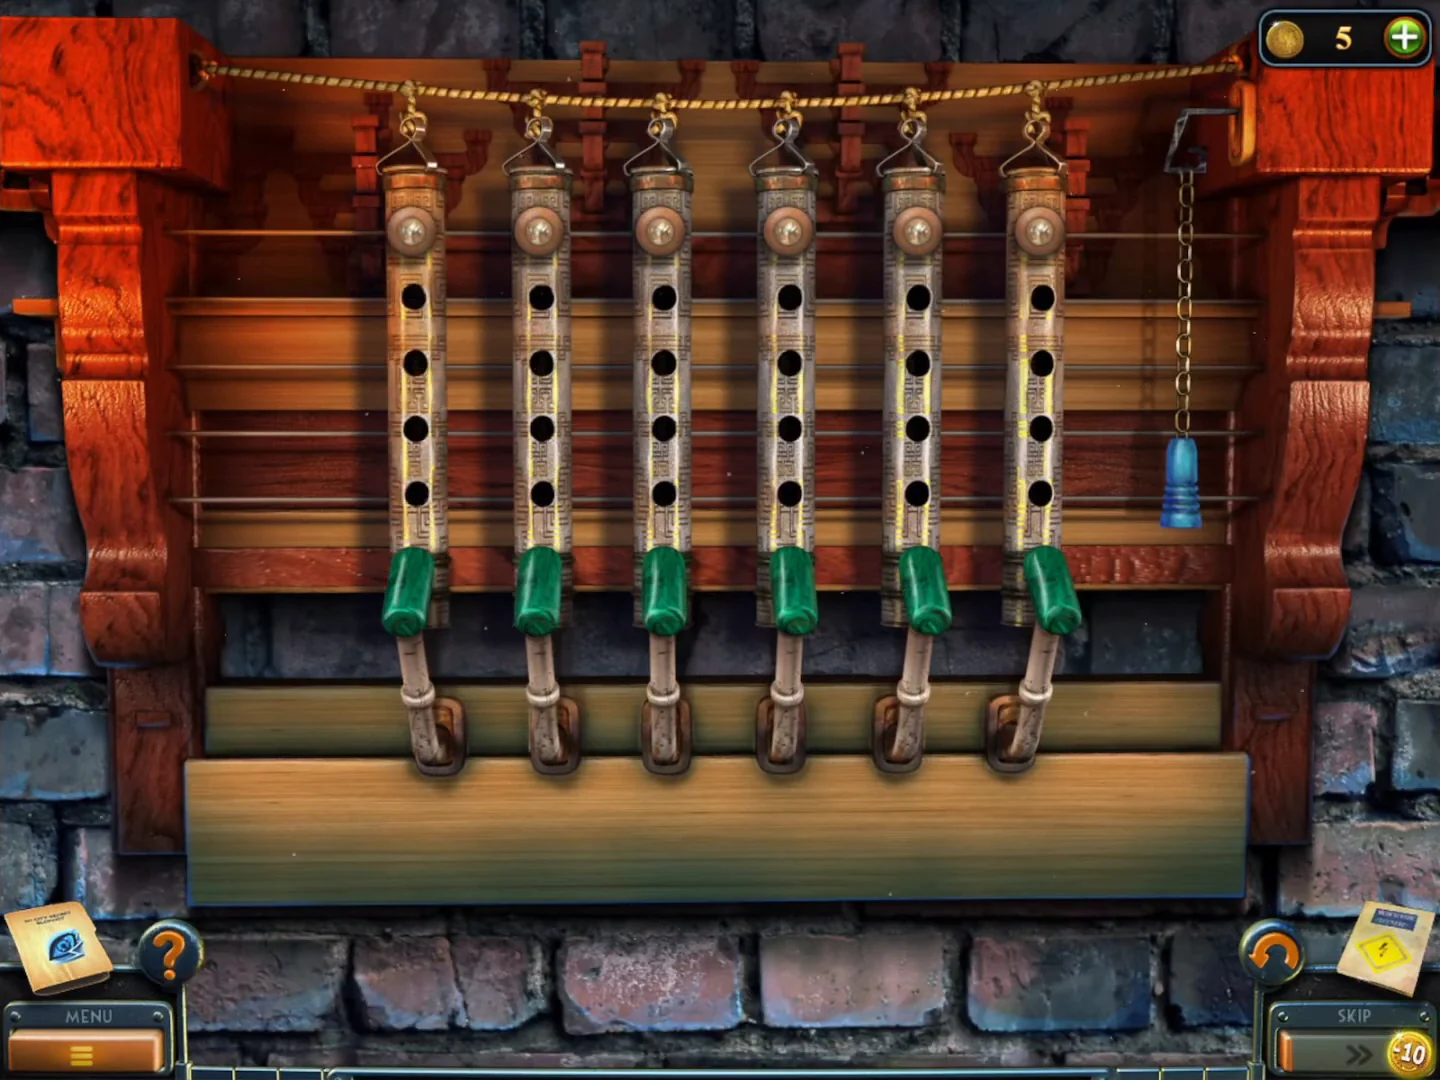
Open the repair-shop shutter with the Bell, then tidy the owner's toolbox for the Wrench.
- In the origami alley, zoom into the roll-up shutter mechanism right of the stall (six tubes with sliding stoppers) and hang the Bell on the chain.
- Ringing the bell lights each tube red (wrong) or green (right). Counting the five holes from the top, set the stoppers to tube 1: 5, tube 2: 4, tube 3: 1, tube 4: 5, tube 5: 1, tube 6: 4, then ring the bell. All lamps turn green and the shutter opens.CODE5-4-1-5-1-4
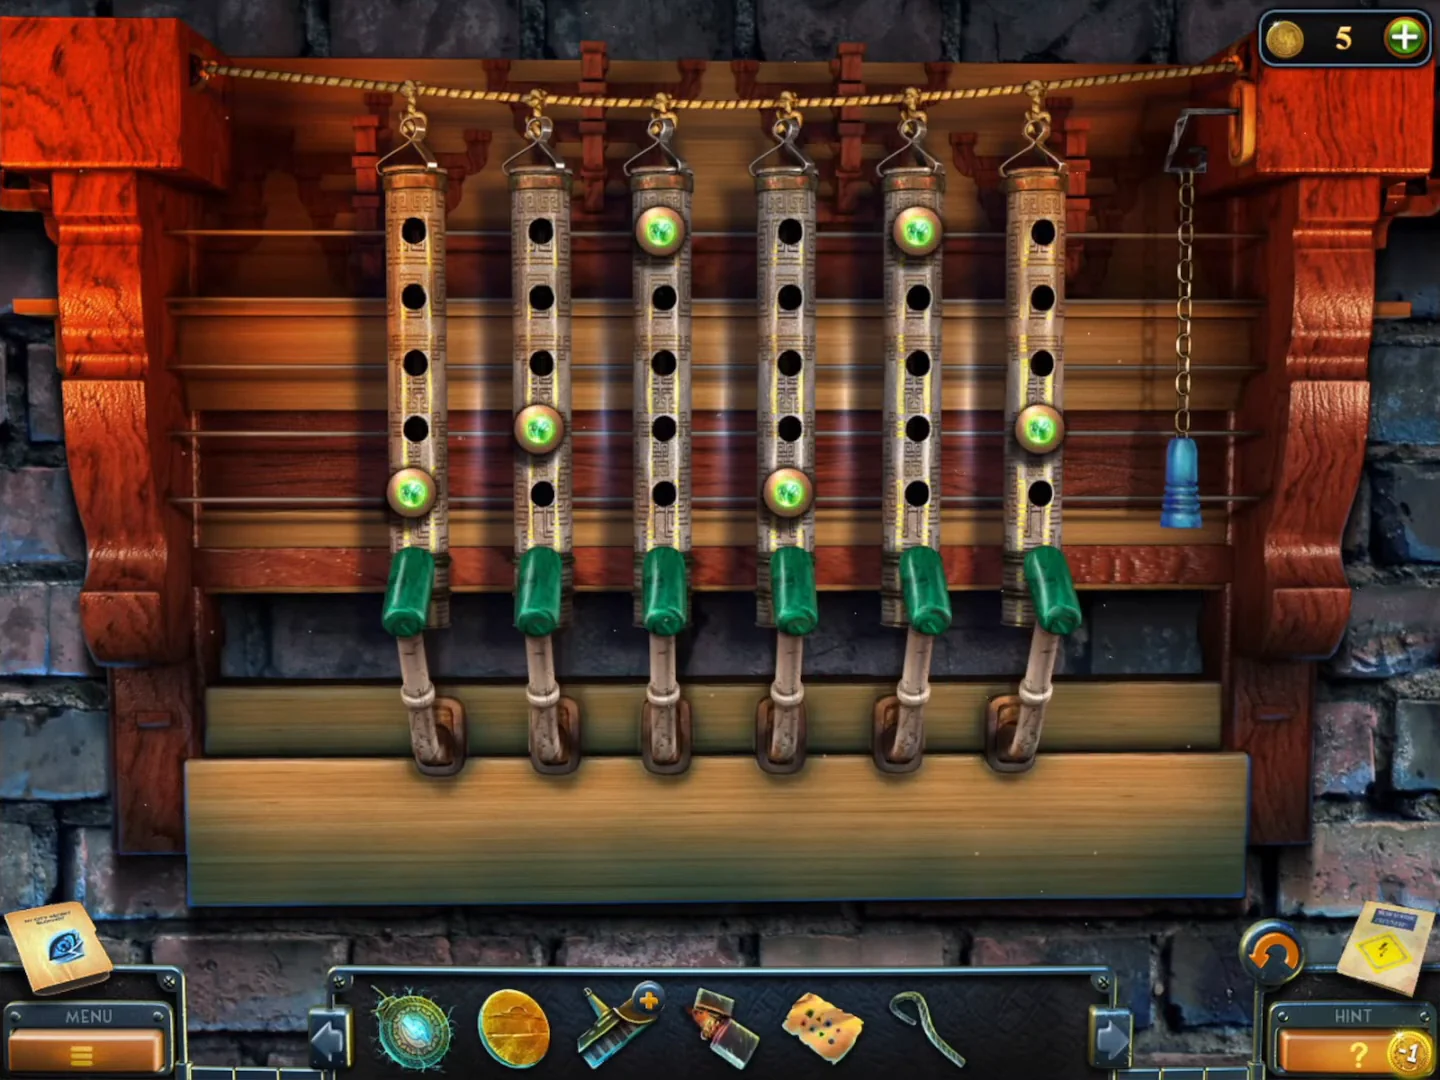
Solved: holes 5, 4, 1, 5, 1, 4 from left to right, and every lamp is green. - Talk to the workshop owner, who has hurt his hands. Zoom into the toolbox on his desk and drag each loose tool (clamp, square frame, cross wrench, screwdriver, adjustable wrench, tape) into its matching compartment.
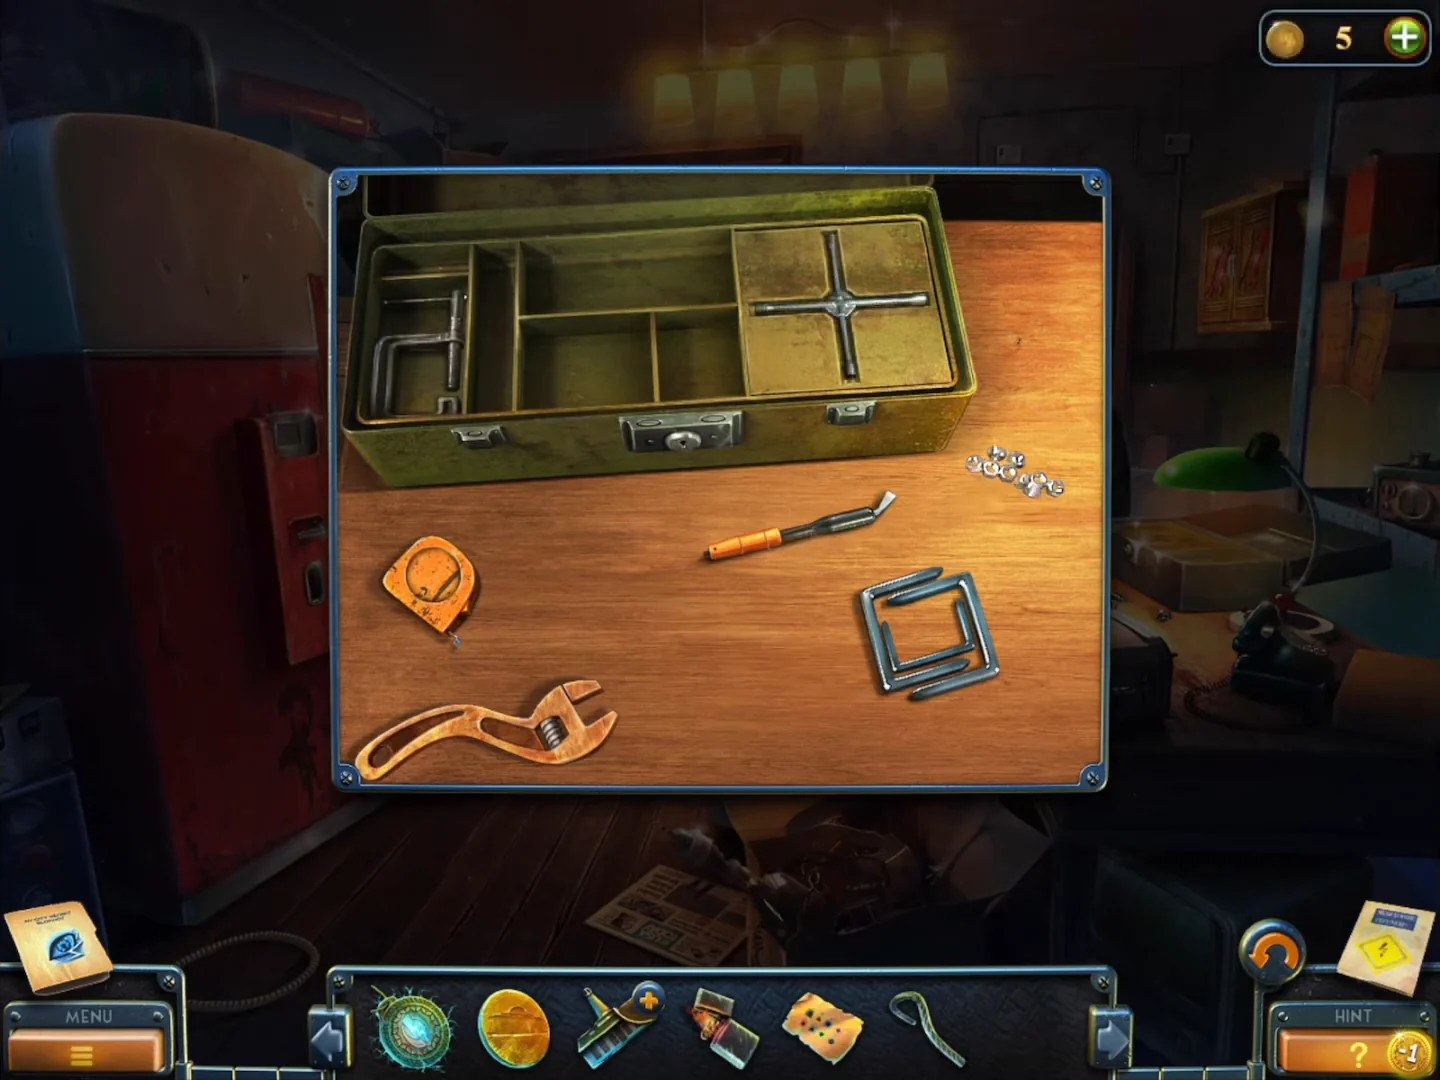
The toolbox on the workshop desk: drag each tool into the compartment of its shape. - He thanks you and mentions his cupboard. Take the Wrench.
- Collect the two items on the glass-fronted cabinet at the back of the workshop: the collection item is the red spiral-shaped object on its upper shelf, and the Beyond object is the small red radio on top of the cabinet.
Wrench cupboard, panda cage and the pigeons
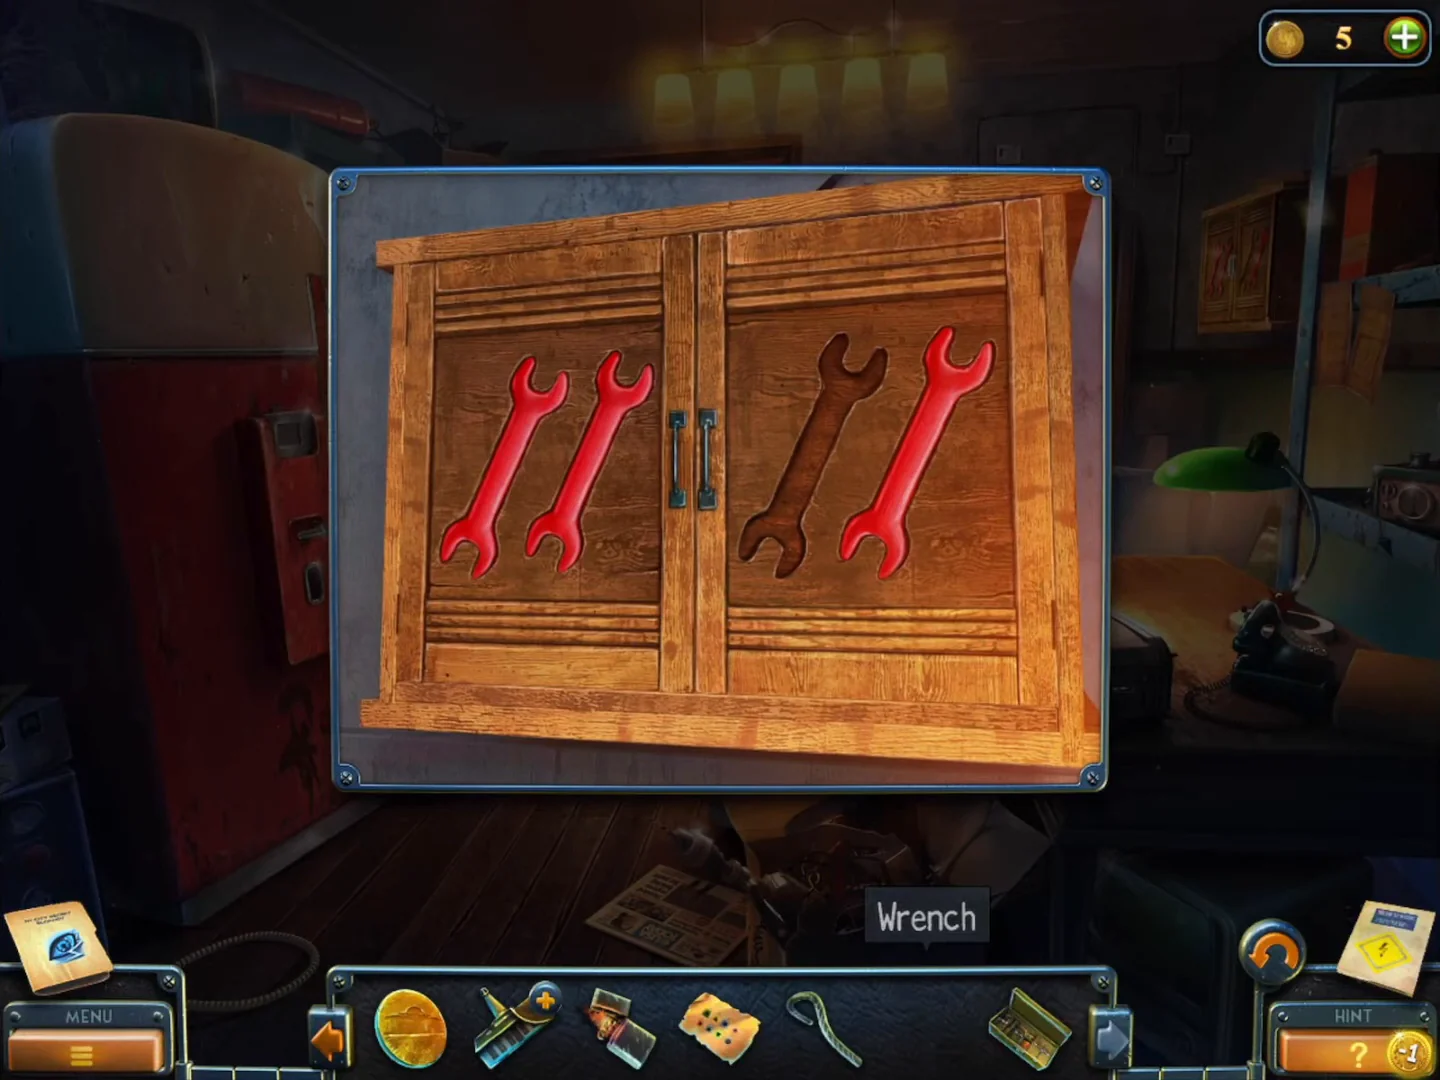
Solve the wrench cupboard, then use its tools around Chinatown to get the Faucet handle and the Trowel.
- Zoom into the small cupboard at the upper right of the workshop and place the Wrench in the empty outline (third from left). Then click the four red wrenches in this order: the far-right wrench, the second from left, the third from left and finally the far-left one. The wrenches fade and the doors open.CODEfar right, 2nd, 3rd, far left
- Take the Reinforced clippers, the Pressure gauge and the hidden slide at the bottom left of the cupboard.
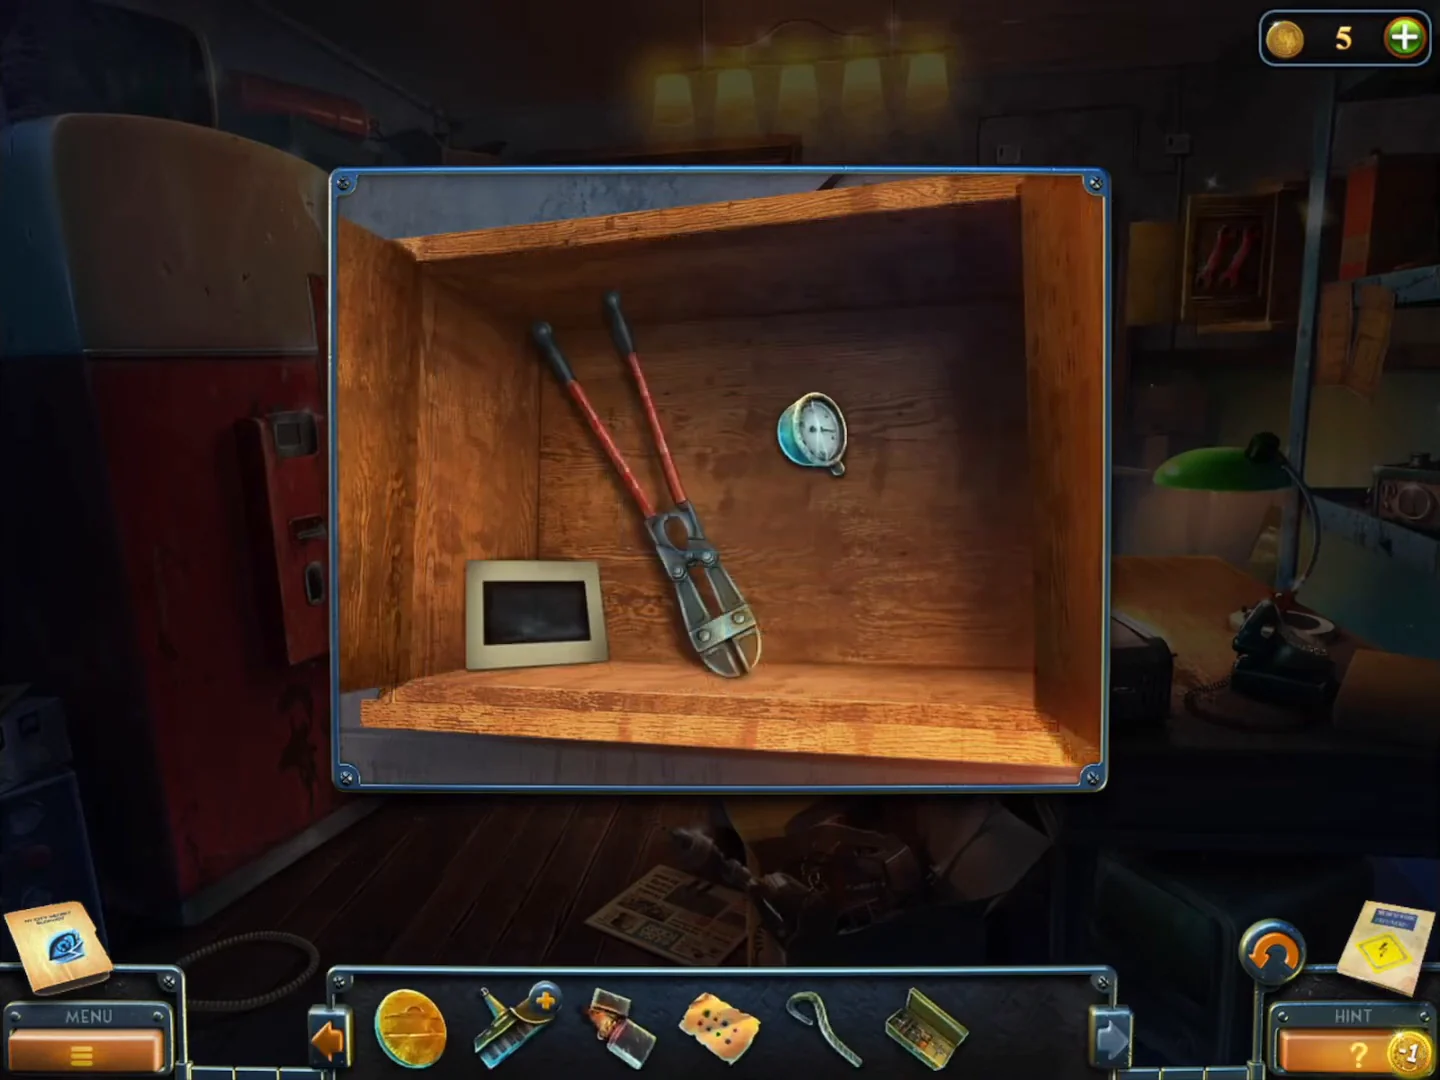
Open: take the Reinforced clippers, the Pressure gauge and the hidden slide. - At the Chinatown food stall, cut open the panda cage under the counter with the Reinforced clippers and take the Grain.
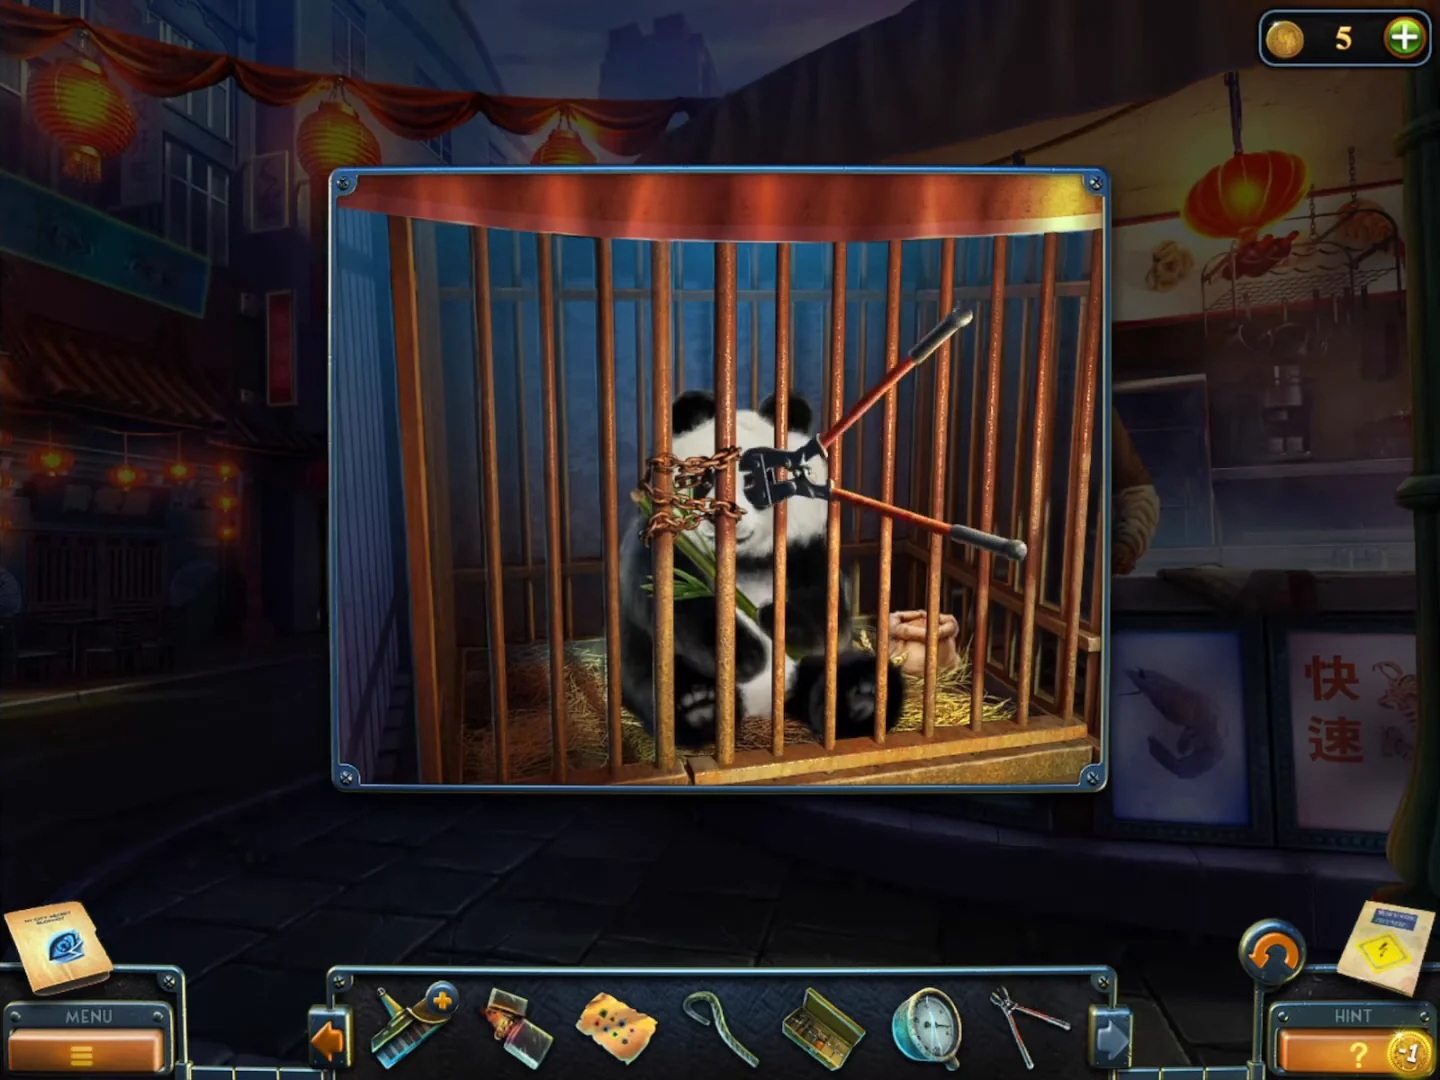
The panda cage under the food-stall counter. - In the origami alley, scatter the Grain on the cobblestones. The pigeons fly down and uncover the Faucet handle; take it.
- In Chinatown street, fit the Faucet handle to the green barrel on the left sidewalk. The water drains and the barrel rolls away.
- Lift the cloth of the red-draped cart on the right and take the Trowel and the hidden slide.