The flooded cellar
Behind the boarded door is a flooded root cellar. The ghost tells Laura: "If you want to free them, find my body."
- Take the LETTERBOX PLATE.
- A box is floating out of reach. Use the SPEAR GUN to haul it in, then take the CHIPS and the ELECTRIC WIRE from it.
- Take the WRENCH from the man trapped in the roots, then take the window-crank HANDLE.
- In the yard, use the WRENCH on the green fitting of the yellow gas cylinders under the eave on the right. Take the TUBE.
- On the road by the gate, a paper lies inside the car but the window is up. Put the HANDLE on the car door, wind the glass down and take the PAPER WITH DIAGRAM.
Mailbox stamps
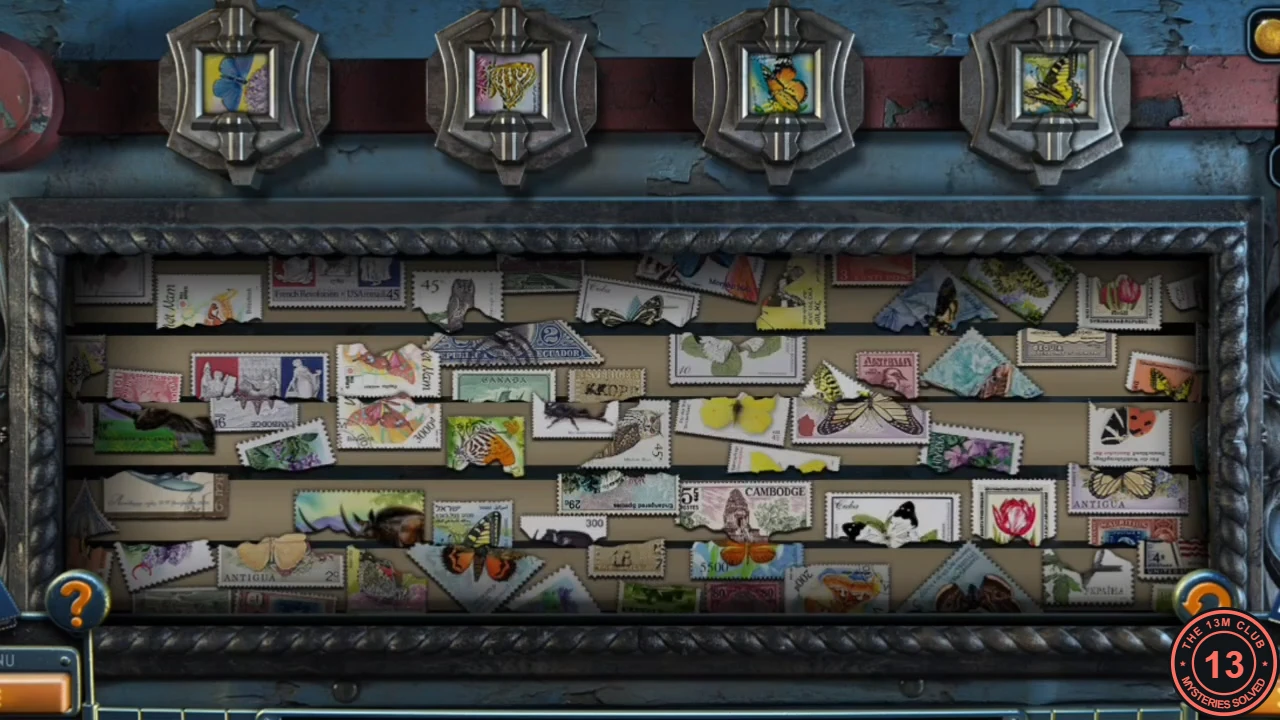
The LETTERBOX PLATE fits the mailbox and opens a board of torn stamps in sliding rows. Four plaques at the top show the butterfly stamps you need to rebuild.
- Put the LETTERBOX PLATE on the mailbox and open the lock.
- Drag the rows left and right until the torn halves of each butterfly stamp line up: blue butterfly, swallowtail on pink, orange butterfly on teal and yellow swallowtail. Each matching plaque lights up when its stamp is whole.
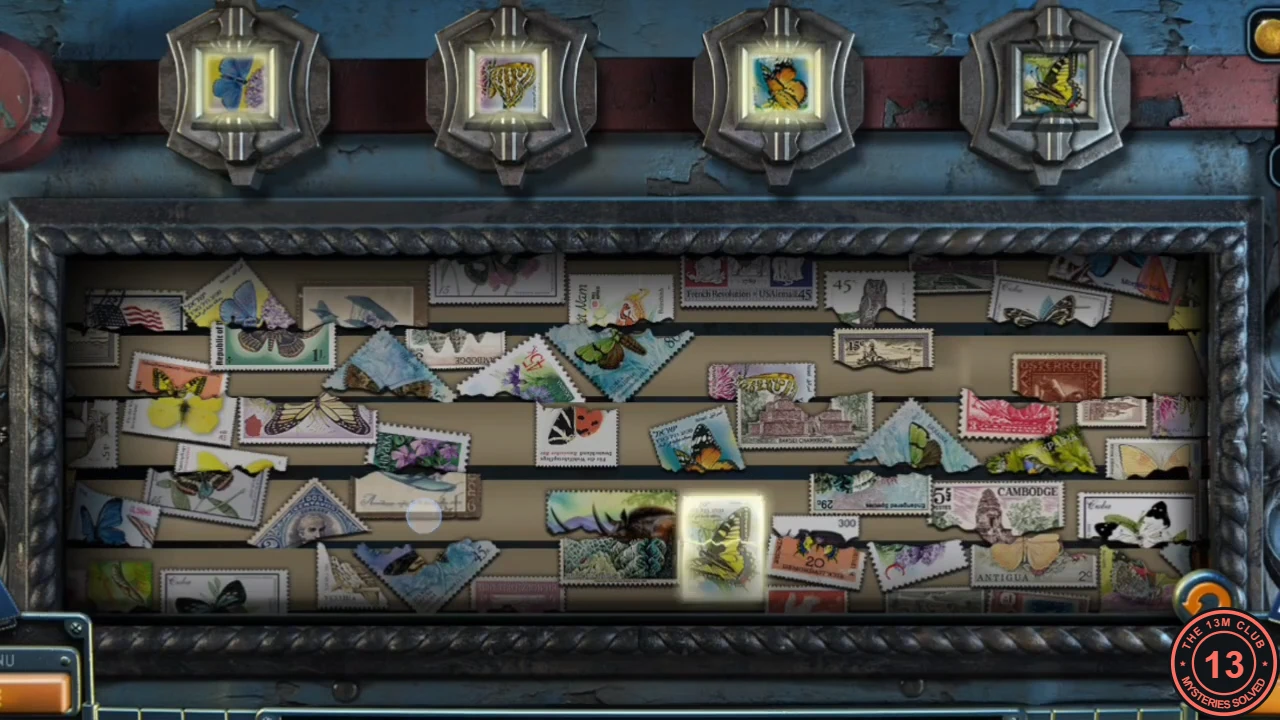
Solved stamp board: all four plaques lit. - Read the letter to Tom about an exhibition on Sunday, December 12, and take the SWITCH.
The sofa corner
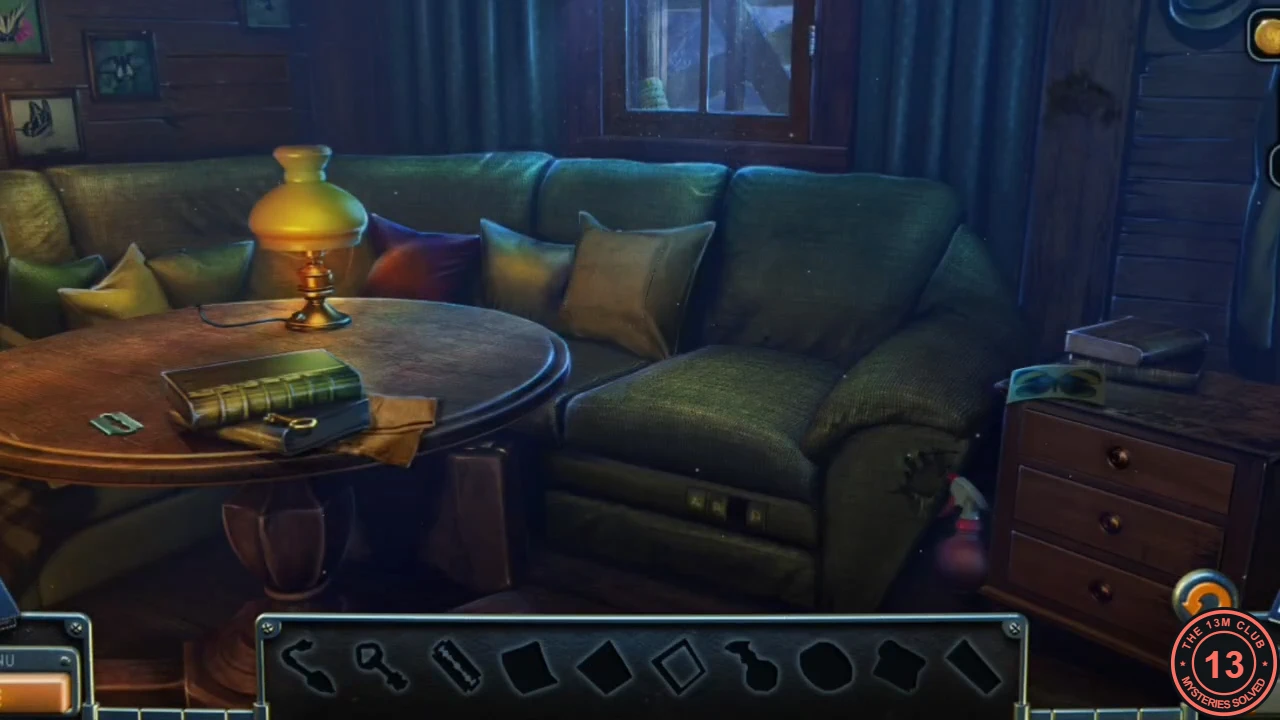
The lamp on the round table in the house is missing its switch. Once it is lit, the sofa corner becomes an interactive hidden-object scene. The bar shows ten silhouettes; the TYPEWRITER PART is the final reward.
- Put the SWITCH on the lamp on the round table and switch it on.
- Take the BLADE from the table on the left and cut the seam of the sofa cushion to get the empty FRAME. Take the SPRAY GUN from the floor right of the sofa and the PICTURE from the nightstand.
- Spray the dirt patch under the hat on the right wall with the SPRAY GUN to wet it. Put the FRAME and PICTURE in the empty outline on the wall; a compartment opens: take the window HANDLE.
- Take the KEY from under the book on the table, open the nightstand drawer and take the BUTTON.
- Put the HANDLE on the window to reveal a lock with four letter rings. For the clue, take the CLOTH from under the book on the round table and scrub the wet patch on the wall with it: it shows R A X M. Set the rings to R A X M and take the NOTE that reads ABBCDDA.
- On the base of the armchair is a panel of buttons A, B, C and D with one missing. Put the BUTTON in the empty slot and the NOTE on the panel, then press A, B, B, C, D, D, A. Take the TYPEWRITER PART from the compartment.
Back in Lucas's study
Use the map to travel to Lucas's study in the vault.
- Open the map and travel to Lucas's study. Put the TYPEWRITER PART on the typewriter, turn it and take the SCRAP OF PAPER.
- Plug the ELECTRIC WIRE into the socket on the floor beside the globe pedestal. The globe lights up.
Globe rings
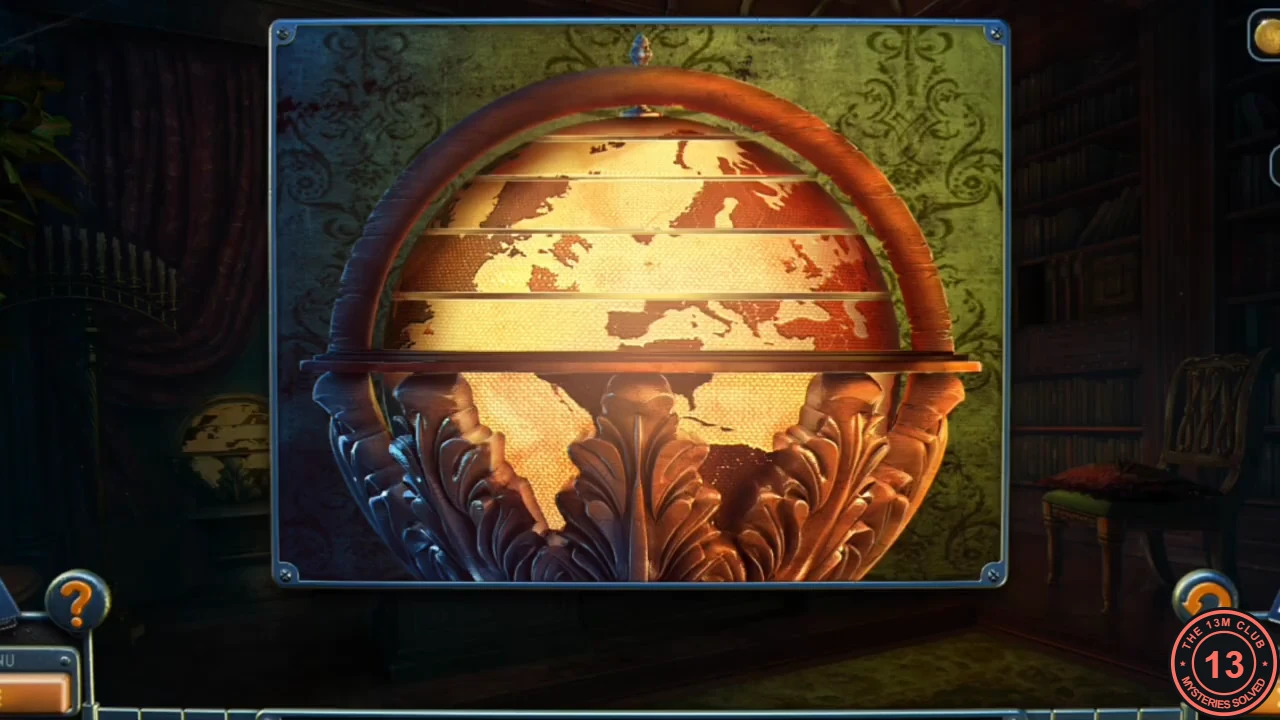
The lit globe is made of horizontal rings, each showing a band of the continents.
- Rotate the rings until the continents form a complete world map. Work from the top ring downwards, lining each band up with the coastlines of the one above it.
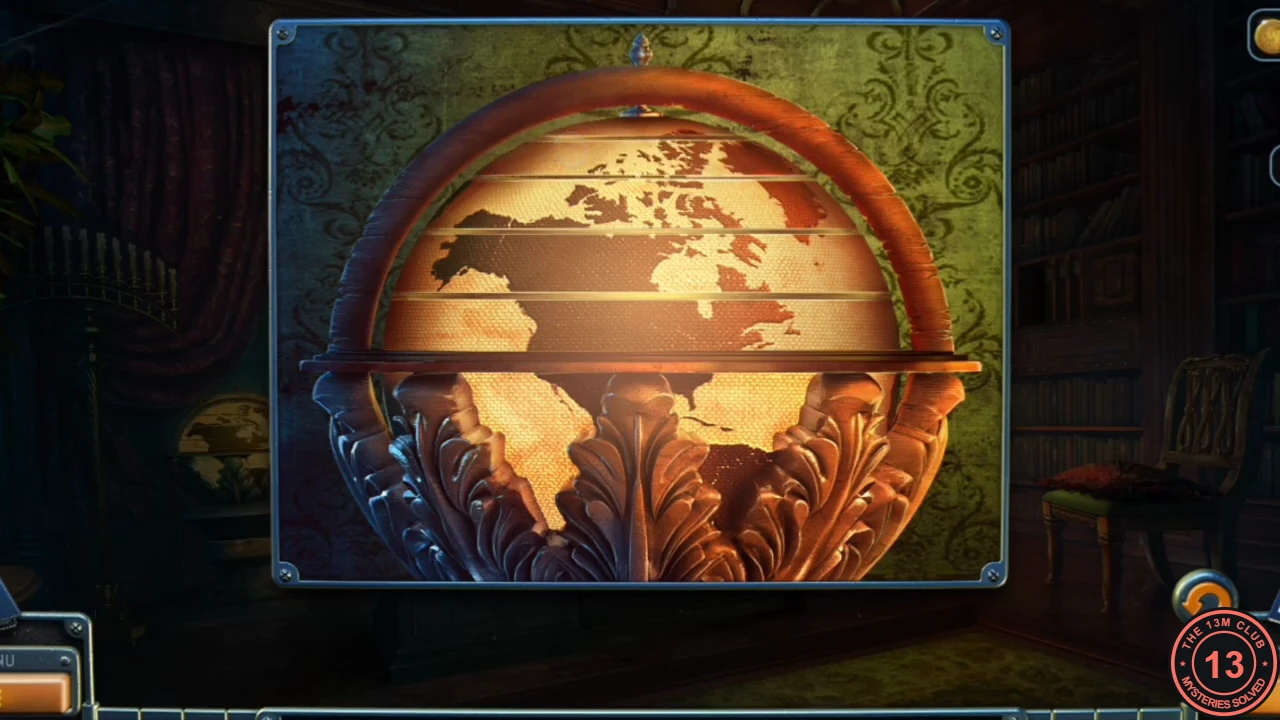
Solved globe: the continents line up. - Take the SCRAP OF PAPER and the yellow BULB from the drawer in the pedestal.
Crystal lock on the post
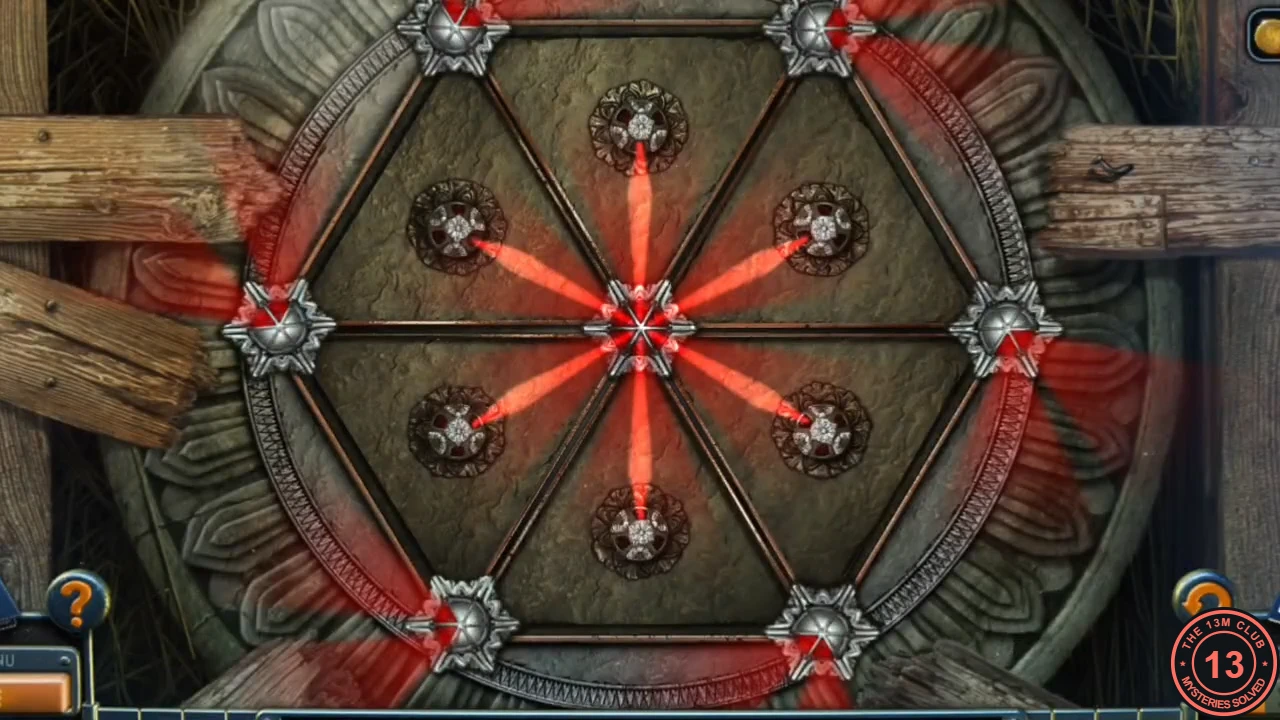
On the cavern bridge, a round lock with a crystal-shaped hole in its centre is fixed to a wooden post.
- Use the map to travel to the cavern bridge. Put the CRYSTAL in the centre of the round lock.
- Tap the star-shaped emitters to move them between points. Keep going until the red beams outline all six triangles, which forms a full six-pointed star with the hexagon. The lock opens. Move one emitter at a time and check which triangle each move completes before going on.
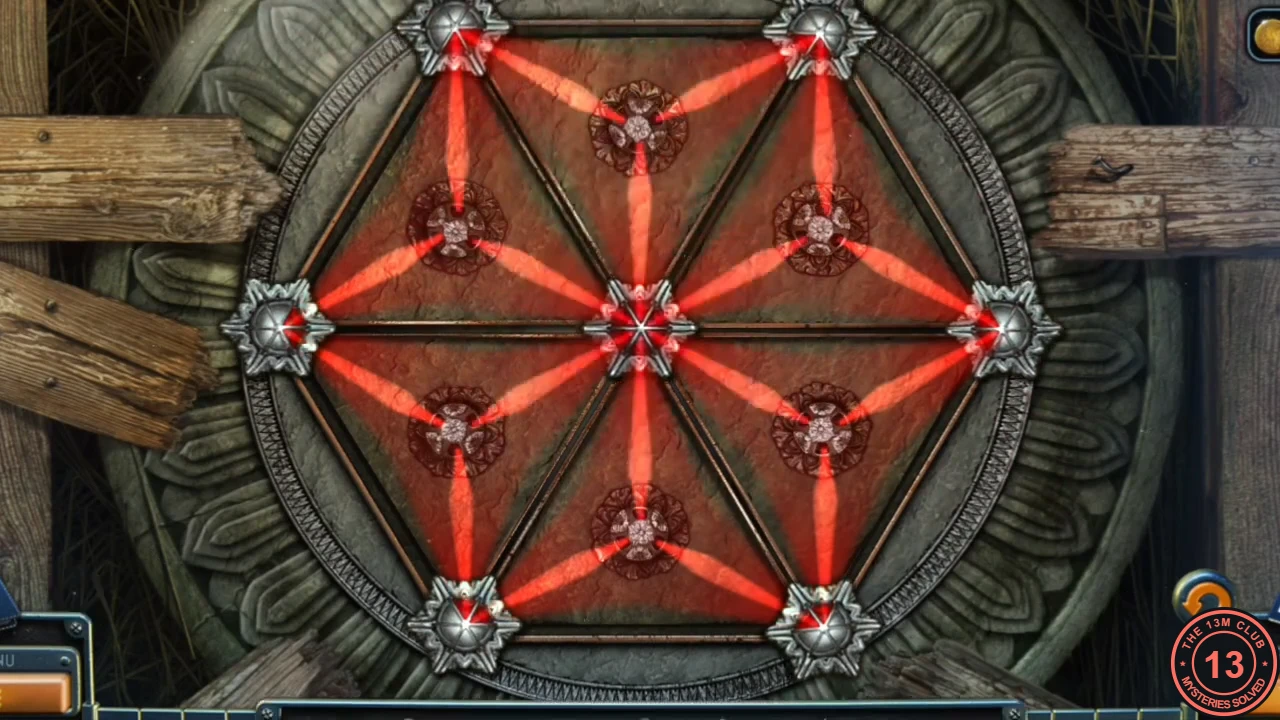
Solved crystal lock: the beams outline the whole star. - Take the LIGHT BULB and the SCRAP OF PAPER.
The torn diagram
The torn diagram on the wall of the storage corridor, seen in Chapter 2, can now be completed.
- Go down to the storage corridor and place all five SCRAPS OF PAPER on the torn diagram. Memorise the three symbols: an A-shaped compass, an arch-shaped building outline and a cross.
Symbol disc behind the gate
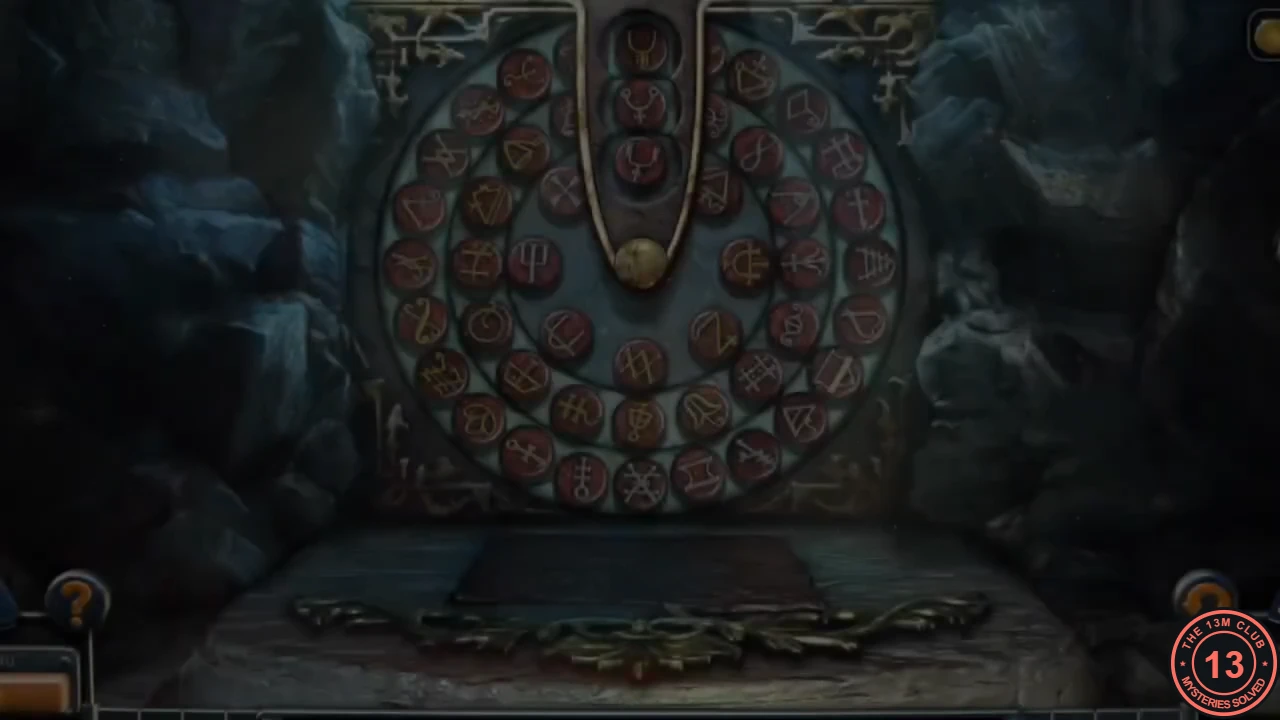
In the hole in the wall behind the tunnel gate is a stone disc. It has three concentric rings of symbol tokens and a U-shaped channel with three slots at the top.
- Go through the tunnel gate and examine the hole in the wall. The outer ring feeds the top slot of the channel, the middle ring feeds the middle slot and the inner ring feeds the bottom slot. Turn the rings until the slots show, from top to bottom: arch-shaped building, A-shaped compass, cross.
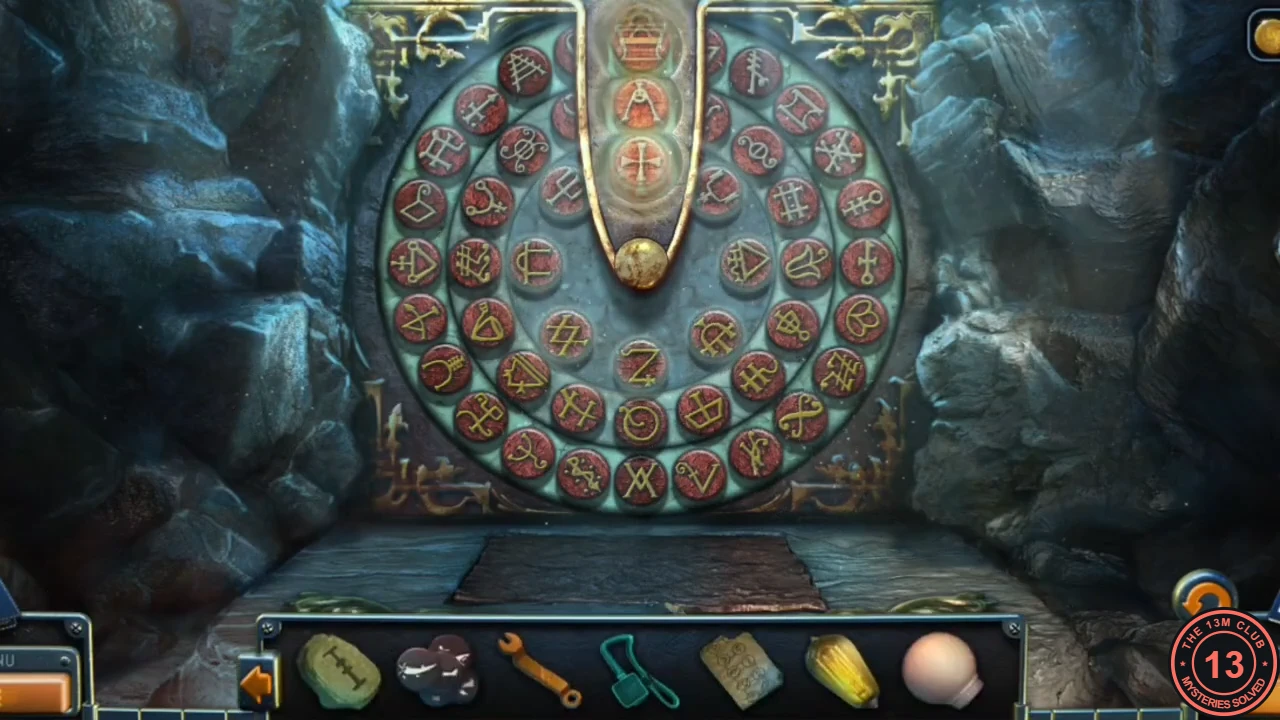
Solved disc: building, compass, cross in the channel. - Read the note and take the CHIPS from the compartment.
Toolbox chip lock
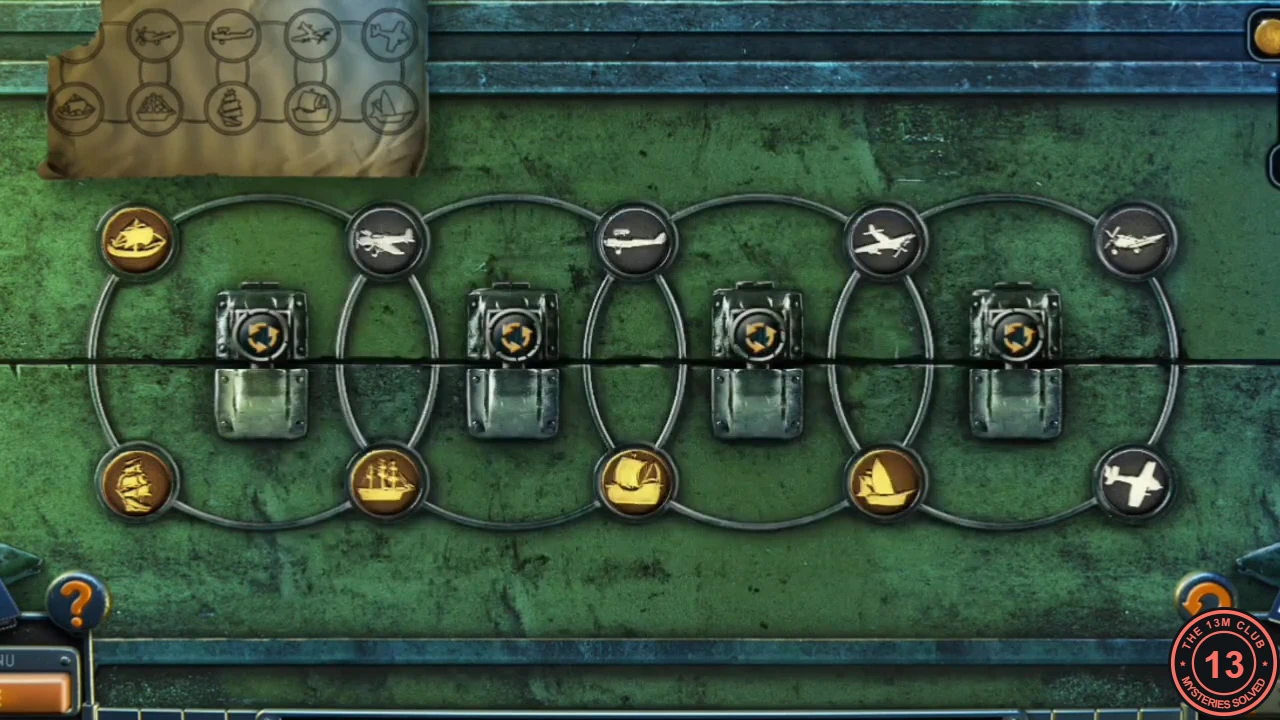
Some round pieces are missing from the lock of the green toolbox that came up from the well. The PAPER WITH DIAGRAM shows the order: airplanes in the top row, ships in the bottom row.
- Travel to the well clearing. Put both sets of CHIPS and the PAPER WITH DIAGRAM on the toolbox lock.
- Each of the four buttons rotates the four tokens around it. Press them until the top row holds all the airplanes and the bottom row all the ships, in the order drawn on the diagram.
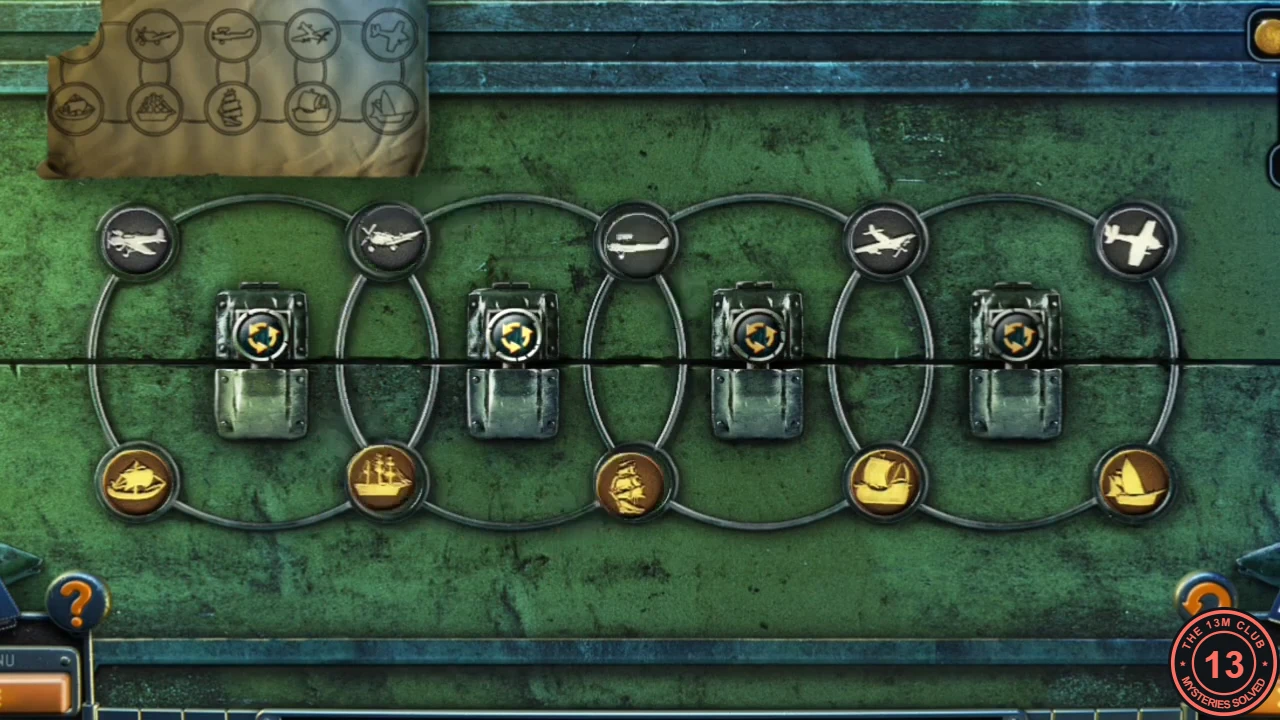
Solved toolbox lock: airplanes on top, ships below. - Take the MASK from the toolbox.
The dive
Assemble the diving gear on the lake shore and search the lake.
- At the lake shore, zoom in on the yellow tank in the lower-left foreground. Use the WRENCH to remove the old green hose; Laura then says she needs a diving tube. Fit the TUBE in its place and tighten it with the WRENCH.
- Place the WETSUIT, SWIM FINS and MASK with the tank and take the DIVING SUIT.
- Use the DIVING SUIT at the end of the pier. On the lake bed Laura finds a skeleton with Tom Laurence's papers and decides to show them to Bishop.
- Back in the vault, talk to Lucas (new task "Tom Laurence"). Tom was a chemist in the Order; you need to find what binds the ghost to this world. Take the PUNCHED CARD (new task "The Office").
Painting with four lights
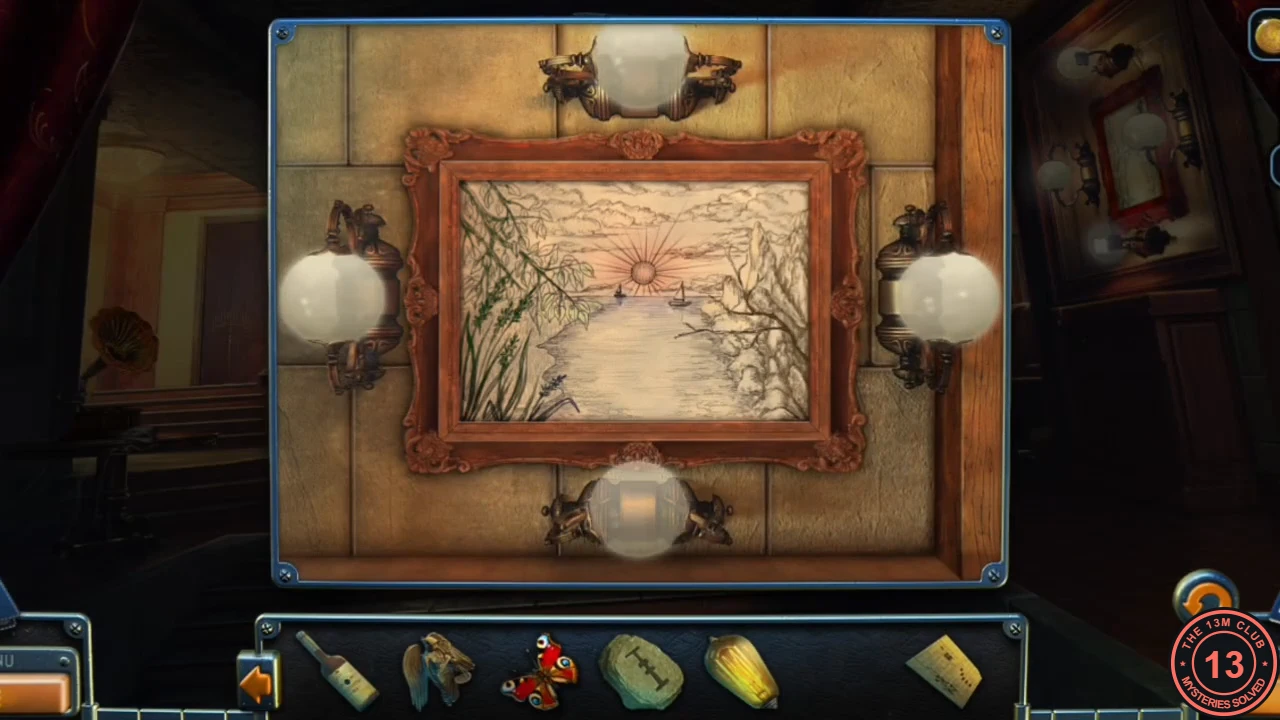
A landscape painting on the right wall of the vault hall has a light fixture on each side; the bottom one is empty.
- Put the LIGHT BULB in the empty bottom fixture.
- Tap each bulb to cycle its colour until it matches its part of the painting: left GREEN, top RED, right ORANGE, bottom BLUE. The compartment opens.
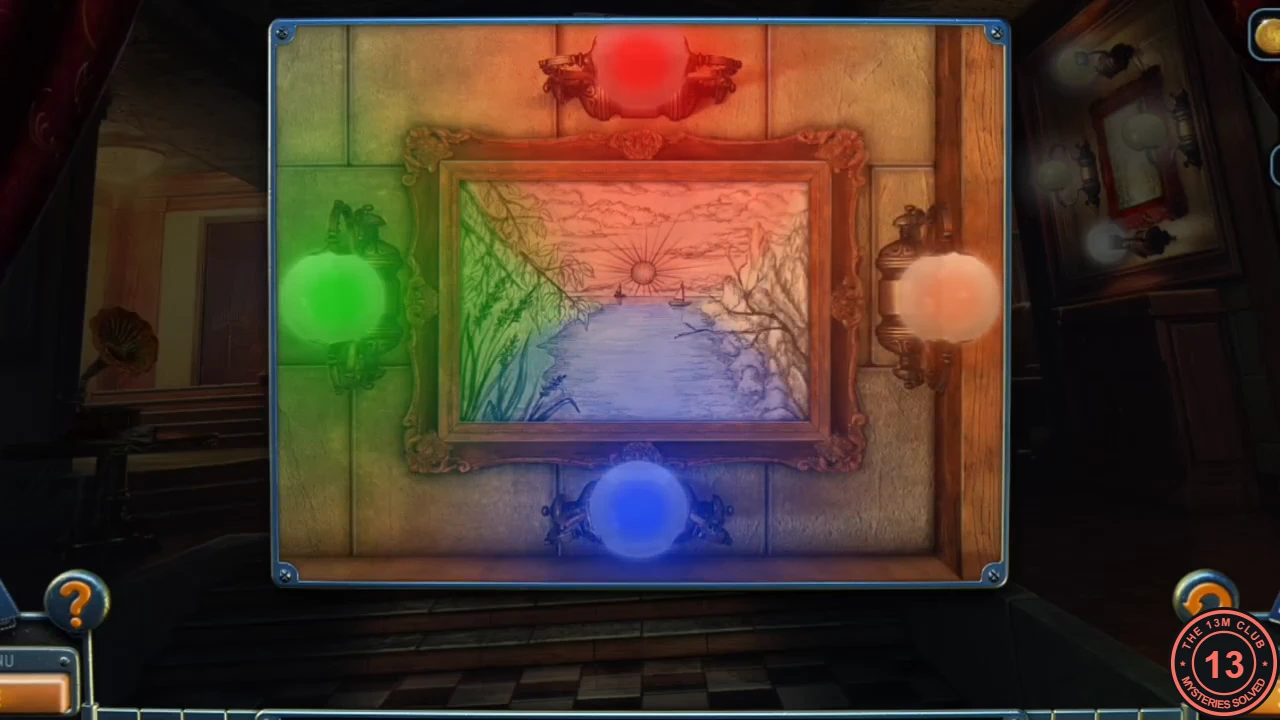
Solved lights: green, red, orange, blue. - Take the BOOK.
To the university
Take the underground train to the next location.
- In the underground hub, insert the PUNCHED CARD in the console, open the rail-car door and press the controls.