PART 5
Lord Nobunaga's Garden
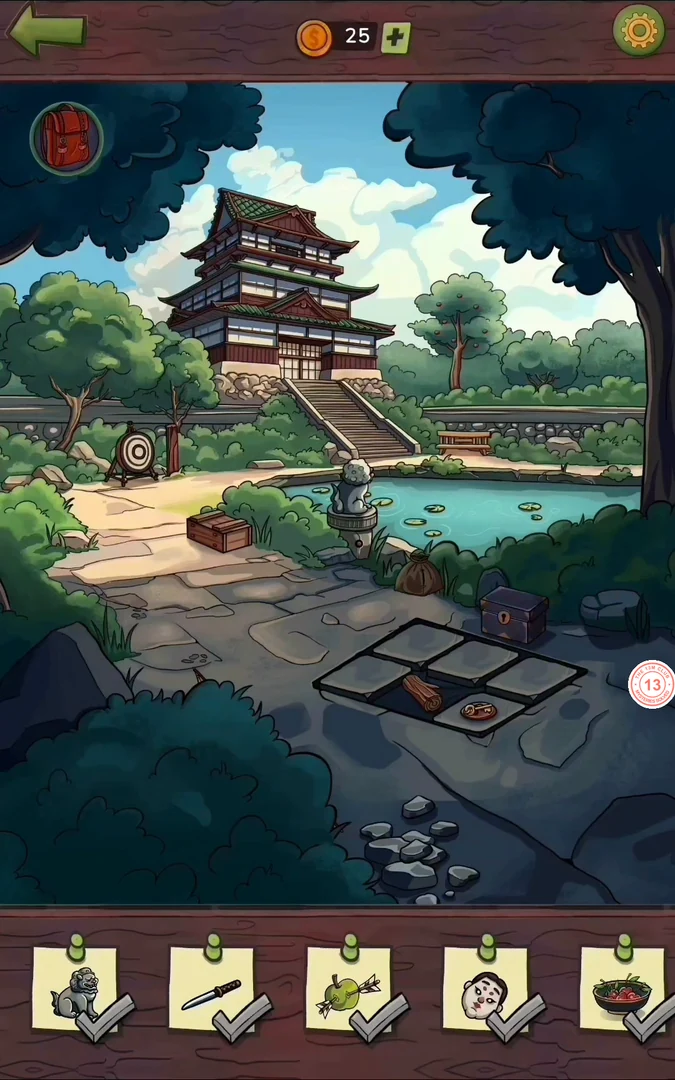
Find every item on the list while Kenjiro goes inside.
- Go through the sliding screens: pull the cord on the left wall so the doll appears on the chair. Fold the standing screen aside; the mask is then visible high on the upper paper panel: tap it. Back in the garden, take the black bowl from the low bench, put it under the tree and tap the red fruit so it drops in. Take the purple cloth from the branch and lay it on the left bench. These are selected garden items. The path and pond hold more list cards that are not covered here.
- The archery comes before the list is finished. Tap the low shrub in the foreground, left of the paved tile grid, to uncover the bow, then drag the bow from the lower path onto the target to start the archery. The instruction asks you to hit the apple with at least two arrows: wait until the moving red crosshair is over the apple, then release. After two hits the apple card is checked off as the archery panel closes. For the statue card, tap the dark tree canopy at the upper right until a small red spoked wheel appears at its top edge, drag the wheel down to the base of the stone statue beside the pond, then tap the statue when it flashes. Once the whole list is complete, Lord Nobunaga's audience follows: warn him about the plot and he gives Margaret a chance to prove Sato's treason.
PART 5
Sato's House
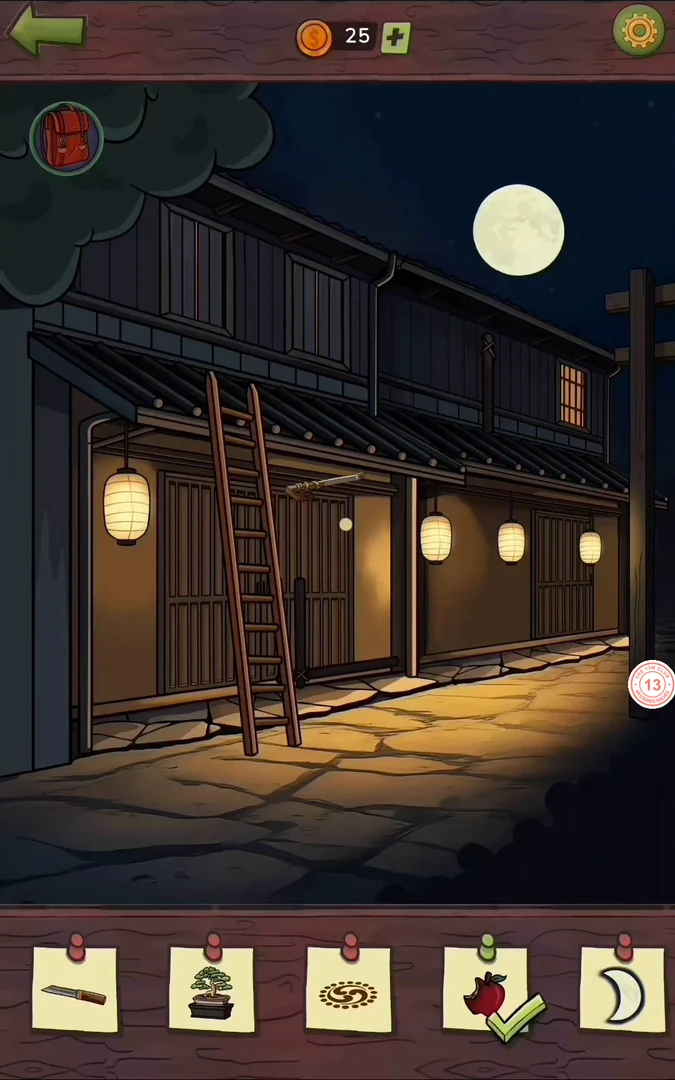
Find every item on the list.
- Lean the ladder against the house and take the red slipper thrown onto the cobbles. Climb the ladder into the single lit upstairs window on the left. Take the short blade lying at the foot of the bed. Open the red parasol by the bed, then tap the open parasol to collect it. Tap the lower-left section of the tree painting on the left wall: a folded piece comes away and is collected, leaving a dark recess behind it. Move the red pillow aside to reveal the blue item at the right end of the bedding and take it. Slide the folding screen at the head of the bed to the right, then tap the bonsai revealed to the left of the screen to collect it. Tap the wooden box on the floor (Push the boxes onto the dots. You can only push one box at a time). Walk the figure around the 9×9 grid and push each crate onto one of the three red dots. Crates can travel along walls and through the narrow corridors to reach a dot, but never push one into a dead corner, or against a wall from which it can no longer be pushed towards its dot. Work out which crate goes to which dot before you start pushing. The solved box shows a swirl on its lid: tap it to collect the swirl card.
- Pick up the round dark pan lying on the floor at the right end of the bed. Tap the stack of papers in the dark recess behind the lower-left tree-painted panel you opened earlier. Slide the covering sheets aside to reach the illustrated third sheet, then read it and take Sato's plans. Climb down the ladder to the street. Tapping the full moon does nothing by itself: drag the pan from the backpack onto the rod sticking out from the house beside the moon, so it covers part of the moon, then tap the crescent that is left. The crescent is the last card once every other card from the room is checked off, including any this guide does not cover. When the whole list is cleared, the important-clue prompt appears and Margaret hears a noise upstairs: go back up into the room; a man's shadow appears behind the screen and she retreats, slipping away with the documents.
PART 5
Master's Workshop
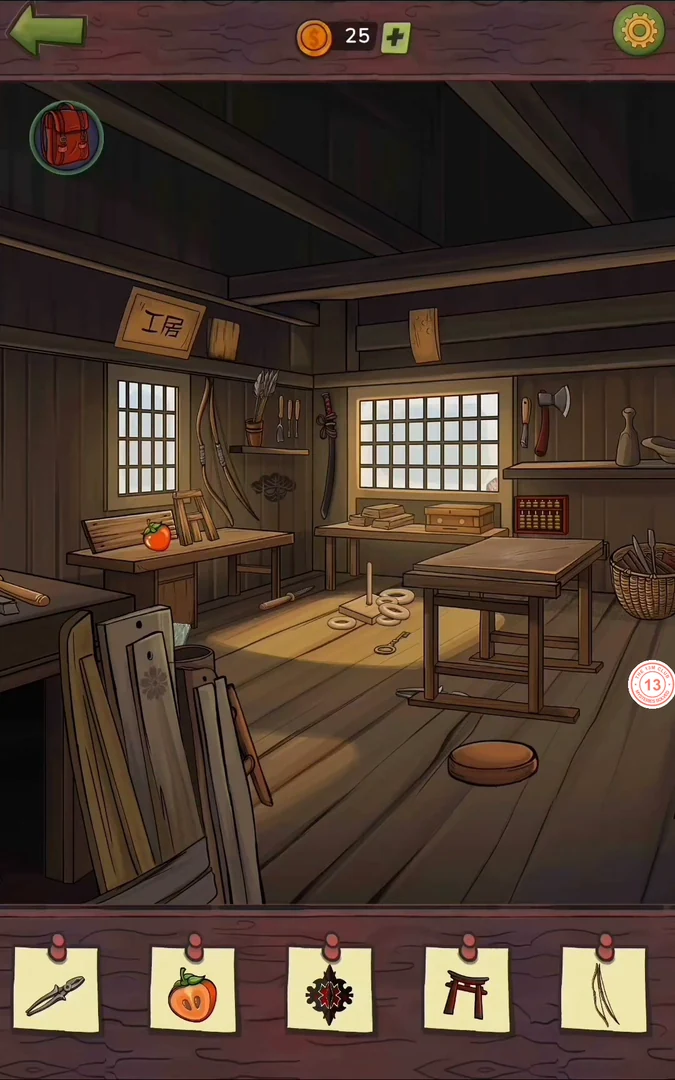
Find every item on the list.
- Take the wood shaving on the workbench, the small red torii gate under the 工房 sign and the stool. Untie the rope around the katana on the post. Tap the chest on the workbench. While viewing the closed chest, tap the red Daruma head resting on the right end of the window ledge above it; it goes into the backpack for later. The chest's two round slots each cycle through symbols as you tap them. Set the left slot to the round emblem and the right slot to the rosette, then pick up the brass key lying on the workshop floor, put it in the keyhole at the top of the chest and open the lid.
- Tap the wooden base and rings on the table to play Paint and Build. Paint the rings red, orange, yellow, green and blue and stack them on the peg so red is at the bottom and blue at the top. Then drag the red Daruma head from the chest close-up out of the backpack onto the top ring to finish the doll.
- Find the three numbers for the abacus. Count the round 木 symbols carved on the wall board (21). Count the 木 marks stamped round the vase of bamboo sticks: three rows of five, so 15. Then count the 木 marks in the two rows on the chest (22). 21 + 15 + 22 = 58. Tap the abacus (Move the pegs to the desired number) and set it to 000058: in the tens column push one upper bead down to the bar, and in the units column push one upper bead down and three lower beads up to the bar. Take the lantern.CODE000058
- Lord Nobunaga arrives only after every card on the workshop list is checked off, including the finished Daruma doll and any other cards this guide does not cover. When the list clears, the important-clue prompt appears and he walks into the workshop: go up to him with Sato's documents and deliver them.
PART 5
Tea Ceremony
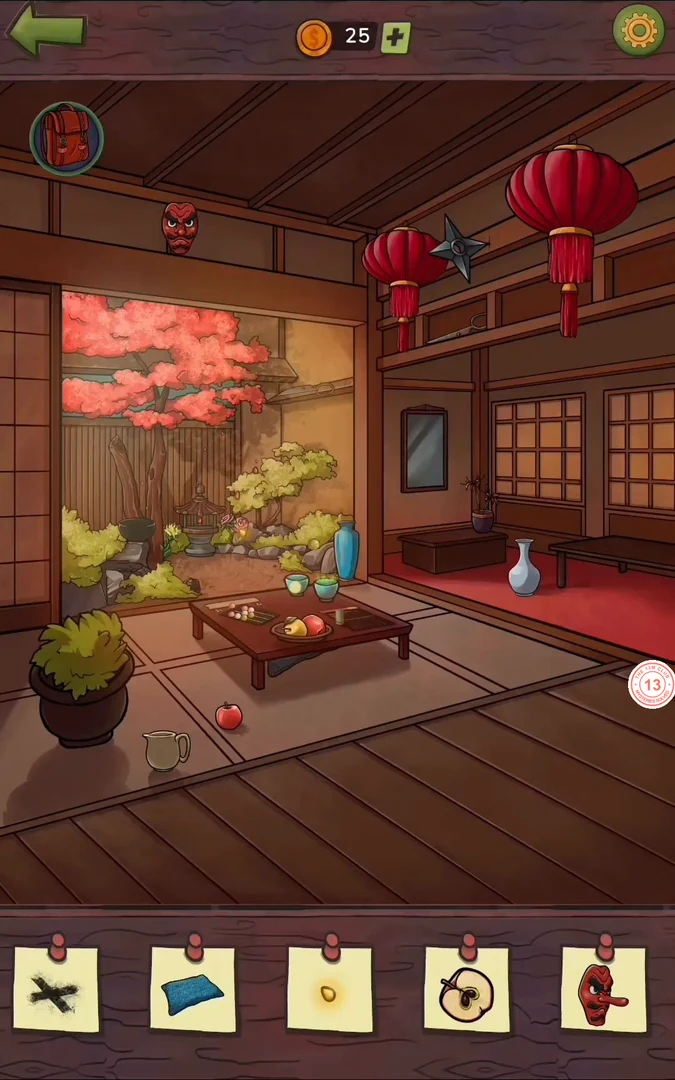
Find every item on the list.
- Take the carved wooden figure, the spiral crest on the mat and the red tengu mask on the pillar of the upper pavilion. Then tap the low table to open the Sugoroku board. The board's instruction: roll to move, clear the board before you run out of rolls, at most 3 pieces per slot. You have 10 rolls. Tap the dice cup on the left: each roll throws two dice and uses one roll from the counter. Then tap a piece to move it forward along the track by one die's number, and use the other die the same way. Pieces go round the track to the 出口 exit at the bottom left. Keep pieces moving round the bend rather than piling them up. You can bring the last piece off with your final roll, so the board is clear just as the counter reaches 0.
- Drag the kunai from the backpack onto the overhead panel above the left opening that looks into the garden; its blade strikes and stays there. Pick up the loose green dumpling at the back of the low table, beside the two turquoise cups and the tall blue vase. Then tap the lacquer tray (だんご). The tray starts one green dumpling short: drag the green dumpling from the backpack onto it. Move the dumplings so every skewer reads pink, white, green from the tip to the handle. When every card on the list is checked, the important-clue prompt appears: Margaret reveals that she has switched the cups, the plot is exposed and Stanley escapes with a meteorite stone. Riverside then opens on the map.
PART 5
Riverside
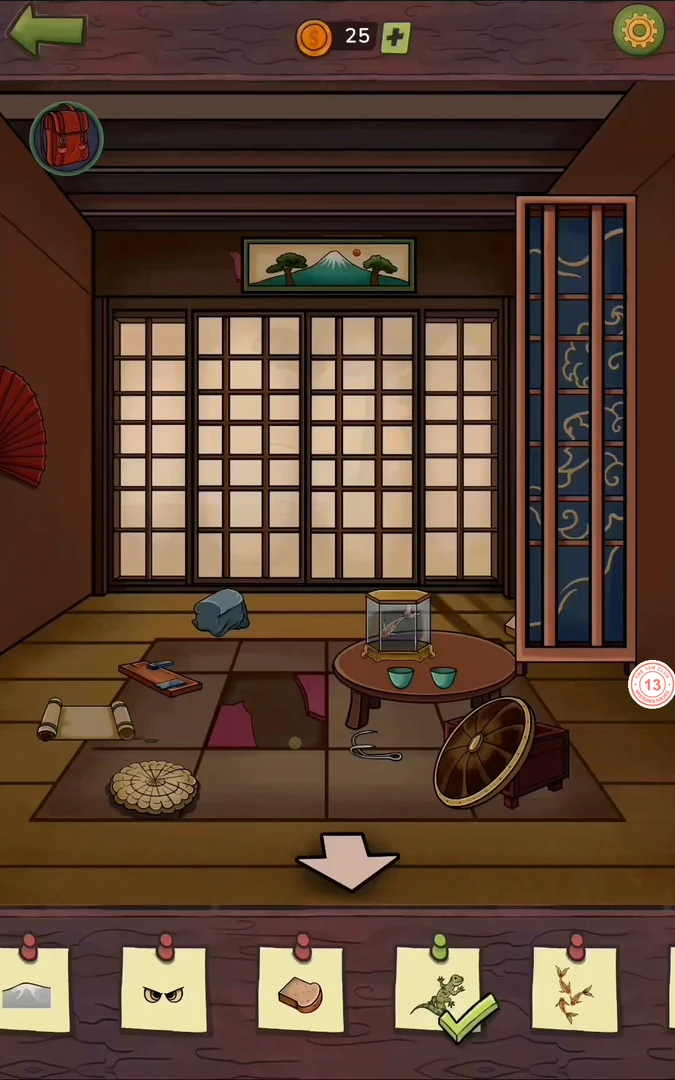
Agent Stanley's hideout. Find every item on the list.
- Tap the green lizard on the riverbank rock and go into the house. Tap the round straw cushion and the wooden block by the table, lift the loose tatami section by the table and slide the back screens open to the view of the torii gate. The riverside list has more cards that are not covered here, including an item in the stream. The footbridge below can be repaired while the list is still open.
- Tap the broken footbridge and slide the planks along their tracks until the pins of every plank line up with the pegs and the bridge is whole. Once every riverside card is checked off, go back inside to investigate the noise and tap Stanley's safe. Each of its four rows of flowers has a frame you can move. Put every frame on the same flower, the one with pointed petals and a white star in its centre: second in the top row, third in the second row, first in the third row and last in the bottom row. The safe opens, but it is empty.
PART 5
Bridge
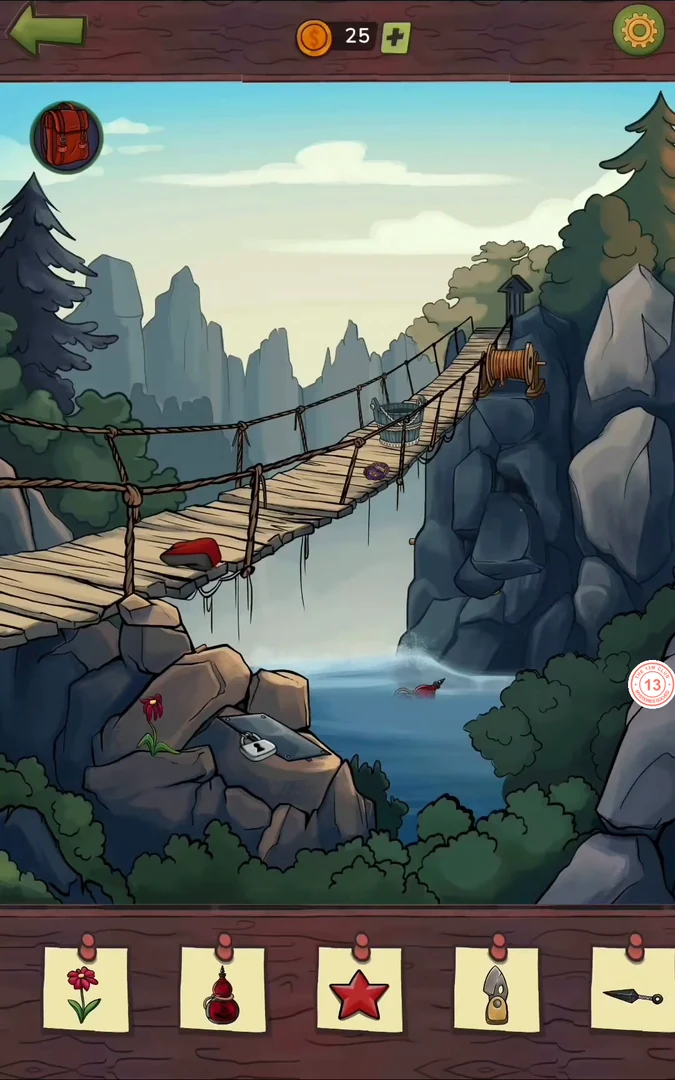
Find every item on the list.
- Swipe left across the cliff face below the winch spool to pull a loose red-handled crank out from the left edge of the rock, then drag the crank up onto the right end of the spool. Drag the small blue-grey bucket hanging on the railing of the far half of the bridge onto the end of the winch rope below the spool. Turn the crank to lower the bucket into the gorge, fill it and haul it up, then use the water on the pink flower bud in the rocks at the lower left so it opens. Tap the opened pink flower to collect it. Work the now-empty winch again to snag the red flask floating in the water and raise it, then tap the flask hanging beneath the winch to collect it. Tap the small purple oval lying on the planks nearer the far end of the bridge to look at a badge close up: tap the red star in its centre to collect it, then turn the badge over, move the blue lining on the back down to reveal a folded knife, and lift the knife out to collect it. Tap the red cloth lying on the bridge planks: it ends up hanging on the left-hand rope, so tap it there to collect it. In the dark crevice of the cliff below the winch, move the loose dark stone just under the small white flowers: it drops into the water and exposes a coiled green snake. Tap the snake to collect it. On the far half of the bridge, swipe the loose plank just on the near side of the purple oval to the right: it falls into the gorge and a silver ring-handled blade appears on the exposed plank edge. Tap the blade to collect it; it has its own card, separate from the folded knife inside the badge. Drag the small loose rock from the top of the near boulders onto the padlock on the slate flap, knocking it against the lock until the lock breaks open. Swipe the slate flap up, slide out the red-and-gold linked ornament hidden beneath it and tap the ornament to collect it. Then swipe up and to the right from the seam at the top of the near boulders, directly below the bridge planks, to slide a wooden shaft out of the rocks, and tap the shaft to put it in the backpack. You need it at the Portal. Stanley's attack comes only once every card on the bridge list is checked off.
- Stanley attacks on the bridge. Margaret holds a wooden plank: arrows on screen show where his sword will strike, so tap left, right or centre to block each slash. When he falls into the gorge, pick up the yellow meteorite stone he drops on the bridge.
PART 5
Portal
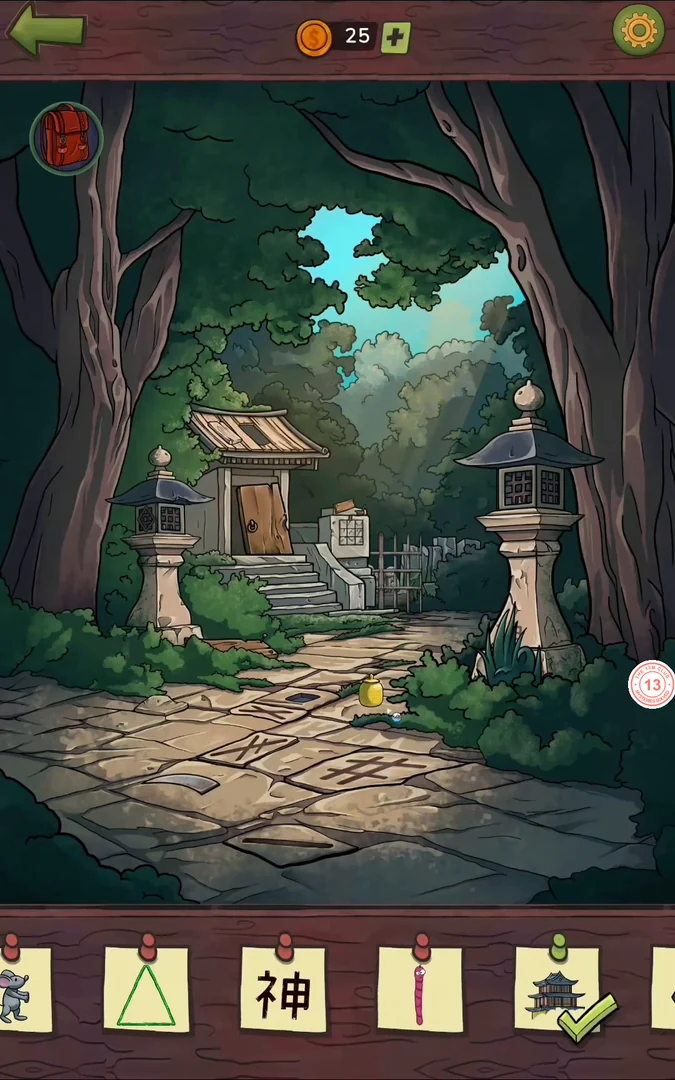
Find every item on the list.
- Swipe the slim hooked tool out of the lower-right edge of the shrubs onto the path, then drag it onto the sloped roof of the small storehouse to pry up the roof strip, which leaves an opening in the roof. Tap the distant pagoda visible through the gap in the trees above and to the right of the storehouse. Shift the loose carved paving stones in the foreground and tap the bone in the recess beneath them. Move the small wooden cover on the path below the left stone lantern to expose a pink worm, and tap the worm once it stretches up. Take the small yellow jar lying on the path beside the shrubs on the right. Go in through the storehouse door; with the roof strip pried up, daylight comes in through the opening, otherwise the storehouse is pitch black. In the storehouse, take the wooden sandals. Then lift both leather straps on top of the wooden chest and open the lid. Take the brown double-ended fitting and the blue jar inside. Go to the barred alcove by the shrine, which is bolted shut, and use the double-ended fitting from the backpack on the bars to open them. Tap the group of three stone figures to collect them. A piece of cheese then appears beside the red jar on the stone: take it. Back in the storehouse, put the cheese by the low mouse hole at the left of the chest and tap the mouse when it comes out.
- Tap the carved stone altar beside the shrine stairs. Put the yellow jar from the path and the blue jar from the storehouse chest on its upper left shelf, then pour both into the stone bowl to make green. Turn the square stone tiles in the frame below in place until their carved grooves line up into the outline of a large triangle leading down from the inlet at the top. Then tip the bowl into the top inlet: the green liquid runs through the grooves and fills the triangle.
- The triangle is not the last card. Open the backpack and drag the wooden shaft from the Bridge onto the curved metal blade lying among the paving stones in the lower-left foreground to assemble a long-handled cutting tool. Drag the tool onto the tall grass at the base of the large stone lantern on the right, then tap the 神 symbol it uncovers on the lantern's base to collect it. Then tap the diamond pattern on the left face of the upper grille of the smaller stone lantern on the left: that checks off the last card on the Portal list, and Lord Nobunaga and Yumi say goodbye. Then drag the yellow meteorite stone from the backpack onto the ground between the two stone lanterns. Both lanterns light up, their beams meet on the stone and the time portal opens. Something with red eyes waits inside; Part 5 ends with To be continued.