Joe's Cabin
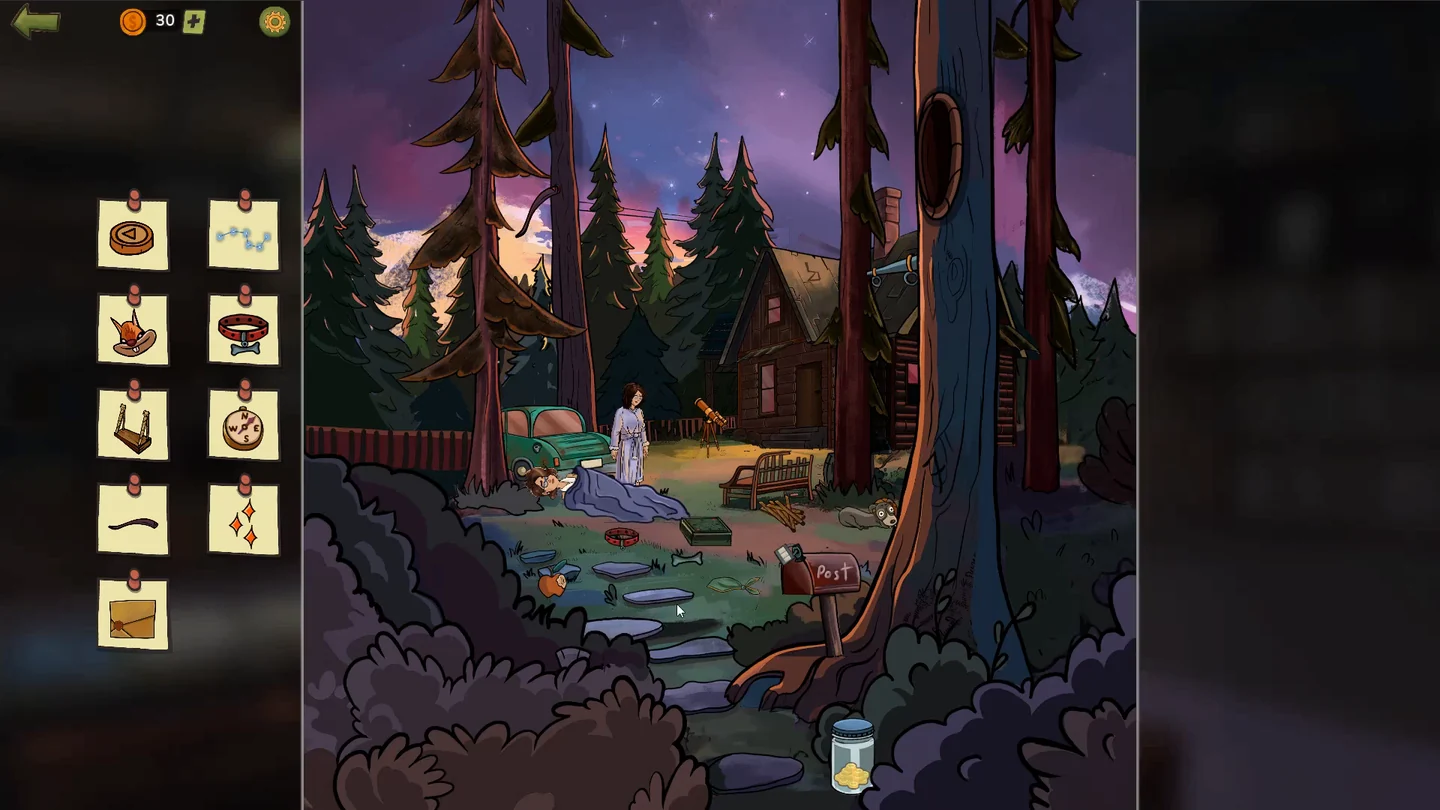
Part 4 opens with Joe, whose family finds Margaret unconscious in their yard at night. Find the triangle token, Big Dipper, squirrel, dog collar, swing, compass, sparkles and envelope, along with the other cards on the list.
- Take the red dog collar lying on the path by the pumpkin and tap the hollow high in the big tree on the right for the squirrel. A curved pink-and-dark strip lies along the roof of the green car: tap it to collect the curved brush-stroke card. Open the car's boot for a coil of rope and tie it to the branch of the tree on the right so the swing hangs down; take it. Give the green leafy bundle from the path near the mailbox to Joe's mother and tap the sparkles above her.
- Open the mailbox padlock: set the first dial to the angled hook-shaped symbol, the second to 7 and the third to E. Take the envelope.CODEsymbol-7-E
- Tap the glass jar in the foreground and take the coin with the triangle on it. Tap the orange telescope on its stand next to the car and join the stars to draw the Big Dipper: four stars for the bowl and three for the handle.
- Tap the green box on the ground near the bench. Two blue chips start at the top corners and two orange chips at the bottom corners; swap them. The lines link the eight outer spots into one closed loop, so a chip can only travel along that loop. Keep moving the chips round the loop in the same direction, one step at a time into an empty spot, until the orange chips reach the top corners and the blue chips the bottom corners. Take the compass that drops out.
- Once every card on the yard list is checked off, Joe comes back with the ammonia and Margaret comes round. Sheriff Jones then takes her to Wilson's apartment.
Wilson's Apartment: Kitchen
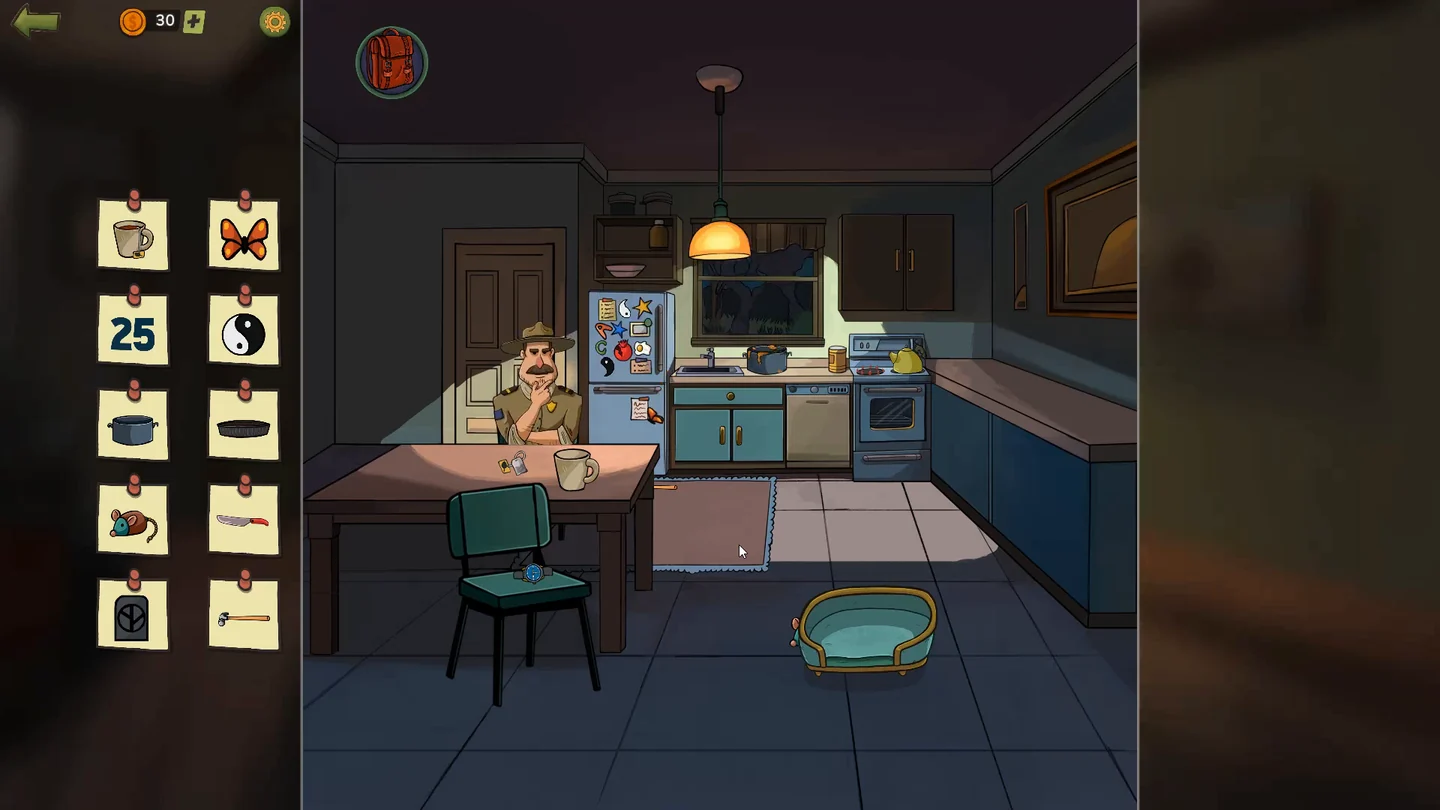
Find the cup of tea, butterfly, the 25, yin-yang, pot, pan, toy mouse, knife and hammer, along with the other cards on the list.
- Pour the kettle into the mug on the table for the cup of tea and tap the butterfly fluttering near the fridge. Take the toy mouse on the floor between the table and the pet bed. Open the oven and the lower cabinets for the pot and the pan, open the upper cabinet for the hammer, and open the upper-right wall cupboard to find the knife on its shelf; take it and keep it for the supermarket.
- Tap the wristwatch. Its date window shows 23: turn the crown to move the hands forward through midnight twice, until the date shows 25.CODE25
- Look at the small open cupboard directly above the fridge: tap the little bottle on its upper shelf to reveal its peace-sign tag and check off that card. Then tap the fridge. Shift the other magnets aside to make room, and slide the white teardrop magnet against the black one so they form a yin-yang. When every kitchen card is found, Sheriff Jones gives Margaret his credit card for shopping.
Wilson's Apartment: Bathroom
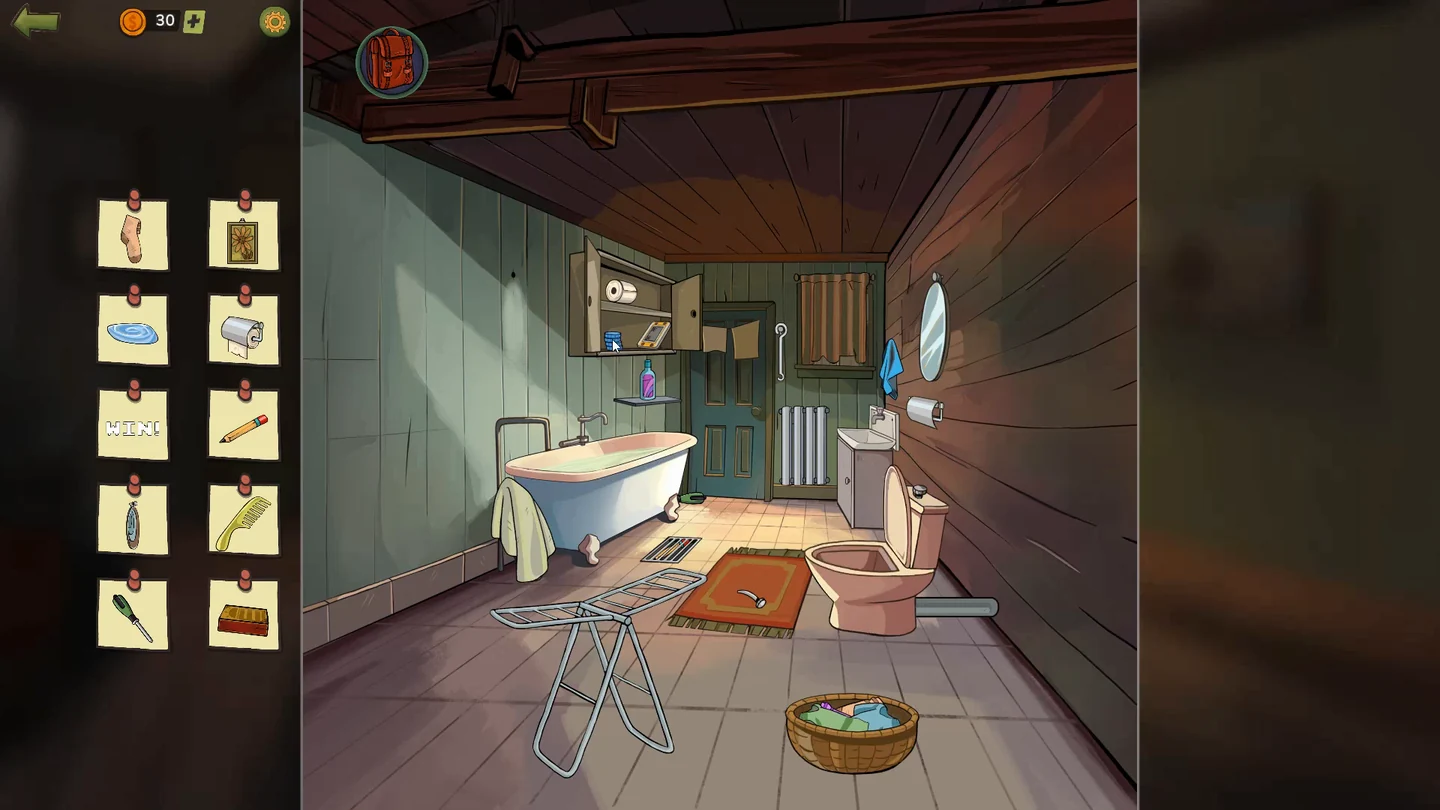
Find every item on the bathroom list. Many are in the cabinet above the tub, around the toilet and by the laundry.
- Open the cabinet above the tub and flush the toilet; take the toilet roll beside it. Take the soap, the clothes peg by the drying rack, the matchbox (keep it for the carnival), the toothbrush and the razor from the cabinet. Open the slatted wall cover above the radiator and tap the yellow symbol behind it.
- Play the handheld game: move the figure left and right to catch the falling coconuts. The counter starts at 0/15; catch 15 to see WIN!
- Hang the clothes from the basket on the drying rack, then tap the loaded drying rack to collect it. Tap the bathtub and pull the plug chain to drain it, then take the comb left in the tub. With the list complete, tap the loose wooden panel on the back wall, the important clue: behind it are torn pages from Margaret's book.
Carnival
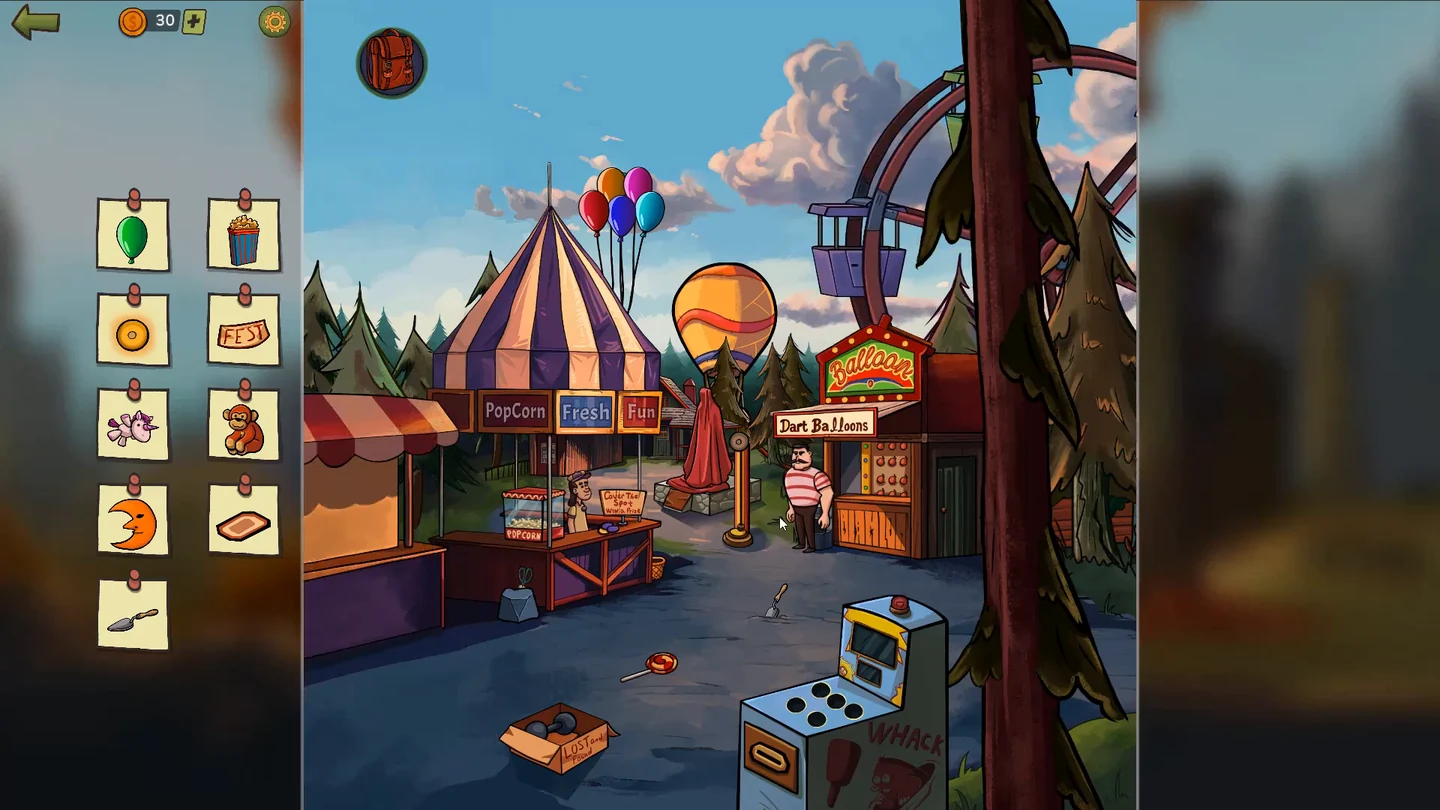
Find: green balloon, popcorn, glowing ring, FEST ticket, unicorn, monkey, moon, sign and trowel. Several are prizes from the stalls.
- Take the trowel lying in front of the arcade cabinet; keep it for later. Tap the WHACK cabinet and play Tap a Mole: tap each mole as it pops up. You need 40 hits within the 30-second countdown shown under the score.
- Tap the hot-air balloon basket in the background and use the matchbox from the backpack on the burner. The burner lights and the balloon rises. Watch the Ferris wheel: when the orange car comes round, tap the orange moon sitting in it to collect the moon.
- Tap the Pop Balloons stall. The left counter is the time left and the right counter the darts left (15). Tap or drag to throw darts at the twelve balloons; pop them all before you run out of darts or time. Back on the fairground, the monkey card is still unchecked: a small glowing monkey prize now sits on the Dart Balloons stall counter beside its attendant. Tap it to collect it.
- Tap the bunch of balloons above the striped tent one balloon at a time: each one floats away, until only the green balloon is left. Tap it for its card. Then tap Cover the Spot and place the five purple discs in a ring like flower petals, each one overlapping its neighbours and reaching just past the middle of the yellow spot, so no yellow shows. The unicorn prize then pops up on the Cover the Spot stall counter: tap it. For the popcorn, look in the Lost and Found box on the ground in front of the arcade cabinet: drag the dumbbell out, then drag out the small orange wallet beneath it. Pull the green banknote out of the wallet and give it to the popcorn vendor at the PopCorn stall. The vendor puts a blue cup of popcorn on the counter: tap it to collect it. The carnival scene ends only once every card on its list is checked off, including any other cards these steps do not describe.
Supermarket
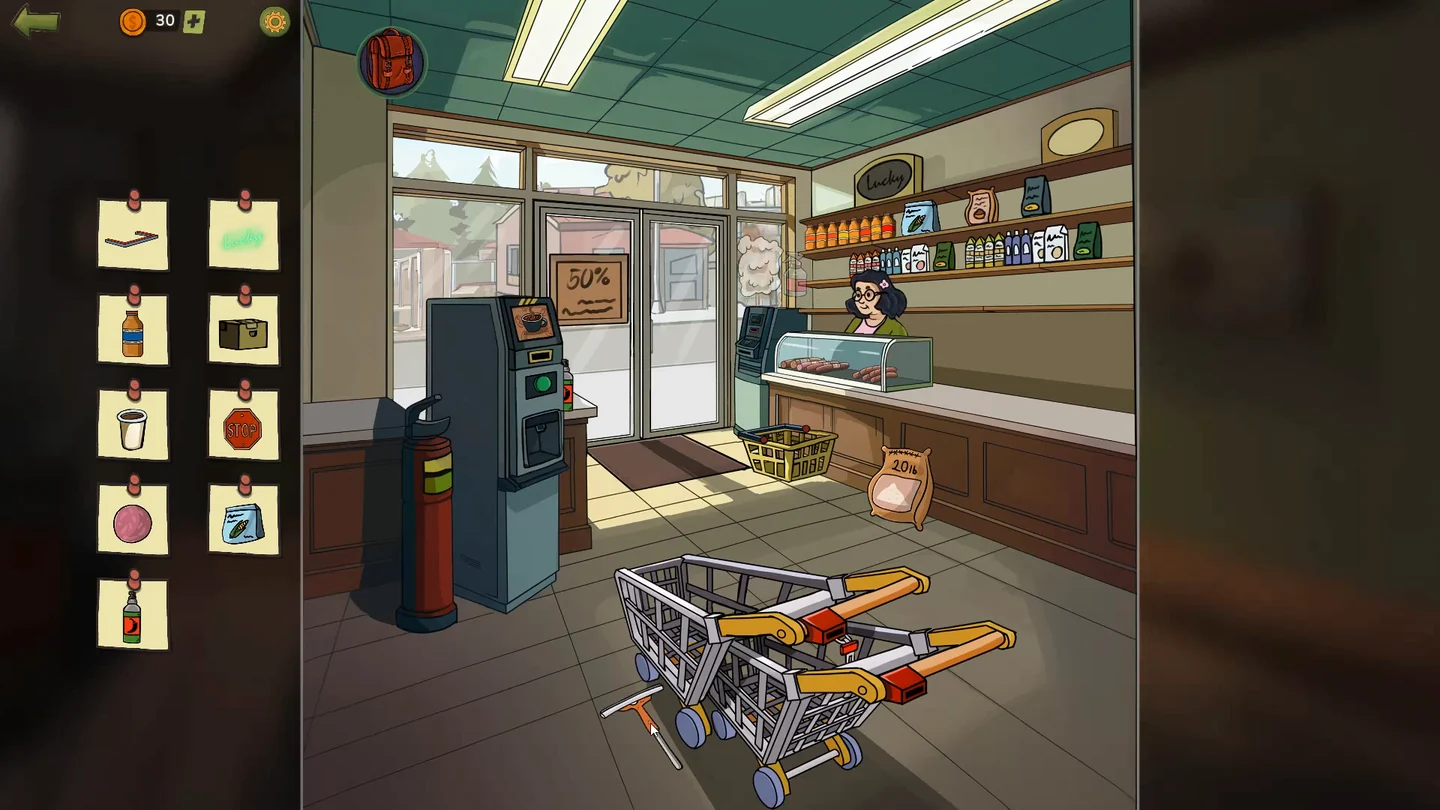
Find every item on the shopping list, then pay at the till.
- Tap the top shelf behind the counter: one row of eight orange bottles stands above a red marker on the left and a yellow marker on the right. Swap the bottles along the row until their labels run as a smooth colour fade, from the reddest label on the far left through orange to the yellowest label on the far right. When the order is right, a bottle with a blue label appears at the far right end of the row: tap it to collect it.
- Tap the red STOP sign seen through the window pane just right of the entrance door to collect it. Drag the 20 lb bag standing by the counter onto the mat at the entrance; while the doors are open, tap the small yellow box across the street to collect it. On the yellow basket near the entrance, raise the dark folded handle, lower it against the other handle on the rim, then tap the red-and-white handles to collect them. Tap the blue packet on the upper shelf, immediately right of the orange bottles. Tap the oval Lucky sign above the bottles to light it, then tap the glowing lettering to collect it. Tap the deli counter. Put the knife from the backpack on the cutting board, place a sausage from the display on it and slice it, then tap the pink slice to collect it. Tap the shopping trolleys in the foreground: drag the small red key hanging below the lock on the back trolley's handle into the red lock on the front trolley's handle, and take the coin that pops out of that lock. Tap the coffee machine by the door, drag the coin into its slot, press the green button and take the cup of coffee. Tap the red-and-green bottle standing on the counter just right of the machine. That checks off the last card on the shopping list.
- Tap the ATM by the entrance and insert Sheriff Jones's credit card from the backpack. Margaret recalls that the PIN is the first odd numbers: enter 1357, choose $20 and take the cash. Give the $20 to the cashier.CODE1357
FBI Archive
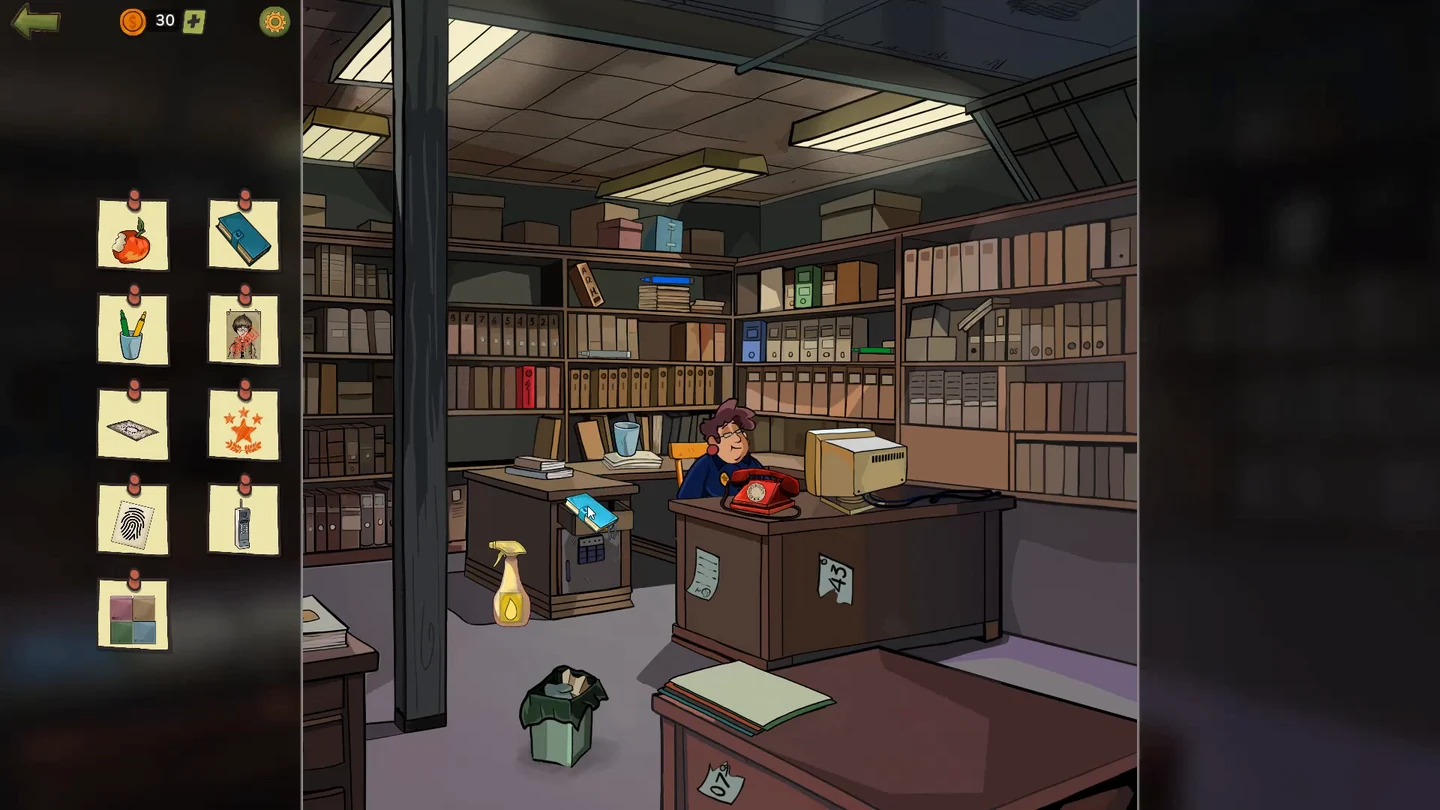
Sheriff Jones searches the archive for files on Professor Wilson. Find every item on the list.
- Take the blue folder and the orange folder from the desks and tip over the wastebasket. Open the case-file binders on the shelves: in Case File No. 1-4, rub one of its pencils over the blank notepad sheet to reveal the red seal. Tap the papers on the front desk for the light bulb. Case File No. 2-8 explains that the substance in the yellow spray reveals hidden images on blank paper. Move the papers on the desk in the foreground aside to expose the green folder and its blank sheet, take the yellow spray bottle from the floor left of the back desk and use it on the exposed sheet, then tap the drawing that appears to collect it.
- Tap the boxes on the top shelf at the back. Move the coloured boxes between the gaps in the row of big cardboard boxes until the pink, green, tan and blue boxes form one 2×2 block: the pink box on top of the green box, and the tan box on top of the blue box directly to its right. Move the grey box aside, out of the block. A four-colour item then appears: tap it to check off the four-colour card.
- Tap the small safe in the left-hand desk, enter 4691 on its keypad and tap the item inside when the door swings open.CODE4691
- The phone call comes only after the whole archive list has been cleared, including any cards these steps do not cover. Then the guard leaves: dial 0743 on the red rotary phone. The caller gives the archive access code 1973.CODE0743
- Log in to the computer with 1973 and search for Adam Wilson.CODE1973
Wilson's Apartment: Living Room
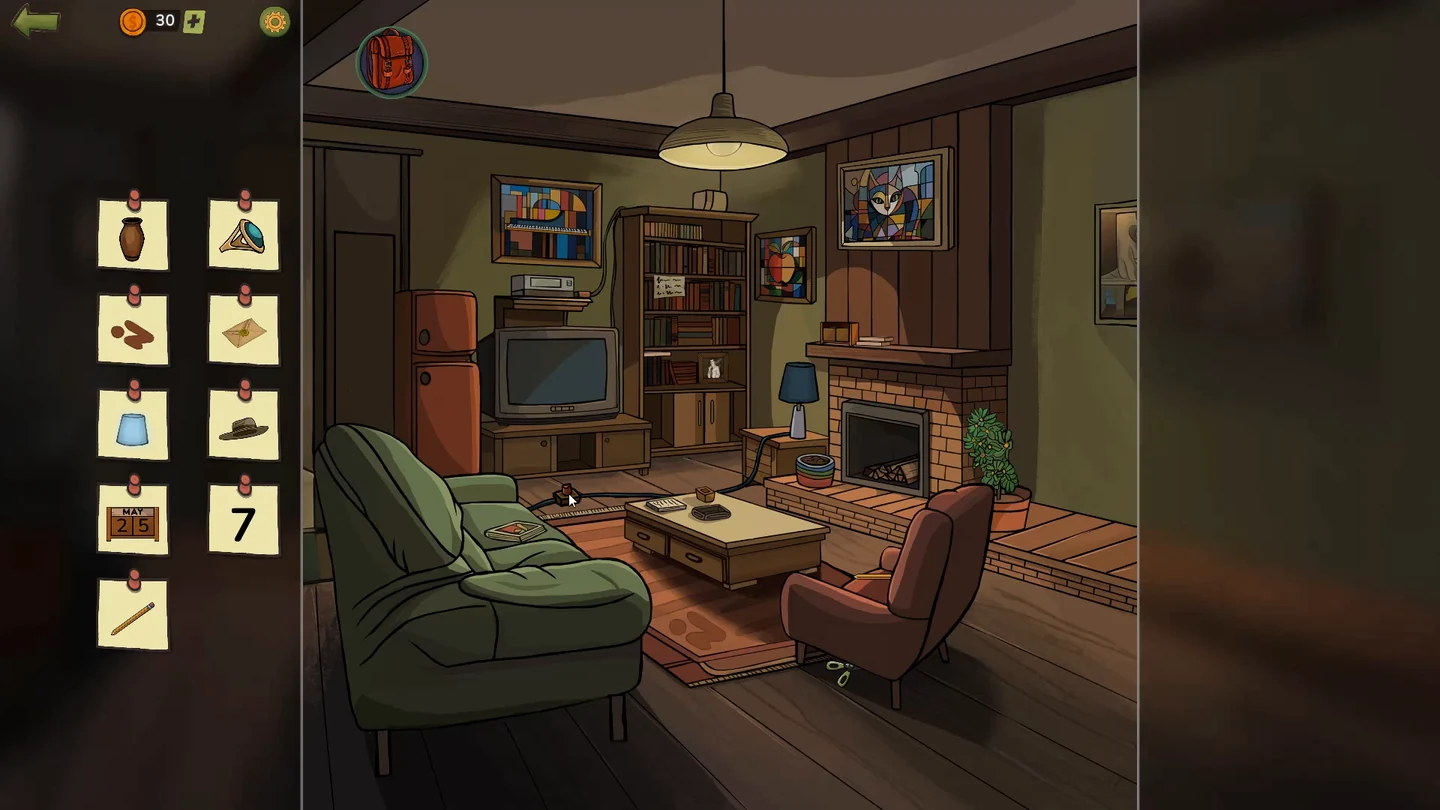
Find the number 7, the photo and the other cards on the list.
- Tap the wooden box on the coffee table. Roll the ball along the lines to trace the whole drawing in one go without going over any line twice; each line turns gold as you pass. Start at a point where an odd number of lines meet and finish at the other. When every line is gold, the box opens; take the item inside.
- Look at the stained-glass piano picture on the wall above the TV, to the left of the bookcase, then open the wall safe with 1410 and take the vase.CODE1410
- Tap the TV: the close-up shows its remote below the screen. Press the red power button, then use the blue arrow buttons to change channels until the test card shows 7, and tap the 7. Turn Wilson's portrait round, open its four latches and take the photo.
- Tap the wooden calendar and slide the MAY bar above the 25 blocks. Tap the yellow pencil lying on the seat cushion of the red armchair by the fireplace and keep it for later. Then tap the striped plant pot beside the fireplace and dig in the soil with the trowel from the backpack: a turquoise ring turns up in the soil. Take it.
- Tap the fireplace, the important clue, to reveal a hidden box. The paper on the wall gives three sums: atom + radiation = 5, atom − radiation = 3 and the third pair adds to 7. So atom = 4, radiation = 1 and the third symbol = 3. Set the lock to 4, 1, 3 and take the laser device; it needs a special projector bulb.CODE413