PART 4
Electronics Shop
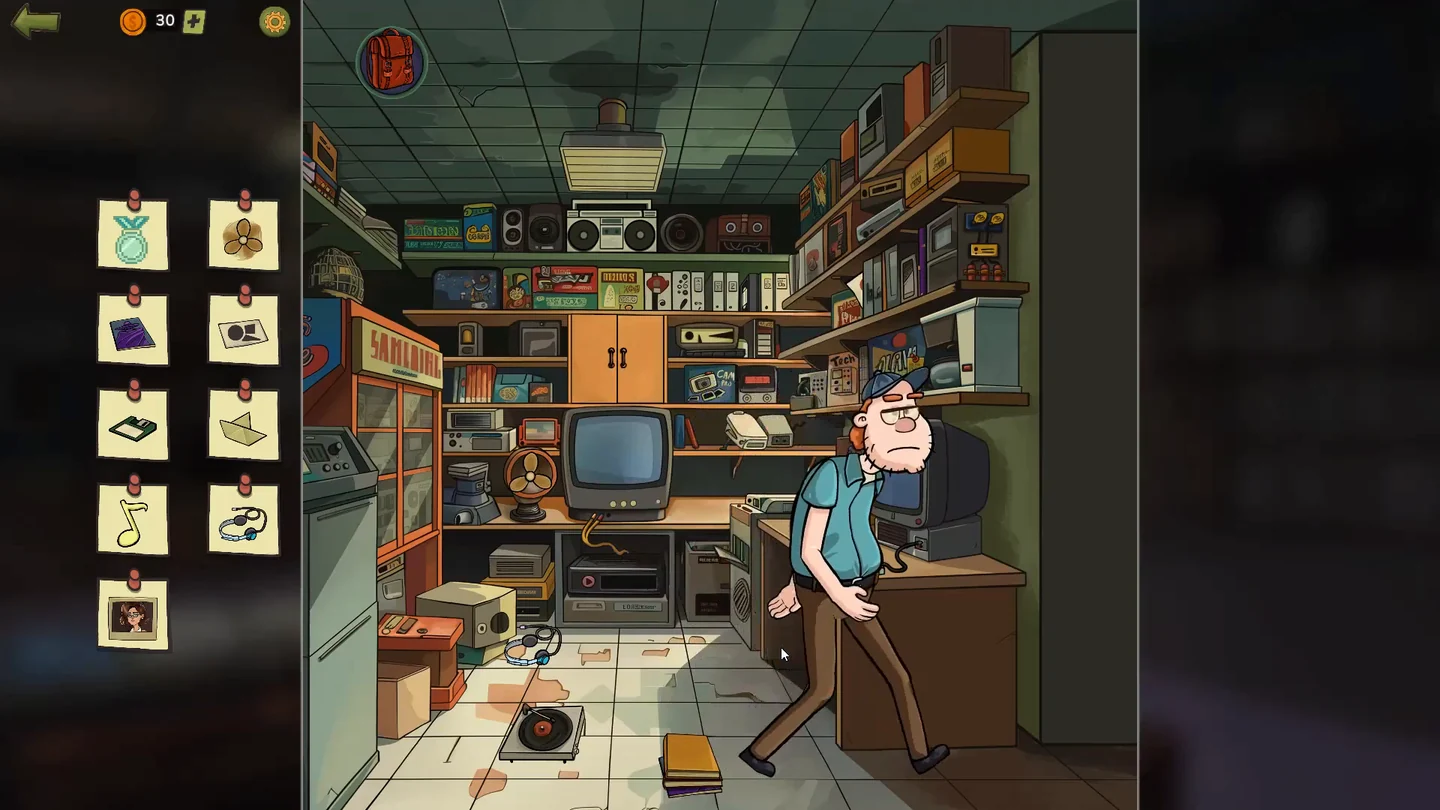
Margaret needs a PL301 projector lamp for the laser. While the shopkeeper checks the warehouse, find every item on the list.
- Tap the small computer on the counter to play the table-tennis game. Use the two red arrow buttons to move your paddle at the bottom left and right, return the ball and score 3 points before the computer does. Take the medal on the WIN screen.
- Tap the yellow instant camera on the shelf, press its shutter and take the photo. Tap the copier behind the left end of the right-hand counter to lift its lid, which starts shut. Pull the colour test card out from between the boxes on the right-hand shelves, drag it onto the copier glass under the raised lid and close the lid. The copier drops a black-and-white copy on the floor: tap the copy to collect it. Tap the small pedestal fan just left of the centre TV to collect the gold three-bladed fan piece. Take the headphones lying beside the pale box and the record player at the bottom left; they go into the backpack for the bus ride home. Slide the red book on the floor aside and tap the purple item underneath it. Pull the stool out from beneath the right-hand counter and tap the dark green floppy disk on its seat. Take the video cassette from the end of the row of white tape boxes on the shelf above the orange cupboard, put it into the video player below the centre TV, then tap the paper boat that appears on the TV screen. The boombox on the top shelf holds a cassette whose tape is unspooled. Take the cassette out, drag the yellow pencil from Wilson's living room out of the backpack into its left reel and wind until all the tape is back inside the shell. Put the cassette back in the boombox and play it: a music note pops out, so tap it. The projector step below starts only after the entire shop list is cleared, including any cards these steps do not cover.
- The shopkeeper brings out the last old projector. Its inside is a sliding-block puzzle six squares wide. The projector lamp is fixed in place: it is the dark brown window in the middle of the board, in the third and fourth columns and the third to fifth rows, and it never moves. Every other piece is an obstacle lying over it. Slide the pieces into the empty squares to clear every one of them off the lamp's window, and keep moving any piece that still lies over it. When the whole lamp is uncovered, the border and the vent at the top flash green. Then tap the PL301 lamp in the middle of the board to put it in the backpack.
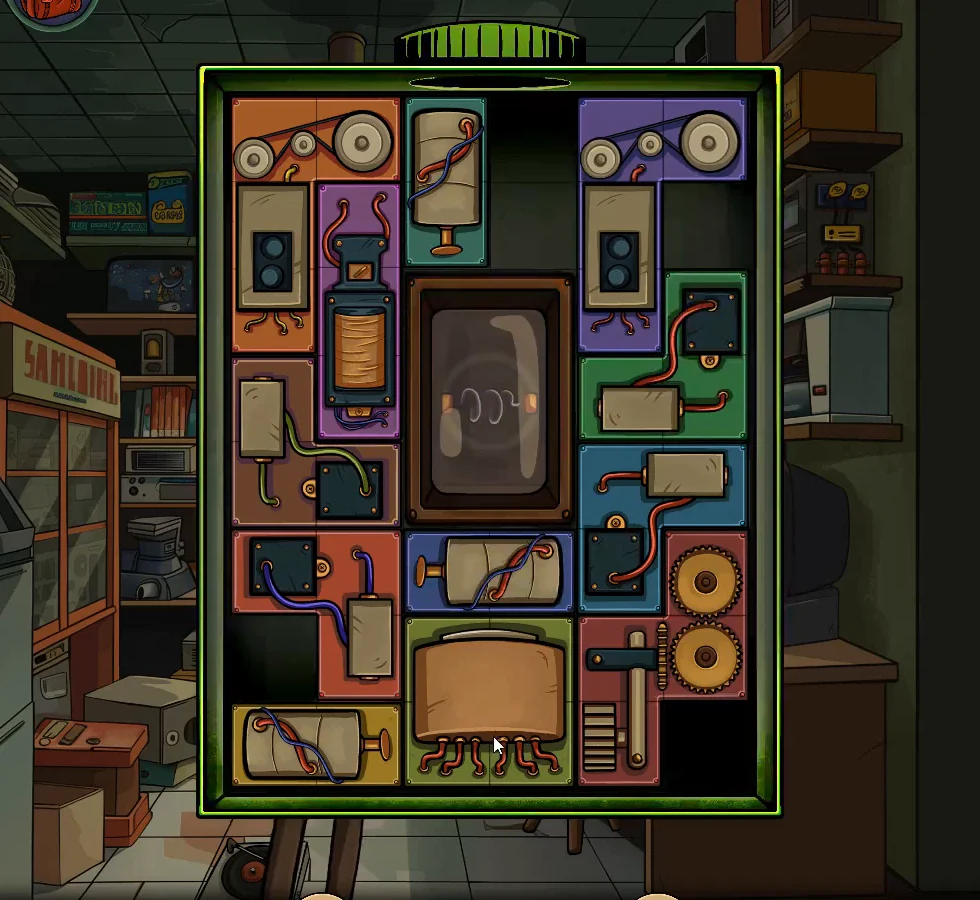
Solved projector: every piece has been cleared off the lamp window in the middle of the board, and the border and top vent light up green.
PART 4
Bus
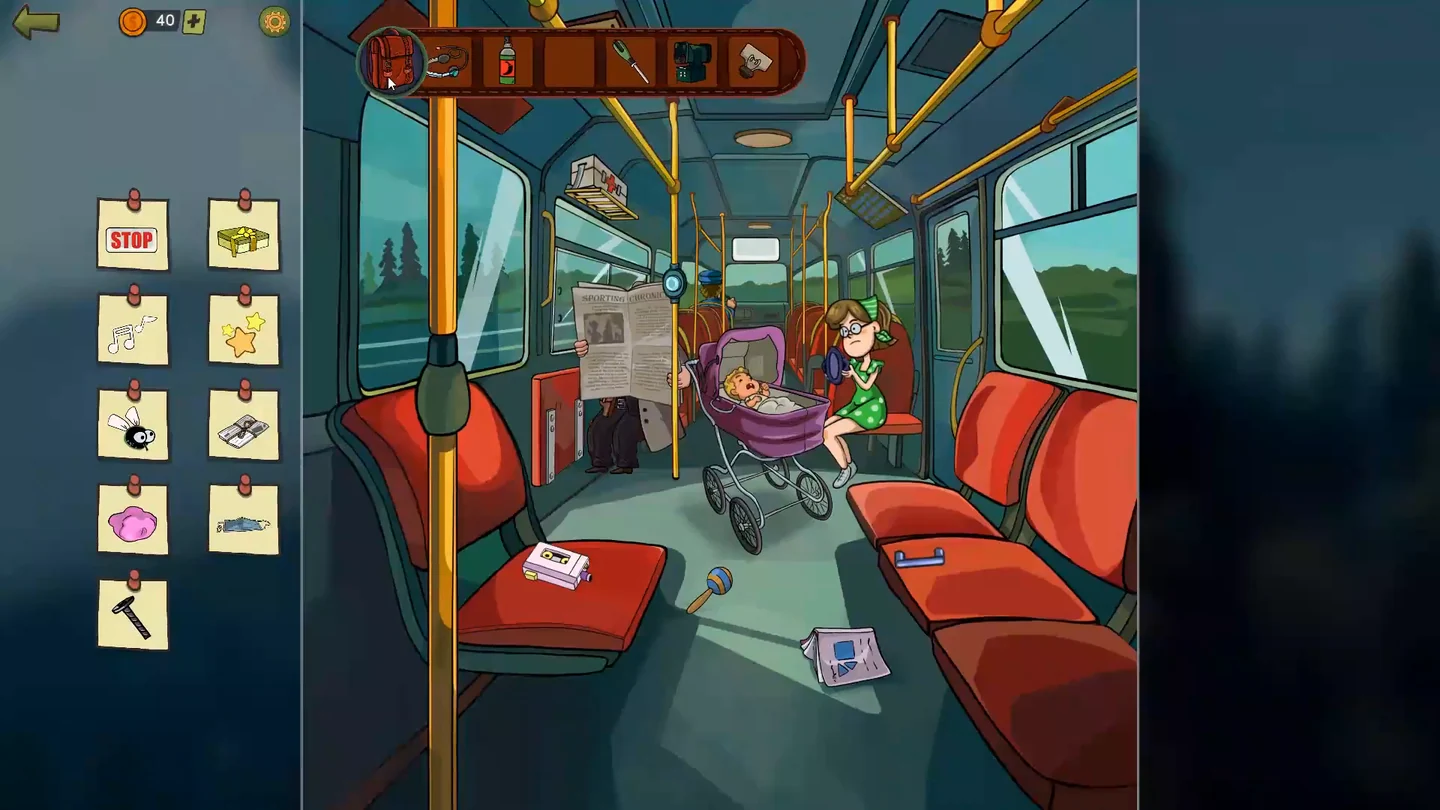
On the bus home, find every item on the list.
- Open the backpack and drag the headphones from the Electronics Shop onto the pale cassette player on the front-left seat, then tap the music notes that appear. Slide the folded newspaper on the aisle floor aside and take the black T-shaped piece underneath it. Tap the fly when it stops by the overhead rails on the right. Tap the purple pram to see the baby close up, drag the blue baby bottle from the right side of the close-up to the baby and, when she has drunk it, tap the stars that sparkle above her. Tap the red STOP sign when it lights up on the panel above the aisle. Tap the red seat on the right to look at it close up, then tap the pink chewing gum stuck to its right-hand support to collect it.
- Tap the round handheld game that the woman in green beside the pram is holding. Margaret explains the rule: each time a new square lights up, press the one that came on last, and keep going until all the lights are on; one mistake restarts the game. Watch for the newest square each round and tap only that one. When the whole grid is lit, the woman holds out a small green-and-yellow gift box: tap it to collect it.
- Open the number panel on the seat. Leave lit only the numbers printed at the top: 1 2 3 6 8 10 13 15 16 18 20 21 22 23 26 28 29 30 31 36 40 41 42 43 46 50, and switch every other square off.
- Open the first-aid box above the seats: set its three dials to 2, 1, 4 and take the face mask from inside. The mask is the last card on the bus list. Once it is checked off, the man behind the newspaper turns out to be Agent Stanley. He threatens Margaret before she escapes.CODE214
PART 4
Sheriff's Office
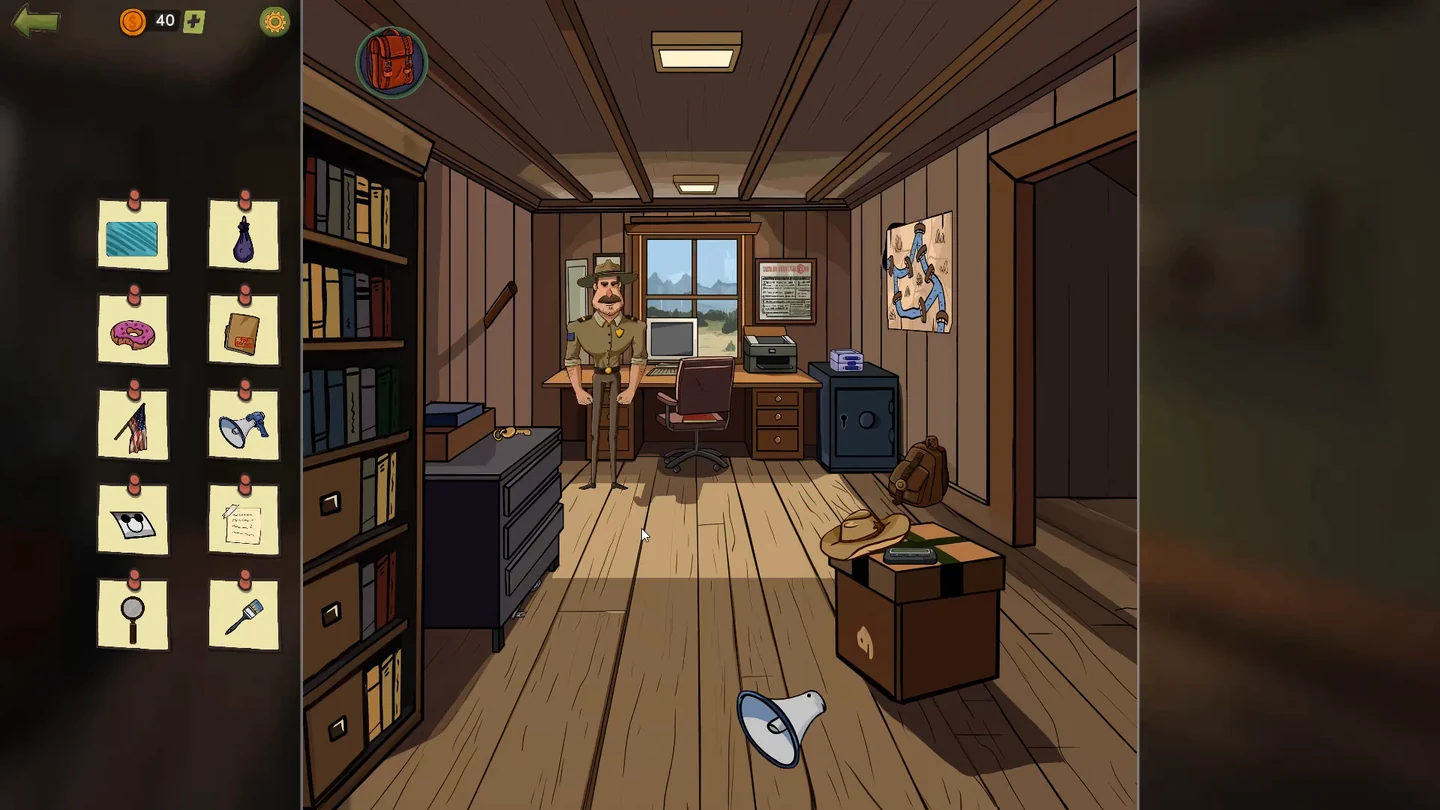
Find: striped mat, blue bottle, doughnut, report, flag, megaphone, face drawing, notes, magnifying glass and brush.
- Tap the pink doughnut on the cardboard box by the door. Open the small black safe beside the desk and take the blue bottle inside. Tap the blue lunchbox on the desk and drag each fruit into the compartment that already holds the same kind of fruit until every compartment matches; take the striped mat it was hiding.
- Open the map of Arktown's rivers and bridges on the wall. An escaped prisoner crossed every bridge exactly once and ended up in the woods: drag the prisoner token from the prison in the middle across the bridges, and each one you use is crossed out. One order that works: the bridge just north-west of the prison, the bridge at the far left edge, the lower-left bridge, the bottom bridge, the bottom-right bridge, the bridge on the right side, the bridge north-east of the prison, then the two bridges in the top half into the woods. When the map closes, its upper-left corner hangs loose from the wall and a tan report is tucked in the recess behind it: tap the report to collect it.
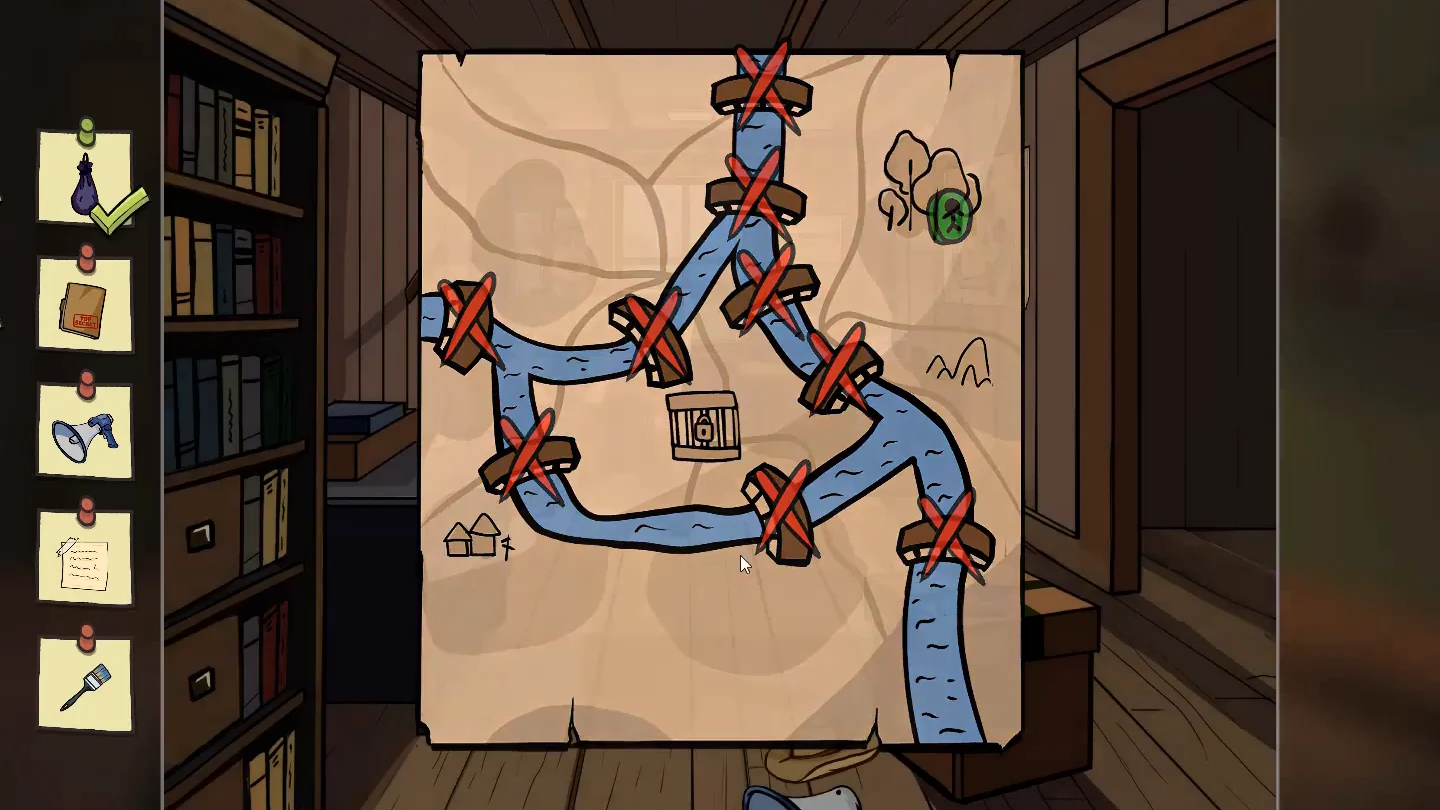
All nine bridges crossed out after a valid route from the prison to the woods. - Tap the computer on the desk. The list card shows the target: a white face with two round black eyes and a smile. Choose black from the colour palette on the left toolbar and draw two filled circles for the eyes, then a curved line under them for the mouth.
- Open the upper drawer on the right side of the desk and take the magnifying glass; keep it for the restaurant. Open the notebook on the desk and turn the pages to the one with the sticky note: a printed page comes out, so take it. Pull the cord by the back window blinds. Open the drawers of the dark cabinet on the left: drag the folded striped flag from one of them to the pole by the window to raise the flag, and take the brush from the lower drawer. Pick up the megaphone from the floor and fit the blue handle from the cabinet drawer. The handle is fastened with a green screwdriver, and this guide does not cover where it is picked up. If you carry it, tap the megaphone to open its close-up, then drag the screwdriver from the backpack onto the handle's fastening to finish the megaphone.
- The pager message arrives only after every card on the office list is checked off, including the megaphone and any cards these steps do not cover; the steps above alone are not enough. When the list clears, the important-clue prompt appears: open the pager and read it. The message demands that Margaret come alone to Hangar 1819 Westbridge by 6 p.m. or Joe will die. Sheriff Jones goes to Joe's school first.
PART 4
Joe's School
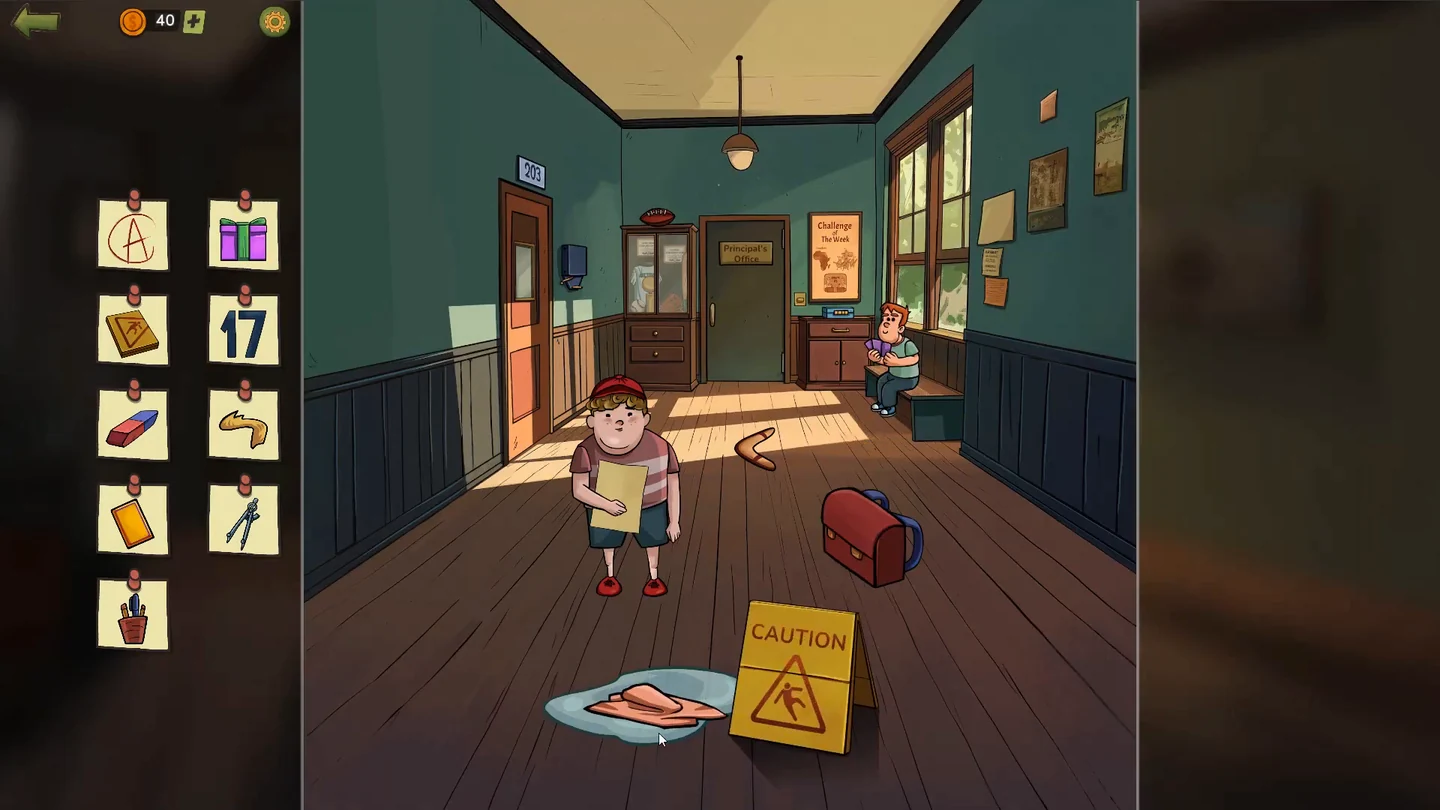
Playing as Sheriff Jones, find every item on the list.
- Drag the yellow wet-floor sign over the puddle and take the pencil from the backpack on the floor. Tap the worksheet the student is holding: match each country silhouette to its name. Norway is the long thin outline at the top, then Brazil, Armenia, Sudan, Canada and the boot-shaped Italy at the bottom.
- Look through the door window for the callipers. Take the brass bell from the hallway, fit it to the alarm unit by the door and ring it for the pen pot. Open the trophy cabinet and take the number 17 jersey. Tap the student on the bench: build a team of four strongmen in which each card is higher than the one before in all three stats. A working line-up (shield, fist, heart): 1-2-3, then 3-6-5, then 4-7-8, then 6-10-9.
- While Principal Sam checks the records, tap the Challenge of the Week poster about Africa and freedom and set its lock to 1960. The lock releases a gift: tap the gift to collect the last card. With the list cleared and the important-clue prompt showing, talk to Principal Sam when he comes back through the centre door; he reports that Joe was absent on Tuesday.CODE1960
PART 4
Outside the Hangar
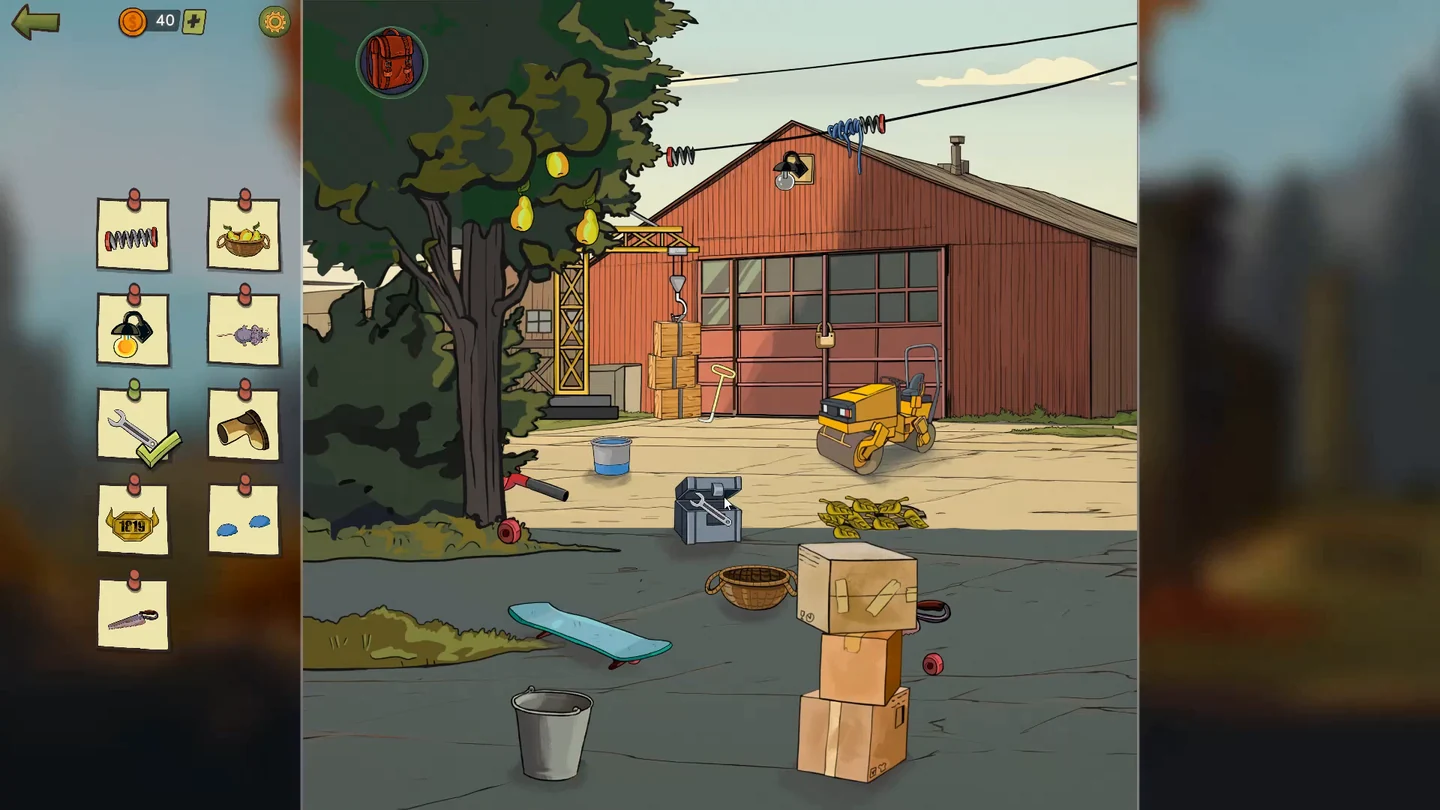
Find every item on the list outside the hangar.
- Tap the grey box on the crates. The six dots above its buttons are the clue: the third, fourth and sixth dots are filled. Press buttons 3, 4 and 6 so only they stay raised, and take the spanner. Use the red leaf blower to clear the leaves, open the drain and take the clamp inside.CODE3, 4, 6
- Slide the empty basket on the ground to the left, under the pears hanging in the tree, move the hanging fruit down into it and tap the filled fruit bowl. Tap the yellow road roller and press its start button; it rolls across the yard and exposes a blue pair on the ground just left of it: tap the pair. When the lamp hanging high in the front gable of the hangar glows, tap it. On the line above the hangar, slide the right-hand group of clothes pegs left until it joins the left-hand group, then tap the combined group. Drag the two red wheels, one by the tree trunk and one beside the cardboard boxes, onto the blue skateboard and tap it: it rolls right into the cardboard stack and knocks it down. Take the paint roller and the zip that are exposed.
- Tap the crane and use its lever to hook the wooden crates and stack them out of the way. Behind them is the plaque with 1819: take it. It is the last card on the outside list, so the important-clue prompt appears and Sheriff Jones arrives by the tree. Then go inside the hangar.CODE1819
PART 4
Inside the Hangar
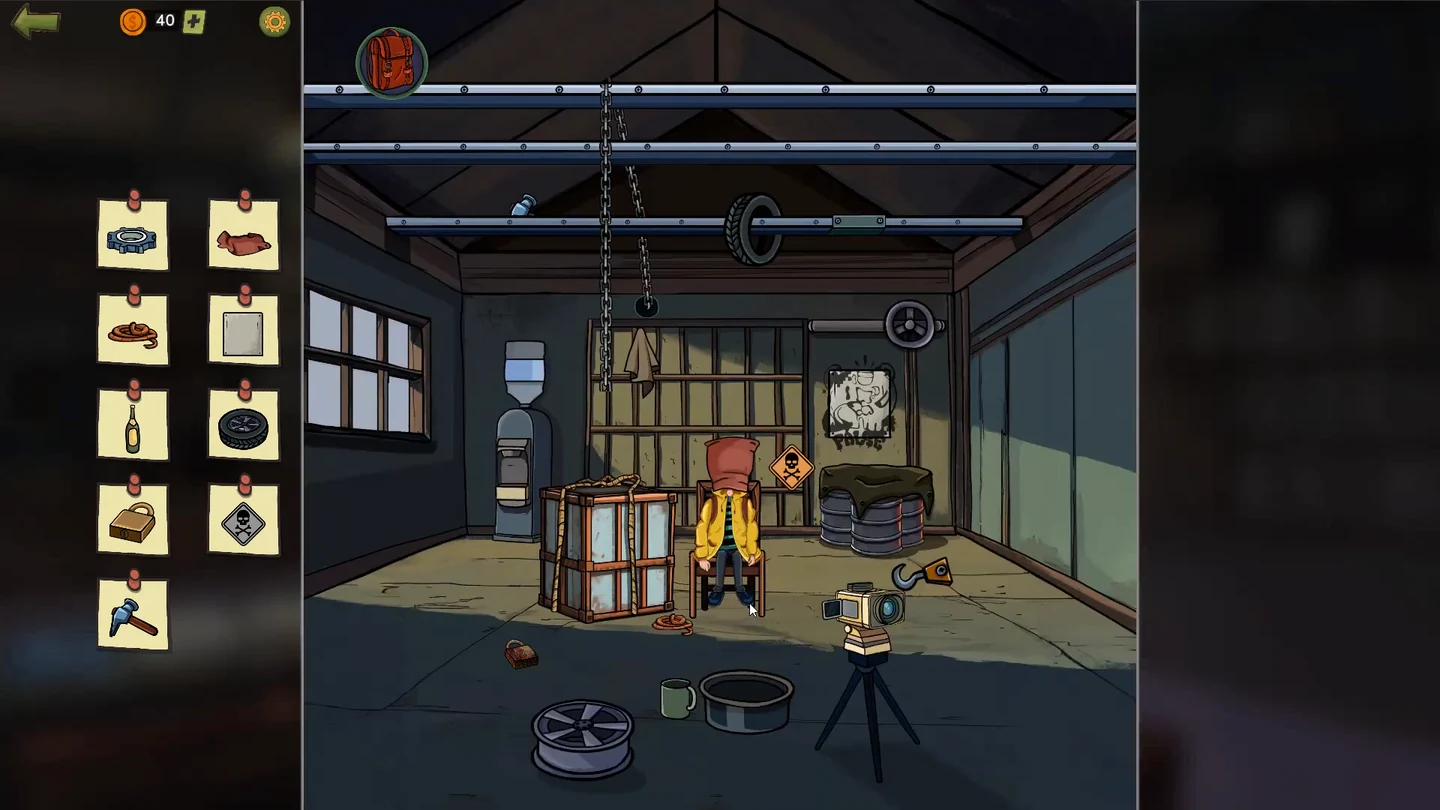
Margaret finds Joe tied to a chair in front of a camera.
- Tap Joe and slide the two pegs on the orange bar to pull the sack off his head; take the sack. Take the green mug from the floor beside the metal tub, fill it at the water cooler on the left and pour it into the metal tub on the floor in front of him.
- These are selected pickups; the hangar list has more cards than these steps cover. Pick up the rusty padlock on the floor near the crate and drop it into the barrel of green acid; take the clean gold padlock that comes out. Take the hacksaw lying on the left end of the long ceiling pipe, then use it on the pipe across the ceiling beam so the tyre hanging there drops, then fit the tyre onto the wheel rim on the floor. Tap the video camera on its tripod: its fold-out display shows a picture, so tap the picture to collect it.
- Once every card on the hangar list is checked off, Agent Stanley arrives. Playing as Sheriff Jones, press the shield button to block when Stanley swings and the fist button to punch back between his attacks, until his health bar is empty.
PART 4
Restaurant
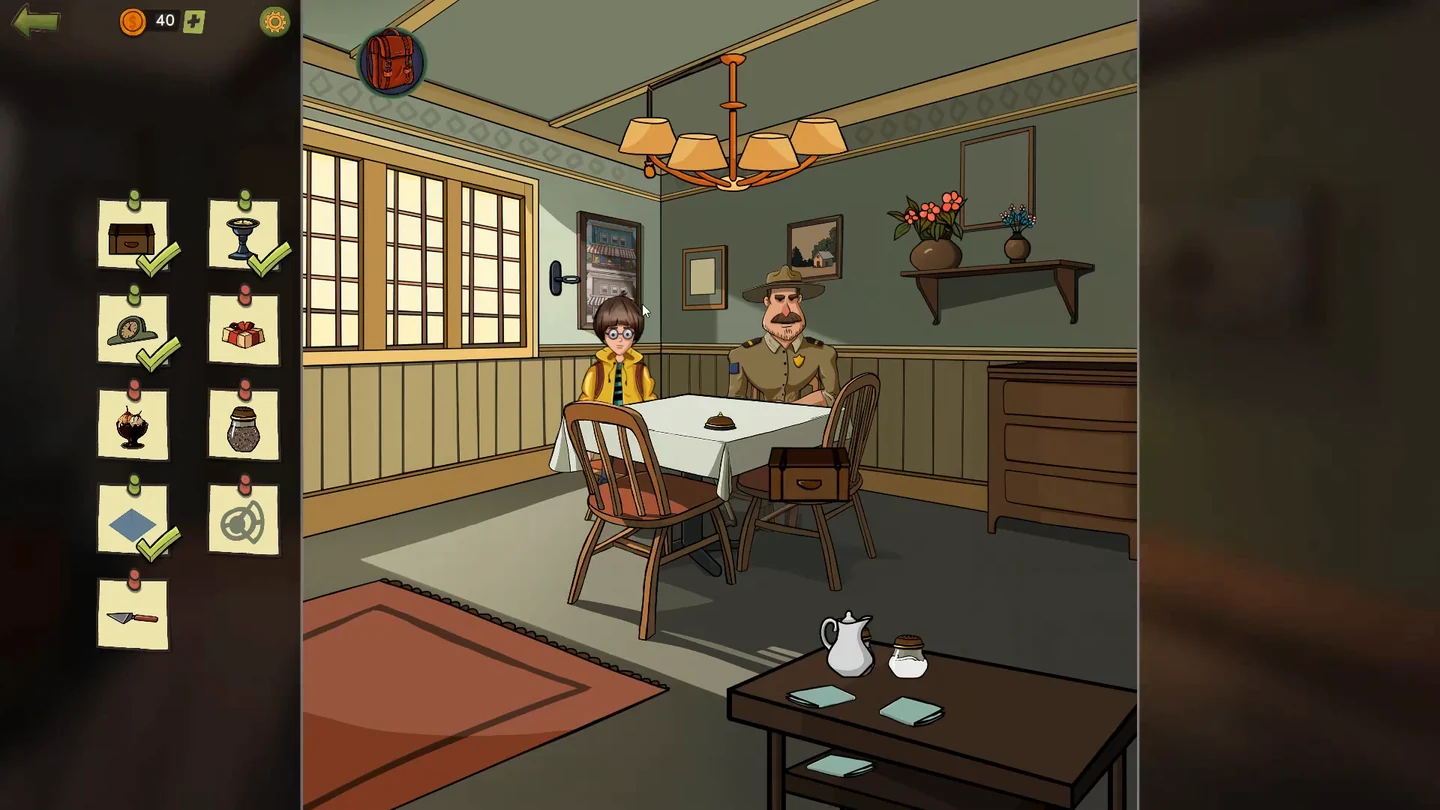
Dinner with Joe and Sheriff Jones.
- Tap the picture by the counter: find 5 differences between the two shop fronts within one minute. They are the drainpipe at the top left, the end of the counter at the bottom left, the café door, the potted bush at the bottom right and the panes of the upper-right window.
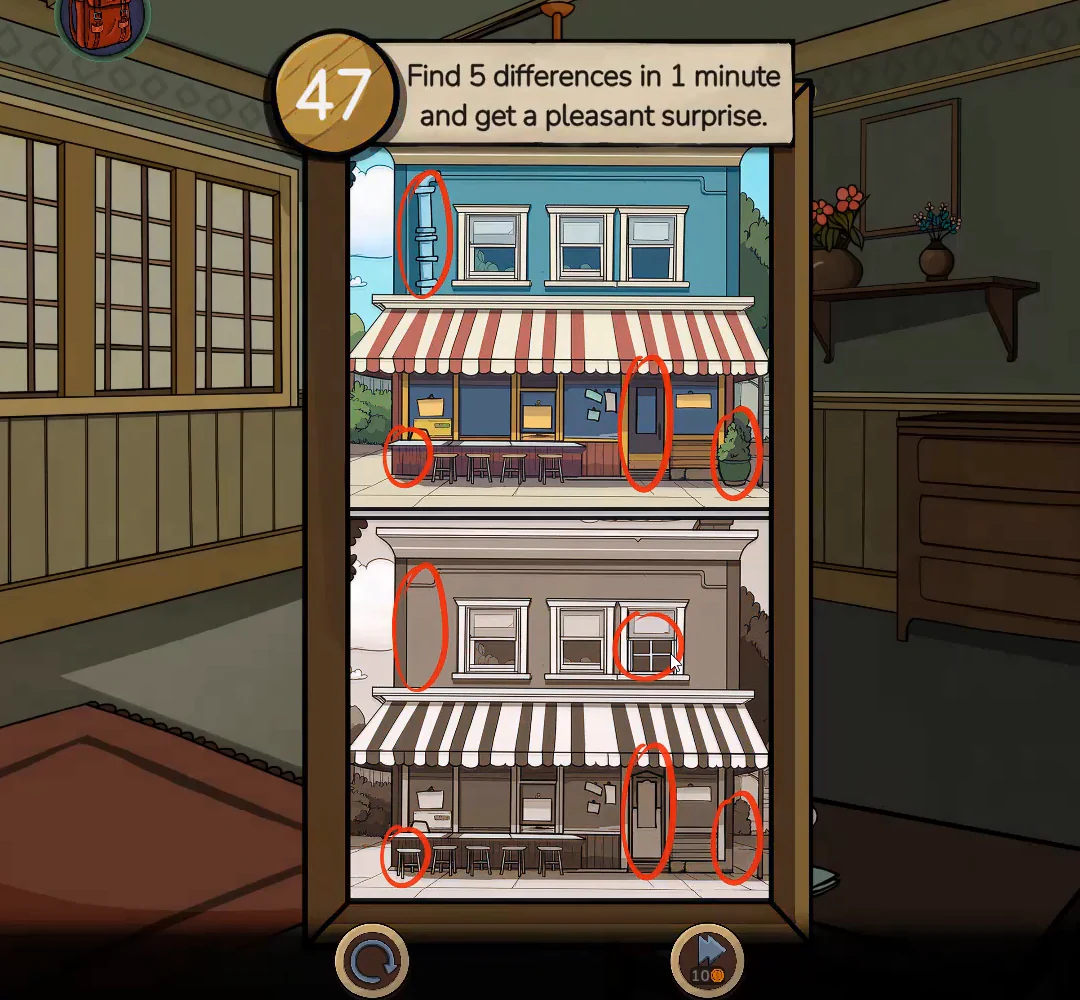
All five differences circled: drainpipe, counter end, door, potted bush and upper-right window. - Order one item from each menu section so the total is exactly $19.95: Chilli chicken (5.95), Vegan pasta (7.25) and Blueberry Cake (6.75). After ordering, tap the picture of the house on the wall and turn it round, then drag the magnifying glass from the Sheriff's desk drawer over the faint mark at the lower left of its back to reveal the swirled symbol, and tap it.
- Joe's riddle: put 6 sugar cubes into 3 glasses so each glass holds an odd number. Put 3 cubes in one glass, 2 in another and 1 in the last, then stand the glass with 1 cube inside the glass with 2: it now holds 3.
- The waiter brings a wooden cylinder left by a hooded stranger. Its numbers 21, 34, 55, 89 continue the Fibonacci sequence: set the lock to 144.CODE144
PART 4
Old Cable Car Station
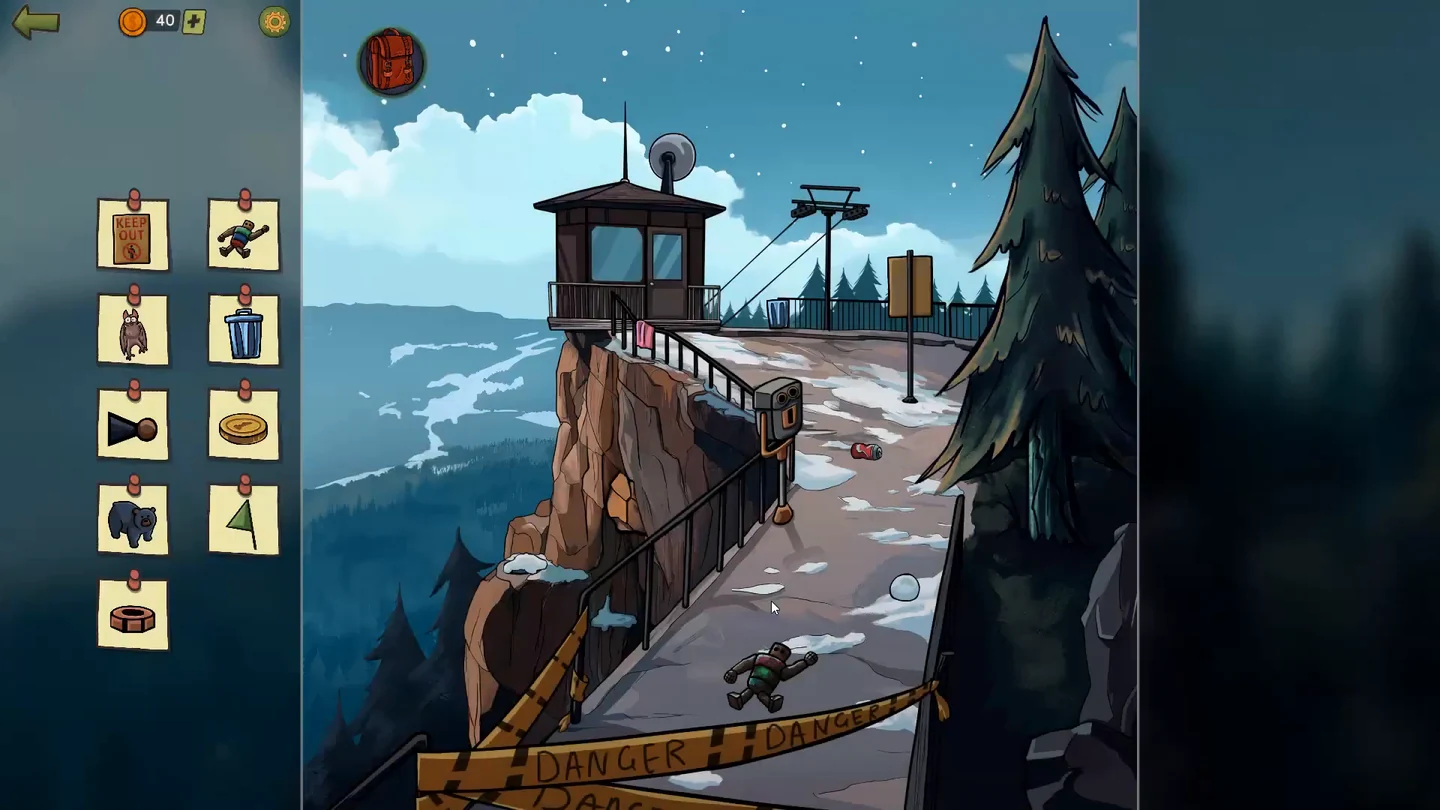
Margaret goes alone to meet the stranger.
- Drag the fish lying on the rocks beside the railing to the owl's ledge to feed it. Tap the wooden robot toy and slide its body bands into the order green, blue, red from top to bottom, then take the item it releases. Pick up the snowball on the path and throw it at the blank sign on the right so it turns round to KEEP OUT; tap the sign.
- Inside the booth, turn the hat on the floor over for the gold coin and open the desk drawer for the red horseshoe magnet. Back outside, put the coin in the binoculars by the railing and pan the view down into the forest until you spot the animal hiding among the trees, then tap it. The cable car arrives at the platform only after every card on the station list is found, and some of them are not covered by this guide.
- The stranger is an older Margaret from the future. Part 4 ends.