PART 5
Dungeon
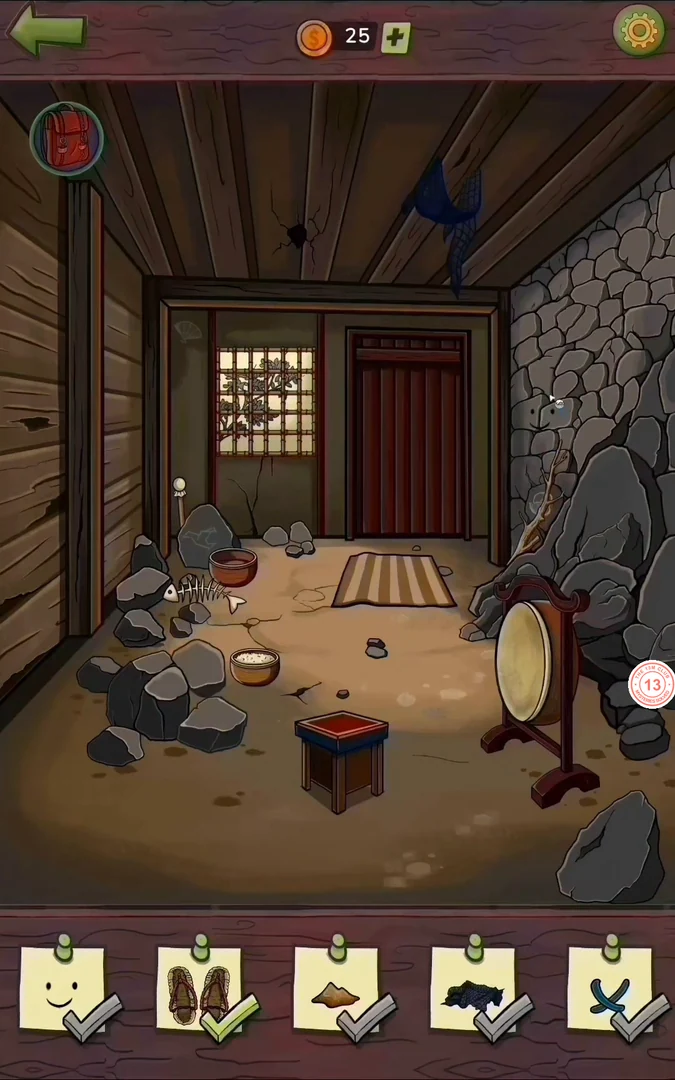
Margaret wakes in a cell in medieval Japan. Find every item on the list along the bottom of the screen; swipe the list sideways to see all the cards.
- Once the Part 5 card is playable, choose Chapters on the main menu, play the Part 5 card and choose Dungeon on the Part 5 map.
- The two straw sandals start apart: one lies by the rock pile on the left, the other on the floor between the stool and the gong. Drag the loose sandal to the one by the left rock pile, then tap the pair to collect it. Tap the dark blue cloth hanging over the ceiling beam at the top right: it drops onto the floor, so tap it there to collect it. Pick up the light-headed mallet lying by the rocks below the window and drag it onto the gong; it rings and an orange spark appears, so tap the spark. Leave the striped mat by the door where it is; you need it for the escape. Tap the bowl of rice, swipe the grains aside and take the chili pepper hidden in it. Tap the lattice window to open its close-up. Without moving any panels, tap the small blue crossed tie at the top of the third column, then the small helmet at the bottom of the fourth column; each flashes and is collected.
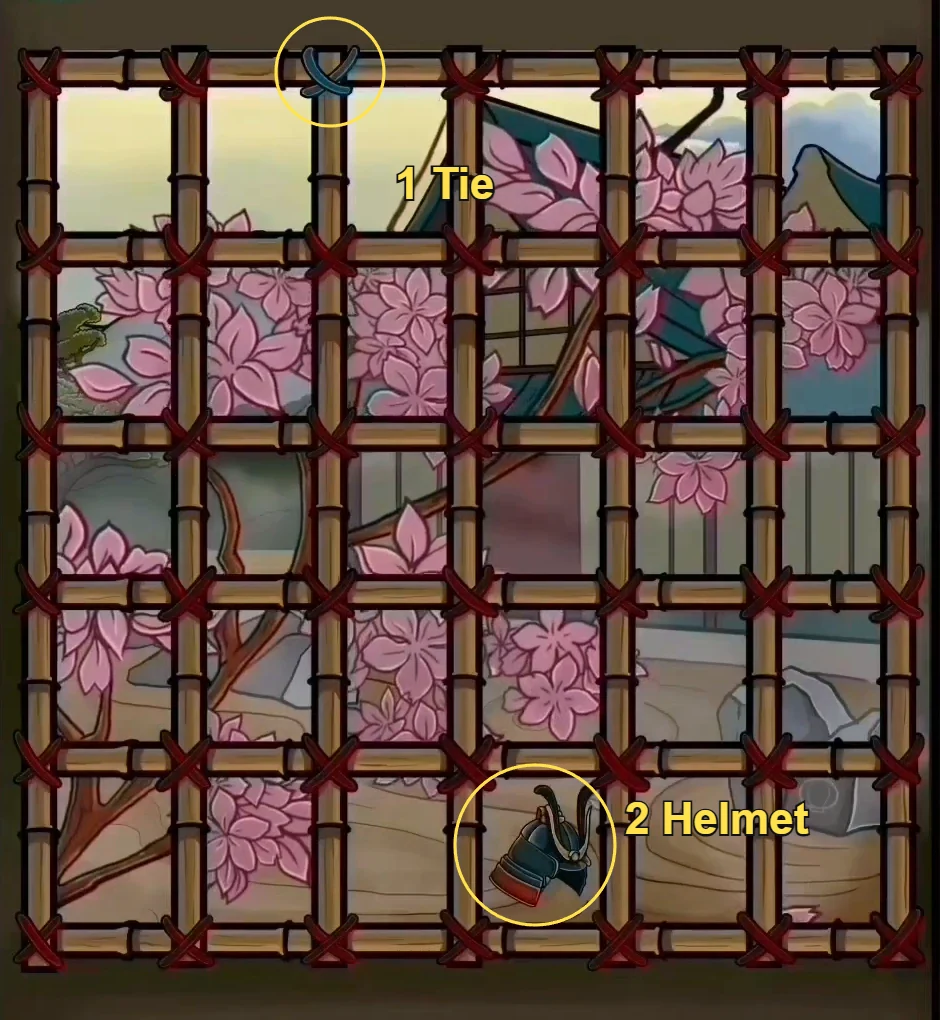
The lattice close-up: tap the blue crossed tie on the top bar (1) and the helmet at the bottom of the fourth column (2) without moving any panels. - Tap the red box with the round wooden buttons (Press the required buttons to open the box). Press the crane button at the top, then the fan, lantern and teapot buttons in the middle row; the box opens. Take the fox mask.
- Once every card on the cell list is found, the guard slides the door open and orders Margaret out. While he stands on the striped mat in the doorway, pull the mat out from under him: he falls backwards and drops his sword, and Margaret slips out through the open door.
PART 5
City Street
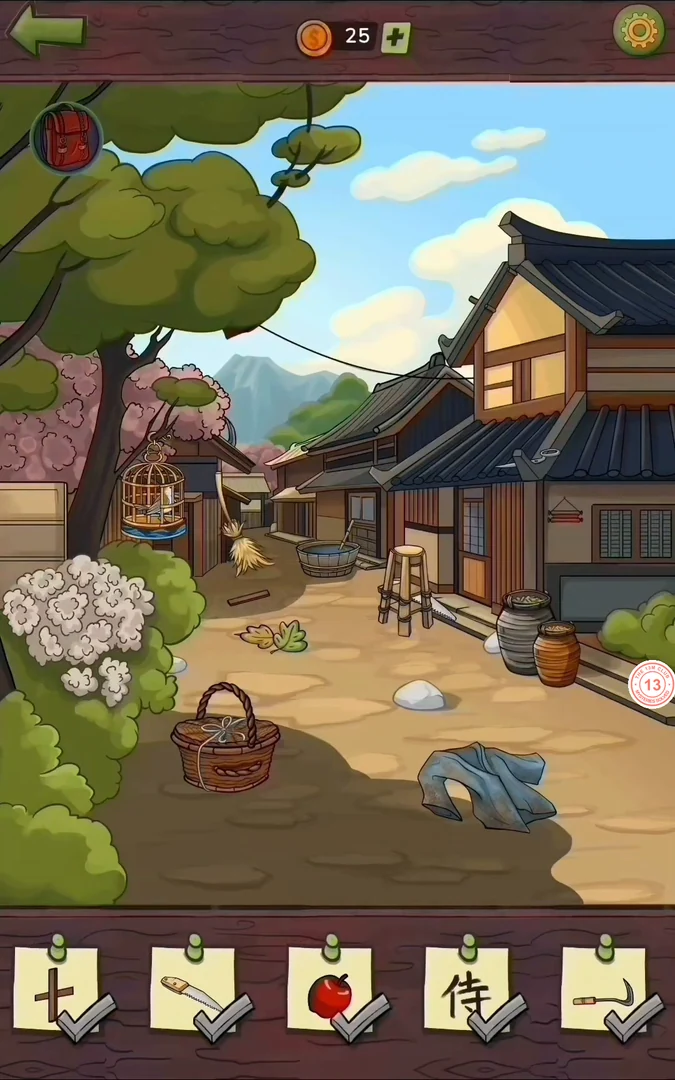
Find every item on the list, including a kanji character.
- Tip over the wicker basket on the left and take an apple from the tub under it. Tap the blue cloth on the ground to open the washtub, wash the garment and take the blue jacket once it hangs up. Take the cherry branch above the right-hand roof. These are selected items from the street list; other cards on it are not covered here.
- Tap the birdcage hanging from the tree on the left. Its lock is a maze with gold balls and three ringed holes. The round control at the bottom has four arrow buttons: each press sends every loose ball rolling as far as it can in that direction along the tracks. Combine the directions until a ball rests in each of the three ringed holes; the lock clicks open and the bird flies free. Then tap the hanging calligraphy scroll. It starts rolled up: pull it down to reveal the characters, then tap the kanji 侍 at the lower right. Yumi appears only after every card on the street list is checked off, including the cards this guide does not cover. When the list clears, the important-clue prompt appears and a woman in a yellow kimono, Yumi, calls Margaret inside.
PART 5
Yumi's House
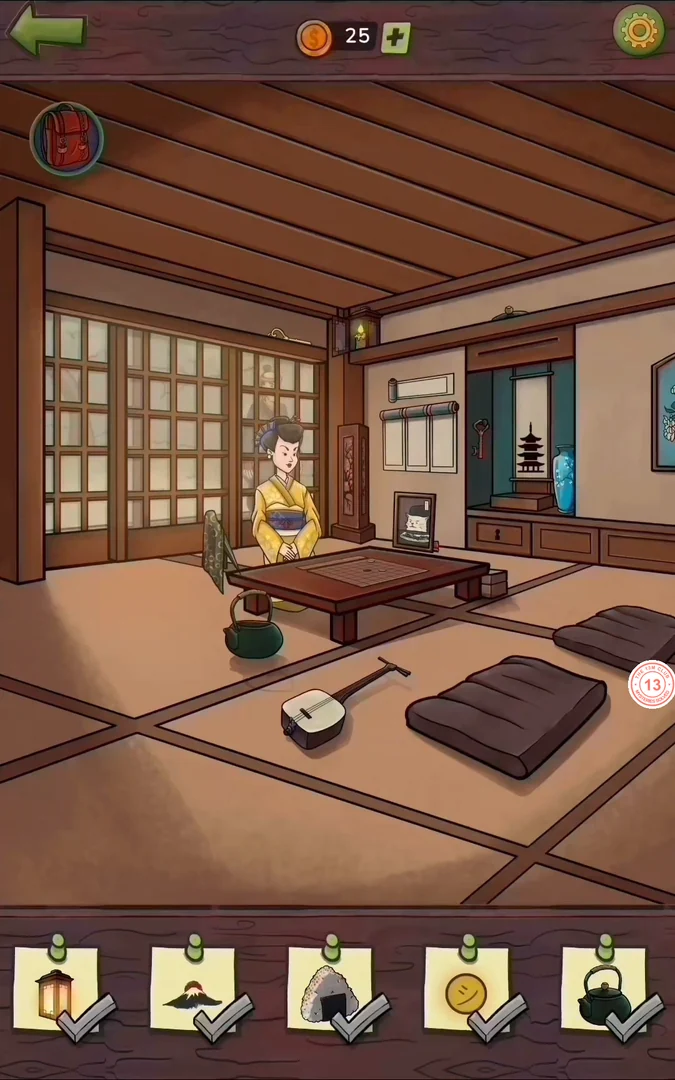
Yumi explains that Agent Stanley arrived a week earlier. Find every item on the list.
- Tap the three scrolls (Swipe the rolls!) and swipe each roll up or down until together they show one picture: a snowy mountain under a red sun. Yumi's house list also has cards this guide does not cover, such as the hanging lantern. The guard's visit later in this section comes only once the whole list is cleared.
- Tap the floor cushion for the rice ball and take the straw hat on the floor. Tap the low table so its hidden trapdoor opens and take the kunai. Take the white blossom, the red fan and the bamboo flute on the wall beam. Play Gomoku with Yumi: the game's own rule is that the first player to place four stones in a row, horizontally, vertically or diagonally, wins. Block her as soon as she has three in a line with an open end, and try to build two lines of three at once so she cannot block both.
- Tap the shamisen on the floor. Notes fall down four lanes: tap each lane as its note reaches the circle at the bottom and hold the long notes. You have three hearts, and each miss costs one. Then hide behind the screen when a guard inspects the house. Yumi gives Margaret a map and a disguise.
PART 5
Night Road
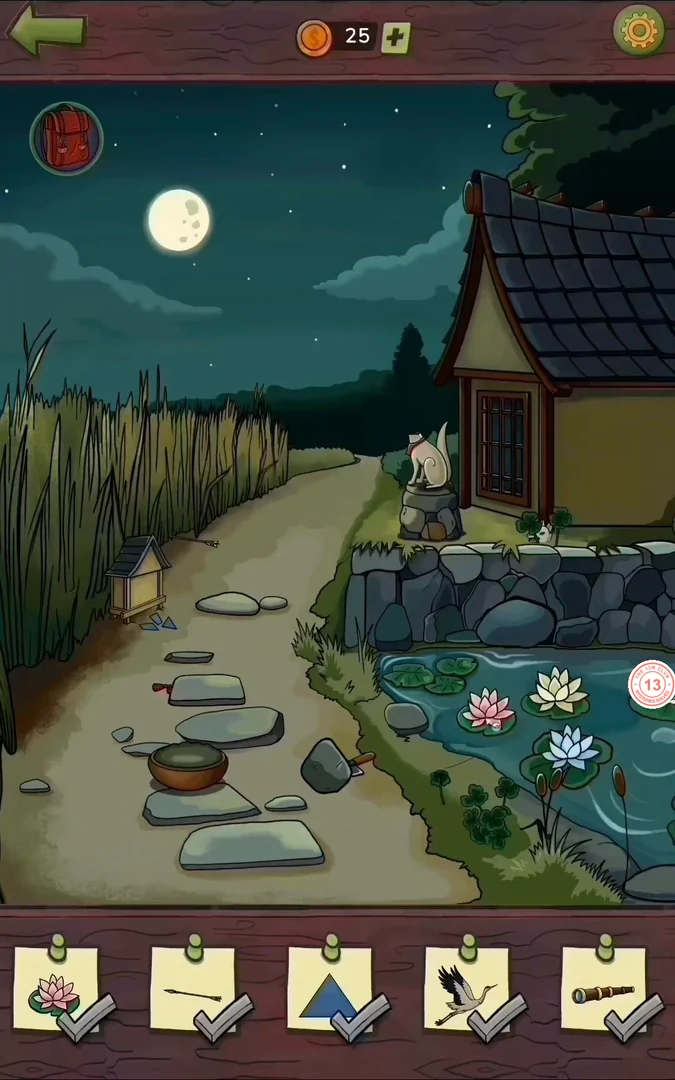
Find every item on the list.
- Tap the pink flower on the pond. Tap the fox statue beside the house and take its red bib. Tap the barred cottage window. Take the empty blue glass jar in the bottom row, directly below the bonsai. Drag the small gold-coloured piece on the shelf below the blue kettle up to the wind chime hanging on the right, then tap the restored chime to ring it. A sound-wave symbol appears on the pane just left of the chime: tap it to collect it. Tap the bonsai on the table so it blooms, then tap its red flower to collect it.
- Tap the wooden frame by the left edge of the path. Drag the blue pieces to move them and tap a piece to rotate it, until together they fill the big triangle with no gaps. Start with the large pieces along the corners and edges. Then tap the paper crane flying across the sky. Take the yellow tube it drops onto the stones of the path and keep it: it is the spyglass you will need at the Checkpoint. Tap the fox statue to look at it close up. Drag the empty jar from the backpack onto the firefly, drag the cork lying on the stone base onto the jar to close it, then tap the filled jar at the fox's feet to collect it. The scroll map below opens only once every card on the Night Road list is checked off.
- On the scroll map, move Margaret's marker along the dotted roads to the Temple of the Sun at the top. Each guard post she passes adds a mark to the Alert Level bar at the top of the scroll, so pick roads that pass as few guard posts as possible and do not let the bar fill up.
PART 5
Checkpoint
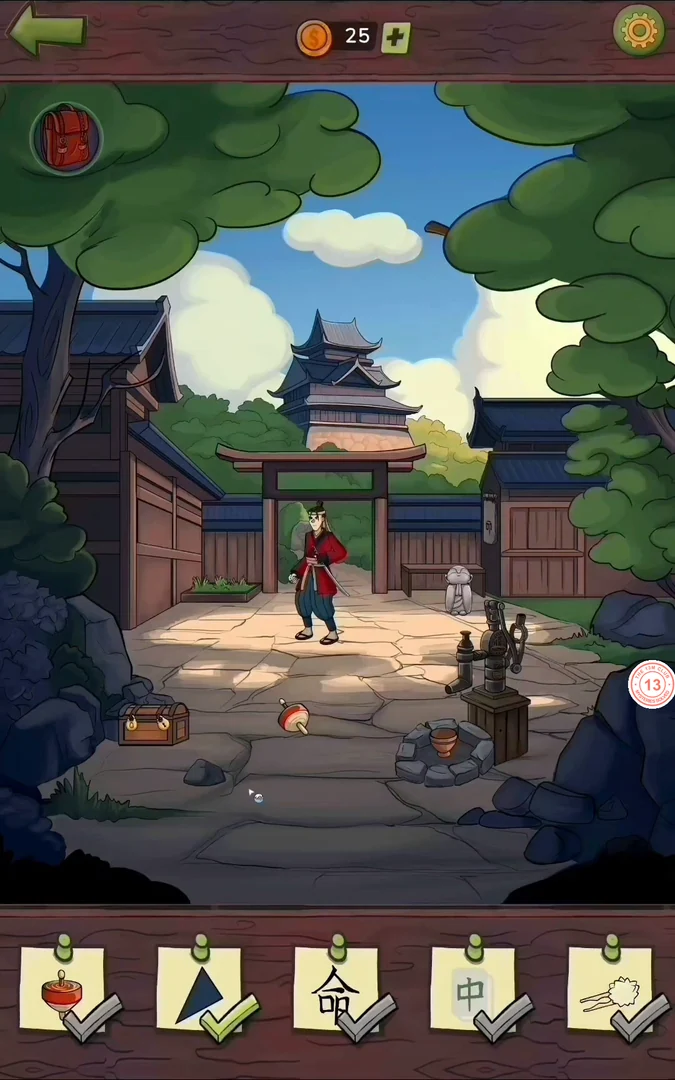
Find every item on the list.
- Tap the game board on the low table in the left guardhouse and play Mahjong Solitaire: remove pairs of matching tiles that are free (nothing on top and an open left or right side) until the board is clear; take the 中 tile.
- Tap the hanging plaque by the entrance, dip the brush in the ink beside it and paint the missing strokes to complete 命. Spin the wooden top in front of the samurai guard. Then drag the yellow spyglass tube from Night Road onto the top window of the castle tower behind the gate. In the close-up the curtain blows aside: tap the red lantern inside. The wooden chest at the lower left is a list item with two padlocks: if you already carry two keys, use one on each padlock to open it. This guide does not cover where those keys are found. The drink for the guard below is prepared only after the whole Checkpoint list is cleared.
- Pick the green herbs growing in the planter outside the left guardhouse. Open the guardhouse cabinet, drag the herbs into the mortar on the cabinet floor and grind them, then pour the green liquid from the mortar into the red goblet on the table. Take the filled goblet and give it to the guard at the gate; Margaret gets past him.
PART 5
Sake House
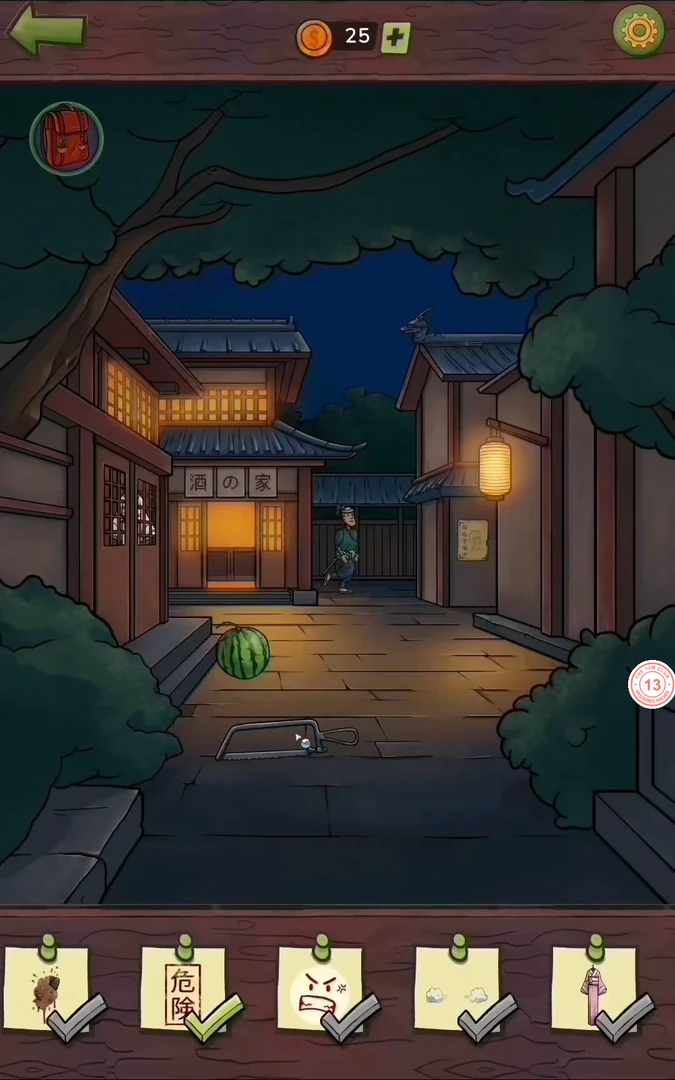
Find every item on the list, outside and inside the tavern.
- Go into the tavern (酒の宿). Tap the wooden board on the right table. Its rule reads: Move the blocks and balls so that each ball ends up on a ring of the same color. This is a sliding-block puzzle: a wooden block, a ball or a ring tile can be slid into an empty space next to it, and the balls move directly like the blocks. The full sequence is long, so work it out on the board rather than following a fixed move list. You can match the yellow ball with its ring first, then slide blocks and ring tiles aside to make room and bring the red and blue balls onto the rings of their colour. When all three balls sit on matching rings, the board closes and gives its reward.
- Tap the left-hand table with the sushi plate to see it close up. A coin lies above and to the right of the plate: tap it to put it in the backpack, and keep it for the market. The tavern also has a sushi-and-chopsticks puzzle and more list items before the conversation below. This guide does not cover them.
- When every card on the Sake House list is checked off, including those this guide does not cover, the important-clue prompt appears and Agent Stanley walks in. Listen in on Stanley and his accomplice: they plan to poison Lord Nobunaga.
PART 5
Market
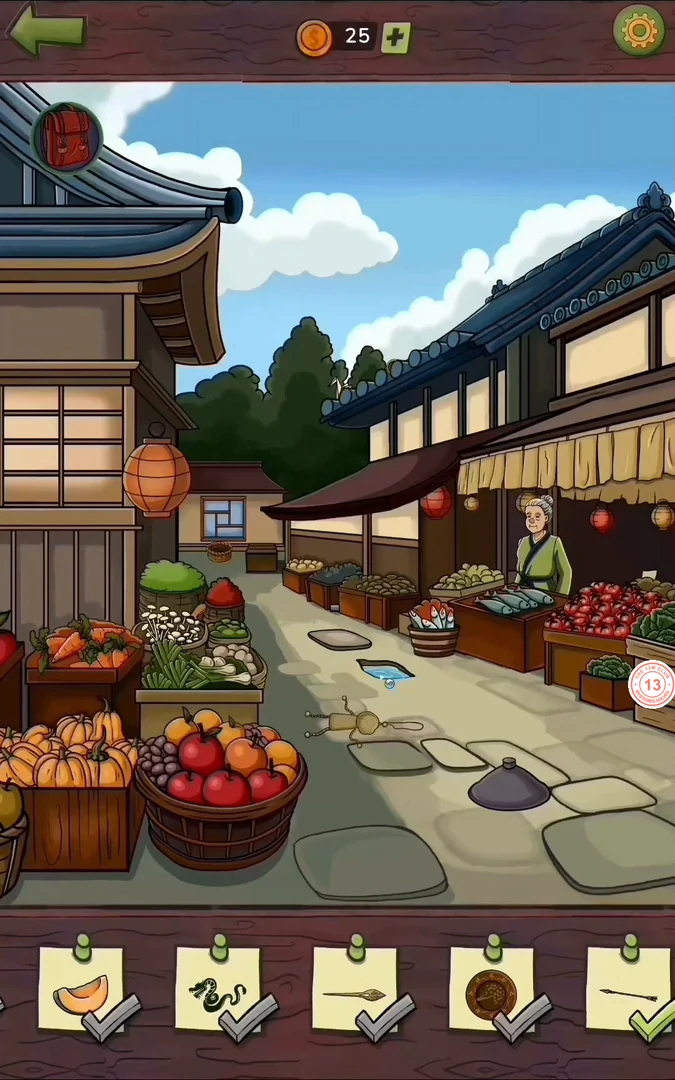
Find every item on the list.
- Tap the wooden box at the stall. Its lid is a 3×3 grid of squares with grooves round every square. Fit the loose rods into the grooves to make this pattern: a three-square rod down the whole left edge; a three-square rod along the whole top edge; a two-square rod across under the top-left and top-middle squares; a two-square rod down between the middle and right columns, beside the top two rows; a two-square rod down the right edge beside the top two rows and a one-square rod down the right edge of the bottom row; an L-shaped rod along the left and bottom sides of the centre square; a one-square rod under the middle-right square; an L-shaped rod along the right and bottom sides of the bottom-left square; and a two-square rod along the bottom edge under the middle and right squares. The box flashes and opens; take what is inside. Next, tap the bean basket: it shows a large basket full of beans at the bottom and two small empty baskets above. Back out, pick up the wooden scoop lying by the curled left end of the roof, then open the bean basket again. Use the scoop to move the beans from the large basket into the two small baskets until pink blossoms are exposed at the bottom of the large basket, then tap the blossoms to collect them.
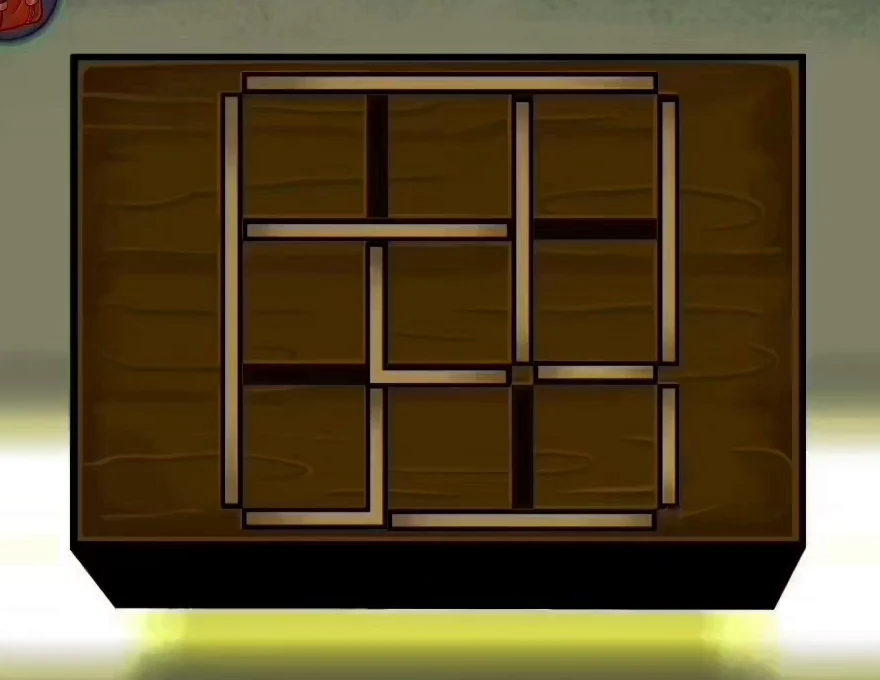
The wooden box lid from the start of this step, solved: every rod is in place and only the four dark grooves stay empty. - Tap the fish stall. Open the backpack and give the coin from the Sake House to the fish seller. She holds out the red fish: tap it to collect it. Then take the bamboo skewer from the yellow fish on the right. Once the entire Market list is cleared, the samurai Kenjiro arrives and agrees to take Margaret to Lord Nobunaga.