Castle Courtyard and the Guard
Louisa and Conrad reach the castle: "There's a guard at the door. How do we get in?" New objective: get into the castle and find where the Baroness is heading.
- In the courtyard, take the toy SHIP from the bench, the WINCH HANDLE from the lantern post and the BROKEN LADDER from the fountain.
- Go left to the pier and take the BIG NET from the crate.
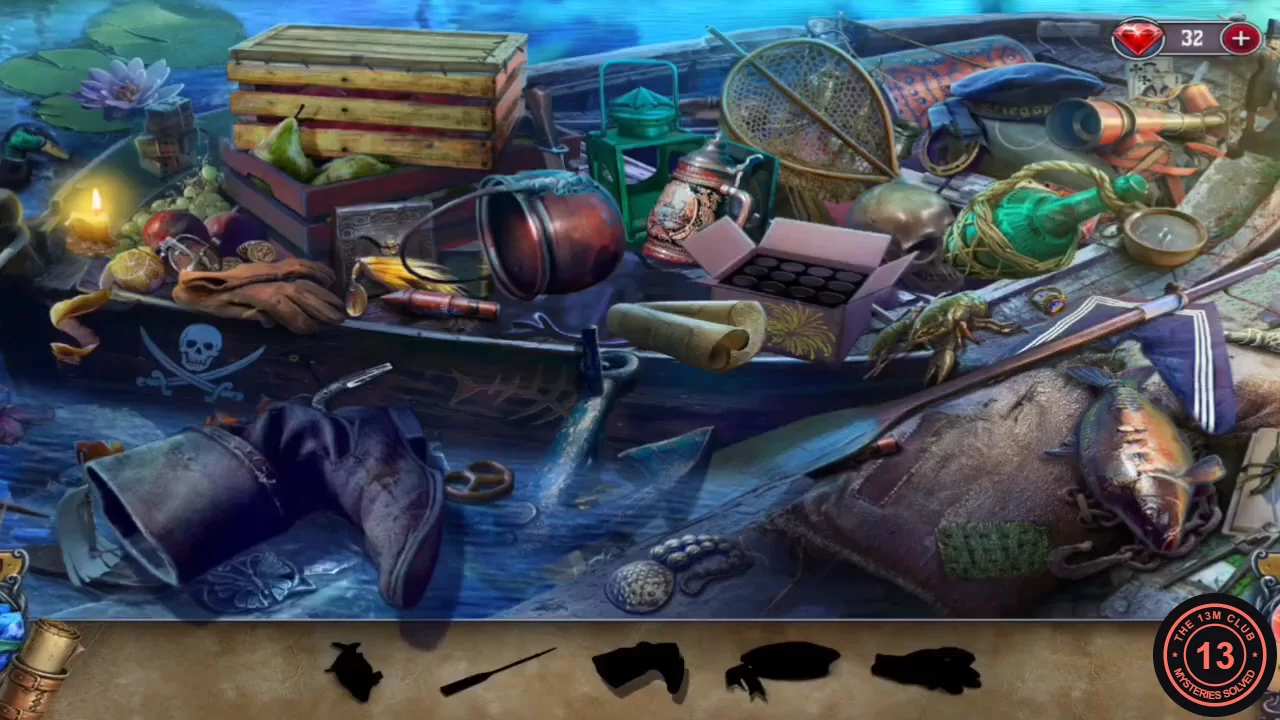
- Put the WINCH HANDLE on the winch ("This winch has no handle.") to pull the rowboat in, then play the hidden-object scene in the boat to receive the FIREWORKS.
- Place the FIREWORKS on the stand at the end of the pier and light them with the LIGHTER. The guard comes down to the pier to look; throw the BIG NET over him.
- Take the GUARD'S BADGE PART from the netted guard. Open the BROKEN BADGE in your inventory ("This badge is broken."), add the part and take the GUARD'S BADGE.
- Zoom into the gazebo pillar by the pier (a pan with a dirty fork sits beside it: "How a fork could get so dirty!"). Place the GUARD'S BADGE in the niche and take the CASTLE KEY.
- Unlock the castle door with the CASTLE KEY and go inside ("Looks like there's nobody home. Now let's get to the Baroness's room and find out where she's going."). You receive a TRAY.
The Frozen Statue and the Hall
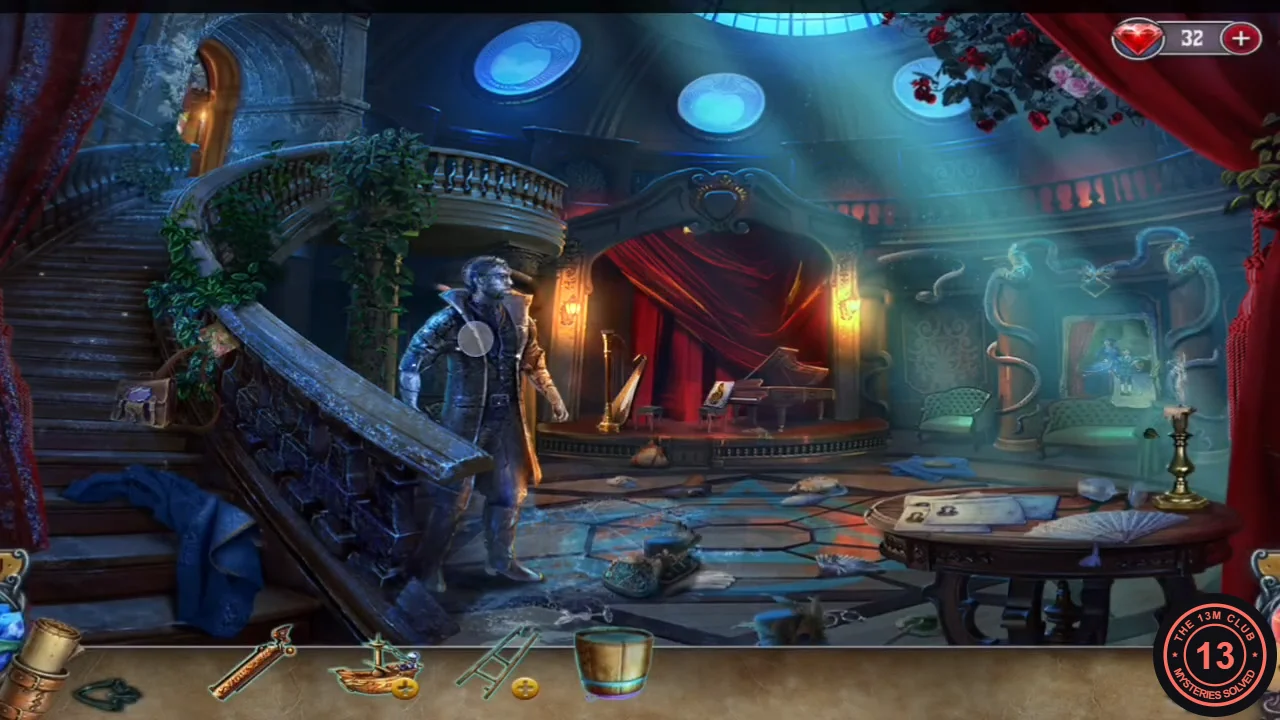
A statue on the hall staircase blocks the way: "The statue will freeze me! Can I turn its power against itself?"
- Go back to the courtyard fountain. The bottomless barrel says "I could fill it with water if it had a bottom." Place the TRAY in it and take the FULL BUCKET.
- In the hall, throw the FULL BUCKET over the statue on the stairs. It freezes solid.
- Collect around the hall: move the coat under the stairs and take the HANDKERCHIEF; take the FROZEN LEAF from the round stained-glass window ("The light's too dim."); move the papers on the table and take the PISTOL HANDLE; take RED PENCIL 1/4 from the picture on the sofa.
- Cut the stitched seam of the sofa cushion with the FROZEN LEAF and take the BARONESS DOLL and the STREET LIGHT KNOB. Then take the STATUE PART (lion relief) from the box on the piano; the box itself has a treble-clef lock ("Locked tight.").
- In the courtyard, open the lantern on the right ("There should be a way to open it.") with the STREET LIGHT KNOB and take the CANDLE.
- On the pier, clean the dirty pan with the HANDKERCHIEF and take the FORK.
- Back in the hall, use the FORK on the portrait frame to pry off the WING ornament.
- Open the SHIP in your inventory, place the BARONESS DOLL and the WING on it and take the HAWK LOCK. The ship still has no sail or flag; keep it.
- Place the HAWK LOCK in the hawk recess on the courtyard bench and take RED PENCILS 2-3/4.
Stained-Glass Portrait of the Baroness
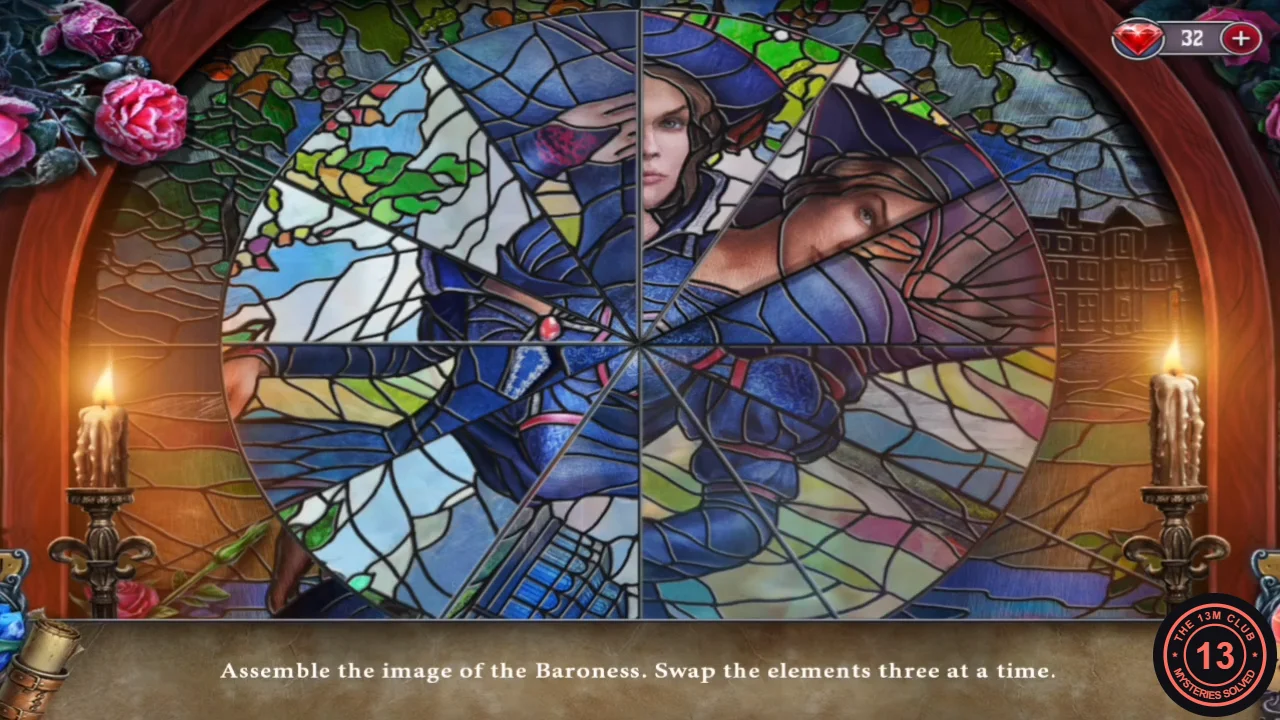
Place the CANDLE in the holder under the round stained-glass window in the hall. "Assemble the image of the Baroness. Swap the elements three at a time." The window is made of twelve wedge pieces; a selection always takes three neighbouring wedges, and selecting a second group swaps the two groups.
- Place the CANDLE under the window to light it and start the puzzle.
- Rebuild the Baroness's portrait: find a three-wedge group that belongs in another part of the circle and swap it there, then repeat. The finished picture shows her standing upright in the middle in her dark blue dress and hat, with pale sky, hills and buildings behind her. This guide gives the method rather than a list of swaps. Work one quarter at a time: find the group of three wedges that shows part of her face or hair, swap it into the quarter where that part belongs, and leave finished quarters alone. Only a few swaps are needed.
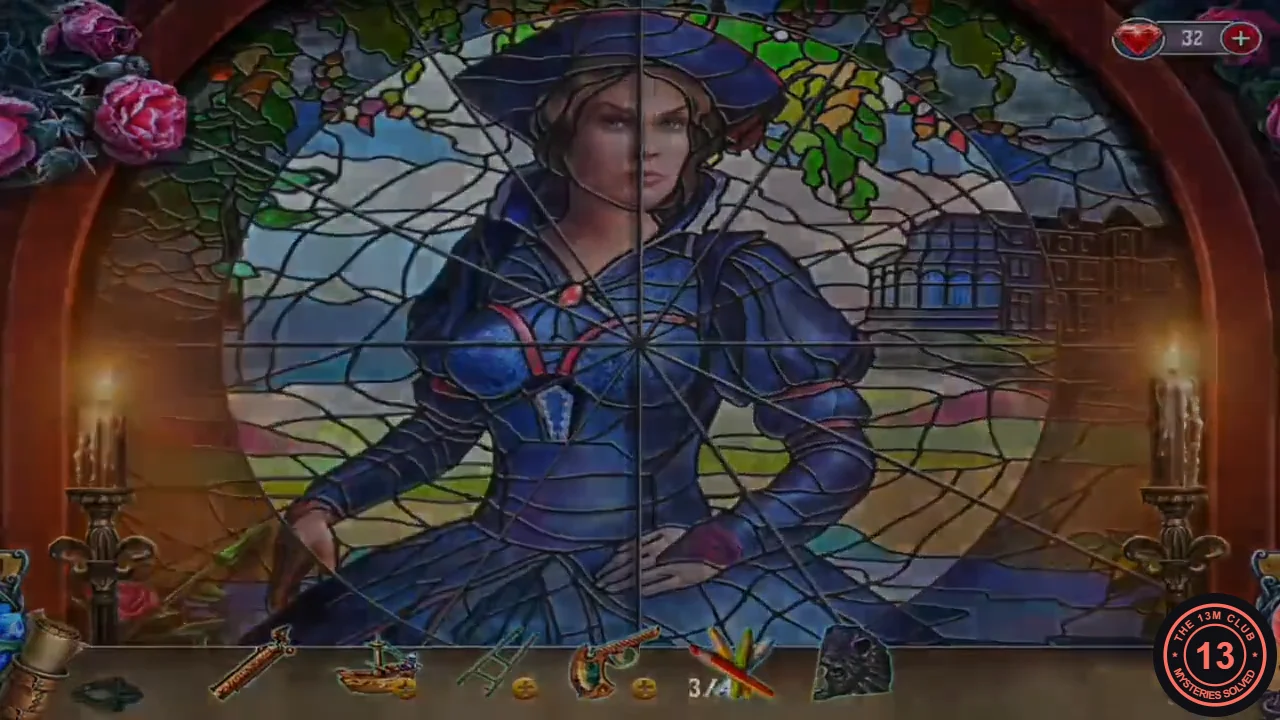
The finished portrait, shown as the puzzle completes.
The Gallery, the Fire Pistol and the Child's Bedroom
With the stained glass finished, the way upstairs to the gallery is open.
- In the upstairs gallery, zoom into the lion fountain relief. Take the HANDLE from the basin and put the STATUE PART into the relief. The face is now complete but scrambled ("It looks out of order."); you will come back to it later.
- Zoom into the bird's nest on the gallery (a snake guards it: "Yikes! She almost bit me! I have to get rid of her.") and take the BAG BADGE from the edge of the nest.
- In the hall, place the BAG BADGE on the purple bag and take the BULLETS.
- Open the PISTOL HANDLE in your inventory ("My father's fire pistol. But its barrel's gone."), attach the LIGHTER as its barrel, load the BULLETS and take the PISTOL.
- On the gallery, zoom into the blue shutters and shoot off their four brackets with the PISTOL. The balcony behind them is still too far away ("I can't reach this balcony.").
- Enter the child's bedroom from the gallery. Take the BRONZE CLEF from the floor by the desk, the COMMODE KNOB by the globe and the SAILS AND FLAG from the wheelchair (the headless teddy bear there asks "Where's its head?").
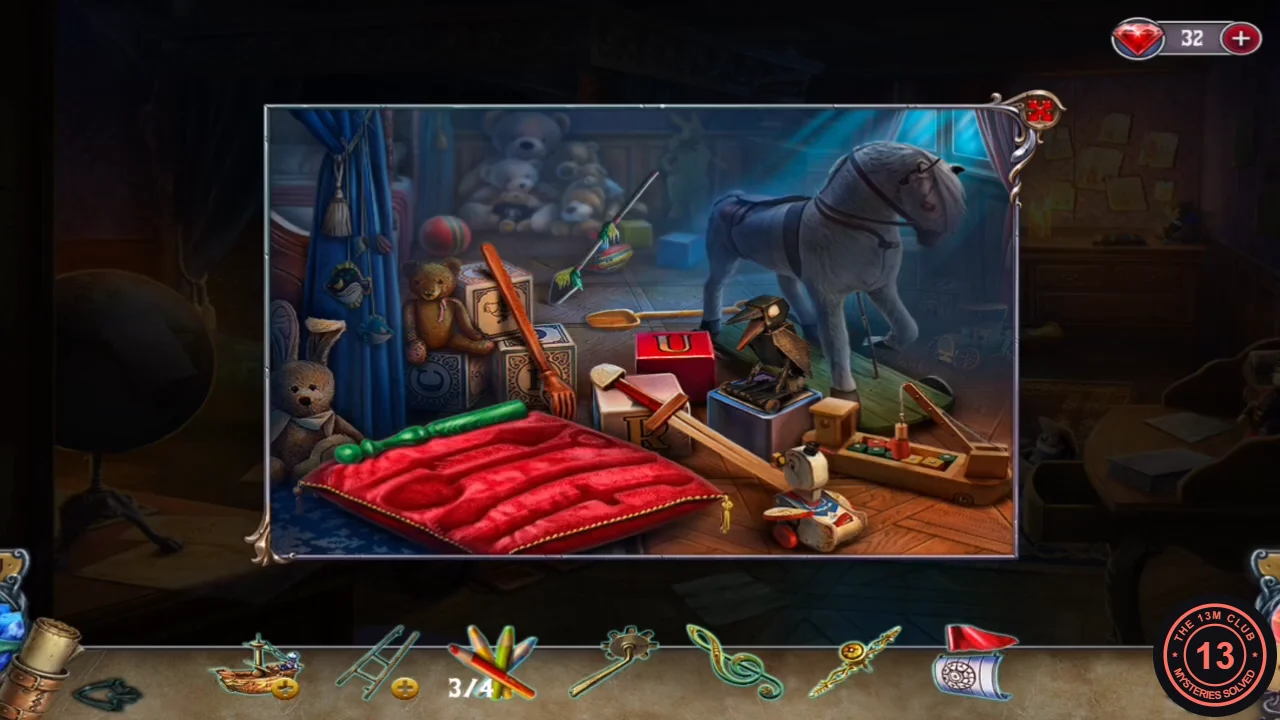
- Zoom into the toy corner, put the scattered toys back on the red cushion and take the LONG TOYS. Then take the TROWEL from the desk by the candelabra. The empty pencil box on that desk needs all four red pencils.
Garden Tools and the Ladder to the Study
The rowboat on the pier has a second hidden-object scene, and the gazebo niche has a slot that fits the handle.
- Play the second hidden-object scene in the rowboat (word list) to receive a SNAKE STATUE PART.
- Put the HANDLE into the lower slot of the gazebo niche and take the GARDEN SCISSORS and the WRENCH.
- Cut the vines on the courtyard fountain with the GARDEN SCISSORS. Take the VINES and the WATER CLEANER.
- Open the treble-clef box on the piano with the BRONZE CLEF and take the TUNING FORK.
- On the gallery, zoom into the barred door ("This metal bar seems loose.") and take the METAL BAR with the WRENCH.
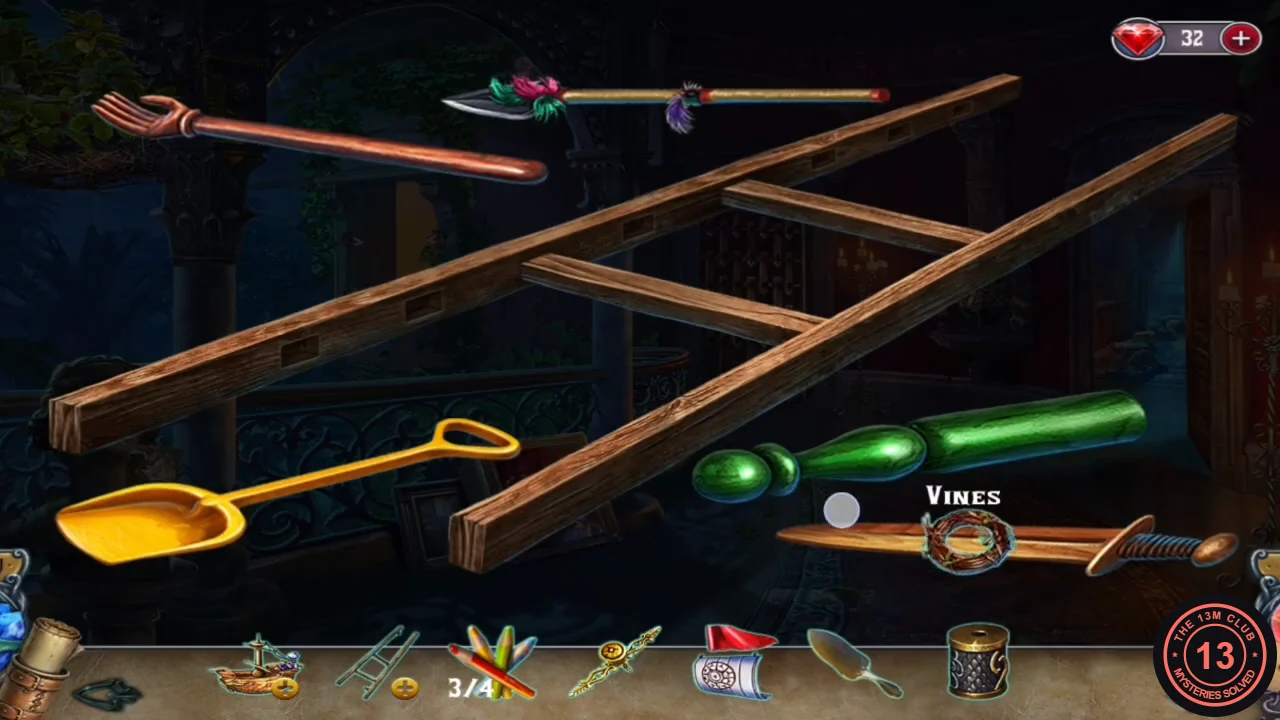
- Open the BROKEN LADDER in your inventory. Add the LONG TOYS, the VINES and the METAL BAR as rungs and ties ("Those steps are loose." means parts are still missing) and take the LADDER.
- Place the LADDER at the opened shutters and climb across to the Baroness's study.
The Study Aquarium and the Commode
The Baroness's study holds a filthy aquarium, a projector, a display cabinet and a commode without knobs.
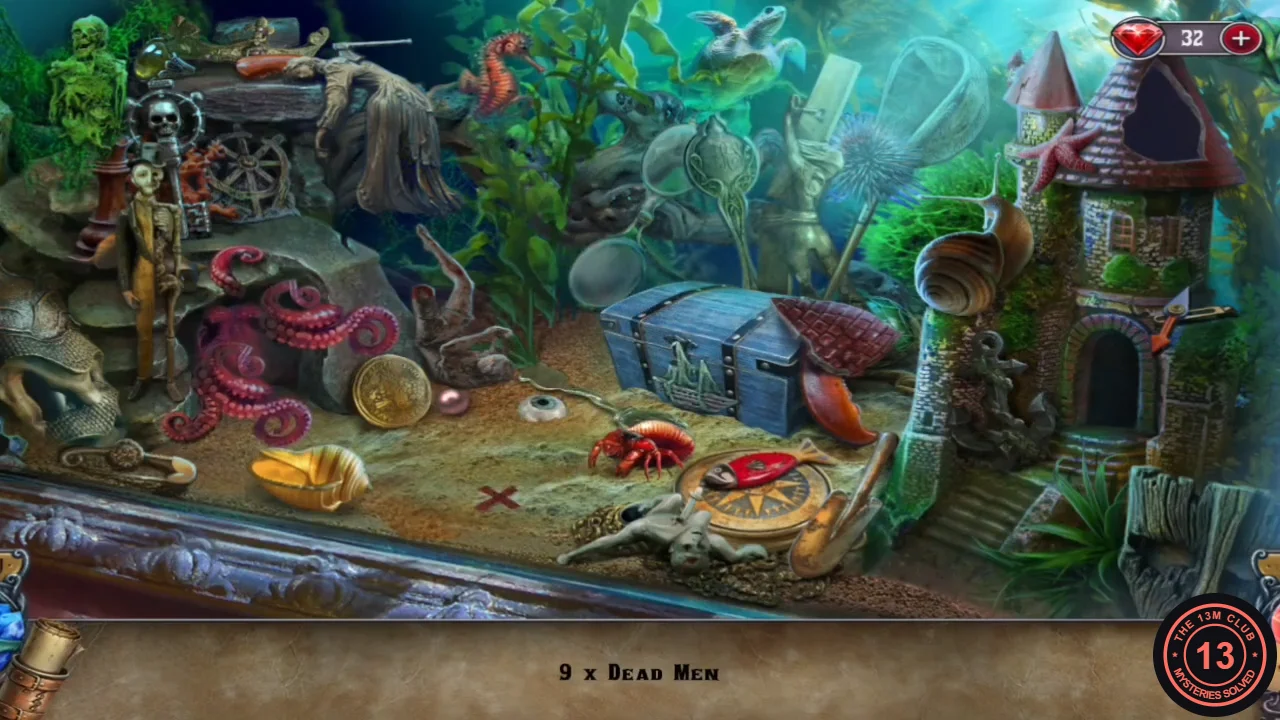
- Pour the WATER CLEANER into the aquarium ("This aquarium is filthy!") and play the hidden-object scene: find 12 dead men. The last one is buried under the red X in the sand; dig it out with the TROWEL. The chest then opens; take the GOLDEN ARROW.
- Look at the projector ("Where's the lens?"), take RED PENCIL 4/4 nearby and the DOLL HEAD from the desk. Shatter the glass of the display cabinet with the TUNING FORK and take the ICE PICK.
- Fit the COMMODE KNOB to the commode ("No knobs. Great."), open it and take the second SNAKE STATUE PART and DRAGON HEAD 1/2.
- Open the SHIP in your inventory, add the SAILS AND FLAG and take the second GOLDEN ARROW.
The Gallery Lion Fountain
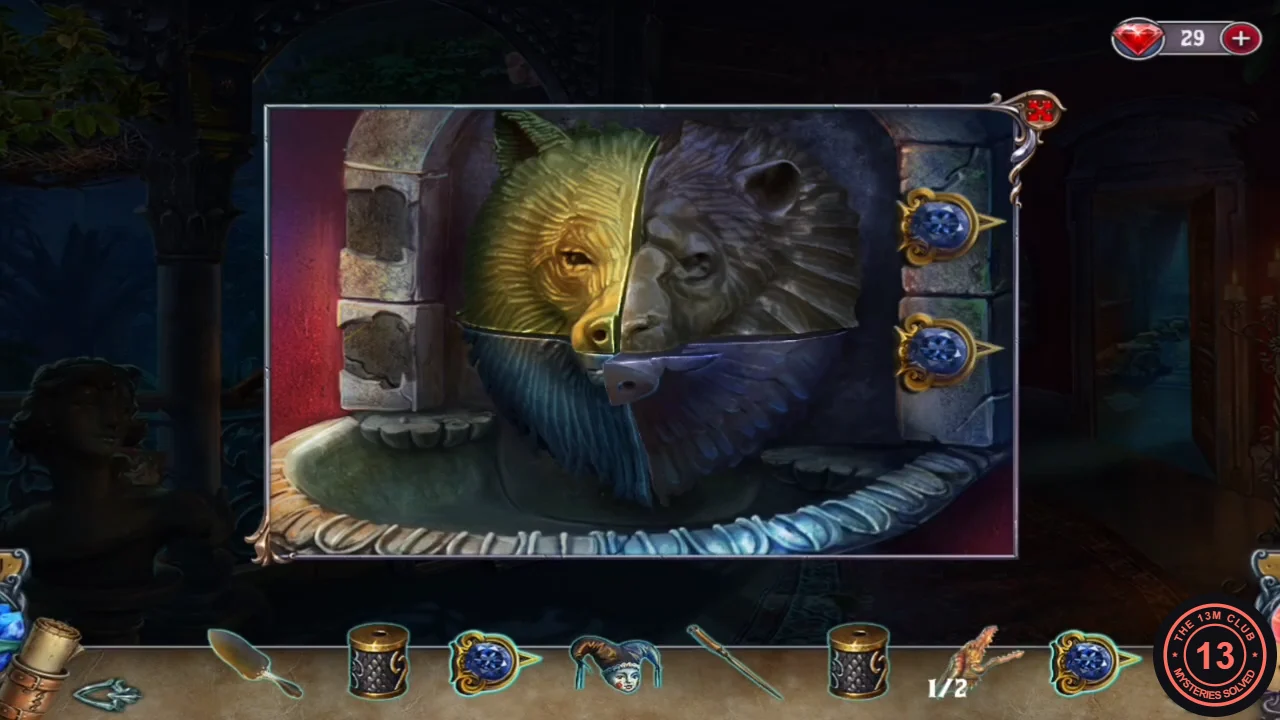
Return to the lion fountain relief on the gallery. Its face is complete but scrambled, and each golden-arrow socket turns the quarter of the face beside it.
- Put both GOLDEN ARROWS into the two empty sockets. Select the upper-left socket three times, the lower-left socket once and the lower-right socket once. The lion's face is restored, water flows and you can take the PROJECTOR LENS.