Conrad's Room: Torn Photos and the Casket Code
Louisa hides in Conrad's room with the artifact. New objective: find another piece of the artifact in Conrad's room.
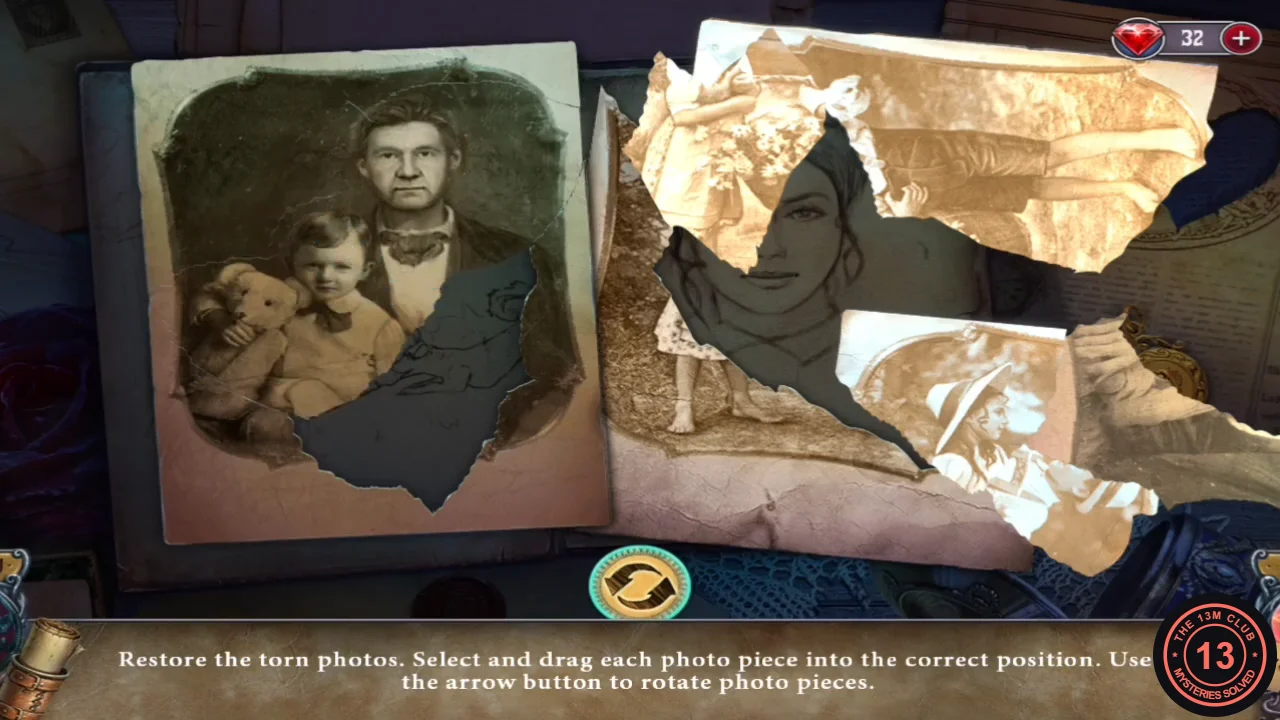
- Open the curtains and examine the photo album. The album holds two spreads of torn photos, two photos on each spread. Drag each piece into place and use the arrow button to rotate pieces. When the first spread (a man with a boy and a dog, and two children) is complete, the album turns to the second spread (a couple, and a man in a wheelchair). Restore both photos there too.
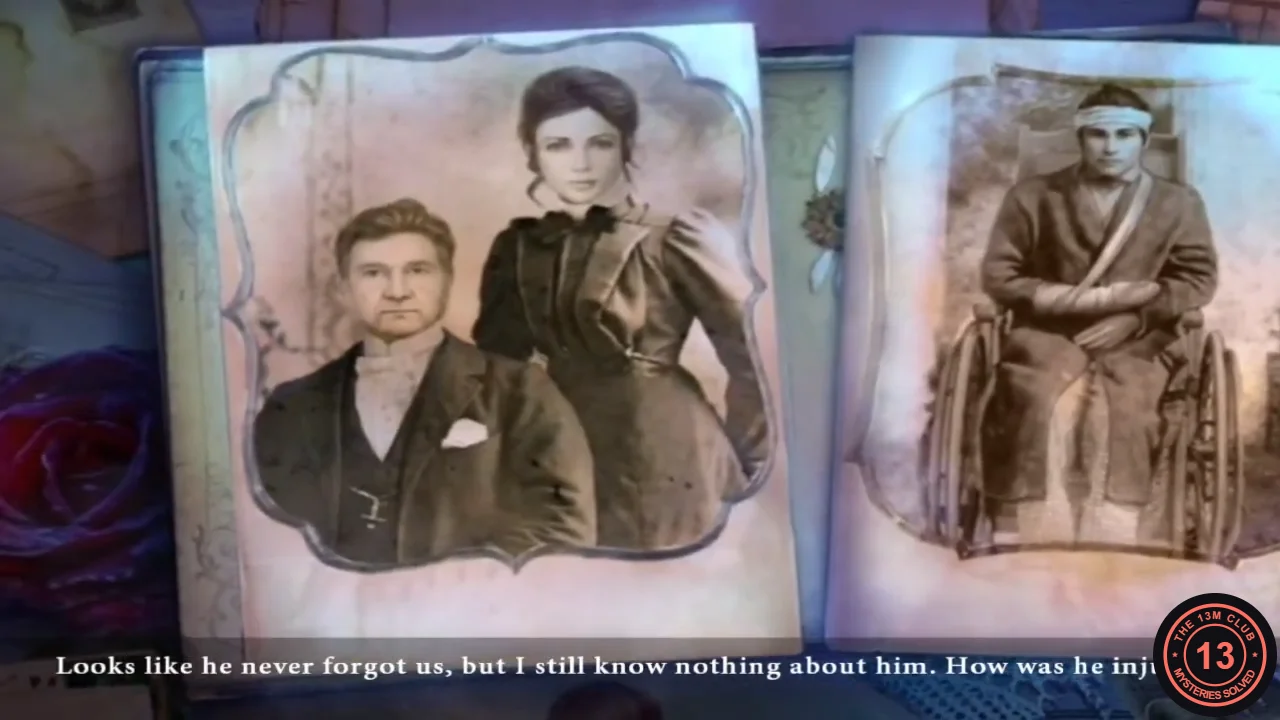
The second spread restored. The first spread, with the man, boy and dog and the two children, is completed the same way. - Turn the page and open the heart locket; take METAL BUTTONS 1-2/7.
- At the window sill take the SMOKING PIPE and the CANDLE, move the flowers and the boot and take METAL BUTTONS 3-5/7.
- At the fireplace take the burnt poster, light the CANDLE in the fire to get a LIT CANDLE, and take METAL BUTTONS 6-7/7.
- Hold the LIT CANDLE under the blank paper in the album to reveal the CASKET CODE: LOUISA.CODELOUISA
- Examine the satchel on the chair, use CONRAD'S RING on its emblem and take the FIN-SHAPED BUTTON.
Conrad's Casket Letter Lock
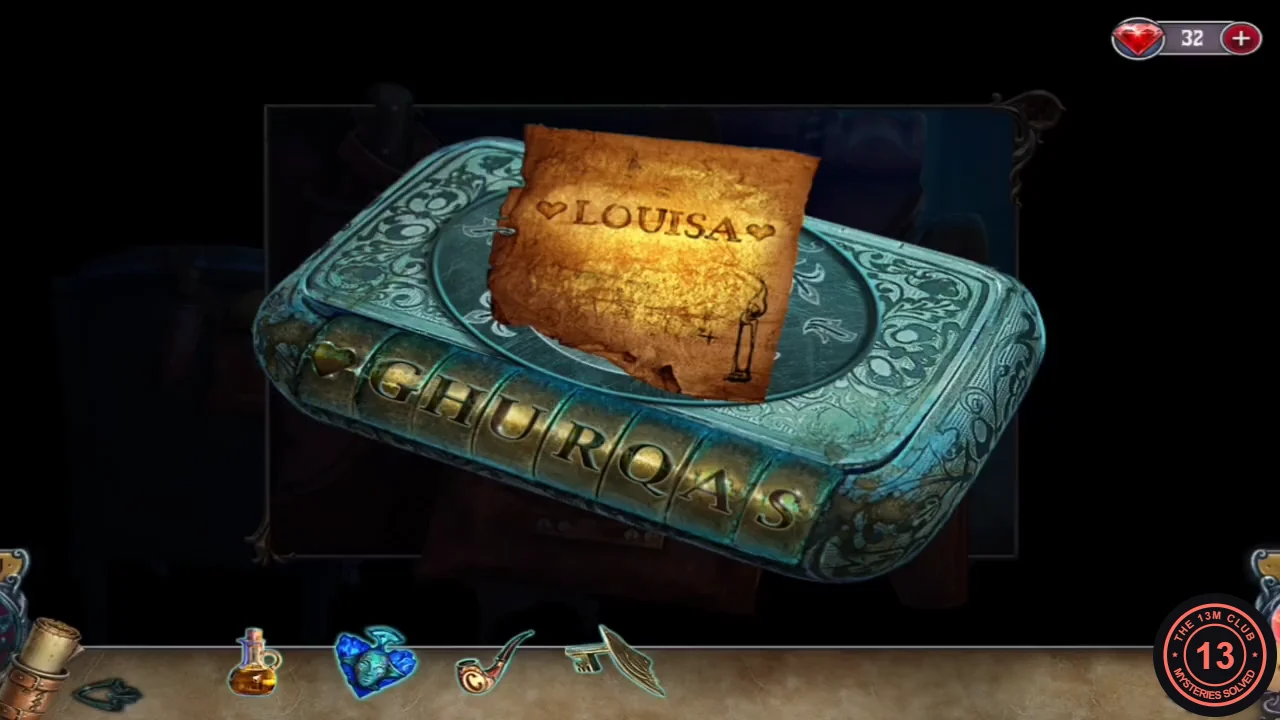
Conrad's casket on the table opens with the seven metal buttons and a name spelled on its letter dials.
- Examine the casket on the table ("I need the code and missing buttons"). Place the seven METAL BUTTONS and the CASKET CODE, then turn the letter dials to spell LOUISA. Take the ARTIFACT piece inside.CODELOUISA
The Petrified Attacker and the Burning Room
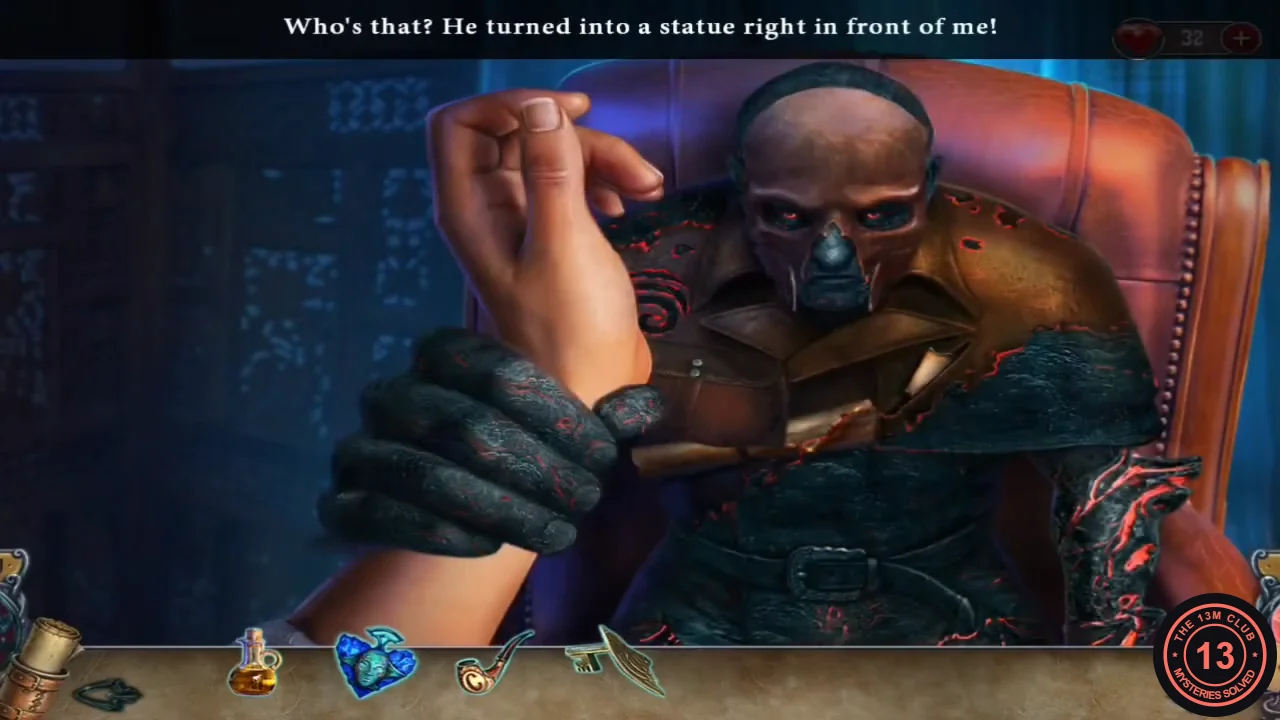
A brotherhood member breaks in and turns to stone, trapping Louisa's hand.
- Use the OIL on the stone hand to free yourself.
- Open the statue's pocket, read the notes and take the BRASS KNUCKLES and the second ARTIFACT PIECE.
- Combine the ARTIFACT with the ARTIFACT PIECES. The artifact speaks to you and grants the Lightning ability (hand icon at the lower left).
- Break the window with the BRASS KNUCKLES.
- Select the Lightning ability and use it on the gunman's hand, then tie up the curtains and climb down.
Into the Burning Tavern
The tavern is on fire. The door handles are too hot, the smoke is choking and the fire hose is locked away.
- Move the twigs by the fence and take the MUSICIAN FIGURINE.
- Pull the lever of the water pump and take AXE FIGURINE 1/2.
- Touch the tavern door ("Ouch! I should extinguish the handles.") and take the SHARD beside it.
- Use the FIN-SHAPED BUTTON on the fire-protected chest and open it. Cut the sack with the SHARD and take some SAND with the spade.
- Throw the SAND on the burning handles and open the door. A hand reaches out of the smoke: open it and take the PAW SEAL.
- Place the PAW SEAL on the cage and take the PHOENIX TOKEN and the WEASEL.
- Place the PHOENIX TOKEN, read the firefighter's note and take the UNDONE GAS MASK.
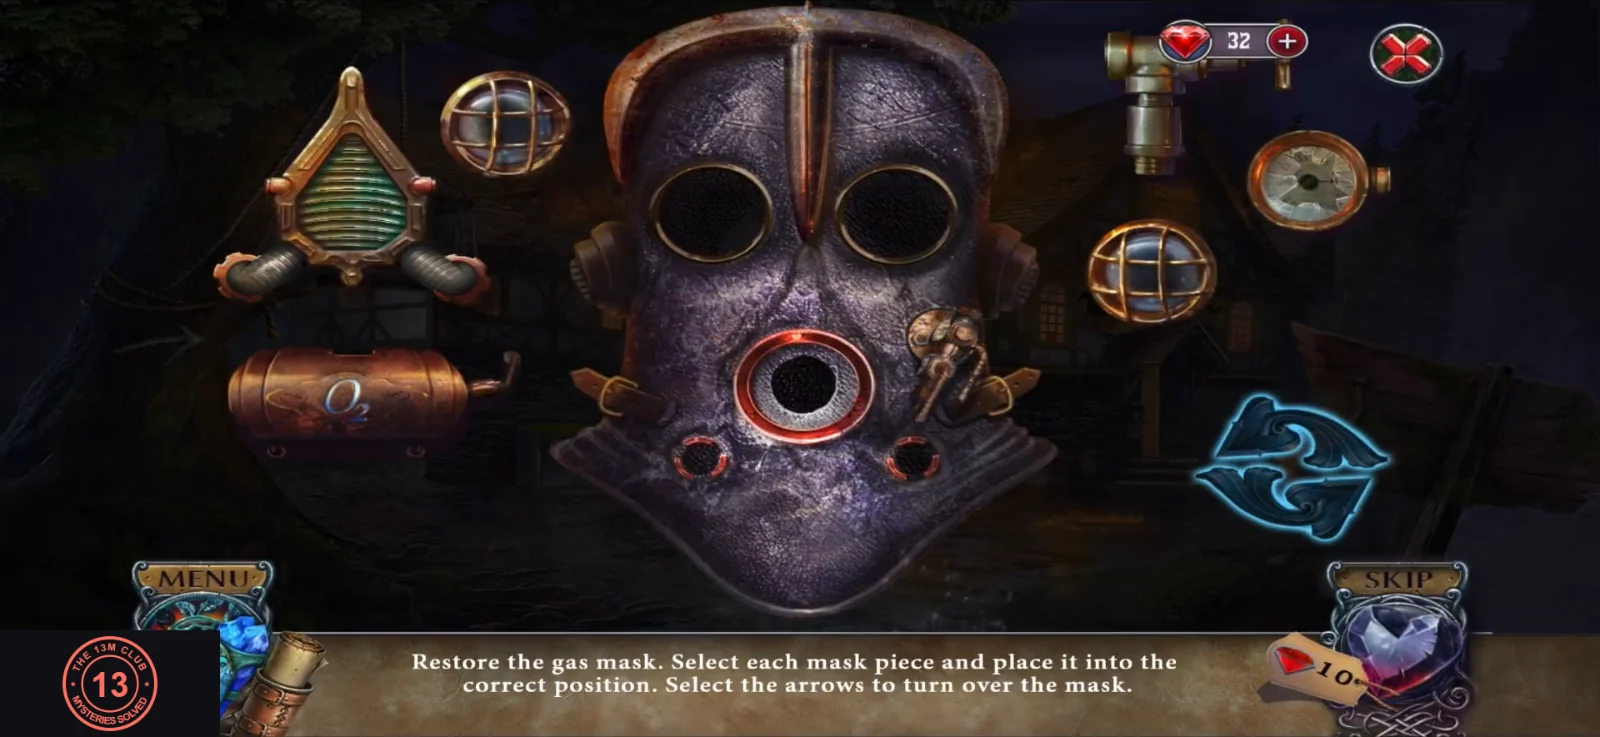
- Open the UNDONE GAS MASK and drag each part into its place on the front, then use the arrows to turn the mask over and fit the remaining parts on the back. Take the GAS MASK.
- Use the GAS MASK at the smoke-filled doorway and go in. Search the coat pockets: take AXE FIGURINE 2/2 and CONRAD'S BOX.
- Go back out. Place both AXE FIGURINES on the fire box, open it and take the HOSE. Attach the HOSE to the pump and pull the lever.
- Go into the tavern and spray the fires with the hose. Move the fallen beams to free the bartender and take the STABLE KEY.
The Back Yard, the Ravens and the Carriage
Conrad's box holds a lockpick for the side gate. A man is hiding inside the bandits' carriage in the yard.
- Place the SMOKING PIPE on CONRAD'S BOX, open it, move the items and take the LOCKPICK.
- At the gate lock, place the MUSICIAN FIGURINE and use the LOCKPICK. Go through to the yard.
- Zoom into the carriage window ("Someone's inside that carriage. I should check it."). Take the HATCHET that pins the note to the frame and read the note: the bandits want to trade Father for the artifact at the ball.
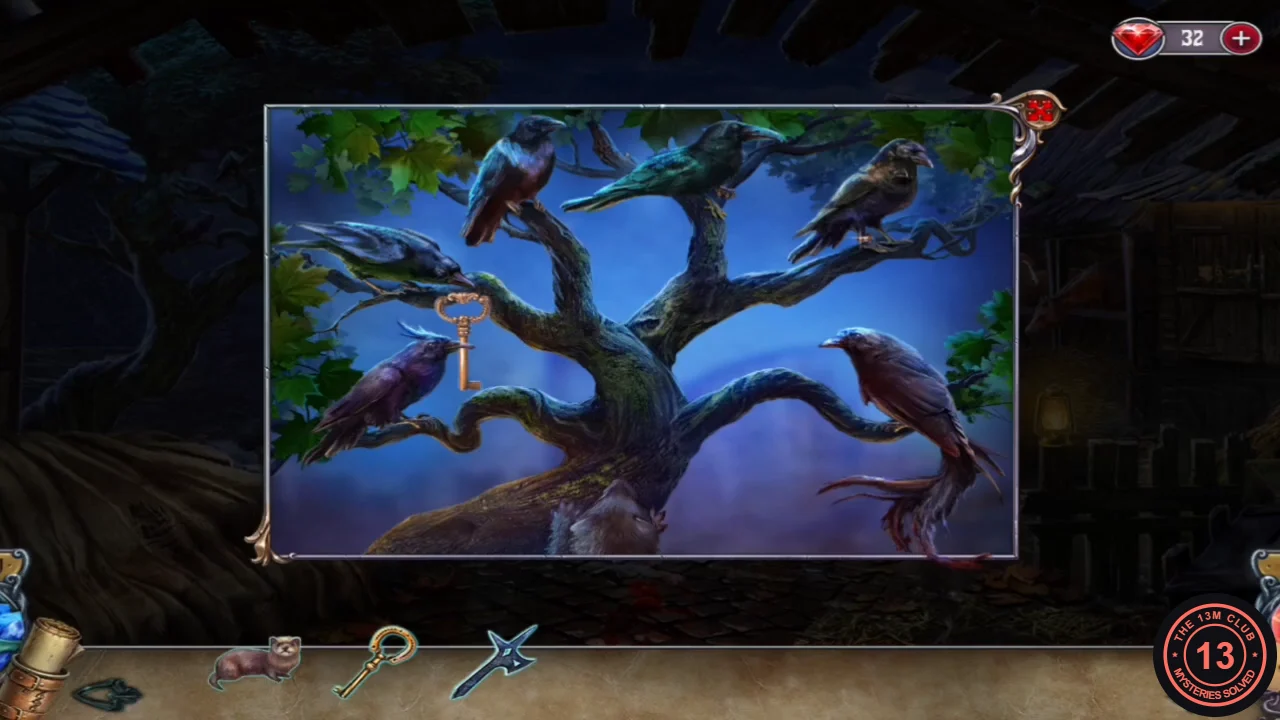
- Zoom into the tree and release the WEASEL. A raven drops the key and the next one catches it. Keep selecting the raven that is holding the key. It goes from the lower-left raven to the middle-left, upper-left, upper-centre (green), upper-right and finally the lower-right raven, which leaves it hanging on the right branch. Take the CARRIAGE KEY.
- Place and turn the CARRIAGE KEY in the carriage door and look inside ("I should see who's hiding inside").
- Play the multi-stage hidden-object scene inside the carriage (window, sheet and interior lists). You receive CONRAD'S DIARY. The artifact then shows you the past of the man who was hiding in the carriage, who could move objects without touching them. After this vision the Telekinesis ability is available in the ability panel (hand icon).
- Turn over the road sign by the ferry path and take the NIPPERS.
Conrad's Diary Lenses
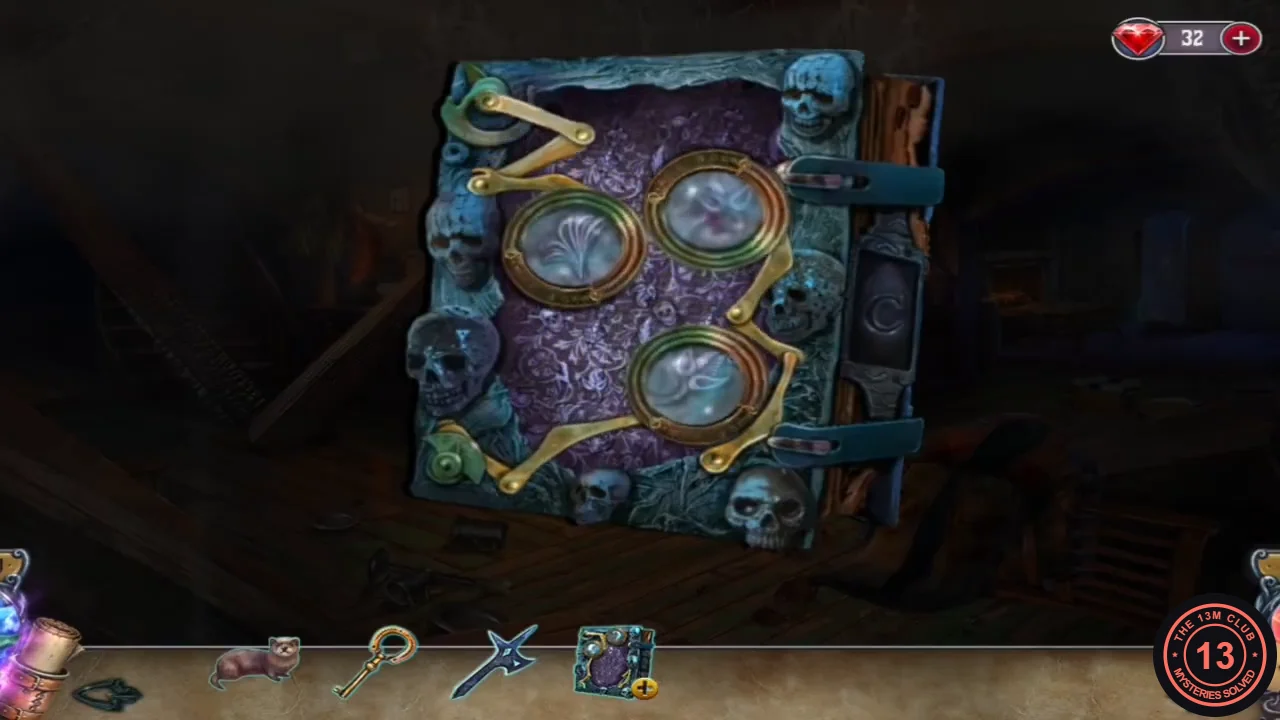
The diary is locked by three skull-decorated lens arms.
- Go back into the burned tavern hall and zoom into the round blue lens lying beside a pocket watch. Break the key and cut the wire with the NIPPERS, then take the DIARY LENS.
- Place the DIARY LENS on CONRAD'S DIARY. Selecting a lens swings the brass arms and changes the pictures. Keep selecting until the upper-left lens shows a lightning bolt, the right lens a fist and the lower-left lens a skull and crossbones (each glows green when correct). Open the clasp, read the diary and take WHEEL FIGURINE 1/2.
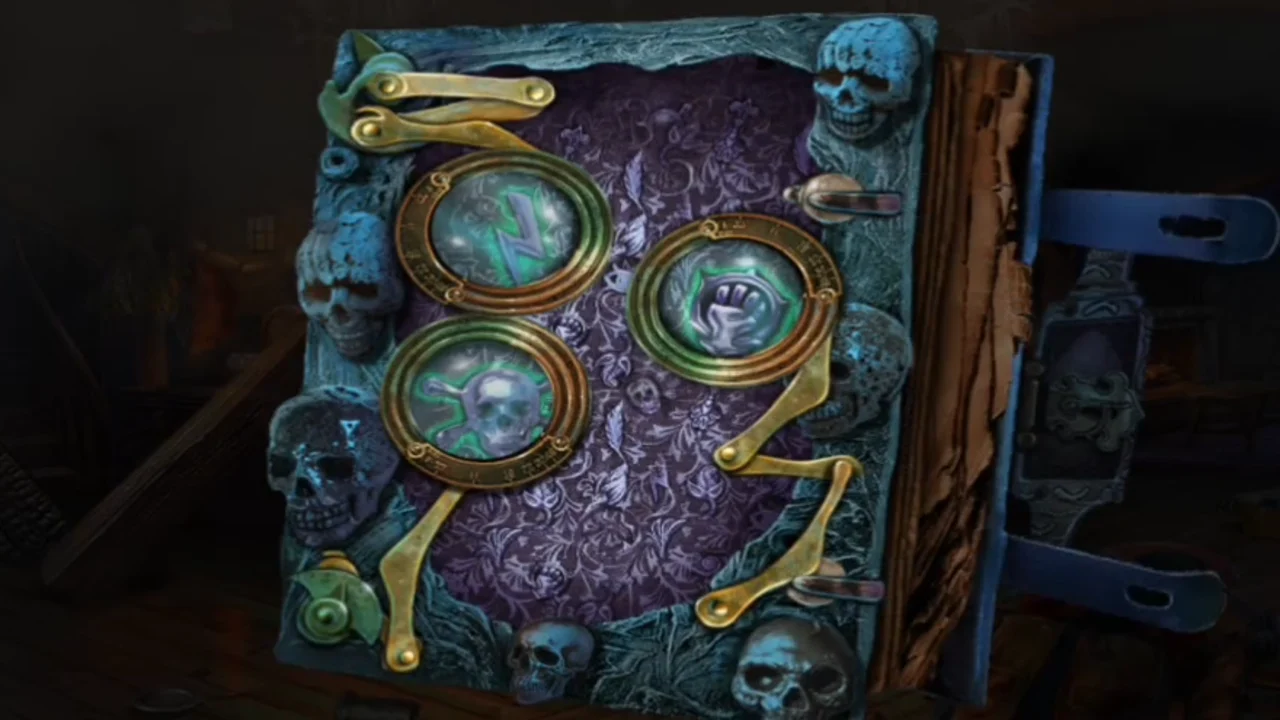
Solved: lightning bolt, fist and skull and crossbones, each lens glowing green. - In the back yard, zoom into the rocks behind the Ferry / Baroness's Mansion signpost, select the Telekinesis ability and use it on the rocks and take WHEEL FIGURINE 2/2.
Stable Door Star Grid and the Forest Gate
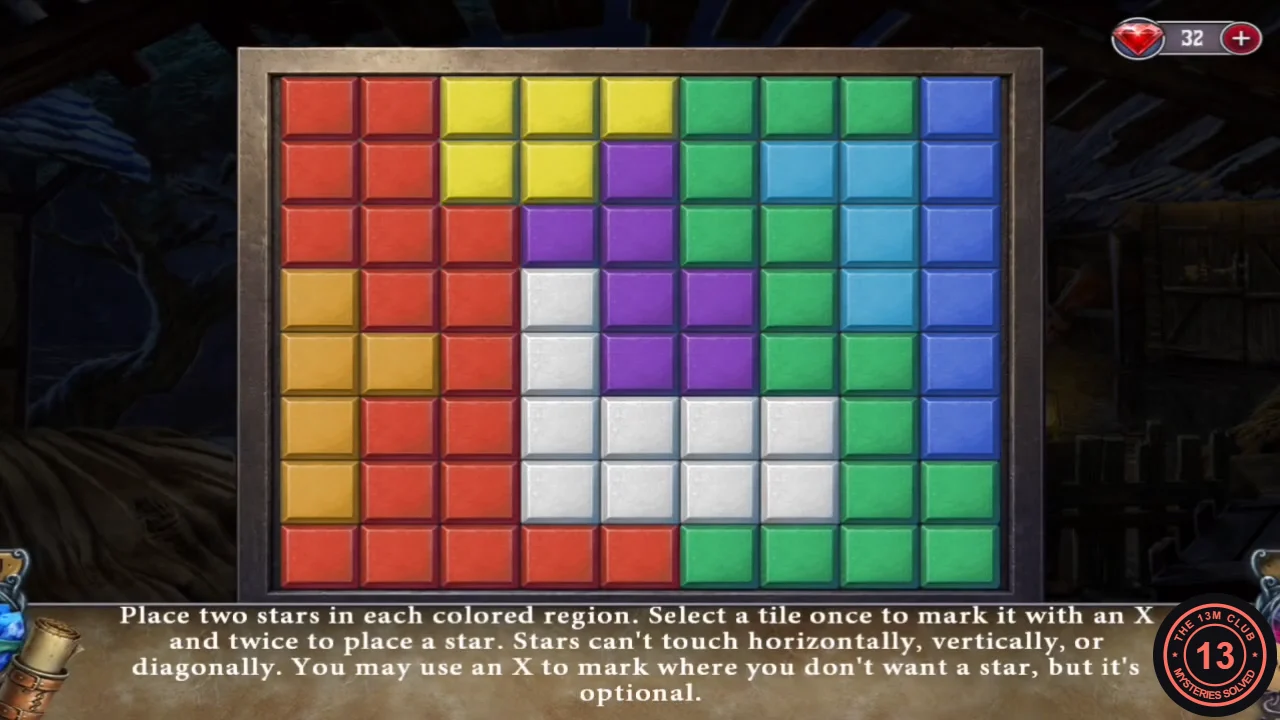
Place two stars in each coloured region; stars may not touch, even diagonally. Select a tile once for an X and twice for a star. The board is 9 columns by 8 rows.
- Zoom into the stable door and place both WHEEL FIGURINES on the carved carriage. The panel turns to show a coloured grid and a keyhole. Insert the STABLE KEY into the keyhole to start the puzzle.
- Place stars at these positions (row, column, counted from the top-left corner): row 1: columns 5 and 9; row 2: columns 3 and 7; row 3: columns 1 and 5; row 4: column 8; row 5: columns 2, 4 and 6; row 6: column 9; row 7: columns 1 and 5; row 8: columns 3, 7 and 9.
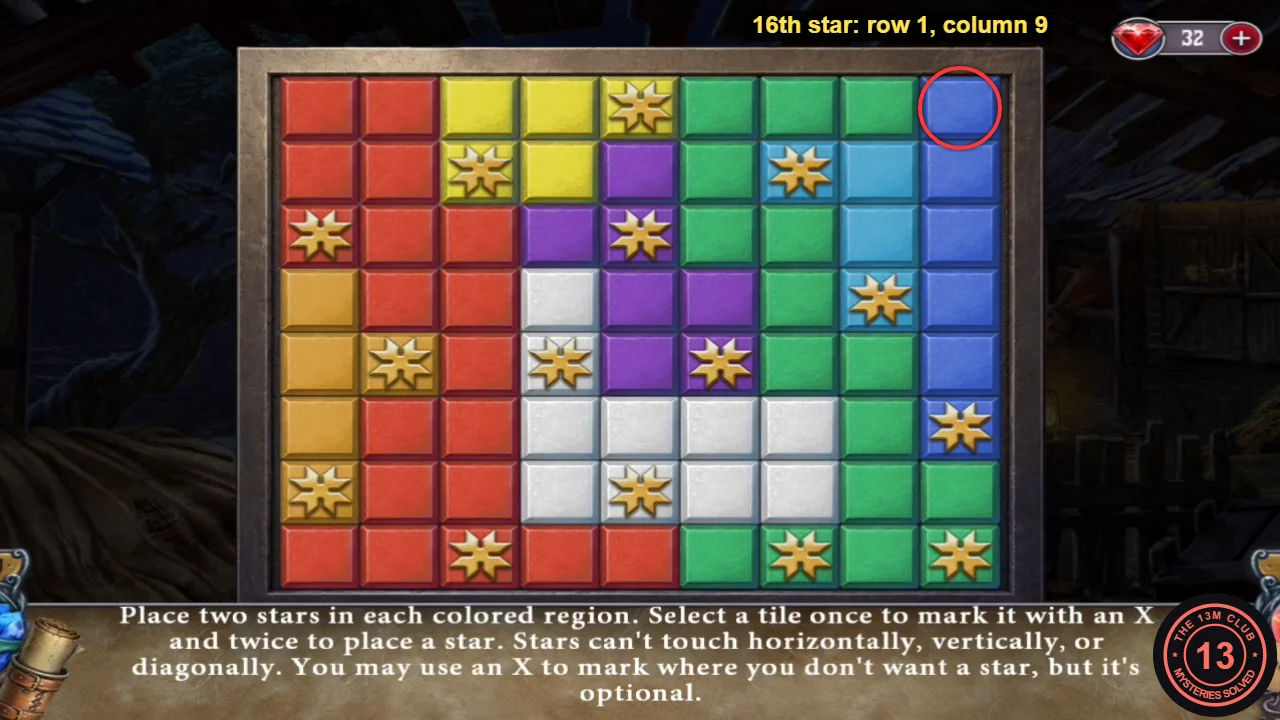
Fifteen of the sixteen stars in place. The last star goes in the circled tile (row 1, column 9); the puzzle closes as soon as it is placed. - When the grid is solved the stable opens. Louisa rides after the bandits, is attacked with a green poison spell and wakes up in the forest.
- In the forest (new objective: find who rescued you), zoom into the stone circle on the ground and take the CORKSCREW. You can't move the big stone yet ("I could move this stone with the right tool").
- Go to the hooded man by the green smoke and talk to him. He tells you his power ran out, then turns to stone.
- Back at the iron gate ("If only I could melt this gate"), select the Acid ability (hand icon) and use it on the gate.
- Zoom into the hut door ("How can I pry up the latch from here?") and use the HATCHET in the gap to lift the latch. Go inside.
The Hut Window Rods
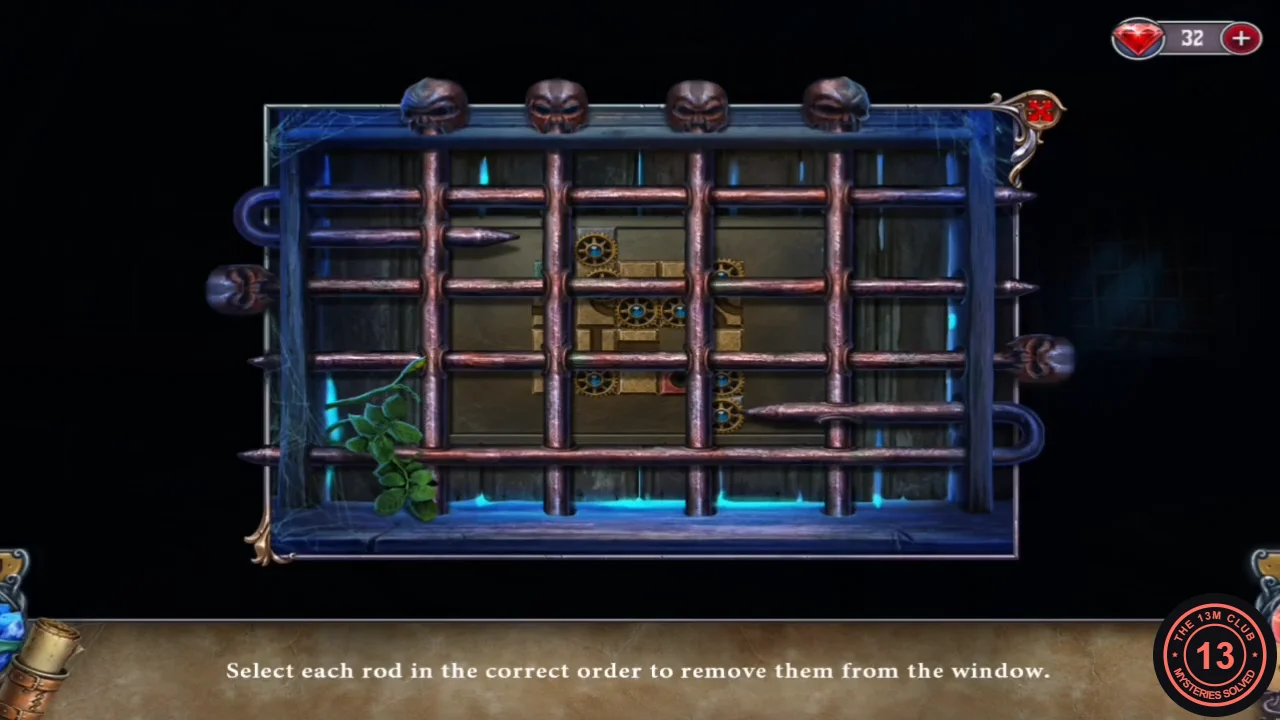
Iron rods bar the hut window, and a gear-tile board is hidden behind them. A rod only slides out when no other rod lies across it.
- Zoom into the barred window. Remove the rods one at a time: take out the horizontal rods from top to bottom, then the vertical rods from left to right, and the long hooked rod at the bottom last. The gear-tile board behind the bars is revealed.
The Gear-Tile Board
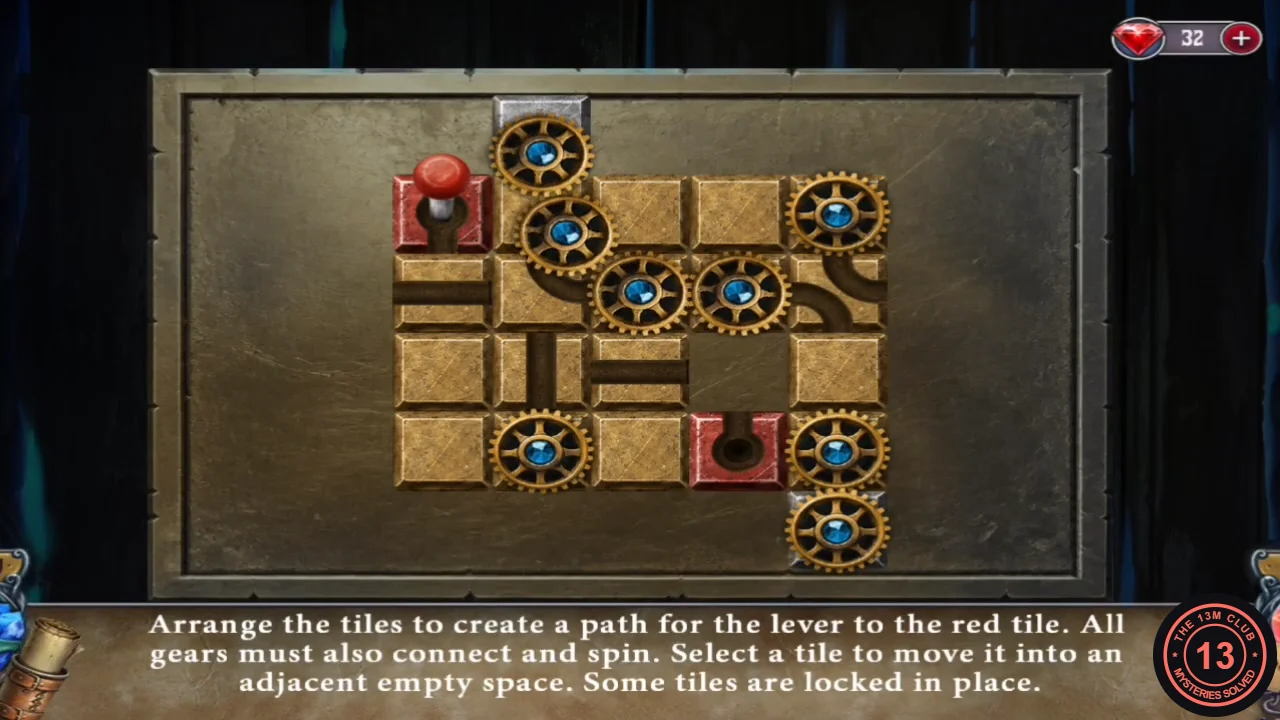
Slide tiles into the empty space so the pipe runs from the red lever to the red target and every gear connects the two fixed grey gears.
- Slide tiles into the empty space. Solved layout, with columns 1-5 and rows 1-4 counted from the lever corner: the pipe goes down column 1 to row 3, then right along row 3 to column 4 and down into the target at row 4, column 4. Gears go at row 1 of column 2 (meshing with the fixed grey gear above), at row 2 of columns 3, 4 and 5, and at rows 3-4 of column 5 (meshing with the fixed grey gear below). Plain tiles fill row 1 columns 3-5 and row 4 columns 1-3; row 2 column 2 stays empty.
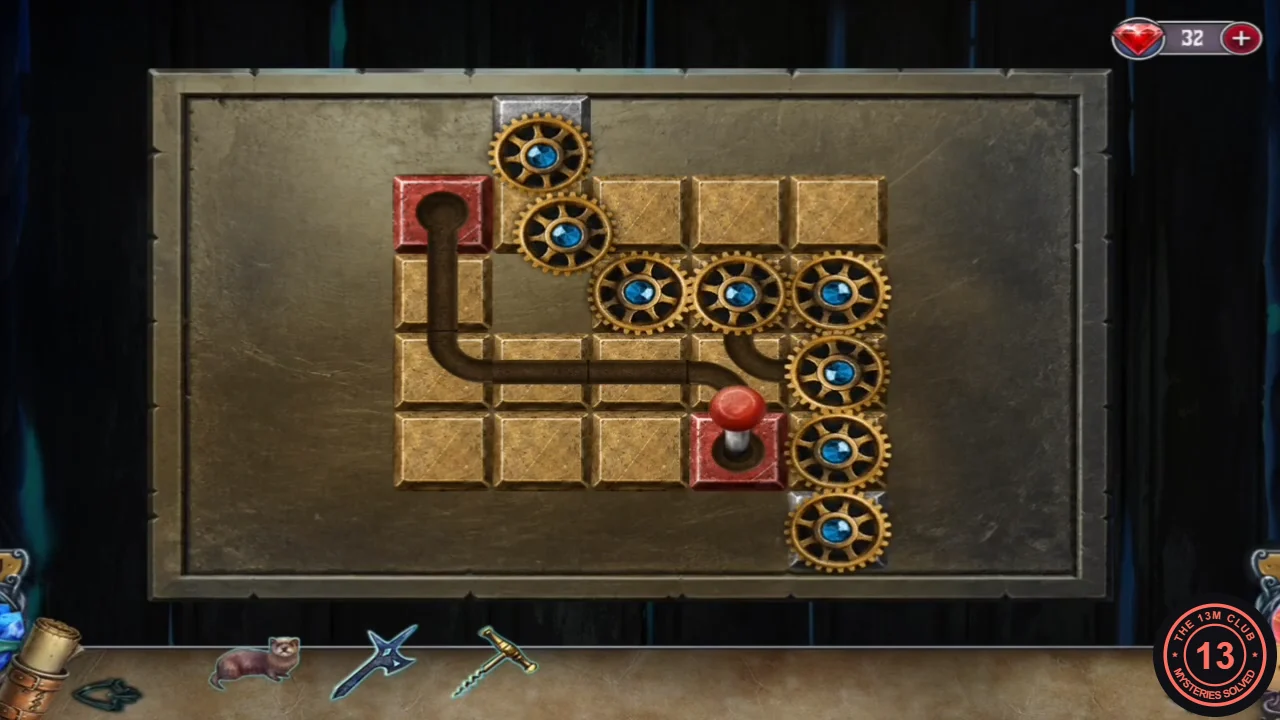
Solved layout. The lever has moved into the target tile and every gear spins.
Tokens for the Bandit's Box
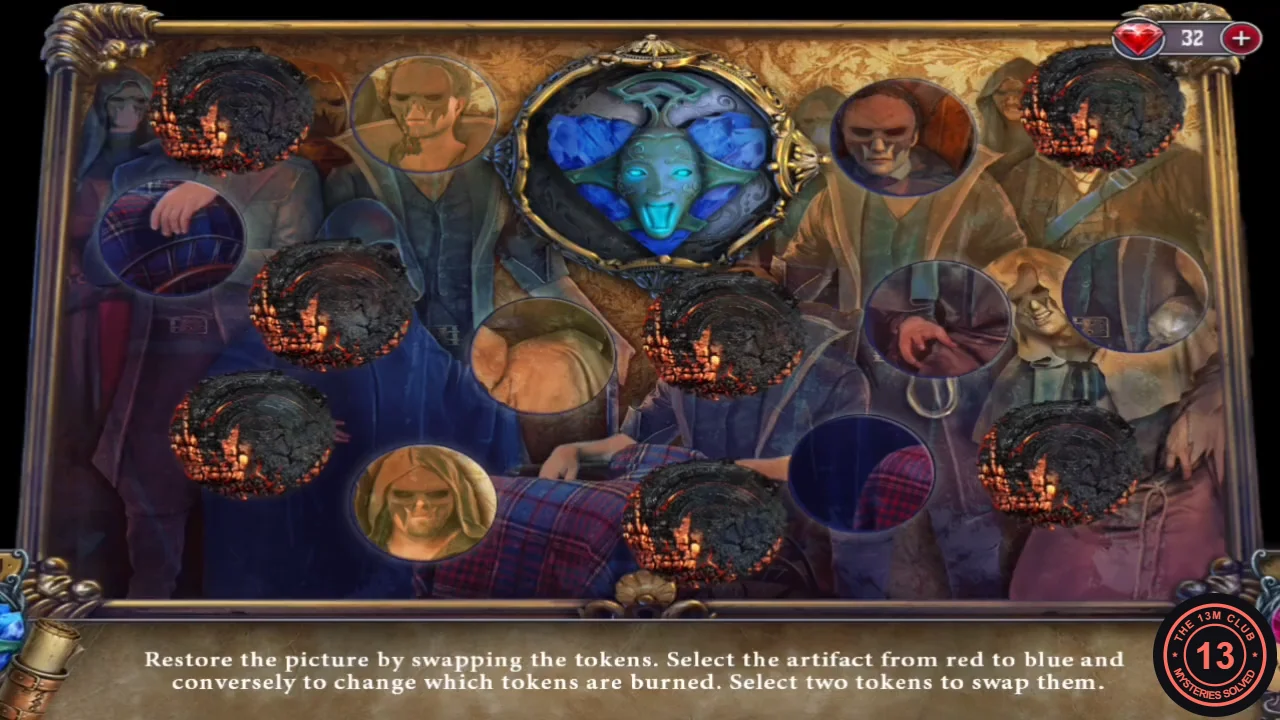
Conrad is unconscious and poisoned by acid. The bandit's box in the forest holds the antidote, but it needs two tokens.
- In the hut, zoom into the burner on the workbench and take the METAL SNAKE.
- Examine the broken ladder ("This broken ladder can't hold me. I know someone else who can climb up there.") and take the CROWBAR from it. Release the WEASEL on the ladder; it climbs up and knocks things down, opening a hidden-object scene.
- Play the two-list hidden-object scene. Use the magnifier when text is too small to read. You receive a TOKEN.
- Return to the forest. Read the ferry poster (the Baroness offers a free ferry to the mansion for the ball) and remove the wanted poster. Place the METAL SNAKE on the owl panel and take the second TOKEN.
- Zoom into the acid pool by the petrified man ("I've seen what this acid can do. I shouldn't touch it with my hands.") and use the CROWBAR to pull out the BANDIT'S BOX.
- Back in the hut, place both TOKENS on the BANDIT'S BOX. Restore the picture by swapping tokens: select two tokens to swap them. Charred tokens can't be moved, so select the artifact at the top to switch between red and blue and change which tokens are burnt. Put every piece you can into place in one colour, switch, and continue until the picture is complete.
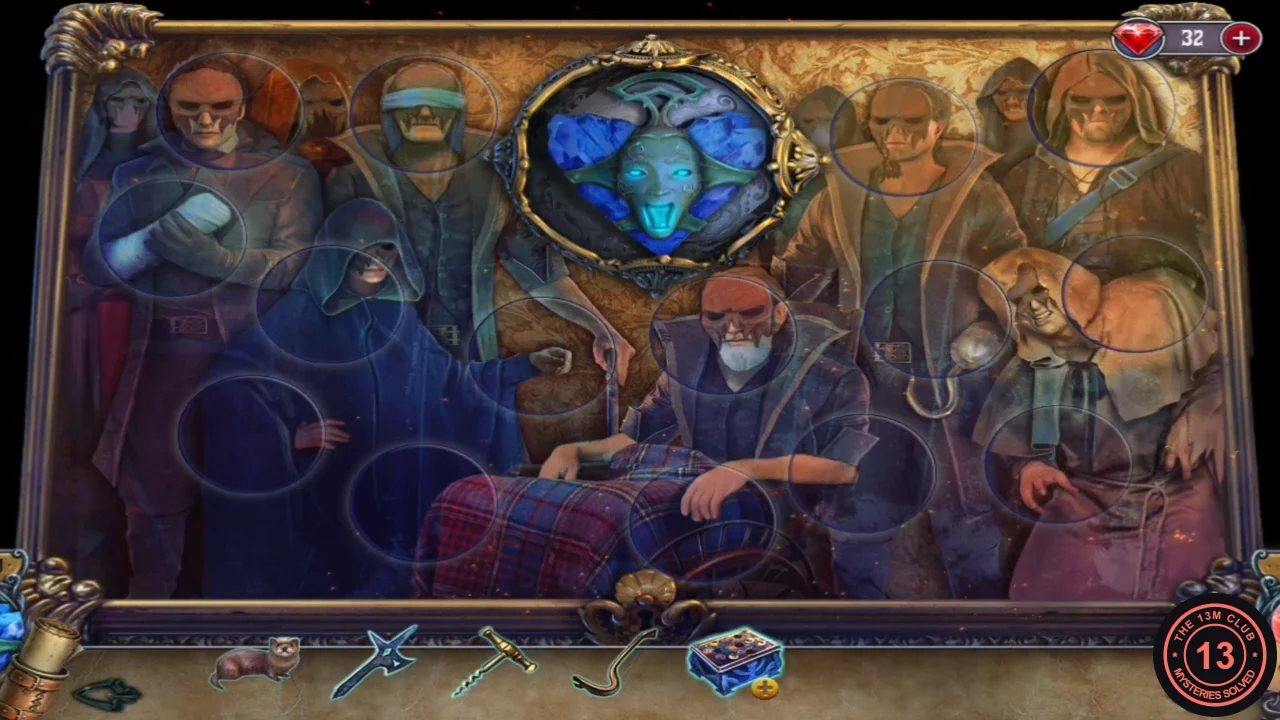
The completed picture. - When the picture is complete, a drawer slides out of the right side of the box. Read the note inside (its owner was given a special anti-acid antidote in case of accidents) and take the ANTI-ACID ANTIDOTE.
Save Conrad or Save Greg
Treat Conrad's acid burn, then make the chapter's story choice.
- Use the ANTI-ACID ANTIDOTE on Conrad's wound. He wakes briefly and apologises for putting you and Greg in danger.
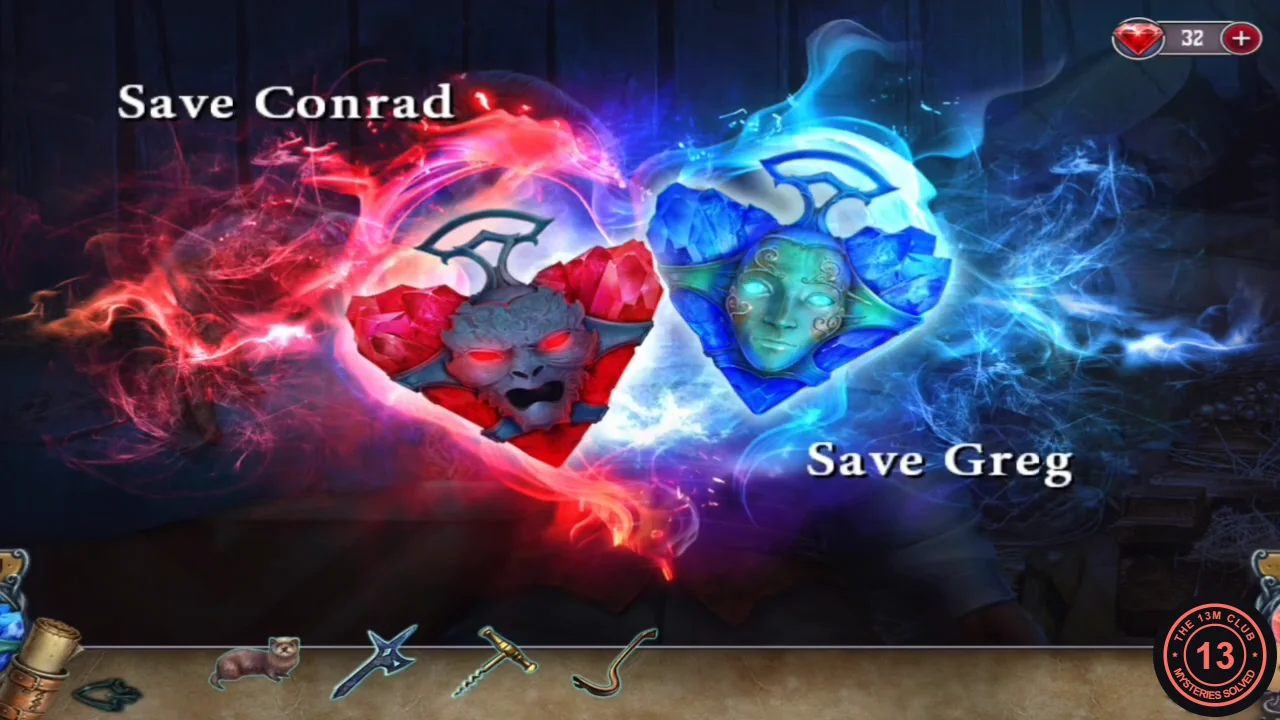
The story choice: red heart for Conrad, blue heart for Greg. - A choice screen appears: pick the red heart (Save Conrad) or the blue heart (Save Greg). Either choice is fine: only Conrad's next lines change, and the puzzles, items and ending stay the same. If you pick Save Greg, Conrad says: "Louisa... I failed you. And now your father is in danger. Whatever you do, don't let them catch you. They could be anywhere, and you don't know what they're capable of. Please, leave me here. Save yourself."
- If you pick Save Conrad instead, Conrad says: "Louisa... You stayed with me... I'm sorry for dragging you into this. I thought I could take away the Brotherhood's source of power and return to you afterward. I was arrogant. And now... here I am, bleeding to death in front of the woman I love." After either speech the game continues in exactly the same way, so the steps below apply to both choices.
- Conrad hands you the DRAWER HANDLE ("Take...") before losing consciousness. New objective: stop the blood and save Conrad.
- Zoom into the workbench. Attach the DRAWER HANDLE to the drawer, open it, take the OVEN MITT and read the Healing Balm Recipe: boil Mint, Wild Roses, Alcohol and Mushrooms.
Healing Balm Ingredients
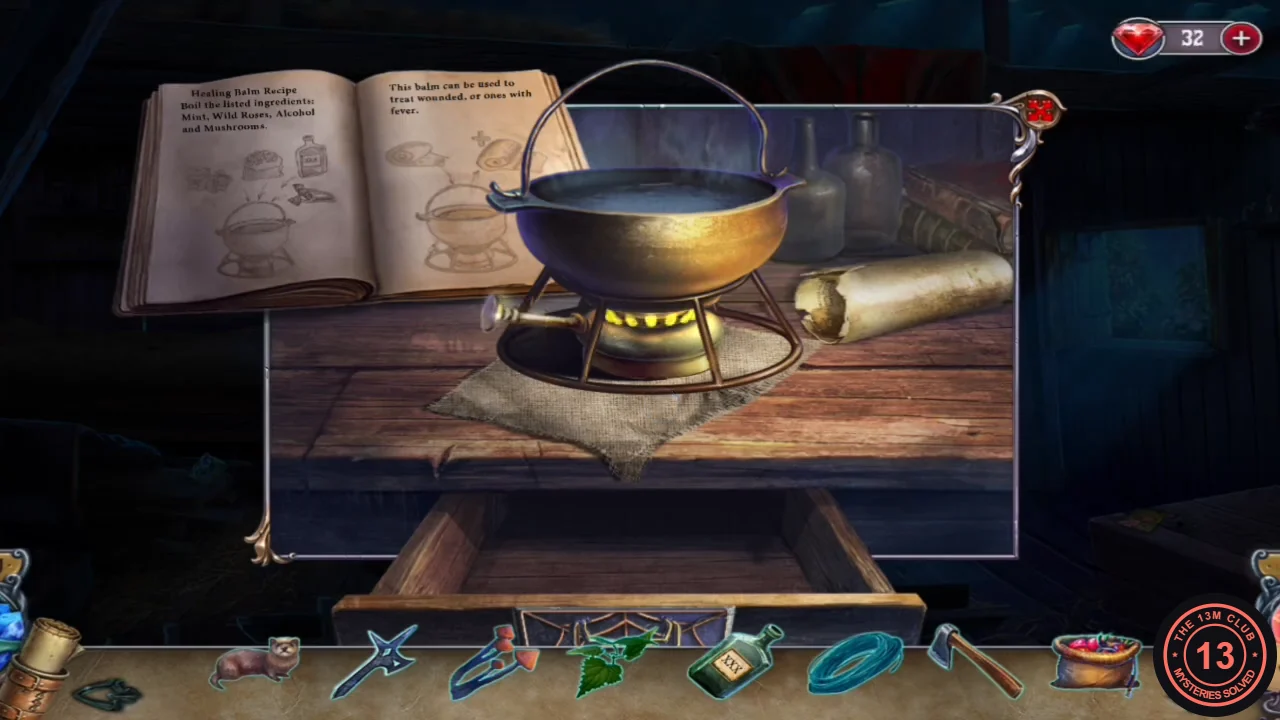
Gather Mint, Wild Roses, Alcohol and Mushrooms, plus water and a pot.
- In the forest, zoom into the thorny bird's nest and use the OVEN MITT to clear the thorns ("These young weasels can't run away without their mom"). Release the WEASEL; when the family leaves, take the MUSHROOMS.
- Go to the lakeside pier. Take the POT by the mooring post.
- Zoom into the fishing net over the nettles, cut it with the HATCHET and take the MINT.
- Zoom into the post with the rope ("I'll need a way to open the bottle"). Use the CORKSCREW and take the ALCOHOL and the SUGAR.
- Zoom into the end of the pier ("Can't reach those arrow shafts.") and take the FISHING LINE from the post.
- Return to the stone circle in the forest, move the stone with the CROWBAR, lower the POT into the well and take the WATER.
- In the hut, play the hidden-object scene by the fallen ladder. Some items must be completed first (for example, the hat needs its feather and the bottle needs its label). Receive an AXE.
- Zoom into the hut window with the rose bush. Put the SUGAR on the plate on the sill, then take the WILD ROSES.
- At the workbench, place the pot of WATER on the burner and turn the burner knob to light it. Set out the MINT, WILD ROSES, ALCOHOL and MUSHROOMS, then add each one to the pot.
Bandages, Bow and Arrows
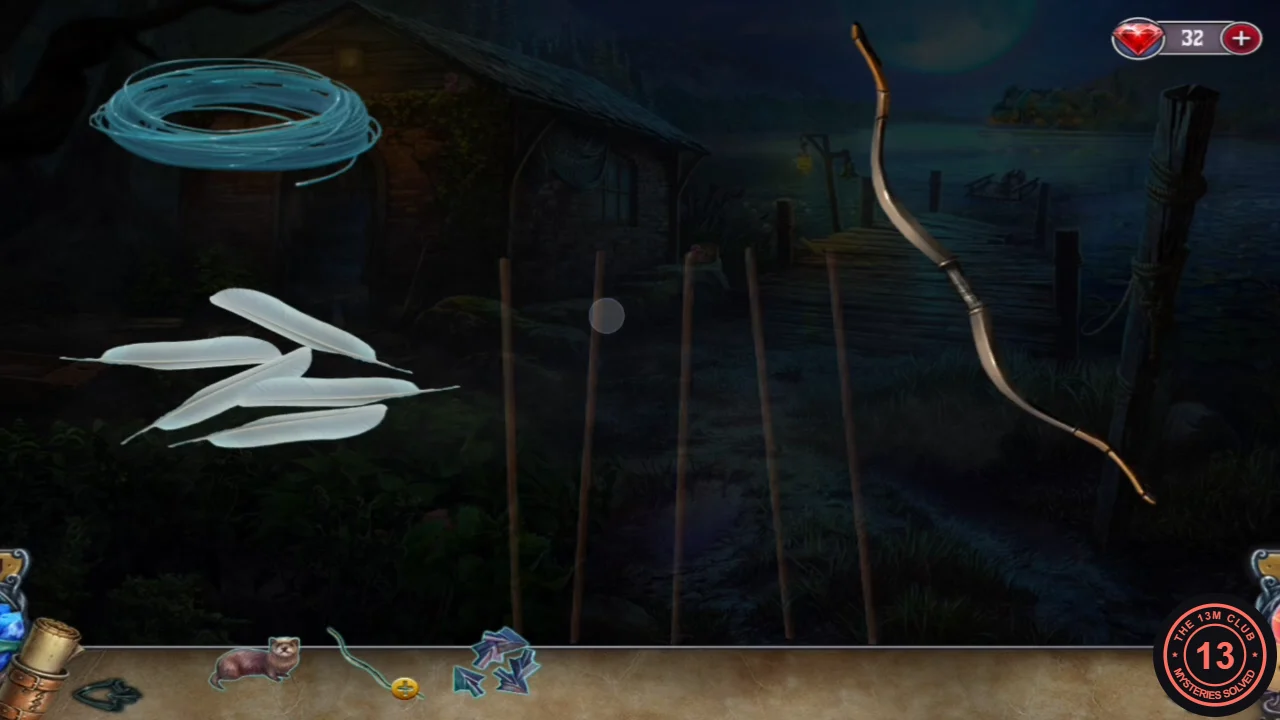
Make bandages for Conrad and a bow to pull the raft across to the Baroness's mansion.
- At the pier, break the boathouse door with the AXE and go in.
- Inside, take the SCOOP and release the WEASEL to scare the doves. Take the FEATHERS and the OLD BOW. Pull down the sheet ("Good. This is a perfect bandage material. But this sheet is just too big.") and cut it with the HATCHET to make a BANDAGE.
- At the end of the pier, collect the ARROW SHAFTS from the water with the SCOOP. The raft is out of reach ("If only there was a way to reach that raft somehow.").
- In the hut, dip the BANDAGE into the balm to get HEALING BANDAGES and use them on Conrad.
- Search Conrad's pocket and take the CLOSET KEY. Open the closet with it, move the items and take all five ARROW HEADS.
- At the pier, open the OLD BOW ("Looks like something's missing. I need a working bow and some arrows."). Add the FISHING LINE, FEATHERS, ARROW SHAFTS and ARROW HEADS: put the heads and feathers on the shafts and string the bow. Take the BOW AND ARROW.
- Zoom into the end of the pier and shoot the BOW AND ARROW at the raft to pull it in. Louisa crosses to the Baroness's mansion.