Locker room: the crate shape padlock
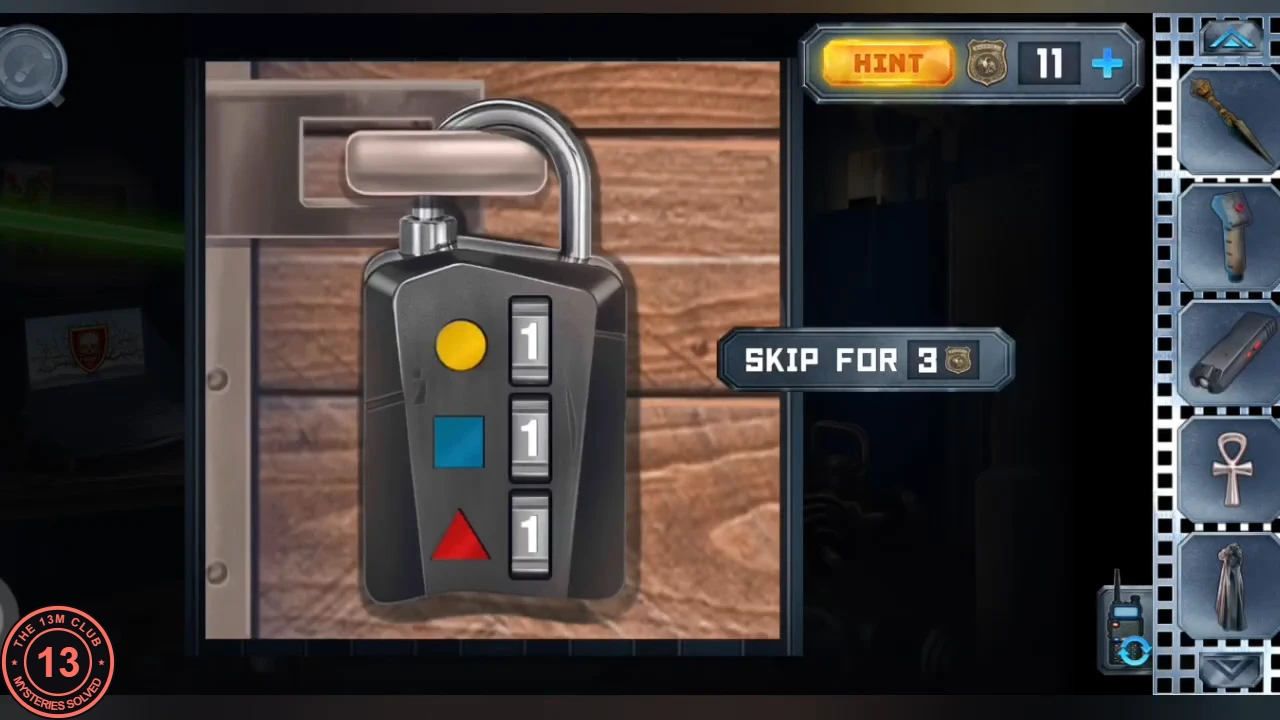
The abstract painting is the key to the padlocked crate in the locker room.
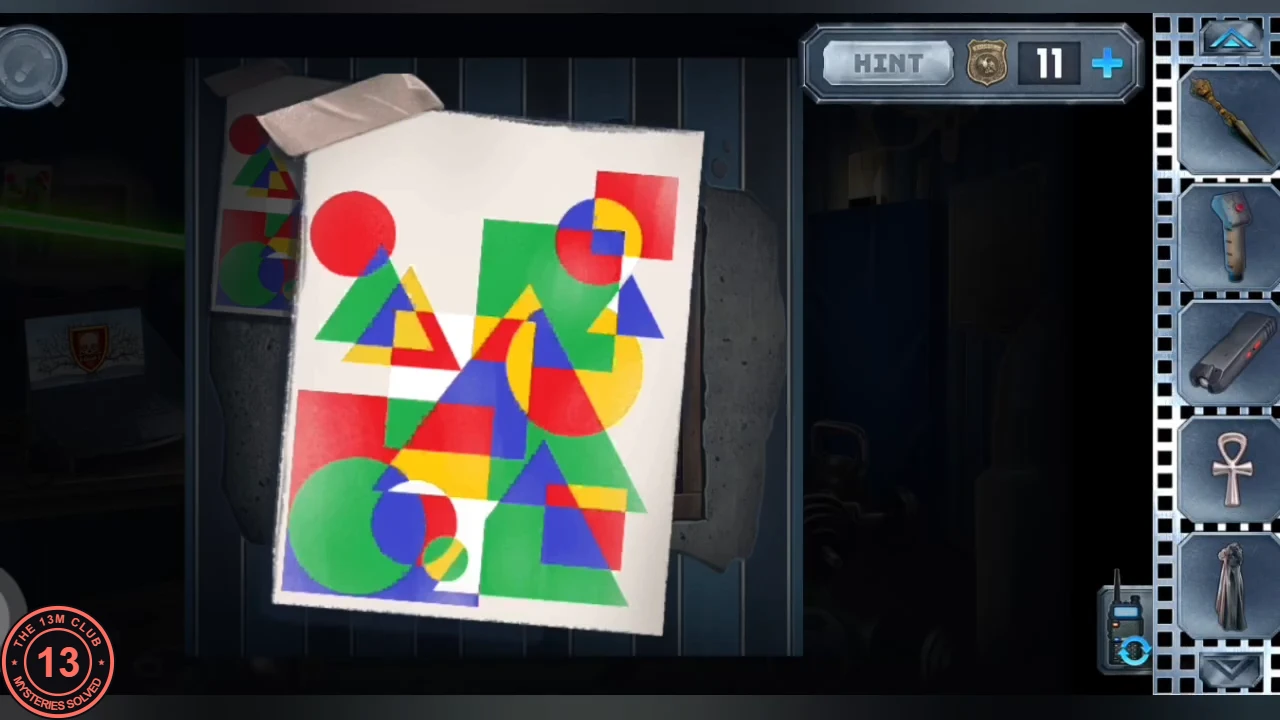
- Set the crate padlock's circle, square and triangle wheels to how many yellow circles, blue squares and red triangles appear in the abstract painting. In the recording 3 / 3 / 3 and 3 / 4 / 3 did not open it; it opened at 3 / 5 / 3. Inside ("Lasciate ogni speranza voi ch'entrate") are the electric plug and the fuse set. Keep the fuse set and send the plug to Anna.CODE3-5-3
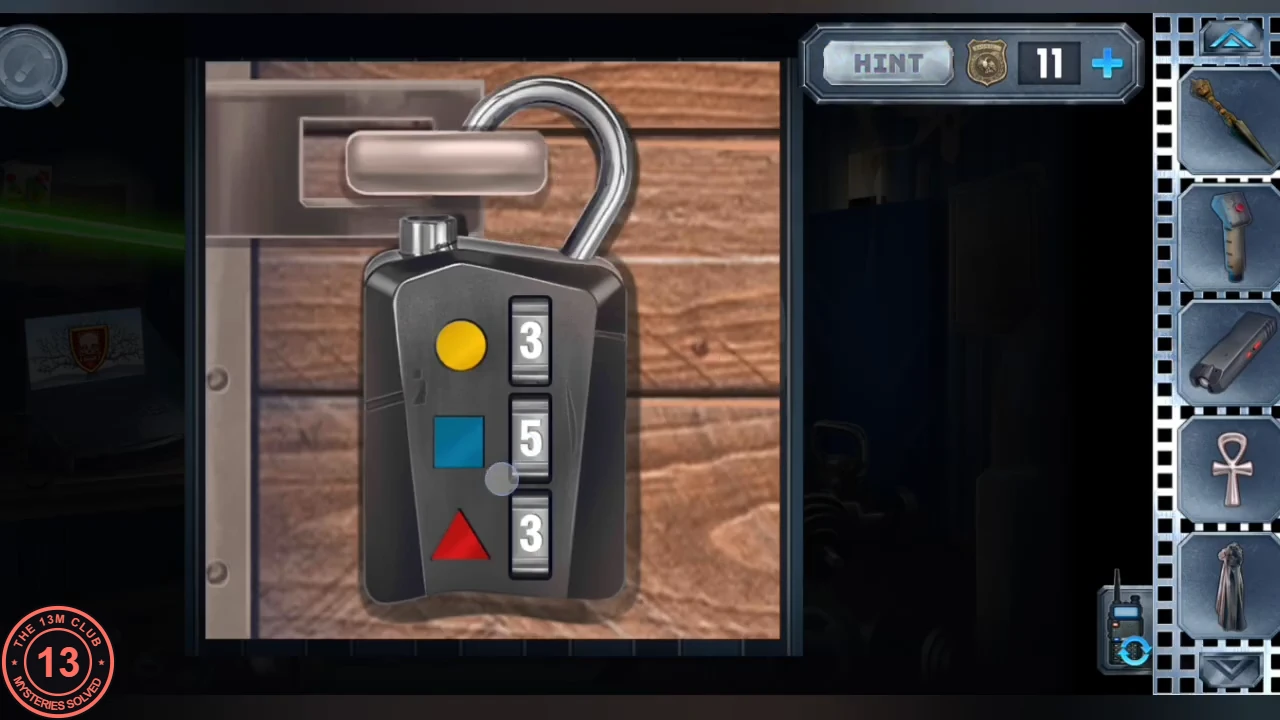
The padlock opening at 3 / 5 / 3 in one playthrough.
Museum pinball: exactly 25 points
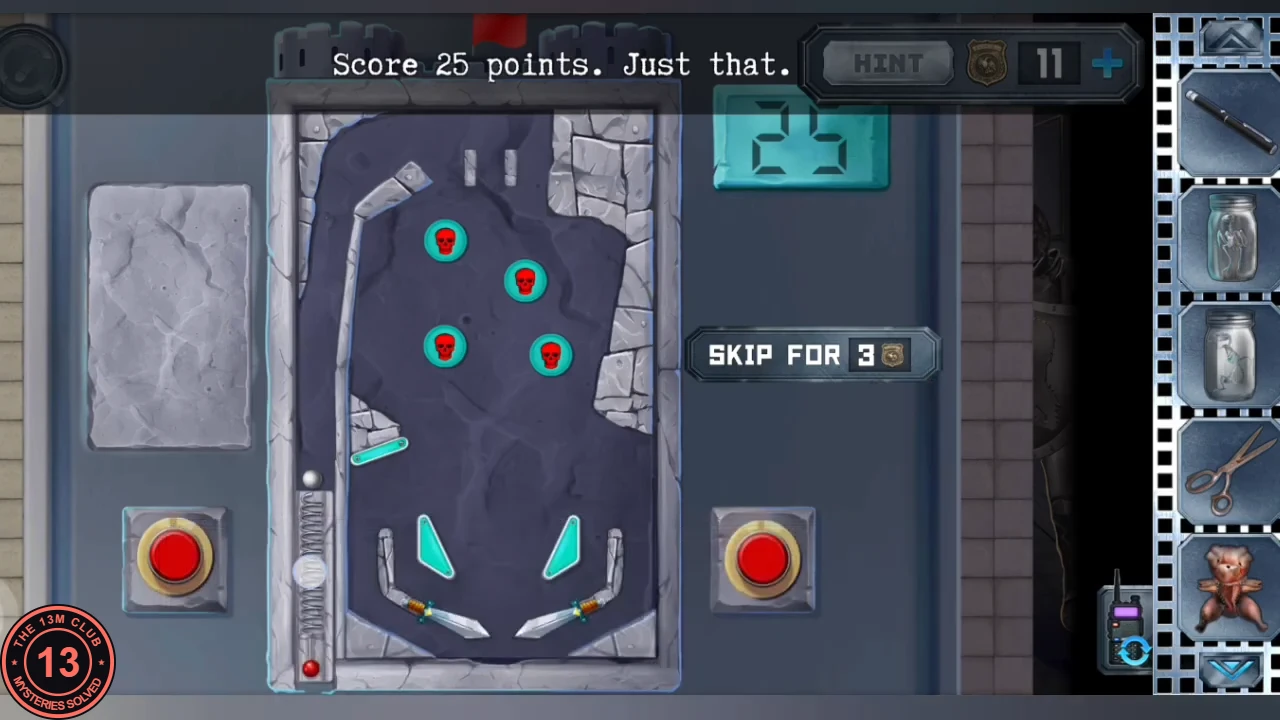
The spring from the fortune-teller's chest becomes the plunger of the museum pinball machine.
- As Anna, fit the spring to the museum pinball as its plunger. "Score 25 points. Just that.": the counter starts at 25 and counts down as you score, so stop when it reaches exactly 0. Take the black card with a red skull and send it to Alex.CODE25
Gym screen: guiding the blind woman
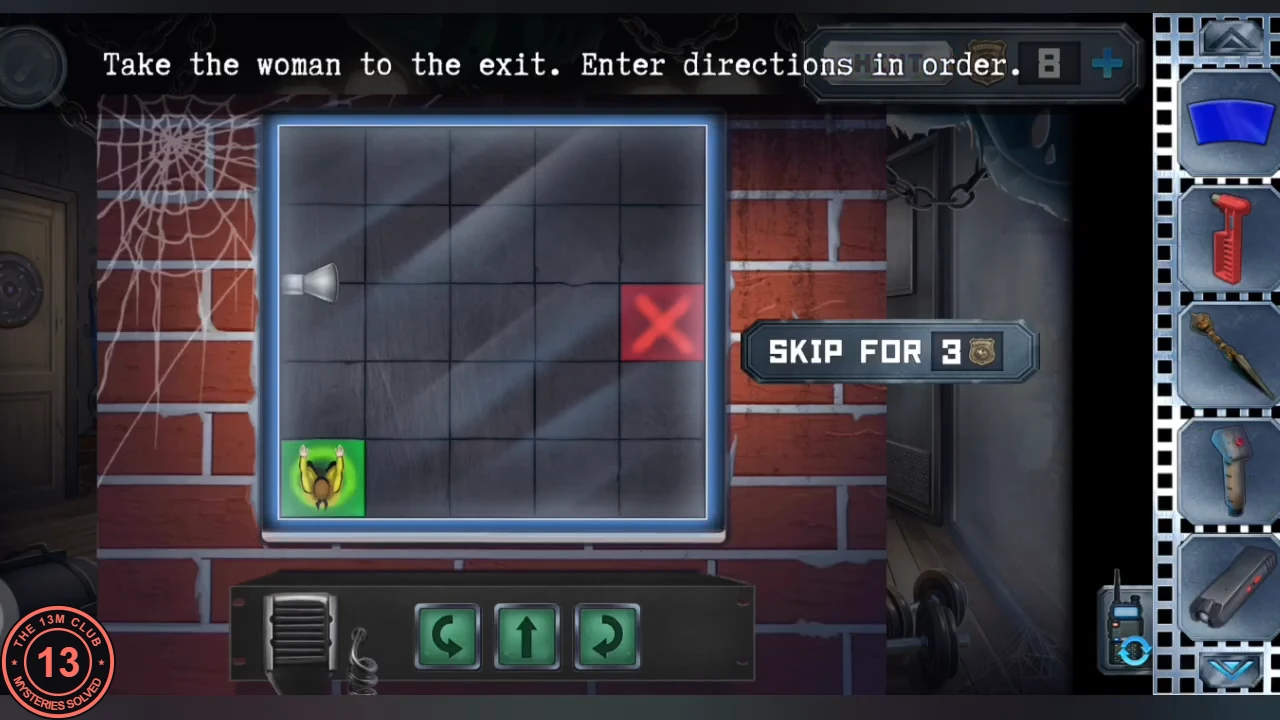
The microphone starts a route-planning game on the gym screen; afterwards the pinball card works the gym winch.
- As Alex, put the microphone in the gym screen. "Take the woman to the exit. Enter directions in order": queue turn-left, forward and turn-right commands to walk the blind woman from the bottom-left corner to the red X, then play them. Plan the route on the grid first. The screen then blows up; take the piece of plastic that flies out.
- Put the card with the red skull in the slot of the gym winch. Its light turns red and the winch turns; Alex tells Anna that something has dropped on her side.
Museum chandelier: light all the lamps
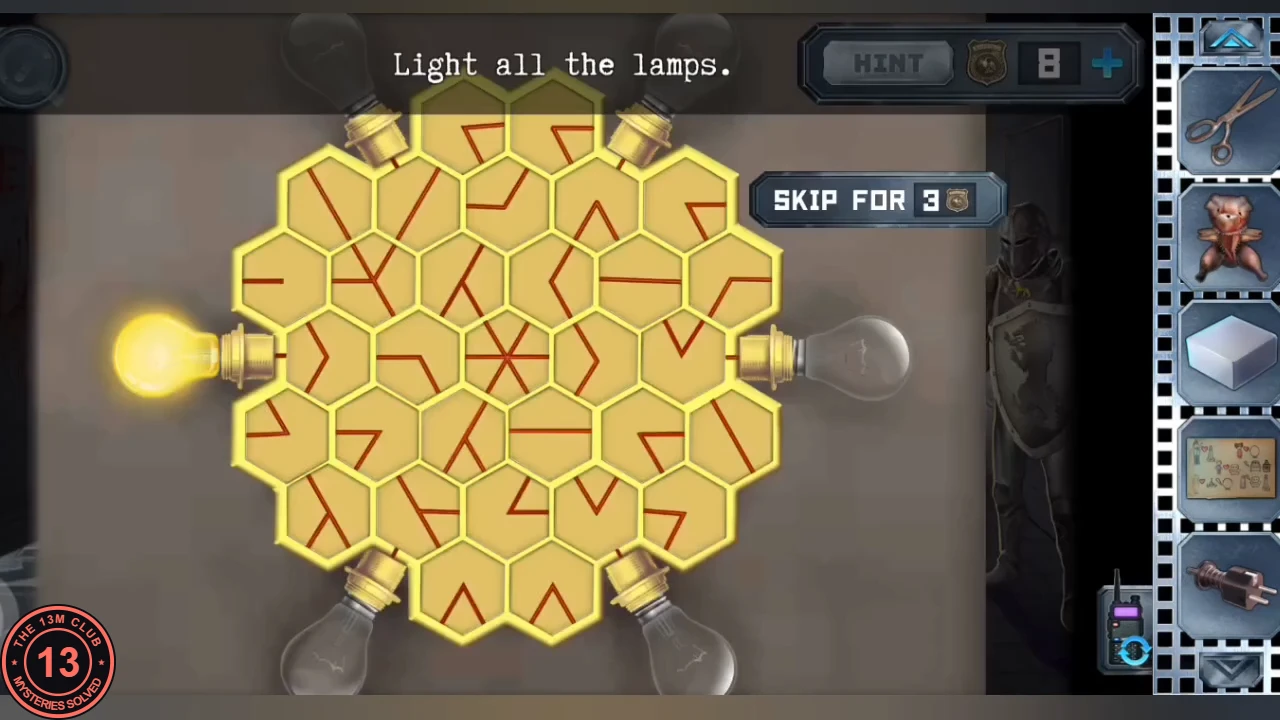
The museum chandelier has come down, and its hexagonal tiles must carry light to all six bulbs.
- As Anna, go to the museum: the chandelier has come down. "Light all the lamps": rotate the hexagonal tiles until a path of light runs from the lit lamp to all six bulbs. The lit chandelier casts symbol shadows on the carpet; note them for Alex's crypt later.
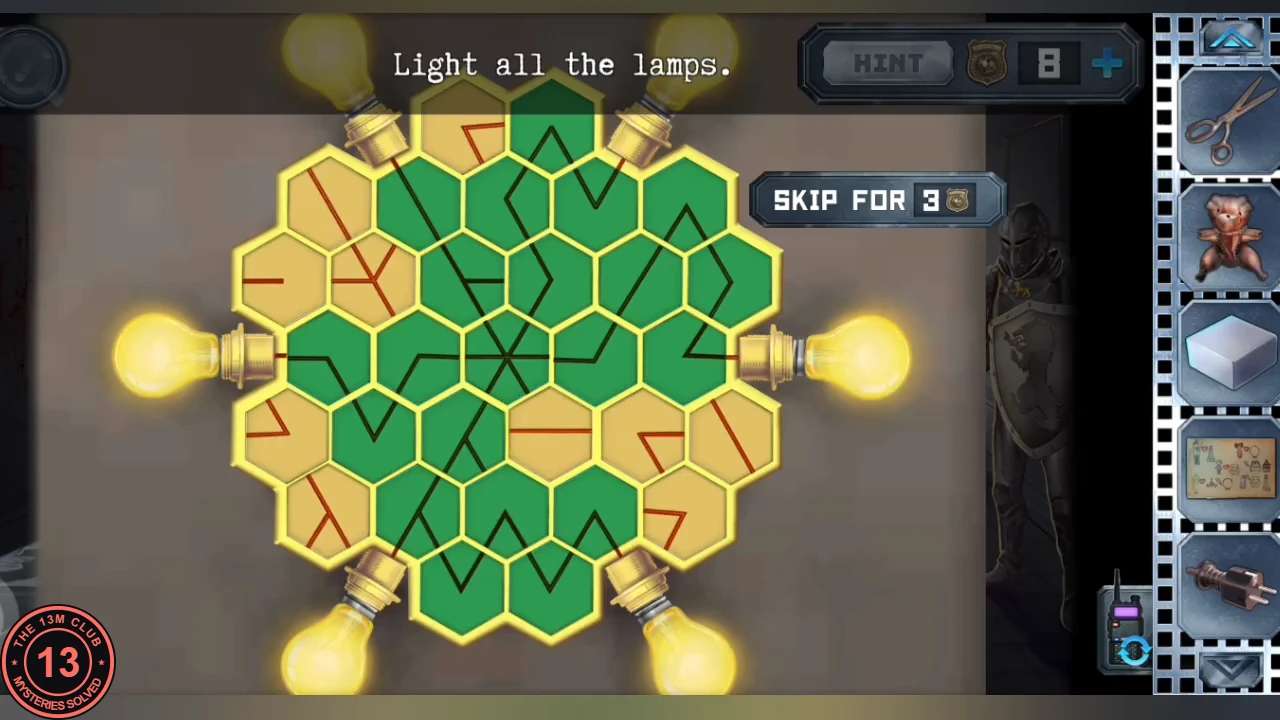
Solved: one tile arrangement that lights all six lamps (example from one playthrough). 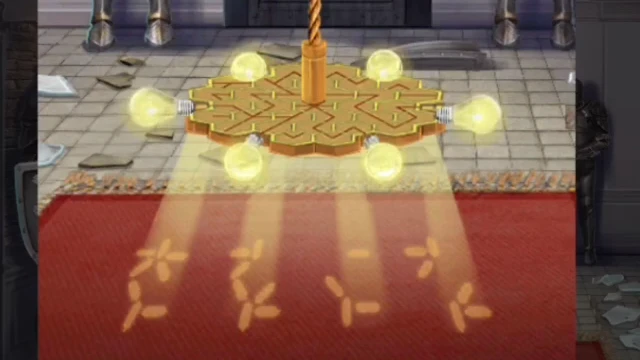
Clue: the four light symbols the chandelier casts on the carpet. Note them for Alex's crypt.
Locker room: the handle board
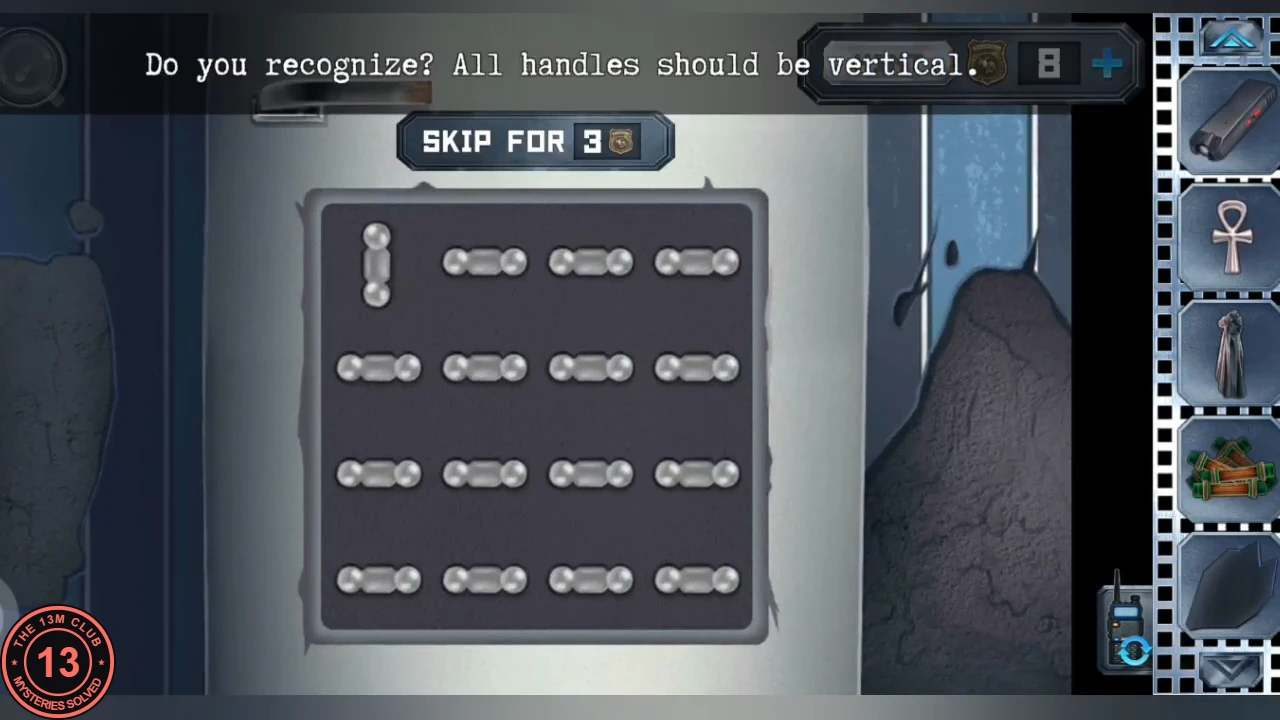
The weird pen from Anna lets Alex work the handle board in the locker room, which opens the fridge.
- Send the weird pen to Alex (it is in Anna's inventory by now; see the creature step). As Alex, use it on the handle board in the locker room: "All handles should be vertical." Tapping a handle turns every handle in its row and its column. Work row by row and use the row-and-column overlap to flip single handles. When all are vertical the fridge opens; take the small corked vial (formalin) and send it to Anna.
Workshop: the dollhouse
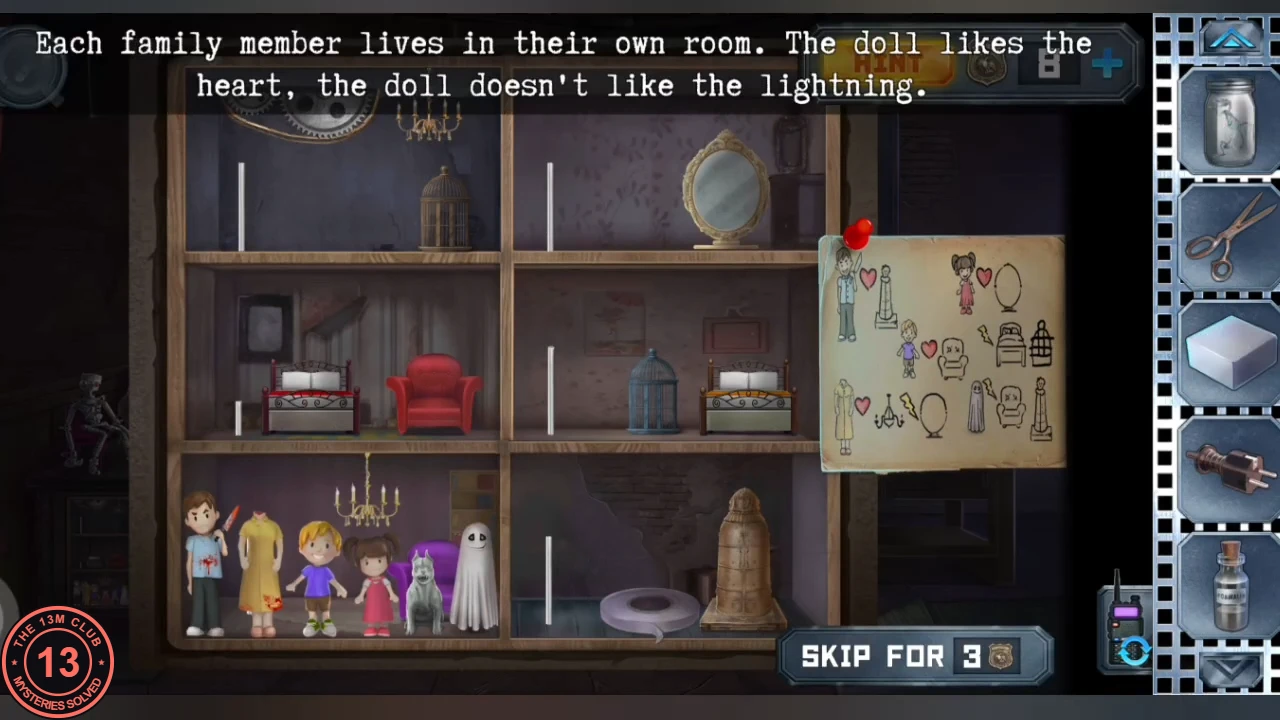
Seating the homunculus completes the tea party; then the dollhouse needs each family member in a room they like.
- As Anna, seat the homunculus on the empty chair at the workshop tea table. Then solve the dollhouse: each family member must live in its own room, and the poster shows which symbols each one likes or dislikes. The final arrangement was: top left the woman in the yellow dress, top right the girl in pink, middle left the white dog, middle right the ghost, bottom left the blond boy and bottom right the boy with the knife. The ferret is freed; take the ferret and the roll of tape.
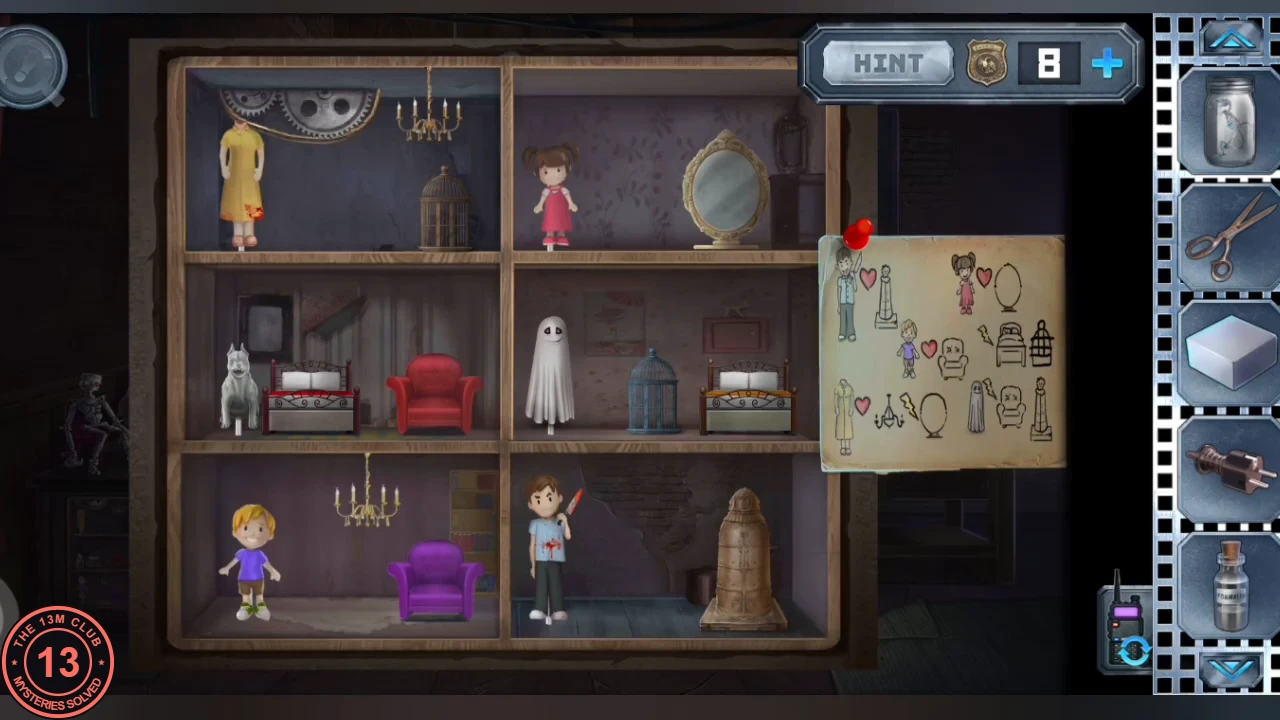
Solved: the dollhouse arrangement, with the rules poster on the right.
Corridor track board
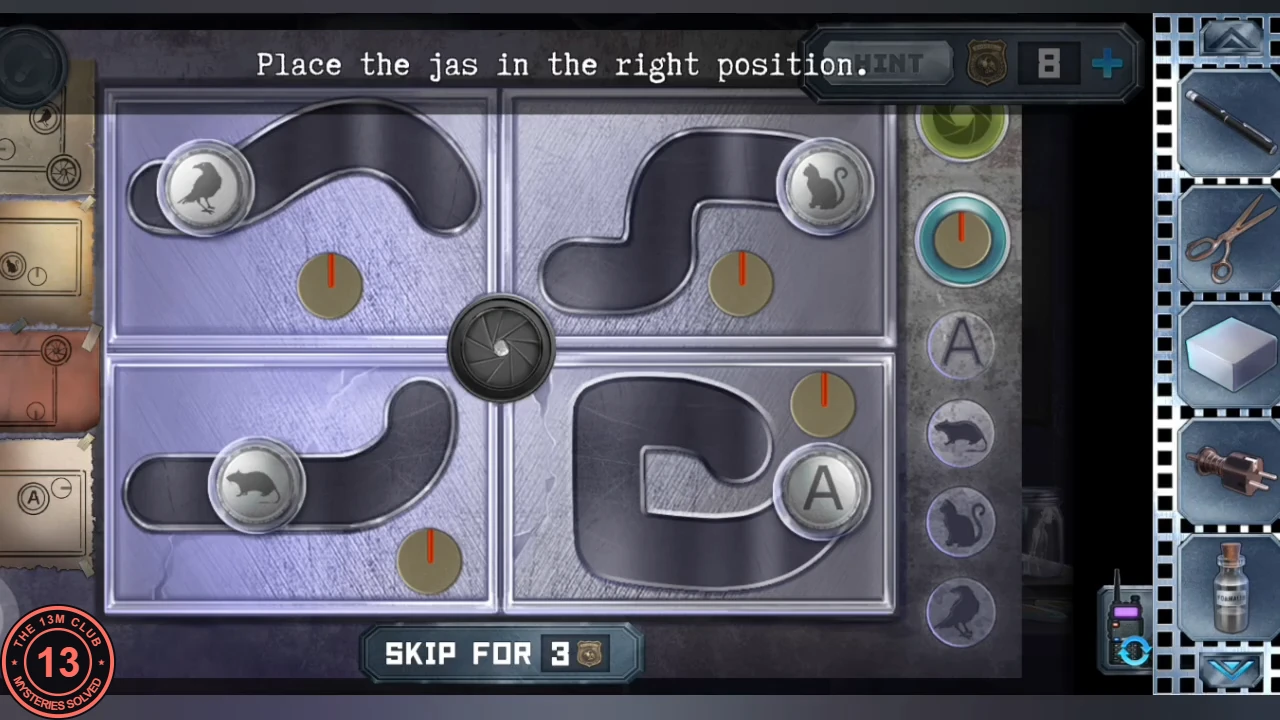
The jars with animals add tokens to the pipe board in the corridor, which holds the wolf medallion.
- Put the jar with a bird and the jar with a rat on the corridor track board; they add the raven and rat tokens to the cat and A tokens. The tracks themselves are fixed: turn the small brass dial in each quarter to slide its token along its track. Move each token to the right end of its track so that the centre slot opens; in the solved board the raven, cat and A tokens sit at the inner ends of their tracks and the rat at the far left of its track. The sketch papers on the walls (cat, A, rat and raven) show the targets. Take the wolf medallion.
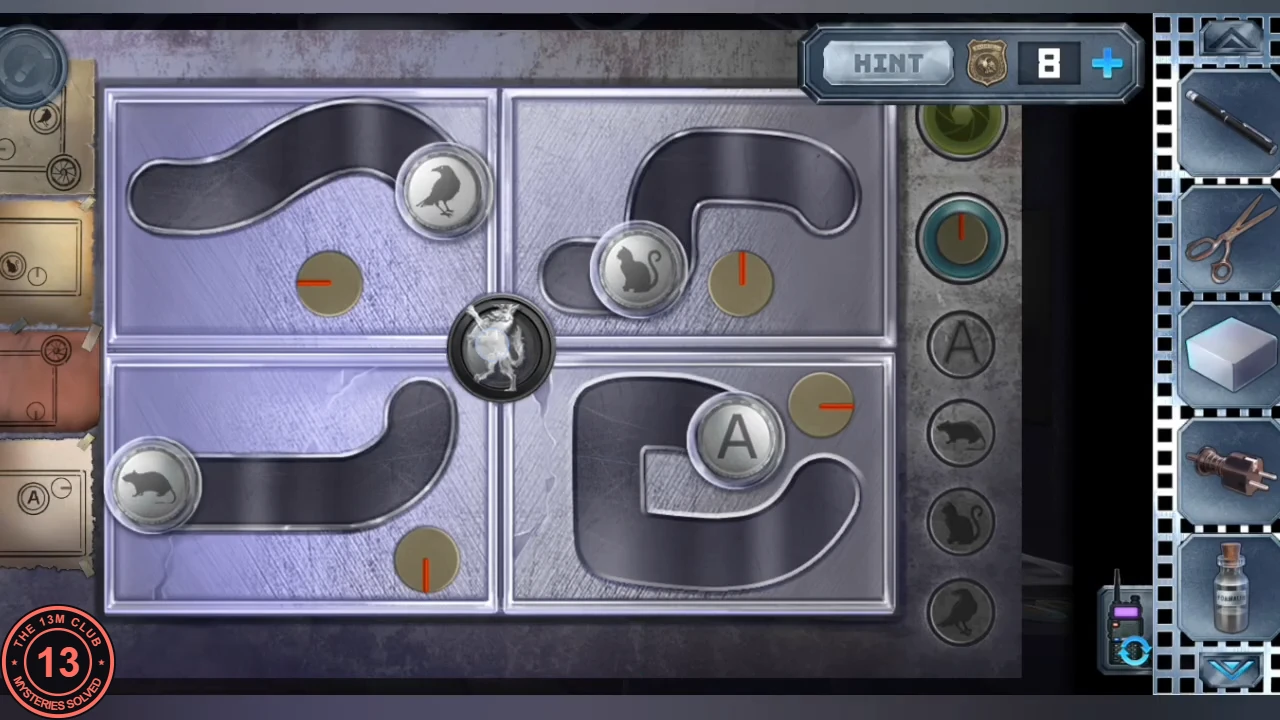
Solved: the four tokens in their final positions and the wolf medallion in the centre (example from one playthrough).
Shield door: the hexagon dots
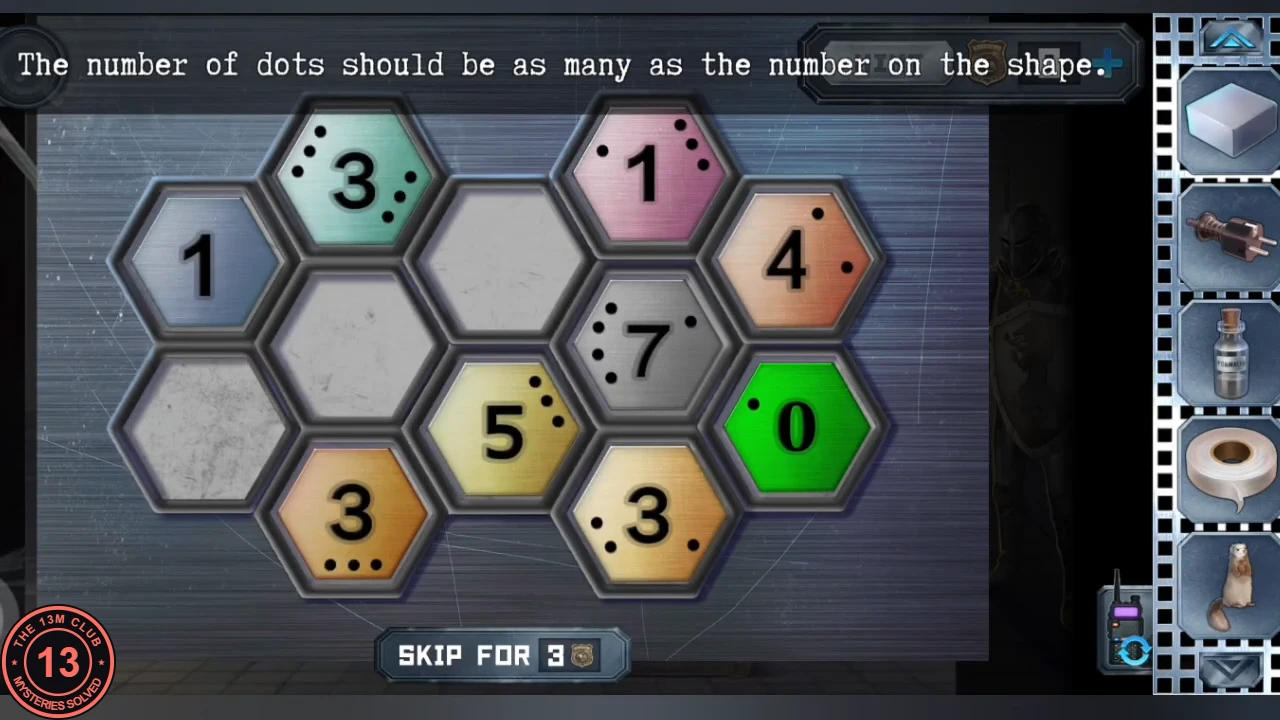
With the fourth shield in place, the museum's shield door shows a hexagon panel.
- Give the wolf medallion to the red-masked knight. All four shields on the door light up and a hexagon panel appears: drag the hexagons so the number on each equals the number of dots touching it. When every hexagon is green, the passage opens into the gallery.
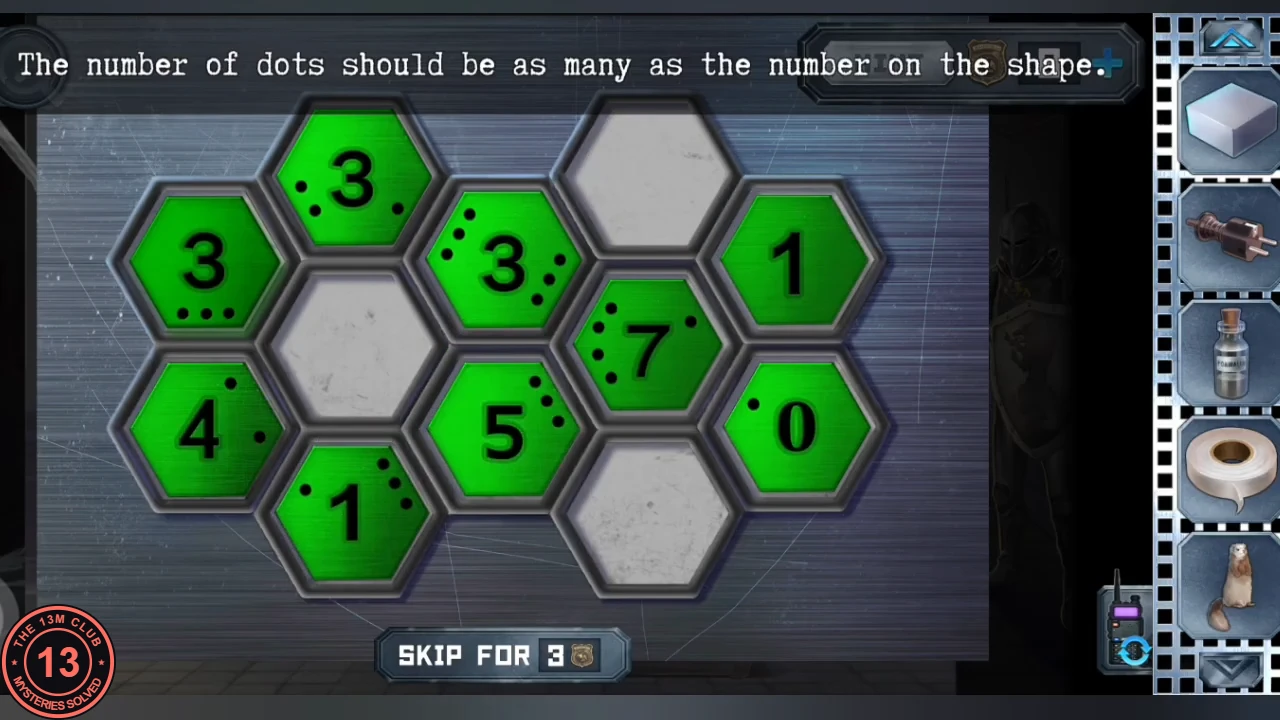
Solved: every numbered hexagon is green (example from one playthrough).
Gallery: chess with gravity
The gallery of masks has a flower pot, a chess screen, a blue-skull door and a barred window.
- Dig in the gallery flower pot and take the laser pointer. Use it on the chess screen.
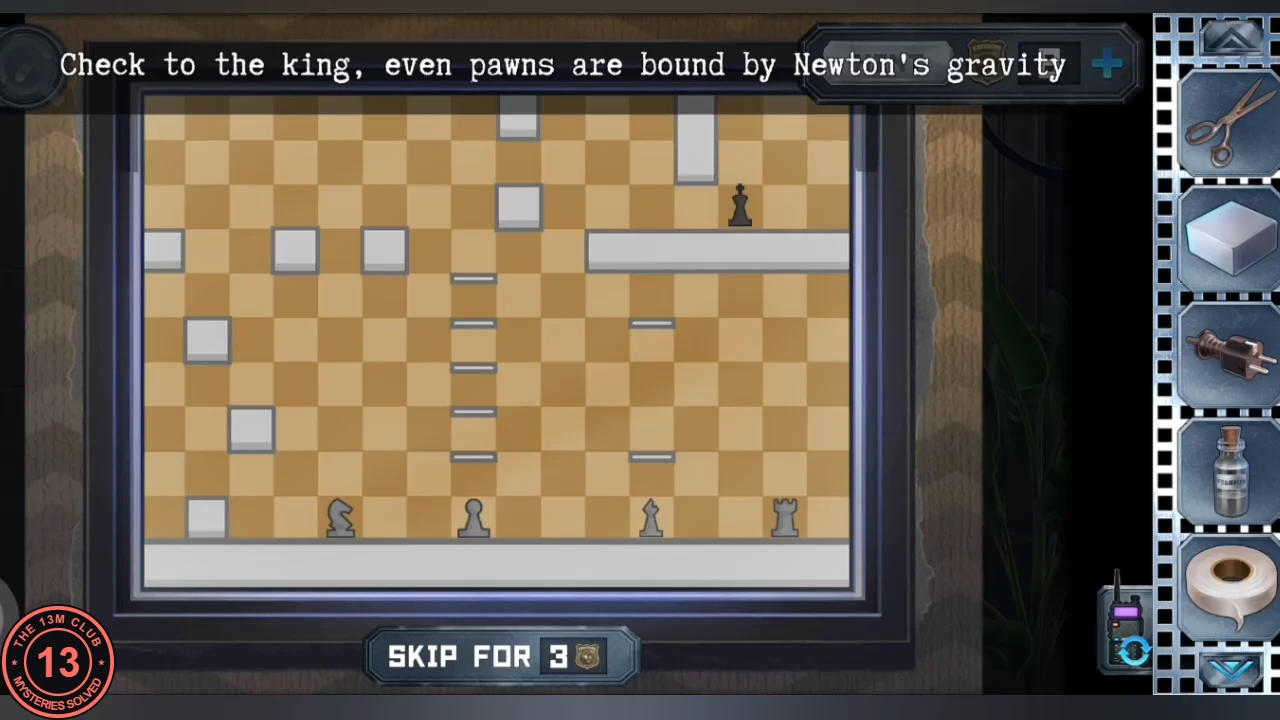
- "Check to the king, even pawns are bound by Newton's gravity": pieces fall when nothing supports them. Move the white pieces so that, after everything has dropped, one of them gives check to the black king standing on the ledge at the upper right. Before each move, picture where the piece will land. A working target: walk a white pawn onto the long ledge left of the black piece, then drop the knight on top of that pawn. From there the knight is a knight's jump (two squares across, one down) from the black piece, and its square turns red. Getting the pieces up there takes several moves and some trial and error.
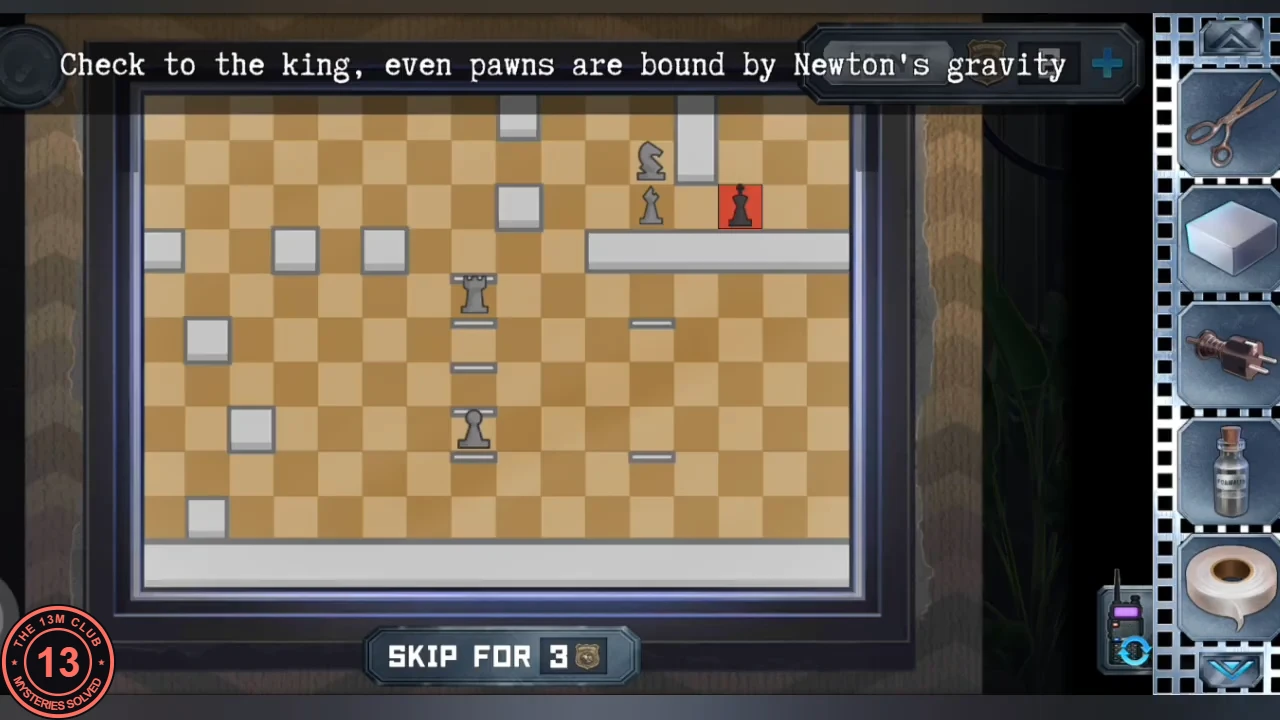
Solved: the king's square turns red when a white piece gives check (example from one playthrough).
Gallery: the plus and minus magnets
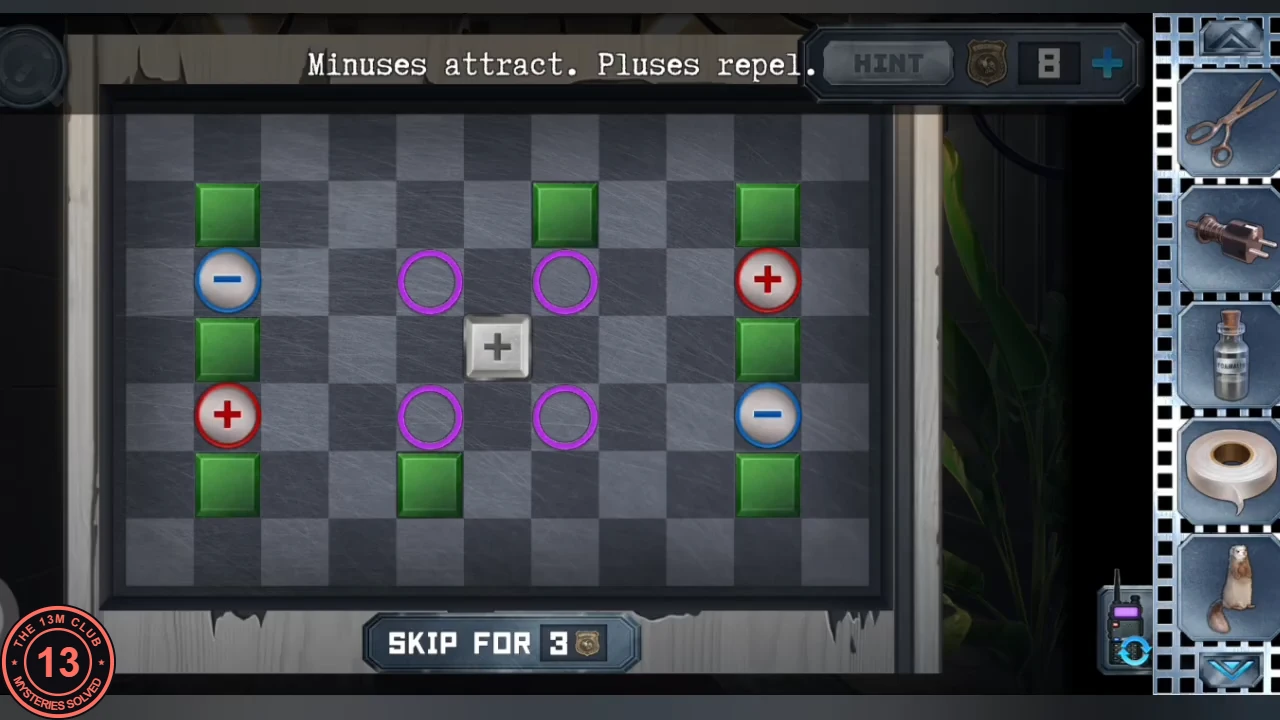
The square magnet completes the gallery magnet board, which stops the saw trap in the corridor.
- Put the square magnet on the gallery magnet board ("Minuses attract. Pluses repel."). Move the grey block so it pushes the red plus magnets and pulls the blue minus magnets into the four purple circles. The saw trap in the corridor stops; take the key head (a bird keychain) lying on the blades.
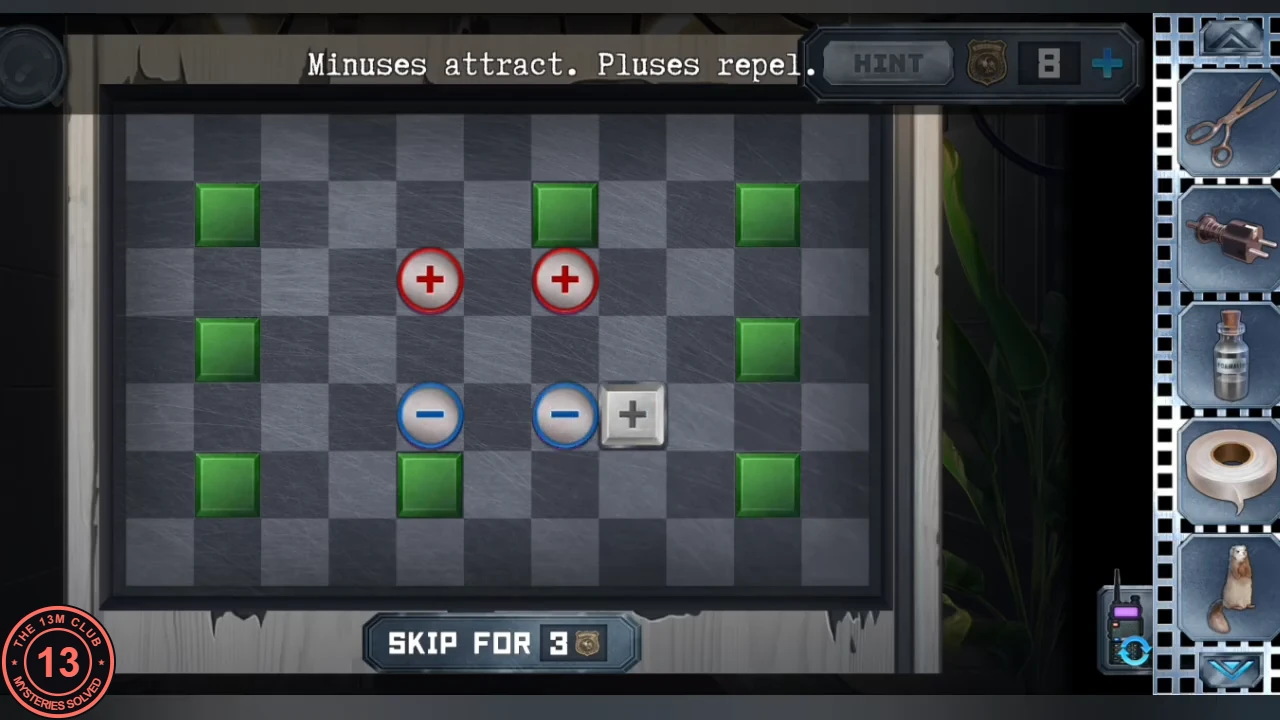
Solved: the two plus and two minus magnets cover the four purple circles in the middle.
Gallery window: the keys maze
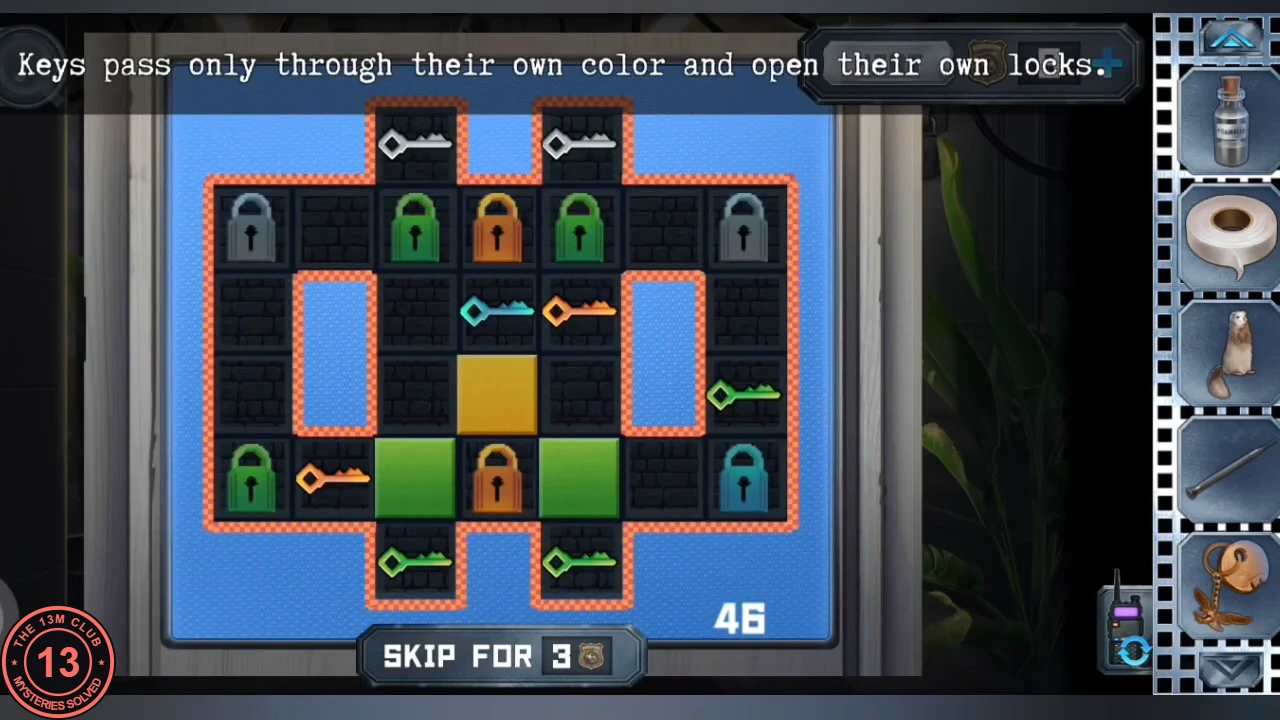
The padlock on the barred gallery window is a sliding-keys maze with a move limit.
- Tap the padlock on the barred gallery window to start the keys maze: "Keys pass only through their own color and open their own locks." Slide the keys so each reaches the lock of its own colour before the move counter runs out. Plan each key's route before moving, because keys block one another. The window opens into the furnace room.
Furnace room, the chemistry room and the hidden equation
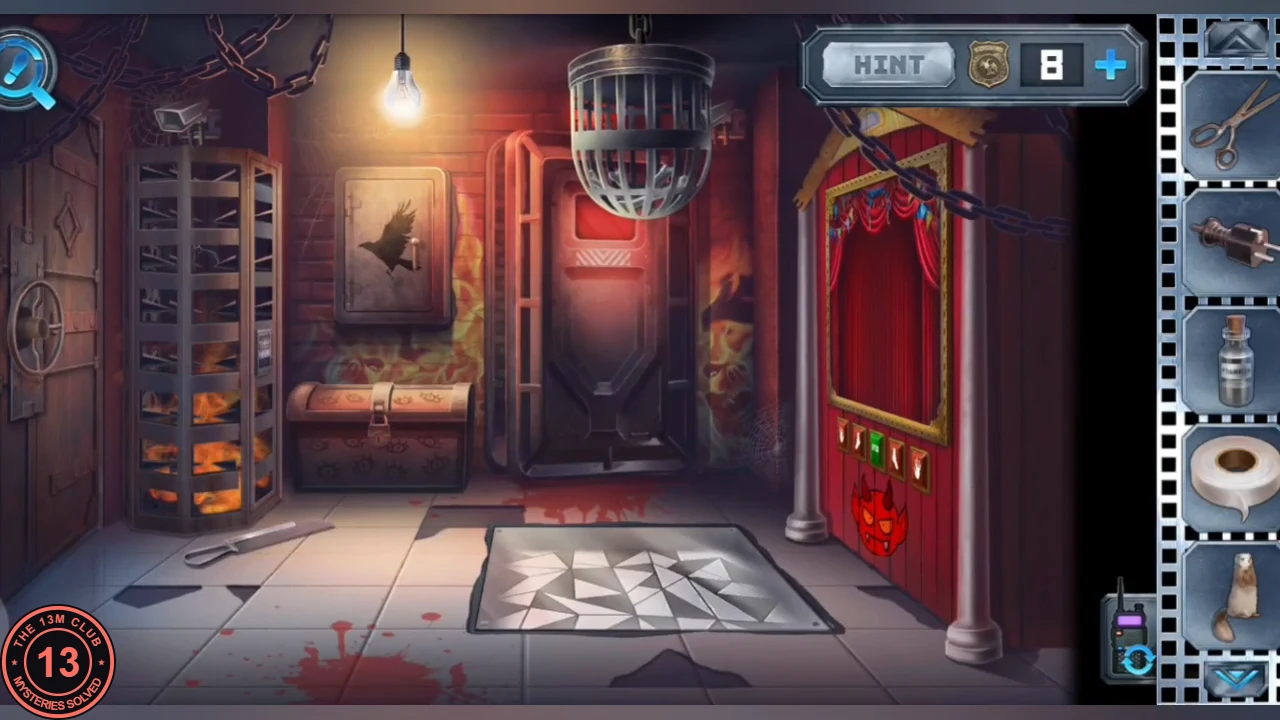
The furnace room smells of sulphur. It has a fire cage, a chest with eyes on it, a puppet theatre, a hanging cage, a key-cutting bench, a passage of moving gears and a brick side room.
- Pick up the knife lying on the furnace-room floor ("Now this will definitely come in handy!"). In the passage of moving gears take the spiral card from the square panel. At the key-cutting bench take the key with a blue skull hanging under the machine.
- Open the blue-skull door in the gallery with the key with a blue skull. In the chemistry room take the black cloth (the empty sheet) lying on the table in front of the machine.
- In the laboratory pry open the dog creature's ribs with the knife and take the note hidden inside. Send the note with the equation MAM + MAT + MTT = 341, the spiral card and the empty sheet to Alex.CODEMAM + MAT + MTT = 341