Sink scissors, the fortune booth chip and the bucket vents
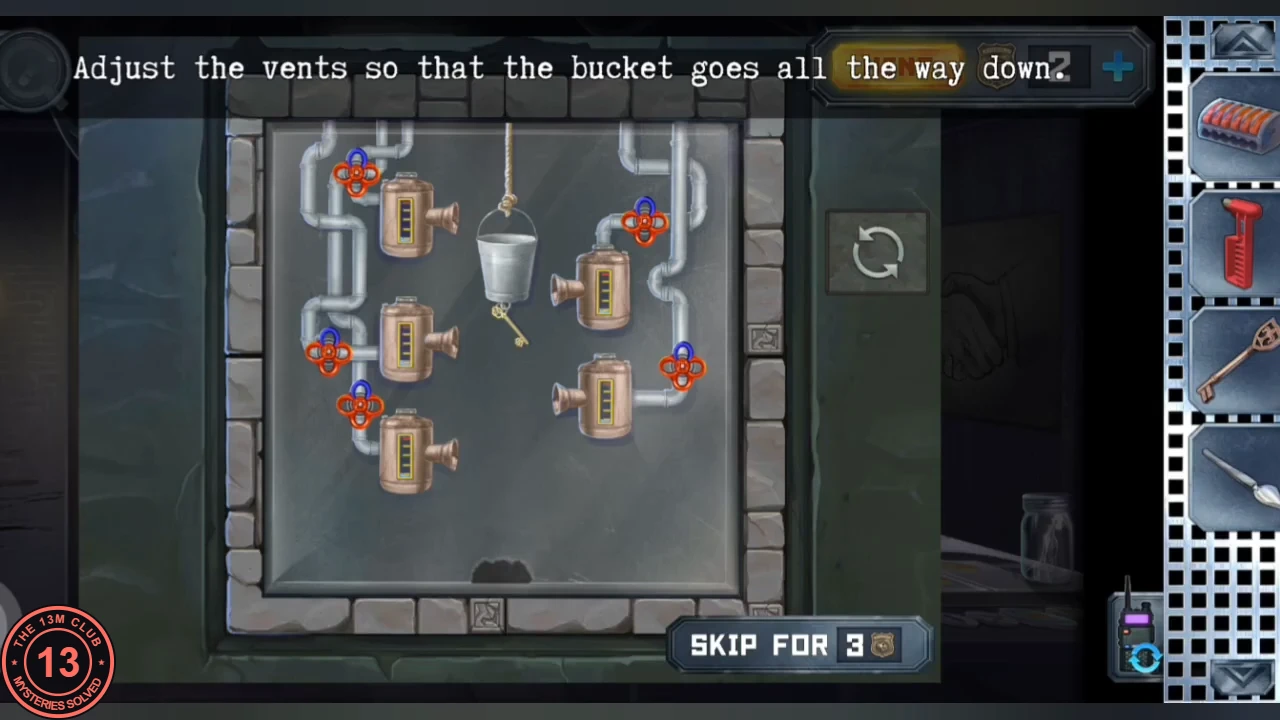
Anna prepares the homunculus parts at the sink and uses the corridor vents to reach the museum key.
- In the painting room pin the homunculus assembly scheme on the wall above the sink. Use the scissors chained to the sink to cut the chicken into wings, legs and meat, then take the scissors.
- Insert the vending machine chip into the slot of the fortune-teller booth in the corridor.
- In the workshop load the printing plastic into the 3D printer, and seat the skeleton puppet on a chair at the tea table.
- At the corridor bucket panel, "Adjust the vents so that the bucket goes all the way down": rotate the vents so the jets push the hanging bucket down step by step. At the bottom a key drops out. Use it on the corridor door with the red-skull mask to enter the museum.
The museum and the laboratory equations
The museum has armoured knights, glass display cases, a pinball machine, a chandelier, a door with four shields and a red-skull side door into a laboratory.
- Break the glass on the pinball machine with the hammer and take the key with a ball ("Seems like this belongs to the fortune teller..."). Break the display cases with the hammer too.
- Open the red-skull side door with the museum key. In the laboratory take the seam ripper (a blue tool) lying on the yellow uniform at the sewing machine.
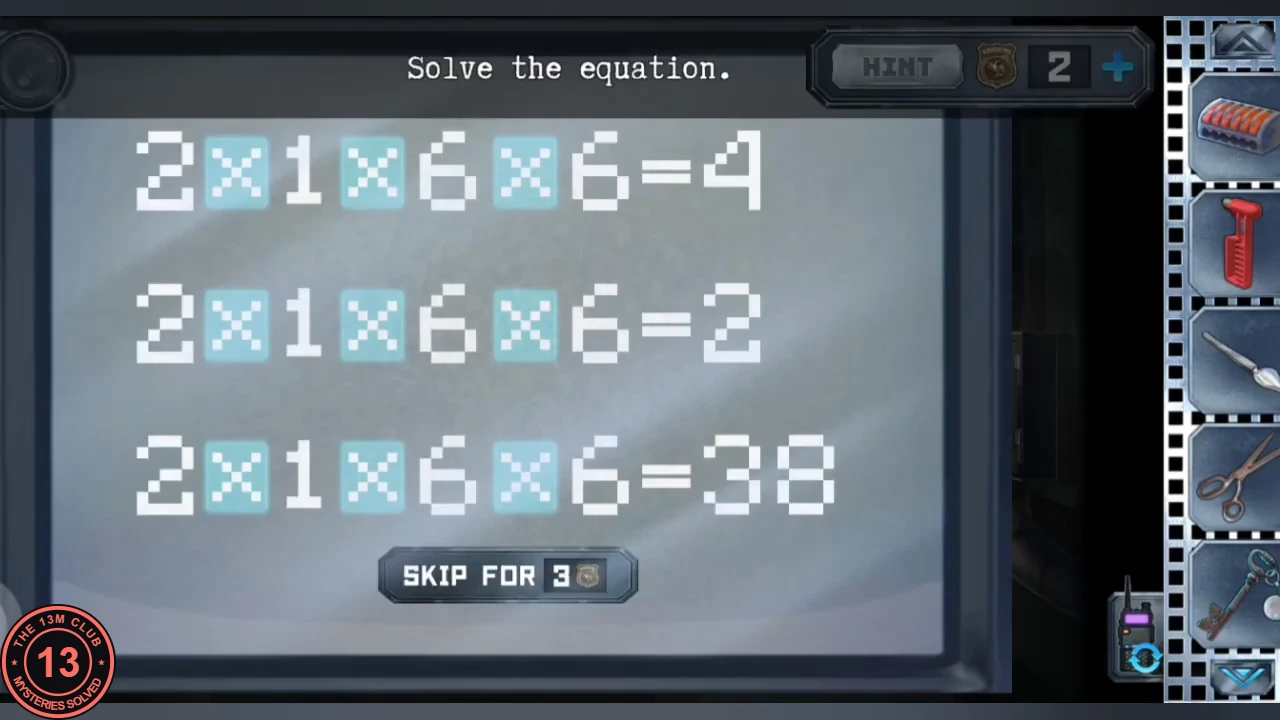
- At the lab television, tap the operators to make each equation true: 2 + 1 + 6 / 6 = 4, 2 x 1 + 6 - 6 = 2 and 2 x 1 + 6 x 6 = 38.
Laboratory television: the 5 x 5 inequalities
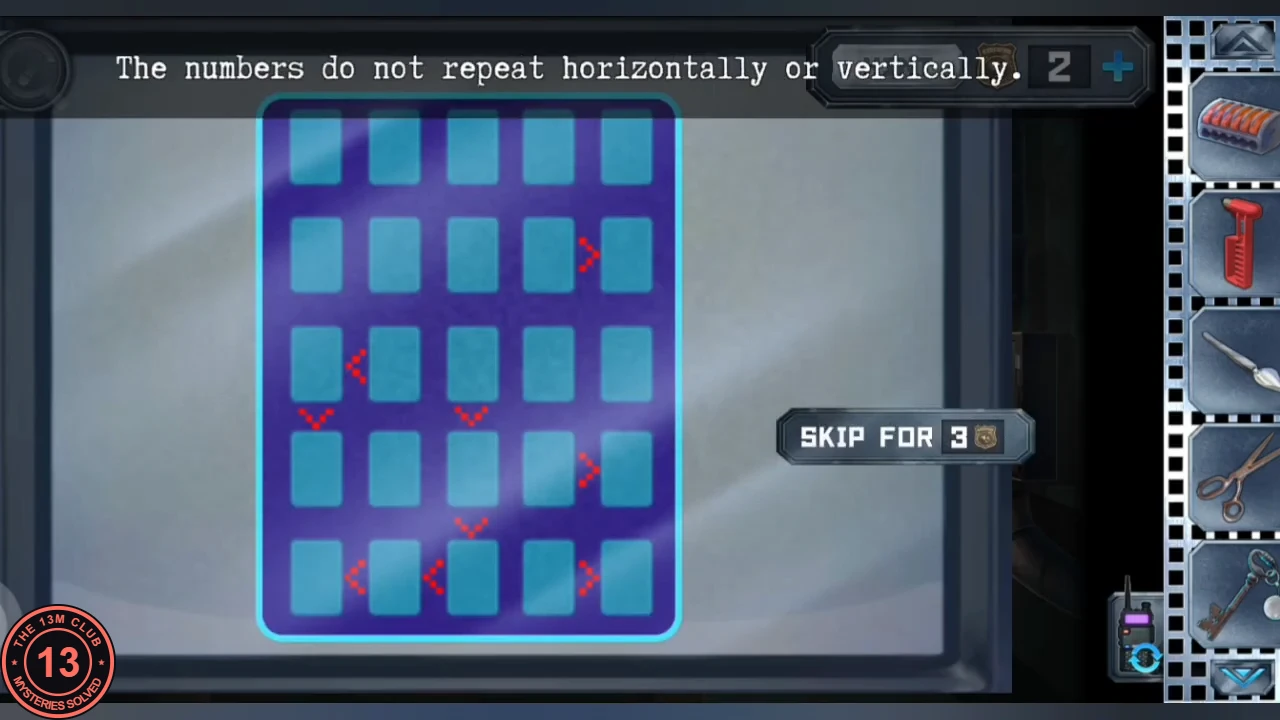
After the equations, the lab television shows a 5 x 5 number grid with greater-than and less-than signs.
- Then fill the 5 x 5 number grid: every row and column holds 1 to 5 once, and every greater-than or less-than sign must hold. Solution by row: 4 3 1 2 5, 5 1 2 4 3, 3 4 5 1 2, 2 5 4 3 1, 1 2 3 5 4.CODE43125 / 51243 / 34512 / 25431 / 12354
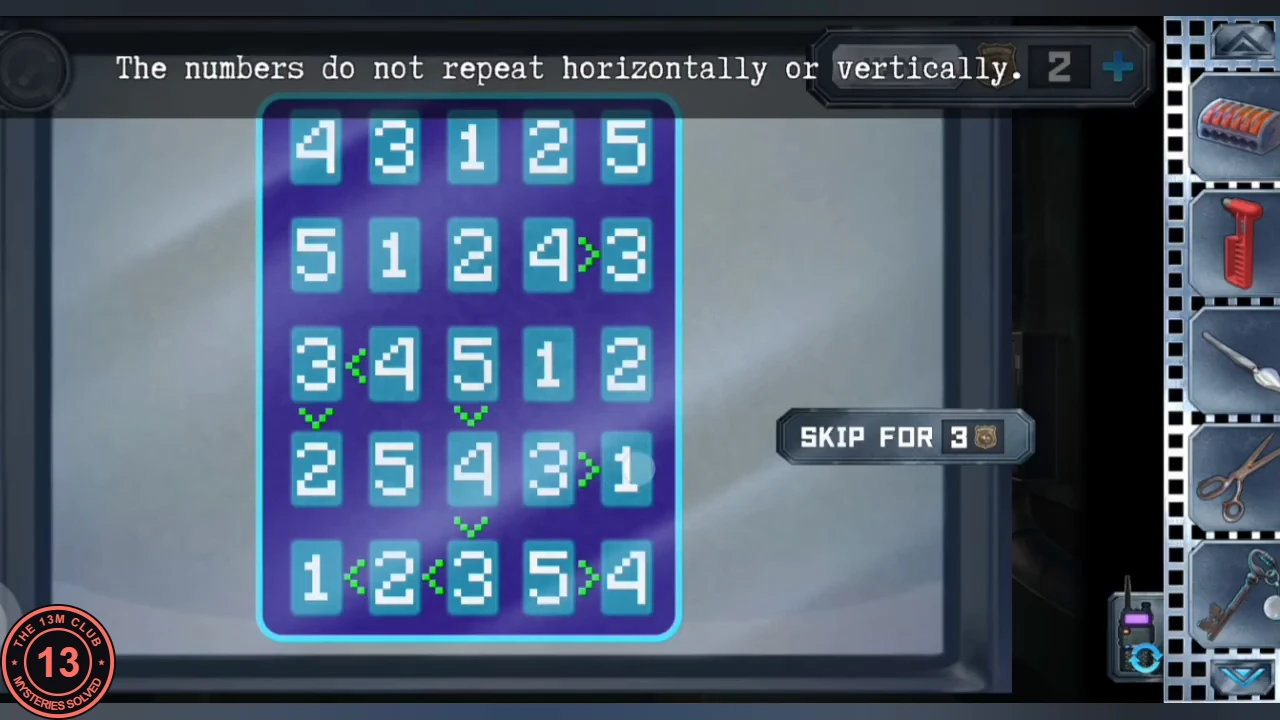
Solved: the 5 x 5 grid with every inequality sign satisfied.
The creature's eye and the fabric sums
The laboratory holds a stitched dog creature, a shelf of odds and ends and a robot head on a workbench.
- Use the spoon on the stitched dog creature's eye to take the eyeball; the spoon is used up. Anna also ends up with a curved white tool called the weird pen, which Alex needs later for the locker-room handle board. In one recording it appeared in the spoon's place straight away; in another it only appeared in Anna's inventory much later, after the museum chandelier was lit, without a visible pickup. If you do not have it yet, carry on: it will be there by the time Alex needs it.
- Search the laboratory shelf and collect the microphone (a black handset), the phurba (a ritual dagger) and the "Snakes" cartridge. Send the phurba, the microphone, the seam ripper, the scissors and the hammer to Alex. Keep the cartridge.
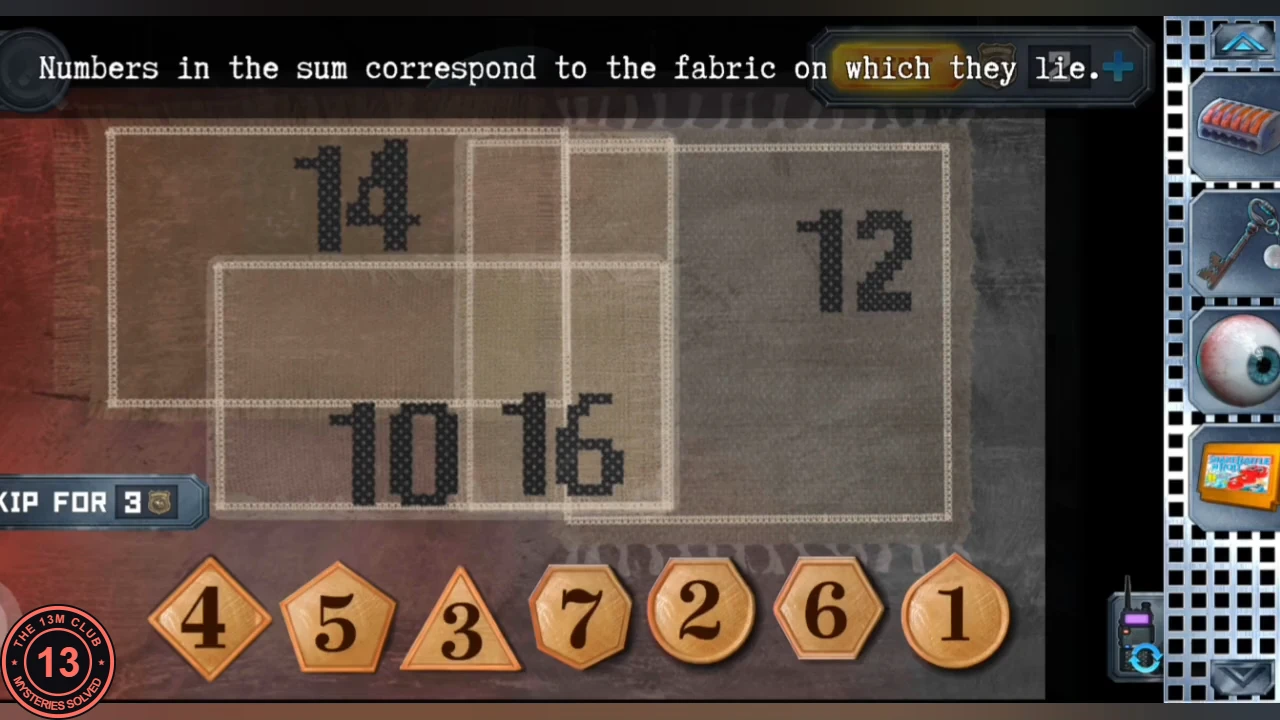
- At the radio box on the robot-head bench, place the number tiles on the overlapping pieces of fabric so the tiles on each piece add up to the number printed on it (14, 12, 10 and 16). A tile in an overlap counts for every piece it lies on. The solution used 7 and 6 at the top, 2, 1 and 4 across the middle, 5 next to the 16 label and 3 on the right. A drawer opens.
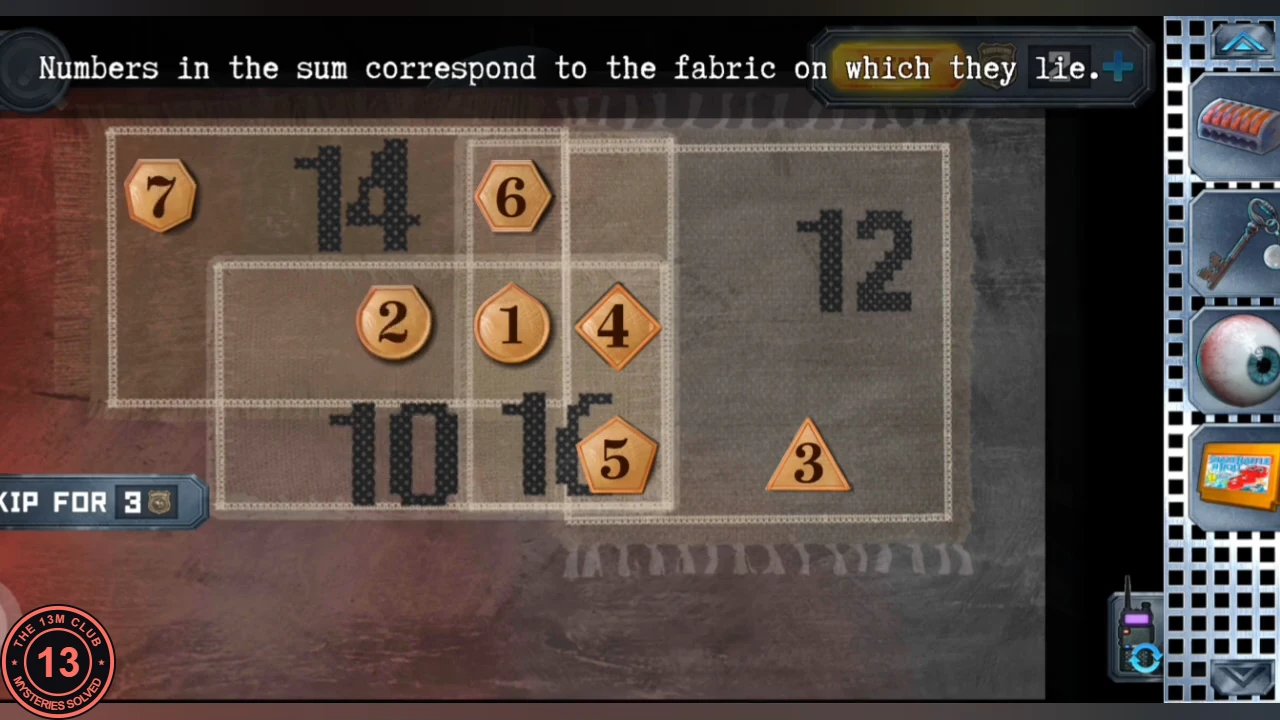
Solved: the tile positions used in one playthrough.
Fortune-teller booth: the fixed-length wires
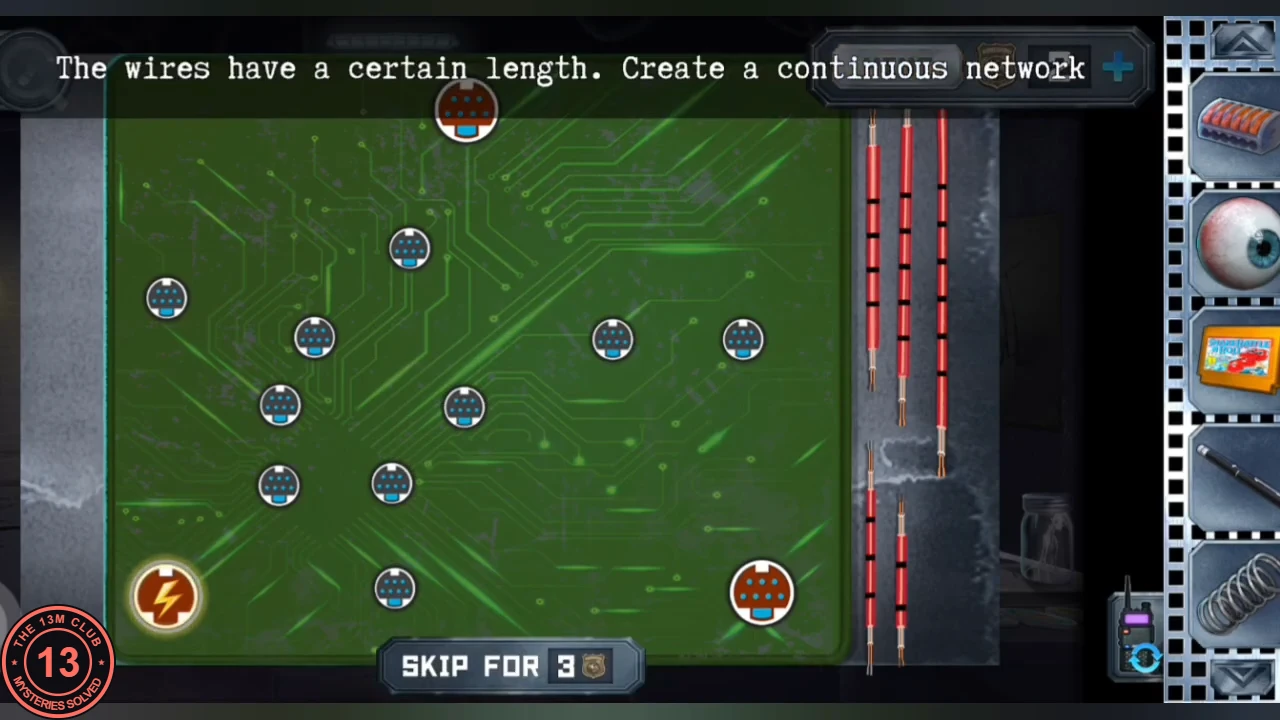
The key with a ball from the museum pinball opens the chest in the corridor's fortune-teller booth.
- Open the lock on the fortune-teller's chest in the corridor booth with the key with a ball. "The wires have a certain length. Create a continuous network": connect the fixed-length wires from the lightning source to both sockets. Take the spring and the fortune-teller's head.
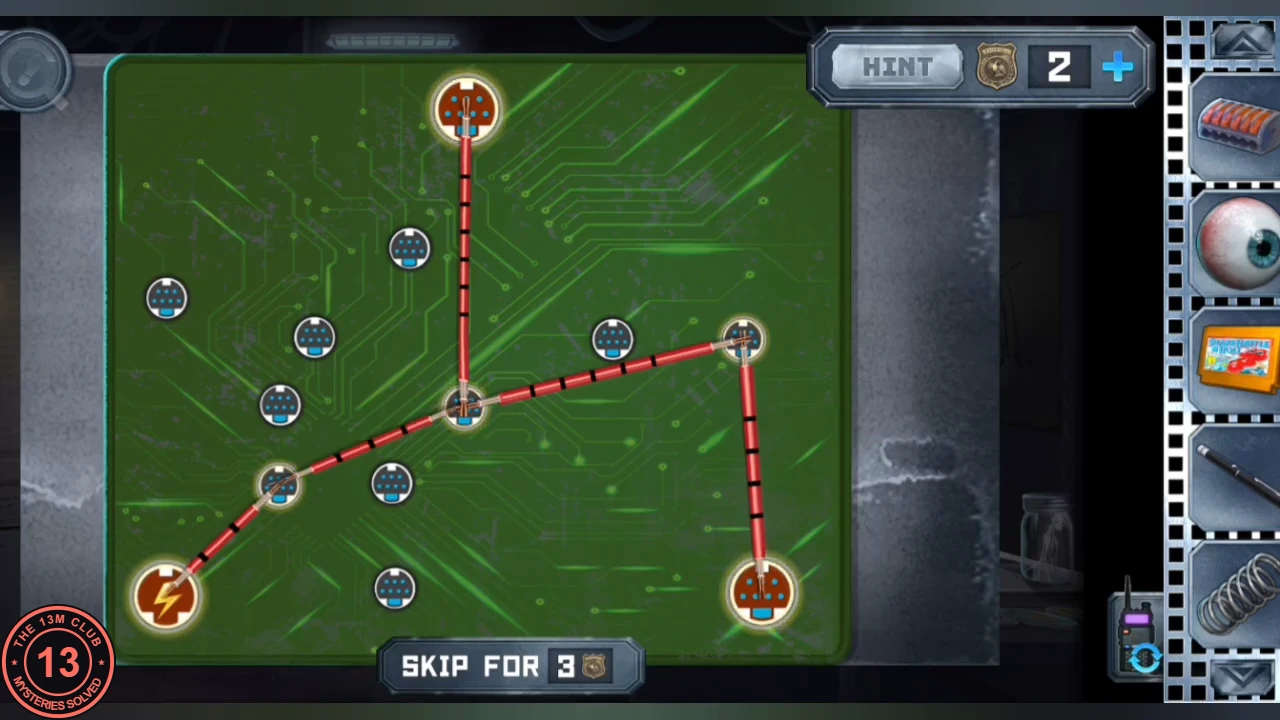
Solved: the fortune-teller wire network linking the lightning source to both sockets (example from one playthrough).
Workshop vault: the retina laser dodge
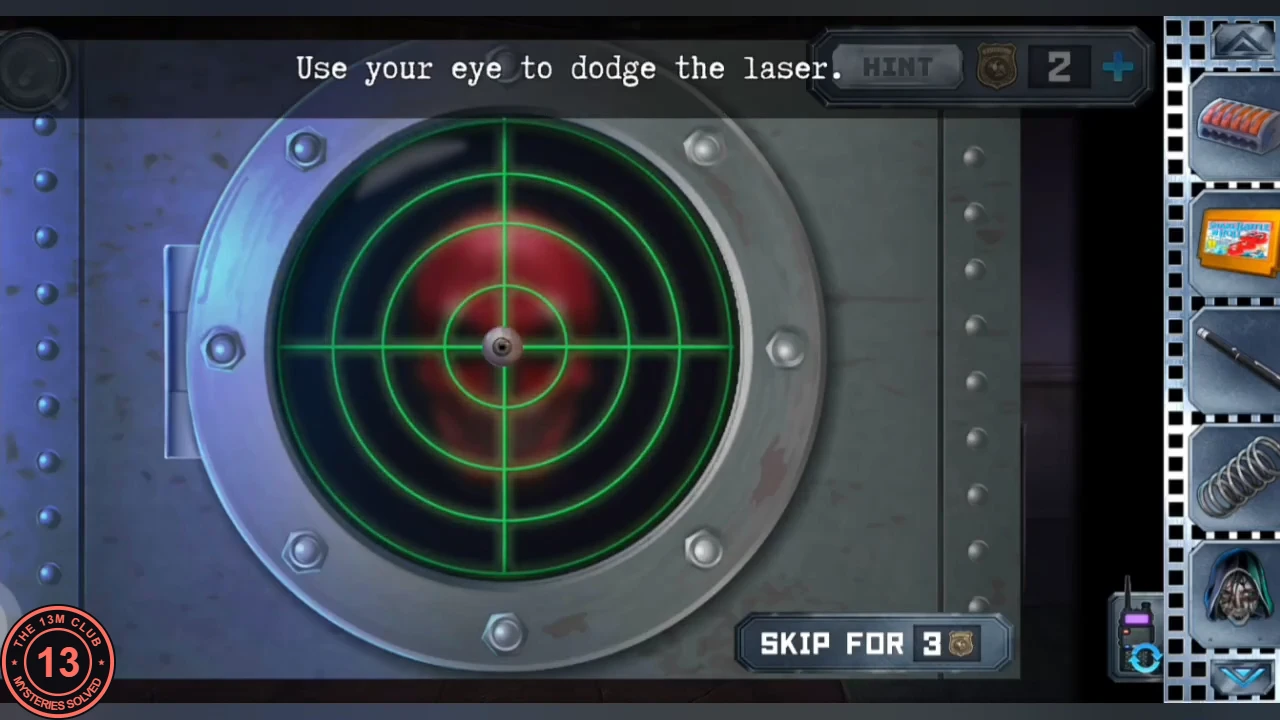
The eyeball from the creature opens the retina-scanner vault in the workshop, as long as it dodges the lasers.
- Put the eyeball in the retina-scanner vault in the workshop and drag the eye around inside the target to dodge the red laser dots until the timer runs out. Take the jar with a bird.
Museum mannequins and the snake game
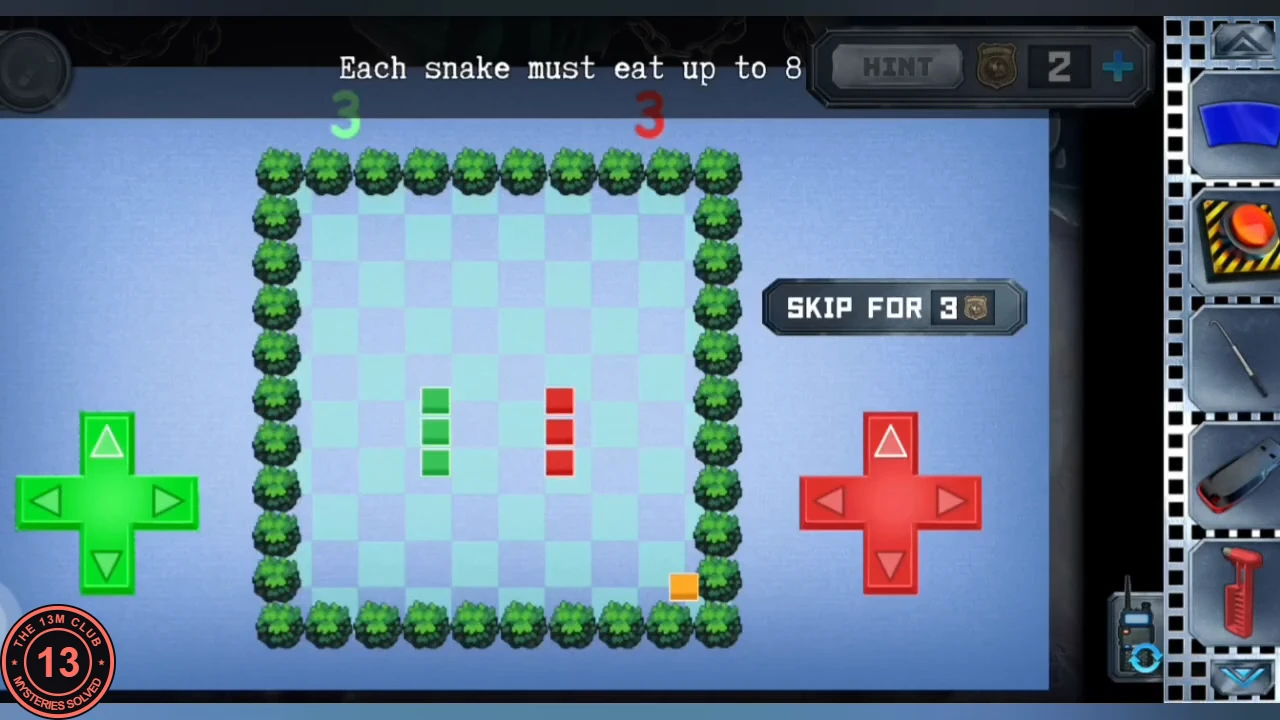
Two museum mannequins take the fortune-teller's head and the cartridge; the snake game itself runs on Alex's laptop.
- In the museum put the fortune-teller's head on the mannequin in the striped prisoner uniform and the "Snakes" cartridge into the screen in the nun mannequin's chest. Anna calls Alex for help.
- As Alex, play the snake game on the locker-room laptop: the left pad steers the green snake and the right pad the red one. Each snake must eat 8 pieces of food without crashing. Move one snake a short way at a time and keep the other clear of walls.
- As Anna, take the activator (a white remote with a red button) from the red-masked mannequin in the broken display case. Alex needs it at the end of the chapter, so send it to him on one of your tube trips.
Robot head: the number chains
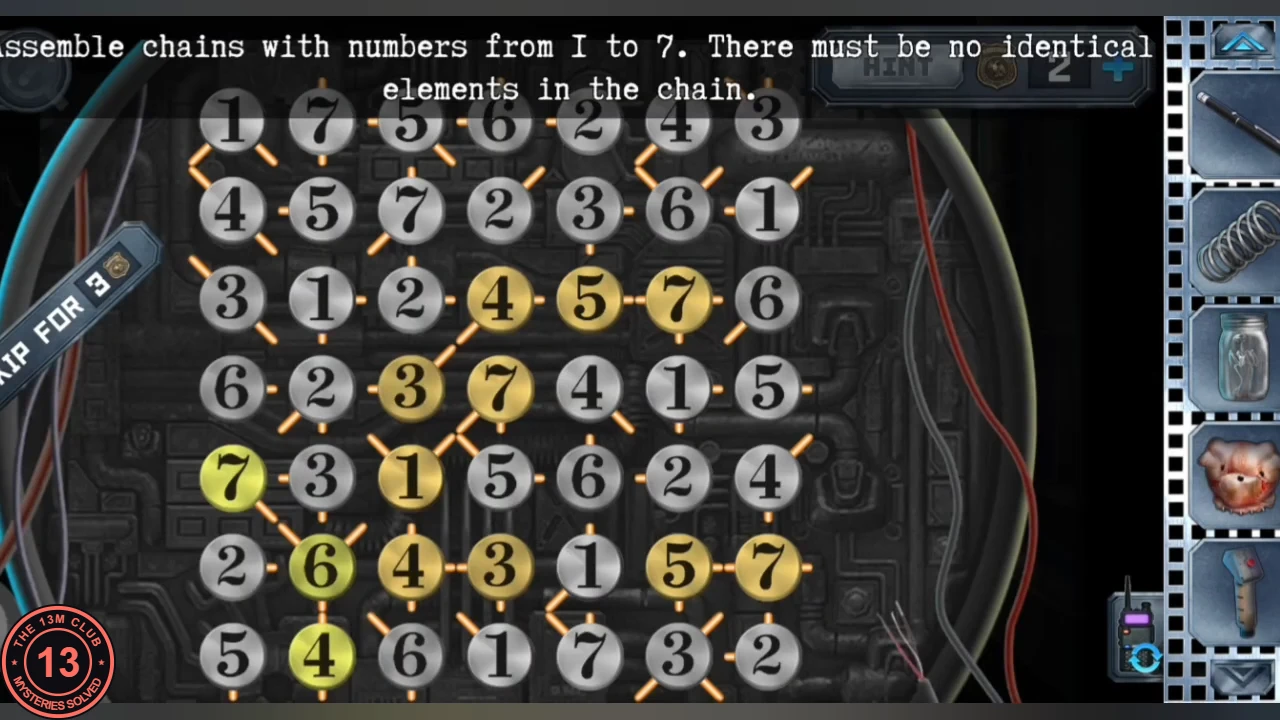
The robot head on the laboratory bench holds a board of 49 numbered circles.
- At the robot head in the laboratory, tap connected chains of seven circles that contain each number from 1 to 7 once; valid chains turn green. Cover all 49 circles with seven chains. The robot's mouth fills with coins; take the coin with a skull. This is a long trial-and-error puzzle: start along the edges and in the corners, where each circle has fewest neighbours.
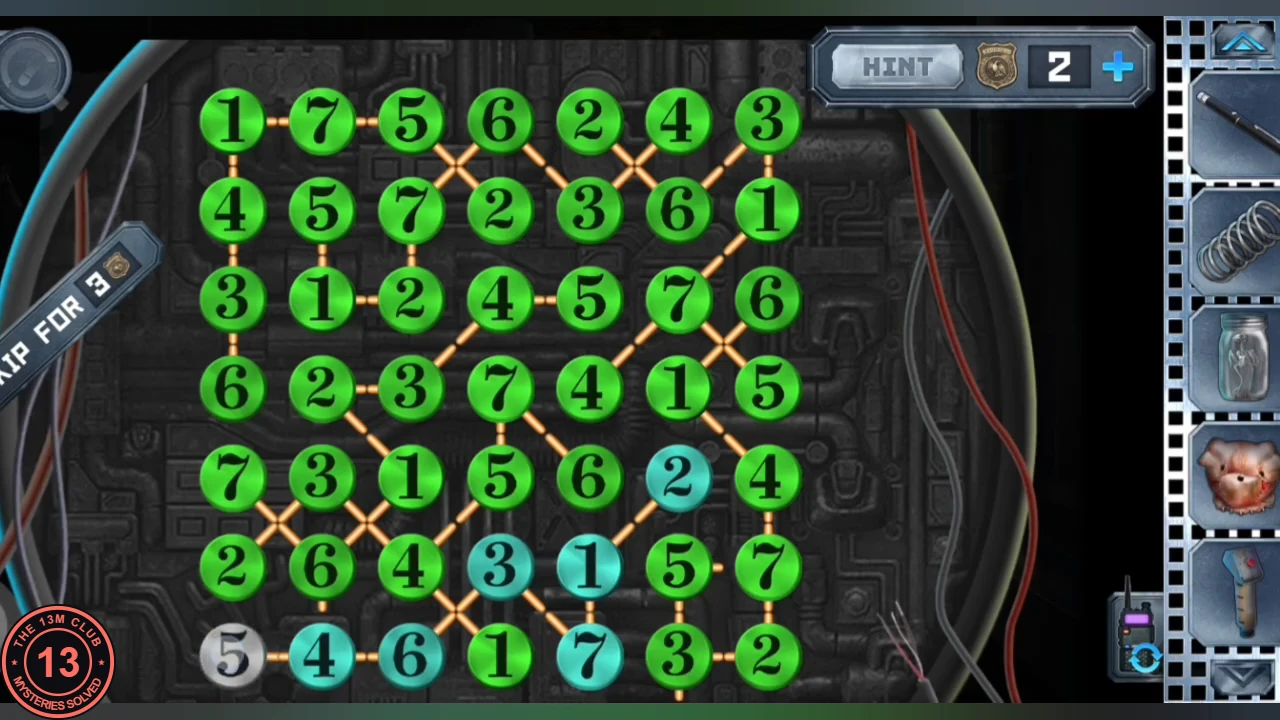
The chain board just before completion: green circles are finished chains and the blue circles form the seventh and last chain (example from one playthrough).
Corridor terminal: the matching pairs
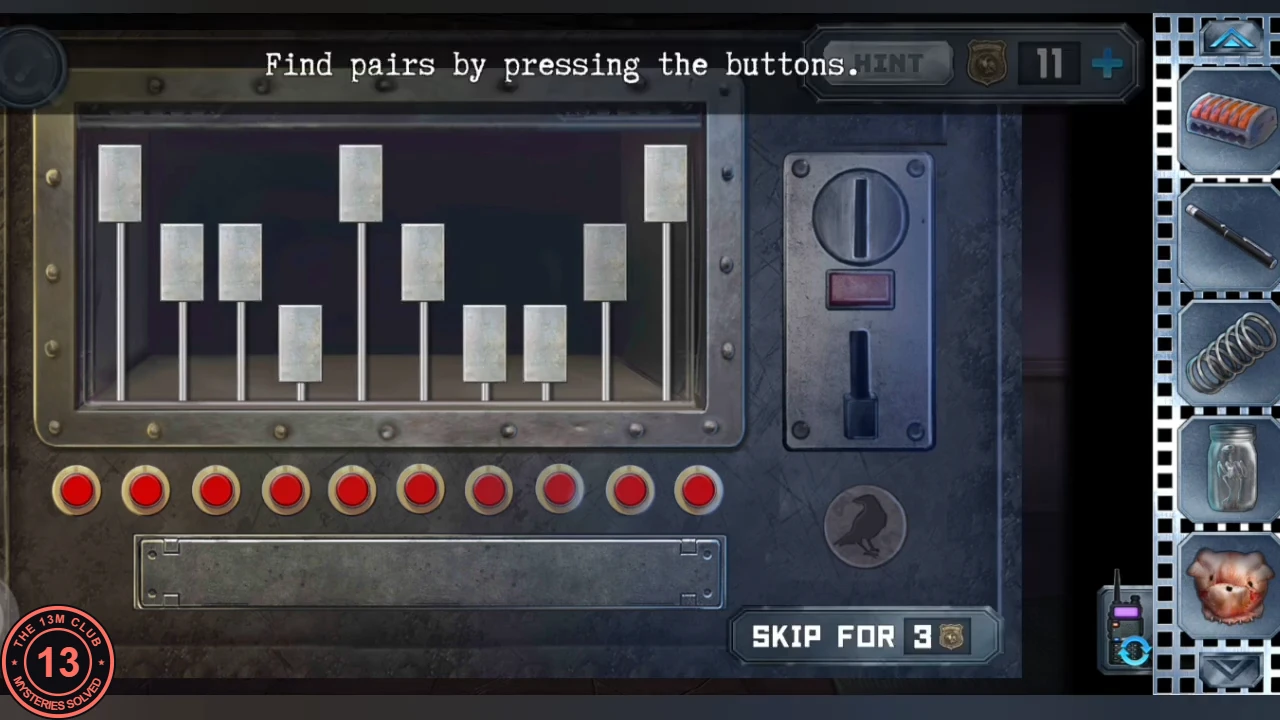
The coin with a skull starts the memory game on the corridor terminal with ten red lamps.
- Insert the coin in the corridor terminal with ten red lamps. The ten pistons briefly show symbols; press the buttons to find all the matching pairs, as in a memory game. Take the power unit from the tray and send it to Alex.
- At the sink, assemble the homunculus on the scheme: the pig head with the chicken wings and legs. It still needs sewing; you will find thread and a needle later.
The locker-room laptop family tree
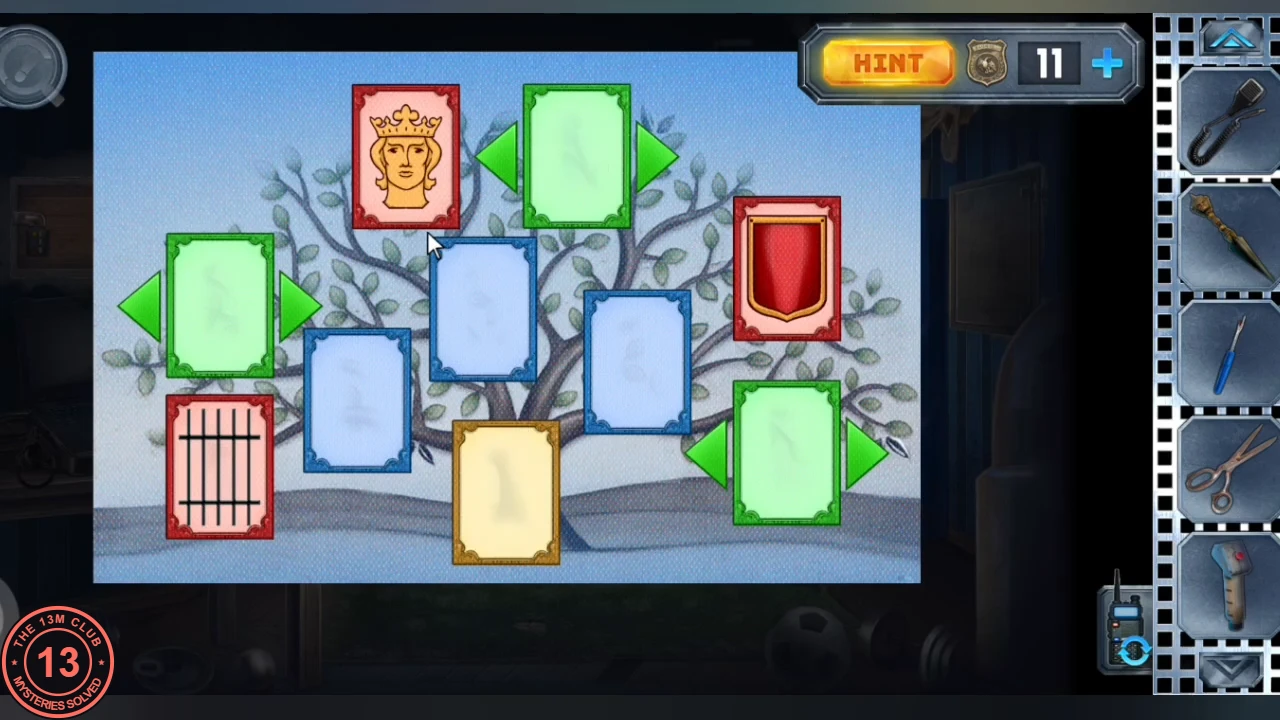
The power unit boots the laptop, which holds pictures of the masked organisation's history.
- Plug the power unit into the laptop. Look through the pictures, then open the family tree. Use the arrows to cycle the three green cards until the tree is consistent: left card the four-pointed cross, top card the flame, bottom-right card the red diamond. The model is copied to a USB disk; take the flash drive with the model.
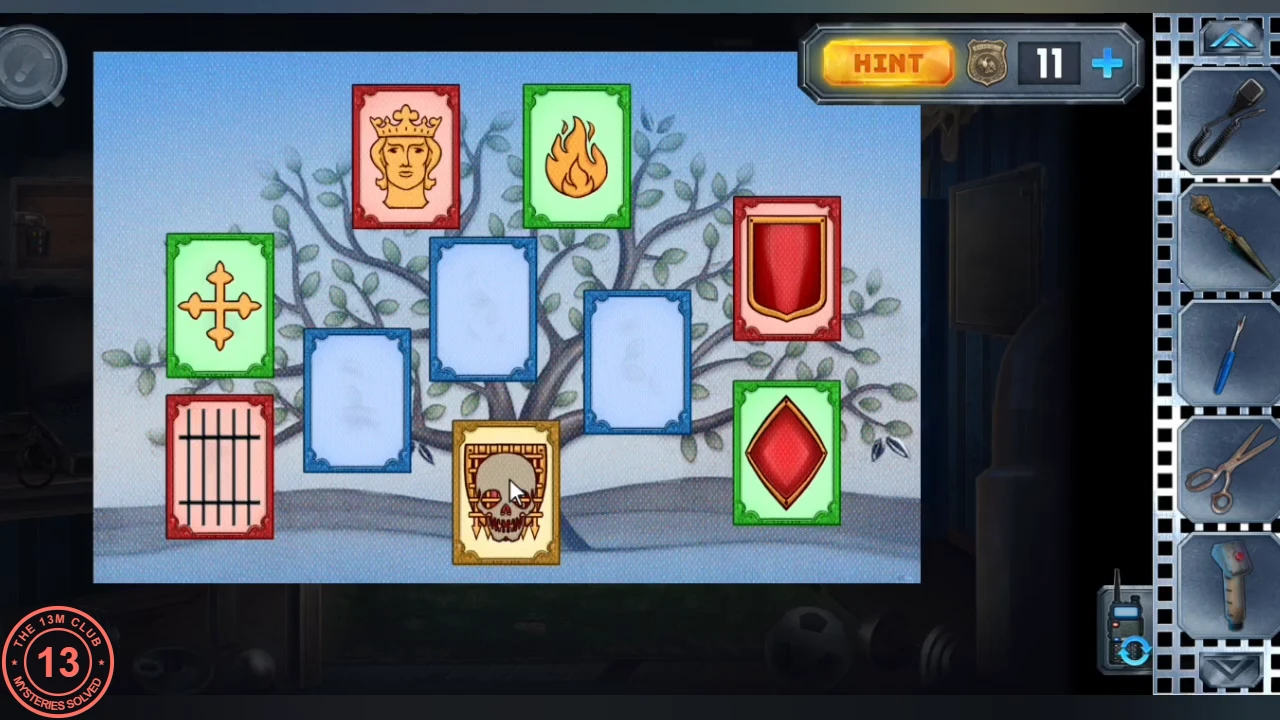
Solved: cross on the left, flame at the top and red diamond at the bottom right. - Send the flash drive with the model to Anna.
The gym winch, the alley tunnel, brick breaker and the scarecrow
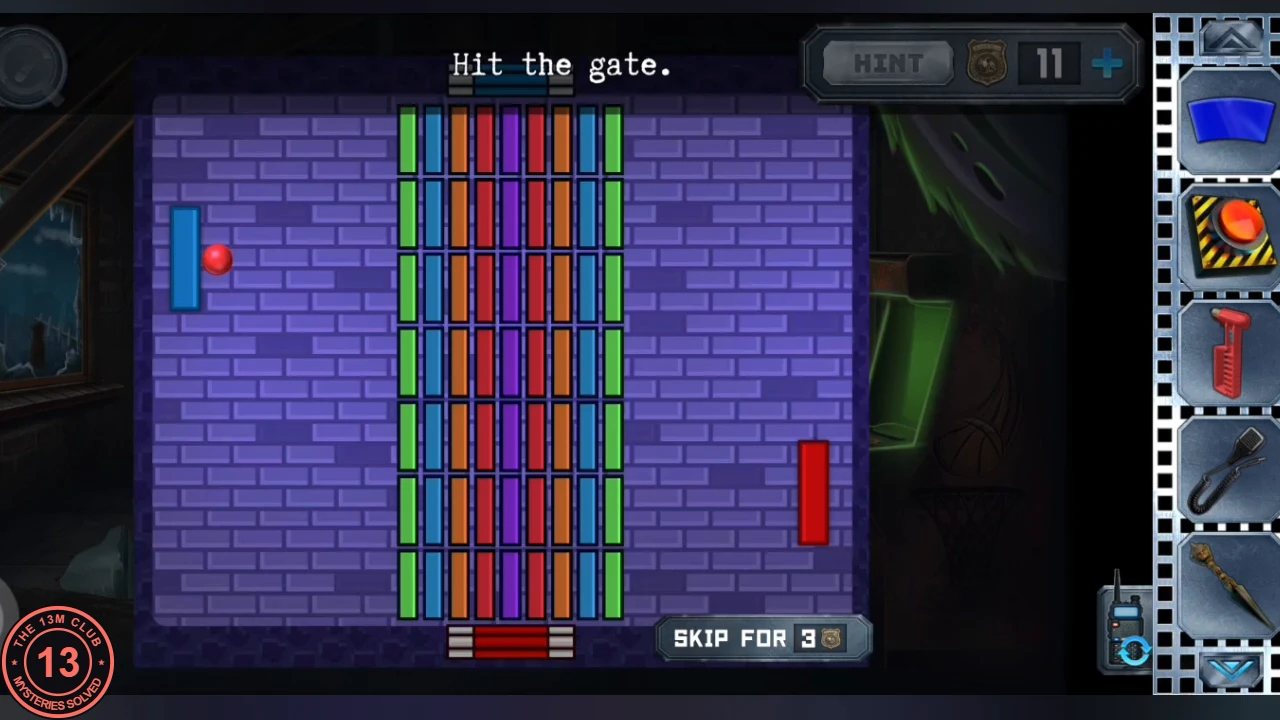
Alex works through the gym, the alley and the basement for medallions and the parts of the next machines.
- In the gym cut the mat with the scissors to reveal a winch ("He seems to be holding something."). Take the hex key (an L-shaped key) lying on the winch.
- In the alley, use the telescopic hook through the bars of the caged tunnel to fish out the tiger medallion.
- Play the brick breaker in the basement ("Hit the gate."): the blue paddle on the left and the red paddle on the right keep the ball in play. Break through the bricks until the ball hits the gate at the bottom. Then, as Anna, take the weird key (a grey socket tool) from the tray under the laboratory monitor and send it to Alex.
- The box holds a scarecrow in a yellow jumpsuit. Take the knotted rope and the spool of thread. Its seams are too strong for scissors, so open the chest with the seam ripper and take the jar with a rat and the bear medallion.
- Lower yourself into the hole in the alley floor with the knotted rope and find the light bulb and the ankh among the junk.
- Send the jar with a rat, the bear medallion, the tiger medallion, the spool of thread and the scissors to Anna.
Locker shelf circuit, the camera lens and the mirror fabric
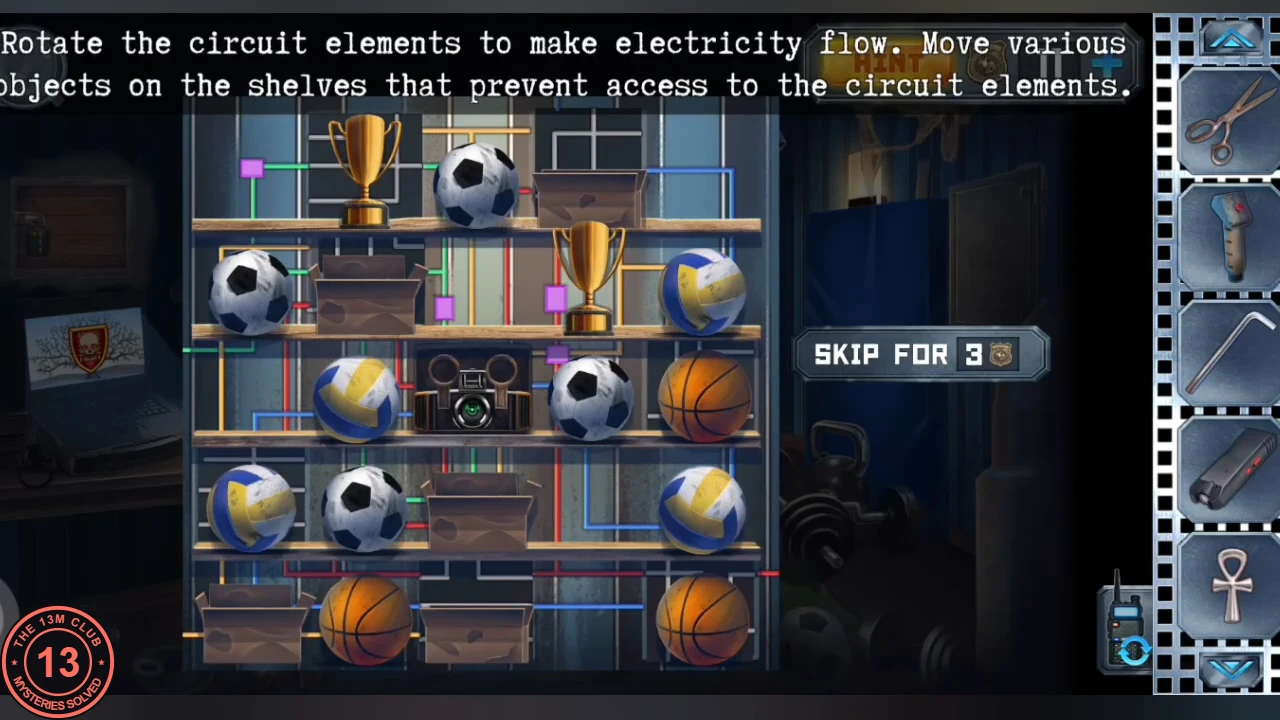
The bulb powers a device in the locker cabinet that throws a laser into the gym.
- Screw the light bulb into the special socket in the locker-room cabinet and take the ladder that is now lit up inside the cabinet. "Rotate the circuit elements to make electricity flow": slide the objects on the shelves out of the way and turn the circuit pieces until power flows ("And here is the light source for that door.").
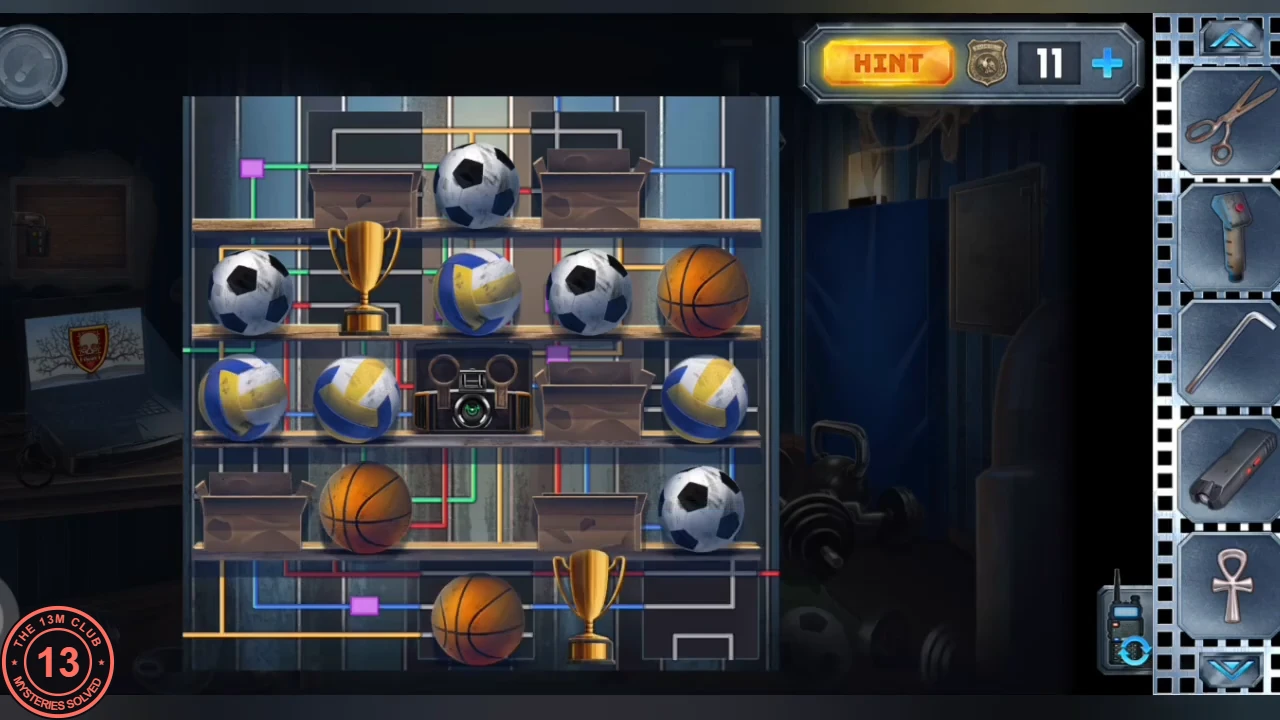
Solved: final shelf arrangement after the circuit powered up (example from one playthrough). - Open the locker-room security camera with the hex key and take the lens. Put the lens in the cabinet device: a green laser now crosses into the gym.
- Use the ladder on the broken basement window and take the mirror fabric (a dark cloth) from outside.
Police call 911, the homunculus and the shield door
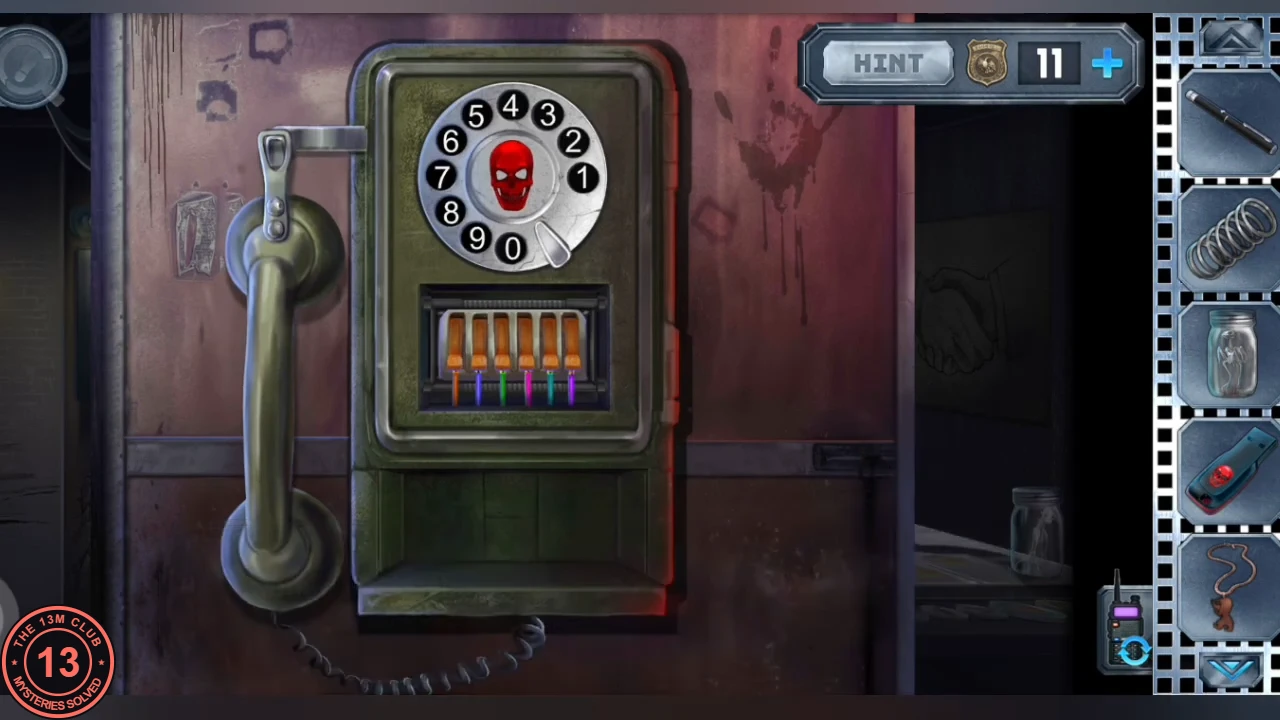
Anna calls the police for a needle, sews up the homunculus and starts on the museum's four-shield door.
- Put the Terminal into the wire box under the dial of the corridor telephone. Anna wonders whether the police number is still the same: dial 9, 1, 1. A needle drops out; take it.CODE911
- Combine the needle with the spool of thread to make thread and a needle, and sew the homunculus together at the sink ("You are officially my ugliest creation!"). Take the homunculus.
- Put the flash drive with the model into the loaded 3D printer; it prints a skull shield. In the museum give the skull shield to the knight by the shield door (the top-right shield lights green), then the bear medallion to the right-hand knight: it drops its shield, the top-left shield lights and a white square magnet falls out. Take the magnet. Hang the tiger medallion on the knight holding the sword.
- Cut the abstract painting off the sword knight's frame with the scissors. A five-symbol safe is behind it. Send the painting to Alex.