Hospital room: the X-ray light box
The hospital room has an X-ray light box, a jaw model, a bed with a mannequin, a desk with a device, broken pipes and a blue cool box.
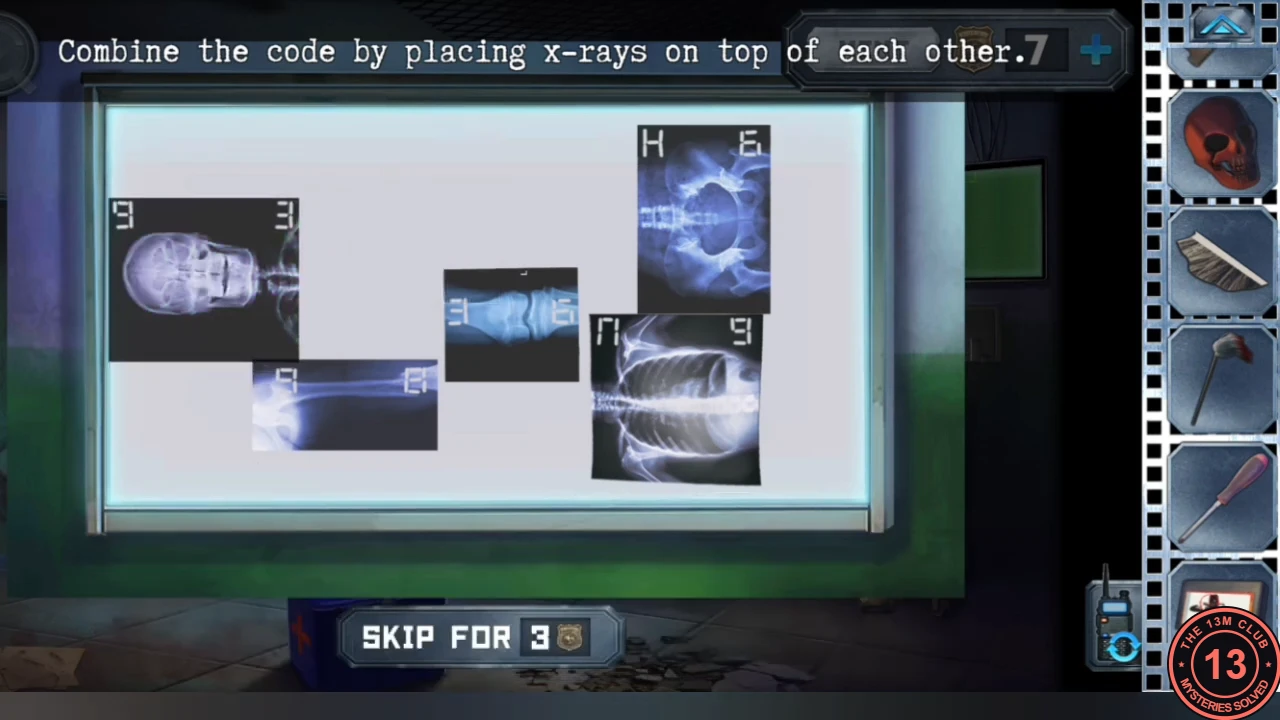
- Take the "Hostage" cartridge from the slot of the small device on the hospital desk and the crosshead screwdriver from the broken pipes. Open the X-ray light box and tap the round dial lying at its lower left: this is the clock face. Then place your X-ray on the light box and drag the X-rays so they overlap into one full skeleton (head, chest, pelvis, legs, feet). The numbers on the overlapping corners combine into the code 974536; note it.CODE974536
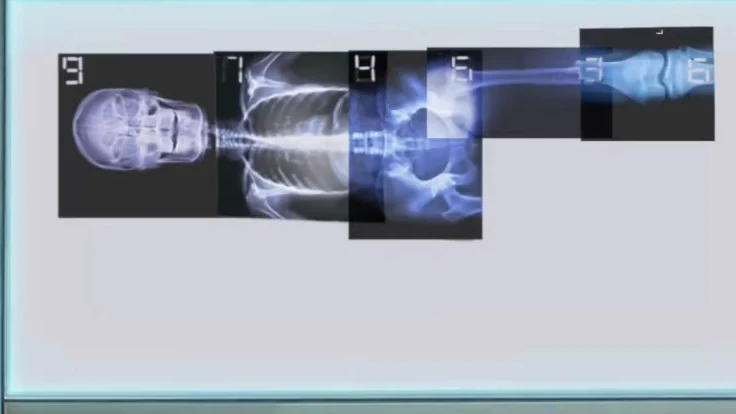
Solved: the overlapped X-rays read 9 7 4 5 3 6.
Hospital room: the jaw model teeth
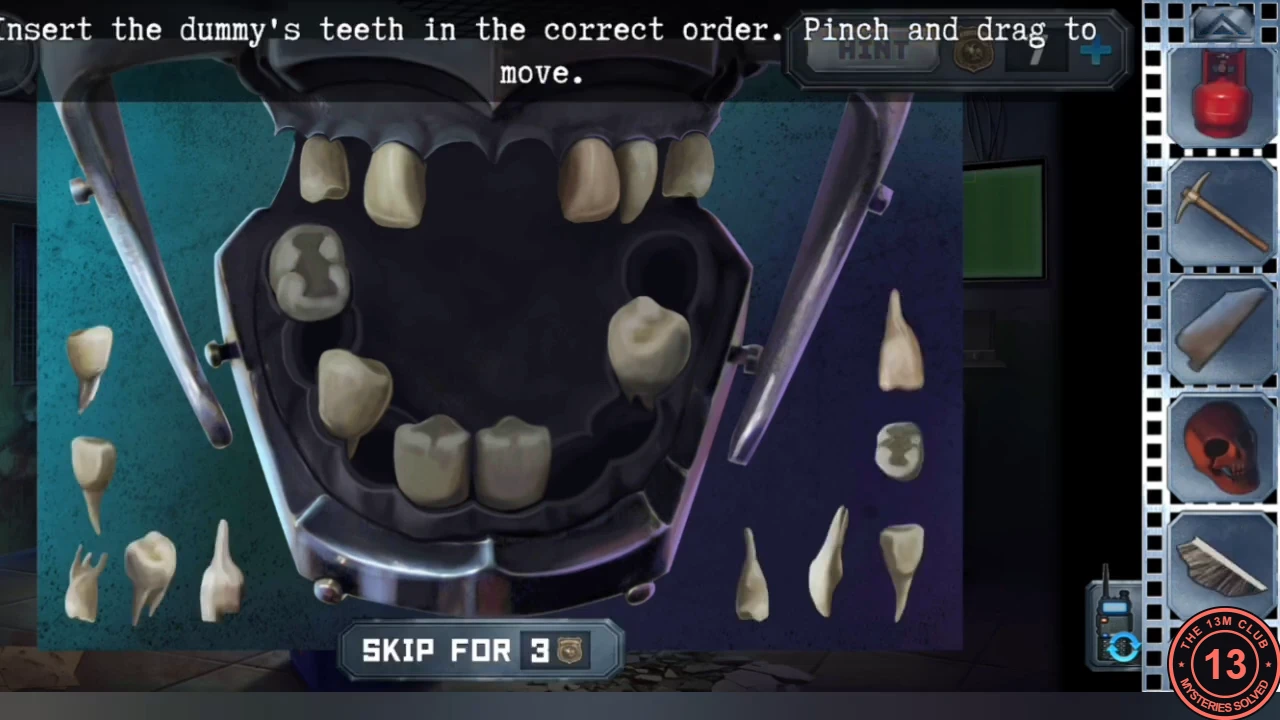
The teeth from the drain in Alex's cell fit the jaw model on the trolley, which hides a syringe.
- At the jaw model on the trolley, add the teeth from the drain and drag each tooth into the socket that fits its shape. When the set is complete the jaw snaps and a syringe drops to the floor.
- Take the syringe, go out to the hallway and use it on the bucket of blood below the reception window to fill it.
Cabin monitor: matching shapes
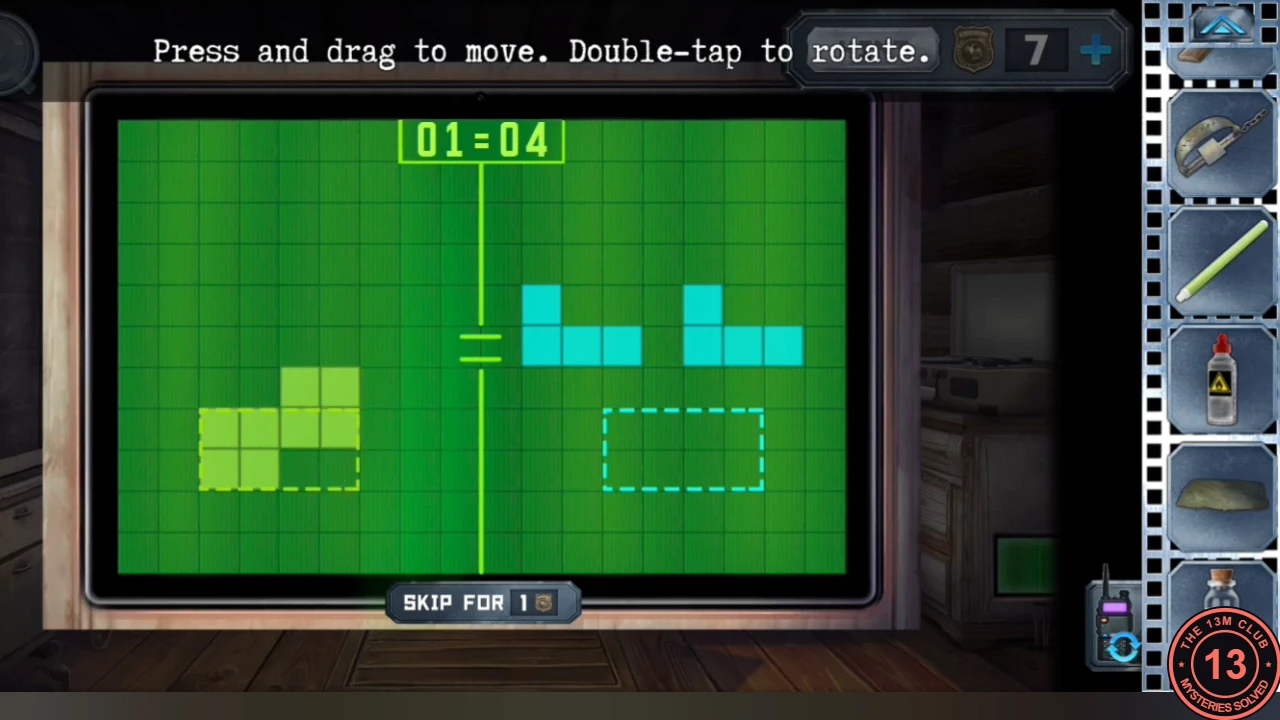
The green monitor in the cabin runs four rounds of a shape-matching puzzle that opens a compartment in Alex's hospital room.
- As Anna, open the green monitor. In each of the four rounds, drag and double-tap (rotate) the green pieces on the left so their combined outline matches the shape on the right. Completing round 4 opens a compartment for Alex.
- Switch to Alex and take the electric igniter from the new compartment in the hospital room.
Mortuary: the Hostage game
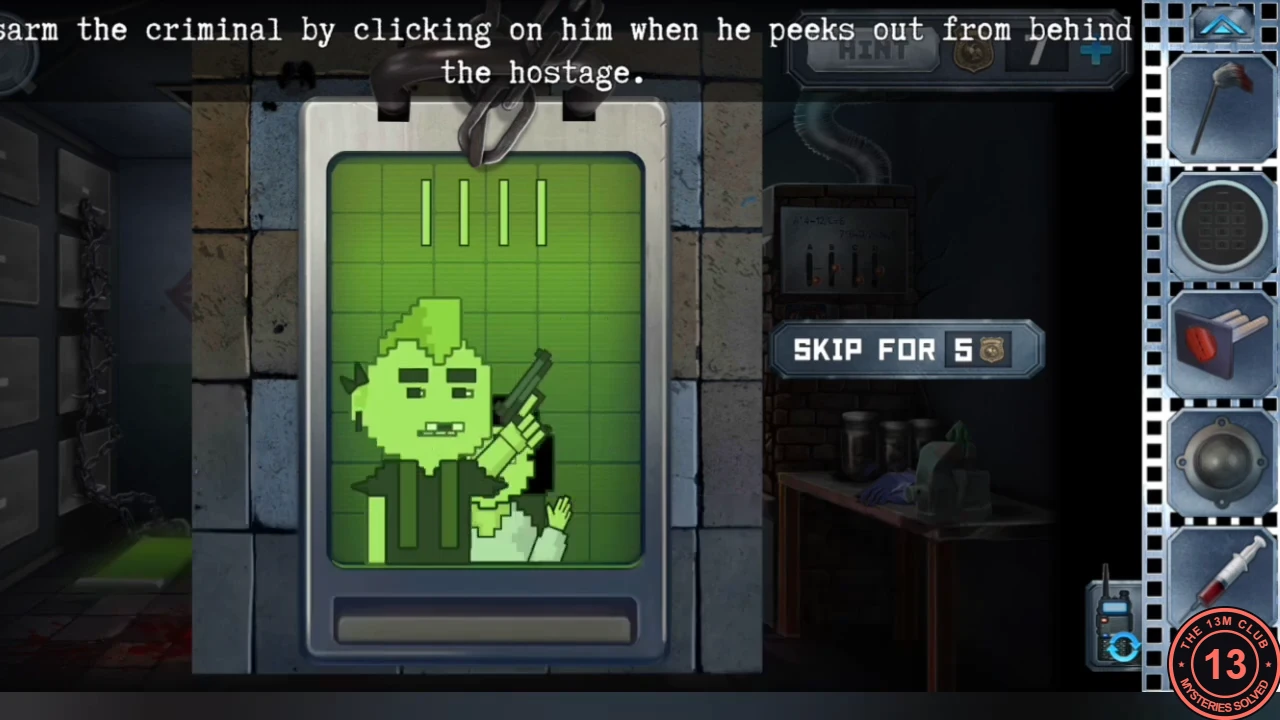
The mortuary next to the hospital room has a screen, a cremation furnace with a switch panel, targets behind bars, a wooden mannequin and a trapdoor.
- Go through to the mortuary and put the "Hostage" cartridge into the screen on the wall: tap the criminal whenever he peeks out from behind the hostage. Four hits win; hitting the hostage costs progress. The body drawers turn into a staircase up to the camera and the trapdoor.
Mortuary: the furnace switch equations
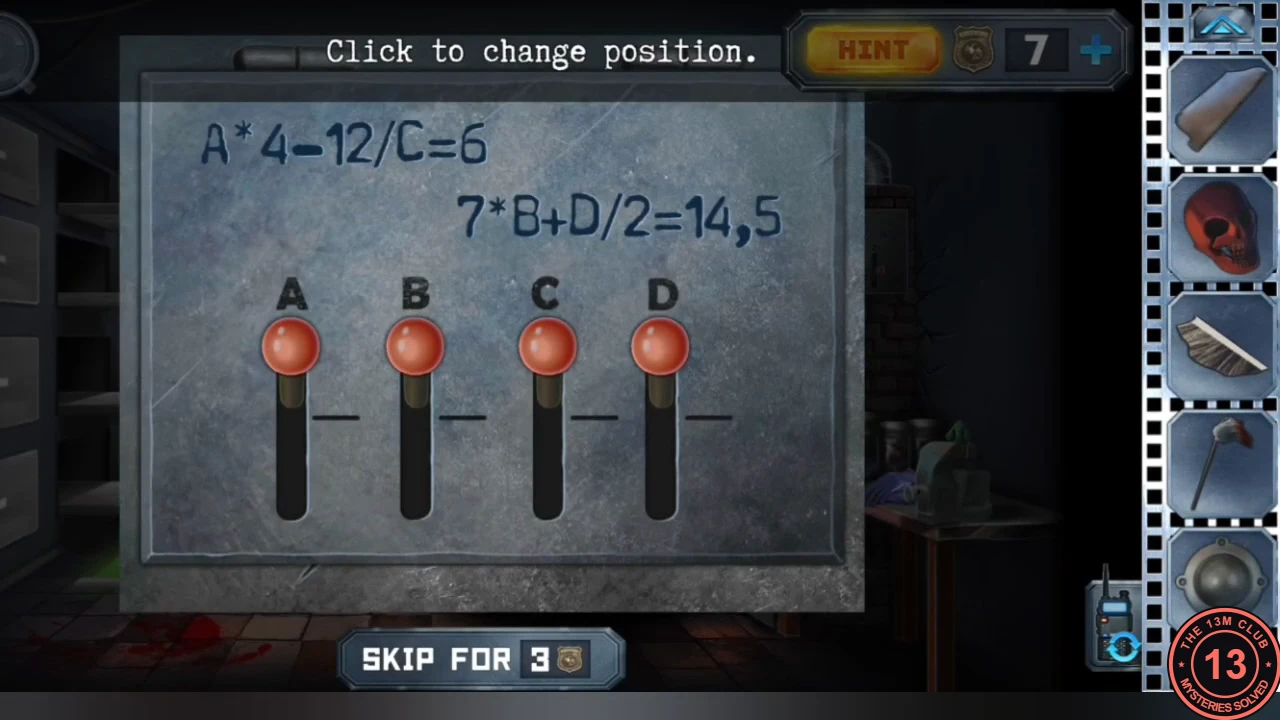
The switch panel on the cremation furnace opens its door once its four switches solve two equations.
- Open the furnace switch panel. The equations A x 4 - 12 / C = 6 and 7 x B + D / 2 = 14.5 are solved by A = 3, B = 2, C = 2, D = 1. Set the four switches to those positions; the furnace opens. Take the gas cylinder from inside, then take the rubber gloves from the side table by the vice.CODEA3 B2 C2 D1
Hospital room: the cables under the desk
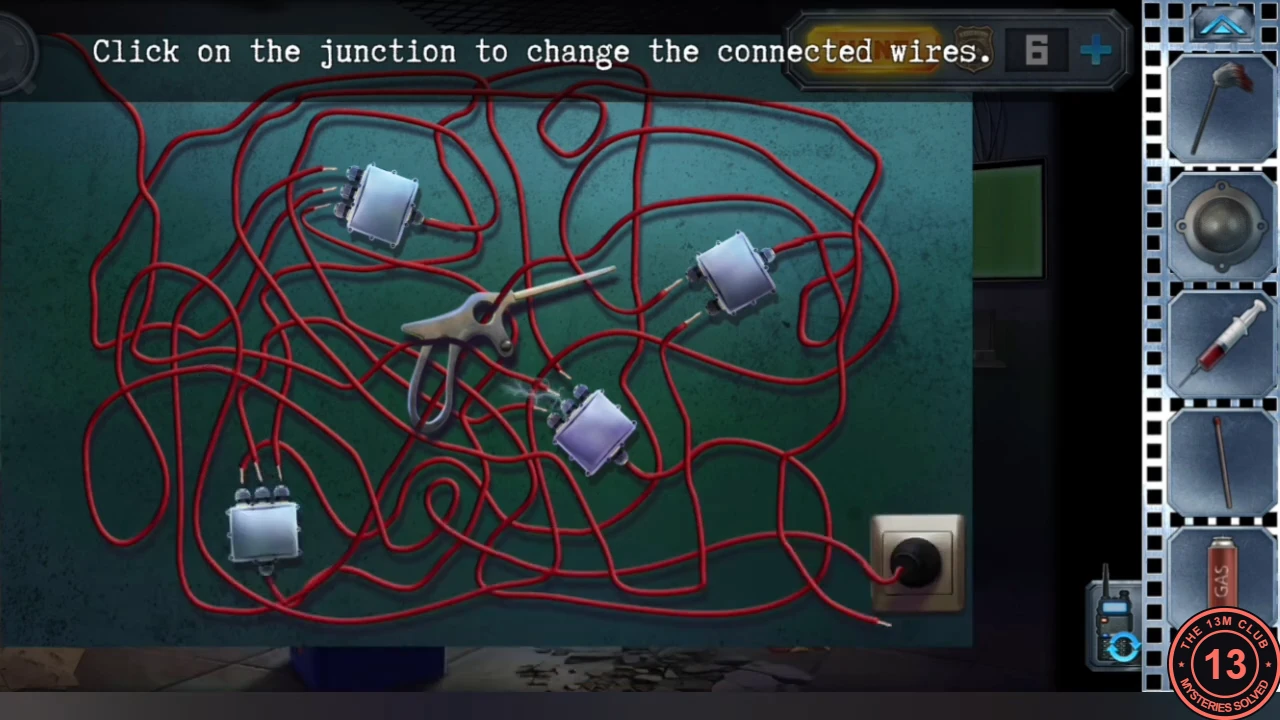
With rubber gloves Alex can safely rewire the cables under the hospital desk. The saw handle lies on the same cables.
- In the hospital room, drag the rubber gloves onto the cables under the desk. Then tap the junctions to change which wires connect until the plug is linked to the socket.
- The saw handle (a grey pistol-grip handle) lies across the cable puzzle under the hospital desk; tap it there to take it (it can be picked up before or while you sort the wires), and combine it with the saw blade to make a surgical saw.
Hospital device: the frequency waves
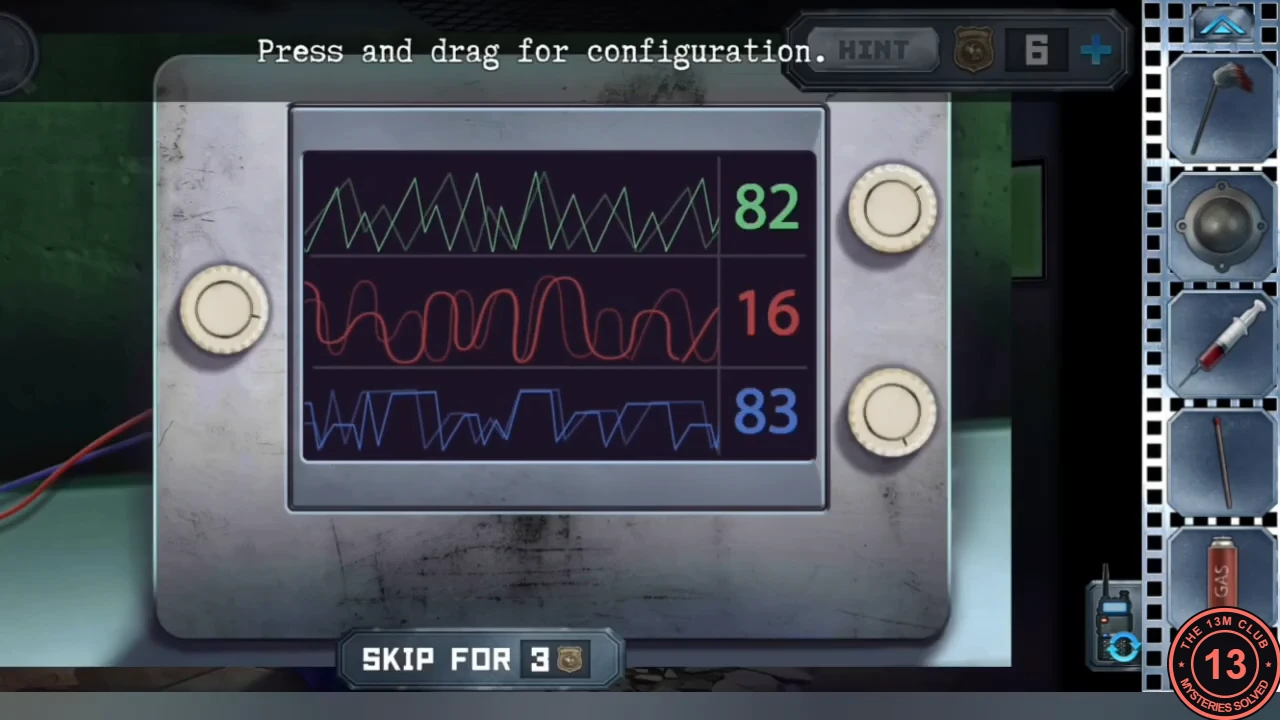
Once the cables are connected, the device on the hospital desk needs its three frequencies tuned. Then the new saw cuts the wooden mannequin down to size.
- On the device on the desk, drag the three frequency controls until each pair of coloured waves overlaps into one clean wave (the readings were 50, 64 and 55 in the recording). Alex says it can now act as a power source.
- Use the crosshead screwdriver on the round speaker in the hallway reception window to remove the speaker.
- Use the surgical saw on the wooden mannequin on the mortuary table to cut off its branch arms so it will fit into the furnace. A second photo fragment falls out; take it.
Mortuary trapdoor code
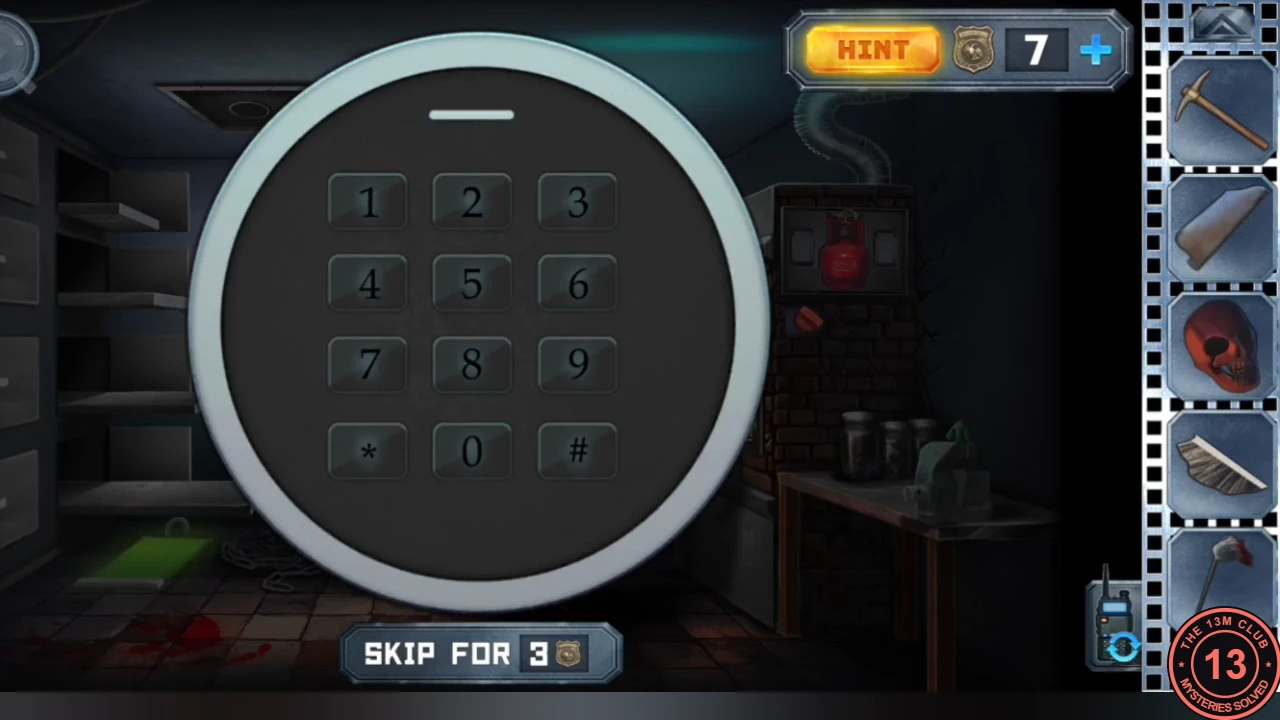
The X-ray code opens the mortuary trapdoor, which leads up to a red living room.
- Climb the new stairs, put the clock face on the trapdoor lock and enter 974536. Go up into the living room.CODE974536
Living room: the two chess checkmates
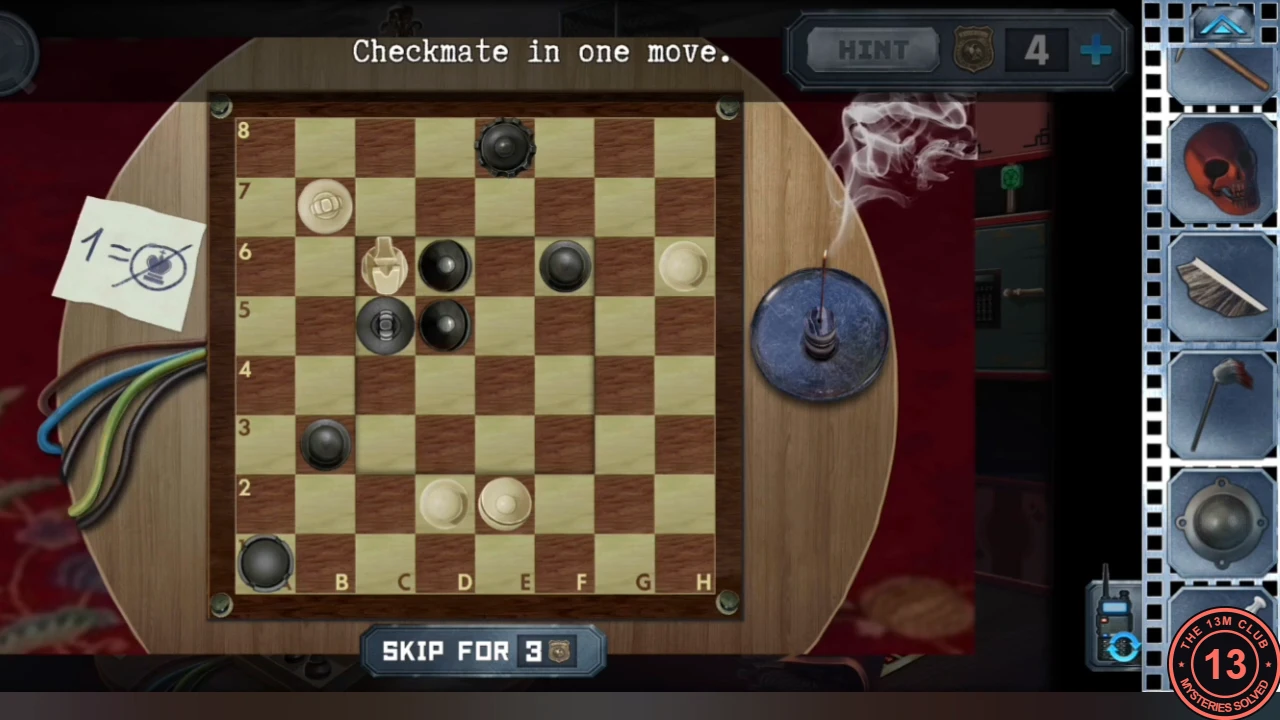
The red living room above the mortuary has a chess table, a bookshelf, a bed and the door to the laboratory.
- Take the valve. At the chess table solve two checkmates in one move as White: first move the pawn d2 to d4, then move the bishop f6 to g5. Take the key card from the board.CODEd2-d4, Bf6-g5
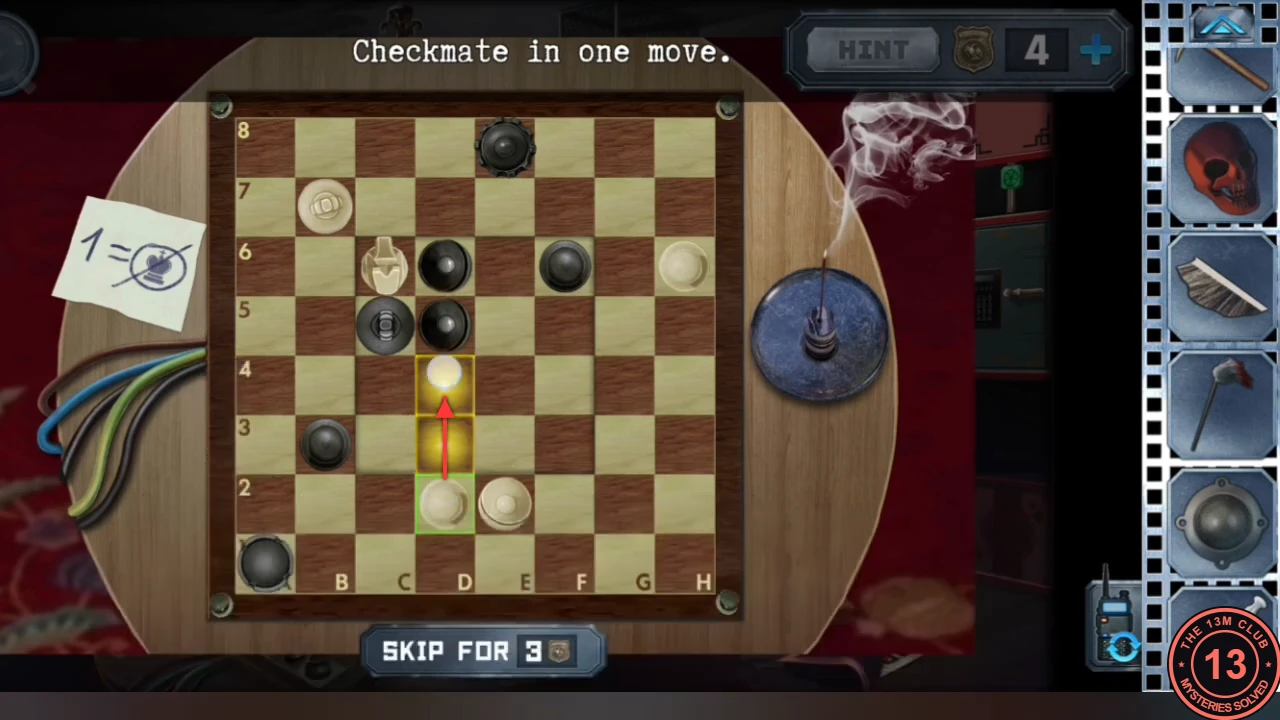
First checkmate: move the white pawn from d2 to d4. 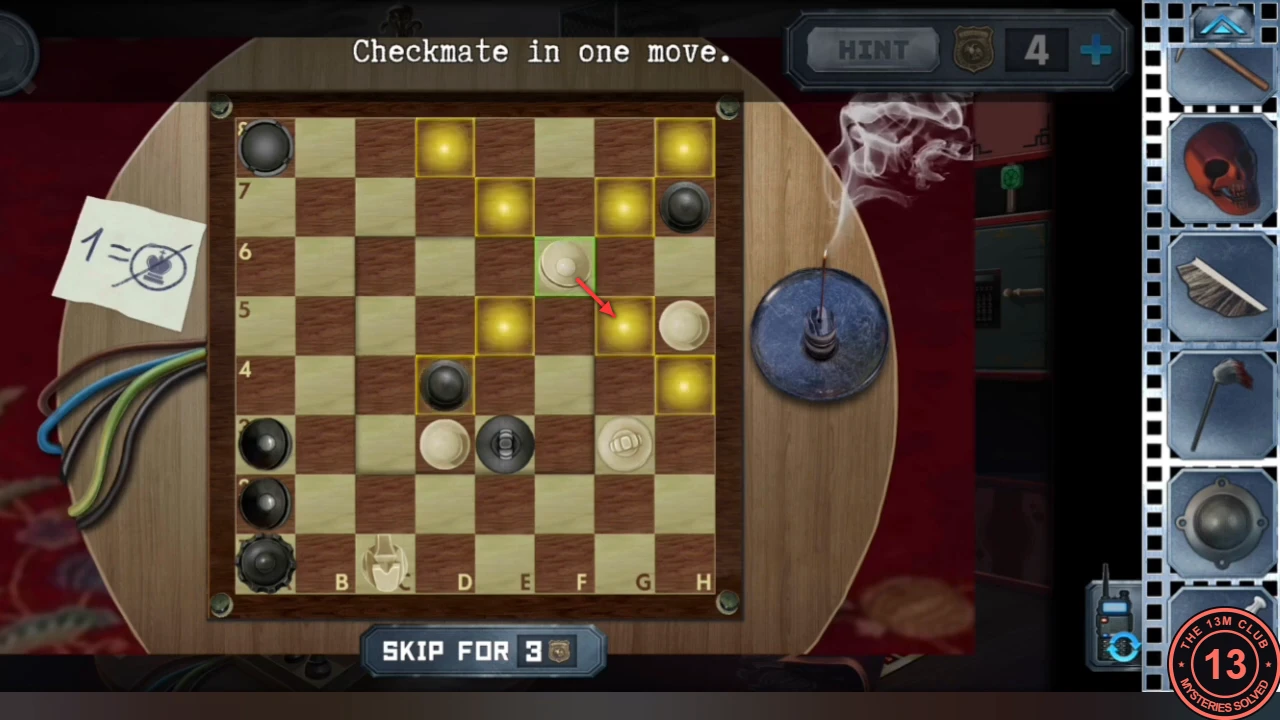
Second checkmate: move the white bishop from f6 to g5. - From the bookshelf, open the book: take the first letter fragment from its last page and note the periodic table and the flower drawing. Take the darts from the shelf (you can come back for more). Pull the curtains aside and take the retractor from the bed.
- Use the key card on the laboratory door. In the lab, take the vice handle, the bulb, the winding key and the spectrogram strip by the exit door.
Hospital room: the leaking pipe valves
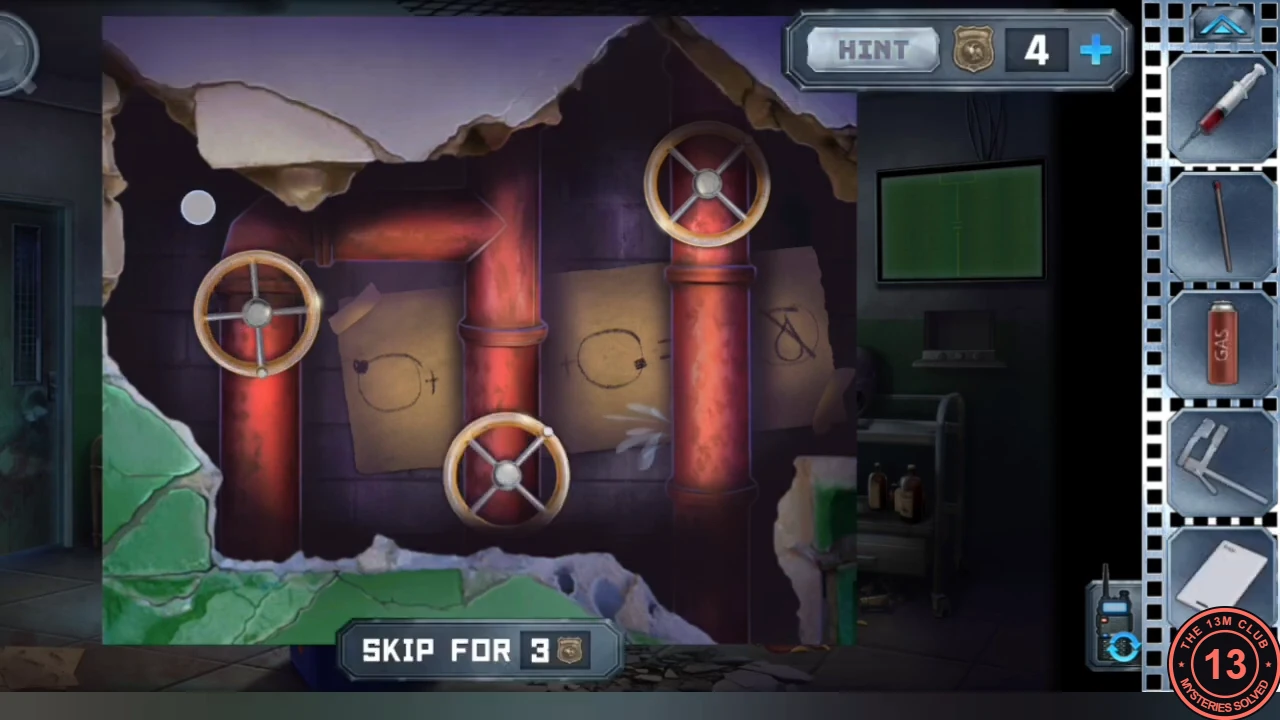
Stopping the leaking pipes in the hospital room clears the steam from the bathroom off the living room.
- In the hospital room put the valve on the broken pipes and turn the valves until the water stops; take the broomstick. Combine the mop head with the broomstick to make a mop.
Mortuary: the dart targets
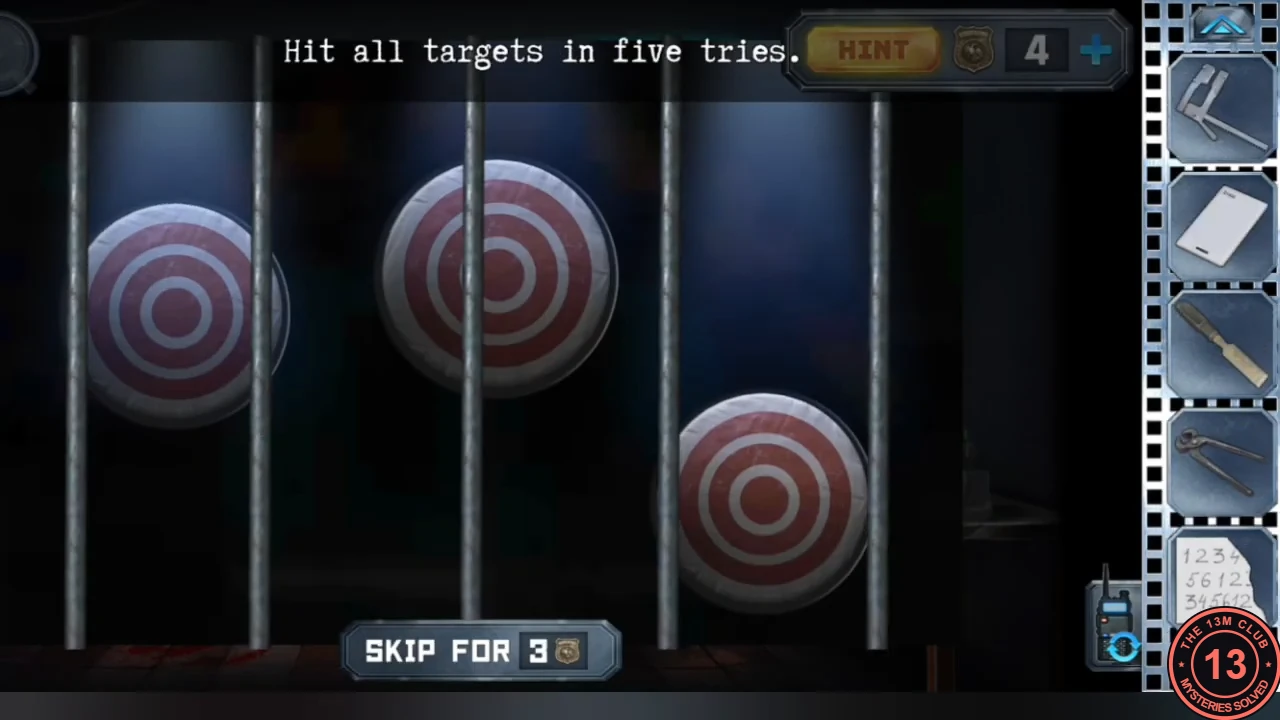
Hitting the three barred targets in the mortuary reveals the third flower clue on the wall behind them.
- In the mortuary drag darts onto the barred targets. A horizontal line sweeps up and down: tap to stop it; then a vertical line sweeps: tap to stop it. The dart hits the crossing point. Hit all three targets within five darts (fetch more darts from the living room shelf if needed). The wall behind the targets shows four four-petal colour marks, one for each flower of the lever in the same corner, and a row of animals.
Flower lever, third setting: the forest door
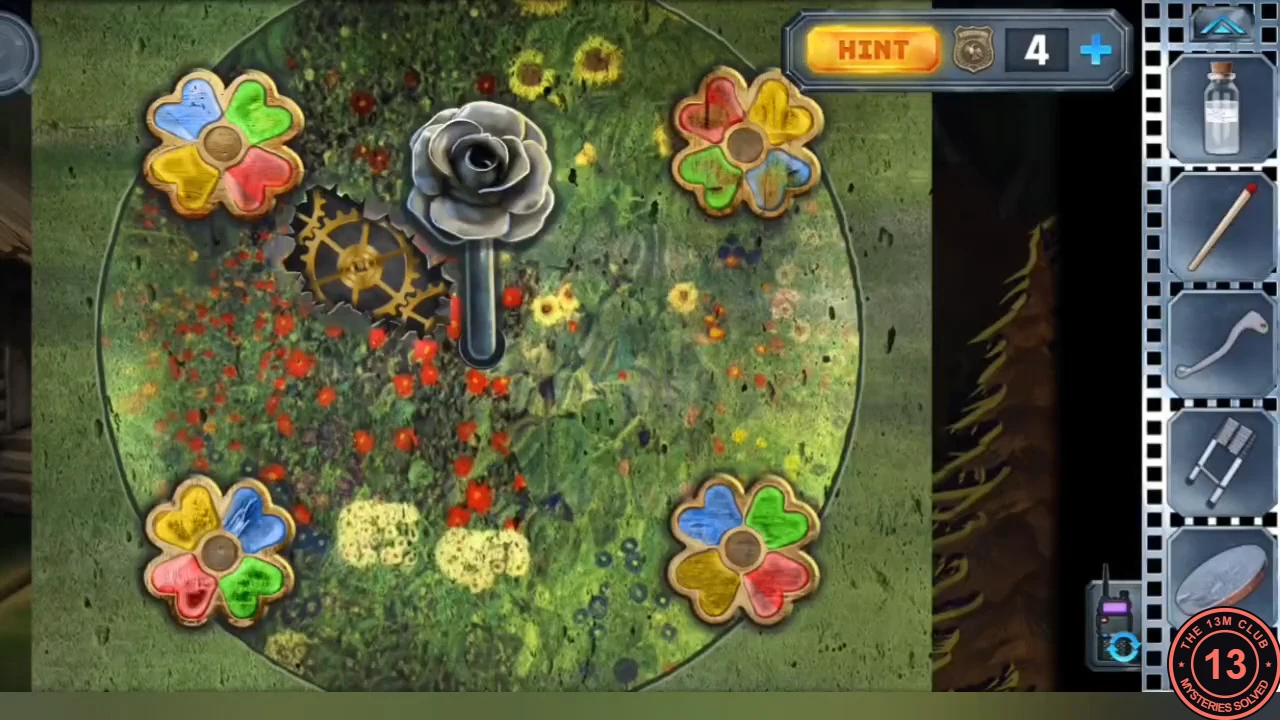
The four flower marks on the mortuary wall give the third flower-lever setting.
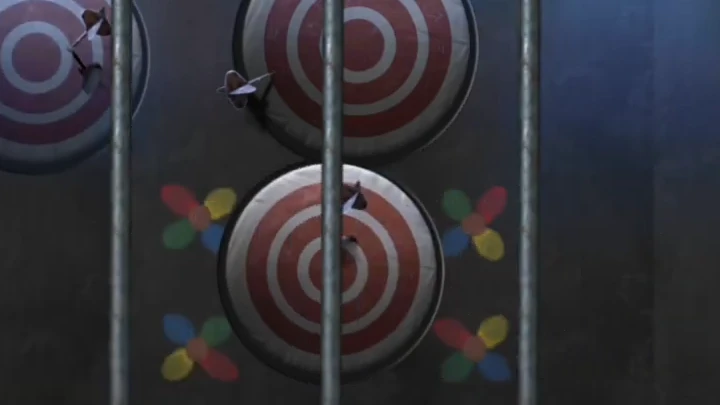
- Switch to Anna. Set the flowers to the colours shown on the mortuary wall and turn the lever counter-clockwise. A new door appears in the forest.
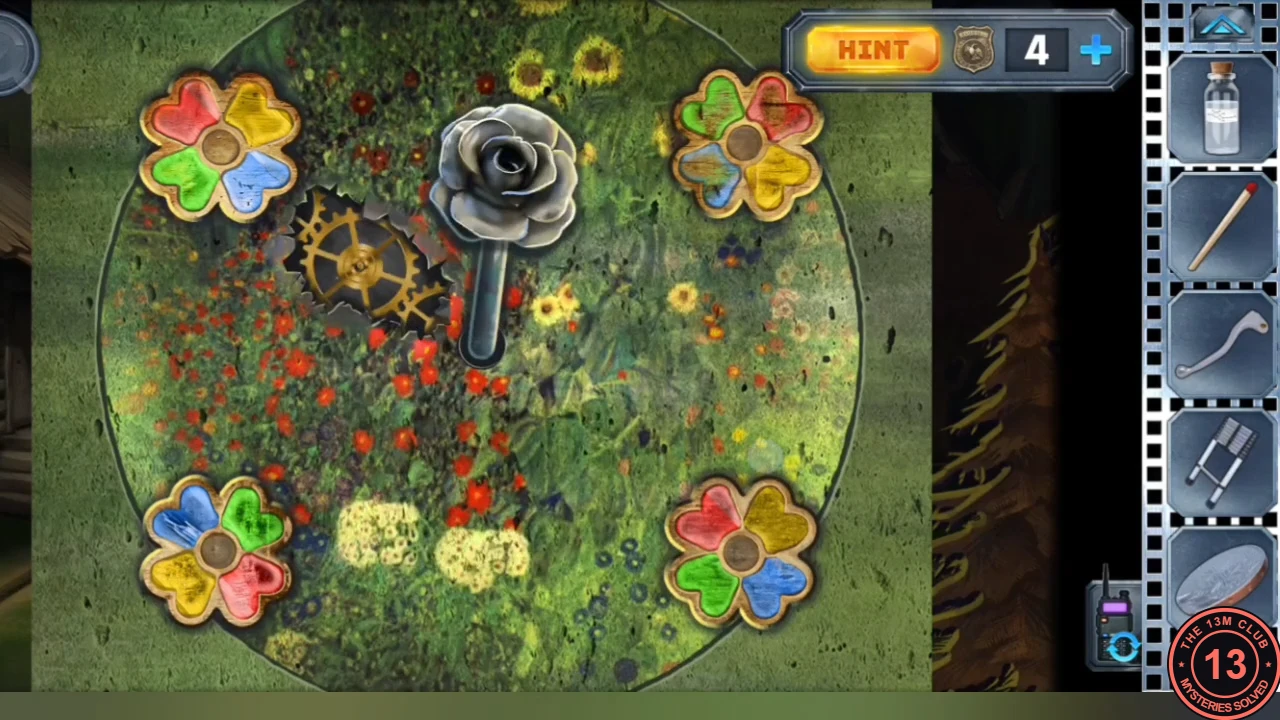
Solved: third flower setting, copied from the mortuary wall.
Forest door: the animal heads
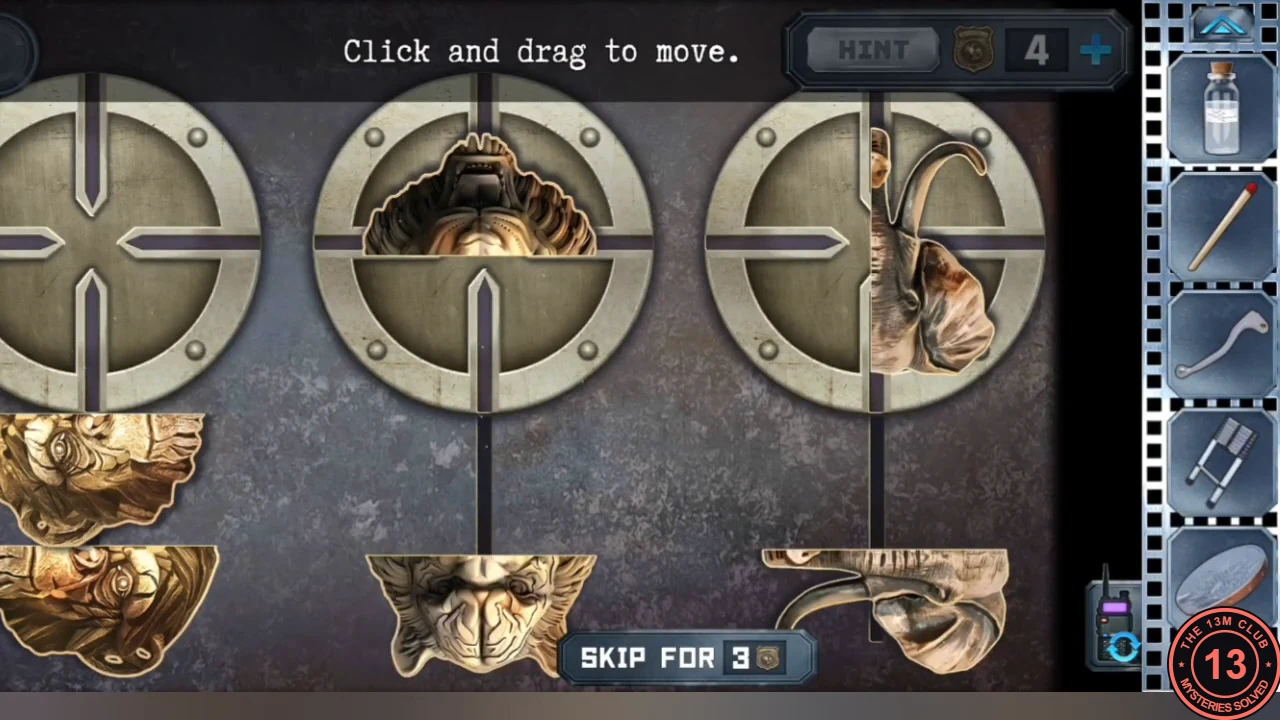
The new door in the forest opens when three animal heads are assembled from sliding and rotating pieces.
- At the new door, slide pieces along the rails and rotate the circles to assemble a monkey, a tiger and an elephant. The door opens into the zoo room.
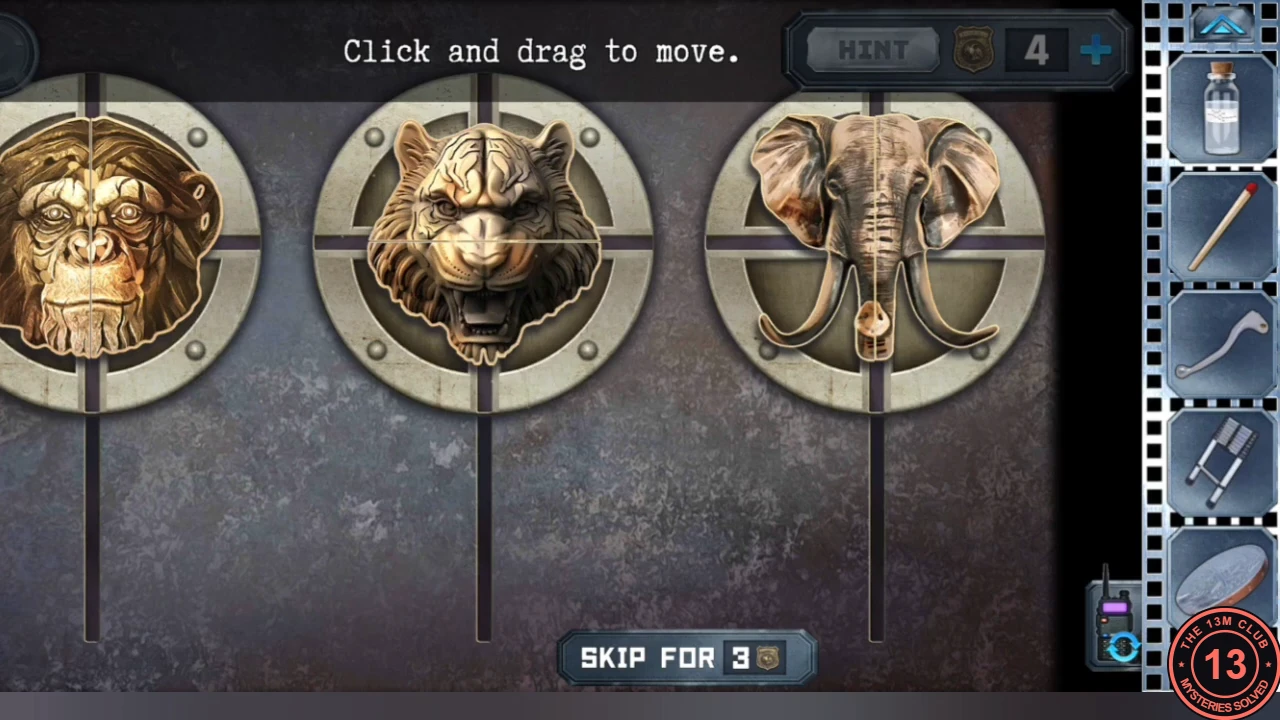
Solved: the monkey, tiger and elephant heads assembled.