The alley: knight's tour safe and the high-voltage box
Chapter 2 follows straight on from the Chapter 1 ending. Alex wakes in a rainy back alley, Anna in a room with a large painting. From now on they pass items through a pneumatic tube instead of a drawer.
- Finishing Chapter 1 carries you into Chapter 2. You can also pick it from Chapters on the main menu; the game warns that starting Chapter 2 this way loses the progress of the chapters after it. After the "Culling" show introduction you play as Alex.
- Pick up the chess knight from the rubbish bags at the bottom left of the alley, and the sketch paper taped to the red-skull door.
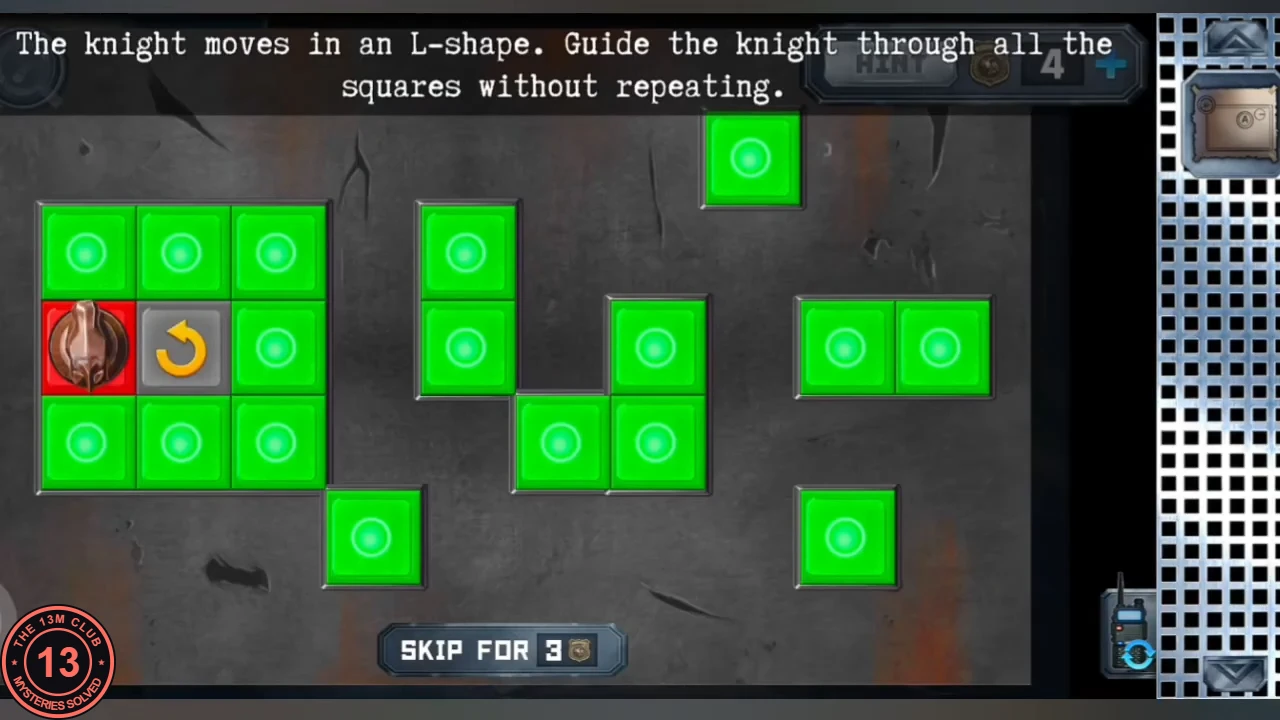
- Put the knight on the wall safe with the green tiles. Move it in L-shaped jumps so that it lands on every square exactly once; visited squares turn red, and a square cannot be used twice. Any full knight's tour works. The safe opens: inside are the pneumatic tube and a key on a ring. Take the key.
- Use the key on the padlock of the high-voltage box on the alley wall. Take the round engraved cover (the "Patch") from the panel inside. The switch panel under it is solved later with a cheat sheet from Anna.
- To pass items, put them in the tube and switch characters; the other character takes them out of their own tube. The game refuses items the other person cannot use ("I don't think ... will find it useful"). Send the patch and the sketch paper to Anna.
Anna's painting room: the floor circuit
Anna is shut in a room with a copy of a van Eyck painting, a pipe grille on the right wall, a clogged sink full of meat and a glass panel in the floor.
- Switch to Anna. Take the red emergency hammer from the floor and break the glass over the floor panel with it.
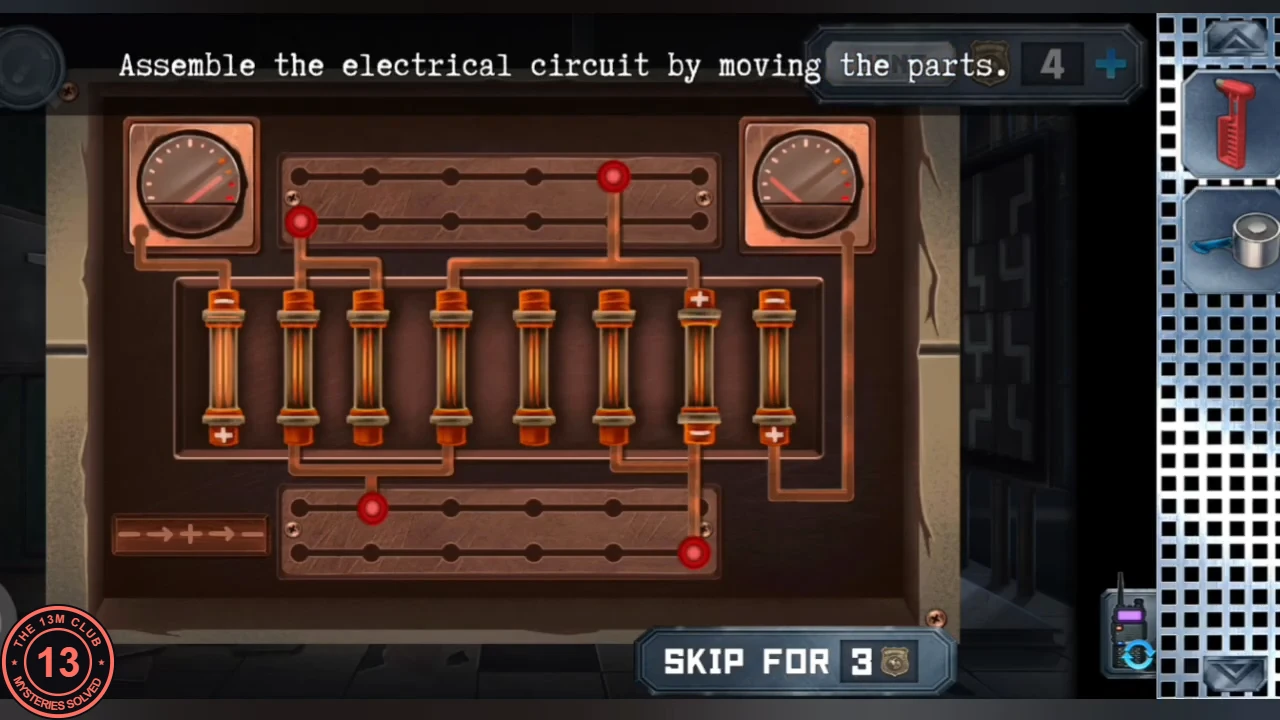
- "Assemble the electrical circuit by moving the parts": slide the four red contacts along their rails until the wiring links both gauges. Anna calls out that she fixed it herself.
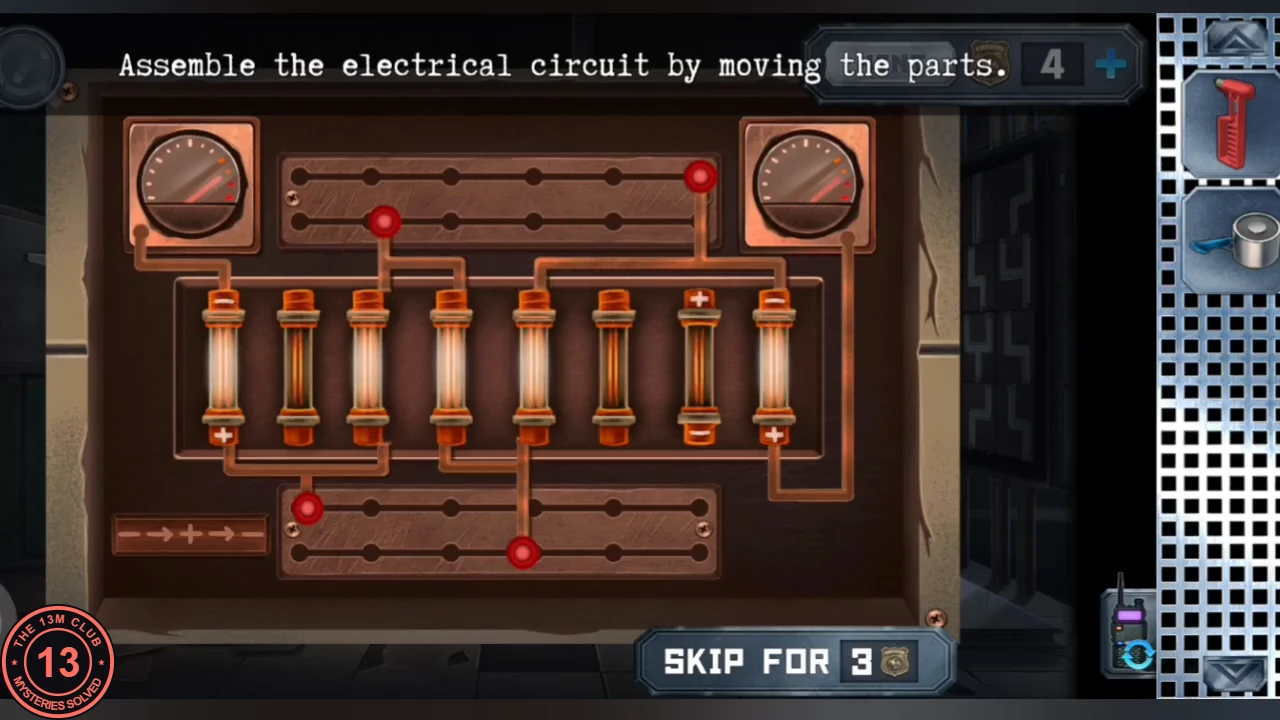
Solved: the floor circuit with the fuse tubes lit (example from one playthrough). - Take the orange-striped connector block (the "Terminal") from the empty top-left cell of the pipe grille on the right wall, then take the "Goal" cartridge and the electronic magnet that the floor panel released.
- Send the electronic magnet and the "Goal" cartridge to Alex through the tube.
Alley: the magnet maze
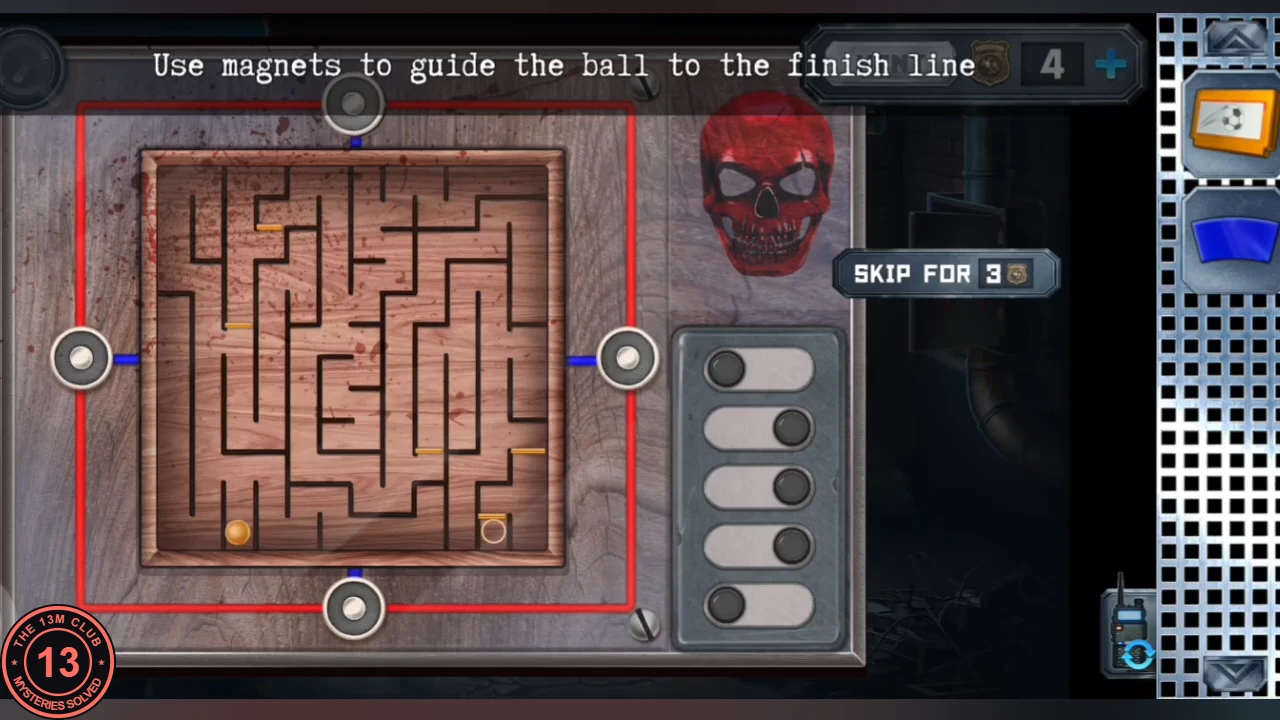
Alex works a maze with switchable magnets on the panel by the red skull.
- As Alex, put the electronic magnet on the maze panel by the red skull. The five switches turn the magnets on each side on and off, and a live magnet pulls the ball toward its side. Guide the ball through the maze to the exit. The alley door stays shut for now.
Alley television: the Goal bumper game
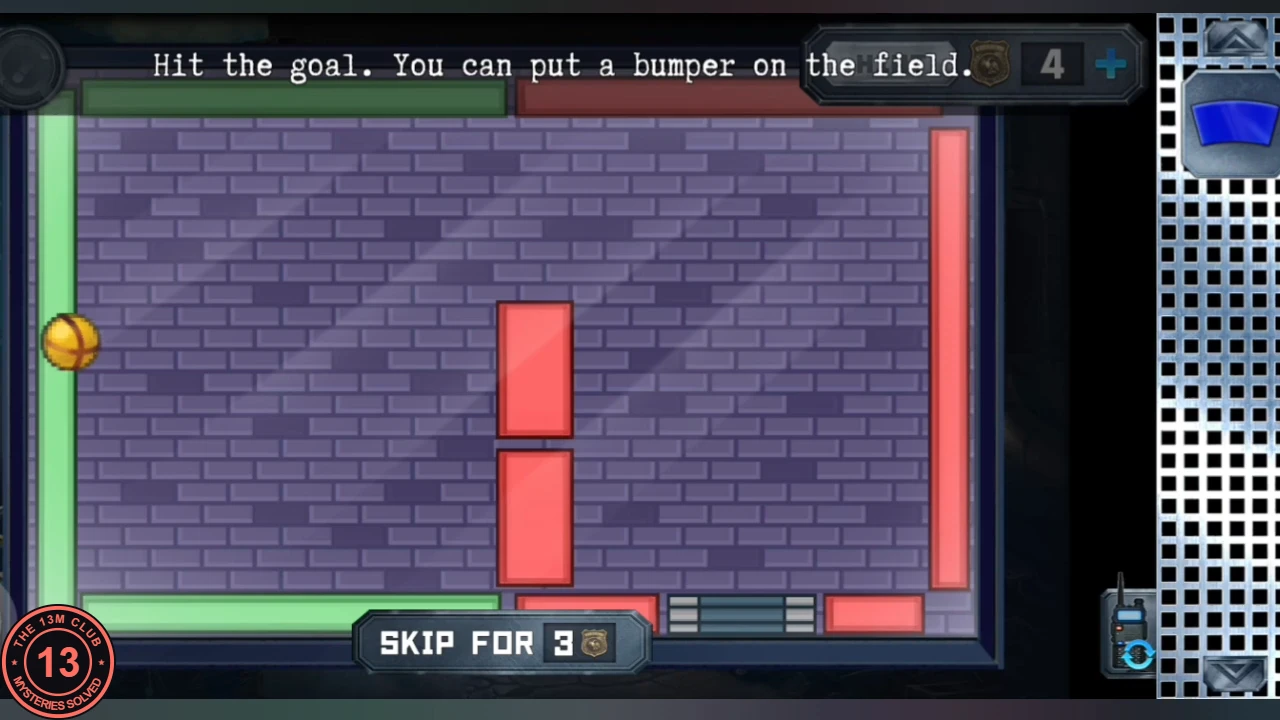
The "Goal" cartridge runs on the alley television; Anna places bumpers so the ball rebounds into the goal.
- Insert the "Goal" cartridge into the alley television. In each round Anna places one bumper on the field so that the ball rebounds into the goal. Clear all three levels; "Congratulations, Anna!" appears and the hatch in Anna's floor opens.
Corridor telephone: the fresco rings
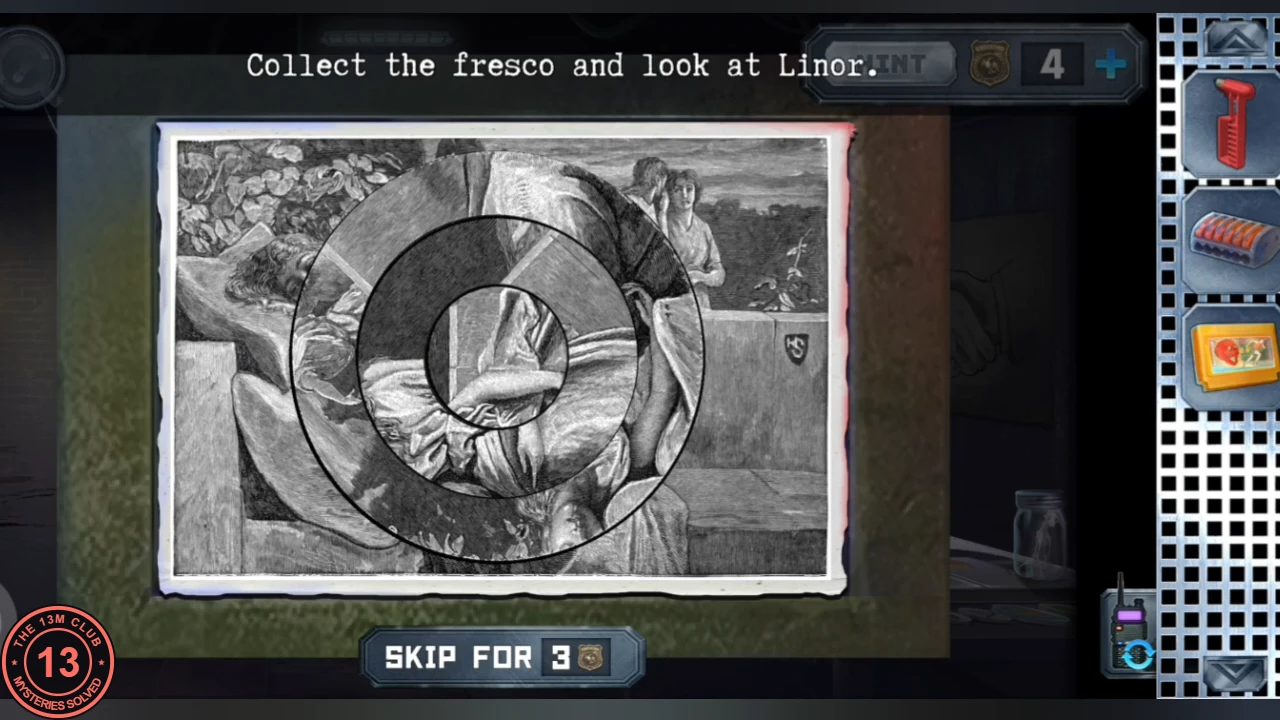
The floor hatch leads Anna down into a corridor with a telephone booth, a fortune-teller booth, a pipe board, a dark hole in the wall and a locked red-skull door. A ladder leads up to a workshop.
- Go down into the corridor. Put the patch on the rotary telephone. The fresco puzzle appears: rotate the three rings until the engraving of the reclining woman is whole. Take the "Escape" cartridge from the phone's tray.
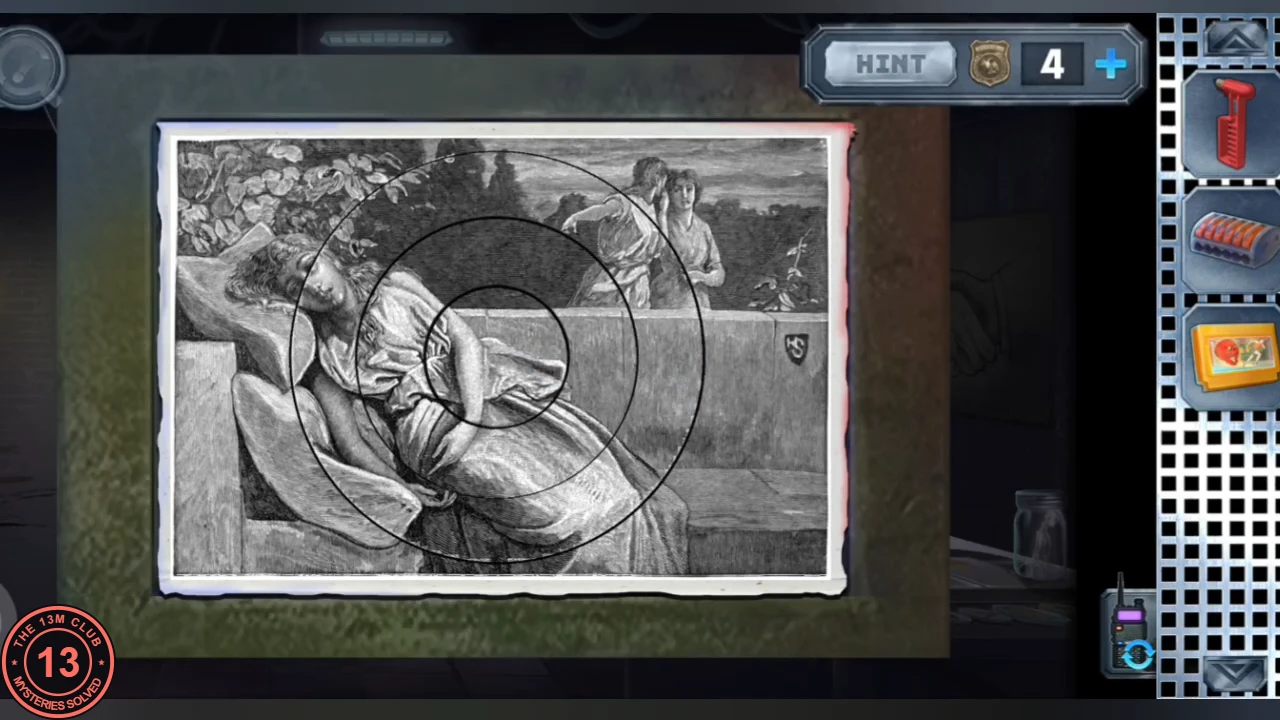
Solved: the fresco rings aligned so the reclining woman is whole. - Climb the ladder at the end of the corridor into the workshop. Pick up the piece of pipe (the "Fragment with tubes") from the floor by the boarded toilet door and the paper with arrows and coloured dots (the cheat sheet) from the floor near the tea table. On the table beside the 3D printer, open the red book and leaf through its pages: a small copy of the wall painting falls out. Take it; this is the Van Eik sample, needed for the painting in Anna's room.
Workshop: untangle the wires
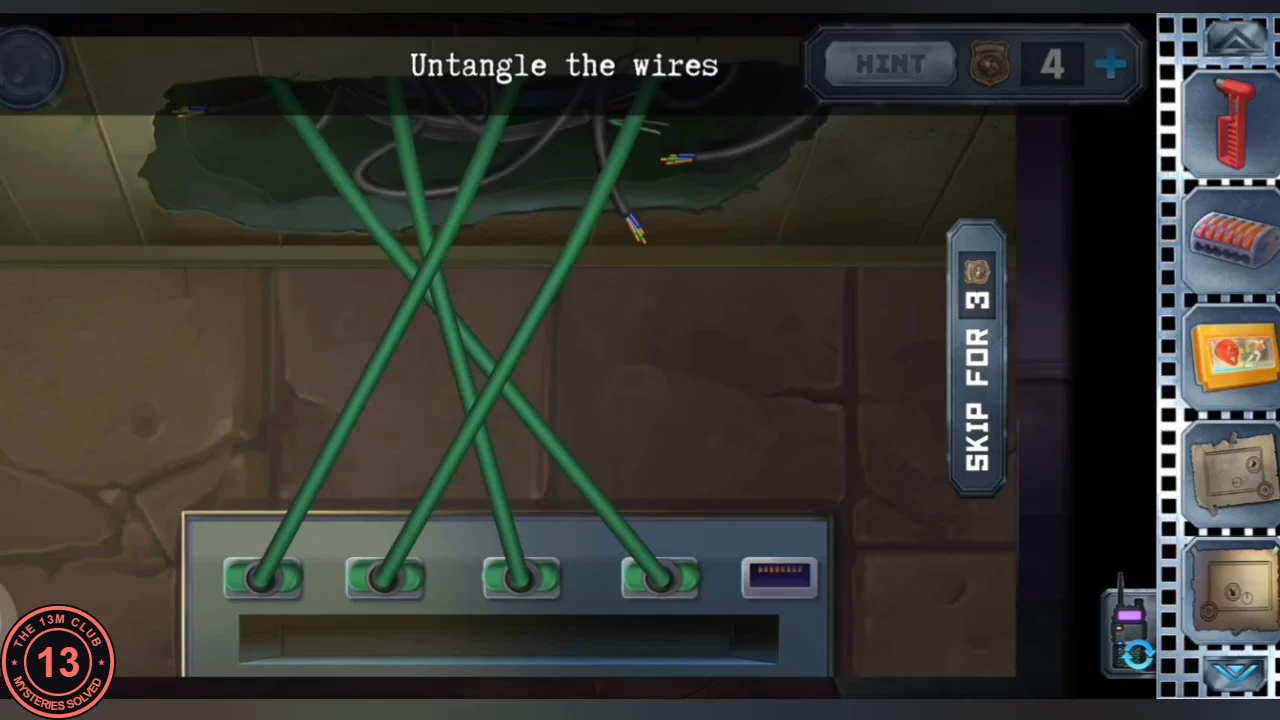
A tangle of wires on the workshop wall hides a cartridge slot.
- "Untangle the wires" on the workshop wall: drag the wires apart until none cross. A cartridge slot appears beneath them. Note the 3D printer, the tea table with a tied-up ferret, the retina-scanner vault and the terminal with ten red lamps; all are used later.
Painting room: the water grille
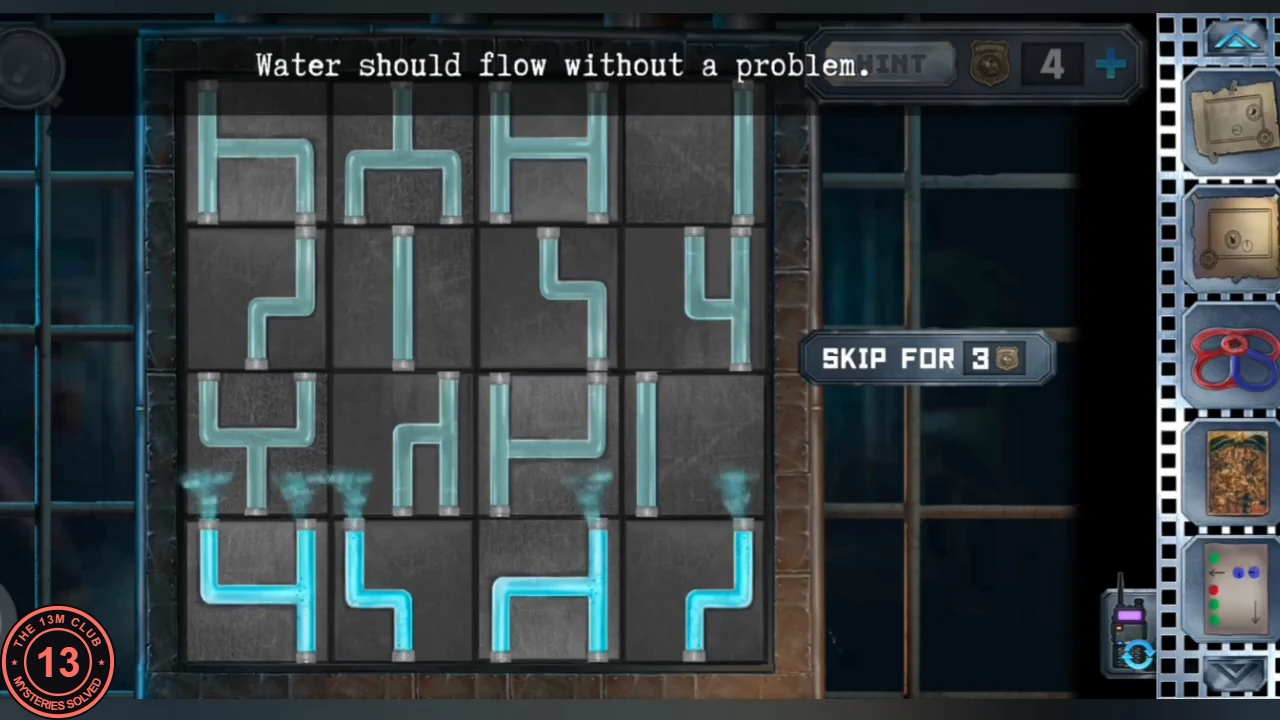
Back in the painting room, the pipe grille on the wall is a sliding-tile water puzzle.
- In the painting room put the fragment with tubes into the empty top-left cell of the grille. Slide the tiles until one continuous pipe carries the water down ("Water should flow without a problem"). The tiles start in a fixed layout; work the end pieces into place first and keep the finished part of the path intact.
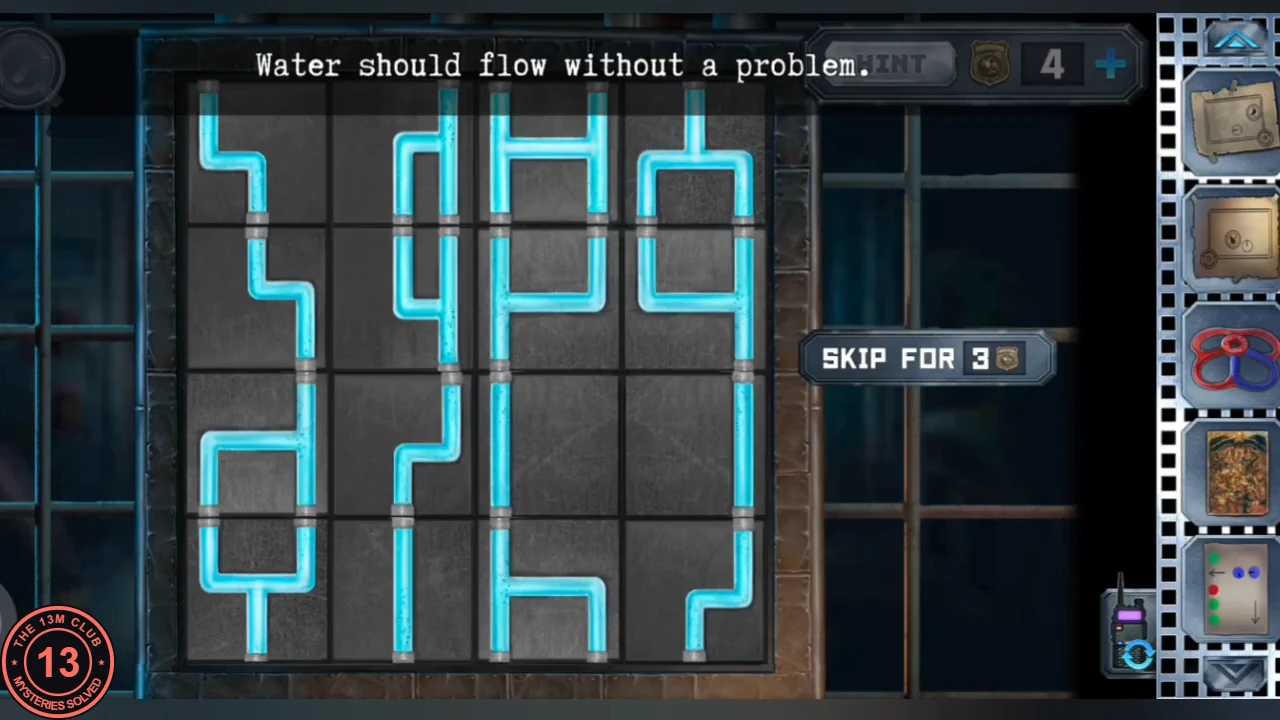
Solved: the grille tiles in their final layout with water flowing (example from one playthrough).
The painting: seven differences
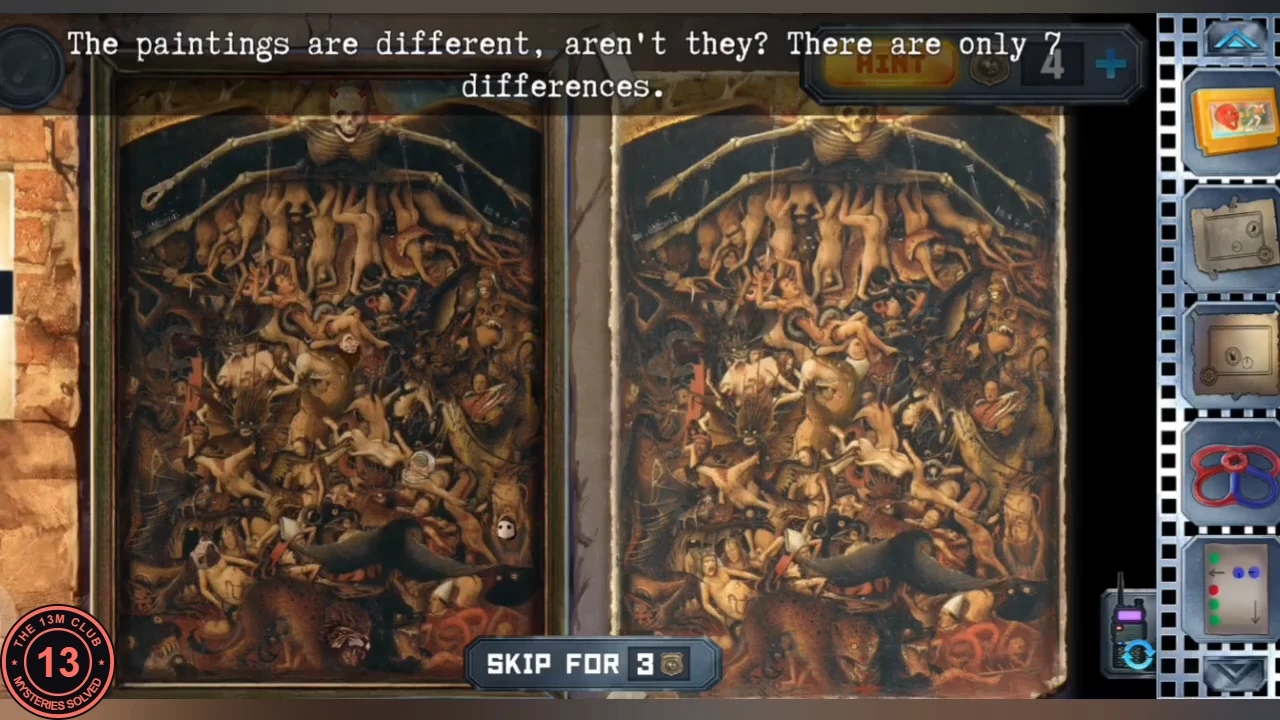
The large painting in Anna's room is a spot-the-difference puzzle. The Van Eik sample from the workshop book is the second copy to compare it with, and solving it opens the monitor room.
- Tap the painting on the wall of Anna's room to look at it closely: the wall to its right is empty. Select the Van Eik sample in the inventory and place it on that empty space; the two copies now hang side by side ("The paintings are different, aren't they? There are only 7 differences."). Tap the seven places where the framed painting on the left differs from the sample on the right; each find is marked with a dark circle. In the recording they were: 1. top centre, the skeleton's skull has small red horns; 2. top left, the tip of the skeleton's left-hand wing ends in a rope loop instead of claws; 3. centre, a small white face just below the pale reclining figure; 4. below the centre, slightly right, a brass diving helmet; 5. right edge, lower third, a white ghost mask with two dark eyes; 6. lower left, a figure with a pug dog's face; 7. bottom centre, a lion's head. After the seventh, the painting slides aside and opens onto a room full of monitors.
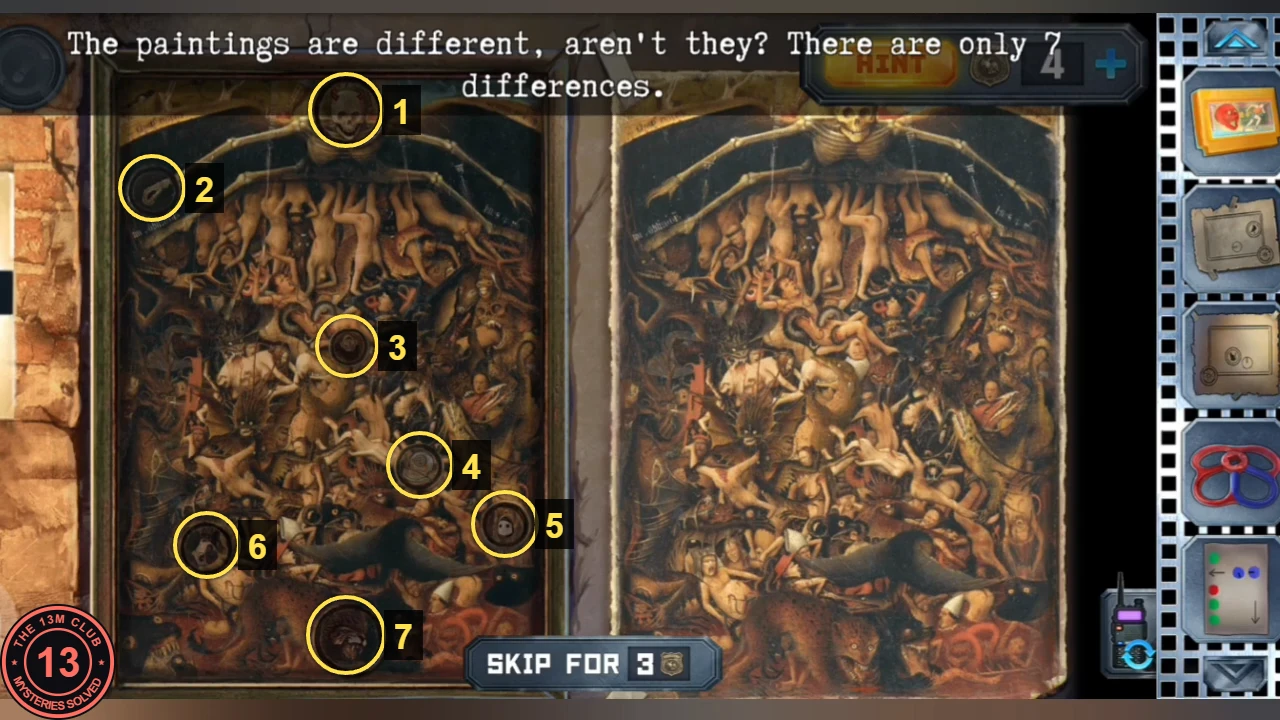
Solved: the seven differences on the left copy, numbered in the order of step 1. - Take the doll from the chair in the monitor room. Then send the cheat sheet and the hammer to Alex. (The game refuses the "Escape" cartridge, which is for Anna.)
Alley: the high-voltage switch panel
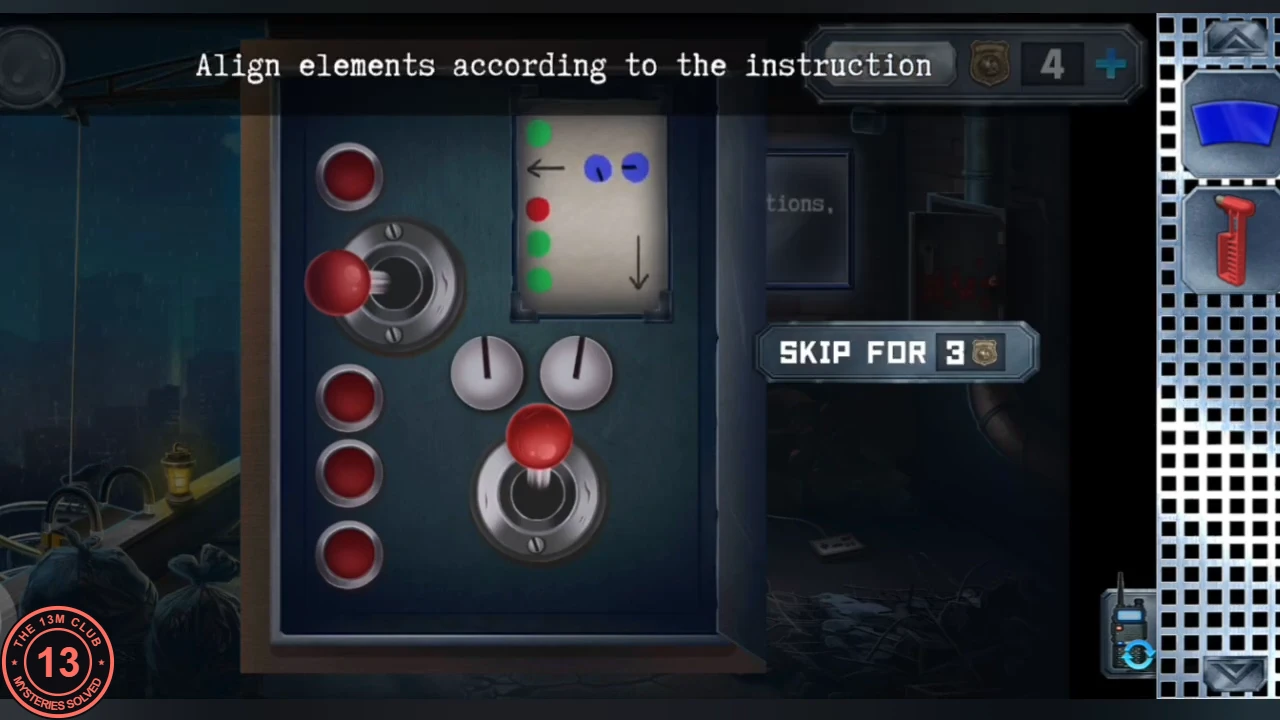
The cheat sheet from Anna sets Alex's high-voltage switch panel.
- As Alex, open the switch panel in the high-voltage box and copy the cheat sheet: push the joysticks in the arrow directions, turn the two dials to the drawn angles, and set the four lamps, from the top, to green, red, green, green. The panel accepts it ("Align elements according to the instruction").
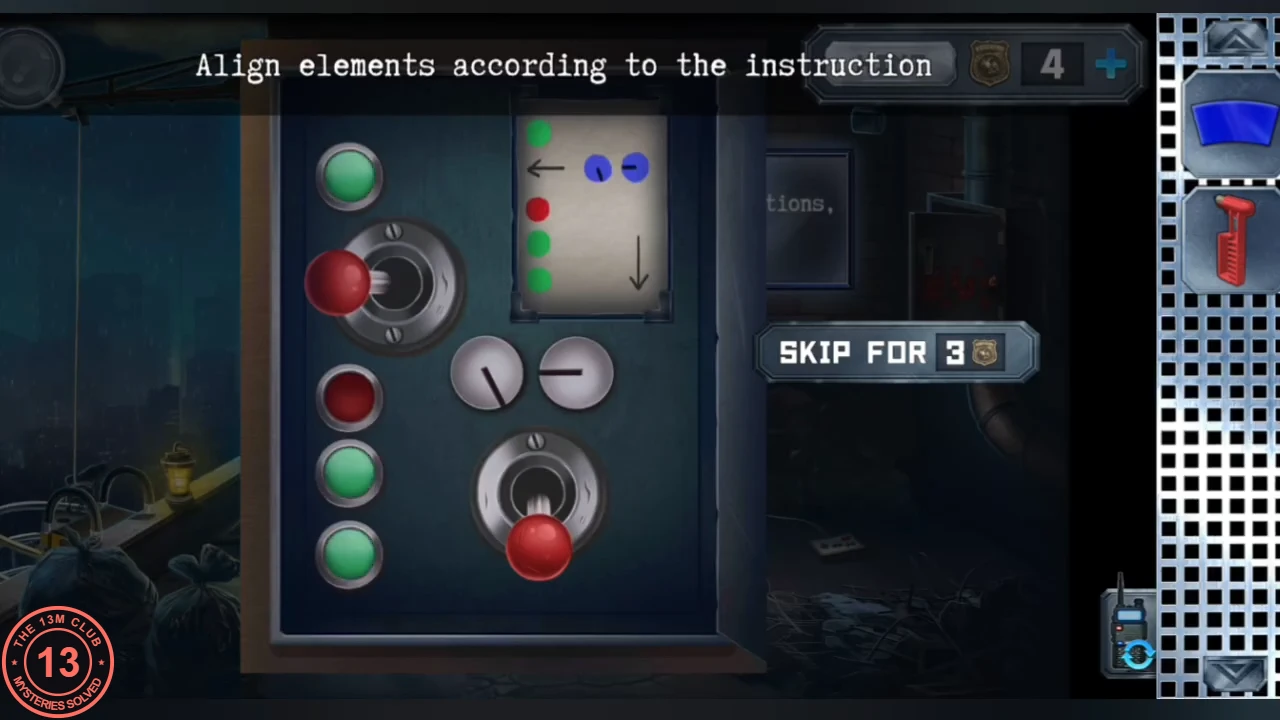
Solved: the panel matching the cheat sheet. Lamps from the top: green, red, green, green. - Tap the body hanging upside down in the alley and take the skeleton puppet from it. Send the skeleton puppet and the hammer to Anna.
Workshop TV: the monster chase
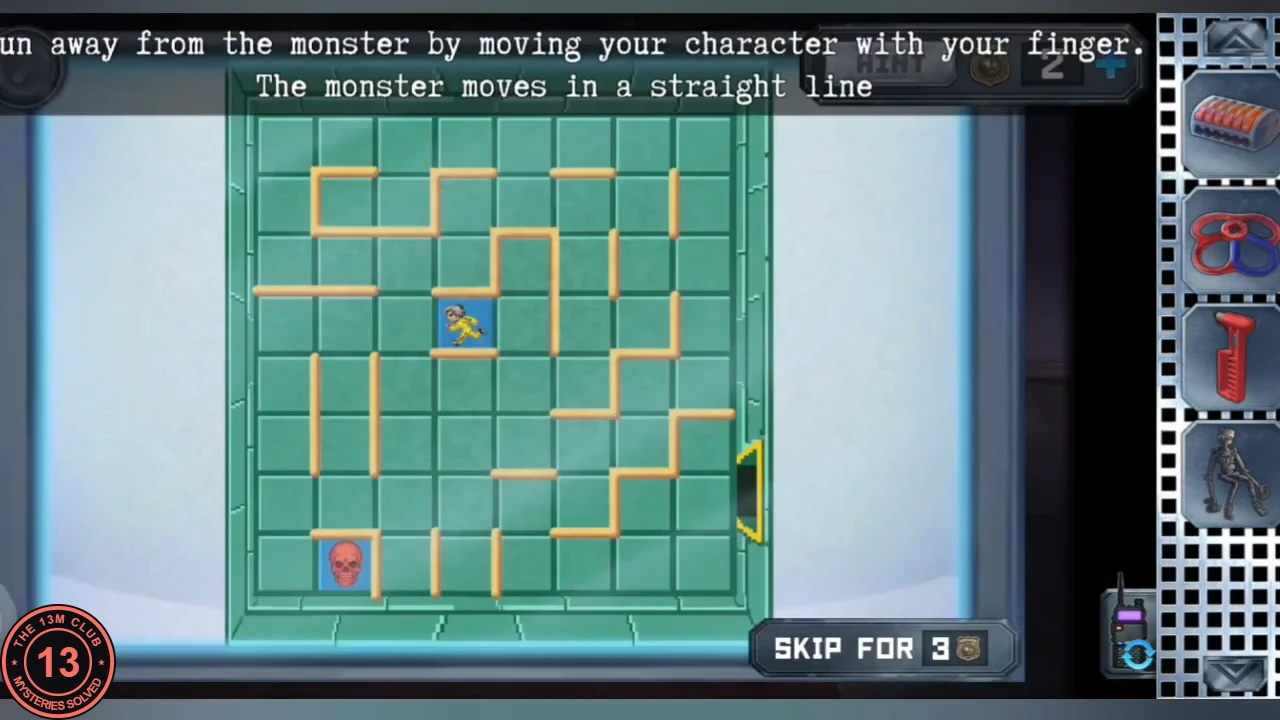
The "Escape" cartridge runs a chase game on Anna's workshop TV; winning opens Alex's alley door.
- As Anna, insert the "Escape" cartridge in the slot under the untangled wires in the workshop and put the doll on a chair at the tea table.
- Play the chase on the workshop TV: drag the runner with your finger while the red monster charges in straight lines, and reach the exit on the right edge. Use the monster's straight charges against it: sidestep, then cut across behind it. Alex's alley door opens.
Basement: the ball baskets and the arm in the wall
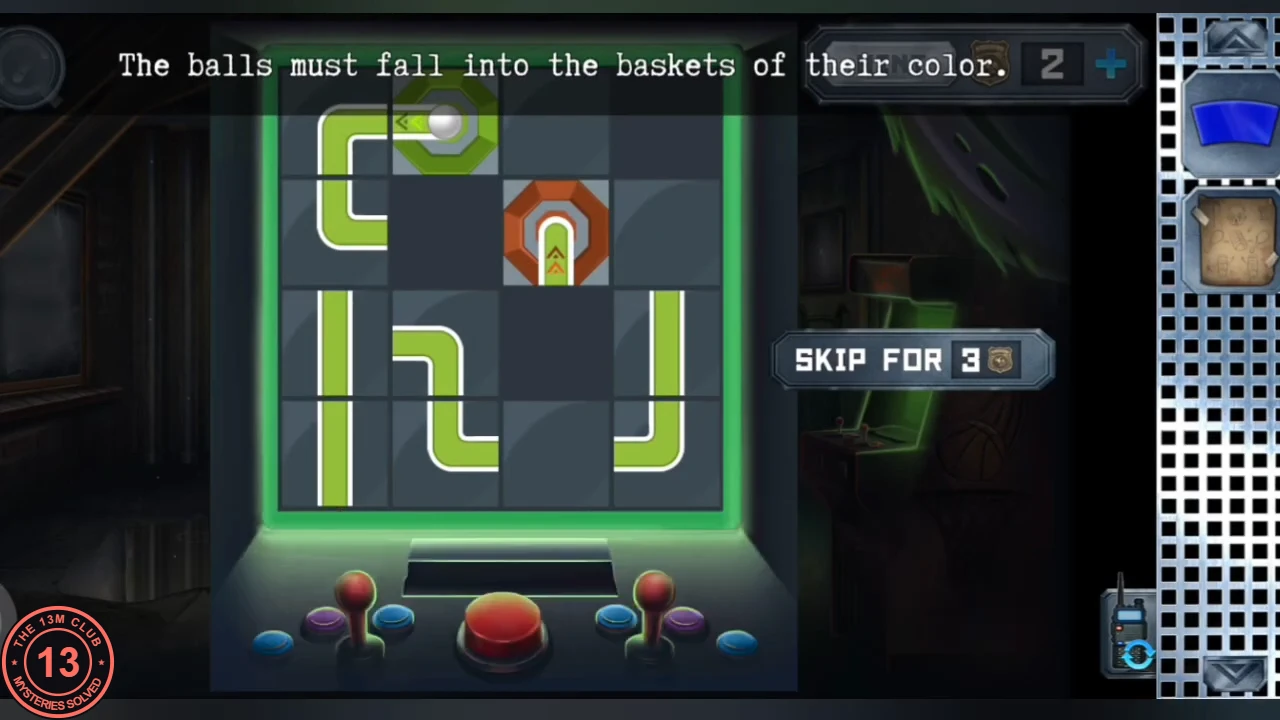
Alex reaches a basement with televisions, a frozen box, a window and a basket arcade.
- Take the rolled paper (the homunculus assembly scheme) from the basement window.
- Play the basket arcade: "The balls must fall into the baskets of their color." Turn the pipe tiles so each coloured ball rolls into the basket of the same colour, then release the balls. Clear every level and take the glow stick. Send the glow stick and the scheme to Anna.
- As Anna, light the dark hole in the corridor wall beside the telephone with the glow stick. A severed arm lies inside. Take the red button and the gym key from its hand, and send both, with the hammer, to Alex.
Basement door: the gold block slider
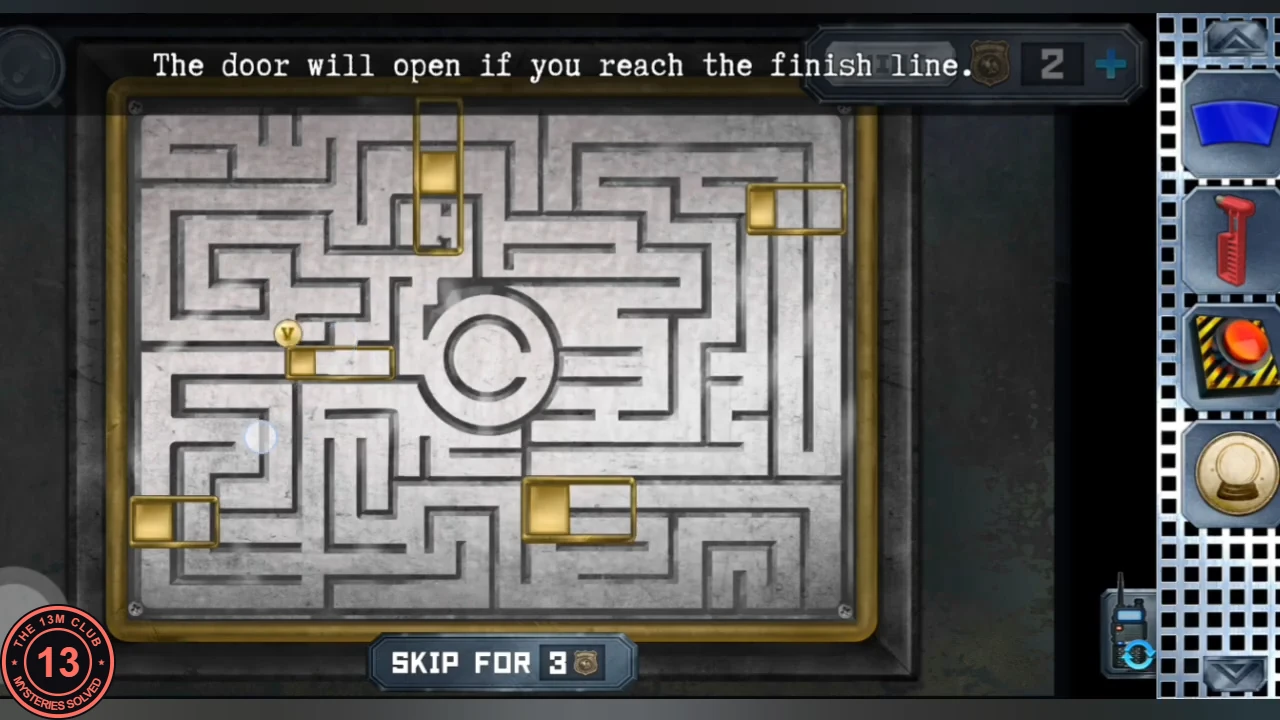
The gym key opens the compartment of the basement door's lock, but the lock itself is a sliding-block puzzle.
- As Alex, use the gym key on the basement door. Take the gold token (a vending machine chip) from the compartment inside the lock. Then solve the lock: slide the gold blocks to open a path and bring the round token to the circle in the middle ("The door will open if you reach the finish line"). The gym opens.
The gym and the locker room
In the gym a hooded man is strapped into an electric chair. A door on the right leads to a locker room with a laptop, a fridge, a cabinet and a padlocked wooden crate.
- Talk to the man in the chair. Take the spool of printing plastic lying on the mat in front of him, and the telescopic hook tucked under his belt.
- Go through to the locker room. Take the museum key from the desk beside the laptop and the spoon lying on the laptop keyboard.
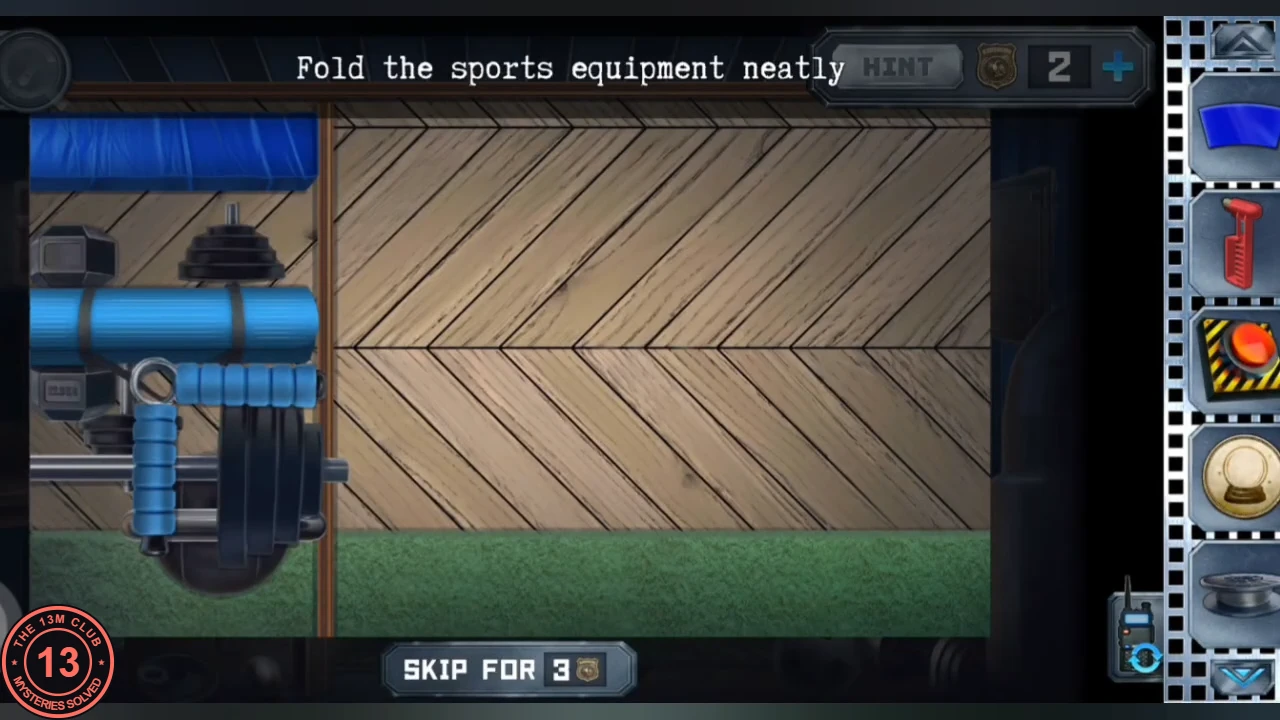
- "Fold the sports equipment neatly": slide the dumbbells and bars until everything fits with no red overlaps. Then look at the open security camera in the locker room and take the flash drive from it; keep it. The camera's lens cannot be removed by hand yet.
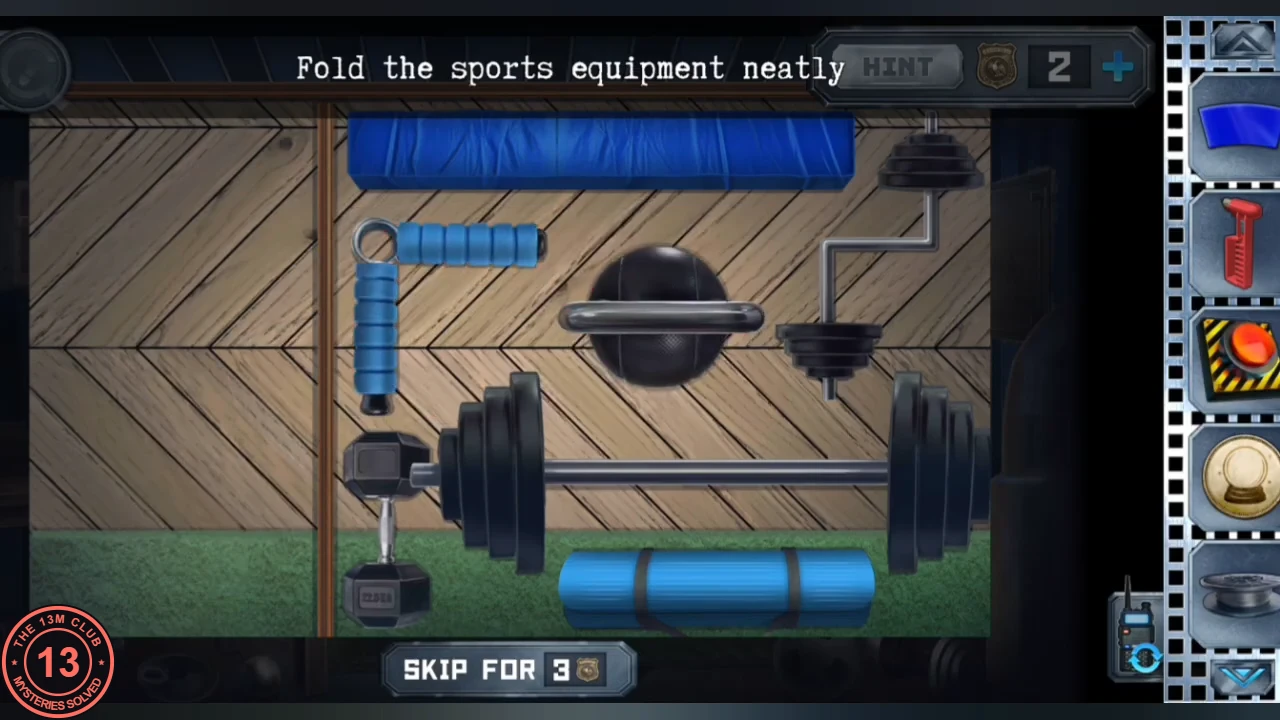
Solved: one arrangement where every piece fits without red overlaps (example from one playthrough). - Send the hammer, the vending machine chip, the printing plastic, the museum key and the spoon to Anna.