Purple room floor: the gradient wheel
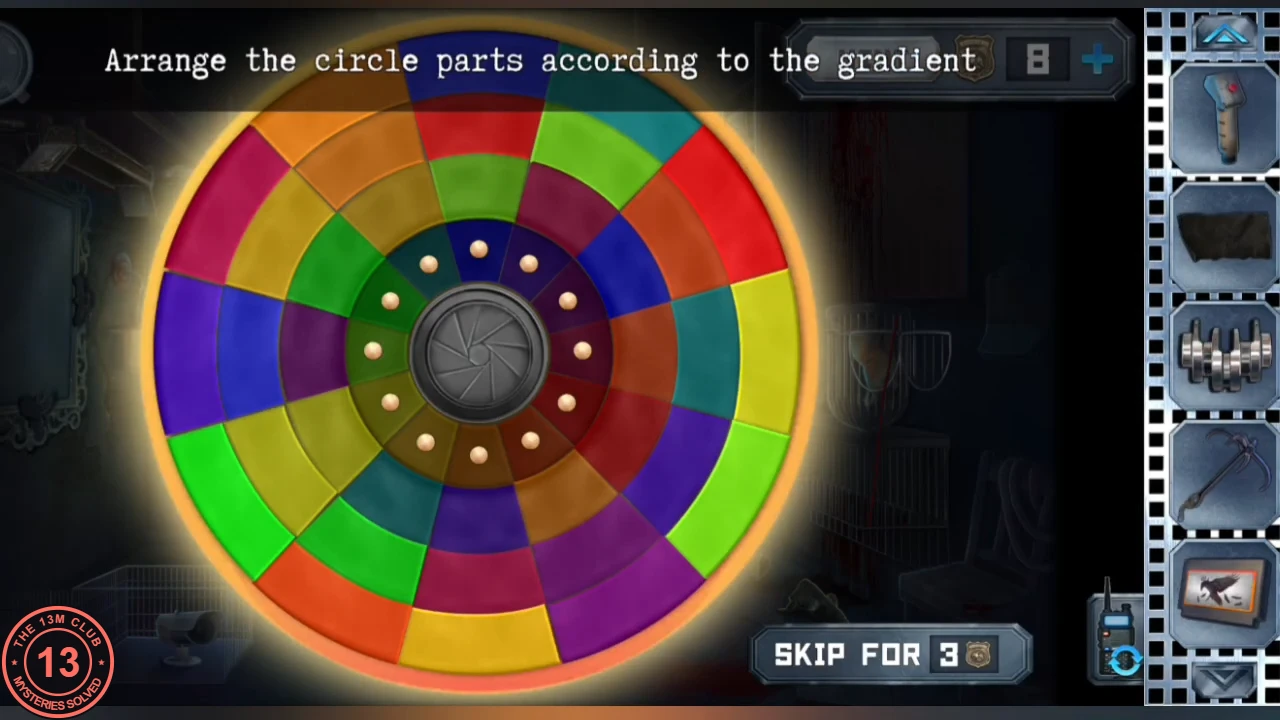
The stained glass fragment completes the colour wheel on the purple-room floor. Its rings start mixed up, so the guide gives the target and a method.
- On the purple-room floor, place the stained glass fragment on the colour wheel to complete it. "Arrange the circle parts according to the gradient": rotate the rings until the colours run as one smooth gradient around the wheel (green, blue, purple, red, orange, yellow). Line up the outer ring first, then match each inner ring to it.
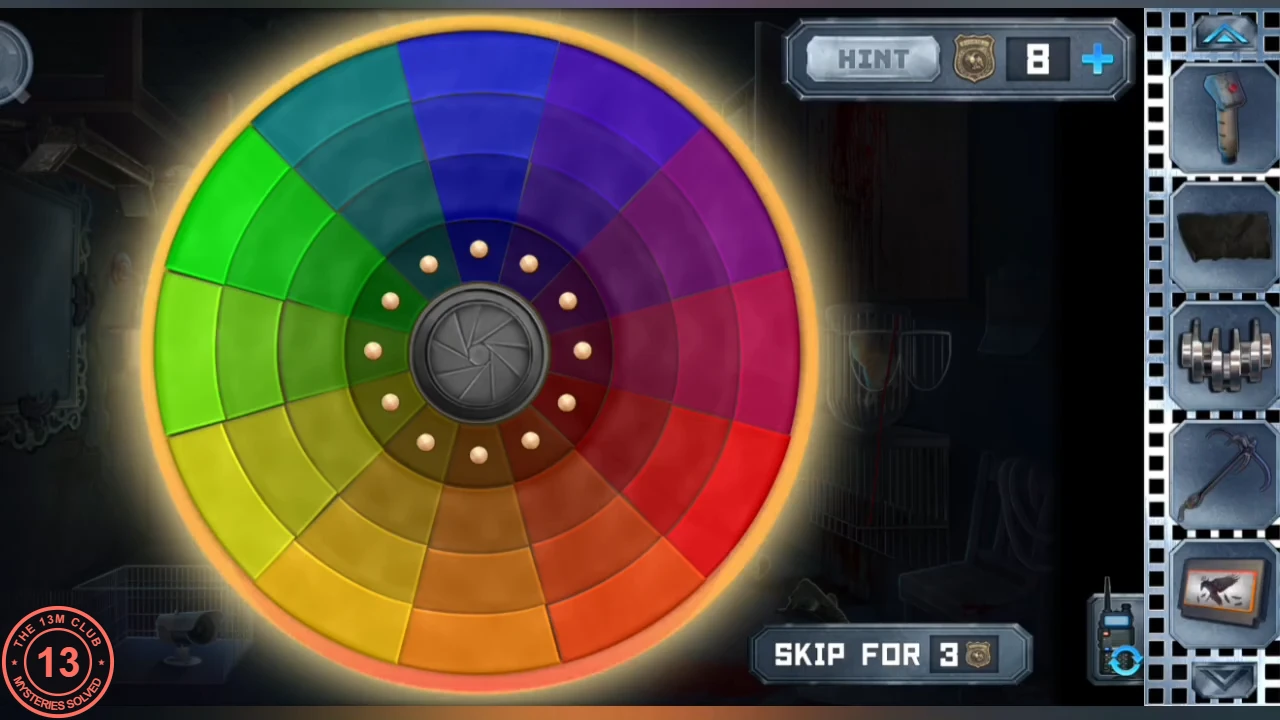
Solved: all rings aligned into one smooth colour gradient.
Purple room: the disco rings
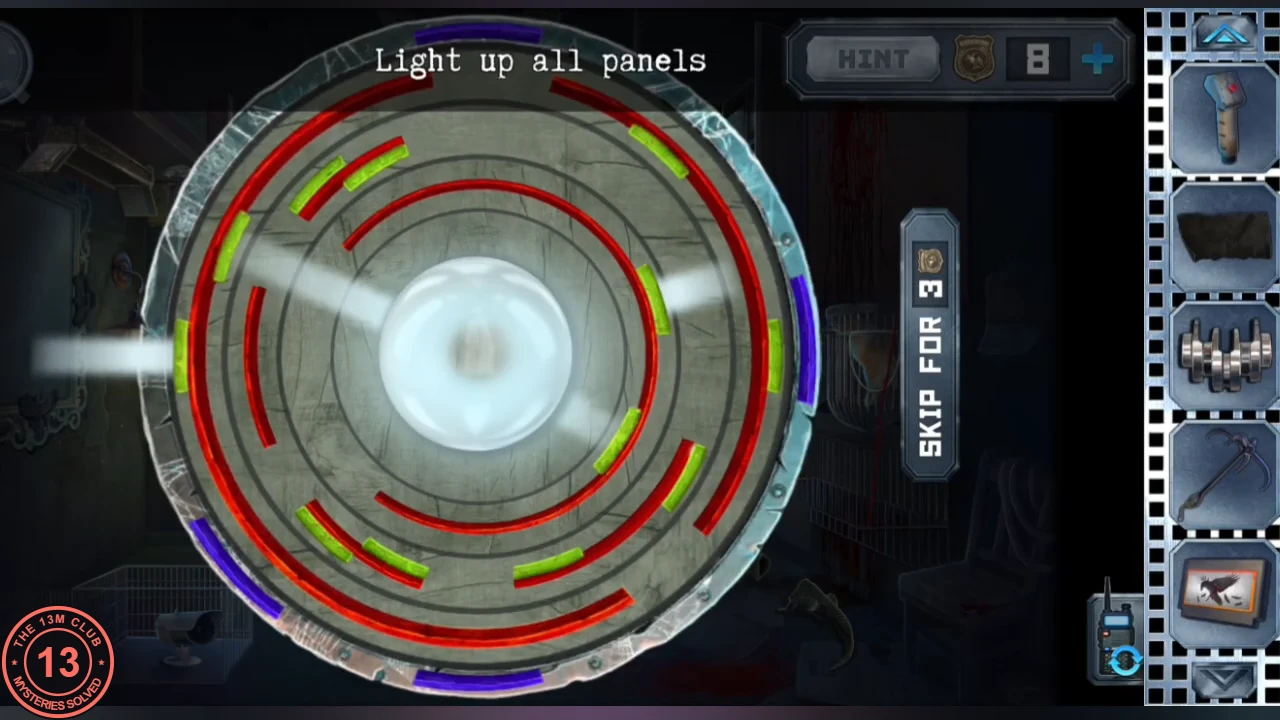
The rings around the disco light must let its beams reach every outer panel. They start mixed up, so the guide gives a method.
- "Light up all panels": rotate the six rings around the disco light so its beams pass through the gaps to every outer panel. Work from the centre ring outward. Take the crystal ball.
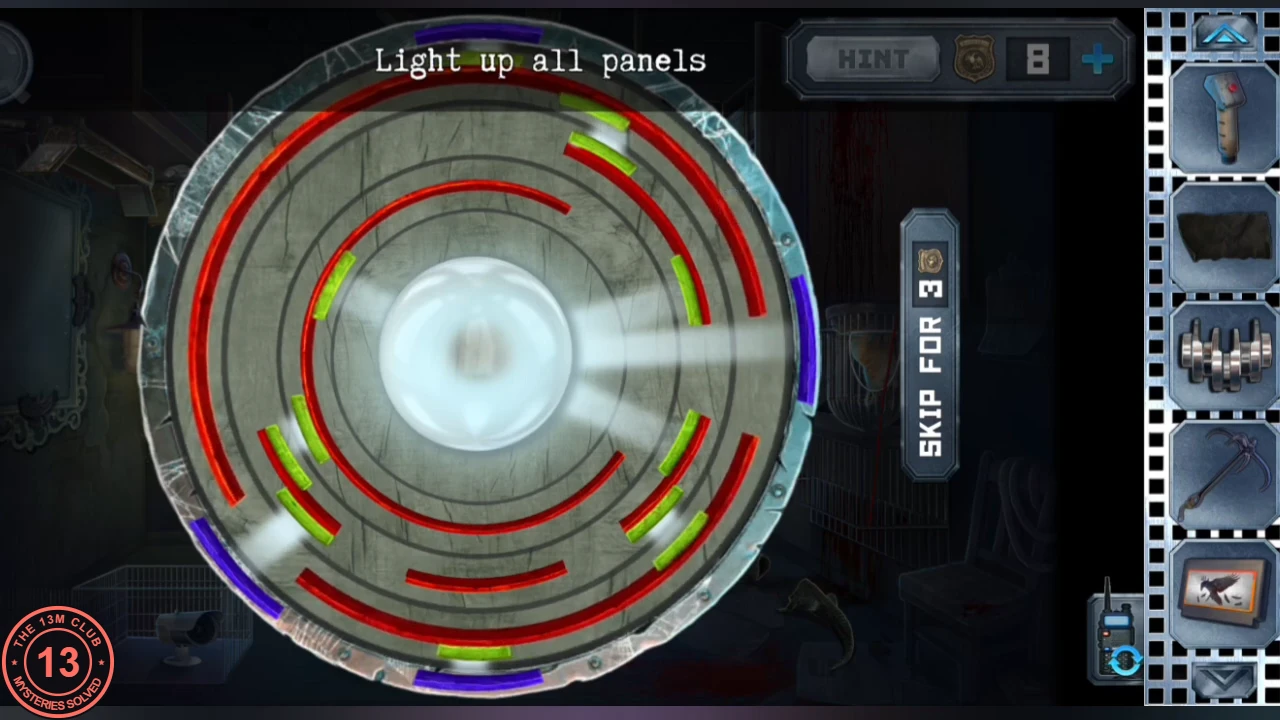
The disco rings in their final position, just before the puzzle closed (example from one playthrough).
Office monitor: the Crow game
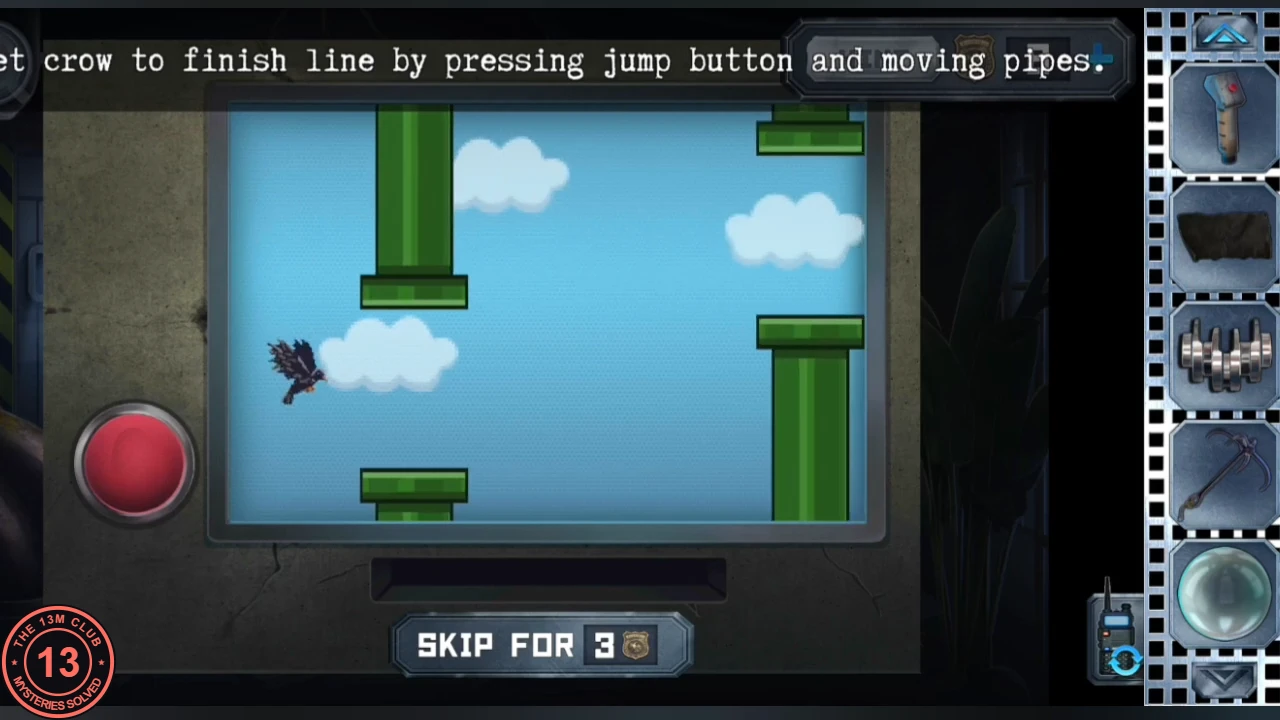
The "Crow" cartridge runs on the office monitor; afterwards Alex repairs the rope crank by the office grate.
- Insert the "Crow" cartridge into the office monitor. Tap the red button to make the crow jump and drag the pipes up or down to widen the gaps; reach the finish line. Short taps keep the crow level; move the next pair of pipes before the crow reaches it.
- At the crank by the office grate, tap the rag: the broken shaft falls apart and uncovers a coil of rope. Take the rope ("Screw it. Need to replace!"), then fit the flexible shaft between the pipe ends ("Anna! I think I fixed something with the ropes!"). Combine the rope with the grappling hook in the inventory.
Purple-room window: the grappling hook
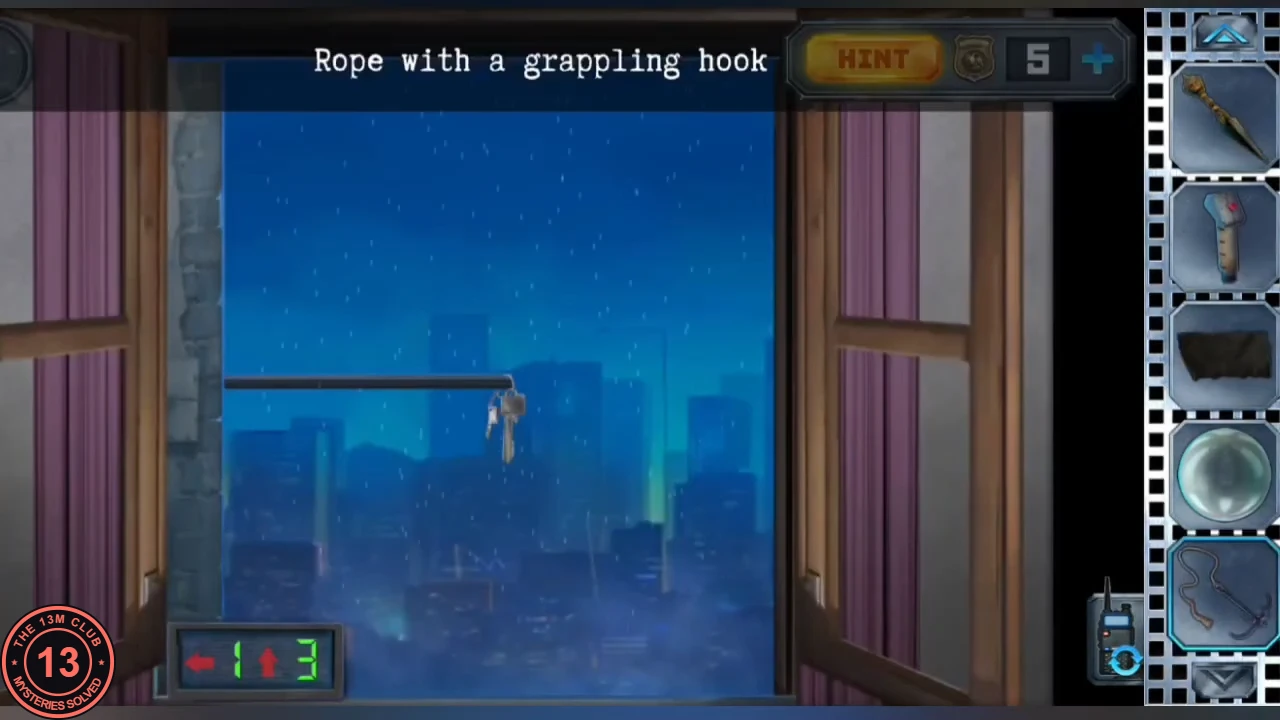
The keys hanging on the wire outside the purple-room window can be caught with the grappling hook.
- From the purple-room window throw the grappling hook at the keys hanging on the wire outside. The wind indicator at the bottom shows the direction and strength of the wind and it changes between throws, so read it again before each one and aim to the other side by that amount (for example, when it shows left 2 and up 1, aim 2 to the right and 1 lower). Catch the key with a cleaver and send it to Anna.
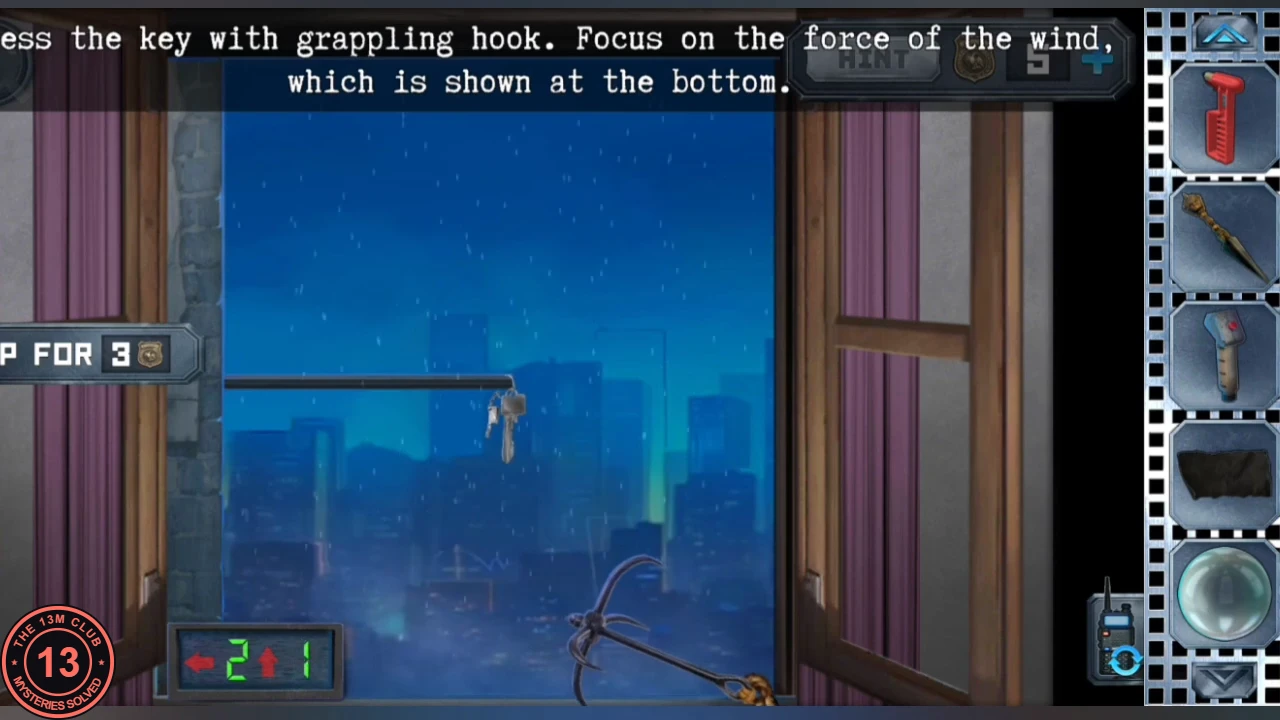
A grappling-hook throw: the wind indicator at the bottom left read left 2, up 1 at this moment; it changes between throws.
Furnace room: the puppet dance
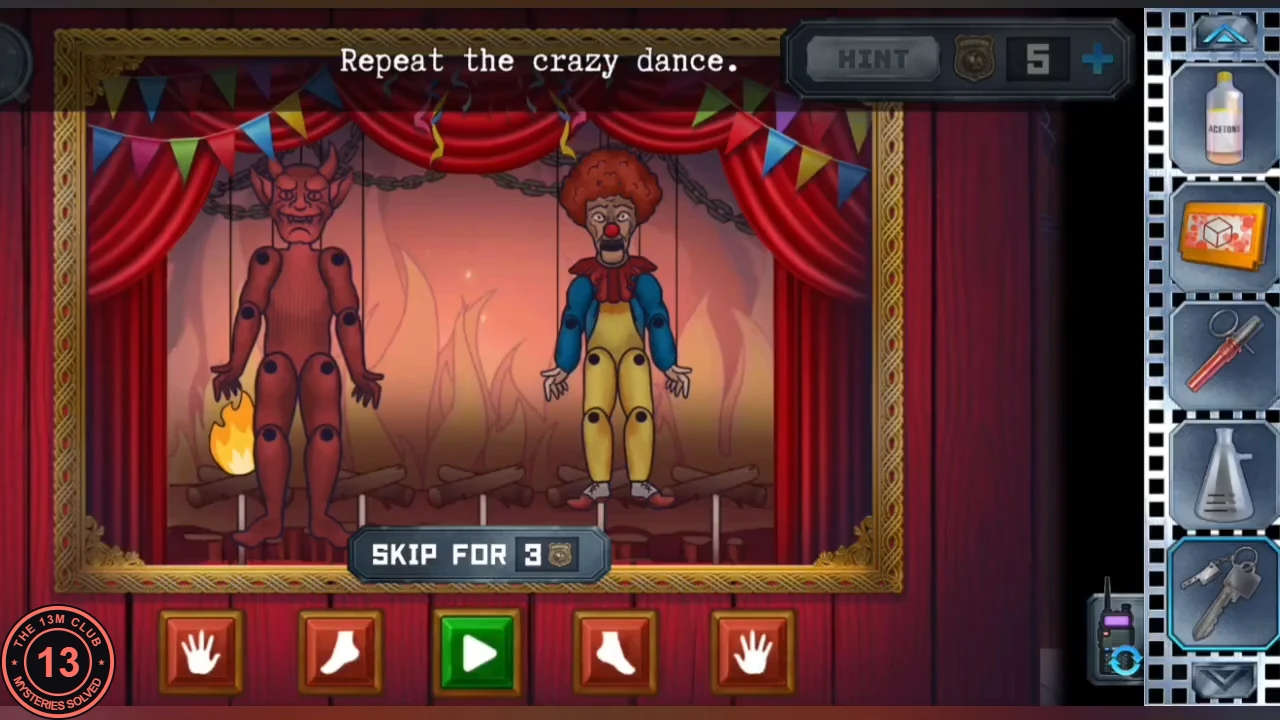
The furnace-room puppet theatre leads to the mechanism room, the greenhouse and the last parts.
- At the puppet theatre, "Repeat the crazy dance": watch the devil puppet, then repeat its moves with the left hand, left foot, right foot and right hand buttons and press play. The flames along the stage show your progress: the first is already lit and each correct round lights another, so keep going until all five burn. Take the coloured wheel.
Greenhouse door code 1652
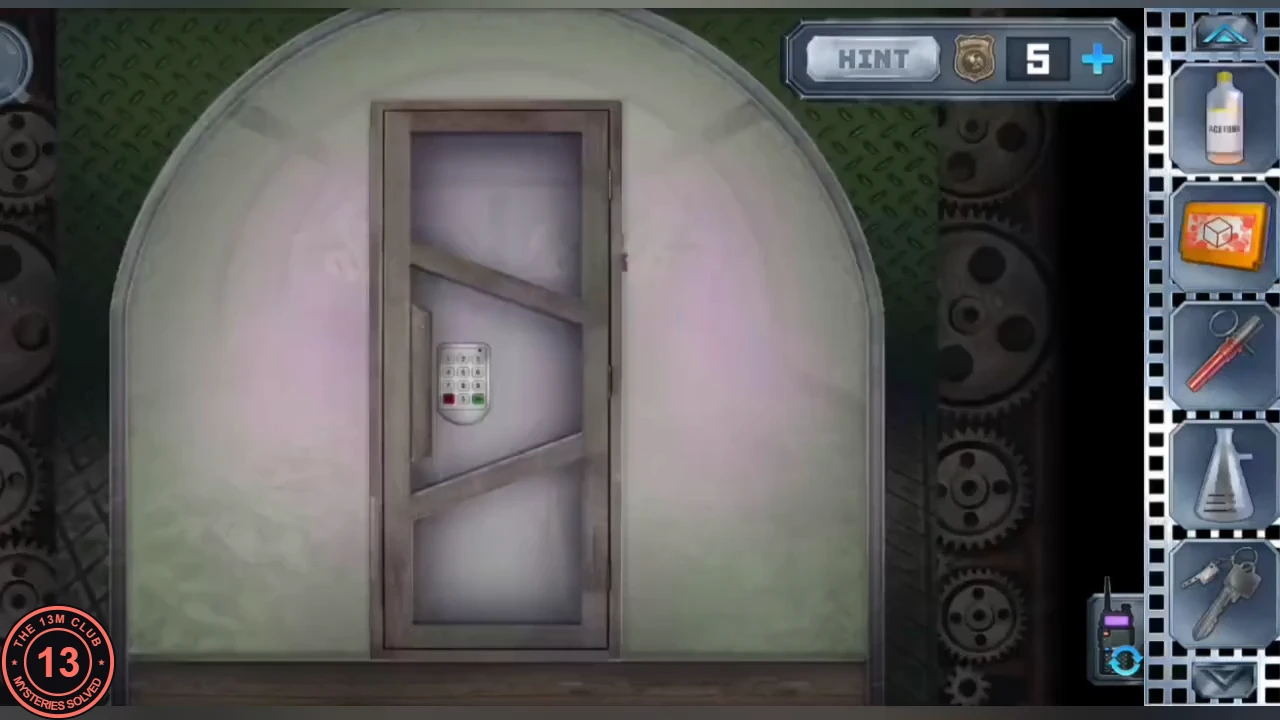
The coloured wheel brings the mechanism room to life; the greenhouse door keypad has its own drawn clue.
- Put the coloured wheel on the centre socket in the mechanism room ("I can't believe it! This is fantastic!"). At the greenhouse door, the drawing beside the keypad is a line traced over the digits: its corners fall on 1, 6, 5 and 2. Enter 1652. In the greenhouse take the green tank and the "How to grow a flower" recipe.CODE1652
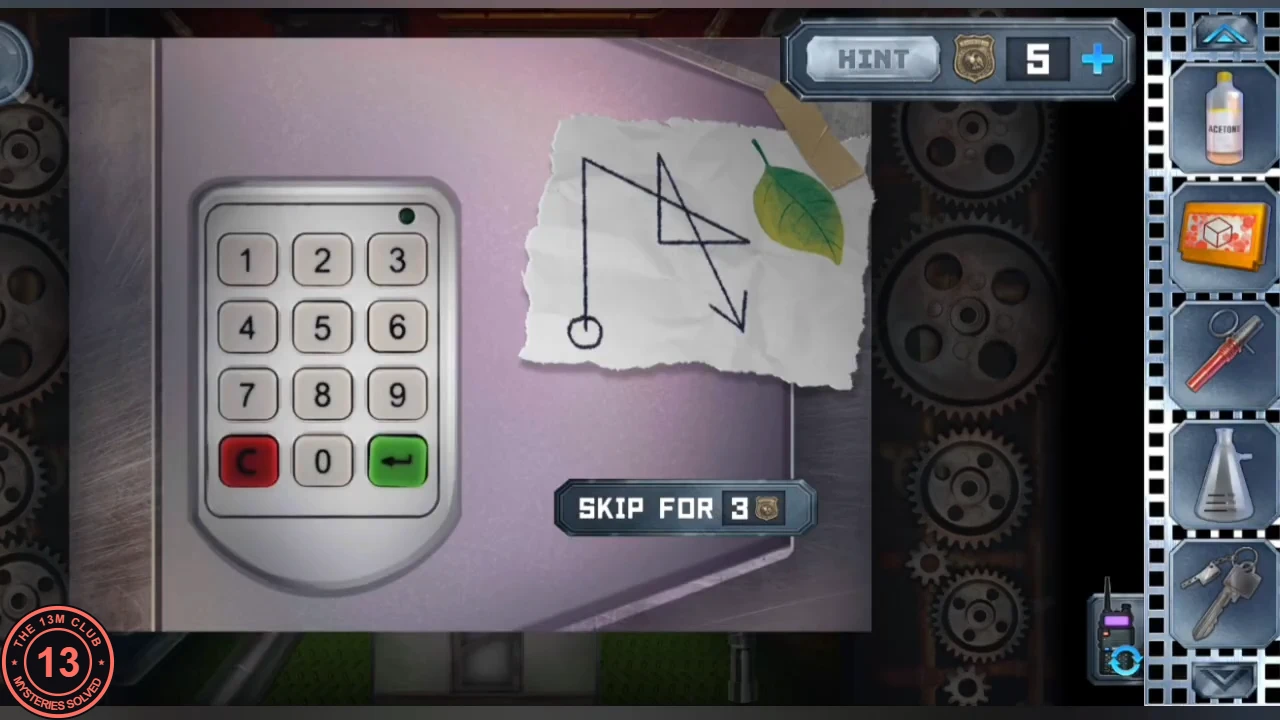
Clue: the line drawing beside the greenhouse keypad. Its corners fall on 1, 6, 5 and 2.
Mechanism room TV: the 3D cubes
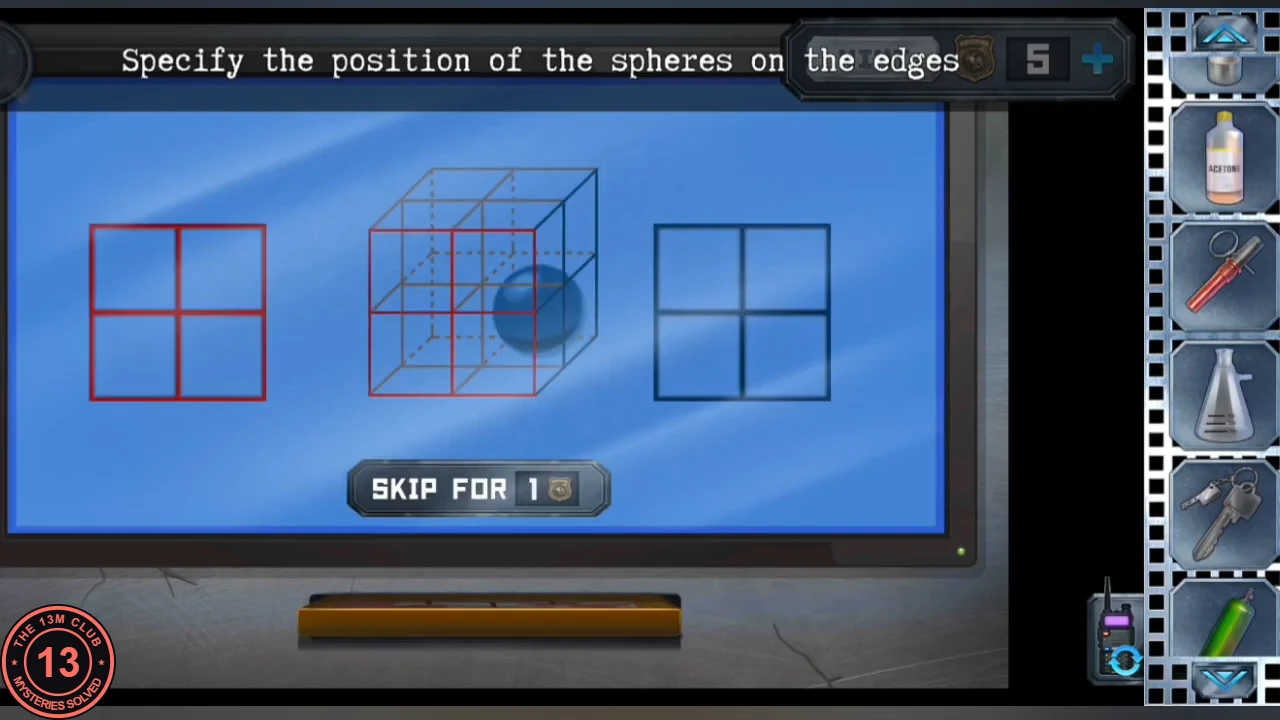
The "3D Cubes" cartridge from the purple room gives the electric-chair helmet, which Alex fits in the crypt.
- Insert the "3D Cubes" cartridge into the TV: "Specify the position of the spheres on the edges." Tap the cells on the front (red) and side (blue) grids where each sphere would show from that side. Clear all rounds. A box in the mechanism room opens with the electric-chair helmet ("Is that an electric chair helmet?.."); take it.
- In the brick room put the red fuse into the socket by the red button (the light turns green) and stand the green tank in the cabinet. Send the helmet to Alex.
- As Alex, put the helmet and then the activator on the crypt's electric chair. Place the crystal ball in the meditating mannequin's raised hand and the phurba in its outstretched palm. The chair's wings light up.
Chemistry room: 500 and 500
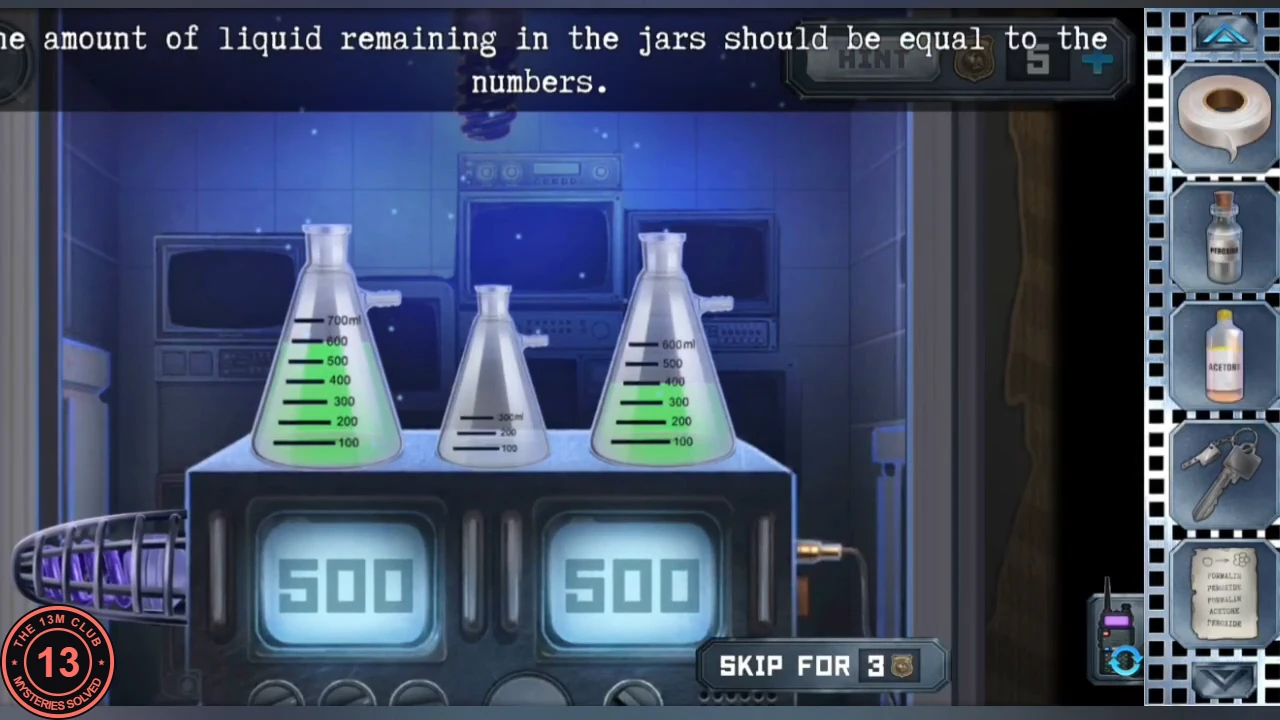
The machine in the chemistry room has three flasks; the outer two must end with exactly 500 ml each.
- As Anna, go to the machine in the chemistry room and put the flask Alex sent you on the empty middle stand. The flasks hold 700, 300 and 600 ml, and the left and right flasks must each end with exactly 500 ("The amount of liquid remaining in the jars should be equal to the numbers."). Tap a flask, then another, to pour until the second is full or the first is empty. The starting levels were the same in two recordings (600 left, middle empty, 400 right), and from there this works: right into middle, middle into left, left into right, right into middle, middle into left, giving 500, 0, 500. If your starting amounts differ, use the small middle flask to measure and keep filling and emptying it until both outer flasks read 500. When both displays light up, take the purple spiral bulb from the coil on the left side of the machine.CODE500 / 500
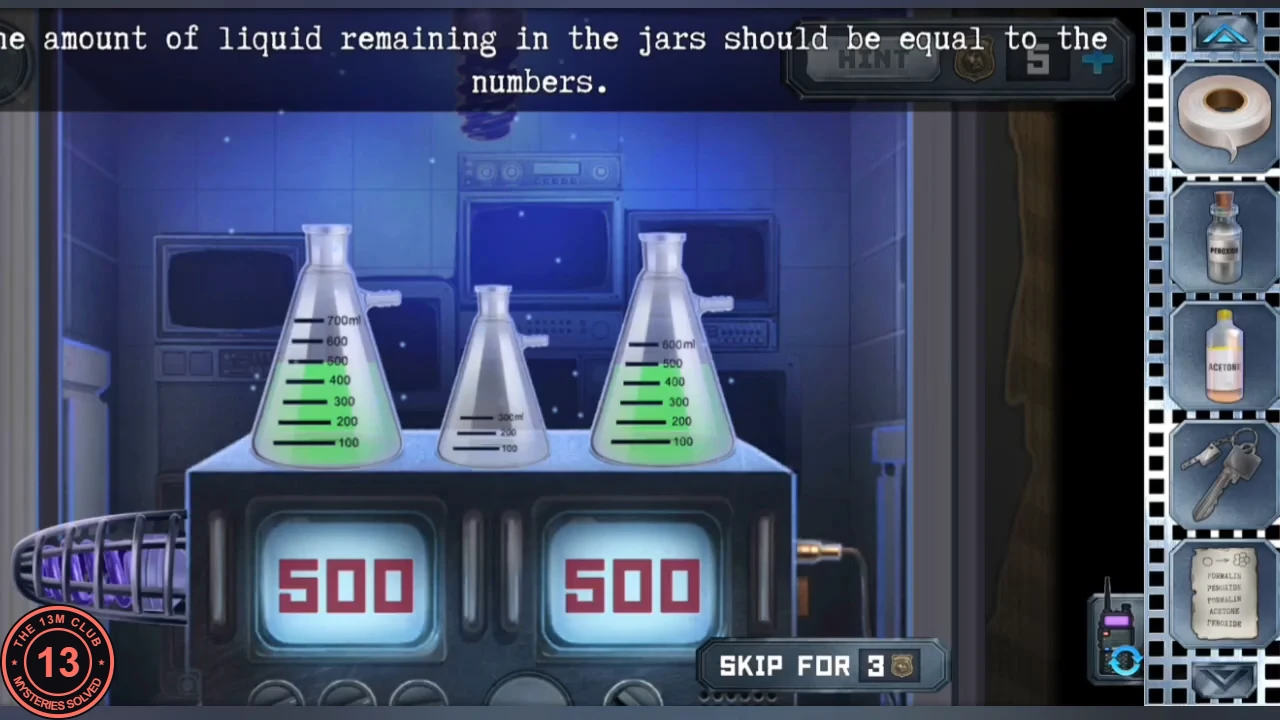
Solved: 500 in the left and right flasks, middle empty, both displays lit.
Flower pot: growing the mechanical flower
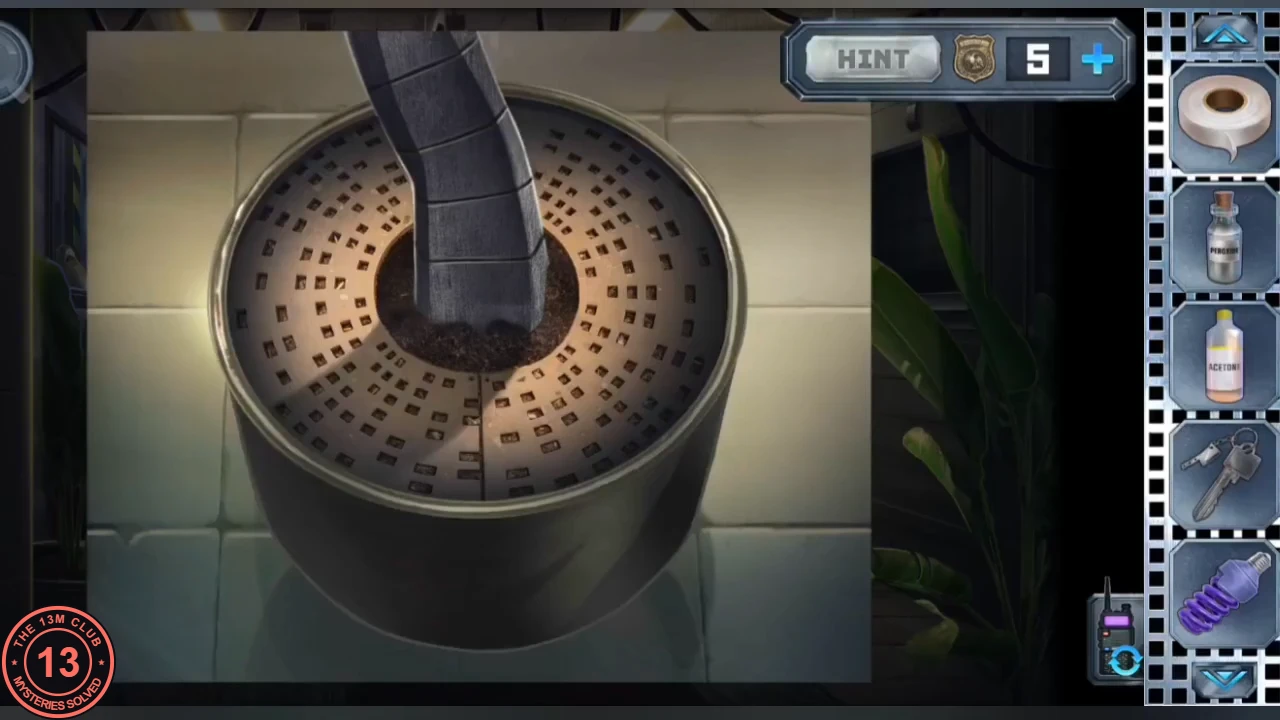
The "How to grow a flower" recipe from the greenhouse gives the pouring order for the flower pot.
- At the flower pot, pour the liquids in the order on the "How to grow a flower" label: formalin, peroxide, formalin, acetone, peroxide. Take the mechanical flower and send it to Alex together with the purple bulb.
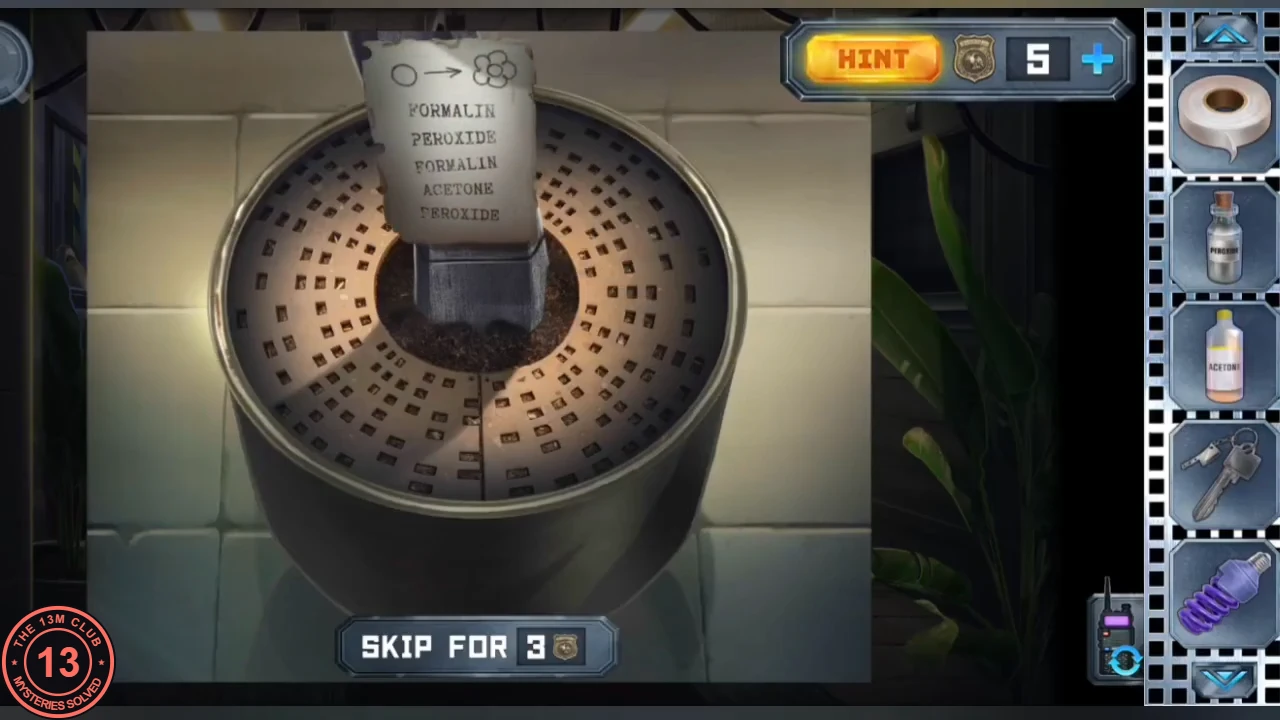
Clue: the recipe label on the flower pot. Pour from the top line down.
UV arrows and the wardrobe wheel safe
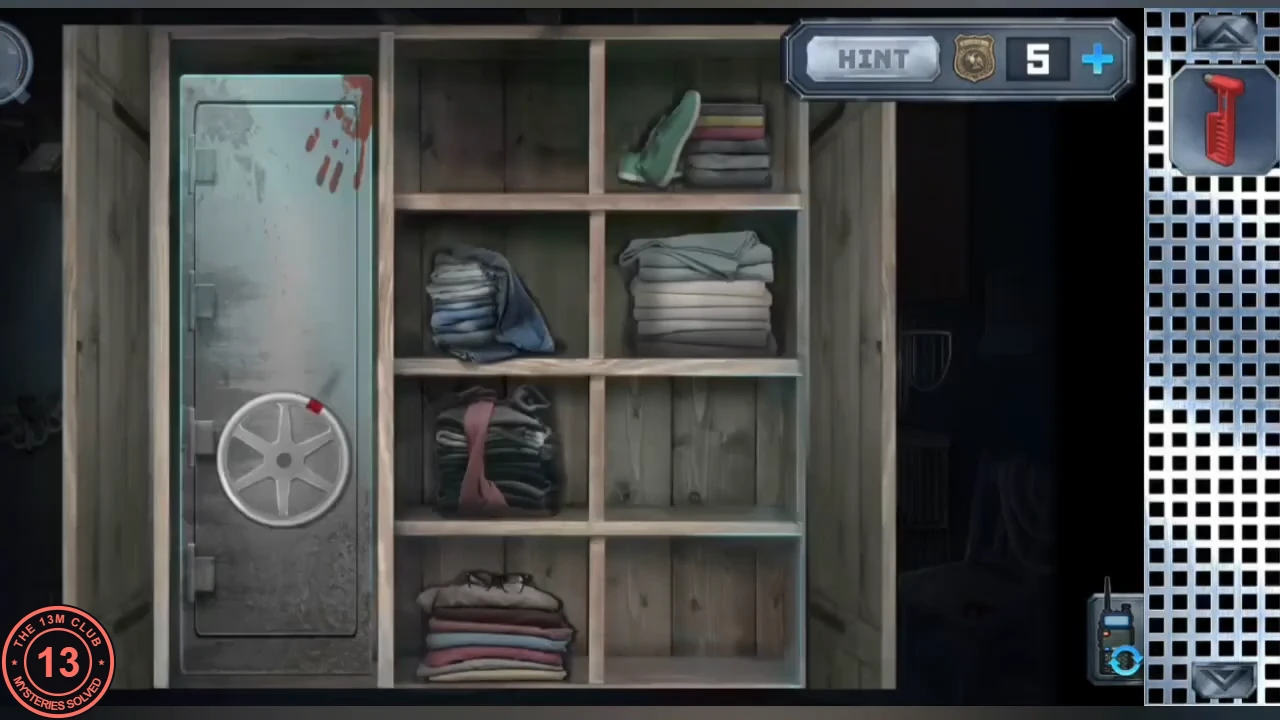
The purple bulb is a UV light that reveals the combination for the wheel safe in the peacock wardrobe.
- As Alex, screw the purple bulb into the desk lamp beside the locker-room laptop ("UV light. It will help to reveal something.") and hold the empty sheet under it to reveal four arrows with numbers. Keep the mechanical flower for the crypt mannequin. Use them on the wheel safe in the peacock wardrobe: 3 turns clockwise, 1 anticlockwise, 2 clockwise, 2 anticlockwise. Inside, a skeleton holds a red tank; take it and send it to Anna.CODE3 clockwise, 1 anticlockwise, 2 clockwise, 2 anticlockwise
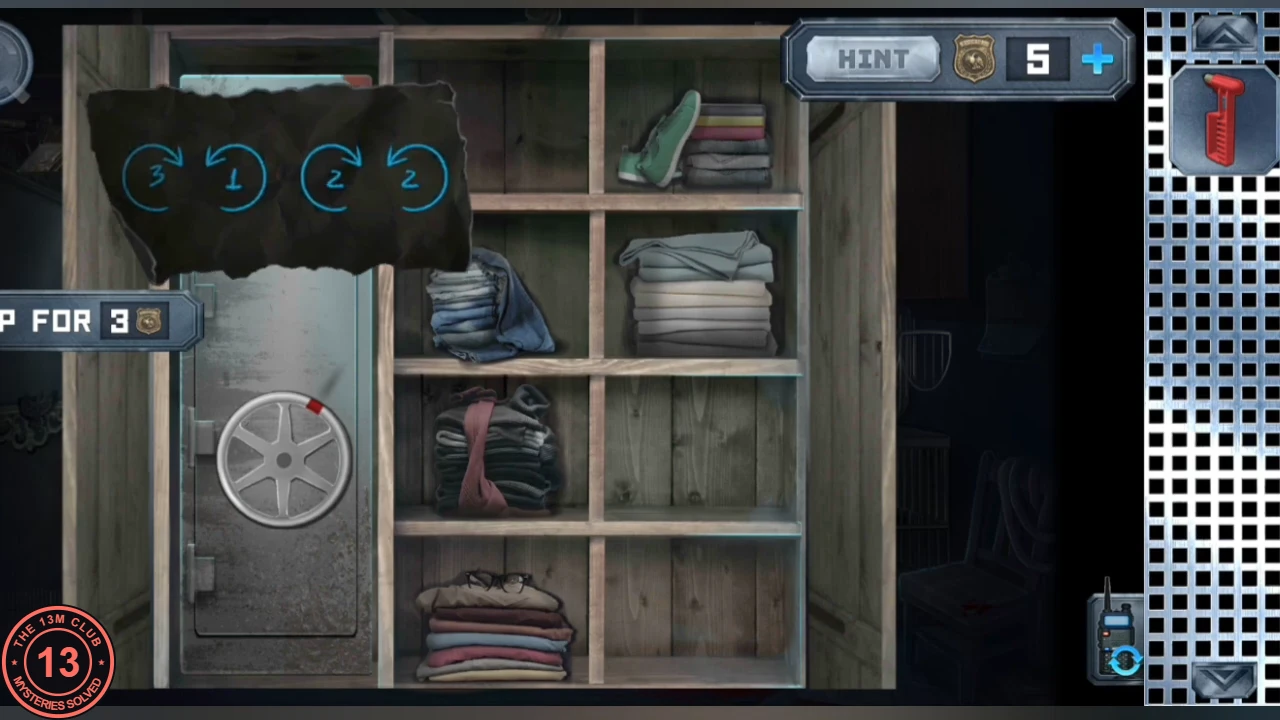
Clue: the sheet revealed under UV light, shown over the wheel safe: 3 clockwise, 1 anticlockwise, 2 clockwise, 2 anticlockwise. - As Anna, stand the red tank in the brick-room cabinet next to the green one. Open the wall lock in the corridor with the key with a cleaver. Plug the electric plug into the socket by the meat grinder and fix it with the tape; the grinder runs. Take the skull ring from the mince.
Skull picture case and the blue tank
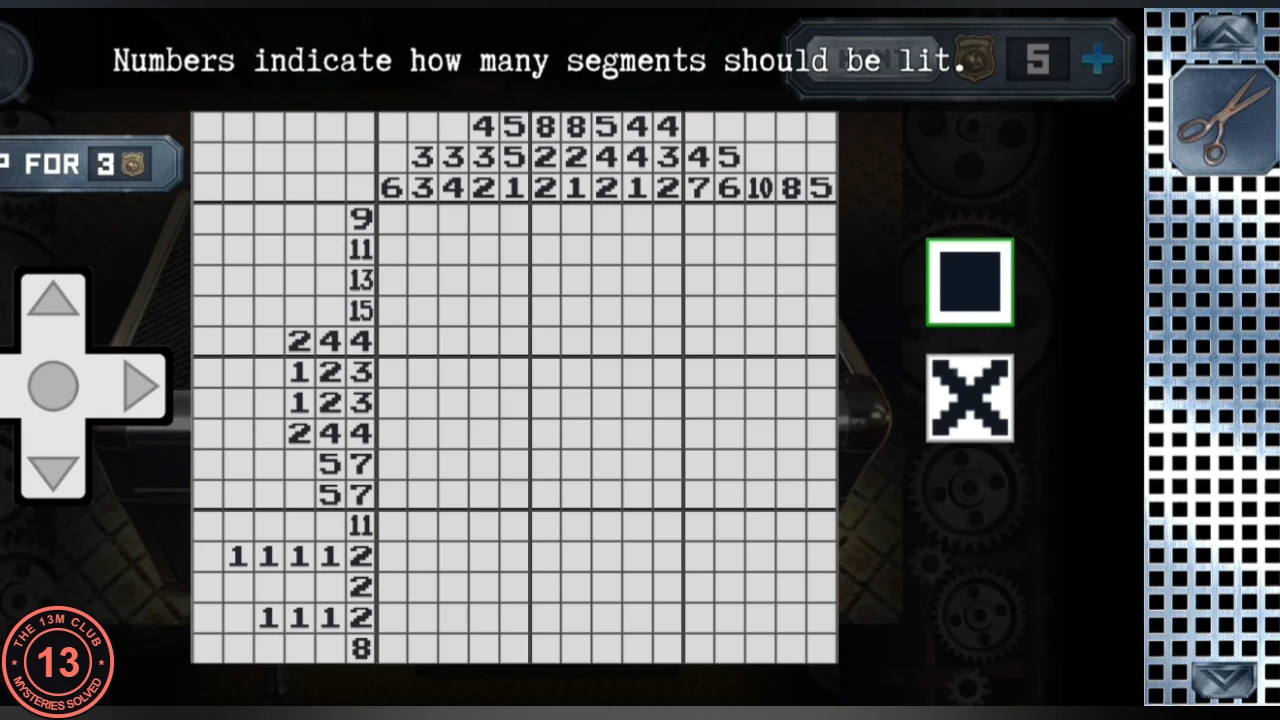
A picture-logic grid on a case in the mechanism room hides the last item.
- Put the skull ring on the skull emblem of the case on the mechanism-room floor. Its lid is a picture-logic grid: the numbers on the left and top give the lengths of the filled runs in each row and column, in order. Fill cells with the square tool and mark empty ones with the X tool. Start with the long rows (9, 11, 13, 15) and the 10 and 8 columns. The finished picture is a skull ("Well of course it's a skull."). Take the small statue and send it to Alex.
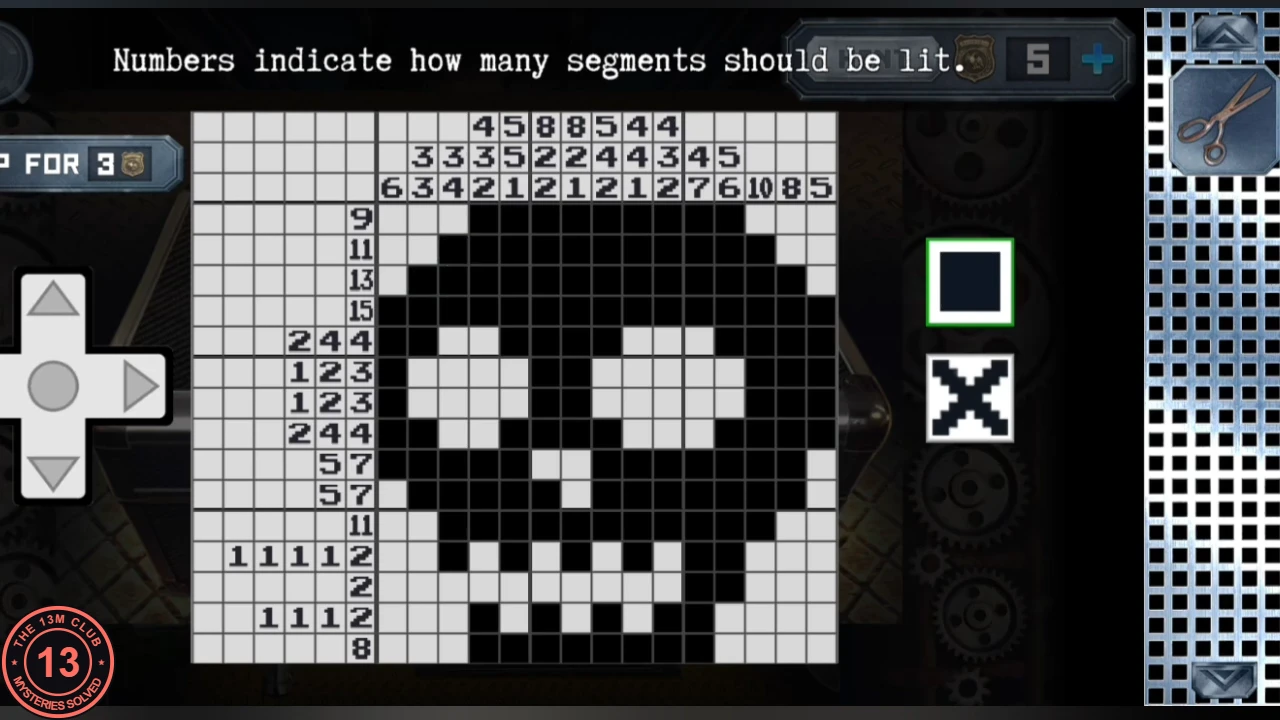
Solved: the finished grid shows a skull. - As Alex, put the statue and the mechanical flower in the meditating mannequin's two lower palms. Its eyes glow red and its chest opens; take the blue tank and send it to Anna.
- As Anna, put the blue tank in the last slot of the brick-room gas cabinet. "CONGRATULATIONS! YOU PASSED THE SECOND ROUND!" appears and the final choice begins.
Who will sacrifice themselves? Both endings
Chapter 2 ends with a choice screen. The presenter explains: if Alex presses the button, Anna passes; if Anna activates the fuse, Alex passes. There are two endings.
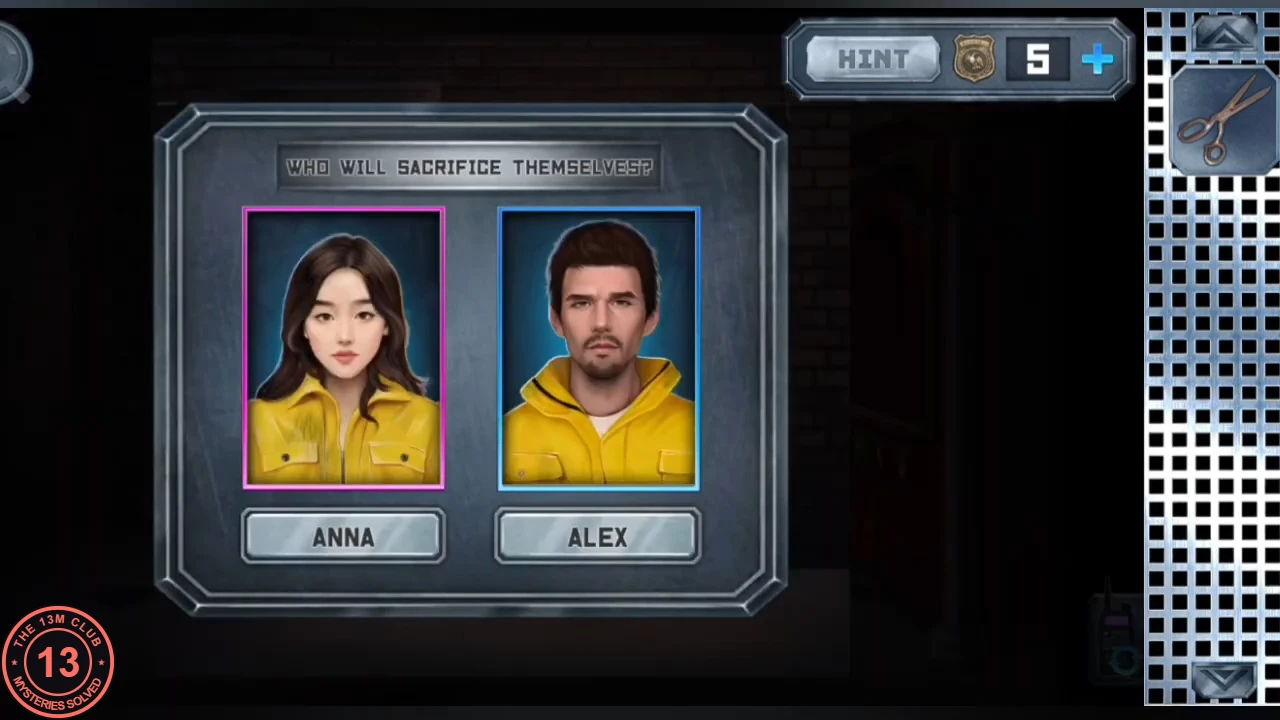
- Choose ALEX: Alex sits in the electric chair, says "Sorry, Anna" and presses the remote. Anna is left alone under a spotlight, and a bloodied walkie-talkie calls "Anna! Anna, are you here?!" (labelled END 1 in one recording).
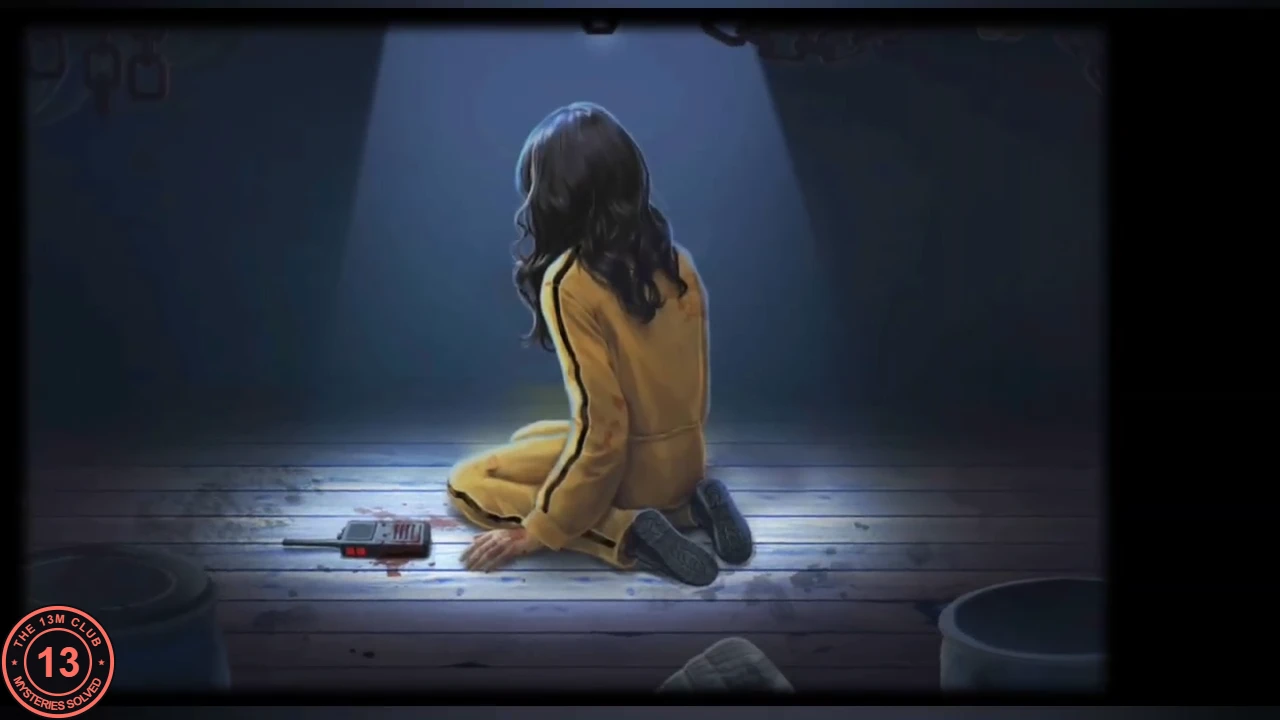
The ending after choosing ALEX: Anna alone under the spotlight beside the bloodied walkie-talkie. - Choose ANNA: Anna steps into the burning chamber ("Good luck, Alex!"). Alex is left grieving, and a walkie-talkie lying beside HELP written in blood says "Alex! I'm here!" (labelled END 2 in one recording).
- After an ending, an end card with a MENU button appears. The recordings do not show a built-in way back to the choice (one video jumps straight back to the choice screen, but only across a cut). To see the other ending, go back through MENU and check whether Continue brings you back to the choice screen; if it does not, replay Chapter 2 from the Chapters menu and choose the other option. Both endings set up the next chapter, which the Chapters menu lists as Chapter 3 "In develop".
Chapter 3, hints and other content
What the game offers beyond the two playable chapters.
- The Chapters menu shows Chapter 1, Chapter 2 and Chapter 3 marked "In develop". No bonus chapter, achievements or collectibles appeared in the menus of the inspected recordings.
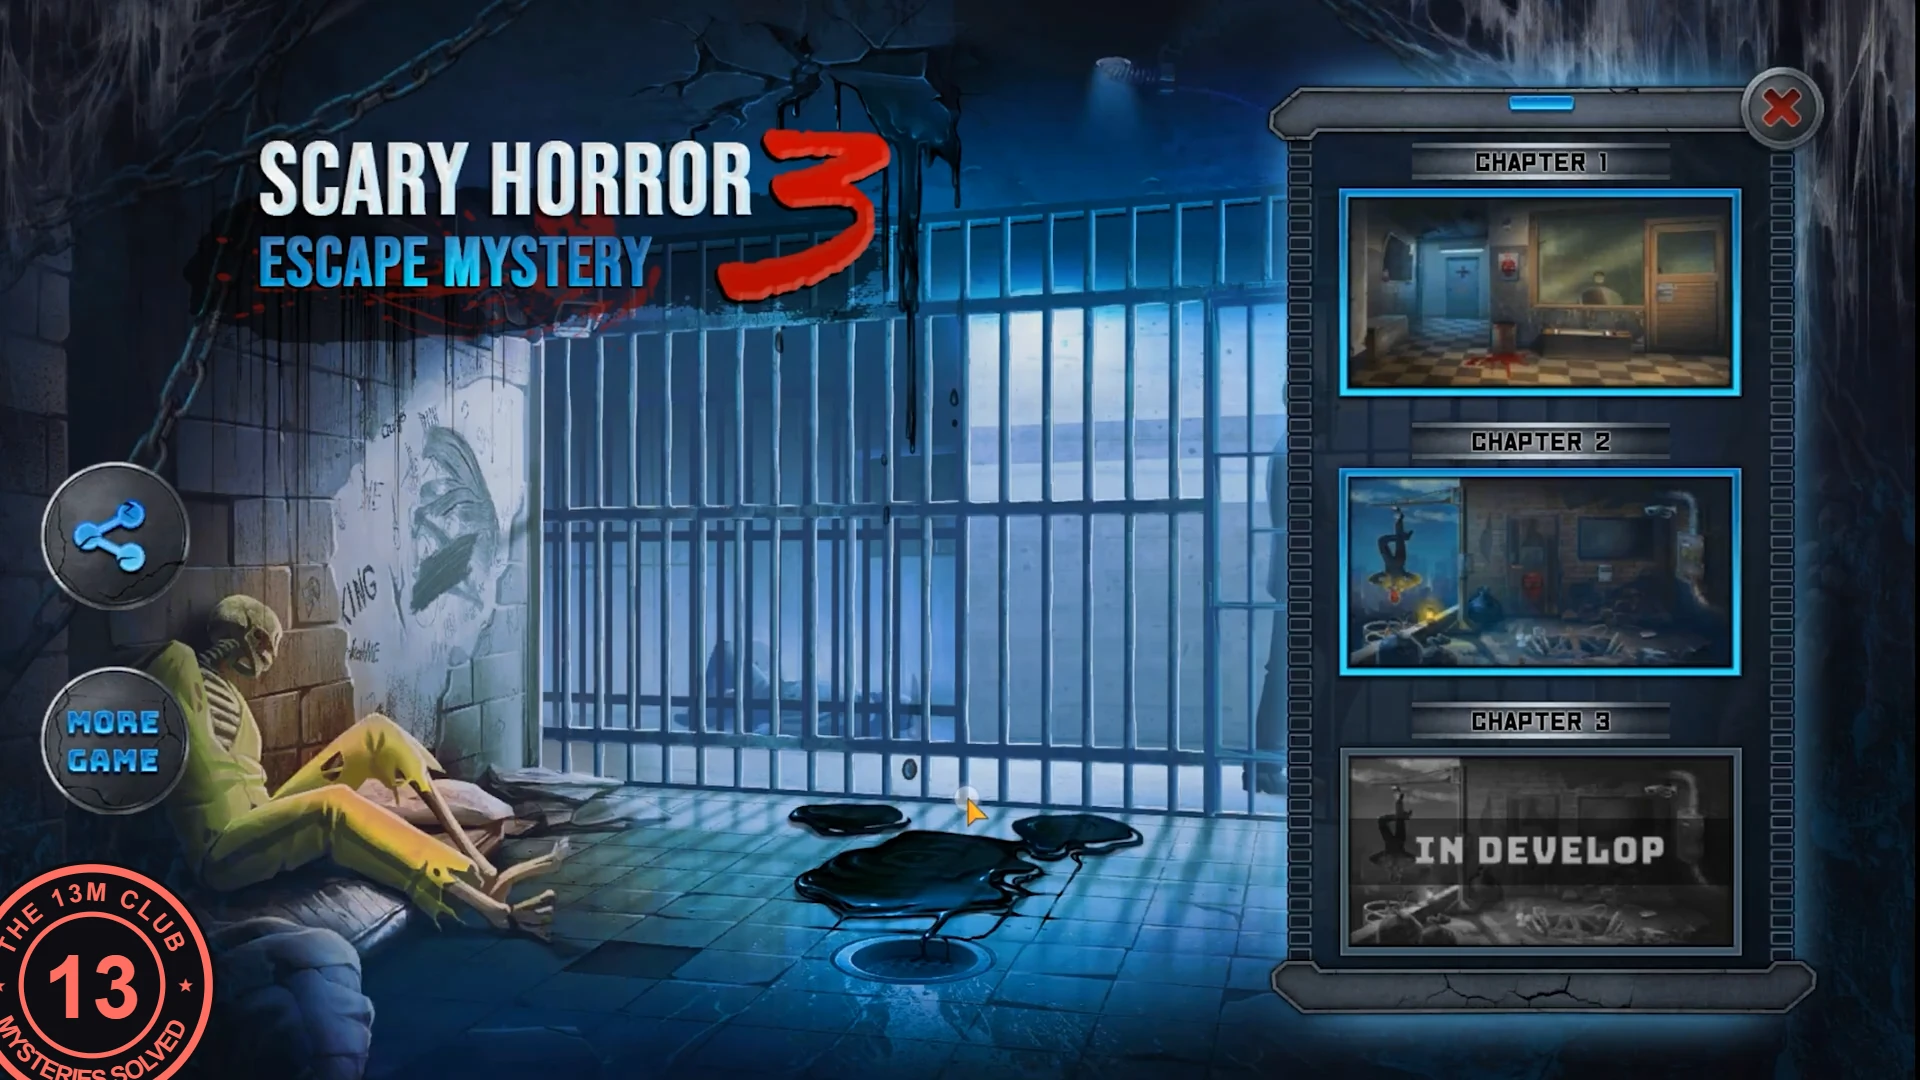
The Chapters menu: Chapter 3 is marked In develop. - Police badges are the hint currency: HINT spends one, Skip buttons spend several, and badges are found in some rooms or earned by watching adverts. Skipping a puzzle completes it, so a skip never blocks the story.