The mannequin's heart
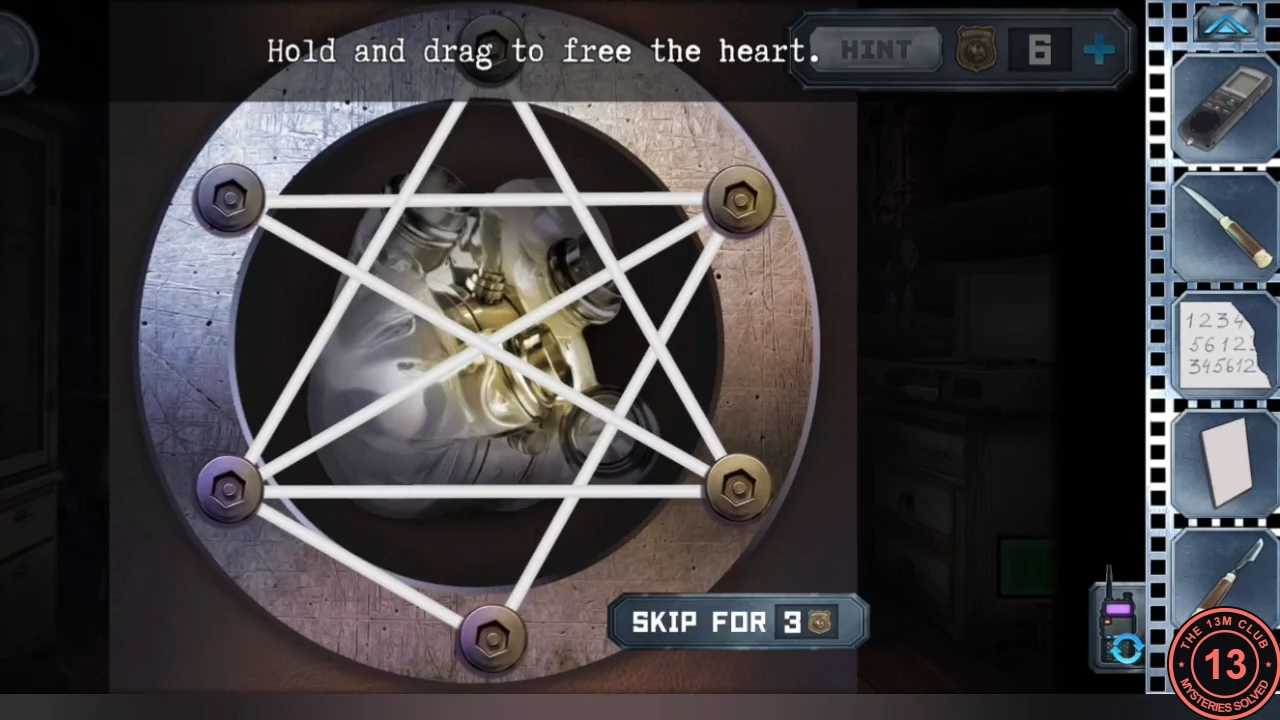
The cabin mannequin holds a heart that powers the hospital mannequin.
- Give the cabin mannequin the head dummy and the jar of eyes. Its chest opens: drag the rubber bands aside until you can take the artificial heart. Send it to Alex.
- As Alex, put the heart in the hospital mannequin by the bed and press the red button. Take the joystick and send it to Anna.
Mirror room: the gorilla arcade
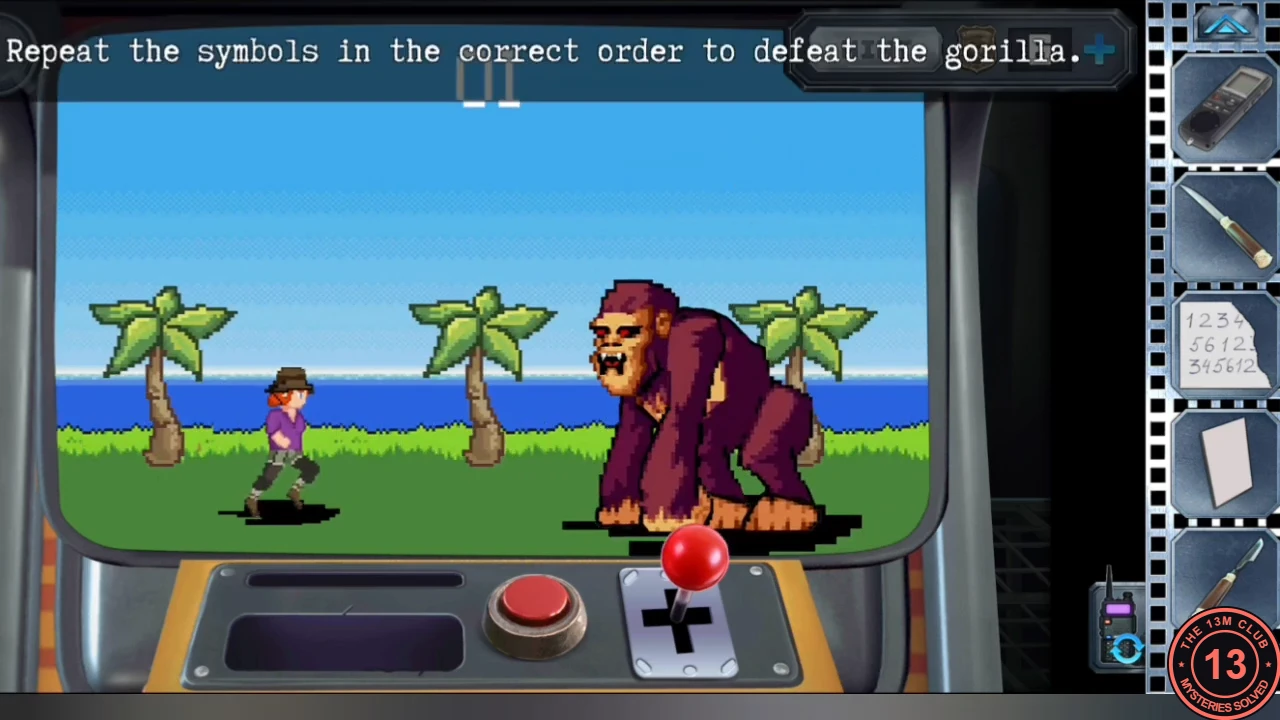
The joystick from the hospital mannequin powers the arcade machine in the mirror room: a memory game with gems and other symbols.
- Put the joystick in the mirror-room arcade and press the red button. The gorilla shows a sequence of symbols (coloured gems and a star) above his head; repeat it by tapping the same symbols. There are three rounds (3, 4 and 6 symbols). The sequence can differ between games, so watch each round rather than copying a list. Winning gives the "Giveaway" cartridge; send it to Alex.
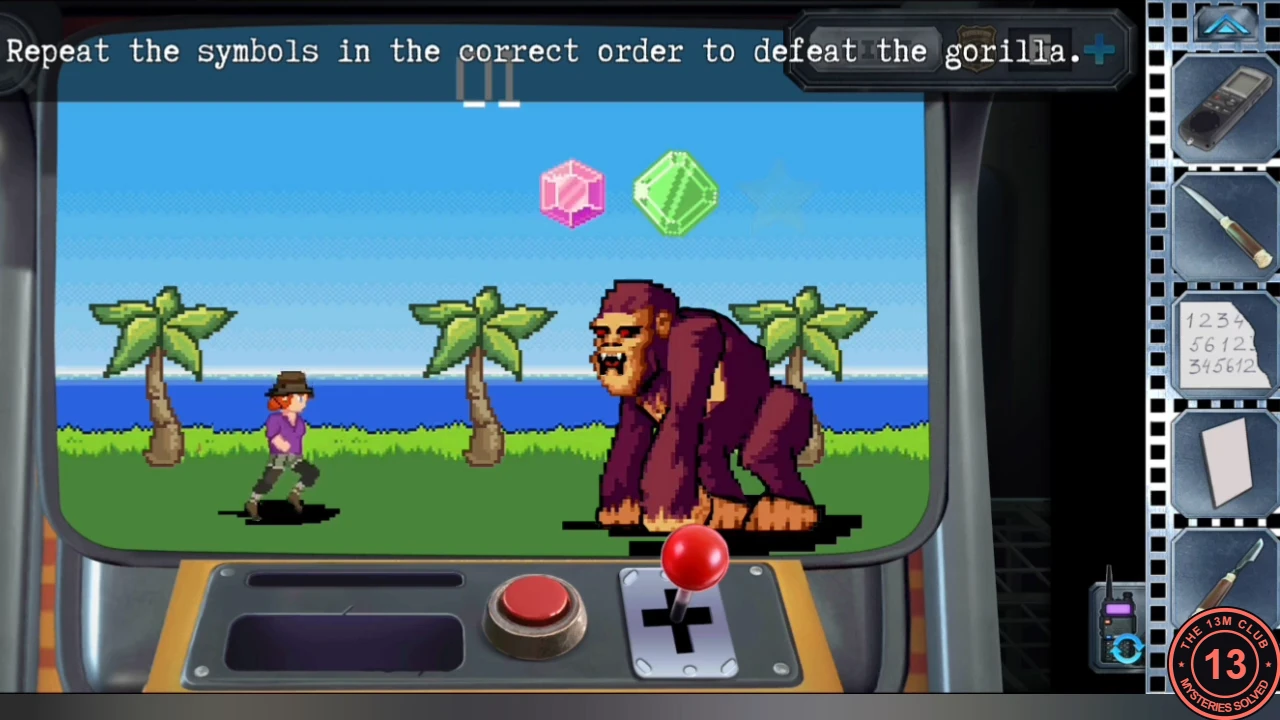
The gorilla arcade, round 1, showing its gem sequence. Example only: the sequence can differ between games.
Laboratory: the Giveaway console game
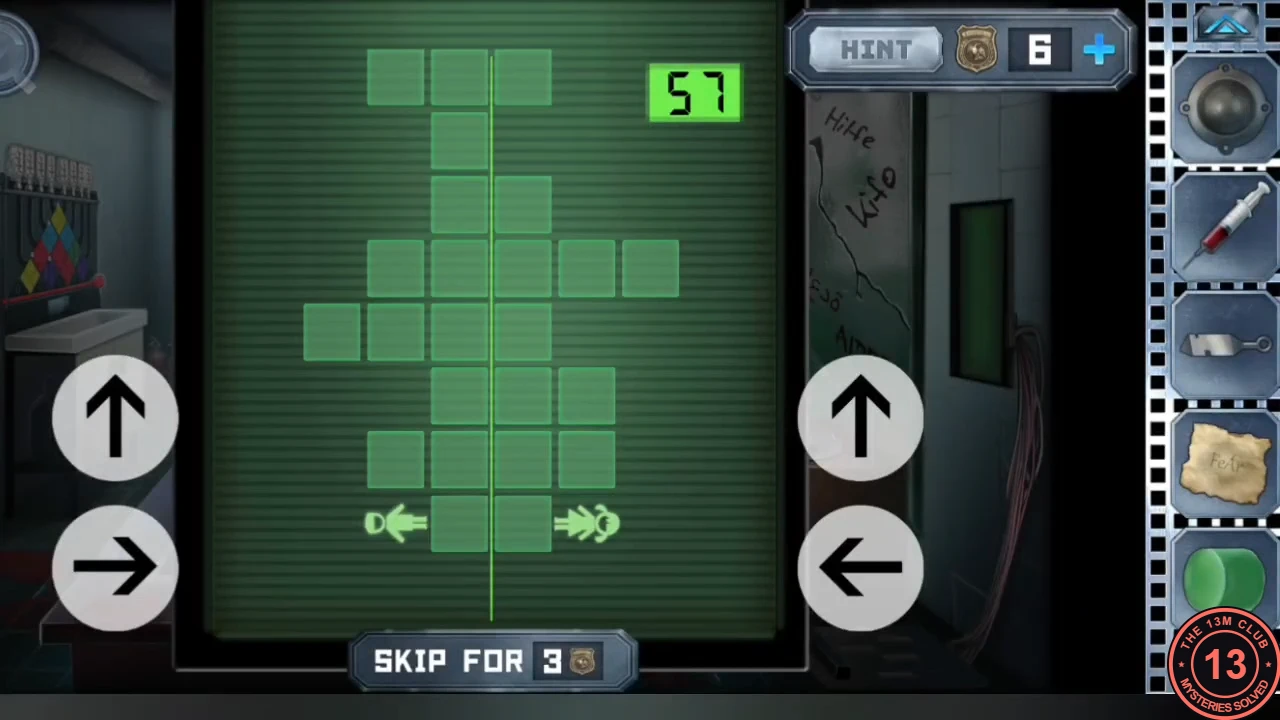
Alex's lab console game gives Anna the round key; then Alex fetches the second letter fragment.
- Insert the "Giveaway" cartridge in the lab console. Move the boy and the girl upward with the top arrows; when a column ahead of one of them is blocked by two or more squares, shift the rows with the left and right arrows to clear the way. Get both to the top within the move limit. A compartment opens in Anna's mirror room; she takes the round key.
- Go back to Alex's first cell and widen the hole in the wall with the pickaxe. Take the second letter fragment and send it to Anna.
Living-room bookshelf: the green sliders and safe 2618
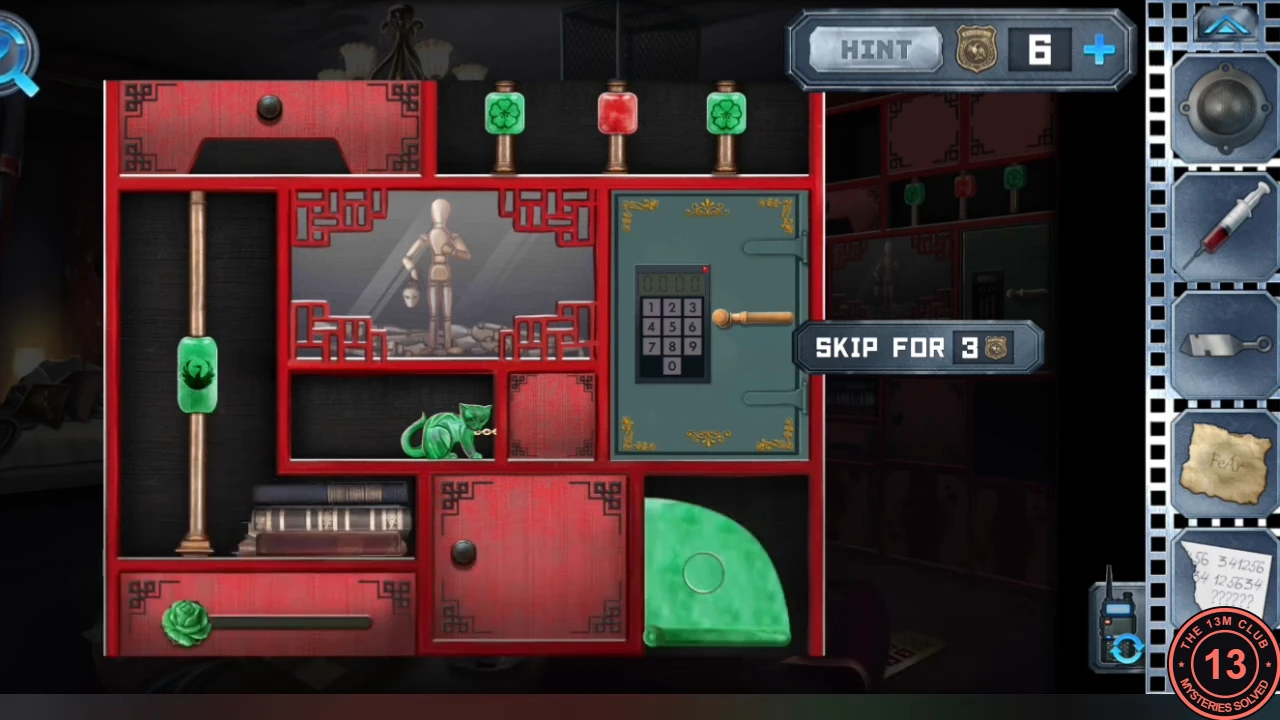
The jade rod activates the green sliders on the living-room bookshelf, which reveal a safe opened with the "FeAr" clue.
- At the living-room bookshelf pull out the green surface and put the jade rod in its hole. Then slide the two green lanterns at the top down, slide the green bird on the left pole down and slide the green rose on the bottom bar fully right; the cat moves aside and the safe becomes active.
- "FeAr" stands for the chemical symbols Fe (iron, 26) and Ar (argon, 18) on the book's periodic table. Enter 2618 and take the last red part. Send it to Anna.CODE2618
Mirror-room exit door: the red pieces
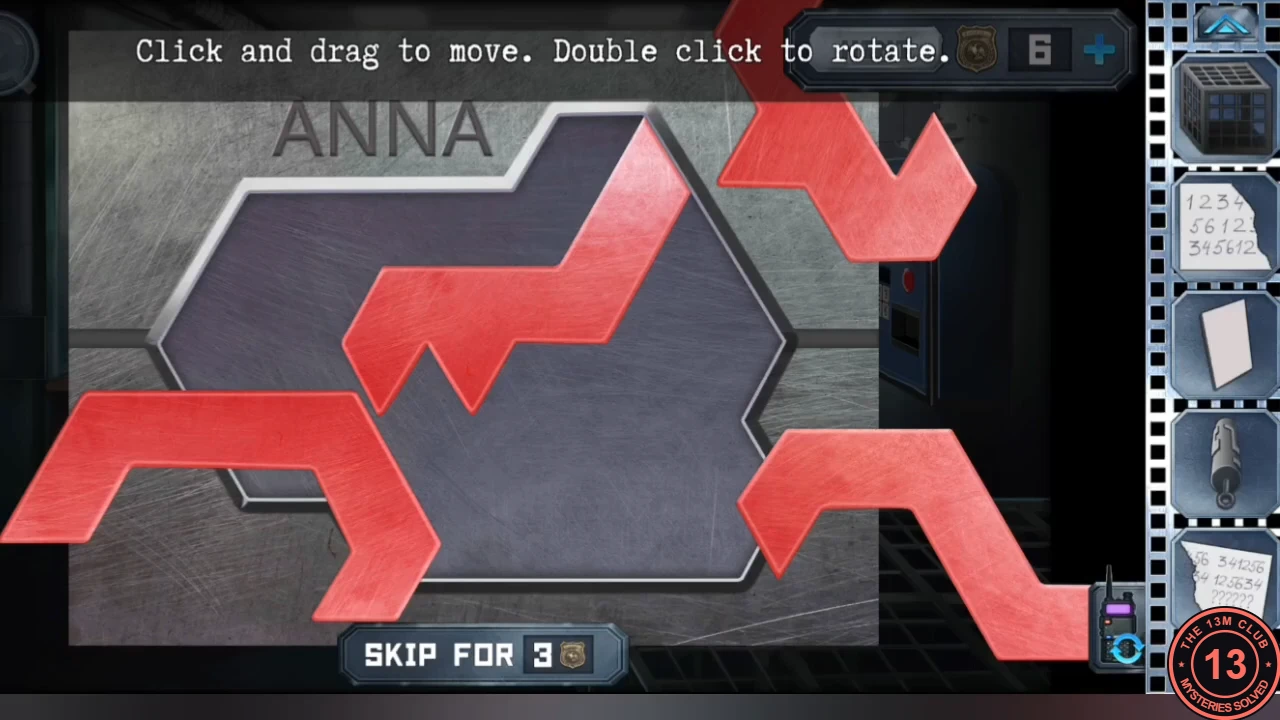
Anna assembles the outline on her exit door from the red parts.
- Put the third red part on the mirror-room exit door. Drag and double-tap the red pieces (there are four in the outline puzzle) until they fill the outline, then use the round key.
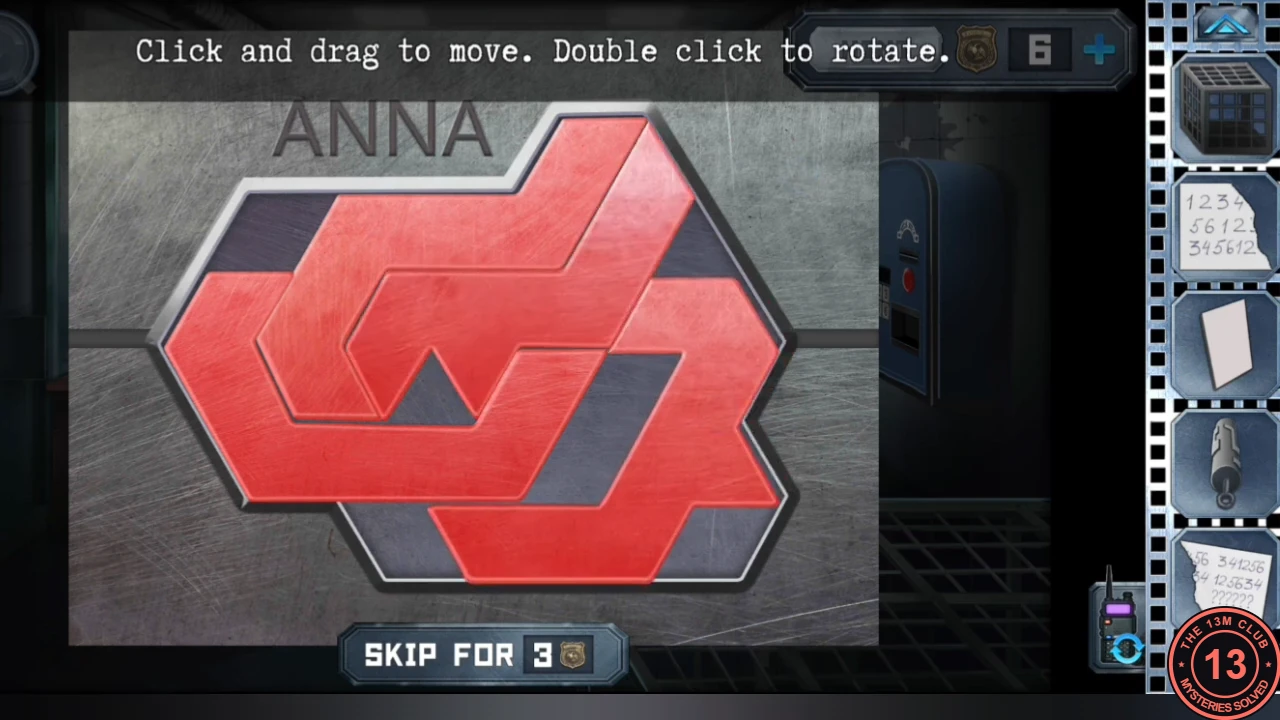
Solved: the red pieces fill the outline on Anna's exit door.
Mirror room: the token machine code
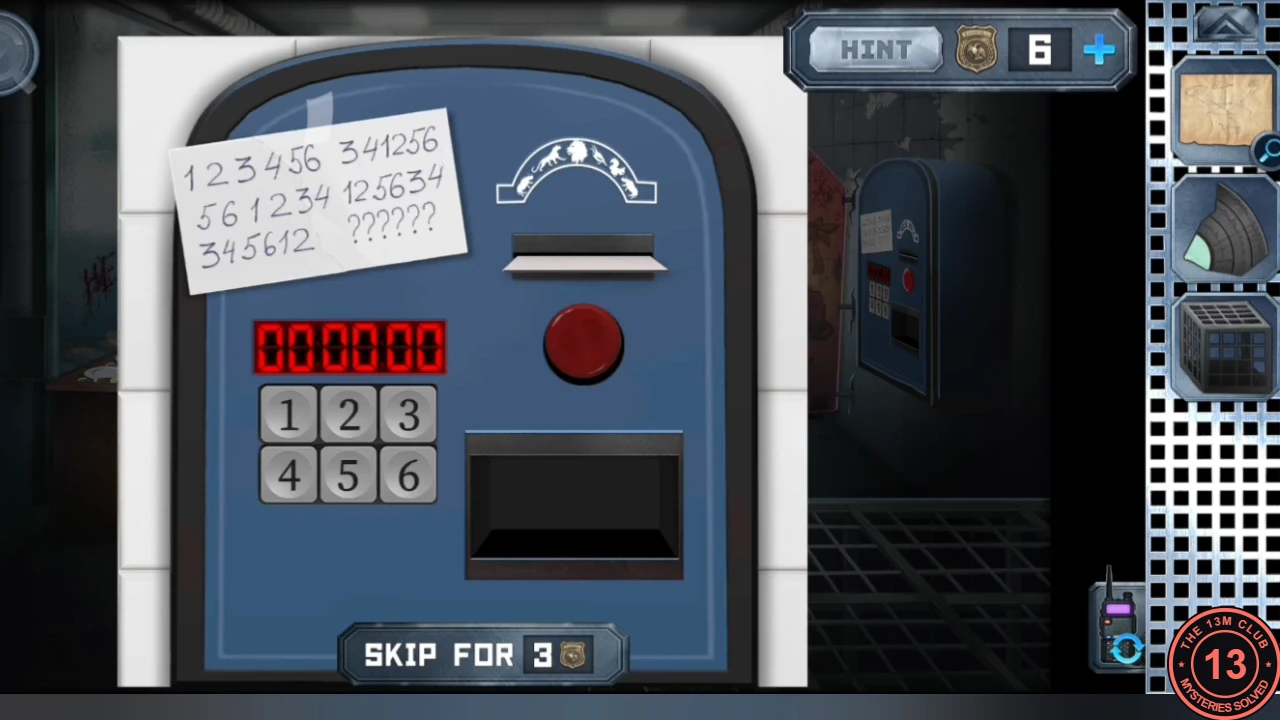
The guest card is already in the token machine; the joined letter fragments give its password.
- At the token machine join the two letter fragments. Each row shifts the last two digits to the front: 123456, 561234, 345612 and 341256, 125634, so the missing number is 563412. Enter it, press the red button and take the tokens.CODE563412
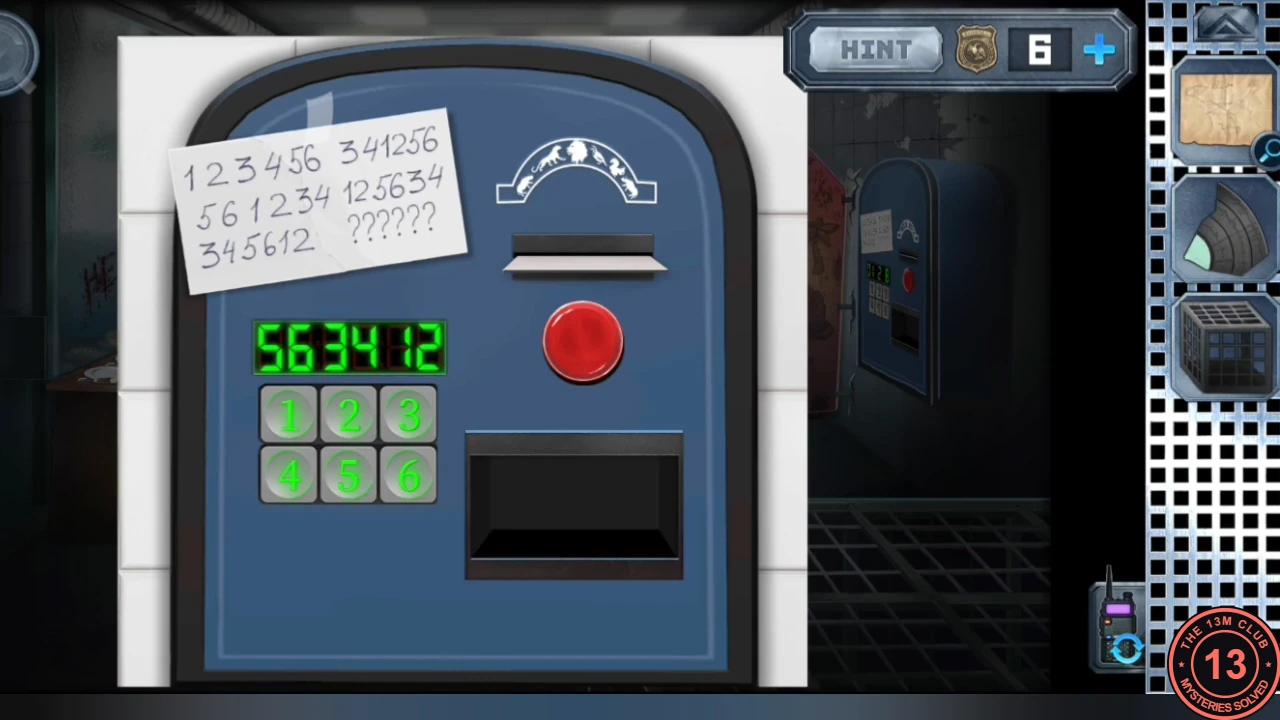
The joined letter clue on the token machine and the accepted code 563412.
Zoo: the claw machine
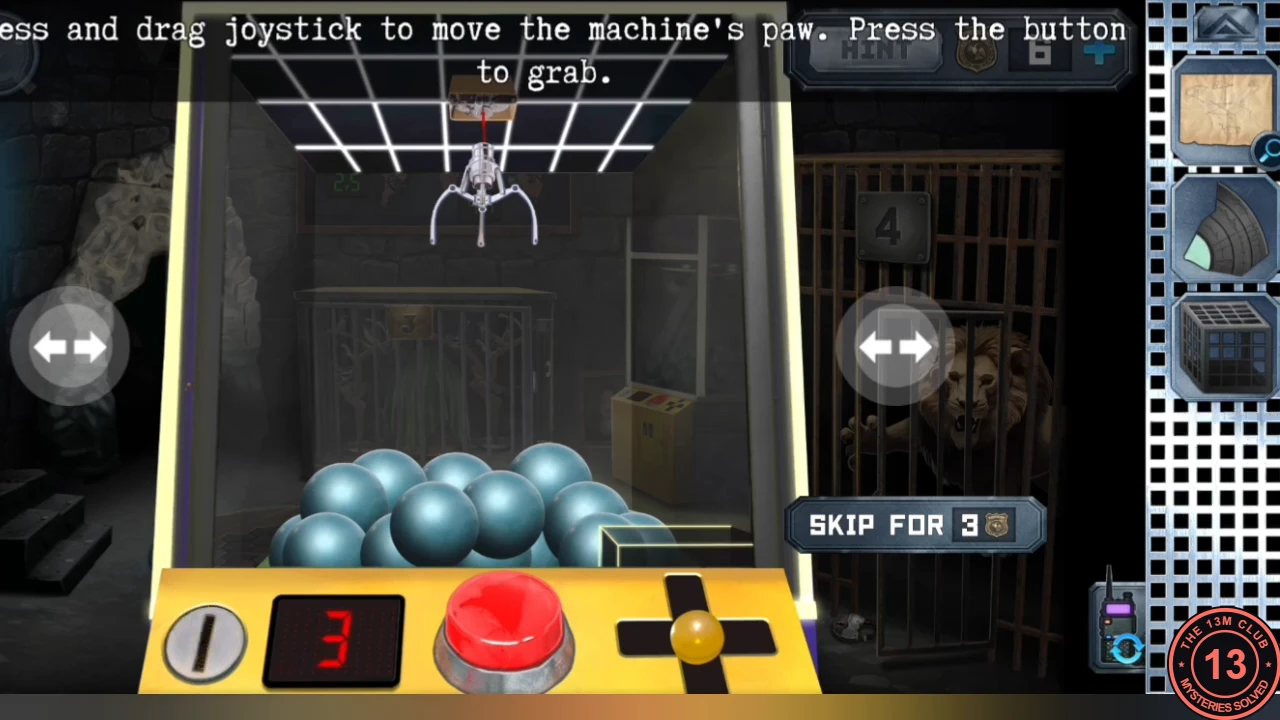
The tokens pay for the claw machine. The toy mouse it gives traps the cat that guards a fork.
- Use the tokens on the zoo claw machine. Move the claw with the joystick, grab with the red button and use the arrows to rotate the view. Fish out the ball with a cat face (it is buried among the blue balls) and drop it in the chute. A toy mouse comes out.
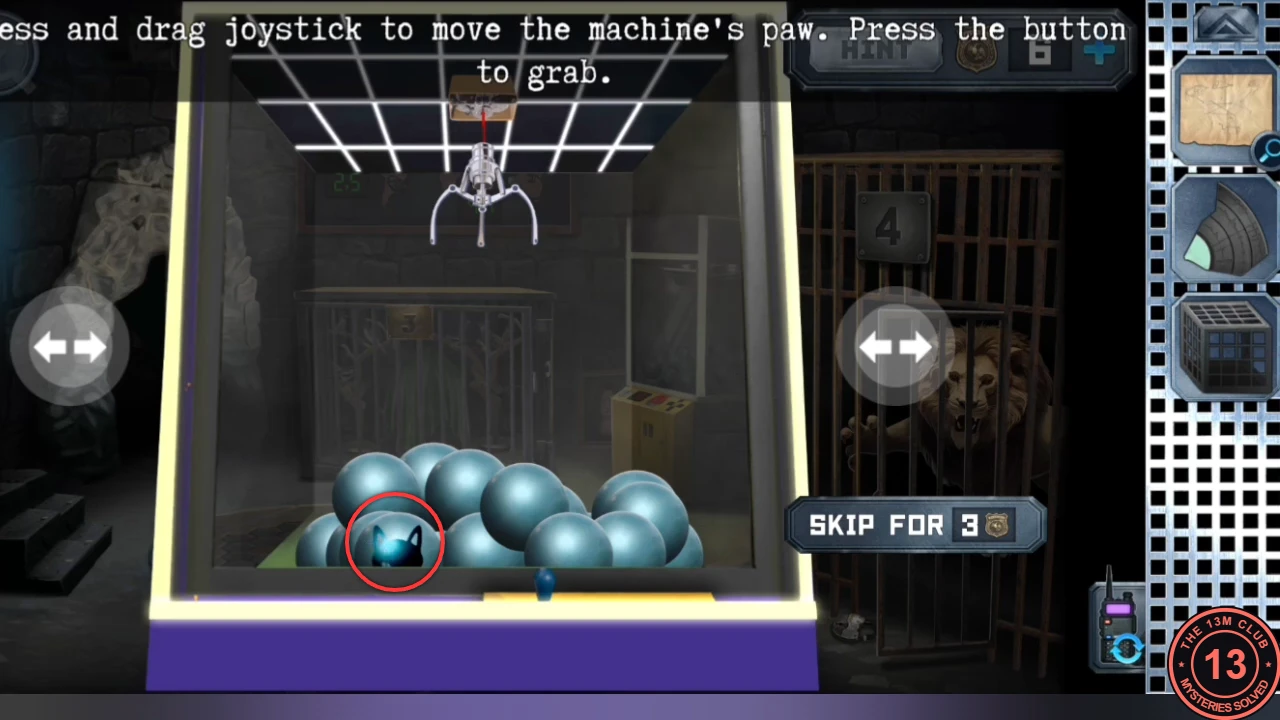
The cat-face ball, circled, at the front left of the pile in this playthrough. - Put the mouse in the cage in Anna's padded cell. The cat pounces and is trapped, so you can take the three-prong fork from its hole.
Mirror room: the cutlery table
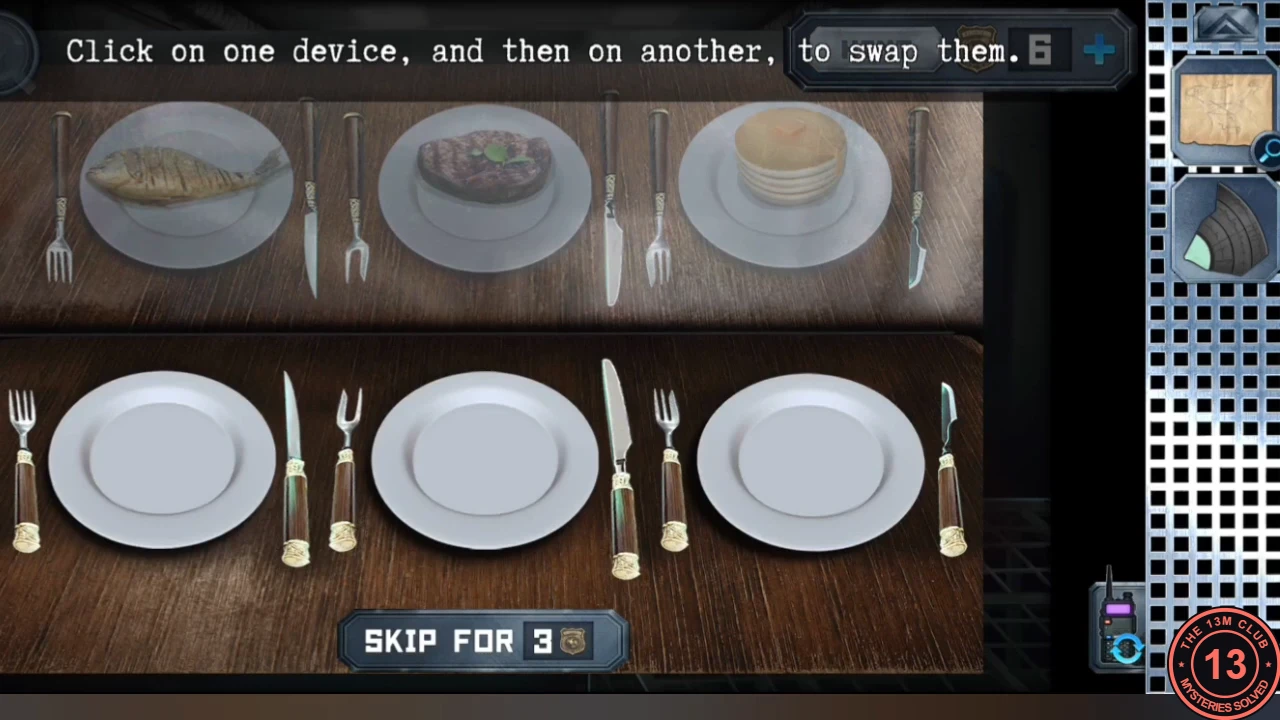
The last items let Alex fool the voice check on his exit door. First, Anna sorts the cutlery.
- On the mirror-room cutlery table add the fish knife and the fork, then tap two pieces of cutlery to swap them until each dish (fish, steak, pancakes) has its matching cutlery. Take the chemistry note and send it to Alex.
Laboratory: mixing the superglue
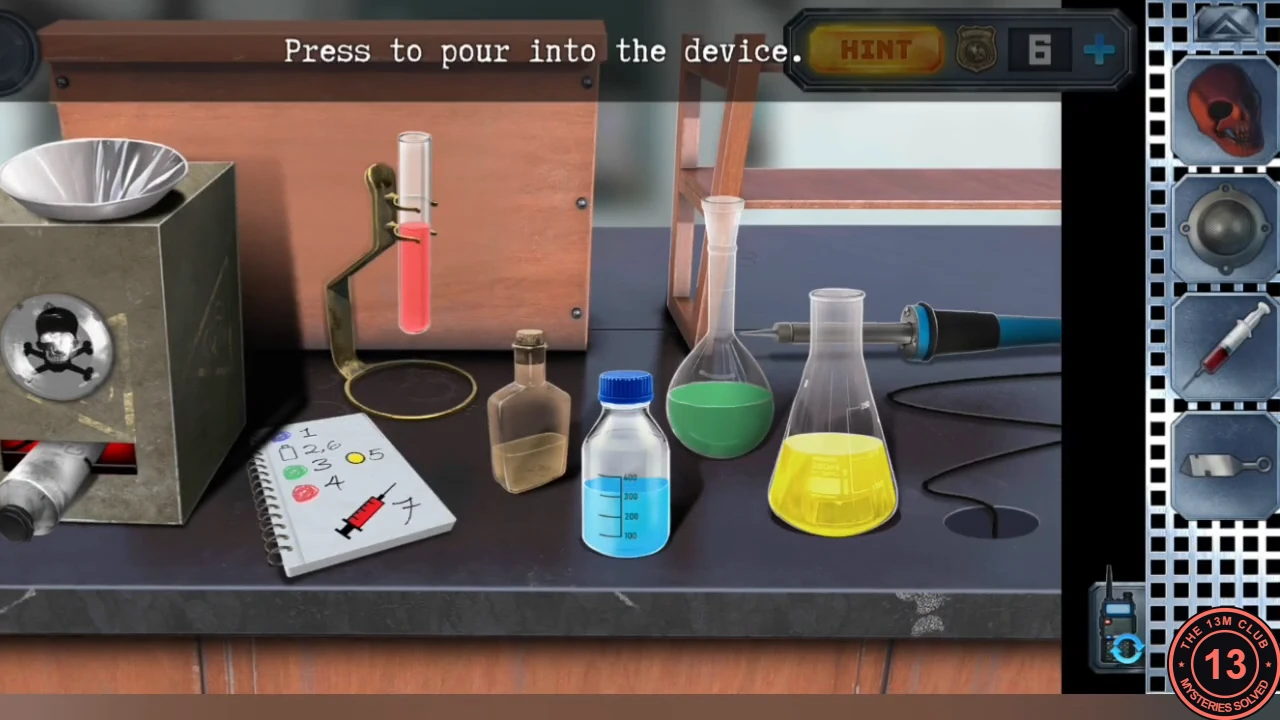
The chemistry note from the cutlery table gives the order of the liquids on the lab's central desk.
- Put the note on the lab's central desk and pour the liquids in the order it shows: 1 blue bottle, 2 brown bottle, 3 green flask, 4 red tube, 5 yellow flask, 6 brown bottle again, 7 the syringe of blood. Take the superglue and send it to Anna.
Cabin gramophone and the voice check
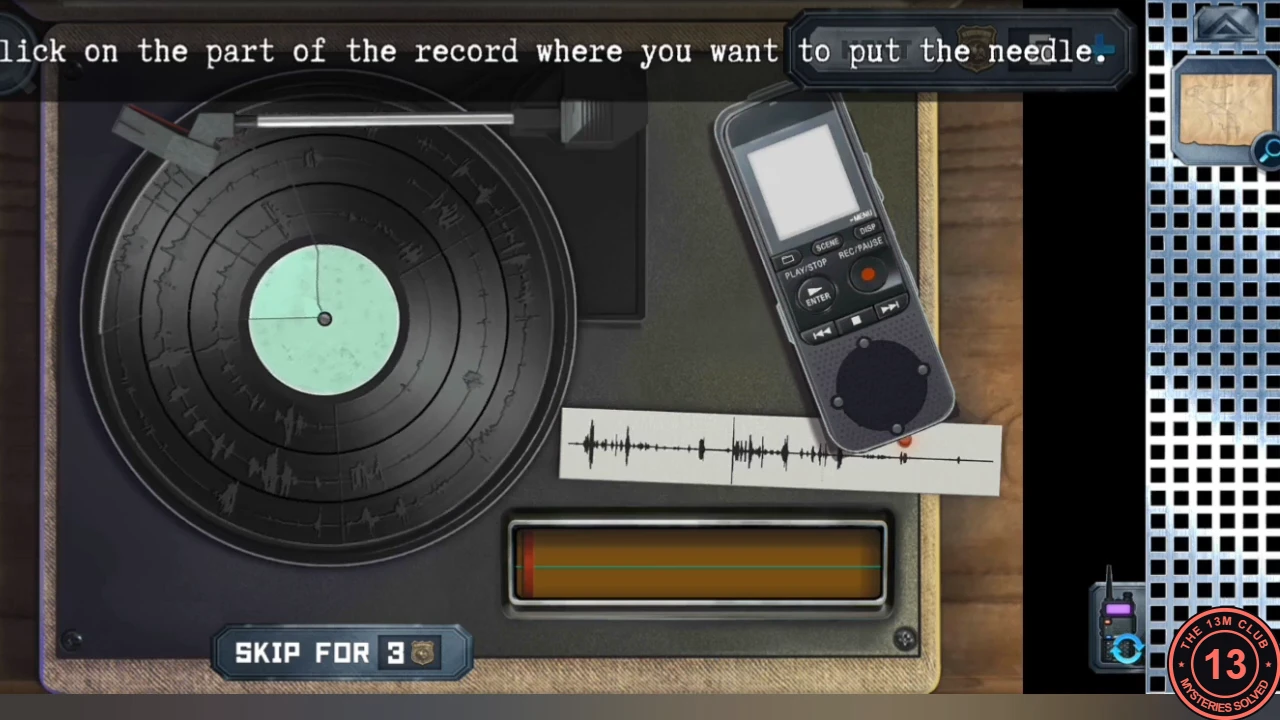
The superglue repairs the record so Anna can record the voice Alex needs for the lab exit door.
- At the cabin gramophone glue the broken record, add the vinyl fragment, and put the voice recorder and spectrogram beside it. Hold the tone arm on a segment to play it: green means the sound matches the spectrogram, red means wrong, so lift quickly. Find the correct segment in each of the three rings. Send the recorder with the recording to Alex.
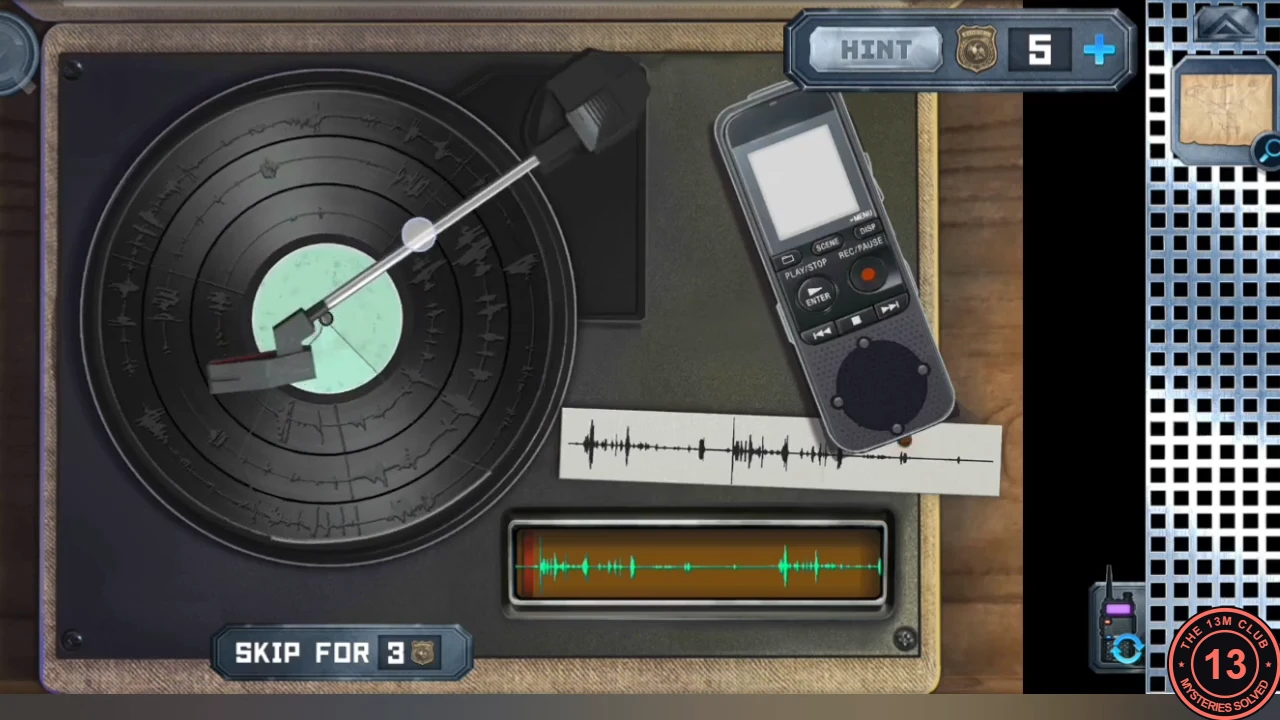
A green waveform means the needle is on a matching segment. Red means wrong. - As Alex, attach the speaker to the recorder and put the recorder inside the red mask. Hold the mask in front of the lab exit door's voice and face check, then use the triangle-shaped key in the lock. Both doors open and Chapter 1 ends with the masked presenter introducing the next round.