The Stained-Glass Door and the Judges' Bust
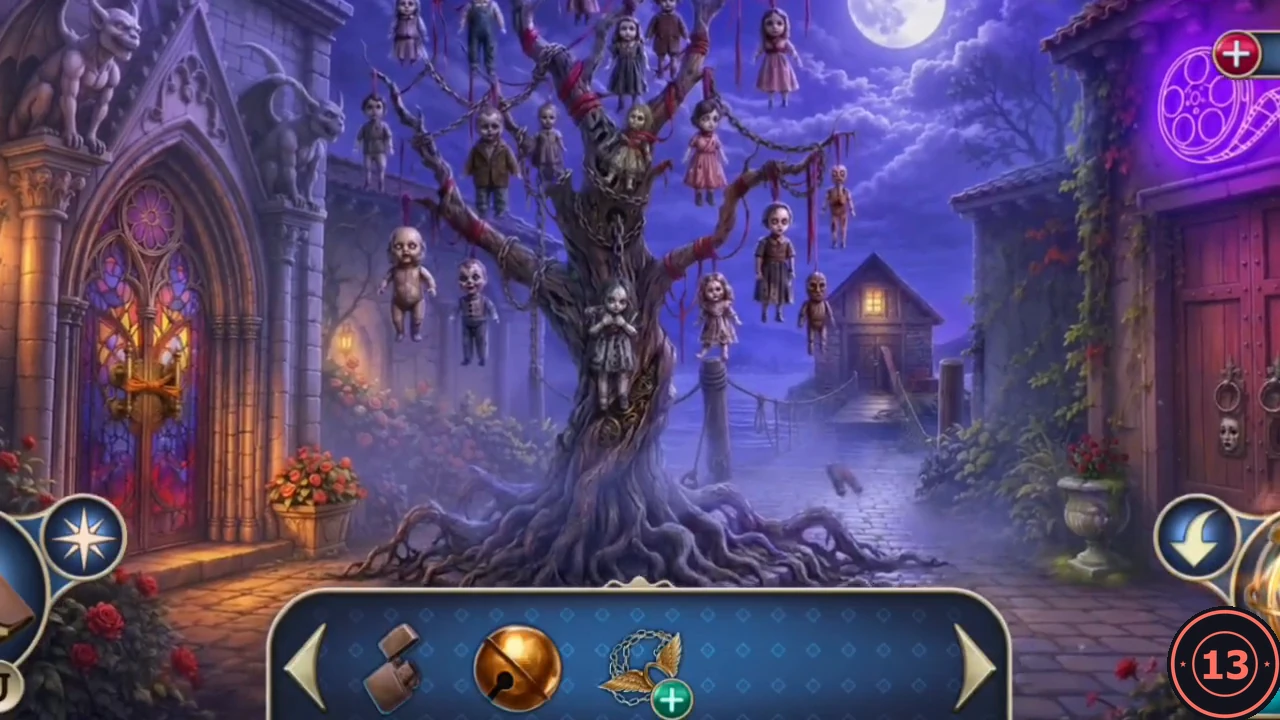
Tinker is alive but barely breathing. Alice gives you the key to the doll-tree courtyard, and your new task is to reach Tinker's boathouse.
- After the scene in Tinker's study, Alice hands you the Stained Glass Key. Your task is now "Reach Tinker's boathouse." Go to the foyer (the hall with the glass skylight) and open the stained-glass door at the back, beyond the staircase, with the Stained Glass Key. It leads to the doll-tree courtyard.
- In the courtyard, take the Emerald from the doll hanging on the tree. Combine it with the Necklace from Tinker's Diary to set the stone.
- Travel to the hedge path with the statues (Chapter 6) and put the necklace on the angel statue. Take the Judges Crown it releases.
- Go to the storage room in Tinker's private house (Chapter 7) and put the Judges Crown on Tinker's bust. The bust opens. Take the Judges Gavel and the Cake Server.
The Chapel
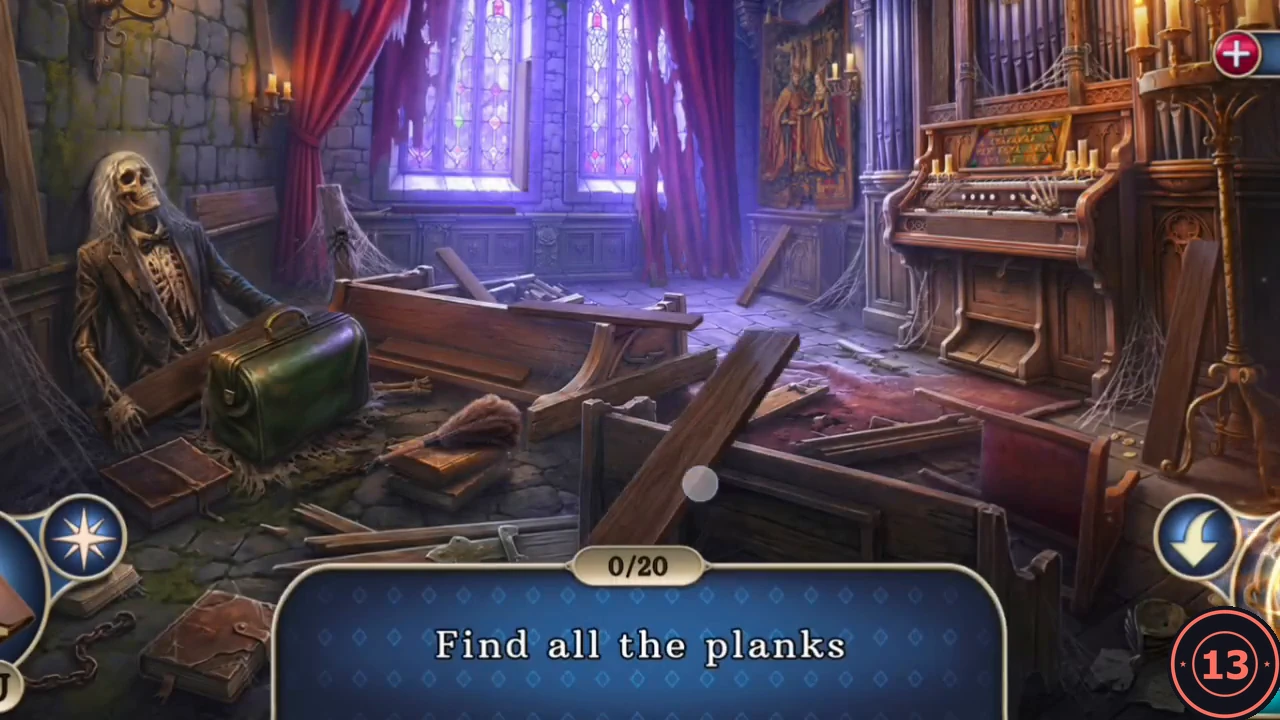
The ruined bridge blocks the way to the boathouse. The chapel beside the courtyard holds what you need to repair it.
- Back in the doll-tree courtyard, look at the broken bridge and pick up the Doll Body floating in the water. The bridge loop is hanging over the water; you will need a boat hook for it later. The handles of the stained-glass chapel door are tied with thick cloth that needs a sharp blade.
- Go to the barn with the red truck (Chapter 6) and sharpen the Cake Server on the grinder to get a Sharp Cake Server. Return to the courtyard and cut the cloth off the chapel door handles. Enter the chapel.
- The chapel is dark. Use the Lighter to light the candles. A glowing search scene opens: "Find all the planks." Collect all 20 planks to receive the Set Of Planks.
- Open the green bag held by the seated skeleton on the left and take the Organ Key. There is also a film reel in the bag, but you cannot take it yet. Then use the Sharp Cake Server to pry the Seahorse out of the centre of the bas-relief.
Repairing the Bridge
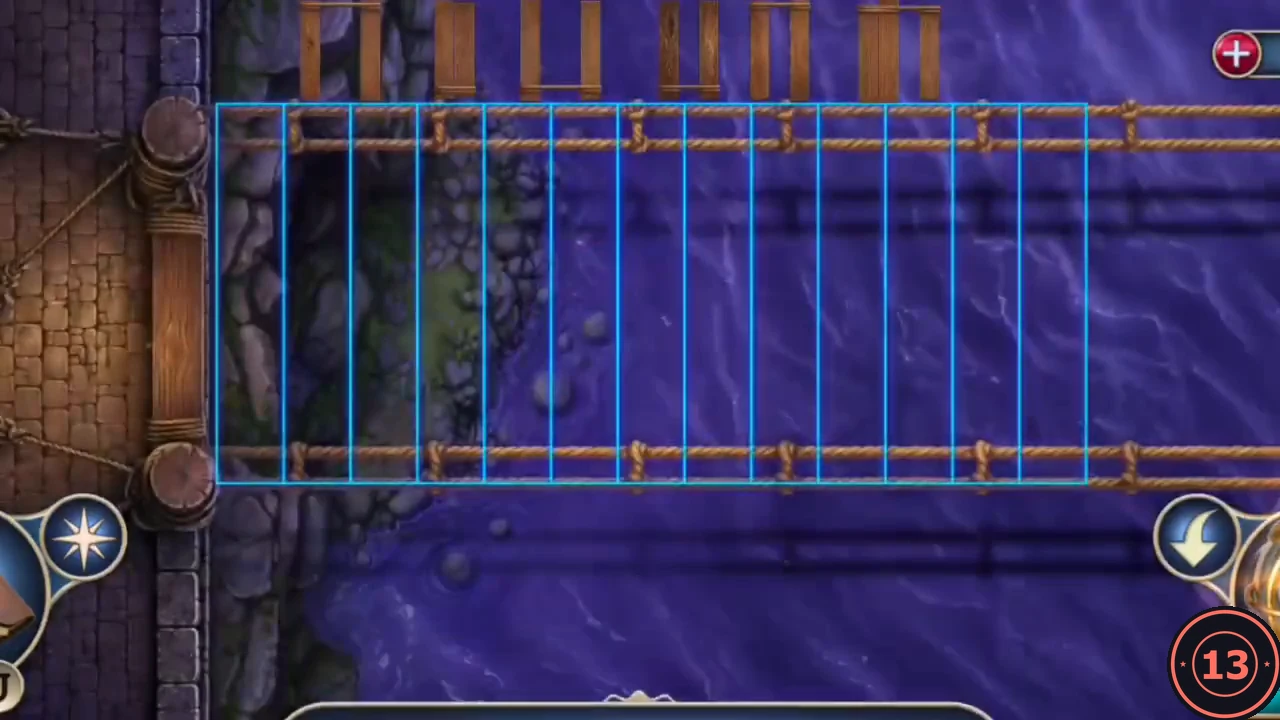
To cross to the boathouse you must pull the bridge loop back, secure the ropes and lay the planks.
- Go to the lakeside courtyard (Chapter 6) and look into the opened chest by the sunken boat. Take the Boat Hook again. A secret clue is also here.
- At the broken bridge, use the Boat Hook to pull the loop back onto the support. Lay the Set Of Planks on it. The ropes are unsecured because someone pulled the stakes out of the supports.
- Find the three Iron Stakes: one in the green box in the attic stair hall (Chapter 5), one in the plant pot by the tap in the garden shed (Chapter 6) and one on the roof (Chapter 5).
- Put the stakes into the holes at the bridge and drive them in with the Judges Gavel. The bridge puzzle opens. Drag planks of different widths into the blue-outlined slots along the bridge (the view scrolls as you work) until every slot is filled.
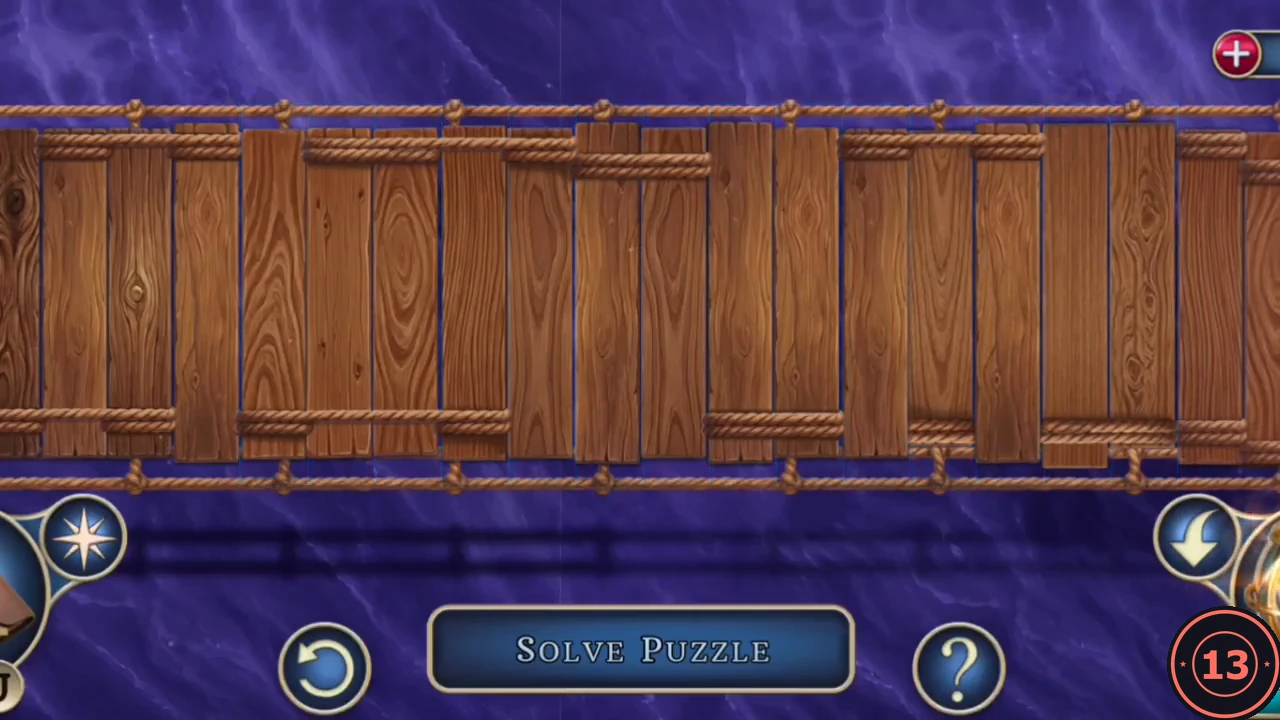
Finished: every gap on the bridge is filled.
Saving the Broker
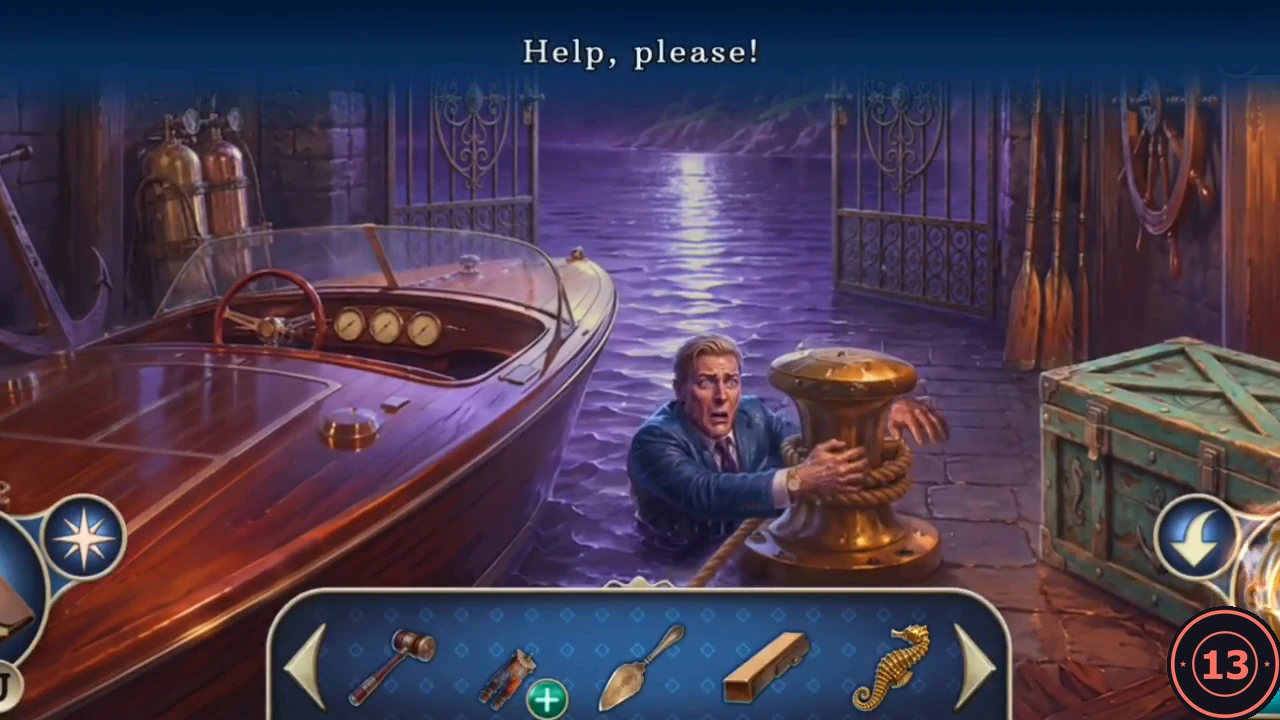
The broker is drowning inside the boathouse.
- Smash the chained padlock on the boathouse door with the Judges Gavel and go inside. The broker is about to drown. Your task is "Save the Broker from drowning."
- Open the green crate: remove the flag and the rope. Take the Snorkel Mask and the Left Arm (a doll's arm).
- Use the Snorkel Mask on the water by the bollard to dive. Cut the rope tying the broker's ankle to the anchor with the Sharp Cake Server. Once he is safe, he gives you a Starfish and your task becomes "Find an oxygen tank and return to Tinker's study."
The Anchor Ring Lock
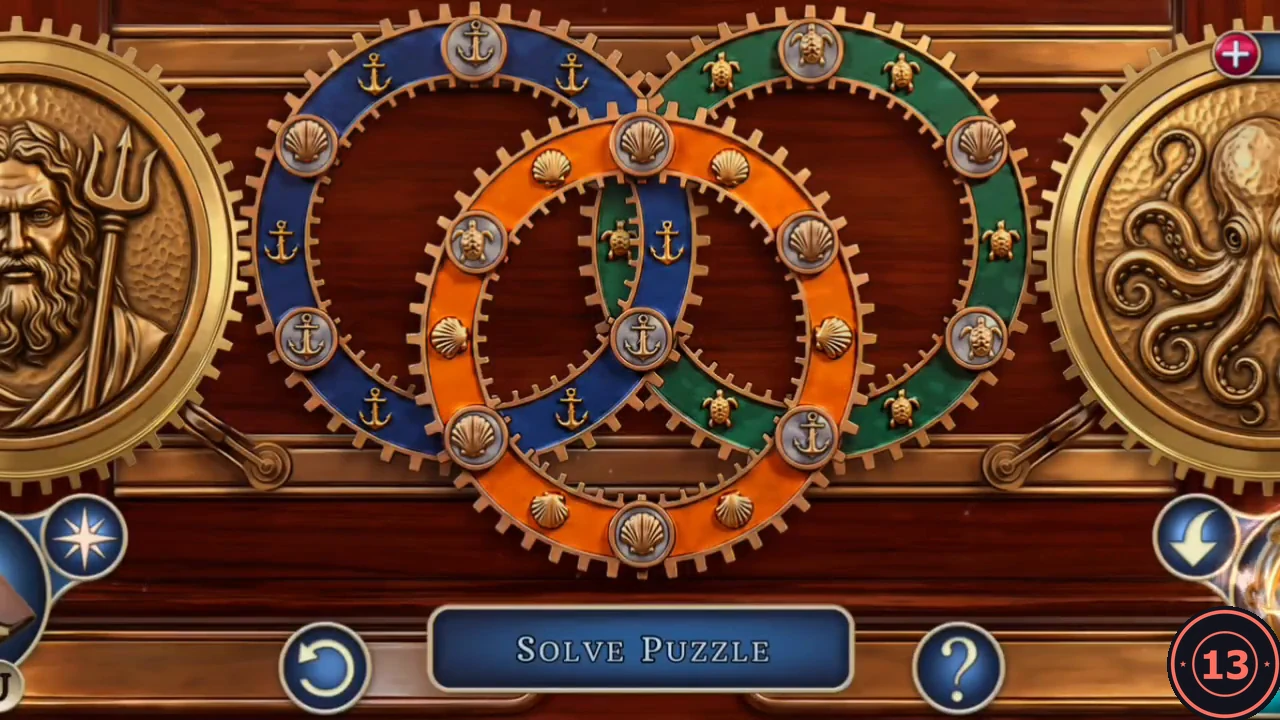
The oxygen tank for Tinker is locked behind the anchor panel in the boathouse.
- Go to the library in Tinker's private house and open the maze box in the secretary drawer. Put the Starfish and the Seahorse into the slots above it. Take the Right Arm and the Anchor Key.
- Back in the boathouse, insert the Anchor Key into the anchor panel. Three interlocking rings hold blue anchor, green turtle and orange shell tokens. Drag the rings to turn them; tokens at the crossing points pass from one ring to another. Sort the tokens until the blue ring holds only anchors, the green ring only turtles and the orange ring only shells. The compartment opens. Take the Oxygen Tank and the Harpoon Gun.
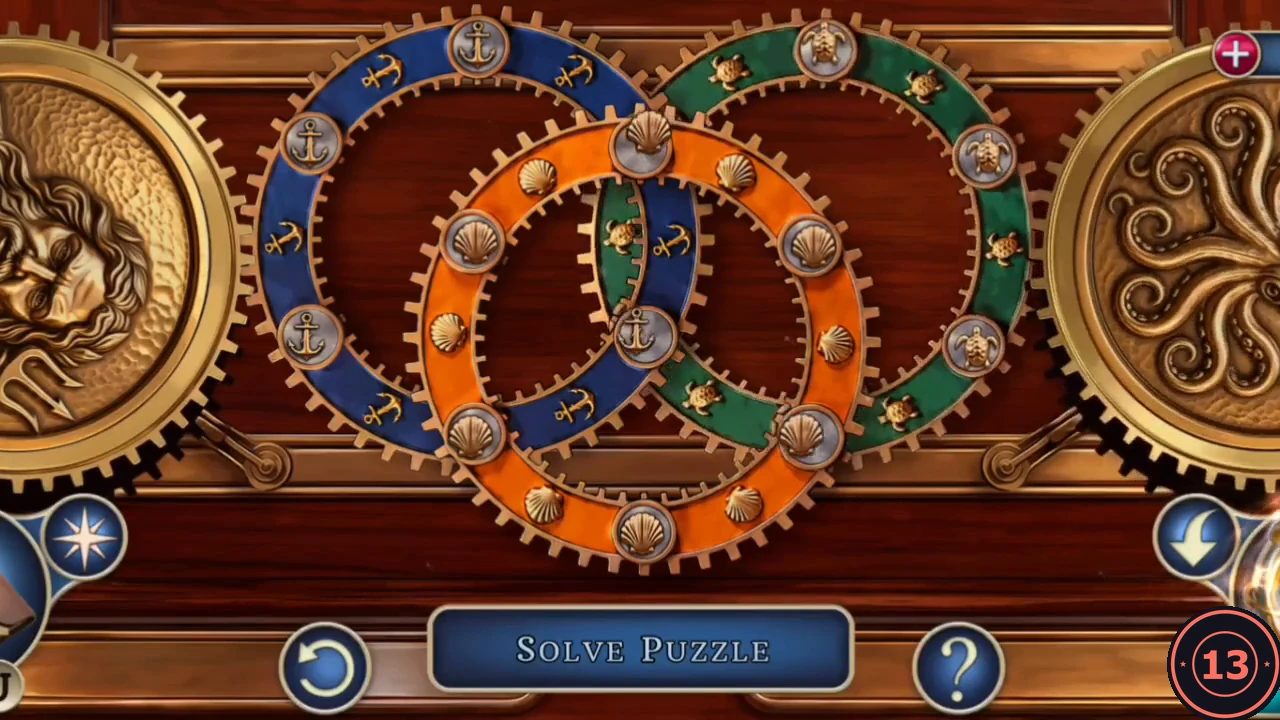
Finished: each token sits on the ring of its colour.
Tinker's Ring and the Jester Doll
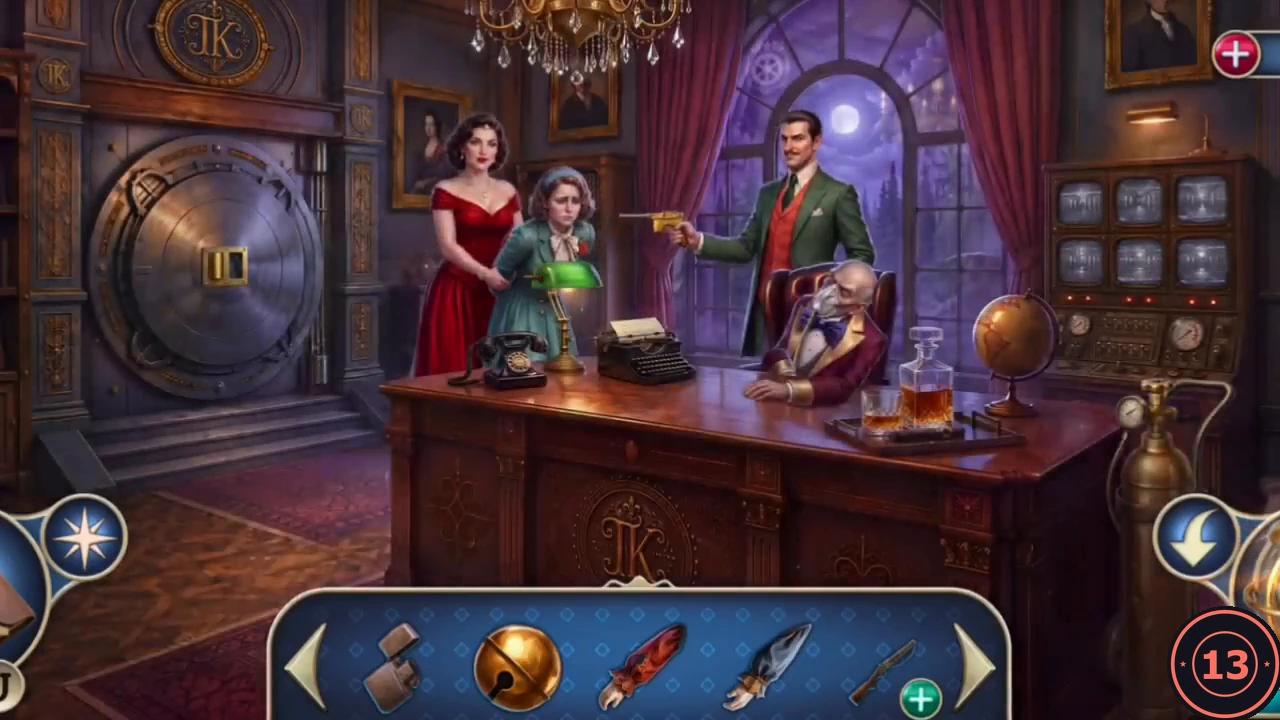
The cardsharp is waiting in Tinker's study with Alice at gunpoint.
- Return to Tinker's study. The cardsharp is holding Alice at gunpoint and orders you to connect the tank. Connect the Oxygen Tank to the hose of Tinker's mask. Tinker revives, gives you Tinkers Ring and your task becomes "Find the blueprint and the parts needed to make the second key."
- Open the jewel box on the lamp table in the upstairs hall with Tinkers Ring. Take the Key Blueprint and the Doll Head. The key diagram points to a stash in the old crypt.
- Open the Doll Body in your inventory and attach the Bell, the Left Arm, the Right Arm and the Doll Head to make the Jester Doll.
- In the doll-tree courtyard, hang the Jester Doll on the tree beside the girl doll. Take the Elephant Figurine and the Spearhead.
The Chapel Organ
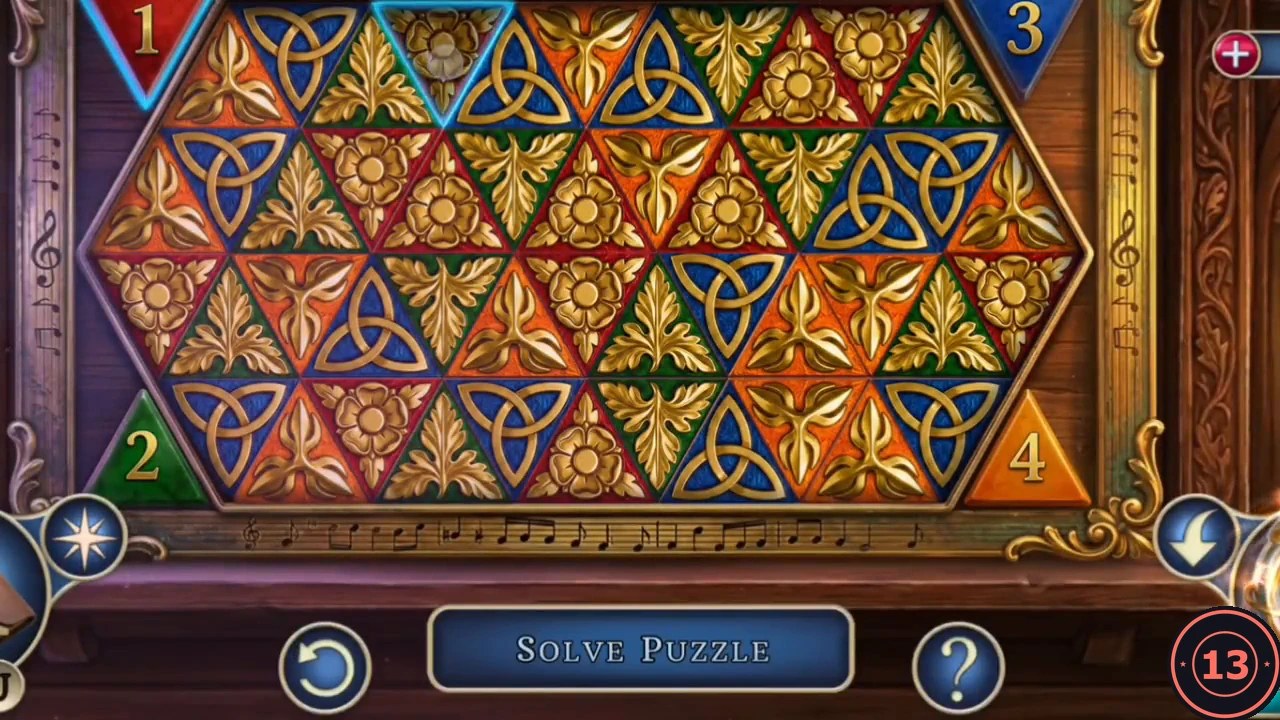
The organ hides a deadly trap. Block it before you play.
- In the chapel, examine the organ. Using the Spearhead on the curtain does not work ("I should try something else"). A guillotine blade hides above the keys, and the severed hands are a warning that the organ is a deadly trap. Pull the red curtain aside. Place the Spearhead in the bracket at the top left of the organ and hammer it in with the Judges Gavel to jam the blade. Then insert the Organ Key.
- A board of coloured triangles appears, with the numbers 1 to 4 in the corners on red, green, blue and orange backgrounds. Drag a chain through four adjacent triangles whose colours follow that order: red (1), then green (2), then blue (3), then orange (4). Each valid chain clears its triangles. Clear the whole board. You receive Knurling Wheel (1/4) and a Door Handle.
The Doll Workshop
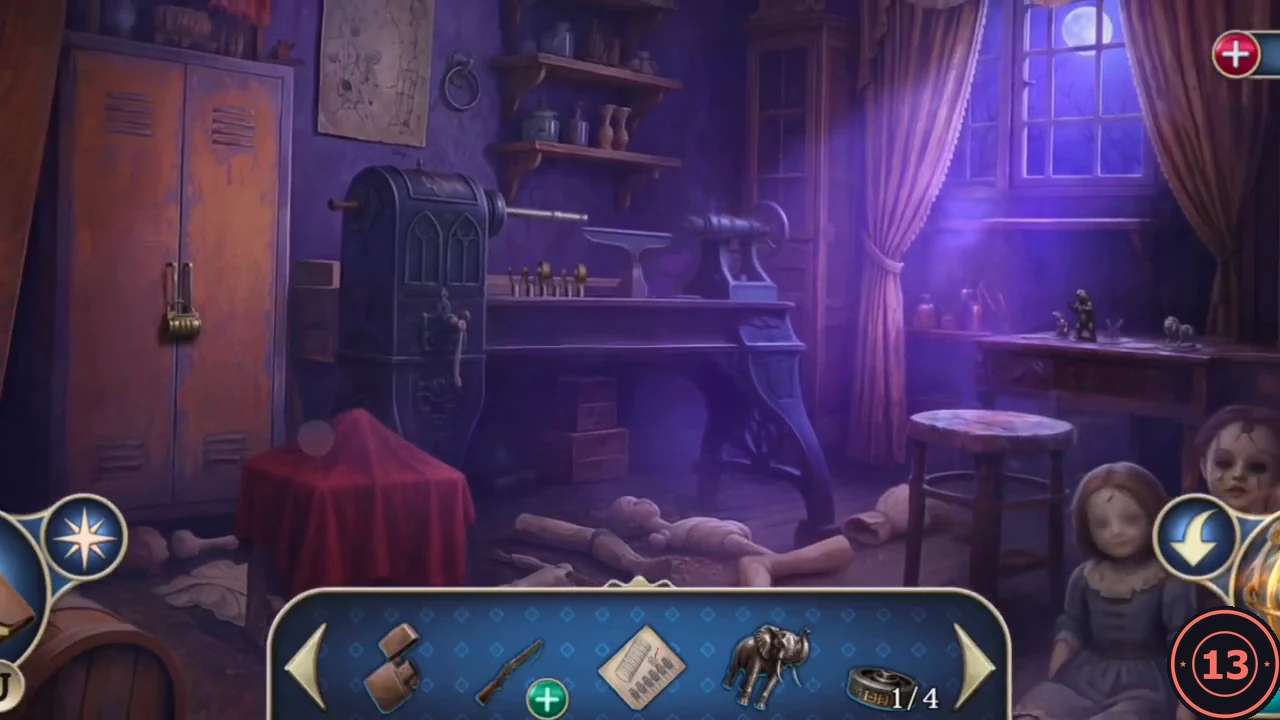
A locked door in Tinker's house leads to his doll workshop.
- Go to the corridor with the toys in Tinker's private house and fit the Door Handle on the wooden door. Enter the doll workshop. Take the Cobra Figurine from the red table.
- Place the Elephant Figurine and the Cobra Figurine on the shelf. The drawings on the wall show the order: sort the figures from smallest to largest, left to right: wasp, rat, cobra, lion, bear, elephant. The drawer opens and shows the chalk numbers 7-1-3.CODEWasp, rat, cobra, lion, bear, elephant
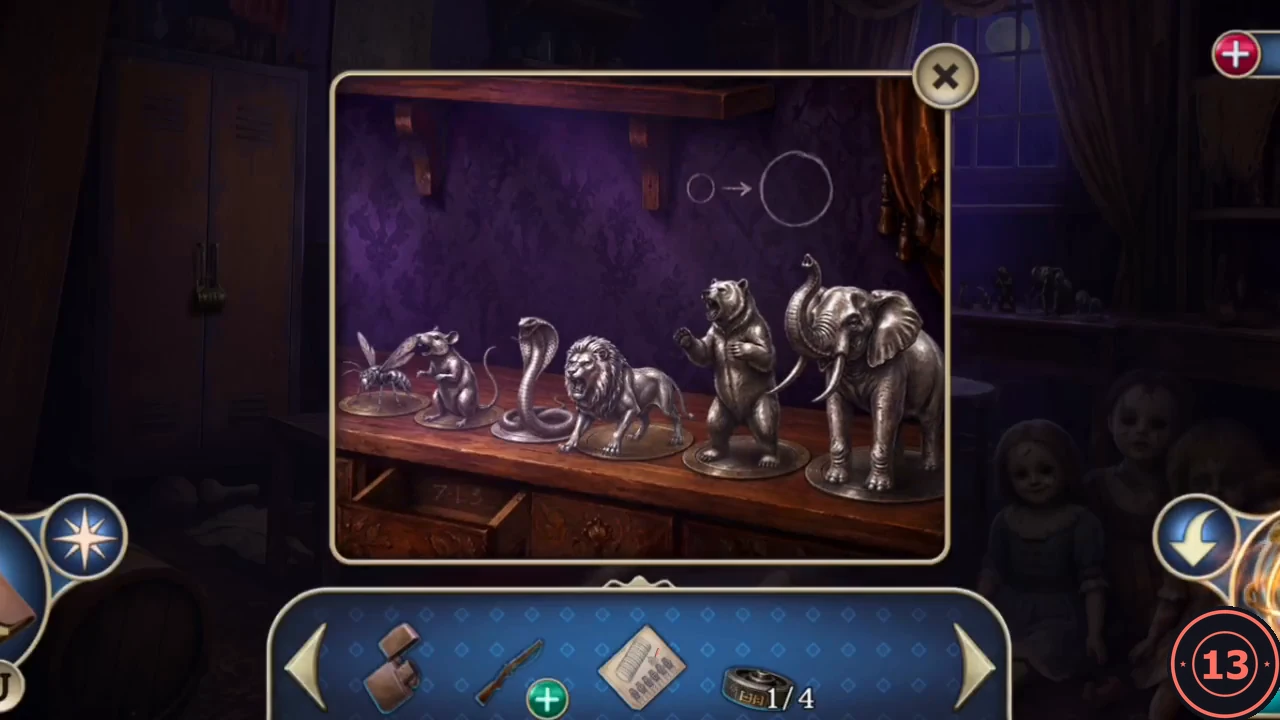
The figurines sorted from smallest to largest. - Set the padlock on the red locker to 7-1-3. Inside is a wax doll head with a metal object hidden in it. Melt the wax with the Lighter and take the Book Key.CODE713
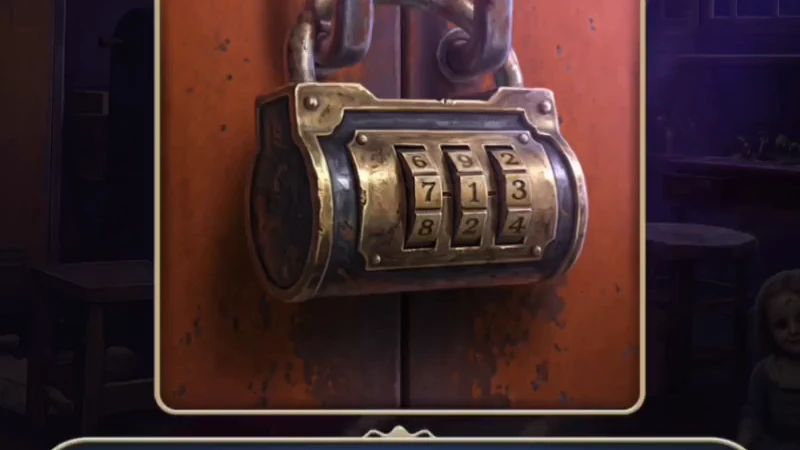
The locker padlock set to 7-1-3 on the middle row.
The Stained-Glass Picture
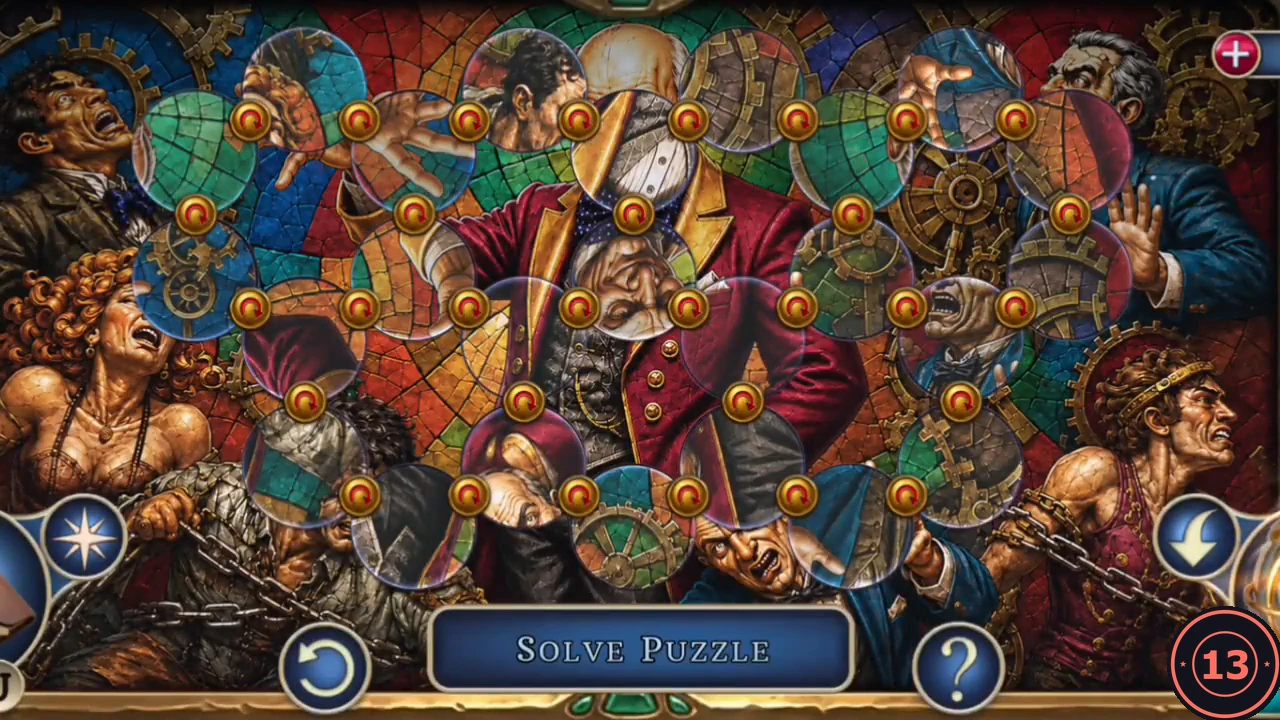
The Book Key opens a compartment in the library desk.
- Go to the library and insert the Book Key into the gear-shaped slot in the top of the central desk (the one supported by gargoyles). The plate slides away and reveals a stained-glass picture of Tinker in a red coat.
- Round glass discs sit between orange studs. Tap a stud to swap the two discs on either side of it. Move each disc to where its picture continues the window behind it (faces, hands, coat and gears). When every disc fits, a jewellery box opens. Take the Mime Mask and Knurling Wheel (2/4).
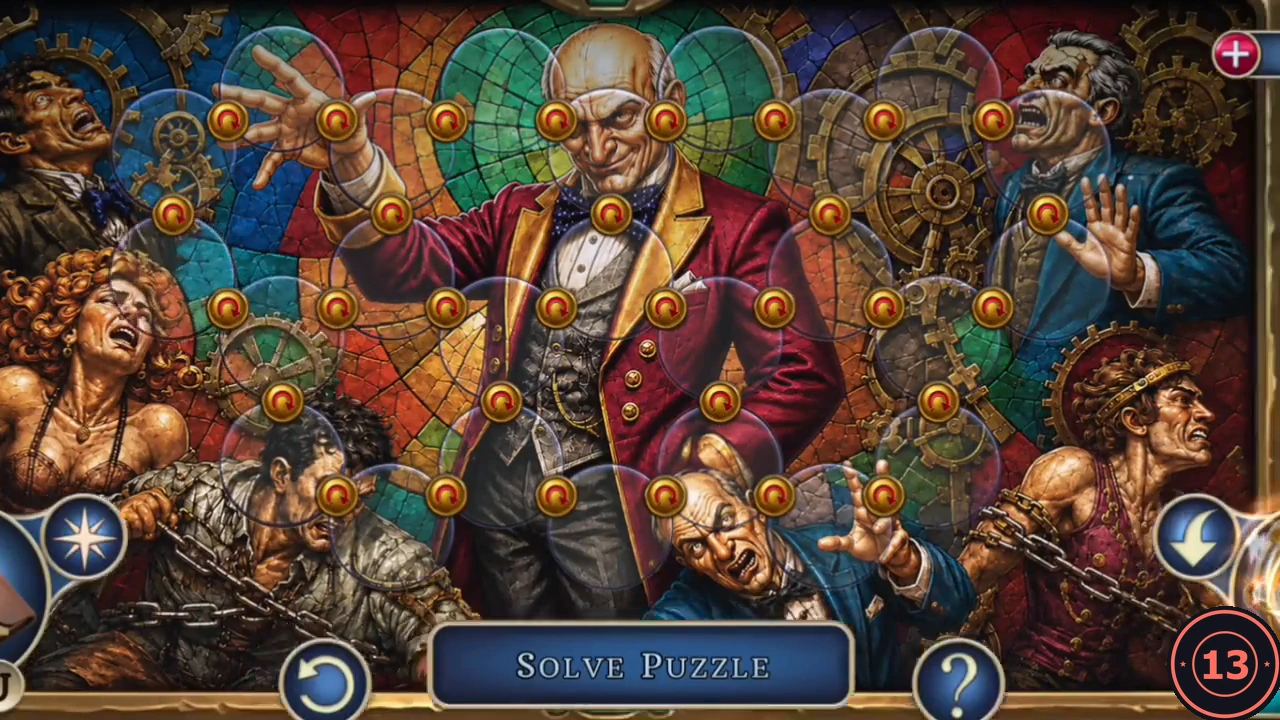
Finished: every disc continues the picture.
The Cinema
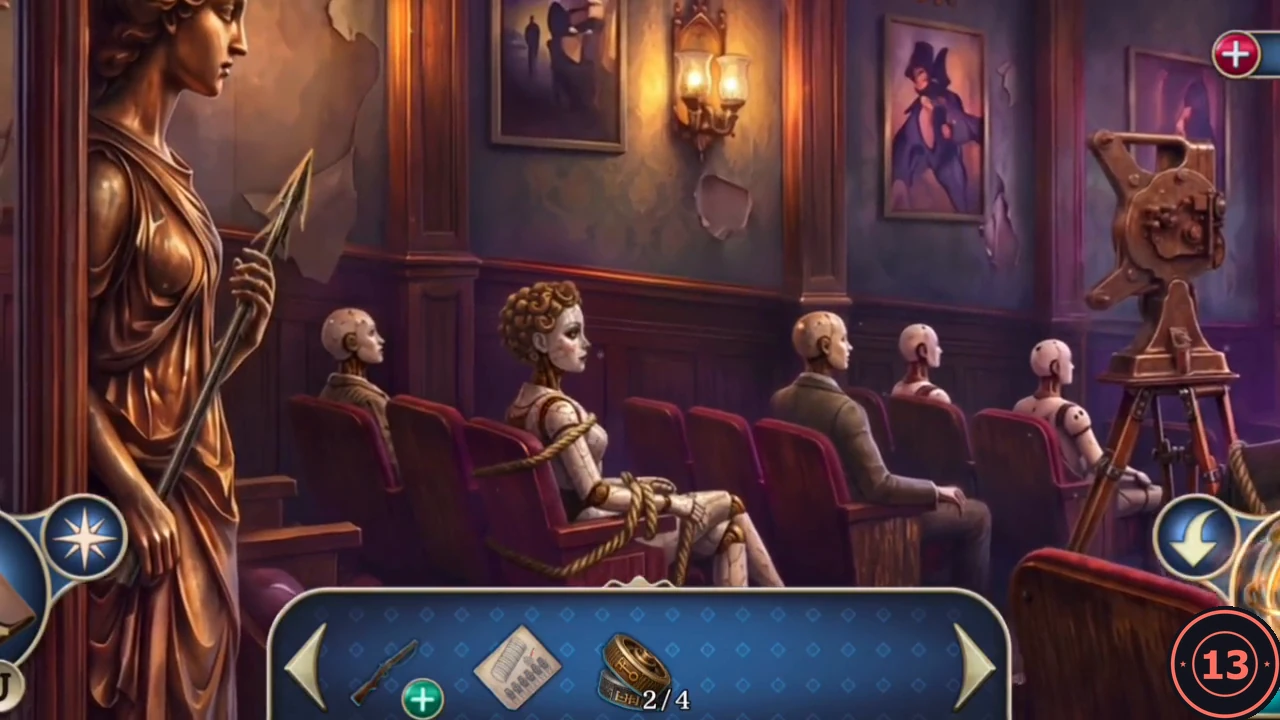
The red doors under the projector sign in the doll-tree courtyard lead to Tinker's cinema.
- In the doll-tree courtyard, place the Mime Mask on the right knocker of the red double doors beneath the neon projector sign. Enter the cinema.
- Tap the ropes on the female automaton in the front row to untie them and take Film Reel (1/2). Untie the male automaton in the top hat the same way and take the Golden Cylinder and the Projector Lens.
- Go to the doll workshop. Put the Golden Cylinder on the spindle of the key machine and the Key Blueprint in the holder. The machine needs all four knurling wheels, so leave it for now. Go to the chapel and take Film Reel (2/2) from the skeleton's bag.
- In the cinema, attach the Projector Lens and both Film Reels to the projector. Tinker appears on the screen: "Congratulations. One final trial remains." Two automatons come to life and attack. Take the spear tip from the bronze statue on the left; this is the Harpoon Arrow. Load it into the Harpoon Gun and shoot the automaton in the top hat. Then tap the female automaton to strike her with the gun stock until she falls.
- Look into the tear in the cinema screen and take Knurling Wheel (3/4).
Making the Second Key
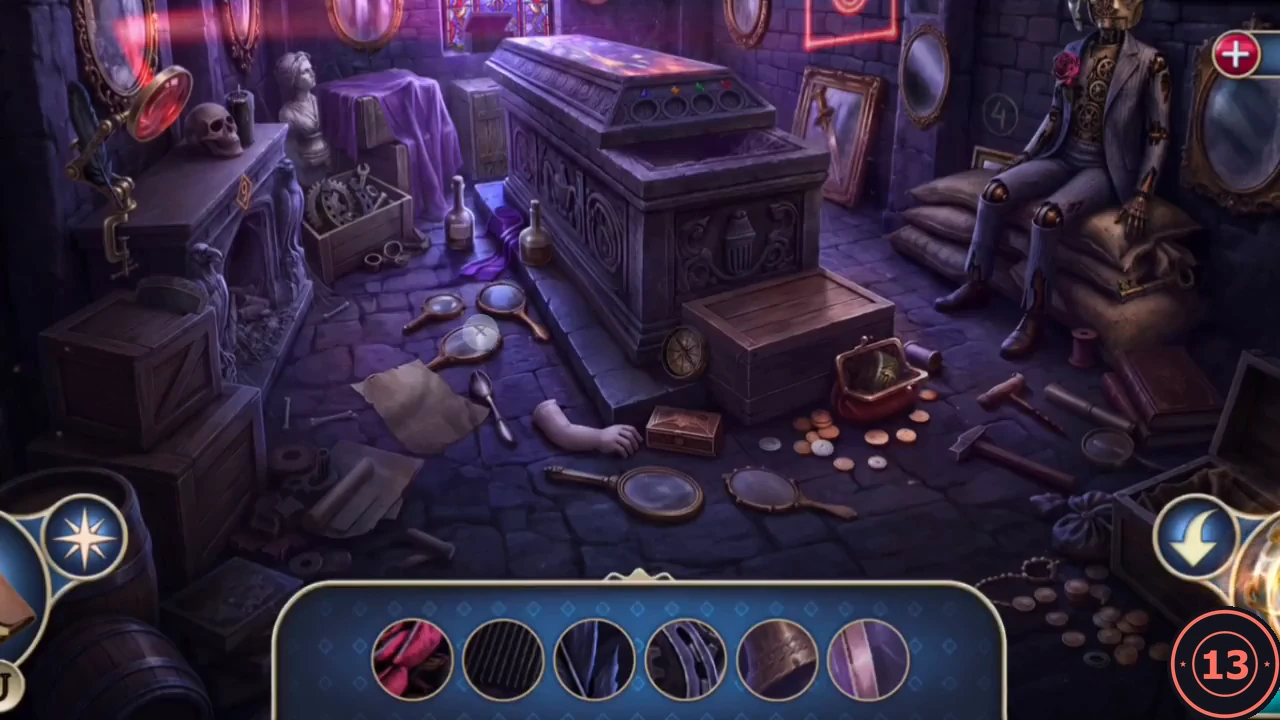
The last knurling wheel is hidden in the crypt, as the key diagram suggested.
- Travel to the crypt (Chapter 6) and enter the glowing search scene inside. Find every object shown in the round silhouette bar. When the bar is empty, you receive Knurling Wheel (4/4). Your task becomes "Make the key and return to Tinker's study."
- Go to the key machine in the doll workshop and add the knurling wheels to the holders. Arrange the six wheels in the order shown on the bottom row of the key diagram: tap one wheel and then another to swap them. From left to right, the symbols are: the E-shape with bars, the T with a ring, the trident, the double cross, the T with a figure-eight and the T with a comb. The machine engraves the golden cylinder, which becomes the second key.
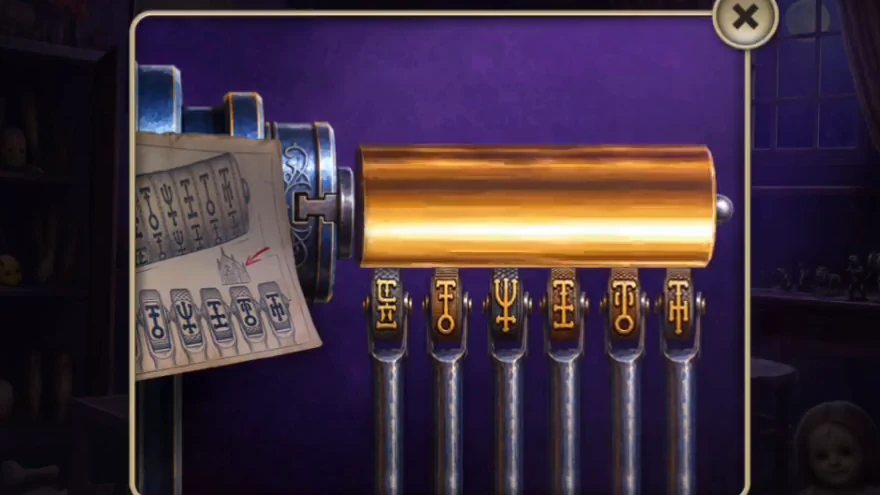
The six wheels in the order from the key diagram.
Tinker's Final Trial: The Vault
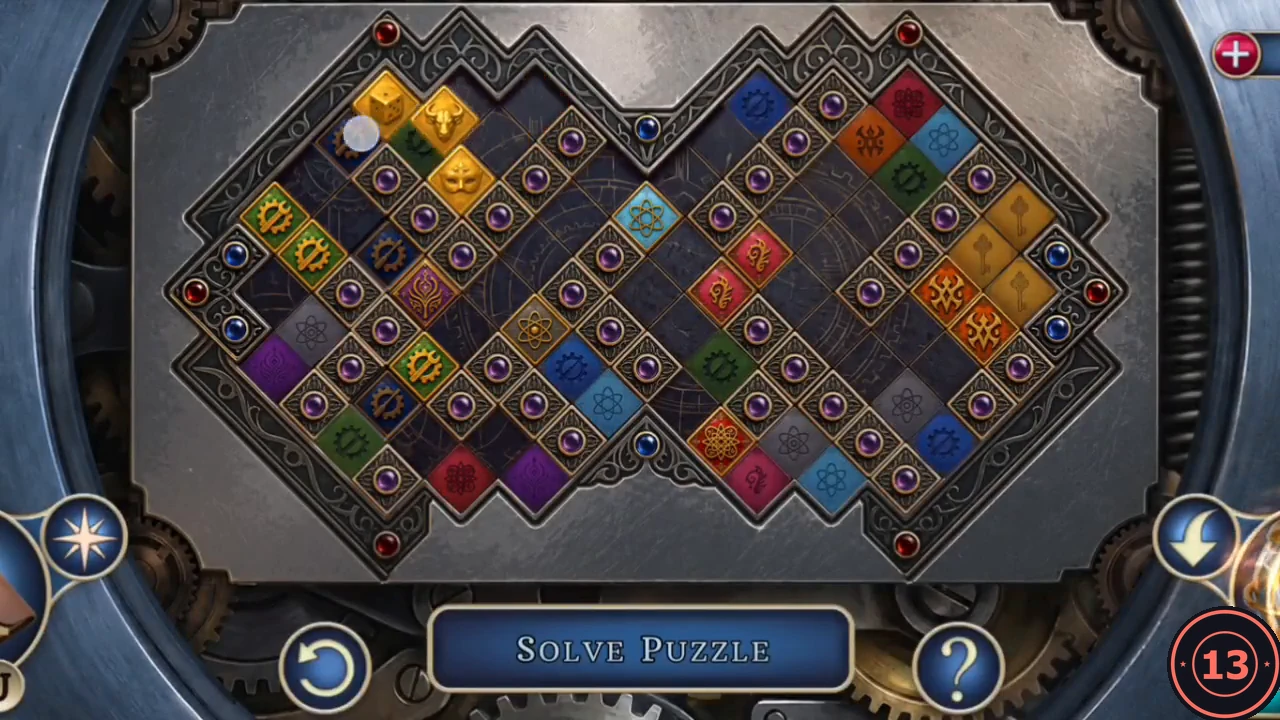
The cardsharp has already put the first key in the vault lock. Your task is "Open the treasury and complete Tinker's final trial."
- Return to Tinker's study. The cardsharp is still holding everyone at gunpoint. Tap the round vault door lock and insert the golden key into the empty right-hand slot. The final puzzle board opens.
- The board is a lattice of diamond-shaped symbol tiles connected by grooves. At the start, the three gold tokens (dice, bull and mask) sit together in the upper-left corner. Drag a gold token diagonally: it does not stop after one tile but keeps sliding along the groove until something blocks it (in the opening move the dice slides from the top corner all the way to the left edge), so plan where each token will come to rest and use the other tokens as stoppers. The coloured tiles flash on and off on their own; that is only animation. The puzzle is solved when all three tokens reach their targets: the bull in the upper-right area, directly beside the red rosette and light-blue atom tiles; the mask on the right edge, in the middle of the three gold key tiles; and the dice at the bottom centre. Two separate playthroughs finish with the tokens in exactly these places. Compare your board with the solved screenshot.
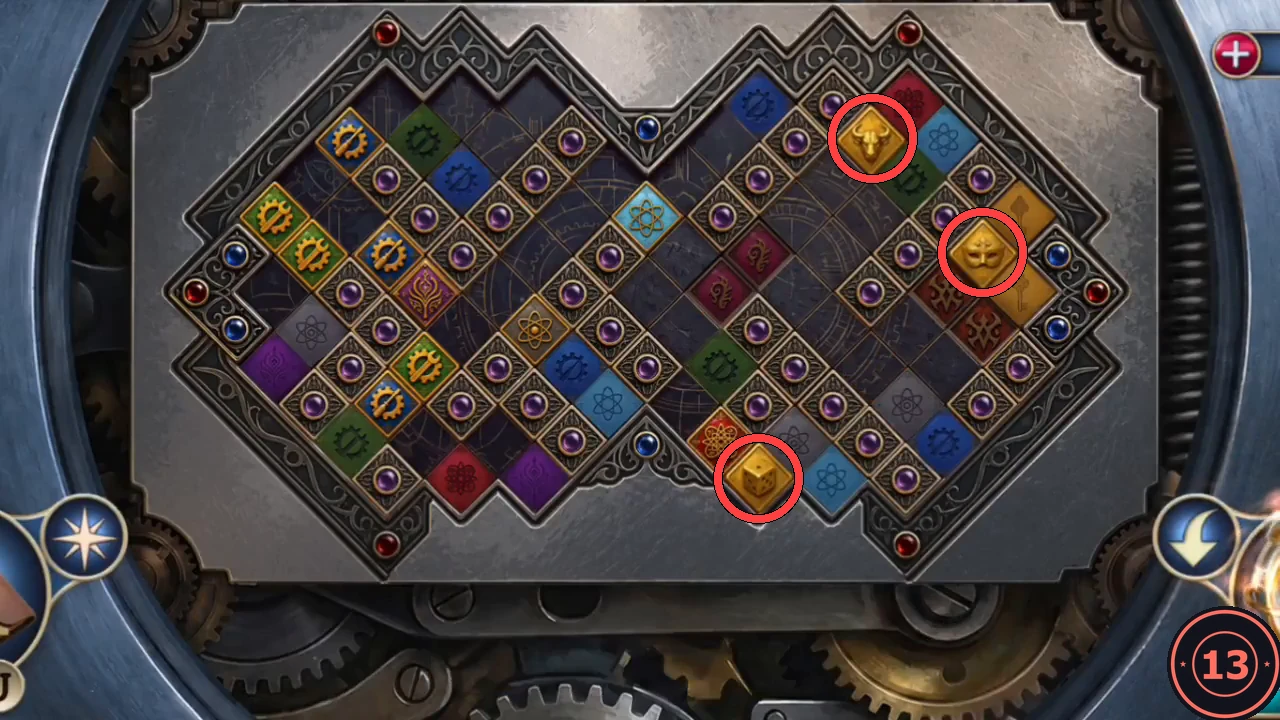
Finished: the bull (top right), the mask (right edge, between the key tiles) and the dice (bottom centre).
The Ending
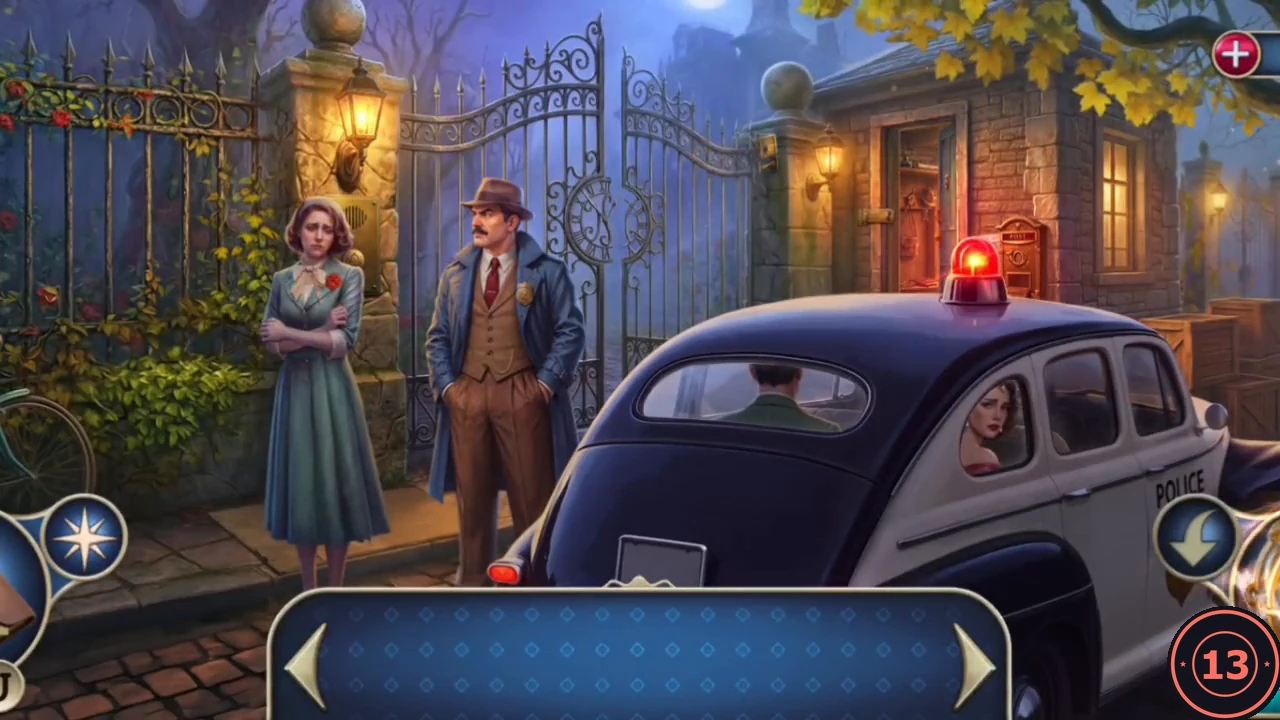
Greed leads the last guests into Tinker's final trap.
- The vault opens. The cardsharp and the woman in the red dress rush inside and are trapped: "Blind greed has led them into yet another trap." Your last task is "Call the police." Use the telephone on Tinker's desk. The police arrive at the gate; the inspector reports that the diva, the cardsharp, the broker, the maid and the scientist are in custody, but Tinker has escaped by boat. In the epilogue, a few days later, Tinker and Alice ride a train together. The message "Thank you for playing the game!" ends the story.