The Funicular Deck and the Butler
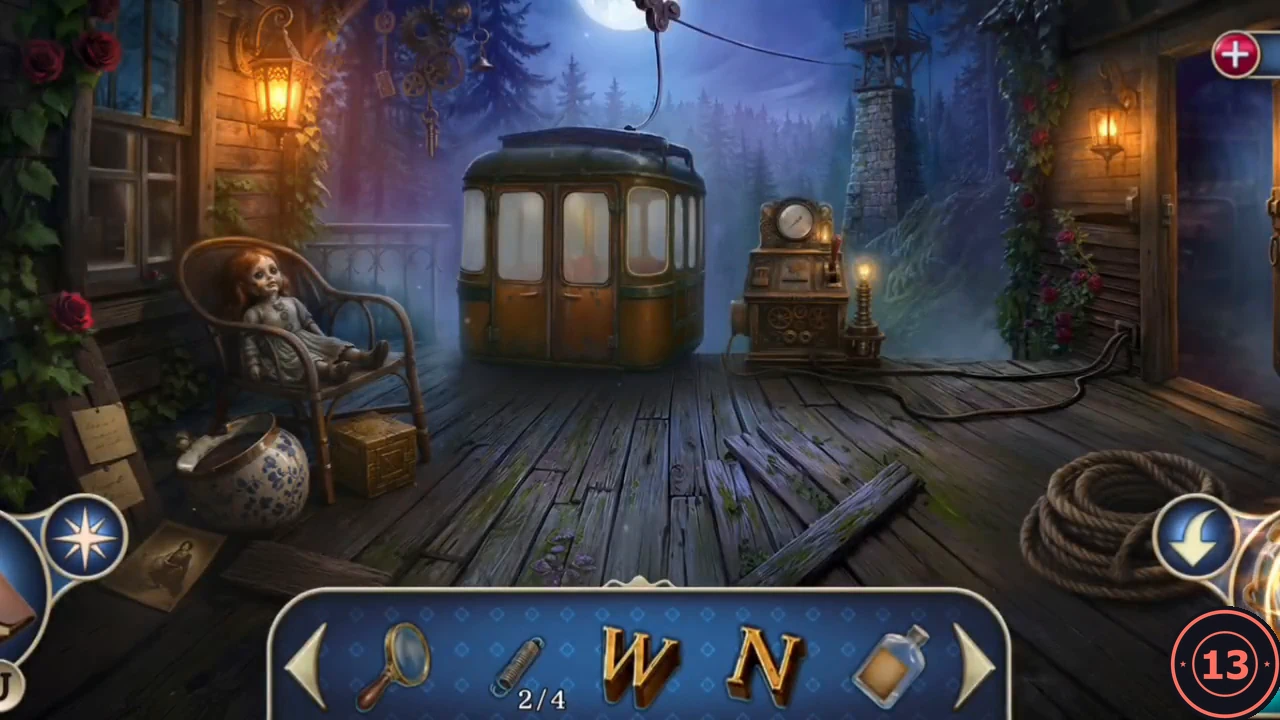
The blown door leads out to the upper funicular deck. The stockbroker has already gone down, and the funicular needs a special ticket.
- Step through the blown door onto the upper funicular deck. Zoom into the console beside the cabin: it needs a special ticket. Pick up the secret clue near the cable pulley at the top of the deck.
- Enter the surveillance room. The butler's foot is caught in a bear trap. Take Spring (1/4) from the pneumatic tube on the wall. The compass panel on the desk needs four matching pieces.
Springs and Compass Letters
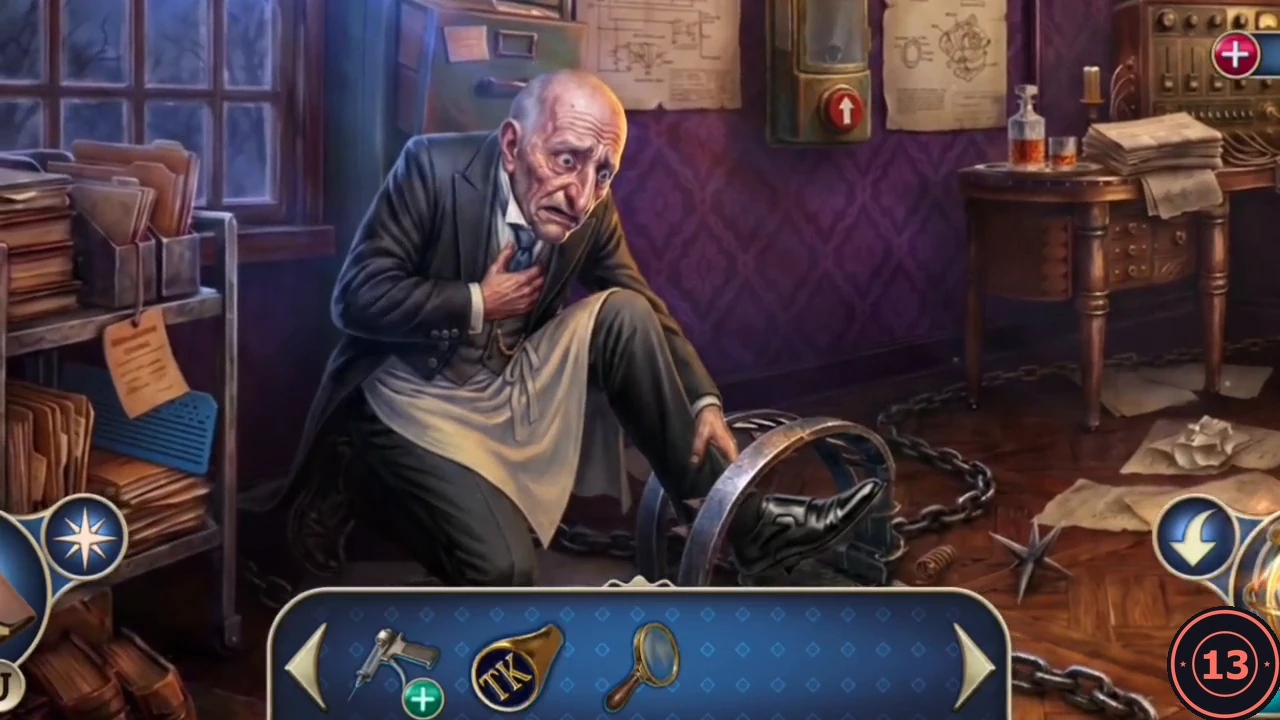
You need four springs for the bear trap and four compass letters for the panel on the desk. Several are in rooms from earlier chapters.
- In the Chapter 2 operating room, take the Letter W from the medical case and the Remaining Alcohol from the lab desk. In the surveillance room, take the Letter N from the base of the bear trap.
- On the upper deck, take Spring (2/4) from under the coil of rope and Spring (3/4) from the seat by the funicular cabin door, and take the Letter E from the funicular console. Then go to the Chapter 1 wine cellar and take Spring (4/4) from the crate by the plant.
The Bear Trap
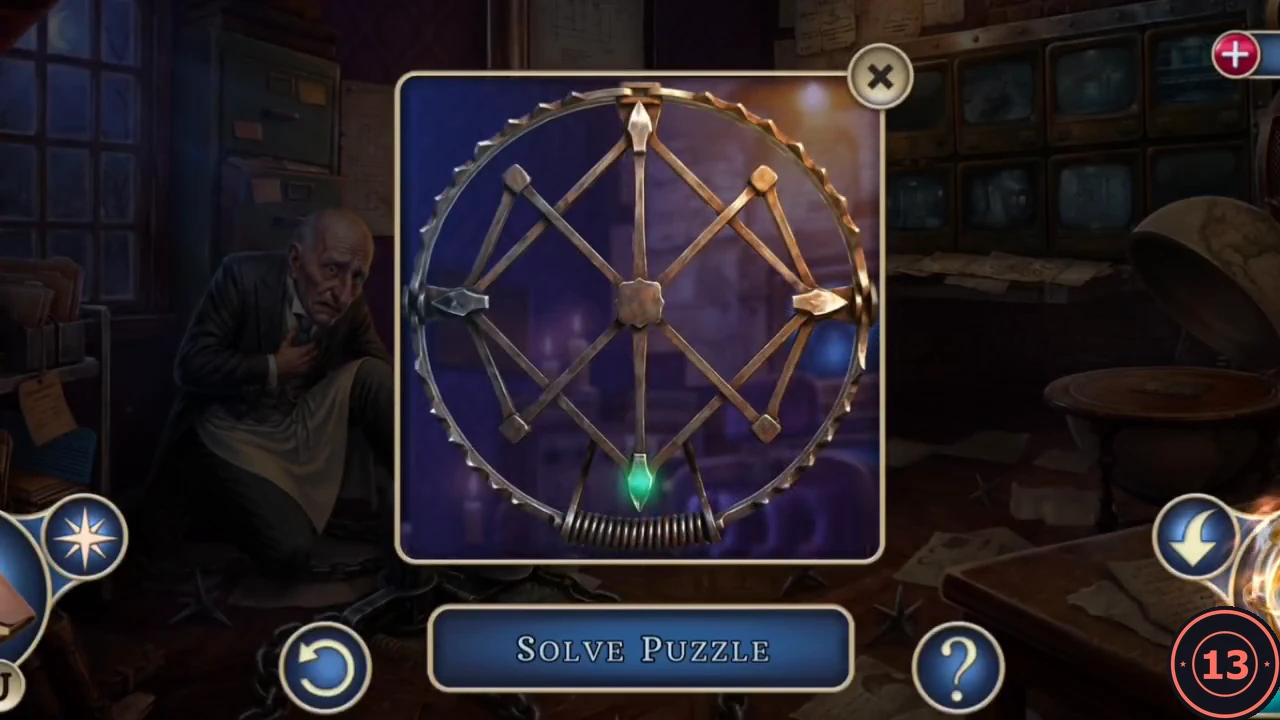
The bear trap opens when its copper rods are all covered by springs in one continuous stroke.
- Zoom into the bear trap and place the four Springs. Start from the glowing point at the bottom and drag a spring along a diagonal copper rod; the glow moves to the end of that rod. Keep going from the glowing point until every diagonal rod is covered. The finished pattern is two crossing diamonds.
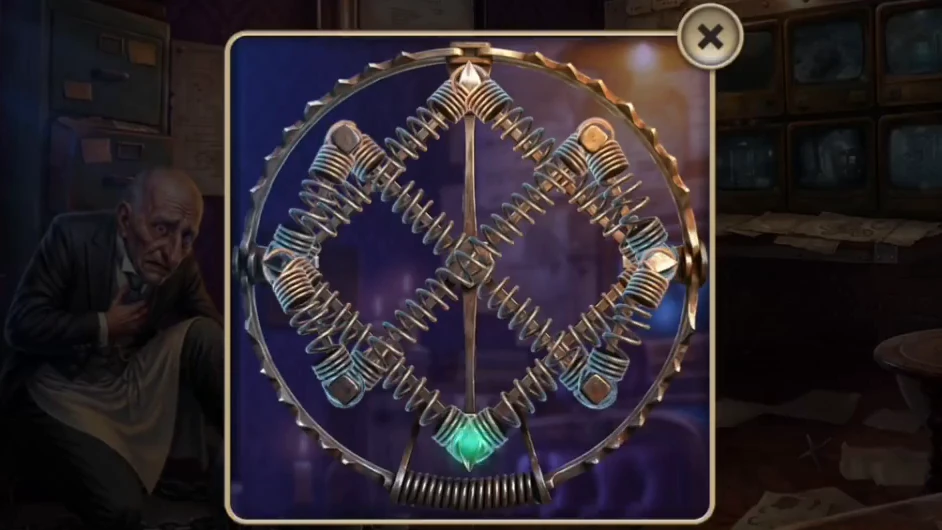
Finished: the springs form two crossing diamonds. - The freed butler gives you the Letter S and asks you to fill in the participant form and send it through the pneumatic mail.
The Compass Box
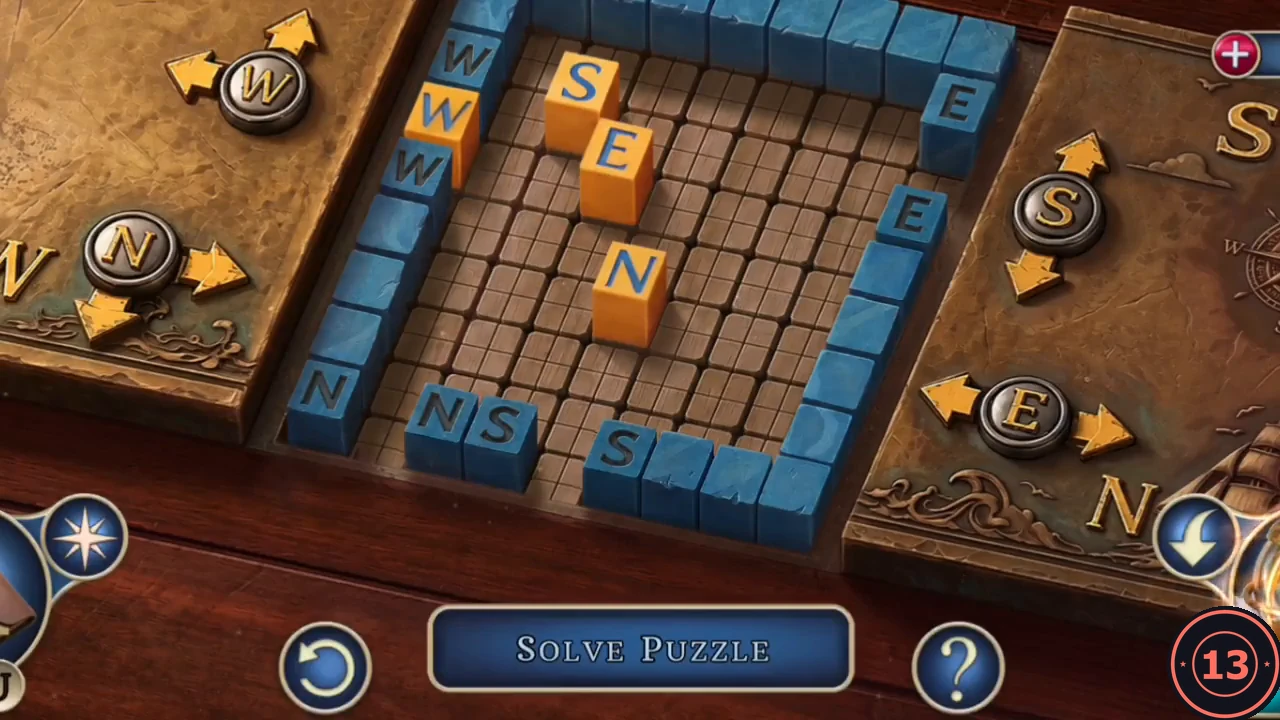
The compass box on the surveillance-room desk is a sliding-tile puzzle.
- Insert the Letters N, E, S and W into the compass box on the desk. The four compass buttons slide all of the orange tiles at once in that direction. Each tile must leave through the gap in the wall marked with its own letter (W top left, N and S at the bottom, E on the right). Move the tiles out one at a time, using the walls to hold the other tiles in place. When the last tile leaves, the floor of the box opens: take the Mail Capsule and the Mail Key from the compartment.
- Open the Mail Capsule and take out Participant Form No. 42. You need ink and the owner's seal to complete it.
The Participant Form and the Ticket
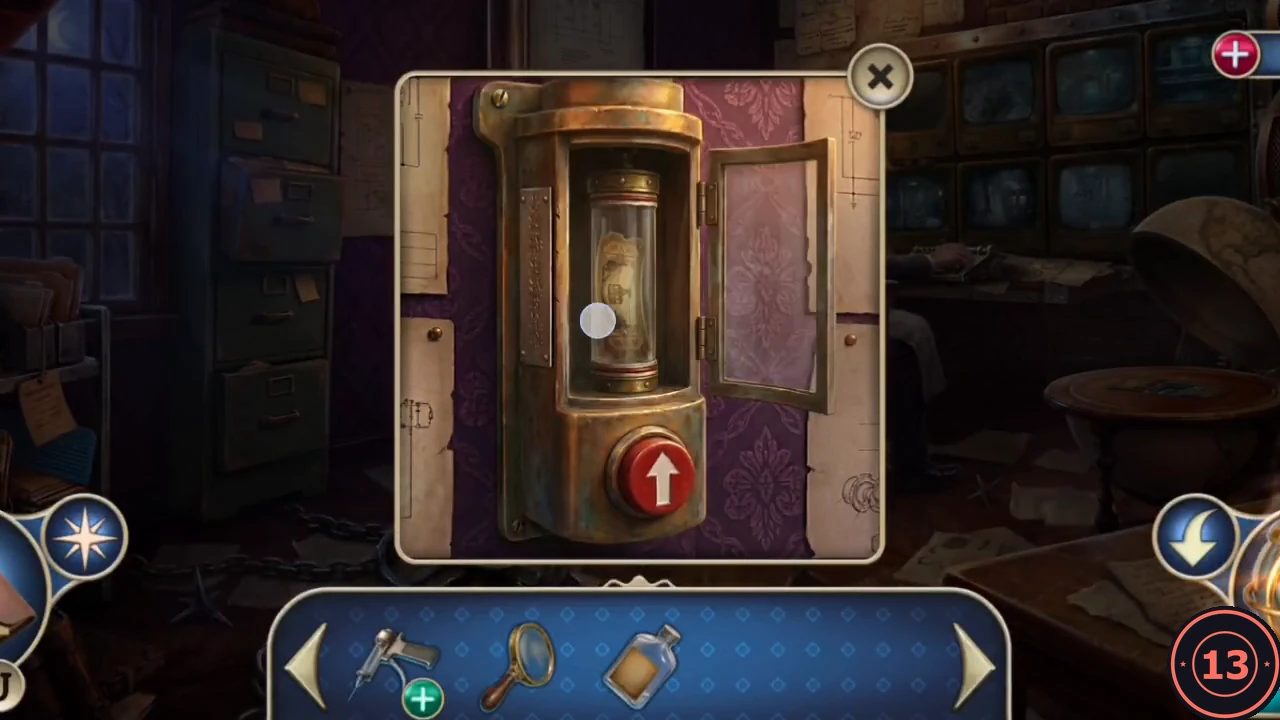
Collect a pen and an ink pad, complete the form and post it to receive the funicular ticket.
- Go to the mansion gate from Chapter 1 and open the post box with the Mail Key. Take the Fountain Pen and the Corkscrew.
- In the Chapter 2 operating room, screw the Corkscrew into the hole where the desk drawer handle is missing, pull the drawer open and take the Ink Pad.
- Open the Participant Form. Press the Challenger's Ring (TK) on the Ink Pad and stamp the form, sign it with the Fountain Pen, then roll it into the Mail Capsule.
- Send the capsule through the pneumatic tube in the surveillance room. A Ticket Capsule comes back; open it and take the Contestant Ticket. Insert the ticket in the funicular console and pull the lever to ride down. The stockbroker is already at the bottom.
The Lower Station
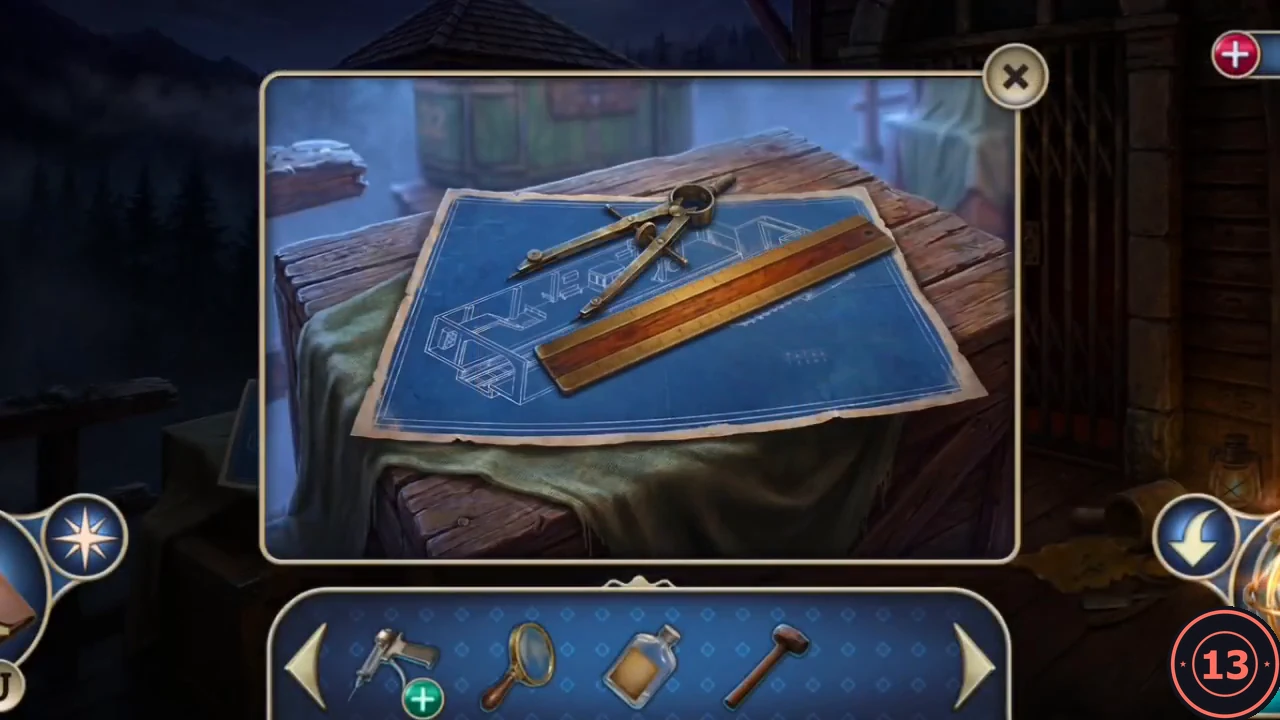
At the bottom of the funicular, a lift gate is locked and a wooden lock box is missing its parts. Some of them are on the upper deck.
- At the blueprint table, take the Mallet. Use the Magnifying Glass on the blueprint; it shows a row of five arrows that you will need later (up, down, up, down, down). Take the Razor from the paint tin. Pour the Remaining Alcohol on the paint tin to dissolve the paint and take the Winding Key hidden beneath it.
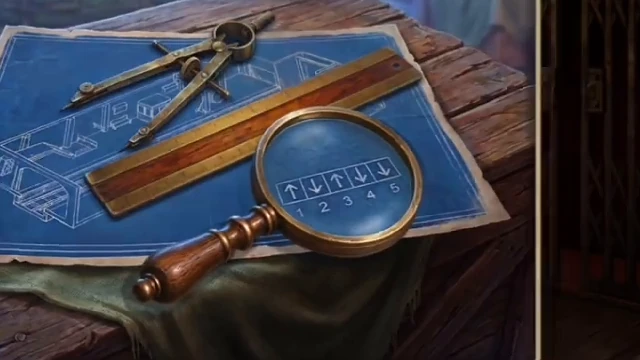
The arrows under the magnifying glass: up, down, up, down, down. - Go back to the upper deck, cut open the doll on the wicker chair with the Razor and take Mine Cart Wheel (1/2). At the lower station, zoom into the wooden lock box and insert and turn the Winding Key. Then take Mine Cart Wheel (2/2) from the upper deck beside the doll's chair and fit both wheels into the lock box.
The Triangle Tiles
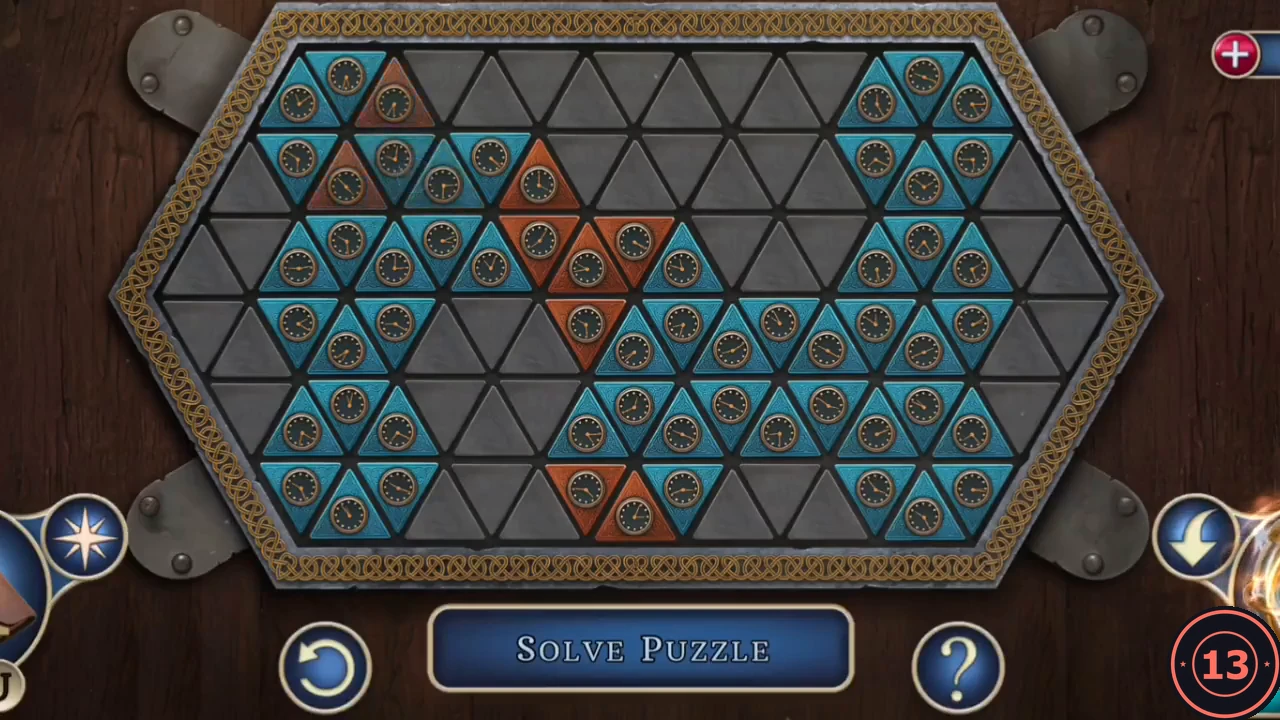
The box holds a hexagonal board of triangular tiles in teal and orange.
- Turn every tile teal. Tapping a tile flips it and the tiles that share an edge with it between teal and orange. Work from one edge of the board towards the other, fixing each row with taps on the next row. If a corner stays orange, tap around it again rather than tapping it directly. The solution takes many moves.
The Watch Booth Search
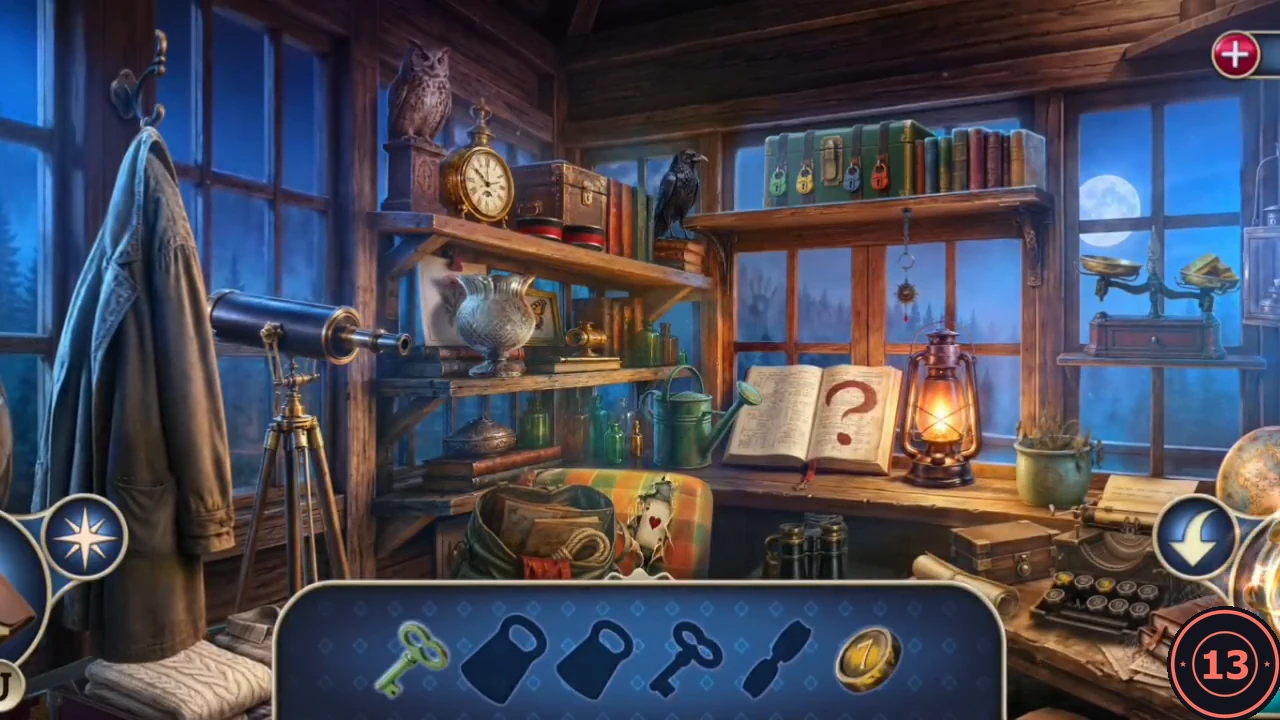
The lit watch booth at the lower station opens once the triangle tiles are solved. Inside is an interactive search: items found in the room are used on other objects in the same scene until the trunk opens.
- Cut the stitched coat pocket with the scissors and take the green key. Pick up the round brass '7' typewriter key and the brass padlock. Put the padlock on the scales to get the yellow key, and open the book marked '?' to get the silver key.
- Fit the '7' key into the typewriter. The gold keys are 1, 3 and 7; type 1-3-7 to print a slip. Enter 1-3-7 on the safe and take the red key. Open the four coloured padlocks on the trunk with the green, yellow, silver and red keys, then take the Toolbox.CODE137
The Toolbox
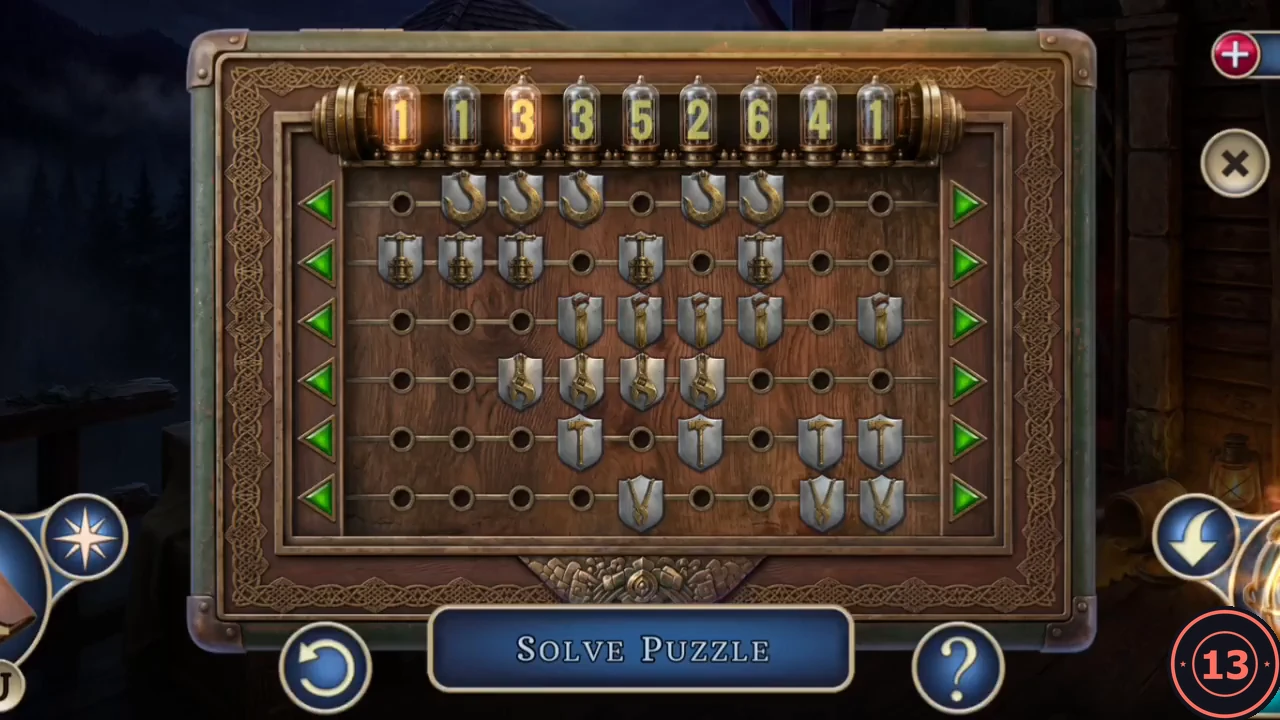
The Toolbox lid is a row-shifting puzzle of tool shields.
- Open the Toolbox. Its six rows of tool shields slide one step left or right with the green arrows at the ends of each row. The nine number tubes along the top belong to the nine columns below them, and each number is how many shields that column must hold; a tube lights up as soon as its column has the right count. The numbers are 1, 1, 3, 3, 5, 2, 6, 4, 1 from left to right, adding up to the 26 shields on the board. Slide the rows until every tube is lit. Example from the reference playthrough: the first row went one step right, the fourth row two steps right, and the fifth and sixth rows one step left each; the second and third rows stayed put. If your starting layout looks different, work column by column using the tube counts. The lid opens: take the Jack and the Hook.
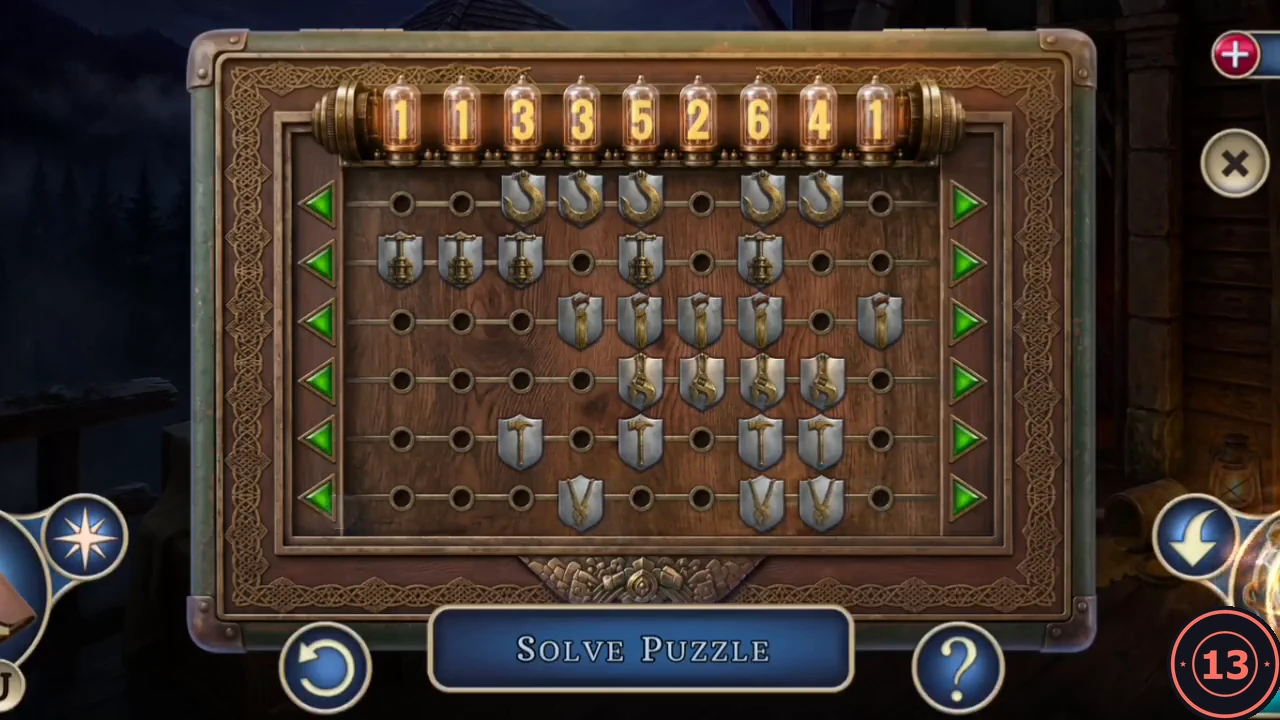
Finished: each column holds as many shields as the number above it.
Down to the Subway Platform
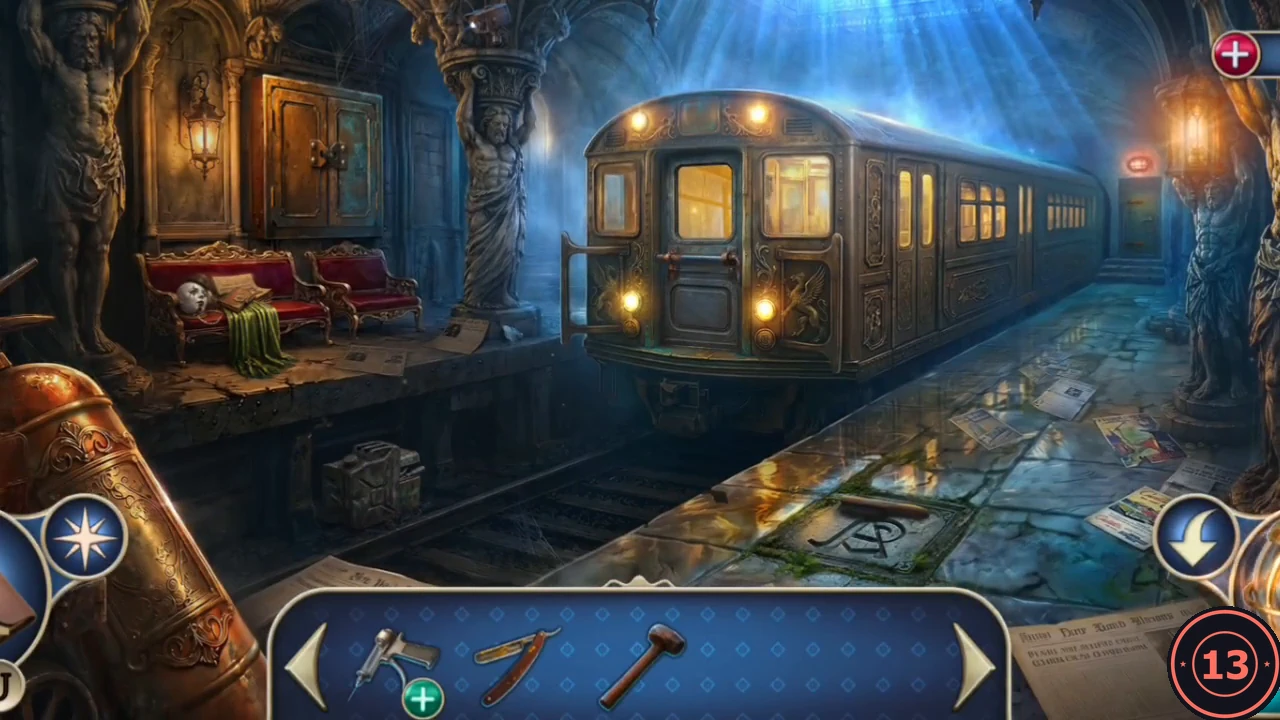
The lift gate leads down to an underground subway platform with a train.
- On the upper deck, zoom into the coil of rope on the floor (bottom right) and tie the Hook to it to make a Grappling Hook. Return to the lower station. Force the lift gate open with the Jack, then hook the Grappling Hook onto the rung and climb down to the subway platform.
- Take the Wire Brush lying on the monogram tile in the floor. At the bench with the clown head and newspaper, take the Scientist's Diary and the Kerosene Lamp, and pick up the secret clue.
- Zoom into the rusted latch on the train door. Heat it with the Kerosene Lamp, scrub it with the Wire Brush and knock it loose with the Mallet. The door opens: the stockbroker is chained to a time bomb. He hands you the Nail Clippers.
The Switch Box and the Bomb
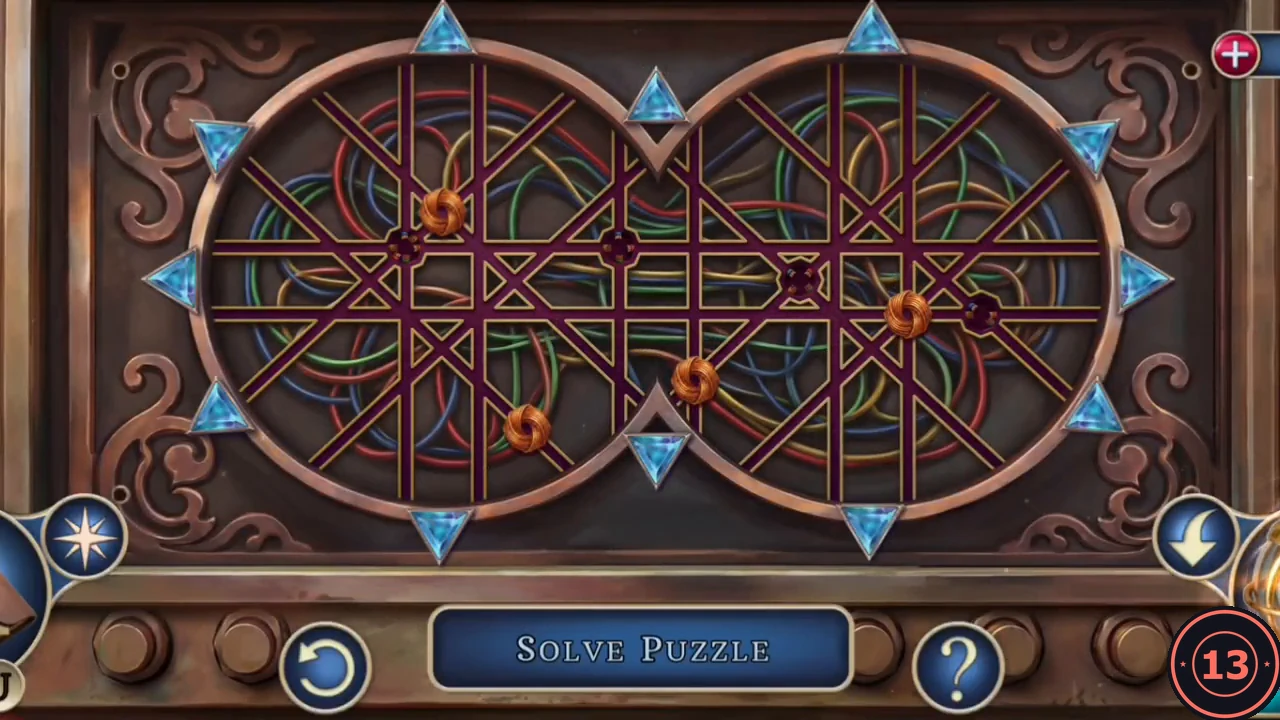
The switch box on the platform holds the tool for the bomb casing. The bomb itself is a knot puzzle on two linked rings.
- Open the cabinet on the left of the platform and cut the wire seal with the Nail Clippers. Set the five switches to match the blueprint arrows: up, down, up, down, down. The drawer below opens. Take the Mosaic Half, the Phillips Screwdriver and the Sapphire Clock Hand, and pick up the two secret clues inside.CODEUp, down, up, down, down
- Unscrew the bomb casing with the Phillips Screwdriver. Inside are two linked rings with four orange knots and four dark sockets. Tapping a blue triangle on the rim slides the knot on the bar lined up with that triangle towards it. Move all four knots onto the four dark sockets: two along the upper bar of the left ring and two in the right ring.
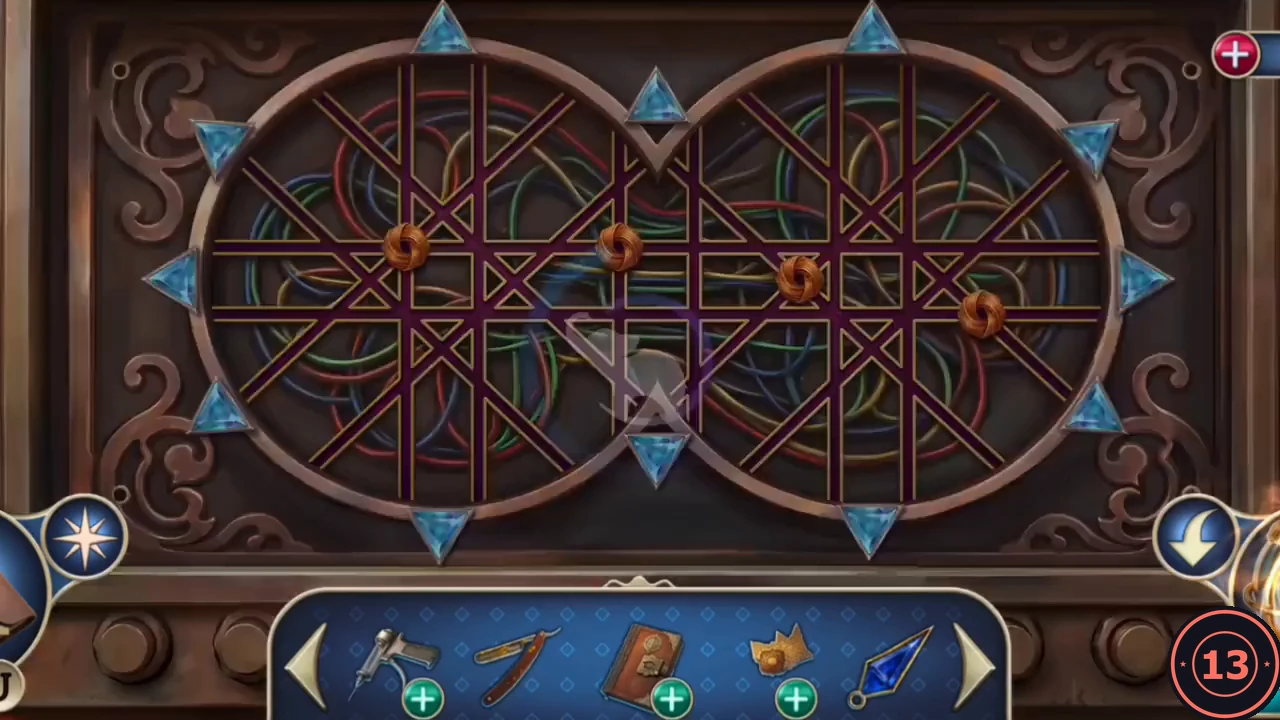
Solved: all four knots on the sockets. - The stockbroker gives you a code for his case and tells you the scientist is in the underground laboratory beneath the conservatory. In the train car, open the suitcase lock with 3-3-3 (the code is on the label beside it). Take the Emerald Clock Hand, the Electrical Tape and the letter, and pick up the secret clue.CODE333
The Conservatory Clock Door
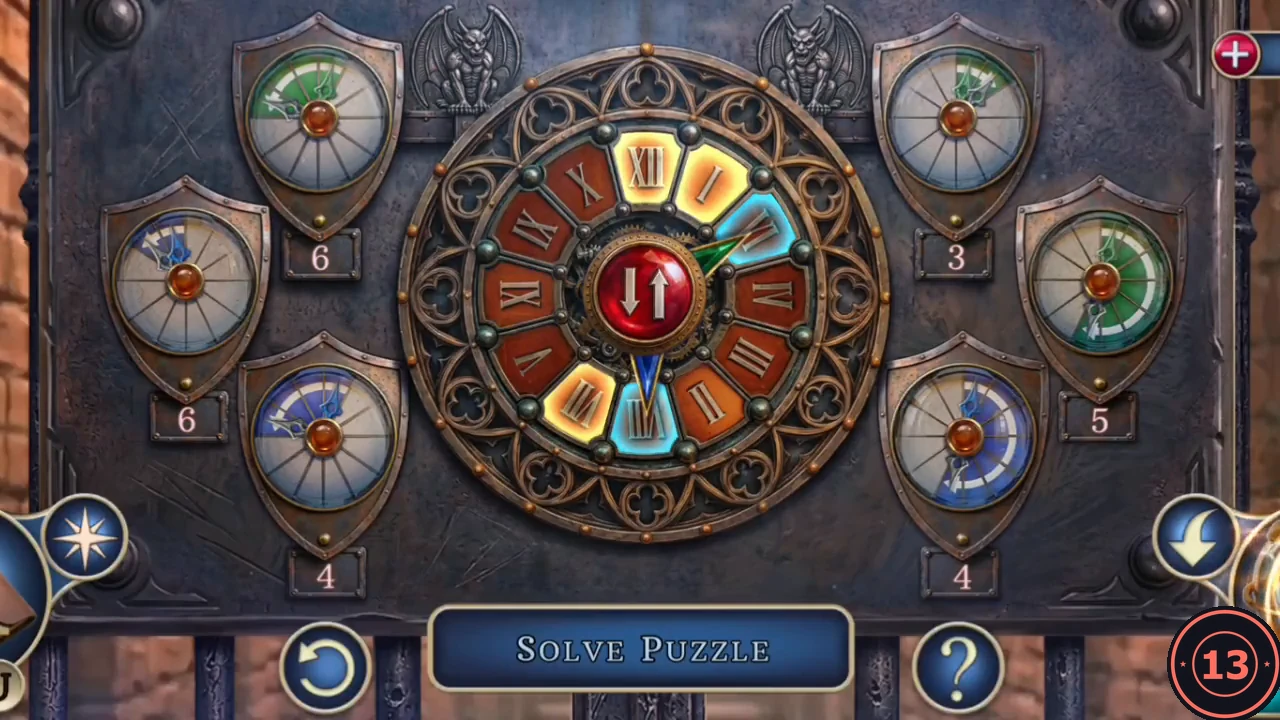
The door at the back of the conservatory is locked by a clock face with two hands.
- The monitor in the surveillance room is damaged: its wiring needs insulating and a button is missing. You cannot fix it yet. Travel to the conservatory (Chapter 2 on the map) and zoom into the clock on the far door. Place the Sapphire Clock Hand and the Emerald Clock Hand.
- Light all twelve hour segments. Each of the six shields moves the hand of its own colour (three green, three blue), and the number under a shield shows how many times you can still use it. Every segment a hand stops on brightens from red to orange to yellow. Plan the stops so that every segment ends up yellow before the counters run out; use the reset button if you get stuck.
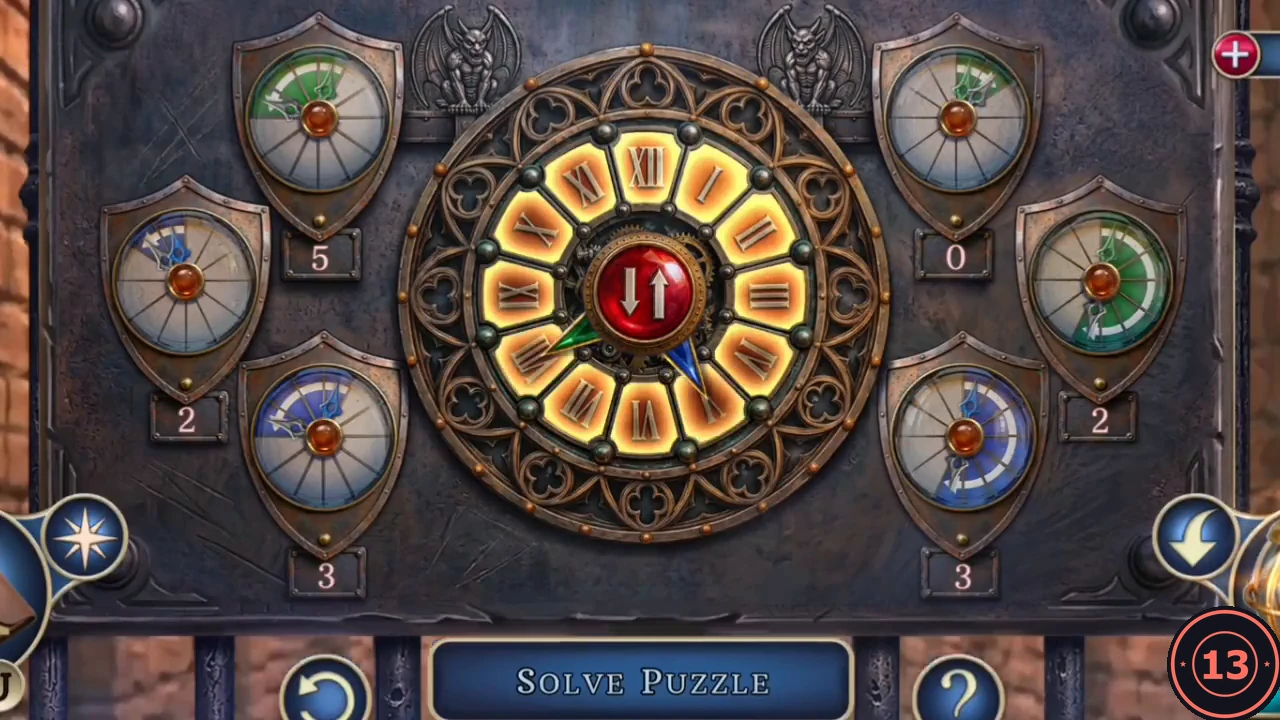
Solved: every hour segment is yellow.