Into the Private House
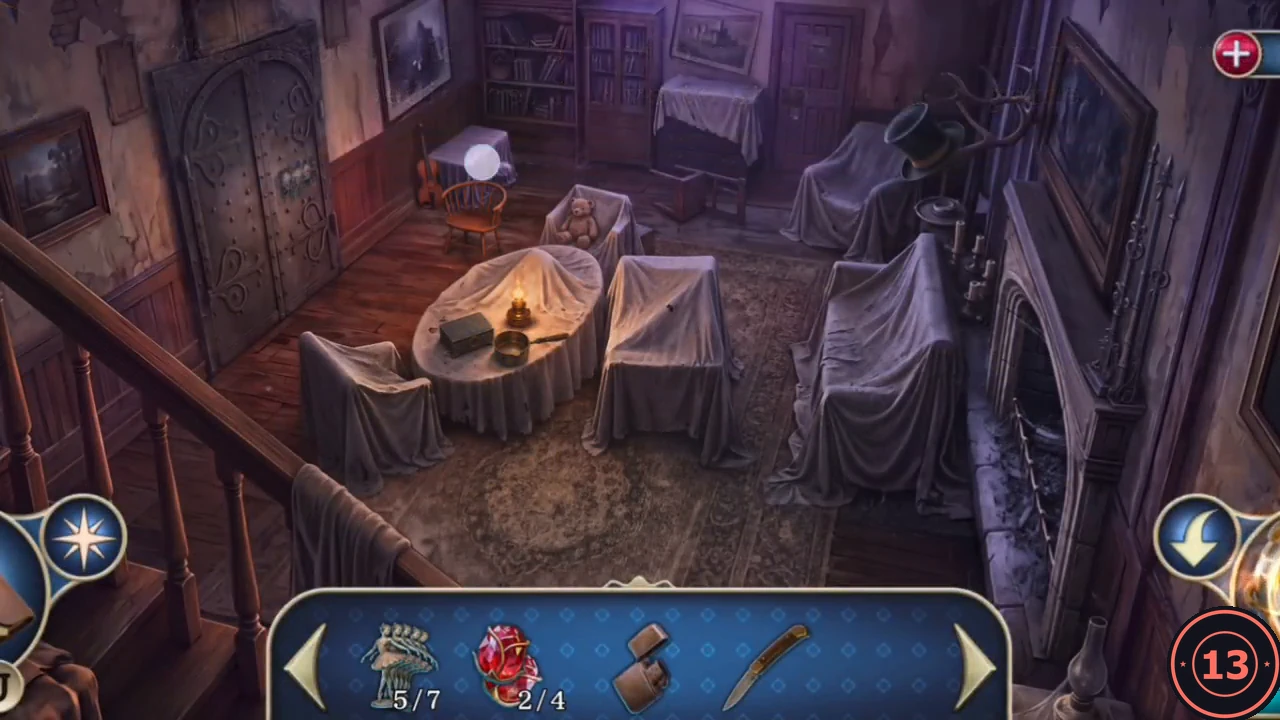
Tinker has dragged Alice into his private house, and the wing door is shut again. Find another way in.
- On the porch, use the Pocket Knife on the latch of the round window beside the door. The window swings open and you climb into the foyer.
- In the foyer, take the Lighter from the silver tray (a cup and sugar bowl are waiting there; keep the tray in mind for later). Look under the foot of the dresser to find Tin Figurine (5/7).
- After the short scene with Tinker and Alice, go upstairs to the hall with the round table and fireplace. Take the Deflated Ball lying beside the blue toy chest, and the Bronze Saucepan from the lamp table next to the locked jewel box.
Alice's Door
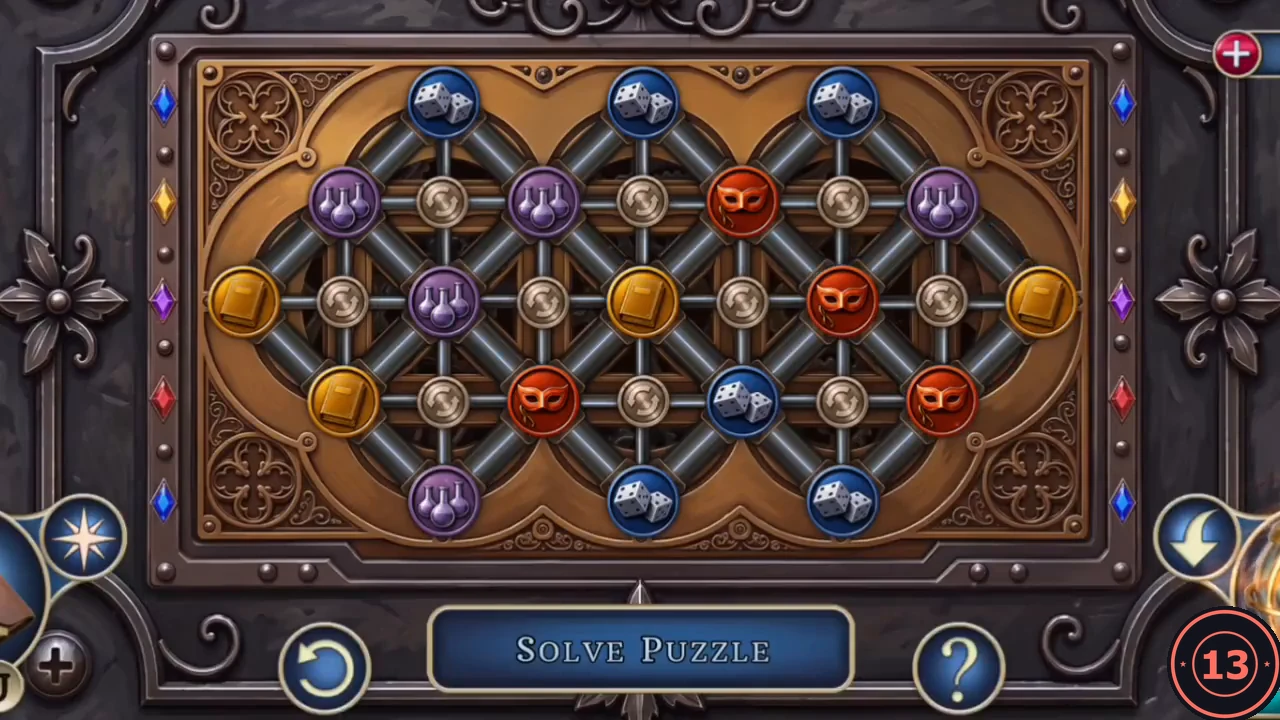
Alice's door in the upstairs hall is sealed by a board of coloured orbs. Small gems on both edges show which symbol each row must hold.
- Open the lock on Alice's door. Tapping a silver knob turns the four orbs around it. Match each horizontal row to the gems on the sides: top row blue dice, second row yellow books, middle row purple flasks, fourth row red masks and bottom row blue dice. The orbs start mixed, so work row by row from the top and use the knobs between rows to bring the missing symbols in. The door opens when every row is complete.
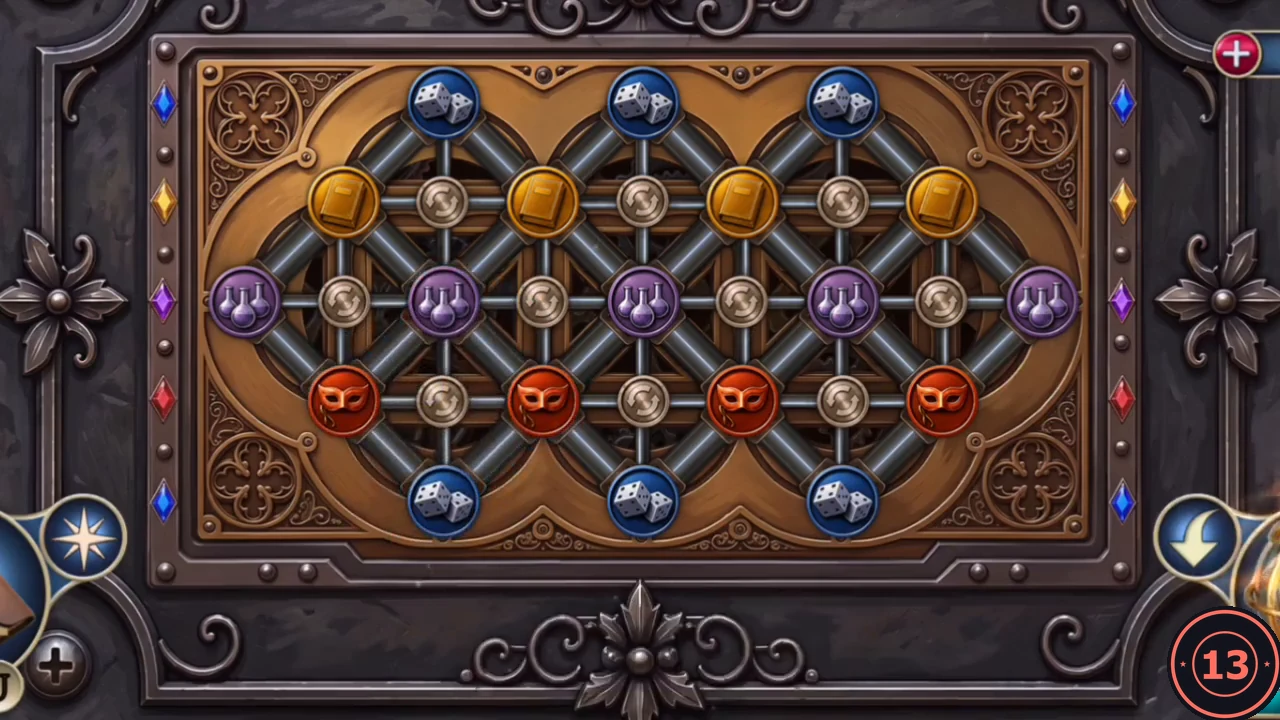
Finished: each row matches its side gems.
Coffee for Alice
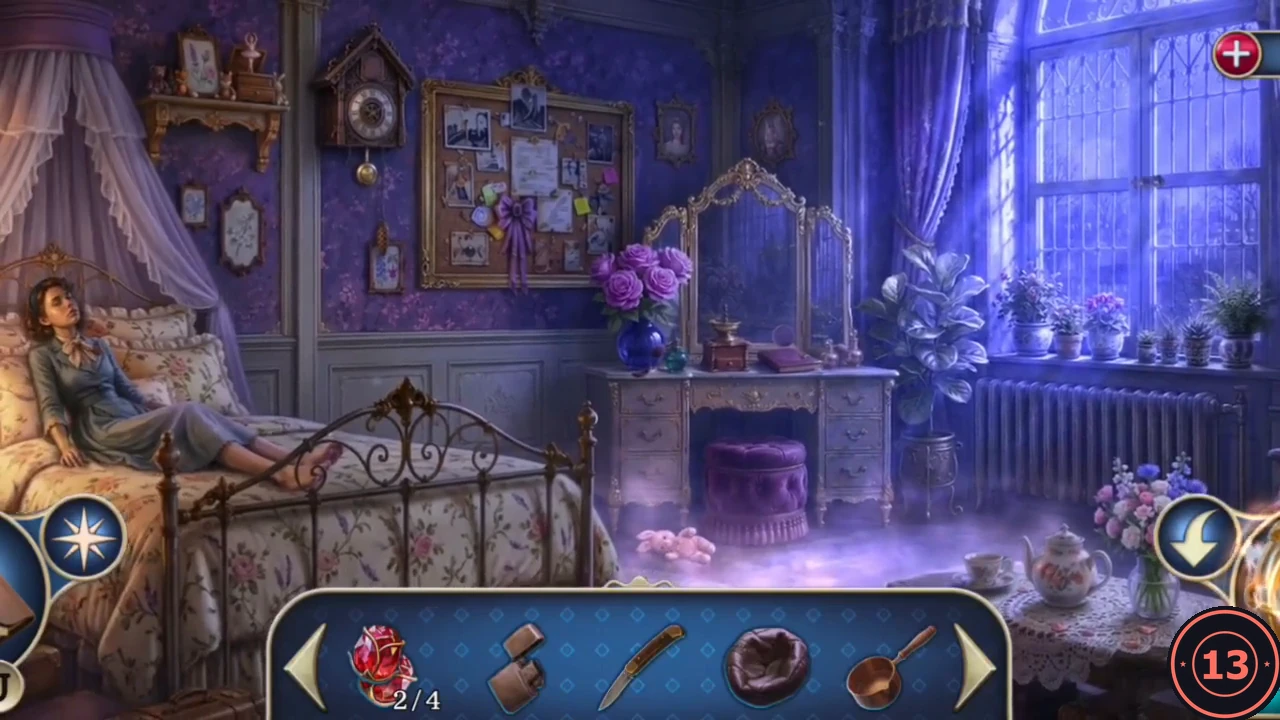
Alice's room is full of sleeping gas, and once it clears she is still too drowsy to help. Brew her a strong coffee.
- Use the Pocket Knife on the window latch in Alice's room. The window opens and the violet gas drains away, but Alice is still drowsy. Take the Hand Coffee Grinder from the dressing table, and tap the perfume bottle there for a secret clue.
- Go back to the garden shed from Chapter 6 and fill the Bronze Saucepan at the tap by the potted plant to get a Saucepan with Water.
- In the barn, take the Hand Pump from the truck bed and pick up the Wood Scraps at the saw table.
- Take the Coffee Beans from the dining room (Chapter 5) and the Coffee Grinder Handle from the desk drawer in the maid's room. Attach the handle to the Hand Coffee Grinder, add the beans and turn it to get Ground Coffee.
- At the fireplace in the upstairs hall, lay the Wood Scraps in the grate (the old ash is too damp to burn), set the Saucepan with Water on it, light the fire with the Lighter and stir in the Ground Coffee. Pour the result into the cup on the foyer tray to get a Cup of Coffee. The empty saucepan stays on the fire for now.
- Give the Cup of Coffee to Alice. She wakes, explains that her father released the gas, and hands you Alice's Hairpin.
The Chained Door
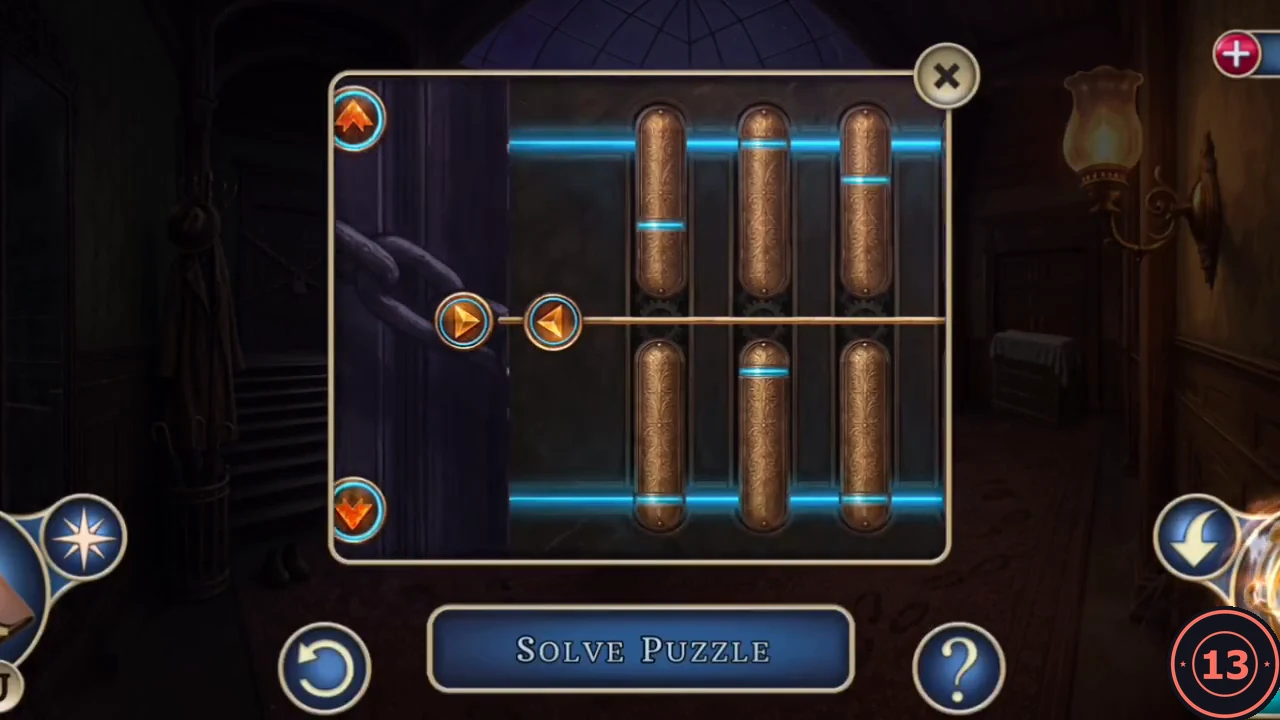
A padlocked chain blocks a door in the upstairs hall. Alice's Hairpin can be bent into a pick.
- Use Alice's Hairpin on the padlock. Use the up and down arrows at the four bend points to shape the pin, then press the side arrow to push it in. The pick works when each cyan notch on the copper pins lines up with the cyan line. The working shape is up, down, up, down from the handle end. The chain falls and the door opens into a storage room.
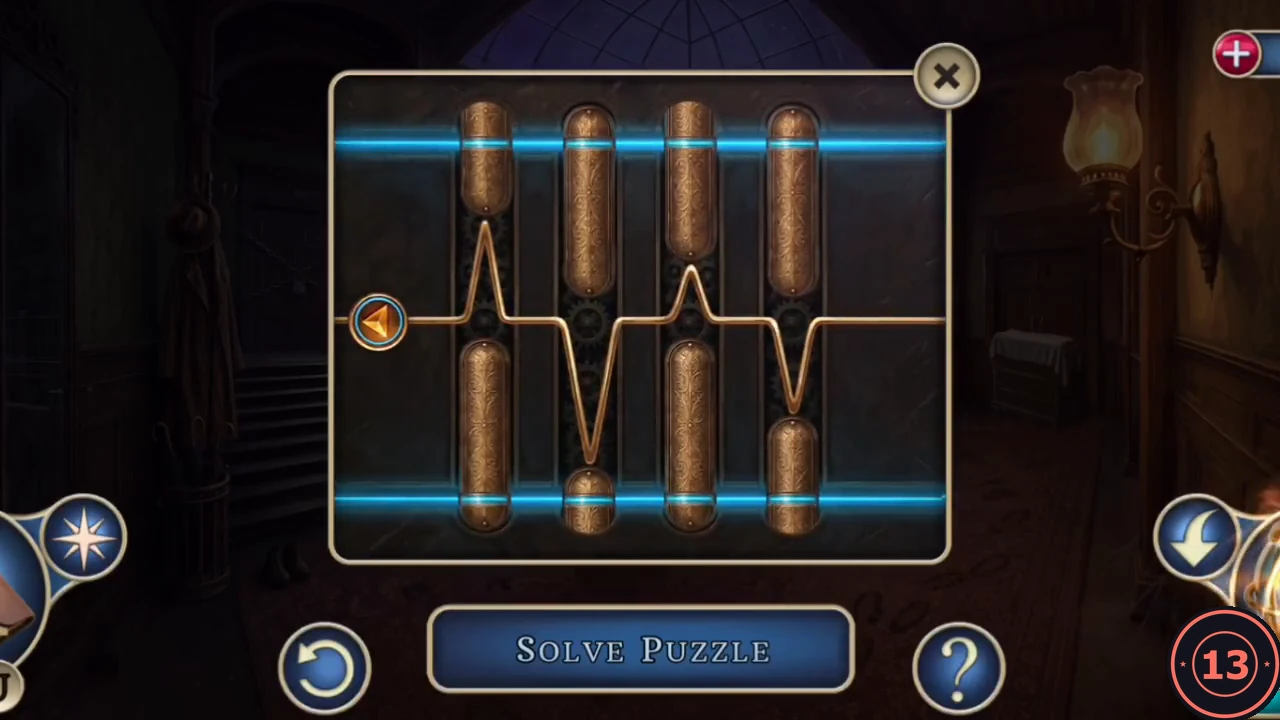
Finished: every notch lines up with the cyan line. - In the storage room, take Tin Figurine (6/7) from the scales, then open the piano panel and take the Diva's Hint. A new task appears: ask the Diva how to pass the trial.
The Diva's Trial
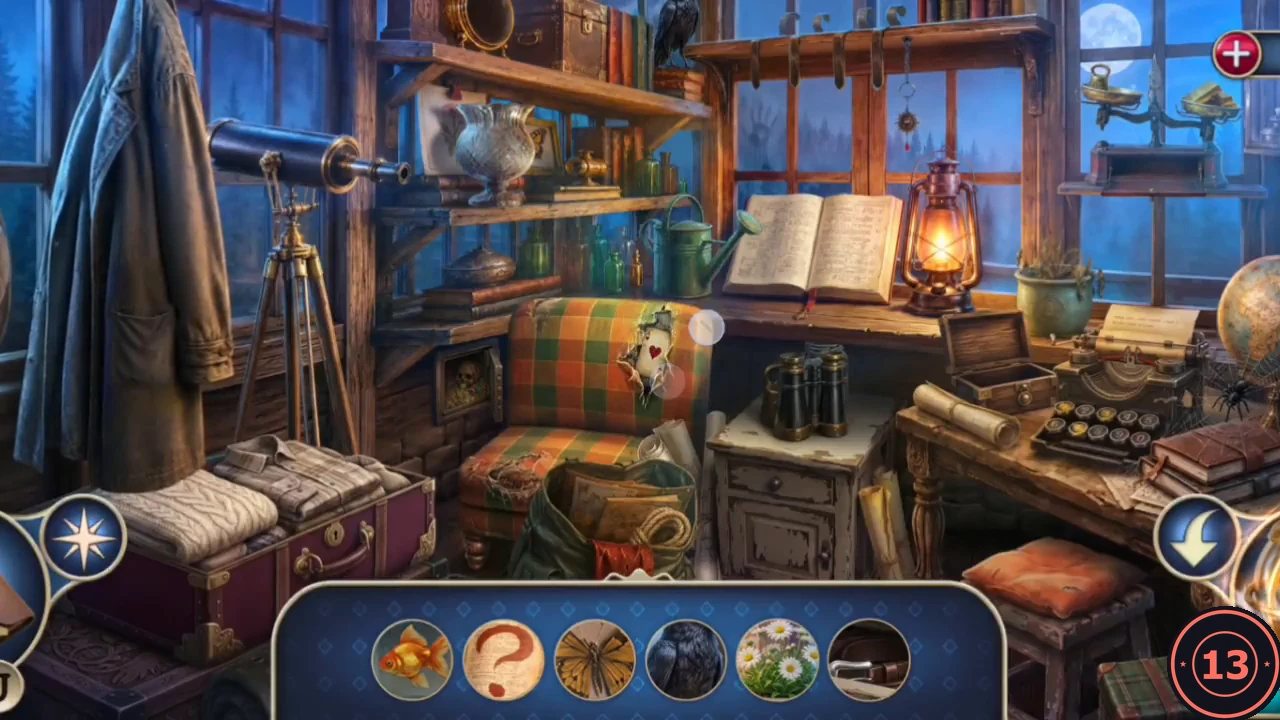
Each guest you rescued holds a key to Tinker's study. The Diva remembers where Tinker left part of his puzzle.
- Go to the mansion gate (Chapter 1) and talk to the Diva in the car. The butler once told her to look where the whole mansion can be seen at a glance. Your task becomes: search the watch booth on the Watchtower.
- Before you leave the house, take the Empty Saucepan back from the upstairs-hall fireplace. In the storage room, examine Tinker's bust (its crown is missing) and take the Pin and a secret clue.
- Go to the funicular station deck with the blueprint table and enter the glowing watch booth. Find every object whose silhouette appears in the bottom bar. Some are hidden, for example inside the book marked with a question mark. When the bar is empty you receive the Silver Note.
The Piano and the Rolling Dresser
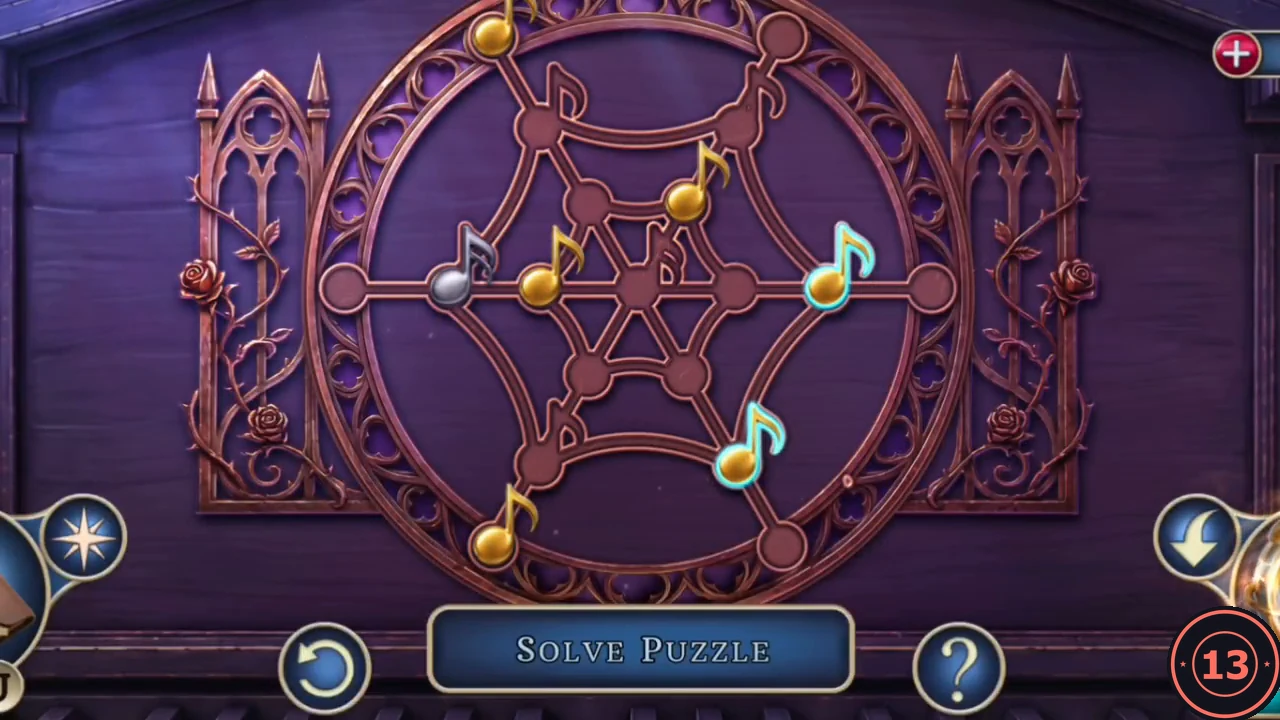
The piano in the storage room hides a web of musical notes, and the Diva's key is locked inside.
- Place the Silver Note on the piano panel in the storage room. Move the notes along the lines of the web. The engraved note shapes mark the target spots: the six gold notes go on the outlines around the web and the Silver Note goes on the outline in the centre. A note on the right spot gets a cyan ring. Once all notes are ringed, the panel opens and you can take the Dresser Wheel and the Diva's Key.
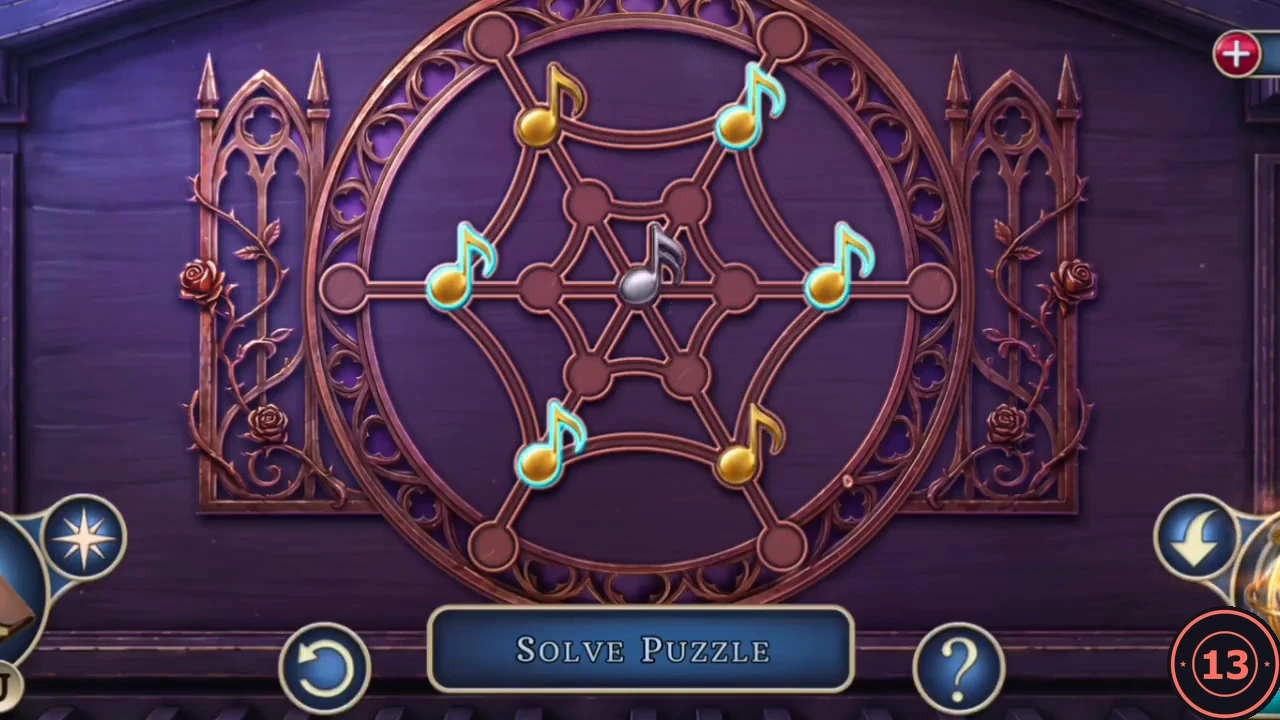
The final note positions, just before the panel opens. - In the foyer, the dresser is missing a wheel. Put the Deflated Ball under it and inflate it with the Hand Pump to lift the dresser. Fit the Dresser Wheel, secure it with the Pin, then take the ball back. The dresser rolls aside and reveals a passage to a staircase landing.
- A red laser beam guards the stairs. Throw the inflated Ball across the beam to test it: the beam triggers a hidden trap that fires an arrow across the stairs, and the Ball is used up. The beam stays on, so keep off the stairs. After springing the trap, you will pick up a Broken Arrow on these stairs later. Take Ruby Rose (3/4) from under the cloth on the landing. The gramophone there needs a record (later). Continue into the corridor, pick up the secret clue, and look at the card table: it still needs more pieces.
- Back at the gate, talk to the Cardsharp in the green suit. The frightened maid mentioned a tin figurine in the underground station storeroom. Your new task is to search the warehouse at the Underground Station.
The Cardsharp's Trial
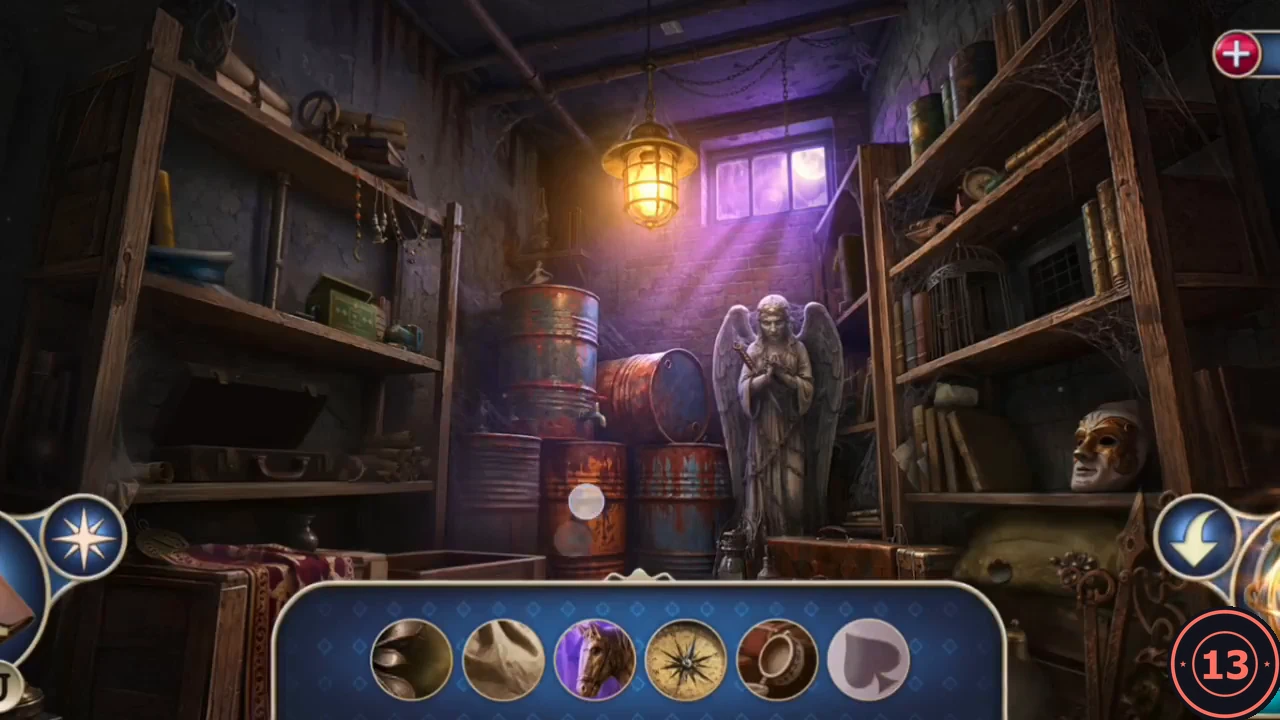
The last tin figurine is in the underground storeroom. All seven figurines will be melted into a key-shaped casting.
- Enter the storeroom on the subway platform and find every object shown in the round silhouette bar. Completing the search gives Tin Figurine (7/7).
- At the upstairs-hall fireplace, put the Empty Saucepan back on the fire and drop in all seven Tin Figurines to melt them.
- On the subway platform, pour the molten tin into the monogram mould in the floor tile. Once it hardens, pry the casting out with the Pocket Knife to get the Ornate Letter.
- Put the Ornate Letter into the monogram plate on the blue toy chest in the upstairs hall. Take the Construction Set and the Scale Pan from among the toys.
The Construction Set
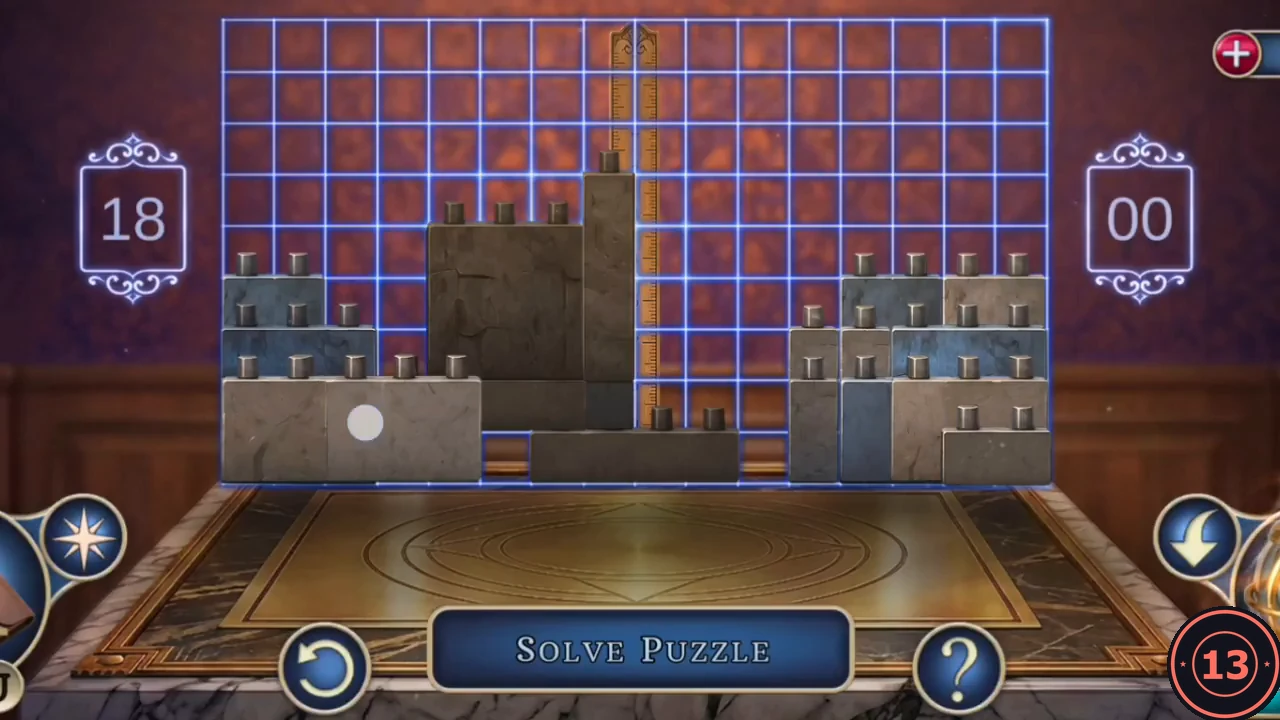
The card table in the corridor is a building board split by a golden ruler, with a counter on each side.
- Empty the Construction Set onto the card table. Drag the stone blocks into the grid and stack them. The counters on the left and right show how many cells each side of the central ruler covers. Keep both sides balanced and use every block. In a reference playthrough both counters read 45 shortly before the end, and the board was complete with both counters at 48. A drawer then opens with the Cardplayer's Key and a Crystal Feather, and the new task is to find the Broker's trial.
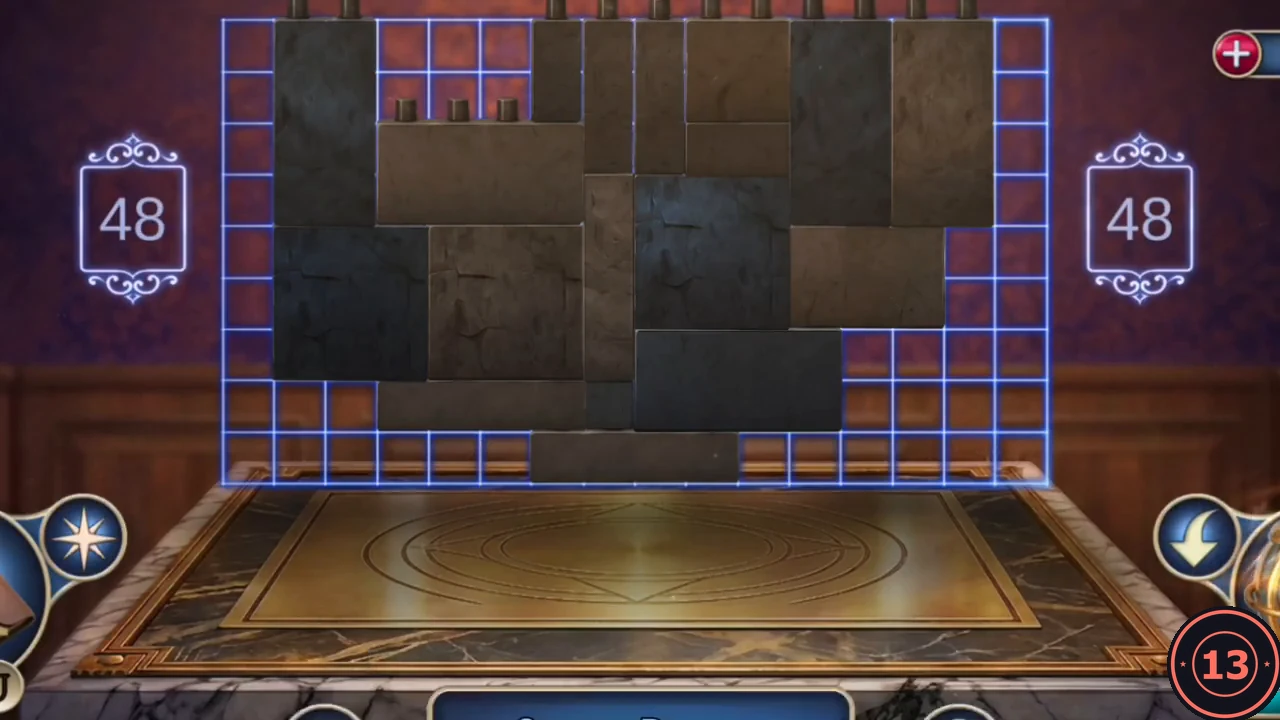
Finished: both sides read 48. - In the storage room, hang the Scale Pan on the empty chain of the scales and lay the Crystal Feather in it. The scales tip and a drawer slides out with Ruby Rose (4/4).
The Rose Door and the Library
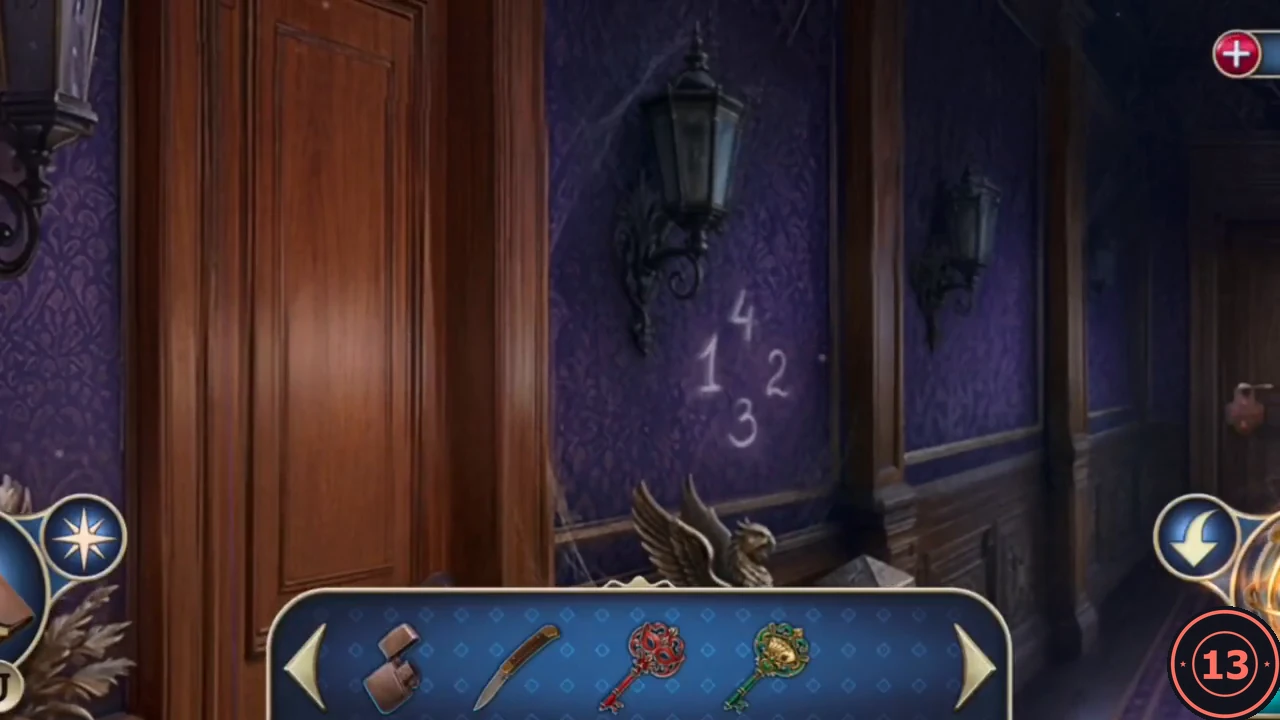
A cross-shaped plate in the corridor holds four ruby roses. Chalked numbers on the wall beside it give the order.
- Put the four Ruby Roses into the cross-shaped plate on the corridor door. The wall nearby shows the numbers in a cross: 1 on the left, 2 on the right, 3 at the bottom and 4 at the top. Press the roses in that order: left, right, bottom, top. The door opens into Tinker's library.
- Move the books on the library desk and take the Birdcage Key and Tinker's Diary. Take the Broker's Hint, the bull card tucked into the corner of the large painting of Tinker and Alice. It shows a letter to Richard and a gold watch. In the secretary desk, move the books aside and take Painting Fragment (1/8) from the bottom shelf. The drawer holds a sealed letter and a maze box (examine only for now).
- Pull the cloth off the birdcage and open it with the Birdcage Key. Take the Clock Weight. The empty perch is connected to a mechanism and needs the right weight.
- At the gate, talk to the Broker. Someone shouted that Tinker had hidden a compartment behind the map in the Mechanarium. The task becomes: search the map in the Mechanarium.
Painting Fragments
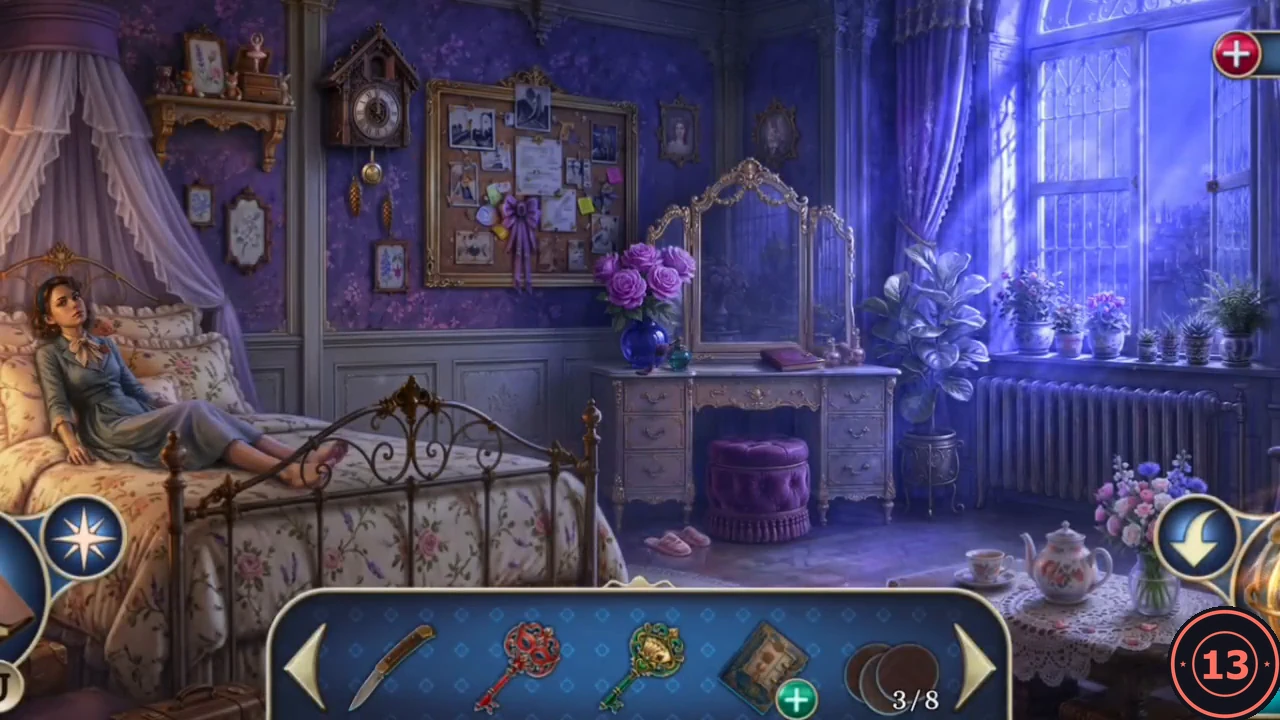
The library painting has eight missing pieces. You already have one; the other seven are spread across the estate.
- In Alice's room, hang the Clock Weight on the cuckoo clock. The clock starts and the cuckoo bird pops out; take it. Set the bird on the empty perch in the library birdcage to get Painting Fragment (2/8).
- Take Painting Fragment (3/8) from the book on Alice's dressing table, and Painting Fragment (4/8) from the blue toy chest in the upstairs hall.
- The Mechanarium is Tinker's control room from Chapter 5. Look at the world map there: there is a hollow space behind the canvas. Cut it open with the Pocket Knife to find a secret clue, the Vinyl Record and Painting Fragment (5/8).
- Play the Vinyl Record on the gramophone on the laser landing. Tinker's recorded voice talks about justice, and a compartment opens with a Bell and Painting Fragment (6/8).
- Take Painting Fragment (7/8) from Tinker's bust in the storage room. Take Painting Fragment (8/8) from the clown mask and newspaper on the bench on the subway platform.
The Torn Painting
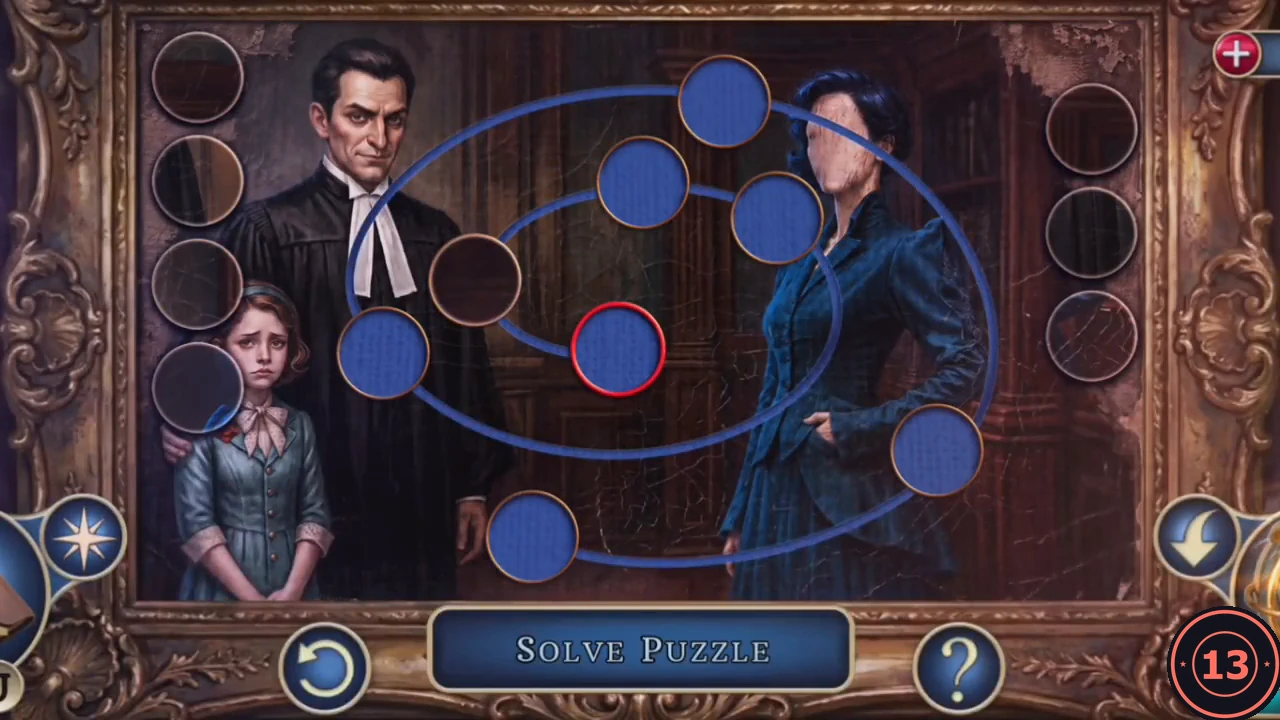
Eight round holes in the library painting match the eight fragments you collected.
- Place the Painting Fragments on the library painting. They line up in the trays on both sides. Drag each fragment into the blue gap where its picture continues the painting, such as the faces, clothes or background. The large red-ringed gap in the centre is filled the same way. When all eight are in place, the painting opens and you can take the Crossbow and the Diary Component from the compartment behind it.
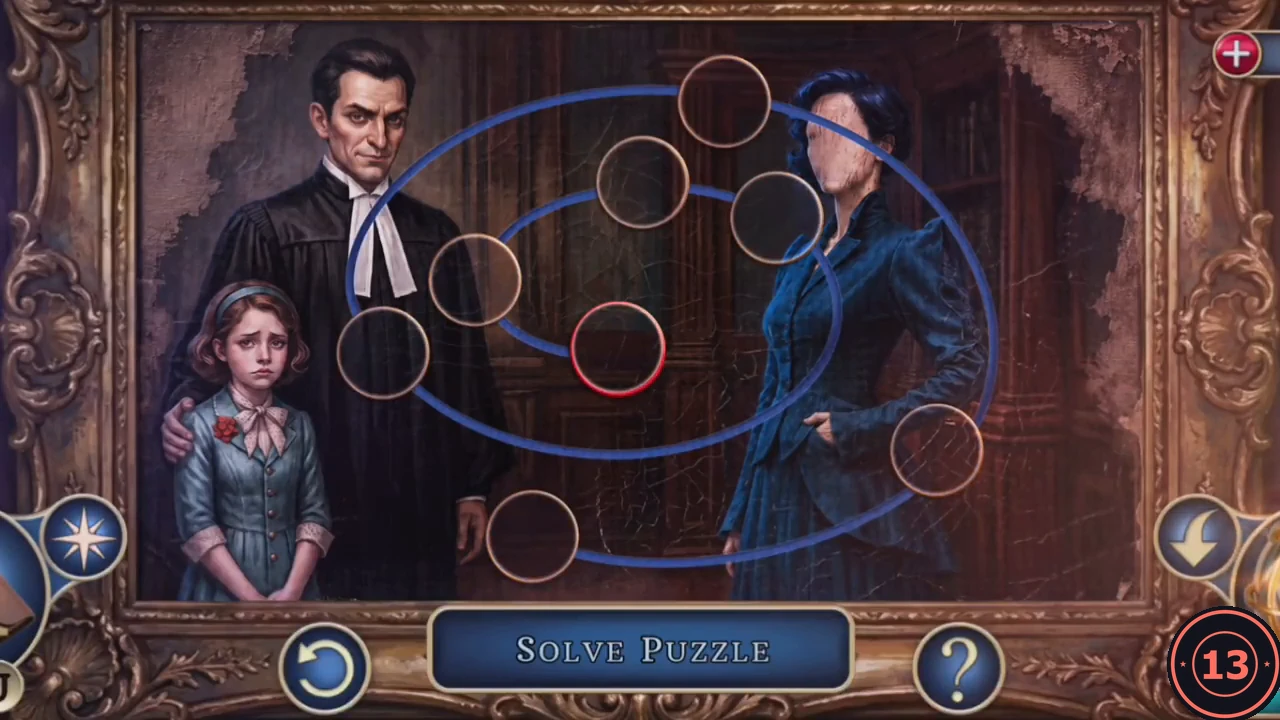
The painting with every fragment placed.
Tinker's Diary
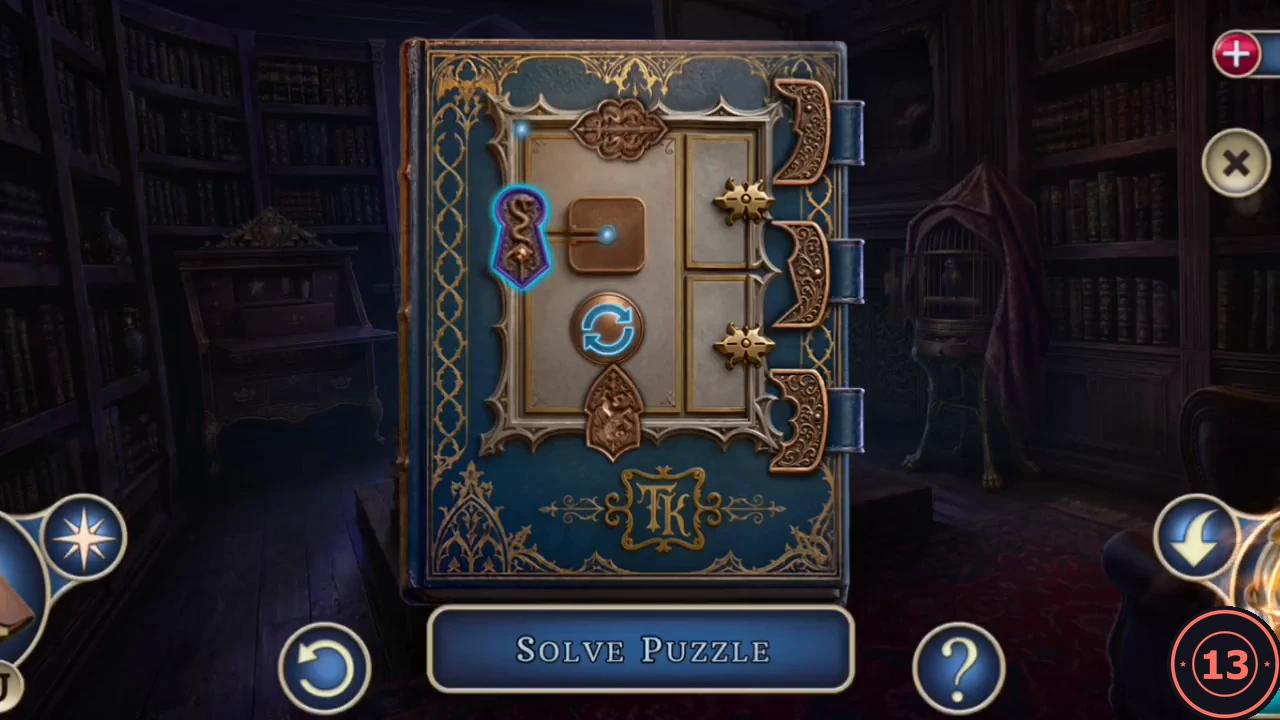
Tinker's Diary is locked by a sliding clasp mechanism. The Broker's key is inside.
- Open Tinker's Diary and insert the Diary Component. Slide the emblem pieces along the grooves; the round button in the middle turns the piece on it. Guide each emblem into one of the three clasps on the right edge of the cover. When all three clasps are filled, the diary opens and you can take the Necklace and the Broker's Key.
The Door to Tinker's Study
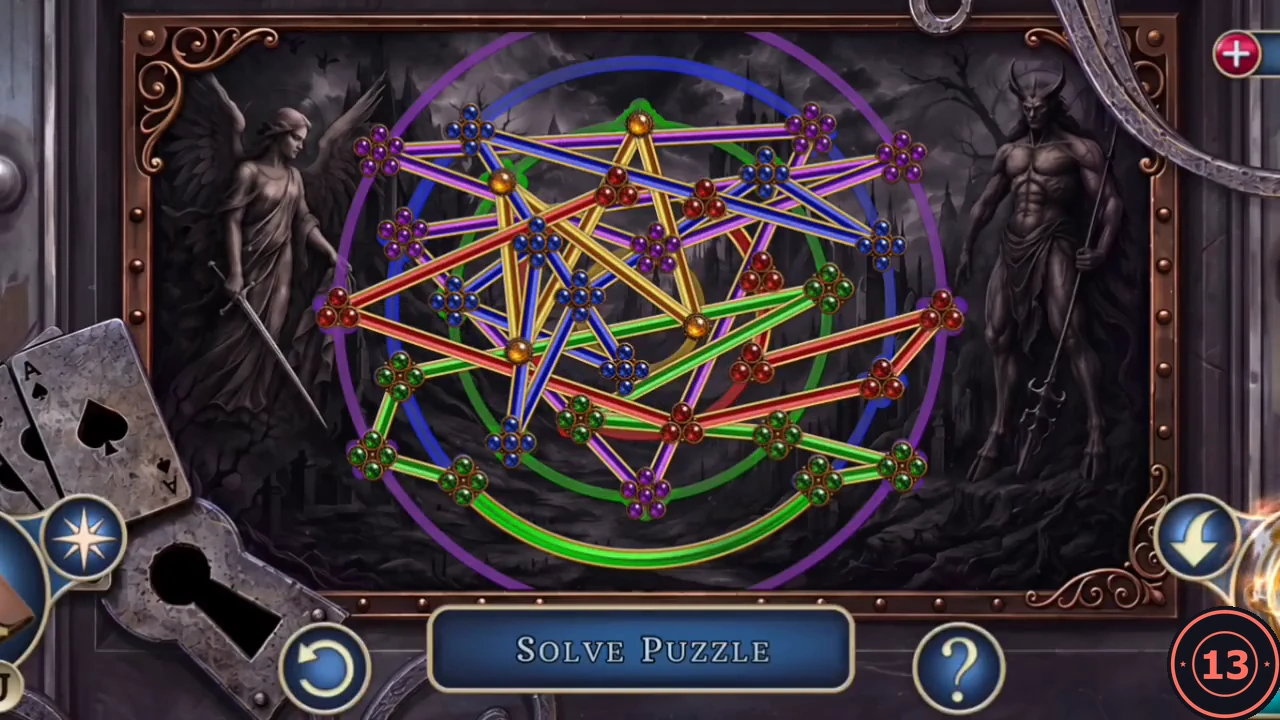
The door to Tinker's study is in the upstairs hall. A mask above it watches for movement and controls the saws, so you must disable it before you can reach the three keyholes.
- Pick up the Broken Arrow from the stairs on the laser landing, next to the teddy bear. Take the Satin Ribbon that is wrapped around the letter in the library secretary drawer. Combine the Broken Arrow with the Satin Ribbon and the Pocket Knife; the knife serves as the arrowhead. This makes a Makeshift Arrow. Load it into the Crossbow to get a Loaded Crossbow.
- In the upstairs hall, shoot the mask camera above the study door with the Loaded Crossbow. With the camera destroyed, you can safely approach the door.
- Insert the three keys: the Diva's Key in the mask keyhole (left), the Cardplayer's Key in the playing-card keyhole (middle) and the Broker's Key in the bull keyhole (right). A board of tangled coloured rods appears. Drag the rod ends from node to node until each colour forms its own closed ring: yellow innermost, then red, green, blue and purple outermost. When the five rings are complete, the study door opens.
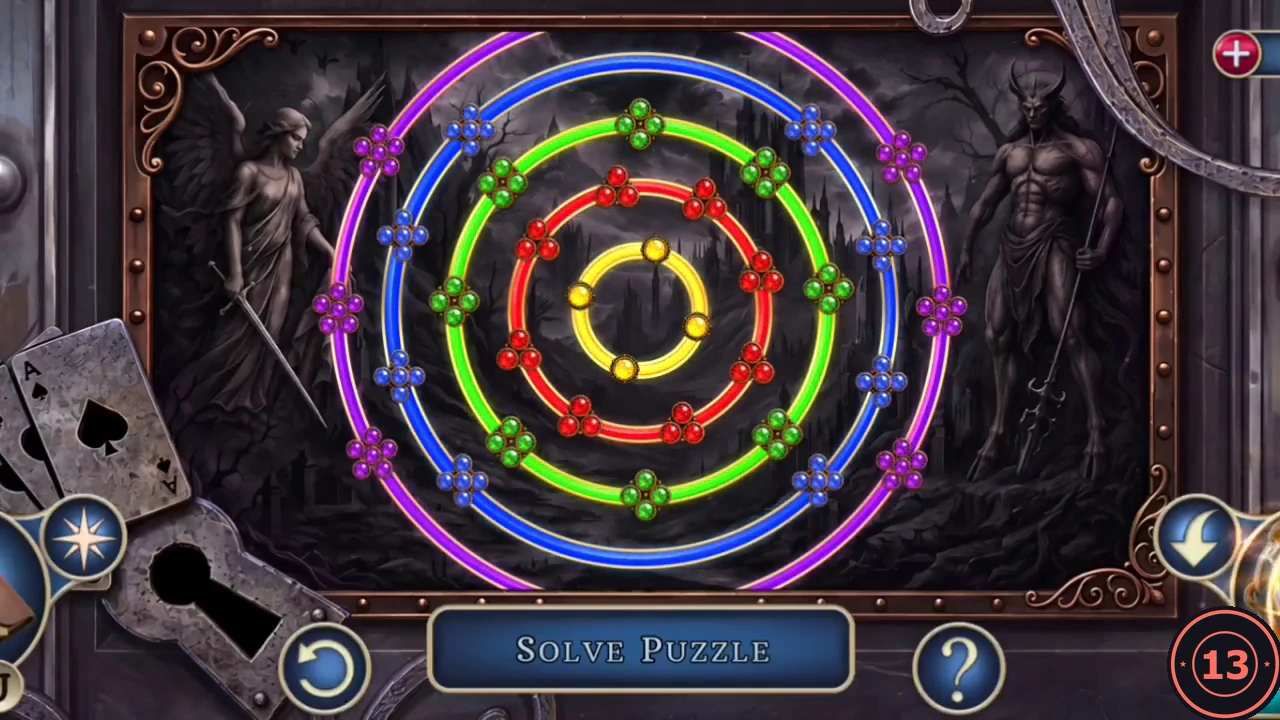
Finished: the rods form nested rings.