Tinker's Race Against Midnight
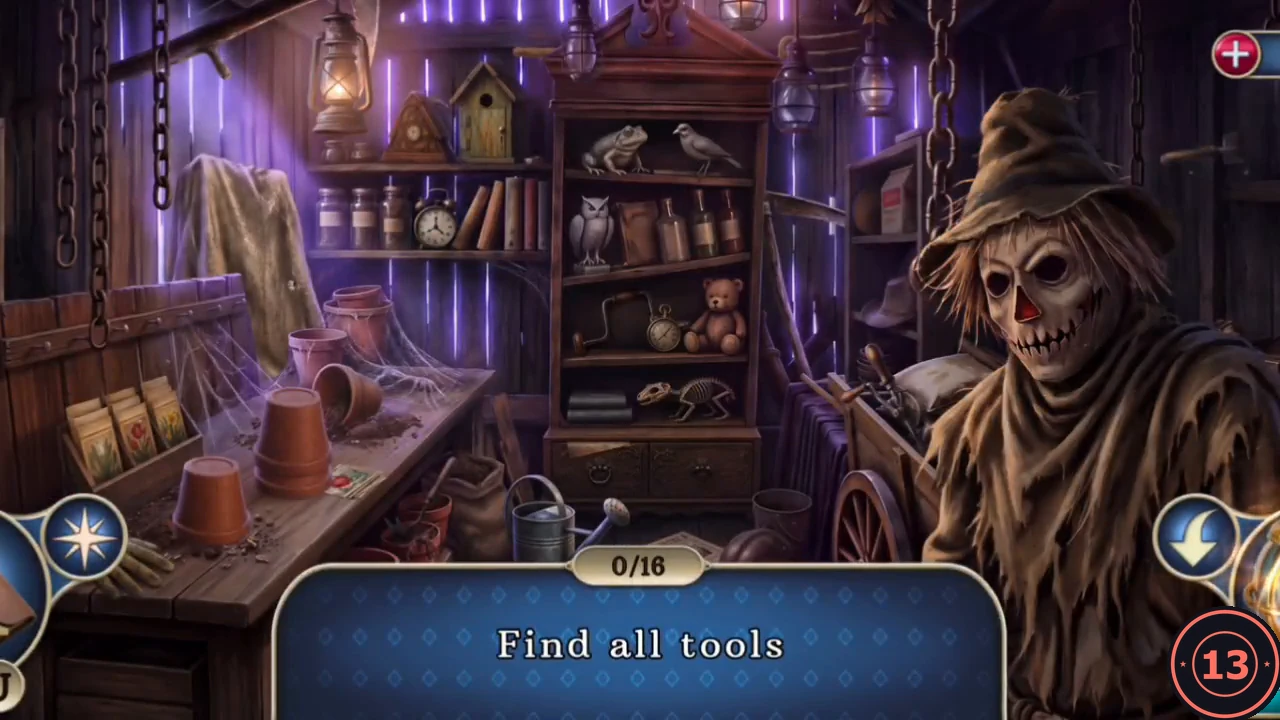
Beyond the park gate, Tinker reveals himself and turns the way to his private house into a race against the clock. The wrist timer is part of the story; no failure was shown when it ran low.
- Walk through the park gate. At the maze entrance, Tinker (unmasked) greets you beside his chainsaw automaton and guard dogs and sets a twenty-minute challenge. Your objective is to find the entrance to Tinker's wing.
- Go ahead to the rose-hedge junction. The iron gate on the right is chained shut, and the wall box on the left has a lock shaped like a 'TS' seal. Enter the garden shed next to the junction.
- In the shed, tap the pile of gardening tools to start the 'Find all tools' search and find all 16 tools. Your reward is the Bolt Cutters.
The Lakeside Fountain
The bolt cutters open the way to the lake, where the drawbridge to Tinker's wing is raised.
- At the junction, cut the chain on the iron gate with the Bolt Cutters and go through to the lakeside courtyard. The drawbridge is raised. Take the Log lying beside the winch.
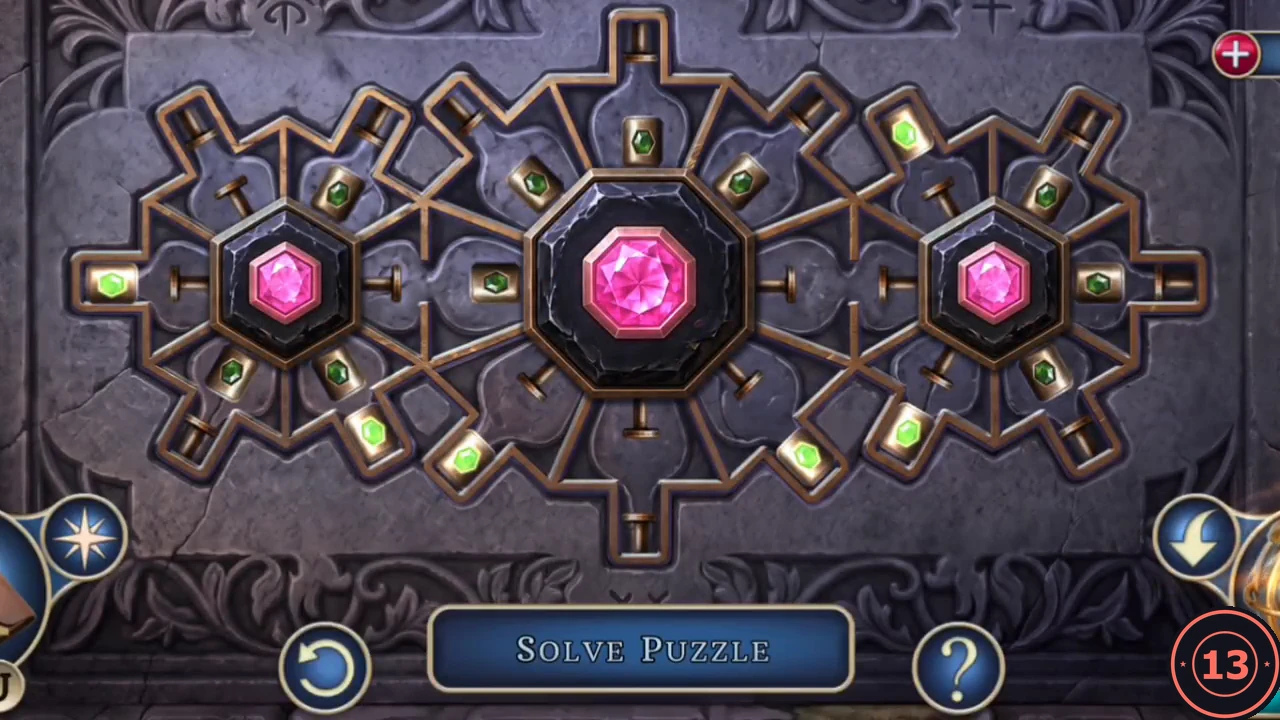
- Scrub the moss off the fountain pedestal with the Shoe Brush to uncover a mechanism with three rotating wheels. Each wheel carries green gems on its spokes. Turn the wheels until every green gem rests in one of the outer sockets and lights up. Take the Pocket Knife and Tin Figurine (1/7) from the opened pedestal.
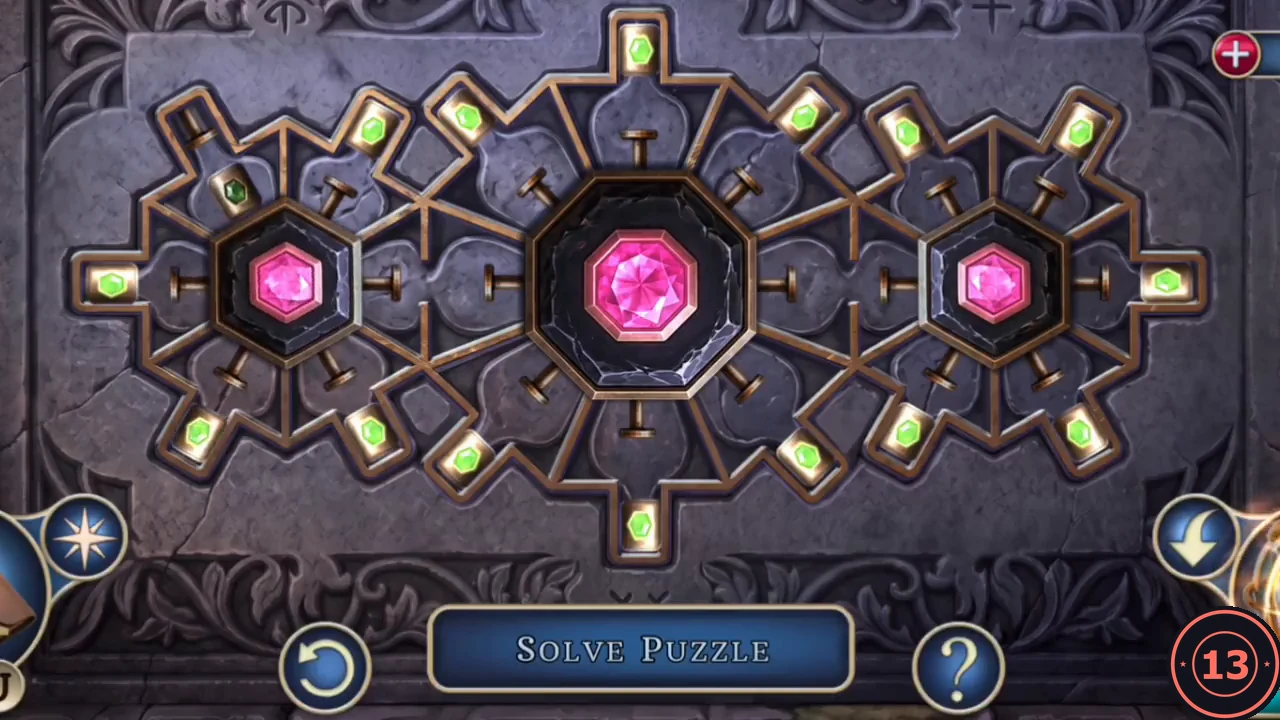
Finished: all green gems sit in the outer sockets.
The Barn and the Family Casket
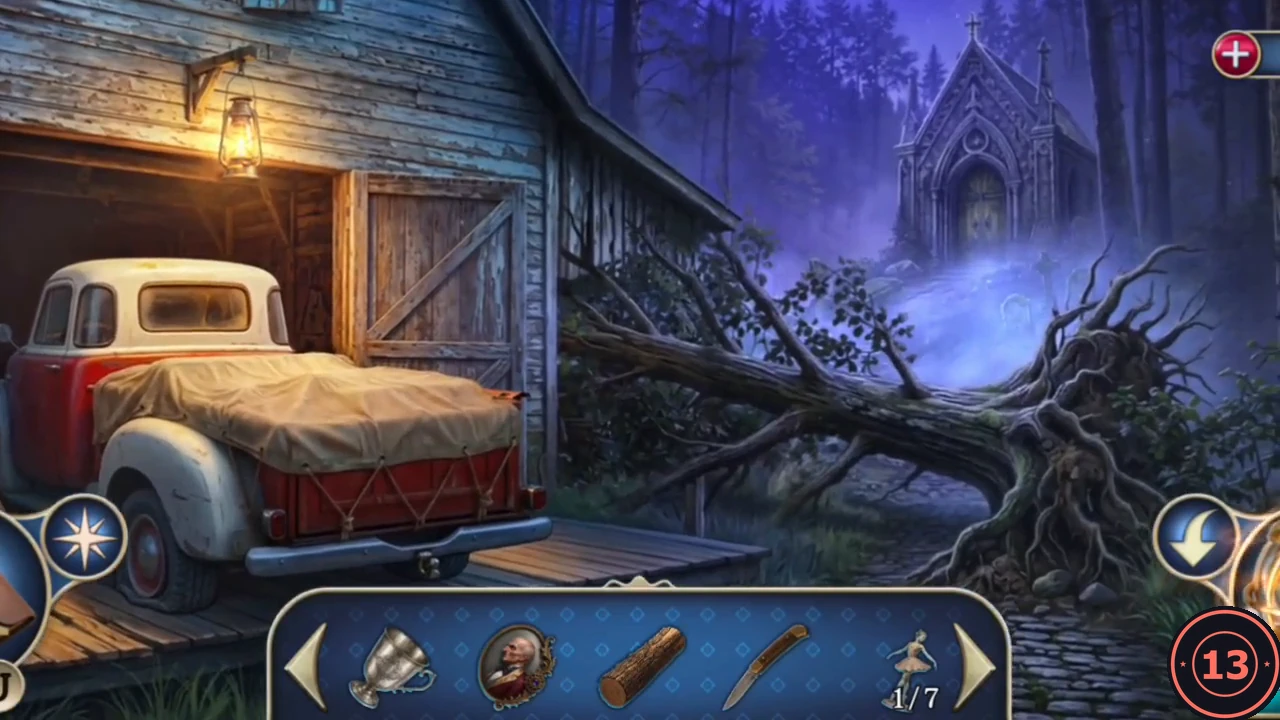
A fallen tree blocks the path past the barn, and the winch needs its missing handles.
- Go to the barn with the red truck. Look into the gap in the barn door and pull out Winch Lever (1/5). Something else is stuck deeper in the gap.
- Cut the ropes over the tarp on the truck bed with the Pocket Knife. Take the Family Casket and the Hemostat. Note that the grinding wheel is missing from the sharpener on the truck bed.
- Take the Boat Hook lying on the truck bed beside the sharpener. You will need it for the chest that still lies in the sunken boat at the lakeside courtyard.
- Back at the barn door, reach deeper into the gap with the Hemostat to get the Alice Cameo.
- Open the Family Casket and place the Alice Cameo and the Tinker Cameo in its lid. Take the Cube and the Grinding Wheel. A secret clue is hidden on the truck.
- Fit the Grinding Wheel on the sharpener on the truck bed. Take the Rusty Saw Blade from the saw table beside the truck, sharpen it on the grinder to get the Circular Saw Blade and mount it in the saw table. Place the Log on the table and press the red button to cut it into a Wooden Block. The winch at the lake still cannot turn without its handles.
The Sunken Boat Chest
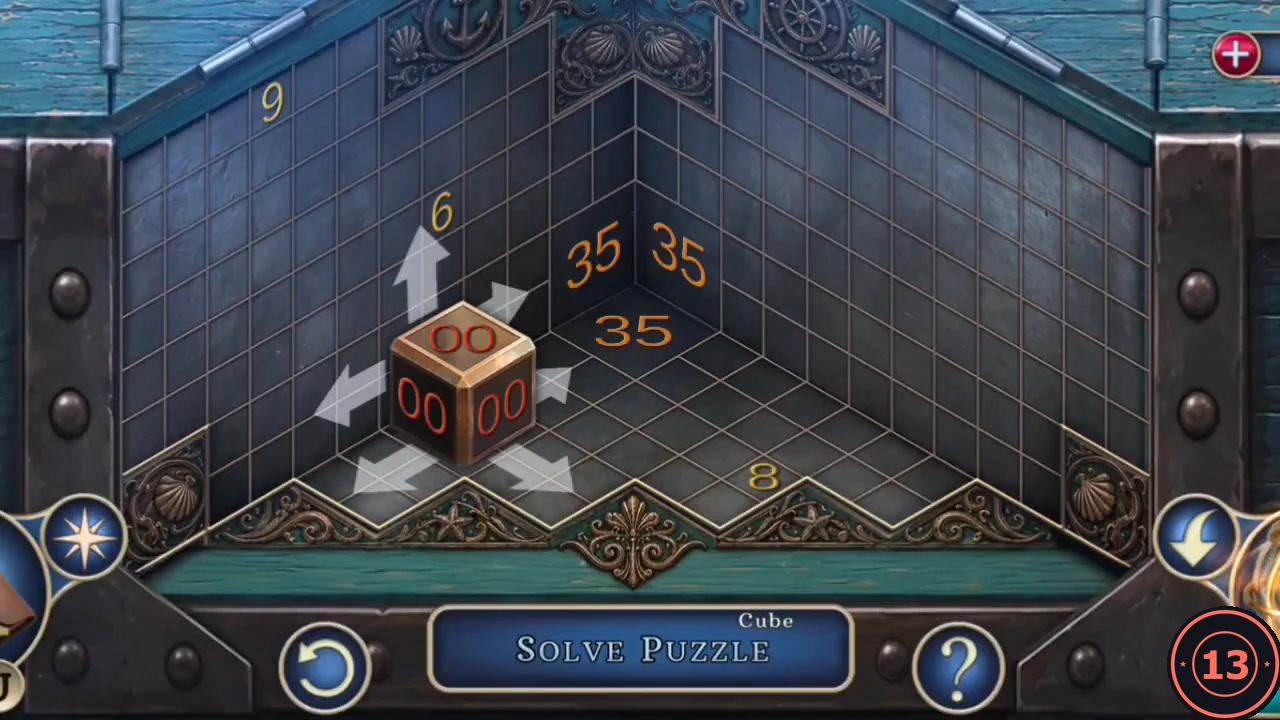
The chest in the sunken boat holds Tinker's seal.
- On the path with the hooded statues, take Winch Lever (2/5).
- At the lakeside, pull the chest out of the sunken boat with the Boat Hook and place the Cube in its lid. Inside, the cube floats in a corner of the box with six arrows around it, and all its faces show a running total that starts at 00. Tap an arrow to move the cube onto one of the gold numbers on the walls or floor; that number is added to the total. The goal is a total of exactly 35, after which you move the cube into the back corner where 35 is marked on both walls and the floor. Example from the reference playthrough: move up to the 6 (total 06), then right to the 11 near the top of the right wall (17), then down to the 5 lower on the right wall (22), then left to the 13 on the left wall (35), and finally move the cube into the 35 corner. Ignore the other numbers (such as 9, 8, 12, 3 and 4) on this route. If your total overshoots, use the reset button at the bottom left. The chest opens. Take the Carabiner and Tinker's Seal.
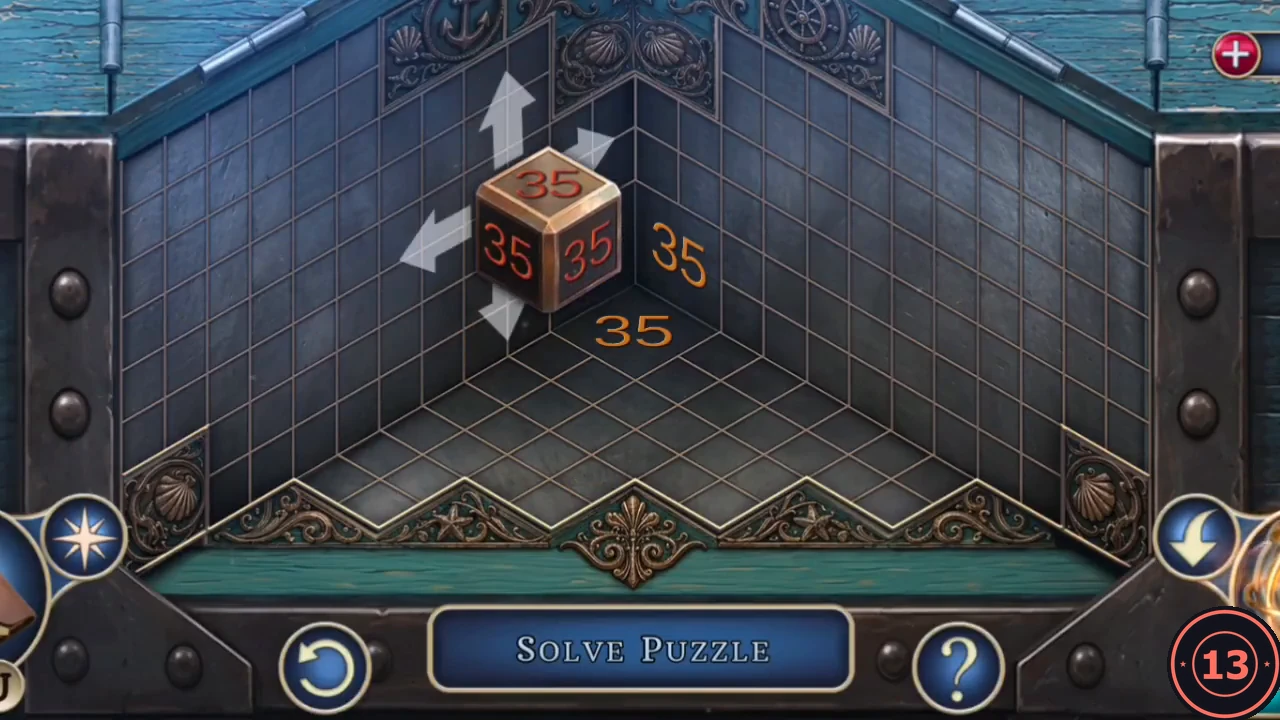
Total 35: the last move takes the cube into the corner marked 35. - Attach the Carabiner to the chain on the winch.
The TS Seal Box
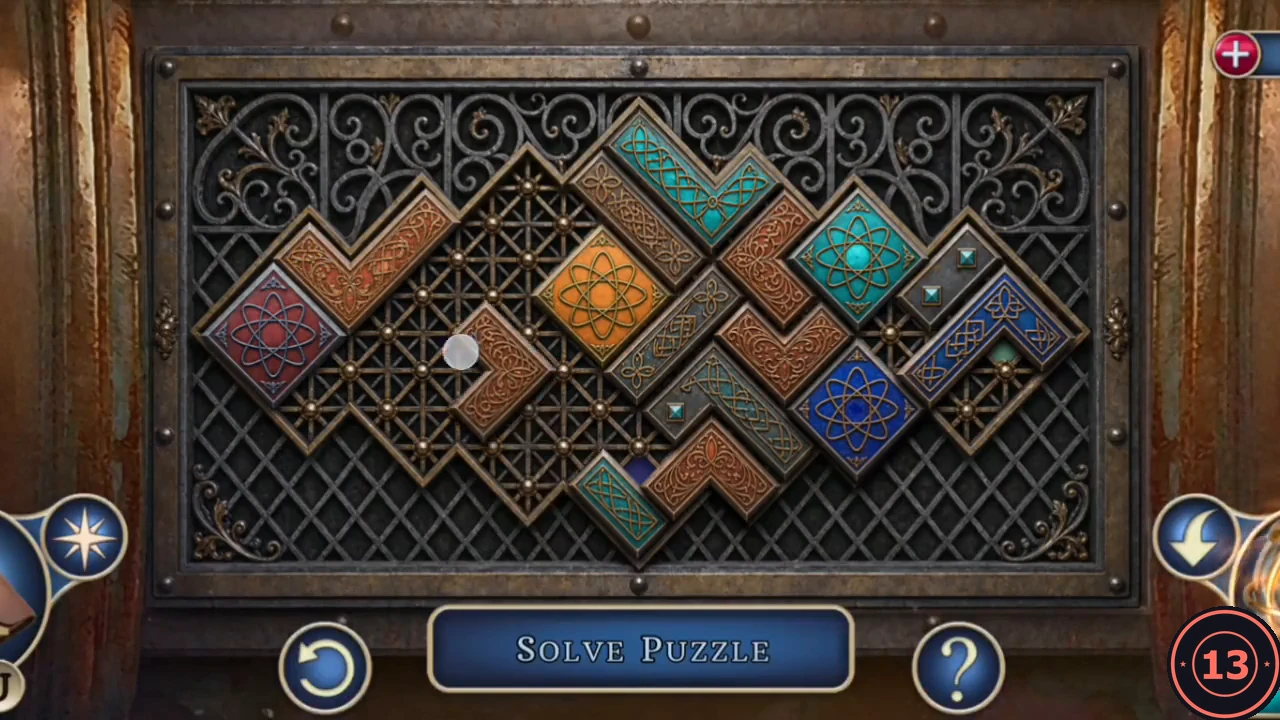
Tinker's Seal unlocks the wall box at the rose-hedge junction.
- At the rose-hedge junction, press Tinker's Seal into the wall box. Move and rotate the diamond tiles until their pictures join into the complete design shown in the solved image. The box opens: take Tin Figurine (2/7) and the Dull Chisel.
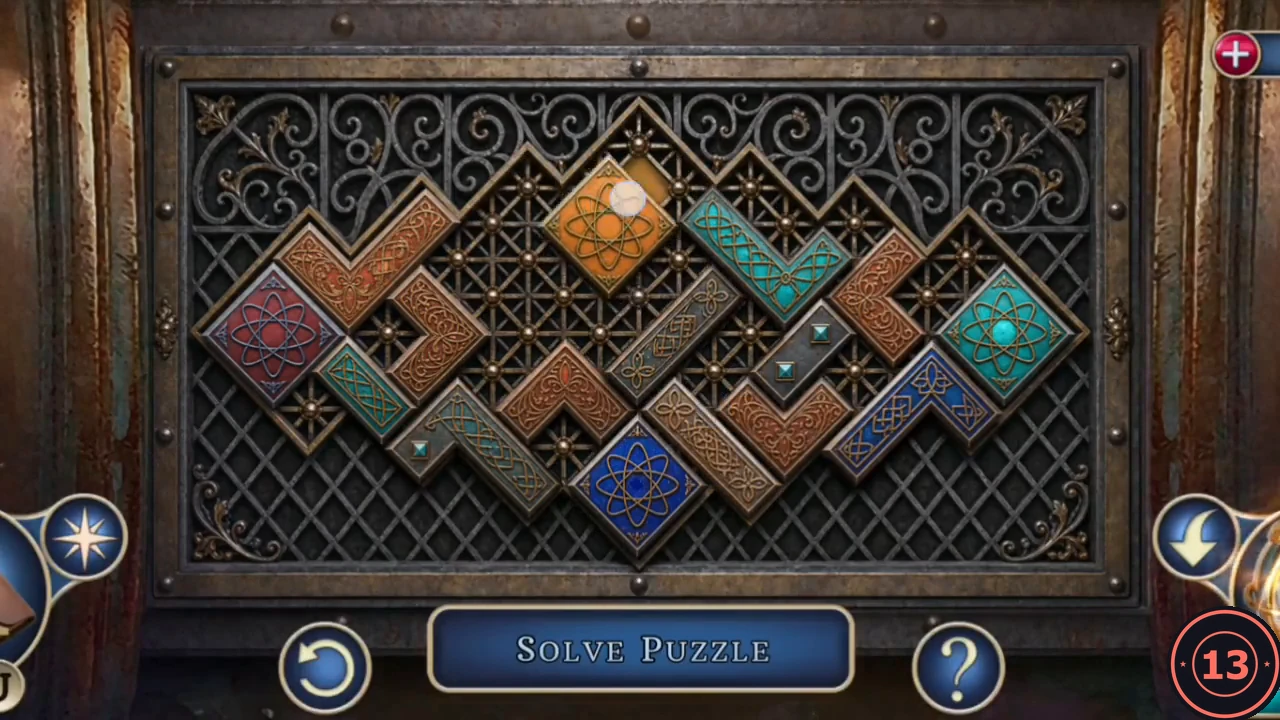
The final arrangement, just before the box opens.
Five Winch Levers
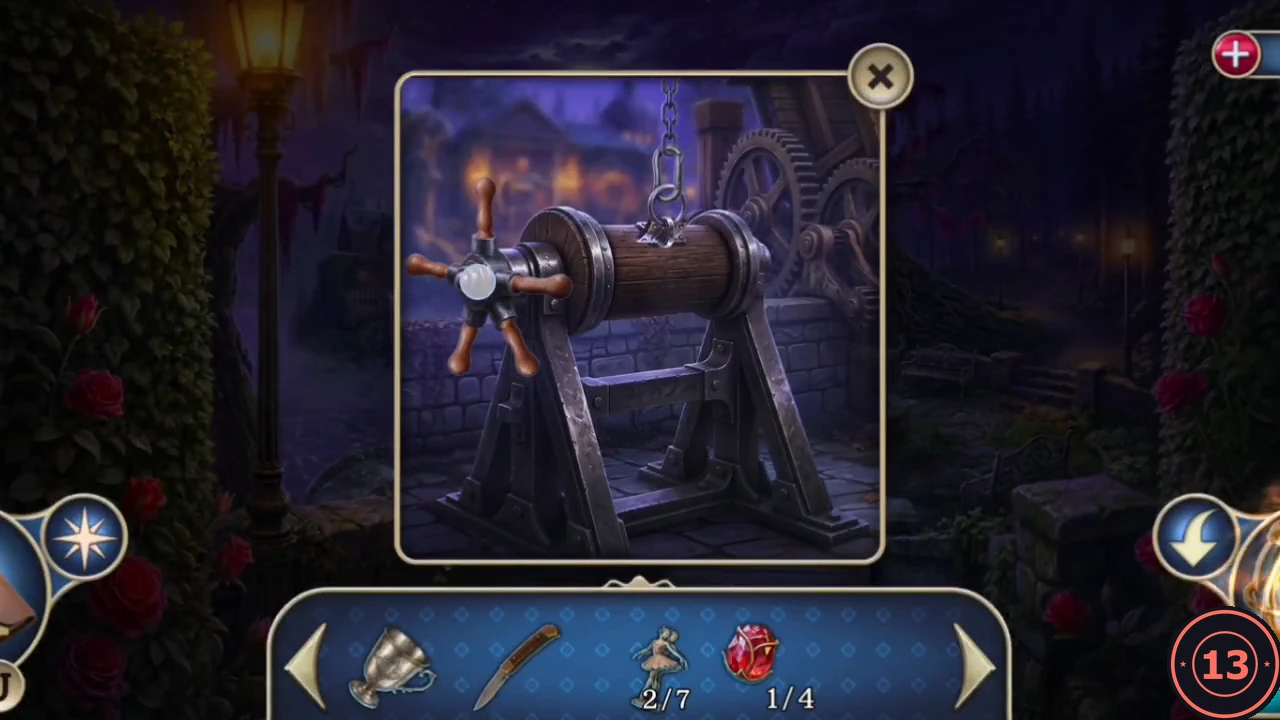
Tinker removed every handle from the winch. Three more levers are hidden in the garden and in rooms from earlier chapters.
- Sharpen the Dull Chisel on the truck's grinder, then carve the Wooden Block with it to make Winch Lever (3/5).
- Travel to the maid's room (Chapter 5). Cut through the hardened wax sealing the desk drawer with the Pocket Knife and take Ruby Rose (1/4).
- Travel to the wine cellar (Chapter 1) and take Winch Lever (4/5) from the floor hatch. A secret clue is here too.
- Travel to the lower funicular station (Chapter 3) and take Winch Lever (5/5) from the spilled paint tin.
- Back at the lake, fit all five Winch Levers to the winch to lower the drawbridge, then cross it to the private house.
Clearing the Fallen Tree
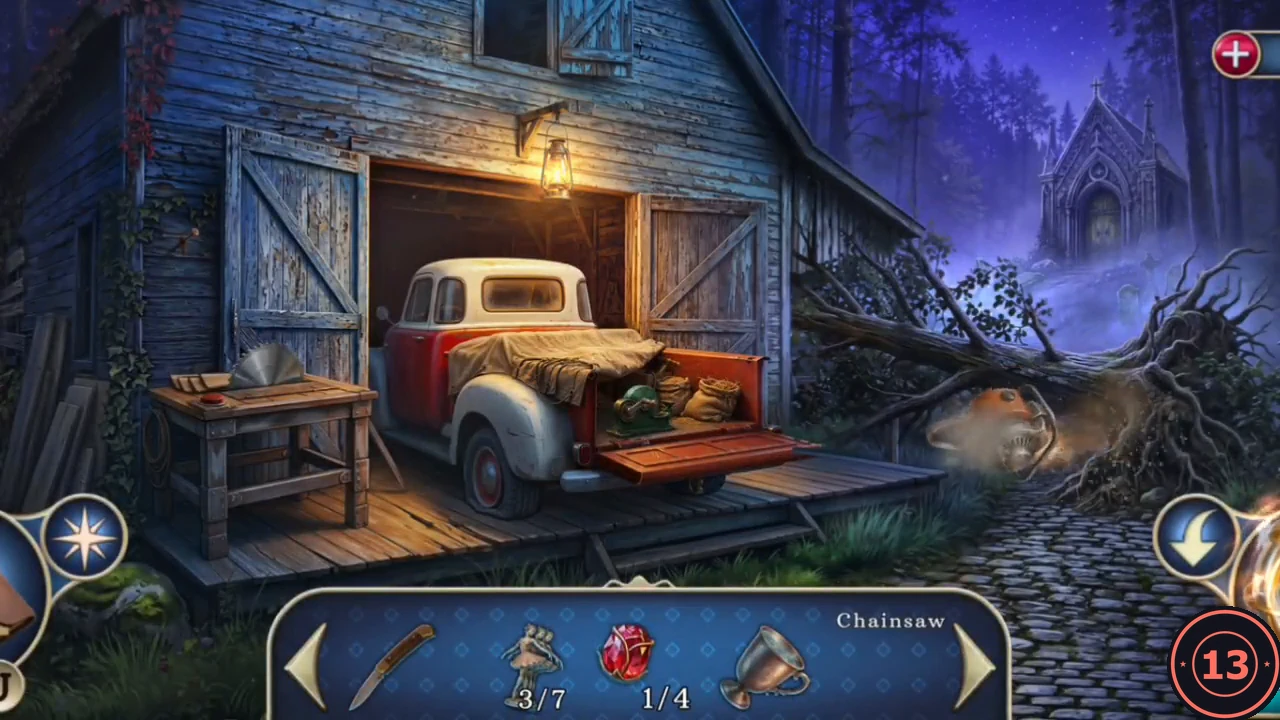
Alice tells you the truth about her father and sends you to the crypt for the key to the private house.
- On the porch of the private house, Alice explains that Tinker is her father and that the butler was his disguise. She gives you the Fuel Cap Key and tells you the house key is hidden in the crypt. Your objective is to clear the path to the crypt and find a way inside.
- Open the fuel cap of the car by the porch with the Fuel Cap Key. You need a container and a way to siphon the gasoline.
- On the statue path, take the Pitcher. At the maze entrance, take the Old Chainsaw.
- In the shed, cut a length of Hose from the tap with the Pocket Knife, fill the Silver Cup at the tap to get a Cup of Water (keep it for later) and take the Trowel from the plant pot.
- On the porch, dig up the freshly turned ground with the Trowel. You find Tin Figurine (3/7) and a Rusty Chain. A secret clue appears next.
- Put the Hose into the car's fuel tank and siphon the gasoline into the Pitcher, then pour it into the Old Chainsaw.
- Sharpen the Rusty Chain on the truck's grinder to get the Chainsaw Chain and fit it on the guide bar to complete the Chainsaw. Cut through the fallen tree next to the barn and follow the path to the crypt.
The Tombstone Web
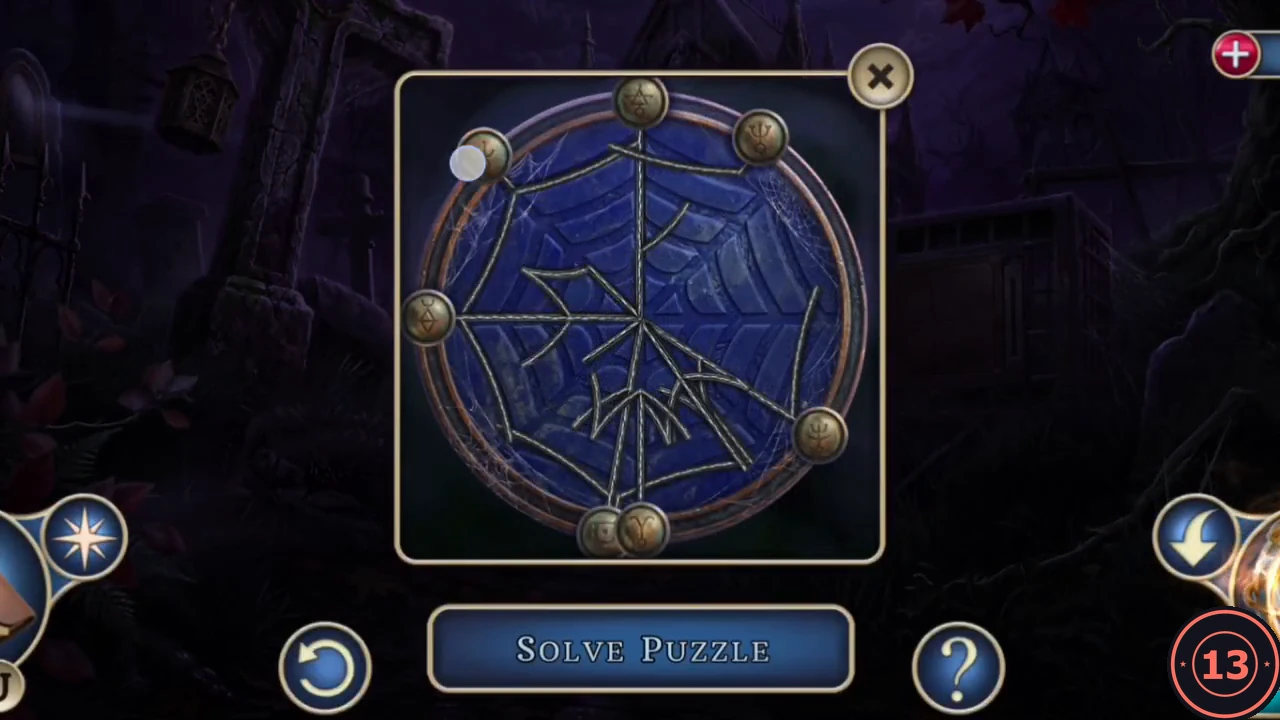
The crypt grounds hold the next Ruby Rose and a tombstone puzzle.
- In the crypt grounds, take Ruby Rose (2/4) from the large stone cross on the left.
- Examine the tombstone with the web of threads. Bronze pegs with symbols sit on the rim, and loose threads are tied to them. Drag a peg along the rim: its threads move with it. A faint spider web is carved into the stone underneath, and a thread glows blue once it lies exactly on that pattern. Move the pegs around the rim one at a time until every thread glows, forming an outer ring around the edge and an inner star. The web then sinks into the stone and a hollow opens; take the Latch Handle.
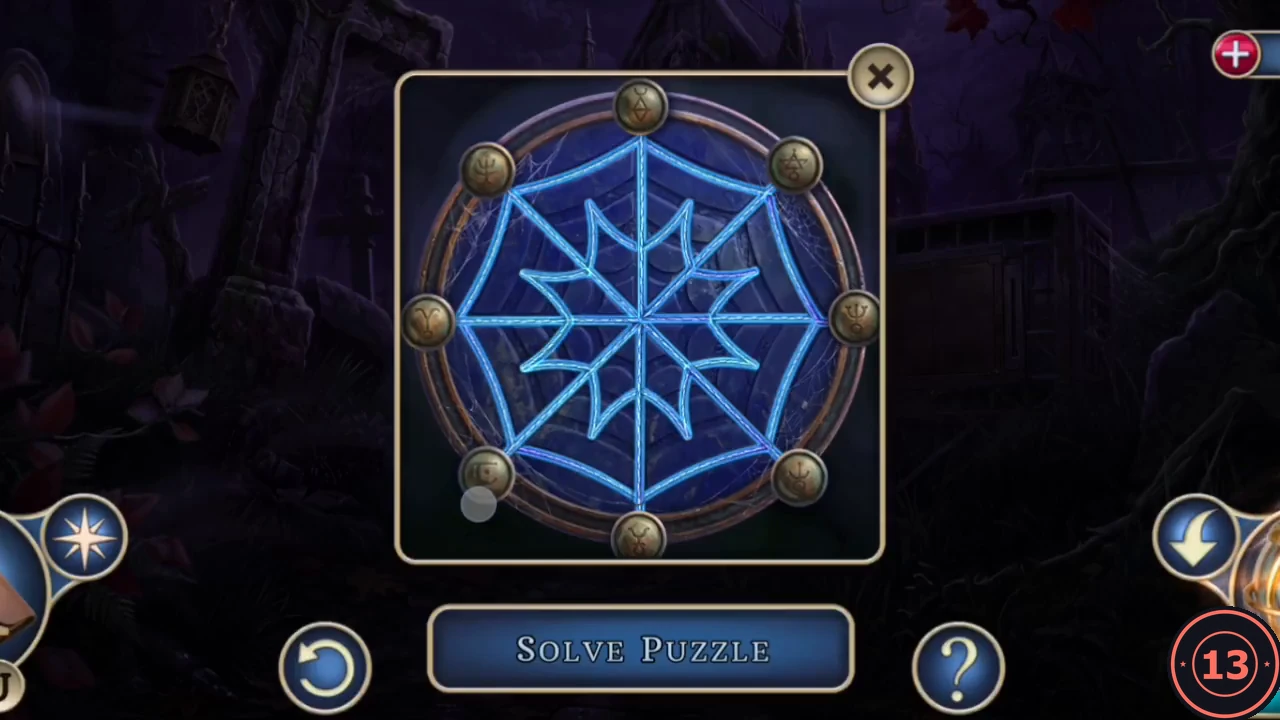
Finished: the outer ring and inner star.
The Sarcophagus Cage
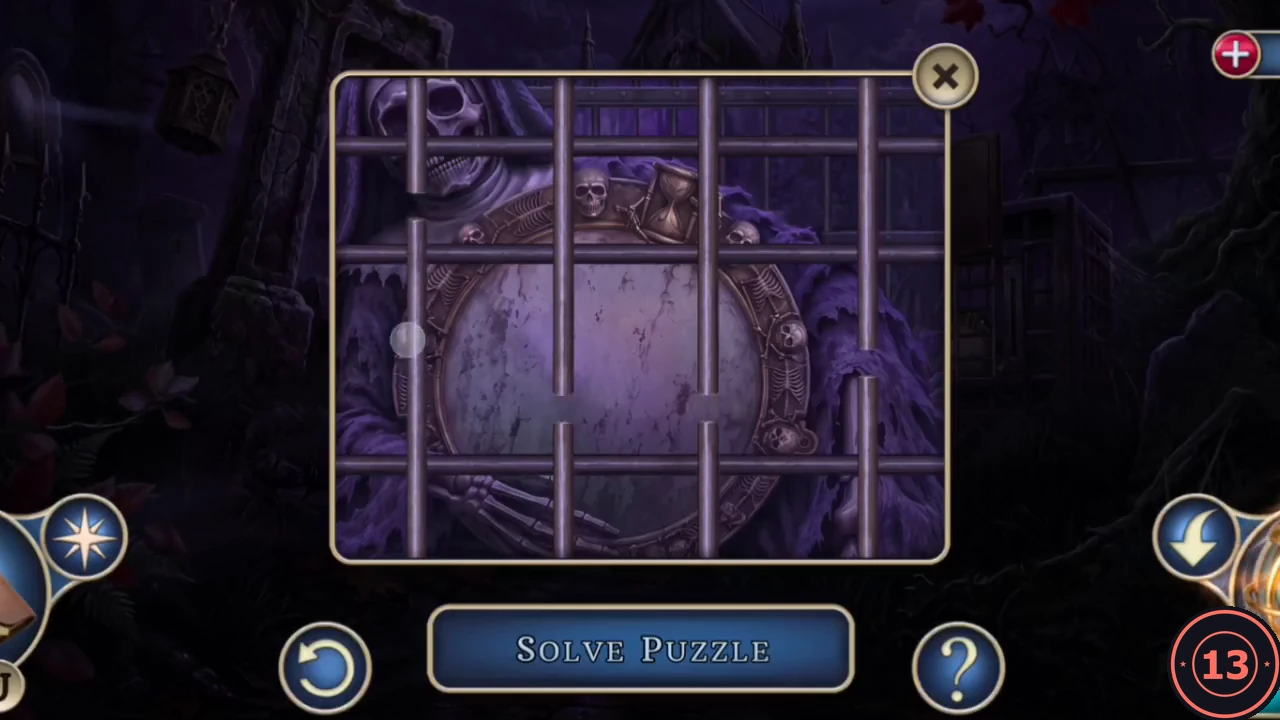
The sarcophagus in the crypt grounds hides a barred cage.
- Fit the Latch Handle to the sarcophagus lid and open it. Inside, a barred cage covers a mirror. Slide the bars along their tracks until they no longer block the opening, as shown in the solved image. Take Tin Figurine (4/7) and the Dusty Crest.
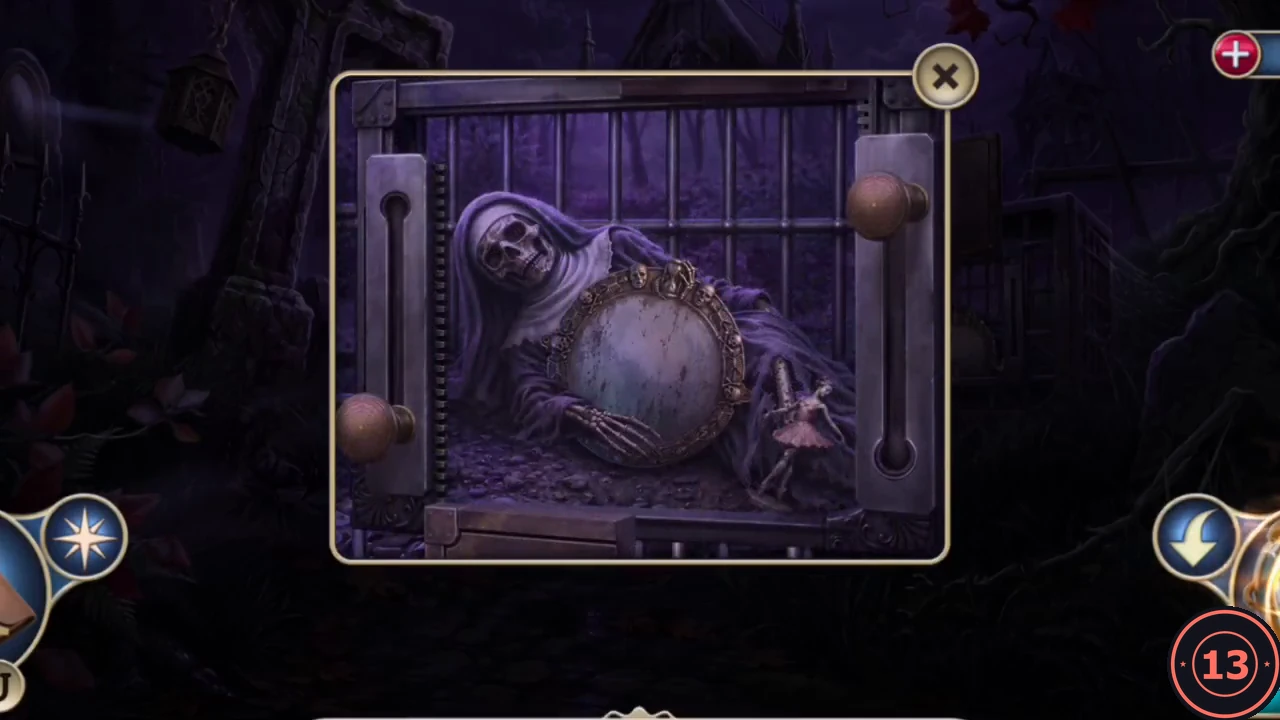
Finished: the bars no longer block the opening. - The crypt door has a round slot, but the Dusty Crest alone does not fit. Your objective is to show Alice the fragment from the crypt door.
The Ancient Crest
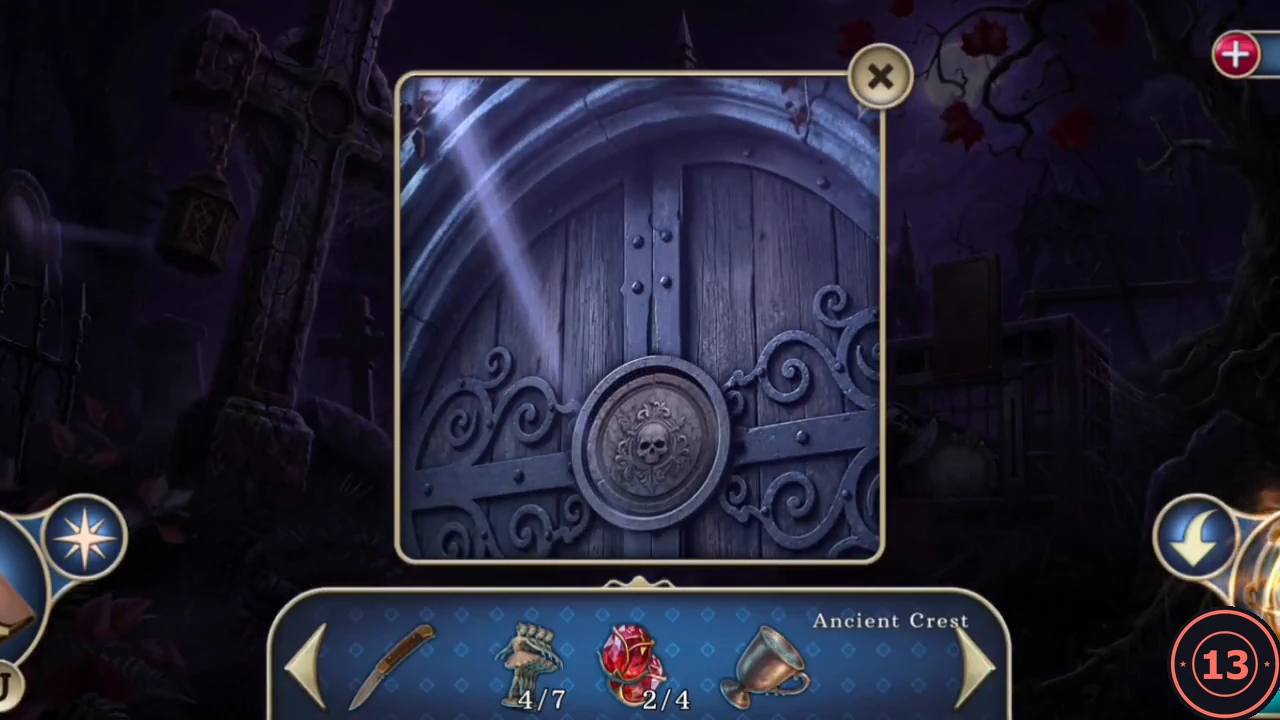
Alice recognises the fragment as part of her father's family crest.
- On the porch, show the Dusty Crest to Alice. She explains that two pieces are missing and gives you the Crest Base.
- Travel to the conservatory (Chapter 2) and take Crest Fragment (1/2) from the monster-head door ornament. Then travel to the collection hall (Chapter 4) and take Crest Fragment (2/2) from the book on the red chair.
- Open the Crest Base in your inventory and add the Dusty Crest and both Crest Fragments to make the Ancient Crest.
- Place the Ancient Crest in the crypt door to open it. An empty bracket inside once held a device. Take the Dirty Mirror from the sarcophagus.
- Travel to the attic stair hall (Chapter 5) and take the Sponge from the green box. Open the Dirty Mirror in your inventory, wet the Sponge with the Cup of Water and wipe the mirror clean to get the Mirror.
The Crypt Door Beam
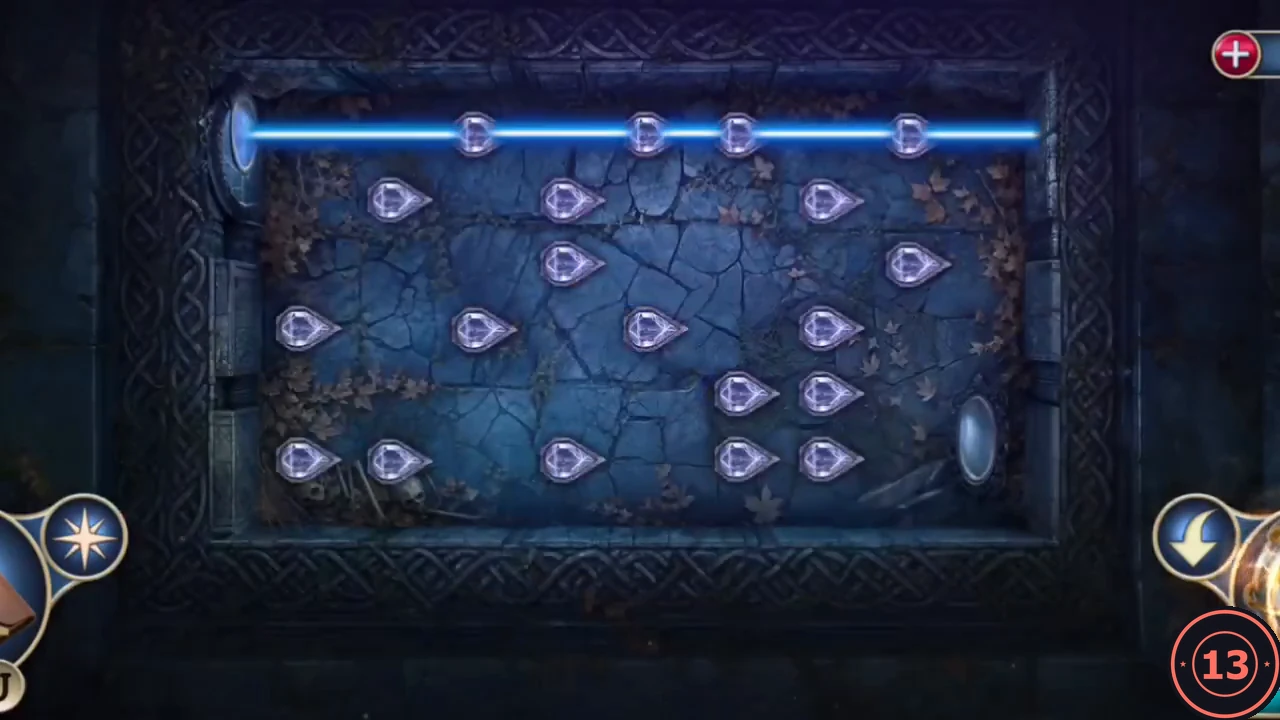
The clean mirror sends a beam of light across a stone slab.
- Hang the Mirror on the bracket by the crypt door. A blue beam enters the slab from the top left. Tap the crystals to turn the beam through them, routing it across the slab until it exits on the right side, as in the solved image. The inner crypt opens.
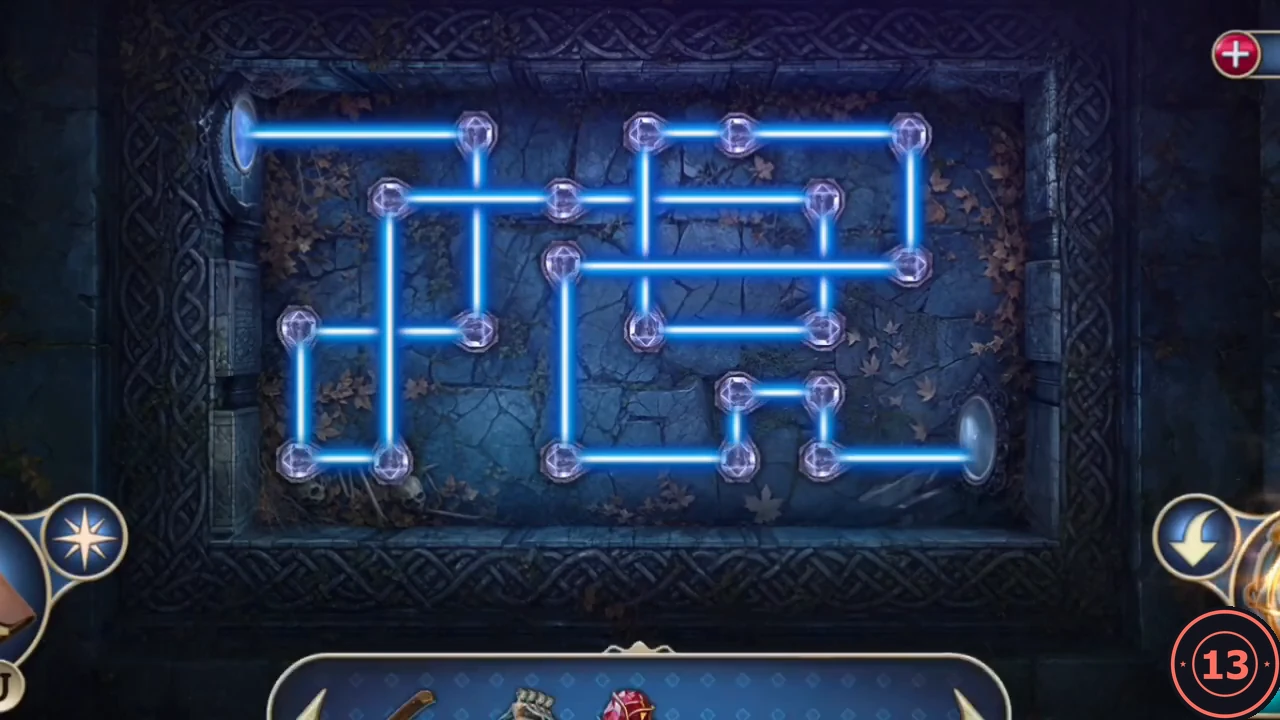
Finished: the beam reaches the exit on the right.
Inside the Crypt
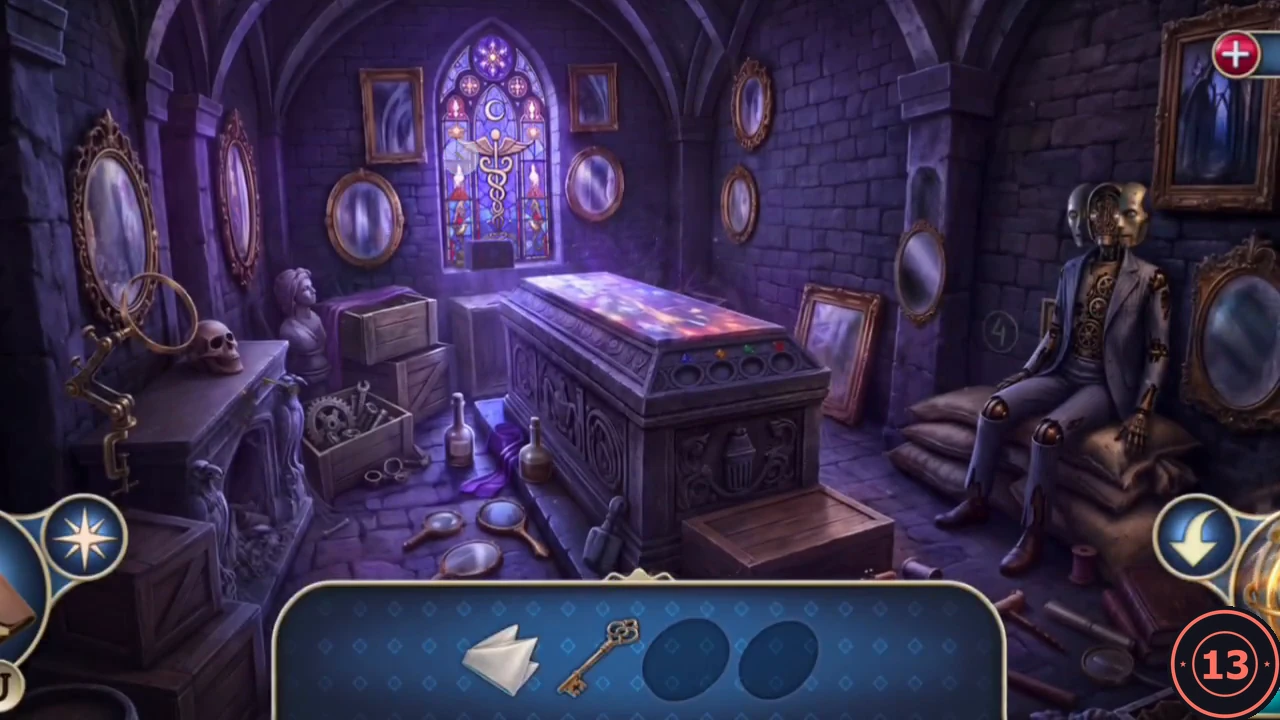
The crypt is an interactive search. The bar at the bottom shows the shapes of the items you still need: a napkin, two feathers, a poker, a key and two lenses.
- Take the napkin from the automaton's breast pocket and a feather from the automaton close-up. The automaton is missing one of its ears. Pick up the poker from the floor and use it to stir the ash in the fireplace: the brass Ear appears.
- Attach the Ear to the automaton. Its face splits open to reveal the second feather and the circled number 4 on the wall beside it. Place both feathers on the stone ravens of the fireplace to release the ornate key.
- Unlock the chest beneath the stained-glass window with the ornate key and take the red lens. Fit it into the empty brass magnifier on the left wall: a red beam lights up a 6 in a red square on the right wall. Then wipe the soot off the fireplace with the napkin to reveal a 9 in an orange diamond.
- Open the panel on the sarcophagus. Its four slots are marked purple triangle, orange diamond, green circle and red square. Fill in the digits you found: 9 for the orange diamond (fireplace), 4 for the circle (behind the automaton's face) and 6 for the red square (red beam). The purple triangle takes 1; its clue was not shown in the playthroughs we checked, but the full code 1946 was accepted in two separate playthroughs, so it appears to be fixed. Enter 1946. The sarcophagus opens: take Charon's Coin.CODE1946
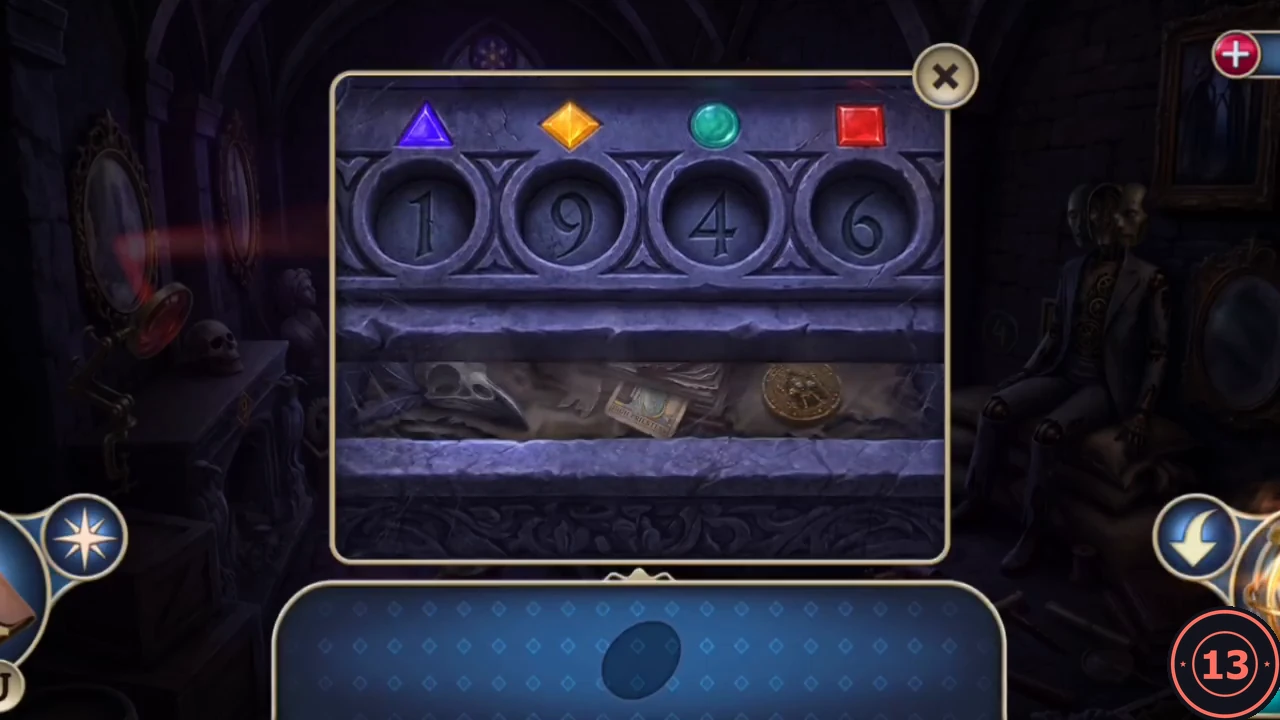
The sarcophagus code: 1 9 4 6.
The Wing Door
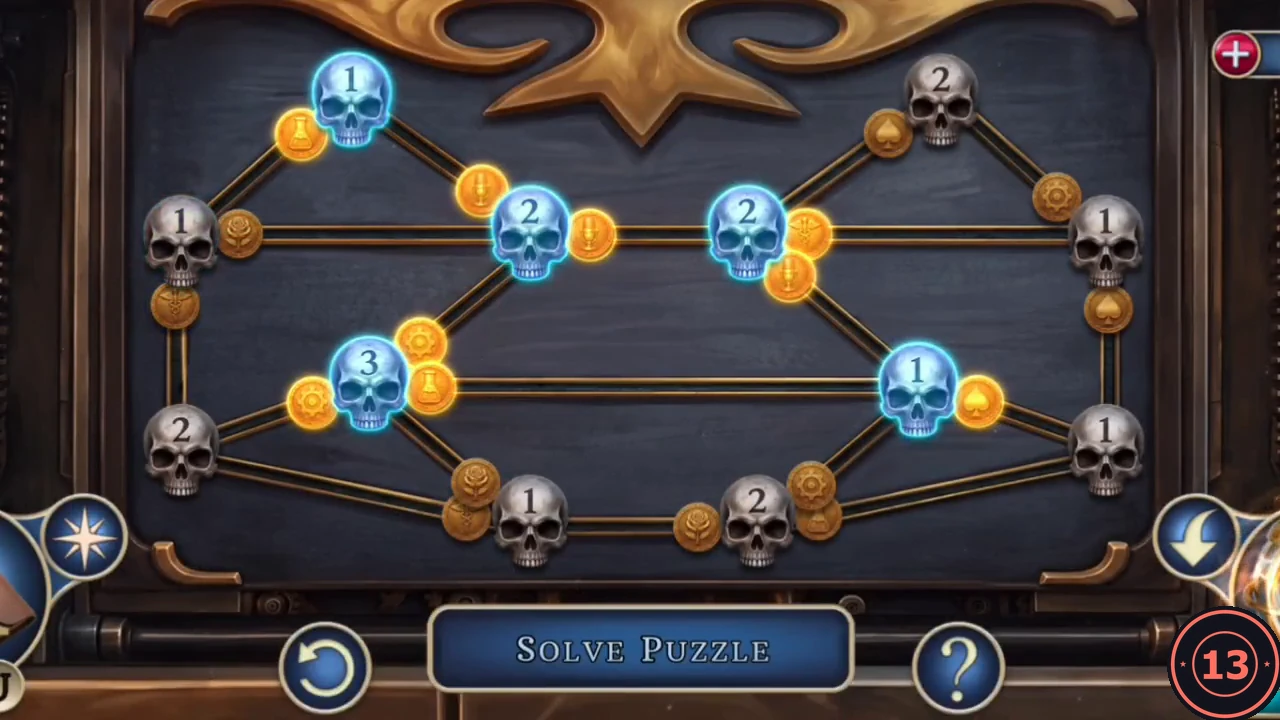
The automaton guarding the private house works like a slot machine.
- On the porch, insert Charon's Coin into the slot machine in the automaton's chest. The reels stop on three skulls and a board of skulls and gold coins opens. Each skull shows a number. Drag the coins along the lines until every skull has exactly that many coins next to it; a satisfied skull glows blue. When all skulls glow, the wing door opens, but Tinker pulls Alice inside before you can reach her.
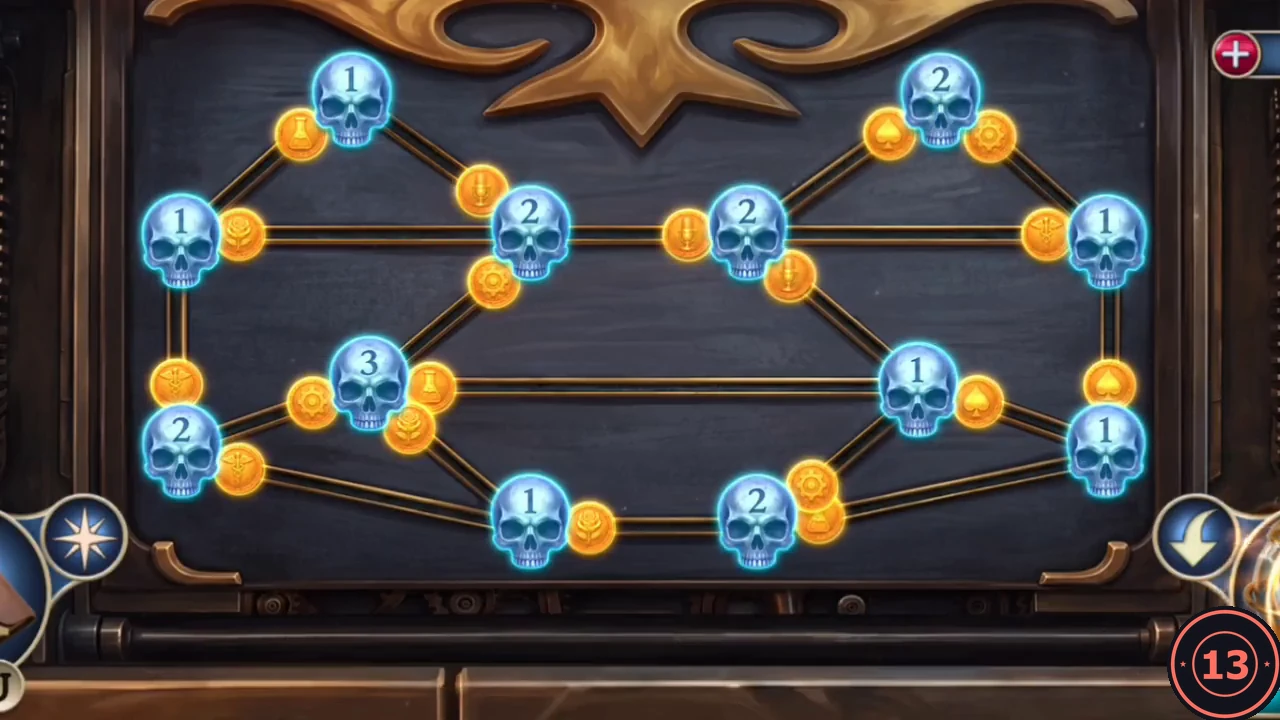
Finished: every skull has its number of coins and lights blue.