The Underground Level
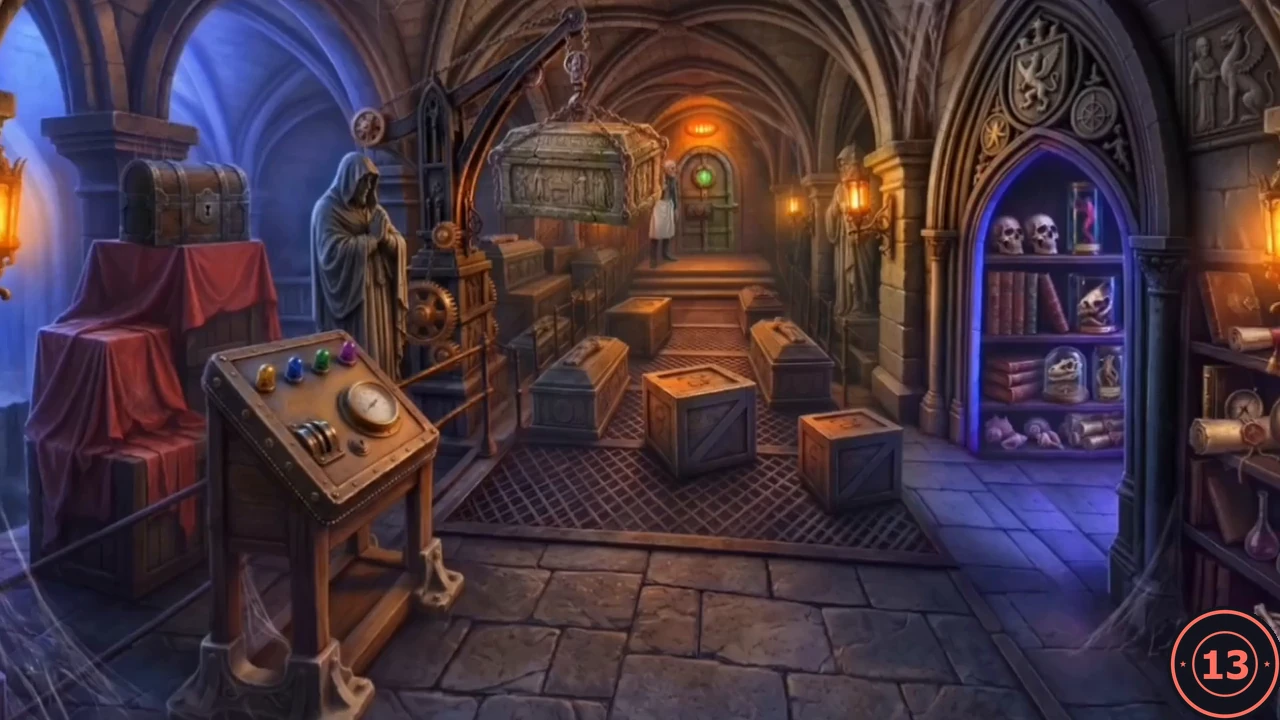
Behind the clock door is an underground hall with a crane, an exhibition of strange collections and a room with an aquarium. The butler warns you that the place is full of traps.
- Go down into the underground hall. Pick up the secret clue beside the crane console on the left. Zoom into the console: the crane will not run without the owner's approval, and you need to restore the controls and find the key.
- Enter the collection hall. Pick up the secret clue from the book on the red chair. The exhibit covered in thorns needs gloves. Continue to the aquarium room: take Snake Head (1/2) and Chess Queen (1/6) from the display cases. Note the chessboard and the floor mosaic with a missing half. Back in the collection hall, take Chess Queen (2/6) from the chair.
Gloves, Snake Heads and Chess Queens
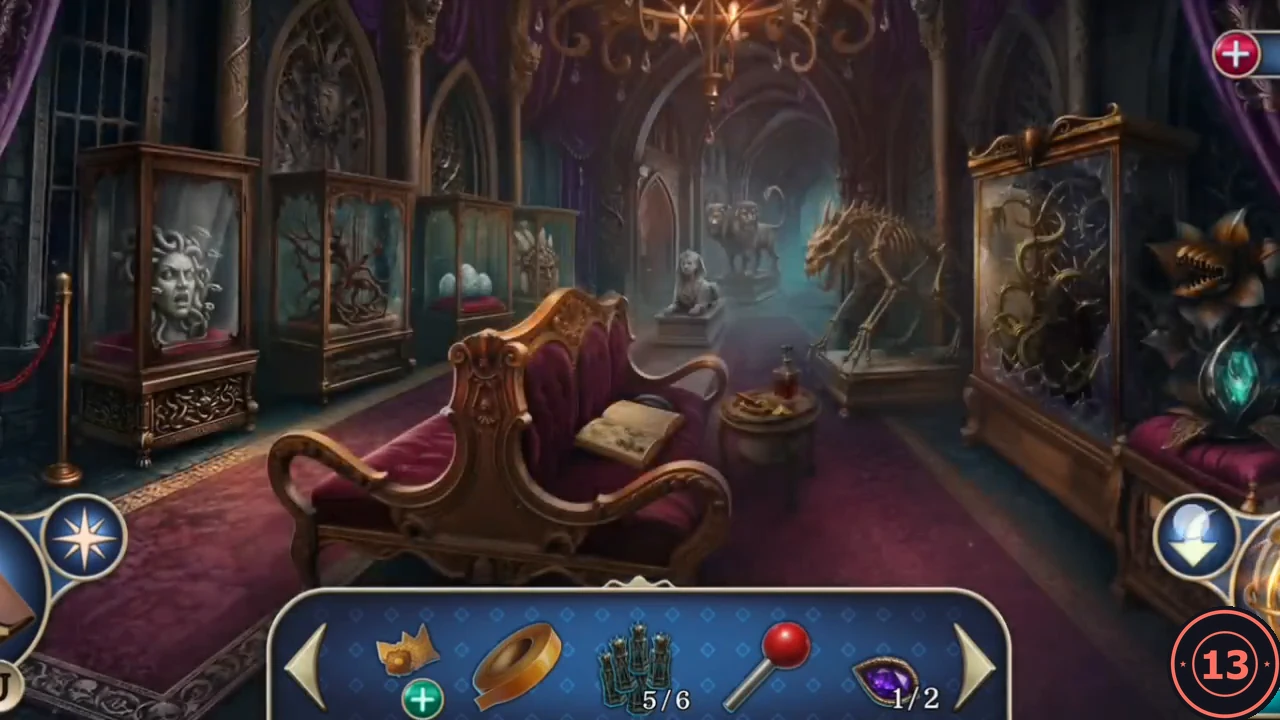
Collect the remaining chess queens and the parts for the crane console. Two of them are in rooms from Chapter 2.
- In the Chapter 2 operating room, take Chess Queen (3/6) from the desk. In the conservatory, take the Protective Gloves and Chess Queen (4/6) from the potion table.
- In the collection hall, reach into the thorn exhibit with the Protective Gloves and take the Crane Lever and Snake Head (2/2). Fit the Snake Heads to the Medusa exhibit and take Monster Eye (1/2) and Chess Queen (5/6).
- Install the Crane Lever on the crane console in the underground hall and take Chess Queen (6/6).
The Eight Queens
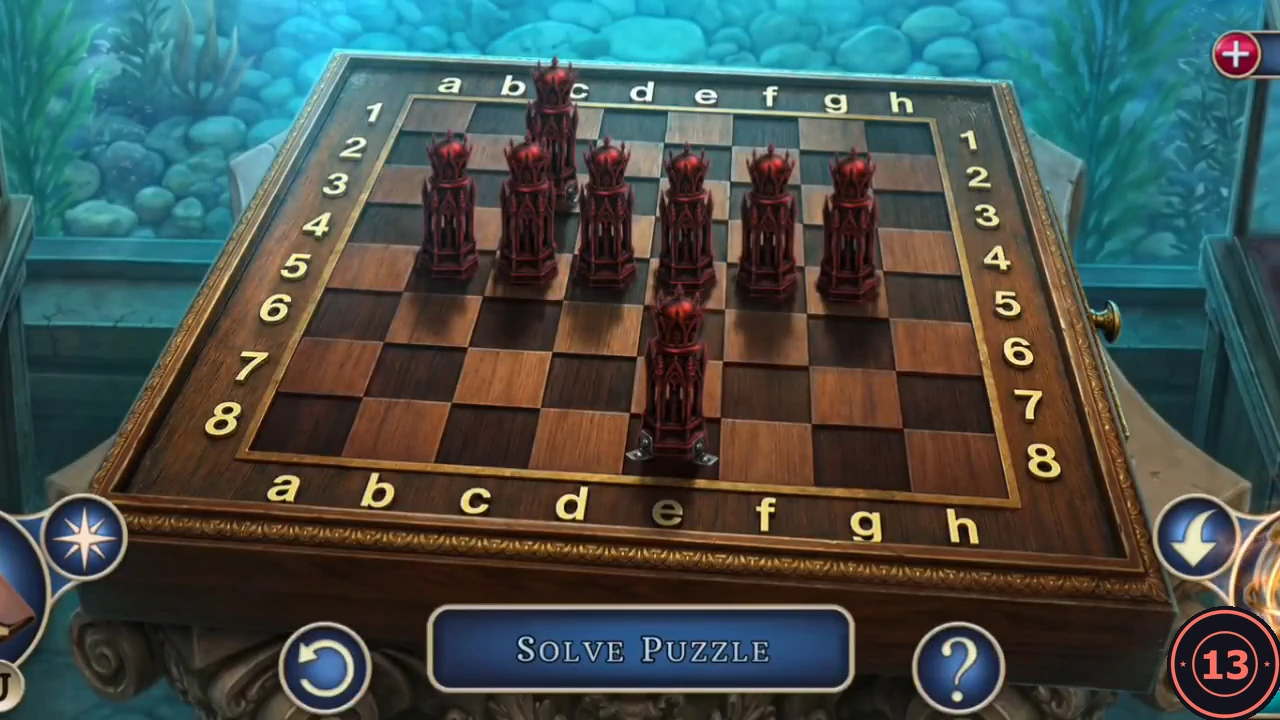
The chessboard in the aquarium room needs eight queens placed so that none of them can capture another.
- Place the six Chess Queens on the chessboard. Two queens are already on the board. Arrange all eight so that no two share a row, column or diagonal; squares a queen attacks turn red. Counting columns a to h from the left and rows 1 to 8 from the top, the solution is: a2, b7, c3, d6, e8, f5, g1, h4. The drawer opens: take the Crane Key.CODEa2, b7, c3, d6, e8, f5, g1, h4
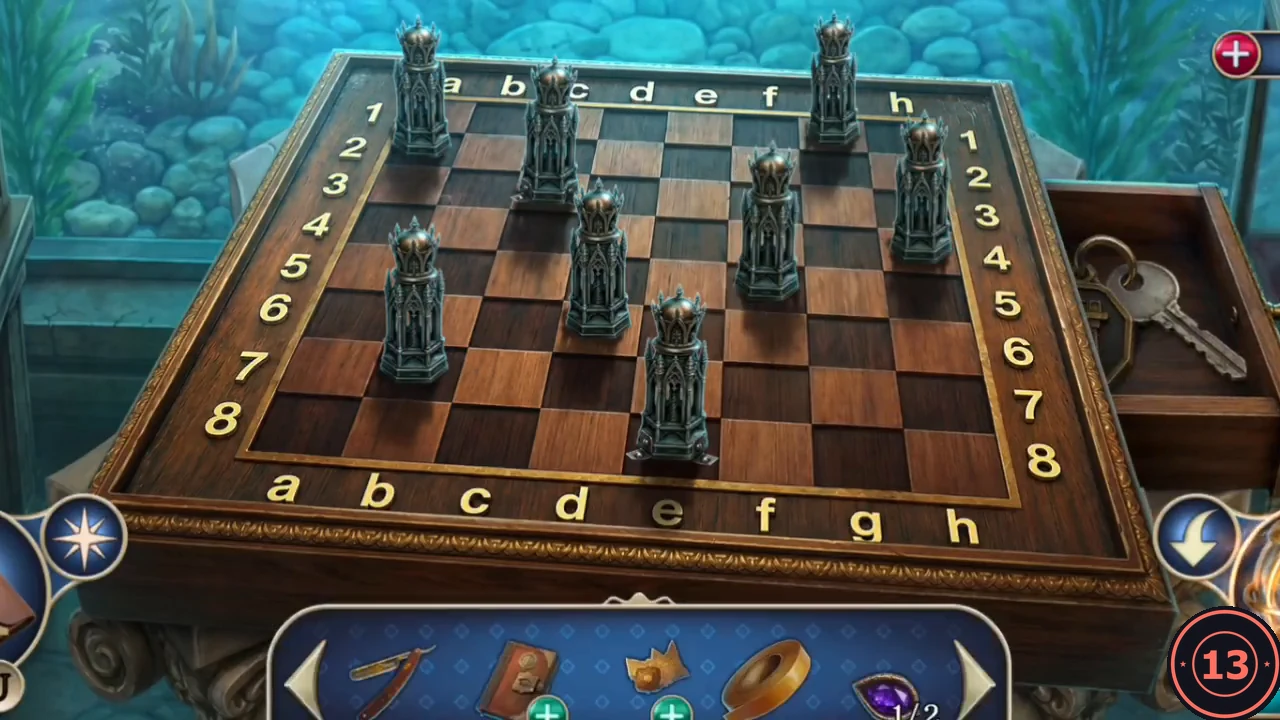
Solved: a2, b7, c3, d6, e8, f5, g1, h4 (rows counted from the top).
The Crane
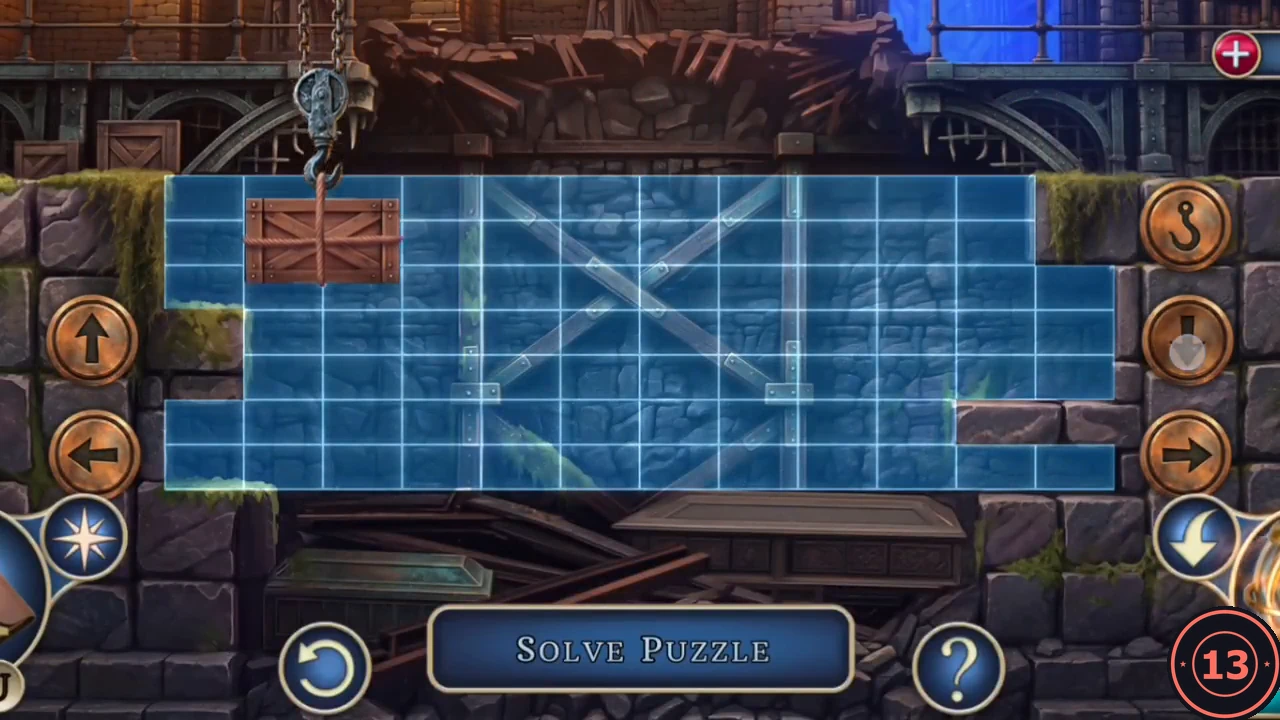
With its lever and key, the crane console clears the collapsed crates that block the hall.
- Turn the Crane Key in the console and pick up the secret clue that appears. Move the crane with the arrow buttons and pick up or drop the load with the hook button. Stack the crates and objects into the marked area until every piece fits.
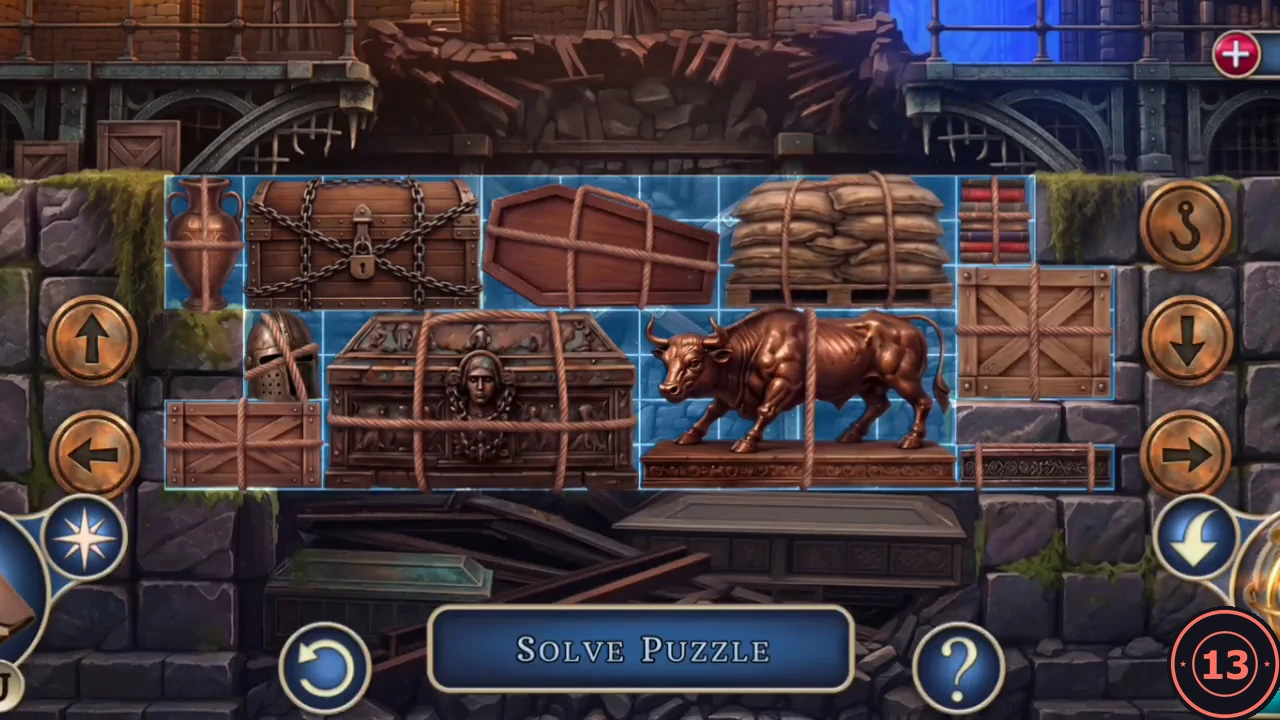
Finished: every load fits inside the grid, with the sacks in the top-right cells. - The butler says he saw the scientist on the cameras, but the laboratory door slammed shut. He gives you the Monitor Button; the camera lets you look inside the gas-filled laboratory. Your objective is to open the laboratory door.
The Laboratory Door Code
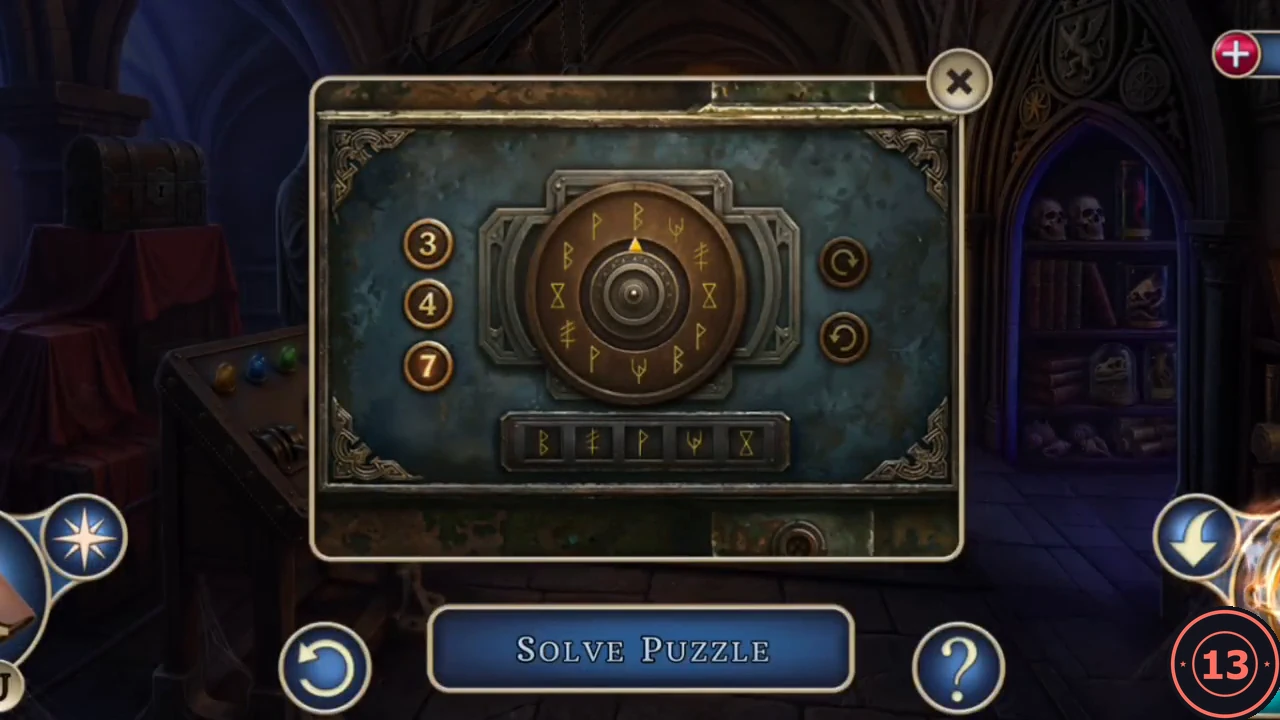
The laboratory door has a rune dial. The code is shown on the surveillance monitors.
- In the surveillance room (Chapter 3), wrap the monitor's damaged wiring with the Electrical Tape if you have not already done so, and fit the Monitor Button. The top-left monitor shows five runes written on a sheet.
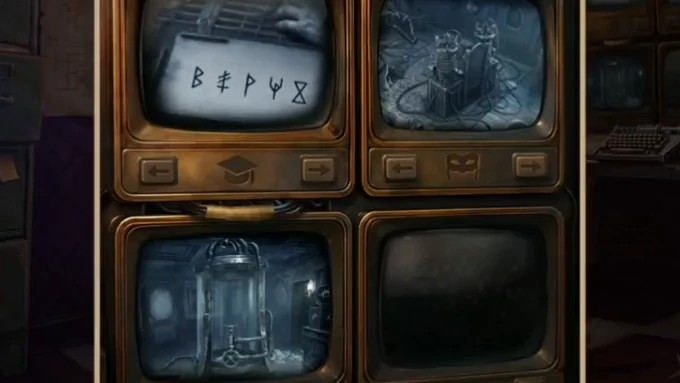
The top-left monitor shows the five runes of the door code. - Zoom into the laboratory door in the underground hall. The row at the bottom of the dial shows the runes to enter, in order. Use the 3, 4 and 7 buttons to set how far the pointer moves, and the arrow buttons to turn it clockwise or anticlockwise. Each time the pointer stops on the next rune of the code, that rune lights up in the row. Light all five.
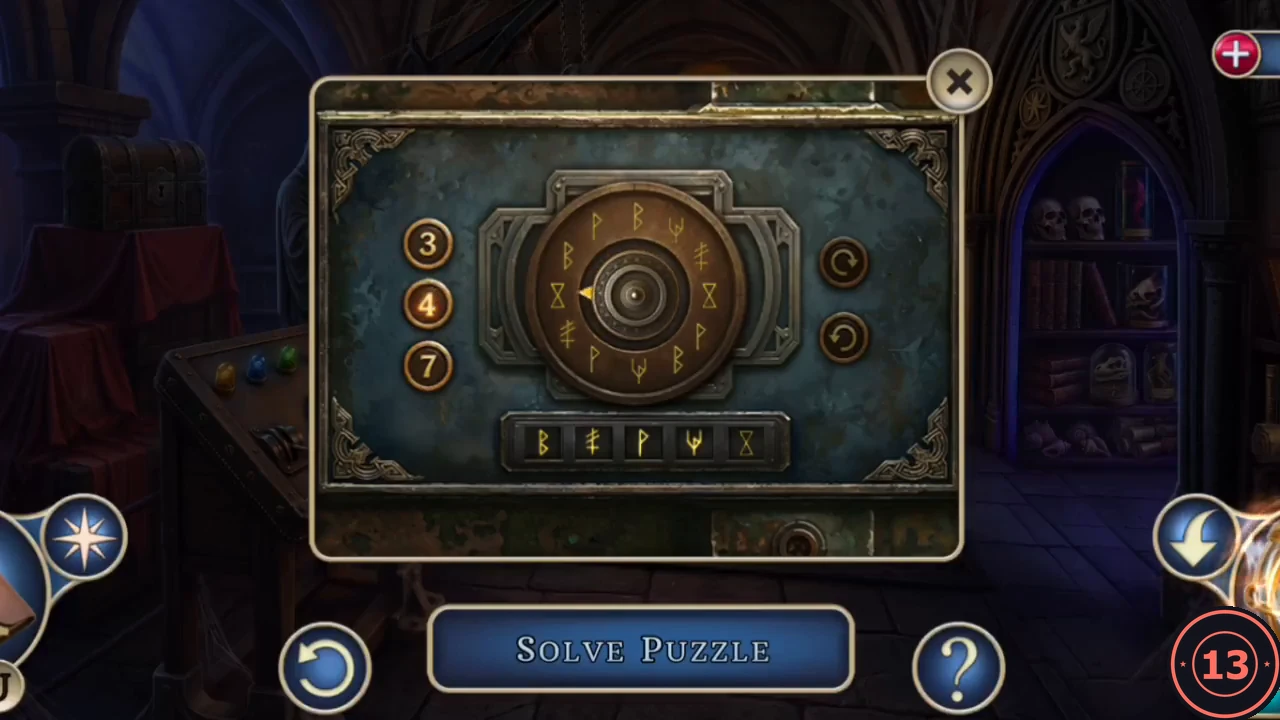
The last move: four runes are lit and the pointer stops on the fifth, the hourglass rune; the door then unlocks. - The laboratory is full of poison gas. The butler says there is an old gas mask in the station storeroom and gives you the Warehouse Key.
The Storeroom
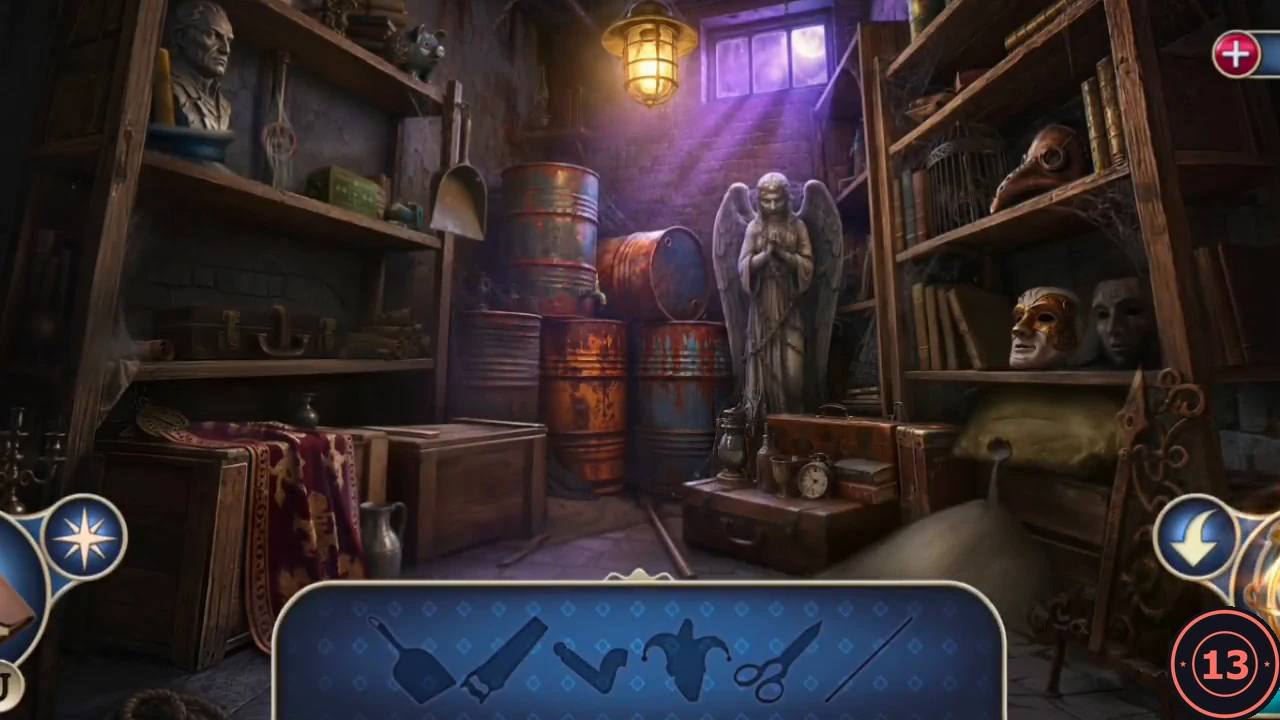
The storeroom off the subway platform is an interactive search: the items you find are used on objects in the same room.
- On the subway platform, unlock the storeroom door with the Warehouse Key.
- The bar at the bottom shows the silhouettes of the objects you need; collect them around the room and use them on other objects in the same scene. New silhouettes join the bar as you go, so some items only become collectable later. Take the dustpan hanging on the left shelf beside the bust and scoop away the sand pile on the right of the floor to uncover a saw. Take the crowbar from the bookshelf to the right of the angel statue. Pry open the green box beside the bust with the crowbar and take the jester head that springs out. Use the jester on the rope tied around the briefcase on the shelf below; its teeth bite through the rope. Open the briefcase and take the scissors.
- The tapestry draped over the chest on the left is too thick to tear by hand, so cut it with the scissors. Take the bust from the shelf and smash the nailed wooden crate on the floor beside the chest with it. Take the candlestick from inside; a pair of rusted cutters stays in the crate for now. Saw through the mop handle wedged beneath the barrels to get a long pole. Knock the ornament off the top shelf on the left with the pole; it breaks on the floor and leaves a coin. Turn the screws of the panel beside the birdcage with the coin and take the matches from behind it.
- Stand the candlestick on the bust shelf, light it with the matches to burn away the cobwebs, and take the red valve handle. Fit the handle to the tap on the barrel. Take the rag you cut from the tapestry and soak it under the tap, then rub the rusted cutters in the crate with the oily rag and take them. Cut the chain wrapped around the angel statue's hands with the cutters and take the key. Unlock the birdcage with it and take the Gas Mask Facepiece.
Assembling the Gas Mask
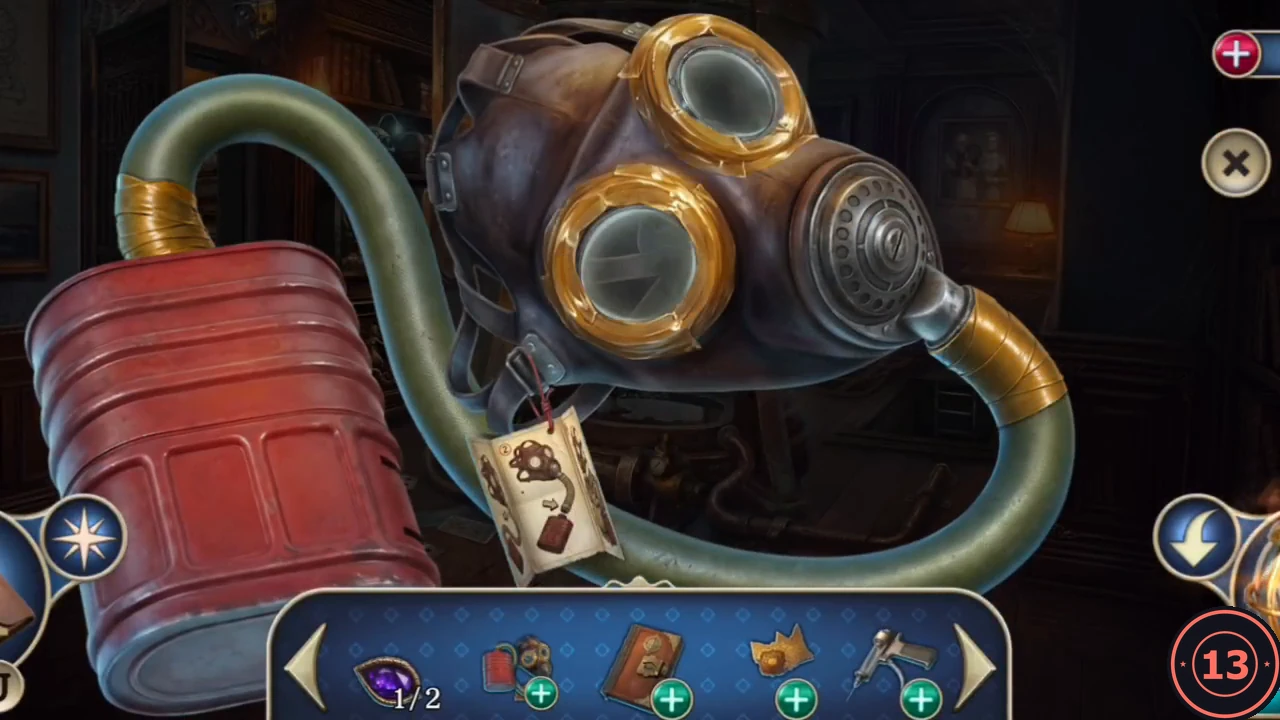
The tag on the facepiece shows which parts are still missing: lenses, a filter and a hose.
- Take the Glass Cutter from the bench with the clown head on the subway platform. Cut the glass of the Medusa exhibit in the collection hall with it and take the Gas Mask Lenses. Take the Gas Mask Filter from the desk in the Chapter 2 operating room.
- Go to the Chapter 2 tank room and zoom into the brass pipe with the pressure gauge beneath the drained glass tank. Cut the hose from it with the Razor. Open the Gas Mask Facepiece, fit the lenses, the filter and the Hose, then seal the hose joint with the Electrical Tape to finish the Gas Mask.
- Put on the Gas Mask at the laboratory door and go in. The scientist, Dr. Rosenfeld, lies poisoned on the floor; read the letter beside him. Take the Mechanism Part from his hand and the Weight lying next to him.
The Rune Panel
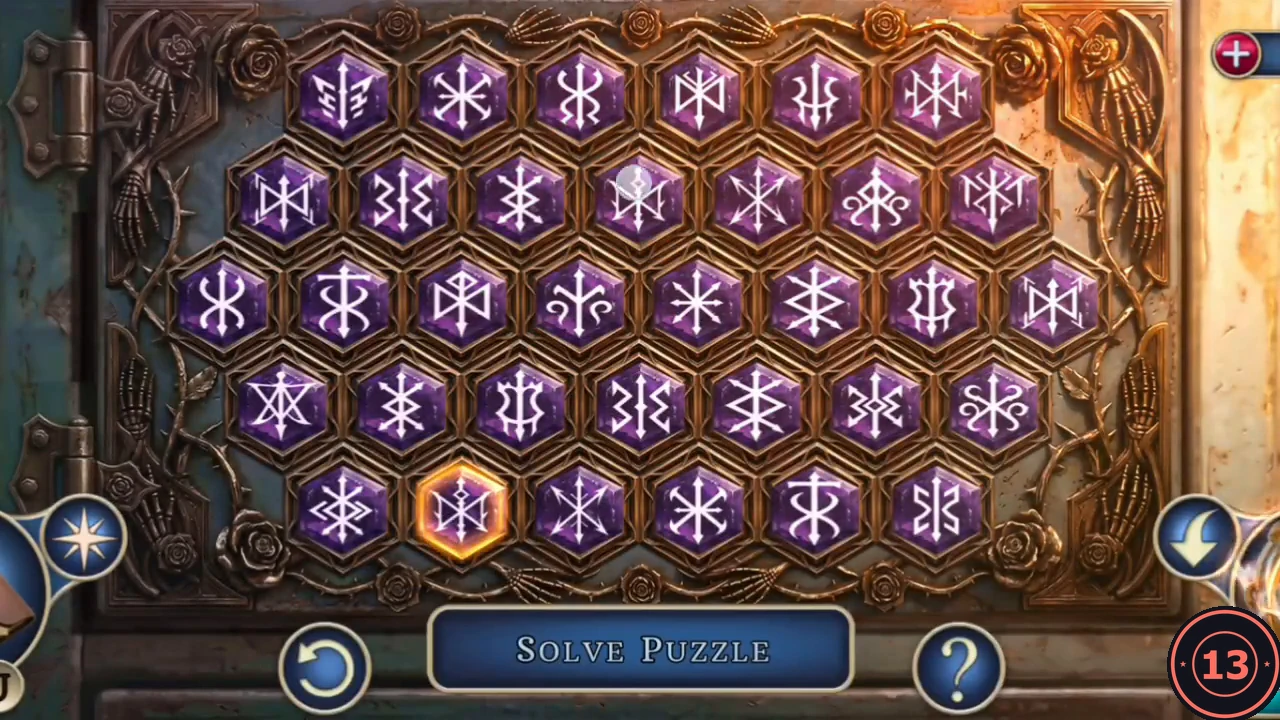
A round panel in the laboratory is missing a mechanism part. Behind it is a board of rune tiles.
- Fit the Mechanism Part into the round hexagonal panel in the laboratory. Clear the board by tapping pairs of matching runes; each matched pair disappears. Start with tiles at the edges and next to gaps, and look carefully, as several runes are very similar.
- Take the Plus Piece and the Tent Stake from the compartment.
The Freezer Room
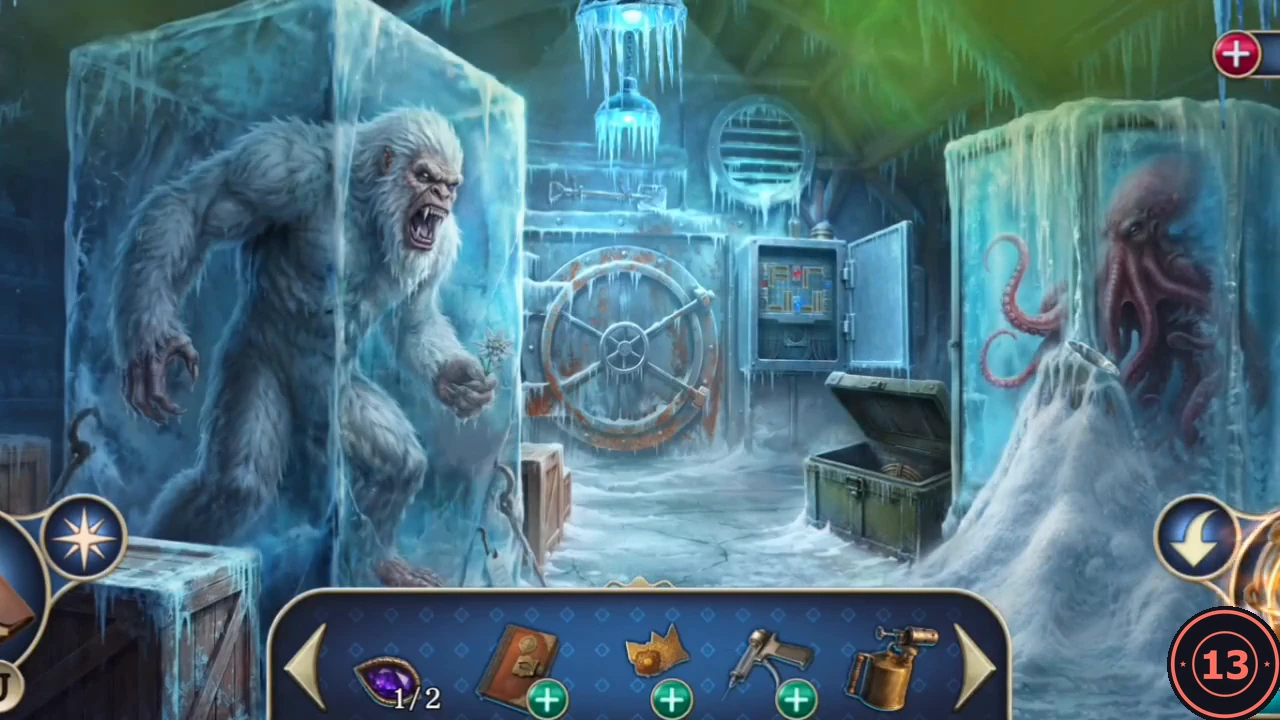
A frozen lever in the laboratory opens the way to the freezer room.
- Zoom into the frozen lever. Hold the Tent Stake against the ice and strike it with the Weight to chip the lever free, then pull it. The freezer room opens.
- Zoom into the chest in the freezer. Runes are scratched into the top right of its lid. Press the six rune buttons in the order the runes appear on the lid, from left to right. In the reference playthrough this was right, lower left, lower right, upper left, upper right, then left; if your lid shows a different order, follow your lid. Take the Blowtorch, the Minus Piece and the secret clue from the chest.
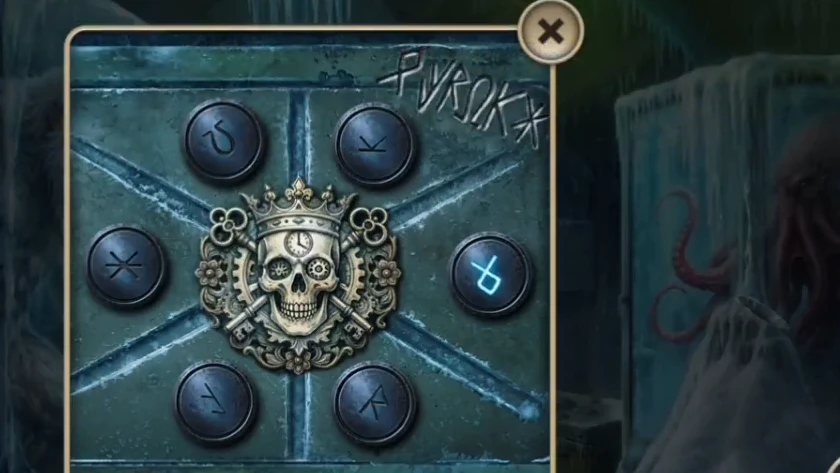
The chest lid: the scratched runes at the top right give the button order. - Open the electrical cabinet in the freezer and fit the Plus Piece and Minus Piece. Slide the blocks to bring the red plus capsule to the plus socket on the left and the blue minus capsule to the socket on the right. Power returns and the ventilation clears the gas.
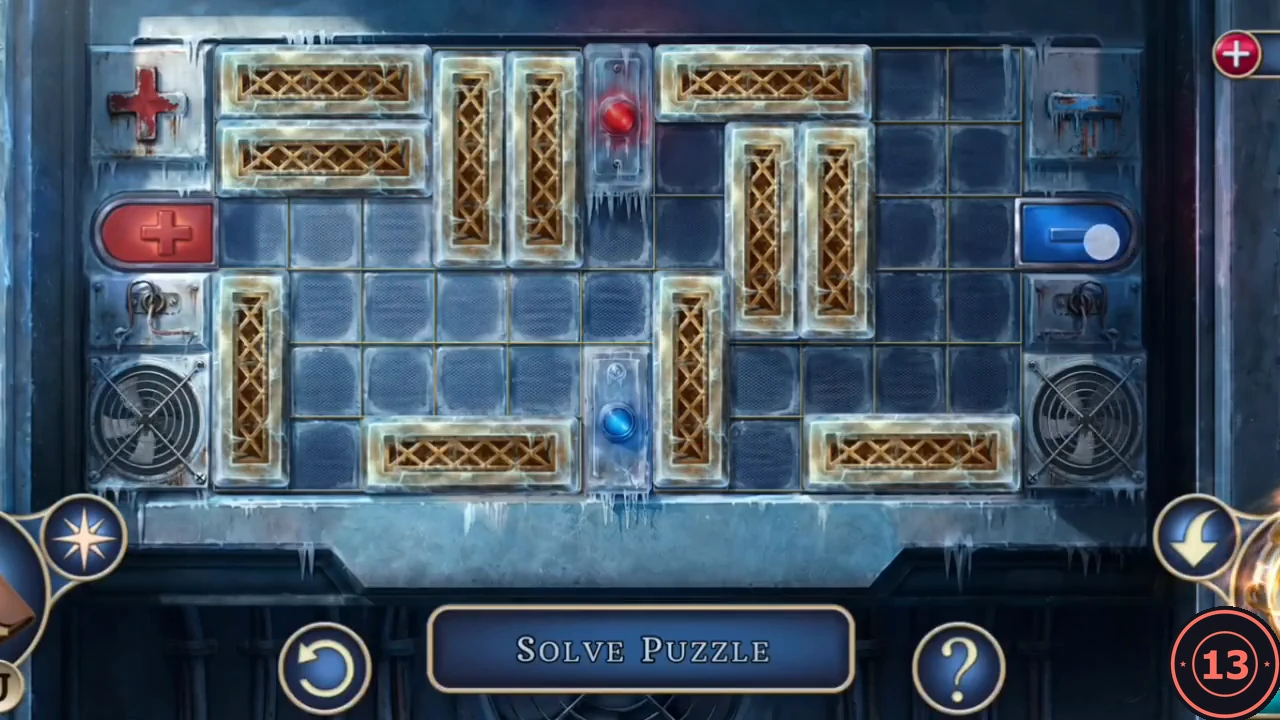
Solved: plus capsule at the left, minus capsule at the right.
The Antidote Recipe
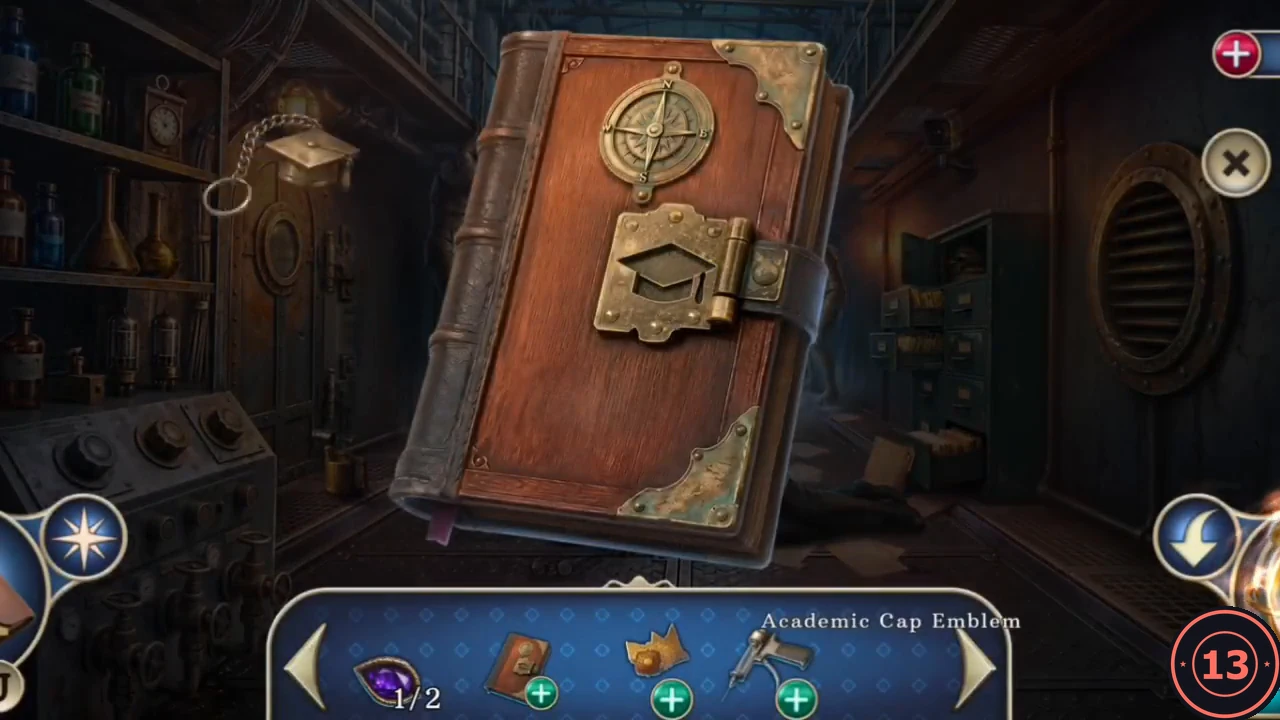
The scientist's journal holds the recipe for the antidote.
- Take the Academic Cap Emblem from the round vent on the laboratory wall. Fit it to the lock on the scientist's journal and read it. Take the Storm Match and the Antidote Recipe from the recipe page. The recipe lists six ingredients: edelweiss, charcoal, ginger, lemon, juniper berries and moss.
- At the laboratory door, light the Blowtorch with the Storm Match and burn through the hinges. In the freezer room, melt the ice around the frozen hand with the Lit Blowtorch and take the Edelweiss.
Collecting the Antidote Ingredients
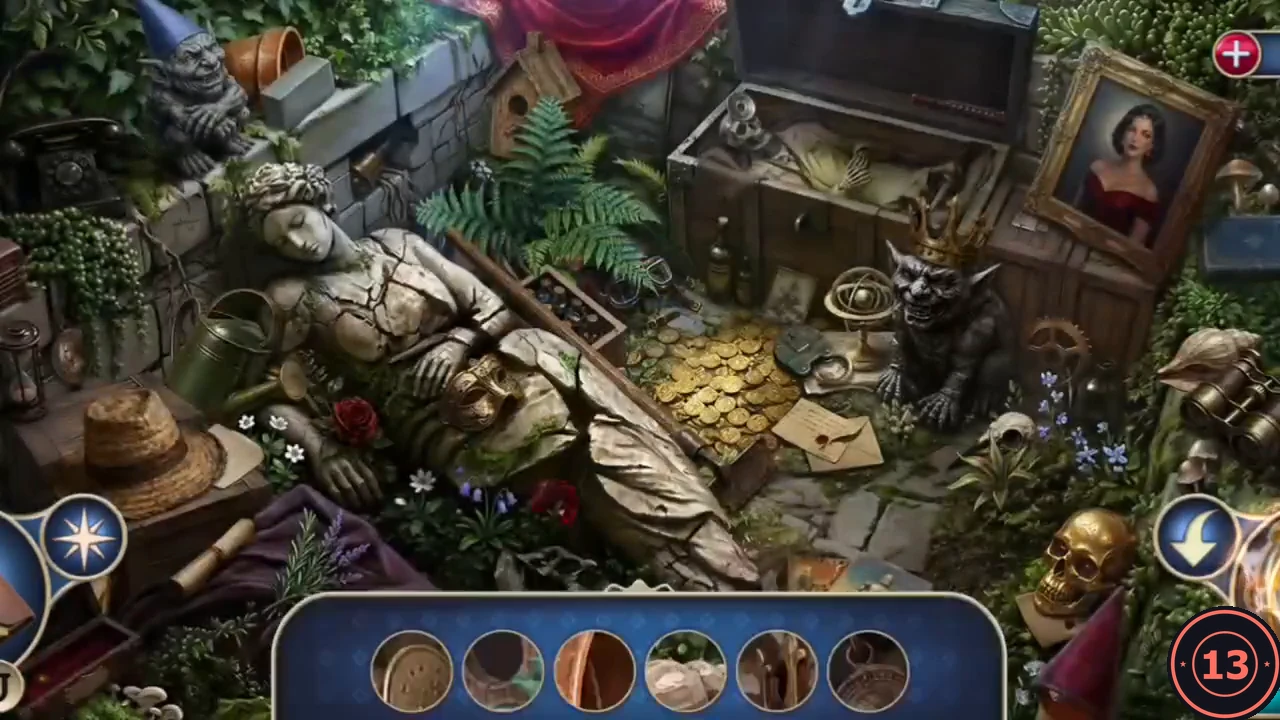
The remaining ingredients are spread over earlier rooms. Two of them are rewards from object searches.
- Take the Lemon from the plate beside the book on the chair in the collection hall.
- In the conservatory, open the glowing object search and find every item shown in the bar. Completing it gives you the ginger.
- In the Chapter 1 workshop, open the glowing object search and complete it to get the Scraper. Use the Scraper on the mossy monogram tile on the subway platform floor to get the Moss.
- Inside the wrecked subway train car, take the Charcoal from the chest of the wooden mannequin. On the second floor of the mansion, zoom into the boarded window and take the Juniper Berries from the potted plant on the sill. Leave the boards for now; you remove them later in Chapter 5.
Preparing the Antidote
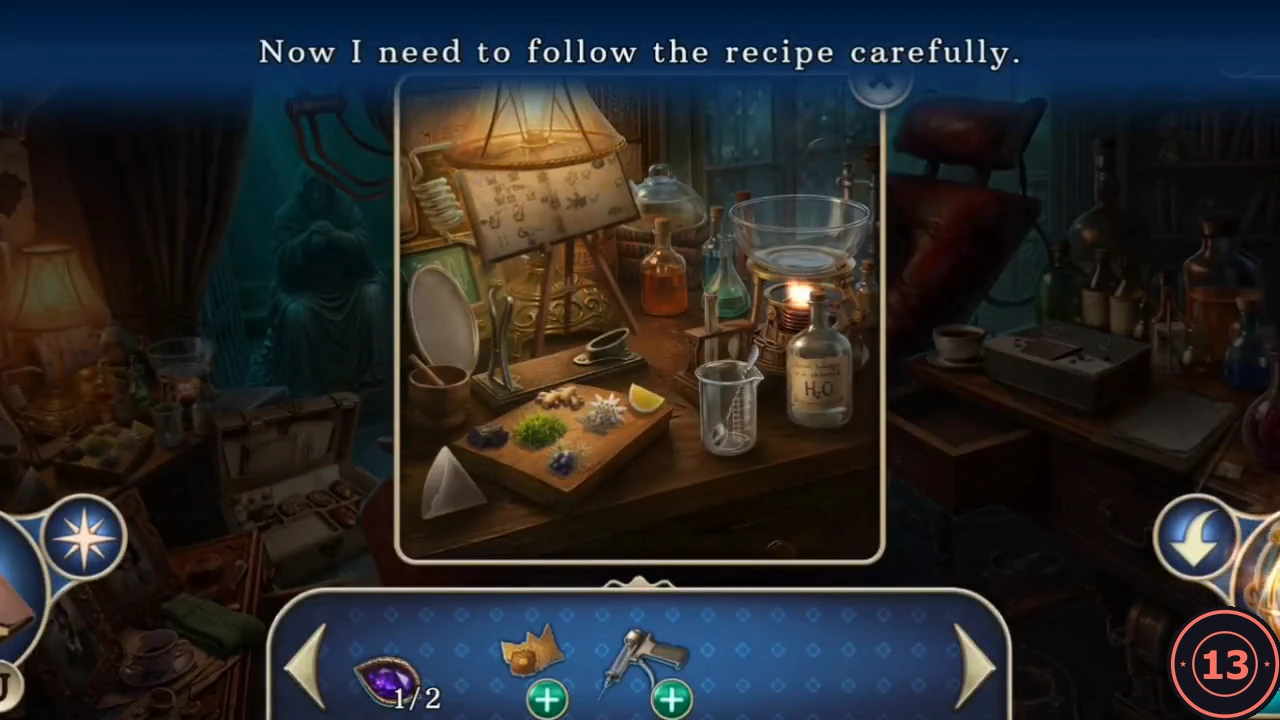
Add the ingredients to the recipe, then mix the antidote at the lab bench in the operating room.
- Open the Antidote Recipe and add the Edelweiss, Lemon, Ginger, Moss, Charcoal and Juniper Berries; each box is ticked.
- At the lab bench in the Chapter 2 operating room, follow the numbered pictures on the recipe. Pour water into the bowl and light the burner, add the moss, edelweiss and ginger, put on the glass dome and attach the coil condenser. Then put the charcoal and juniper berries in the mortar, squeeze in the lemon and grind them. Put the paper filter on the beaker, pour in the mixture, add the distillate and stir until it turns green. Pick up the secret clue on the bench as well.
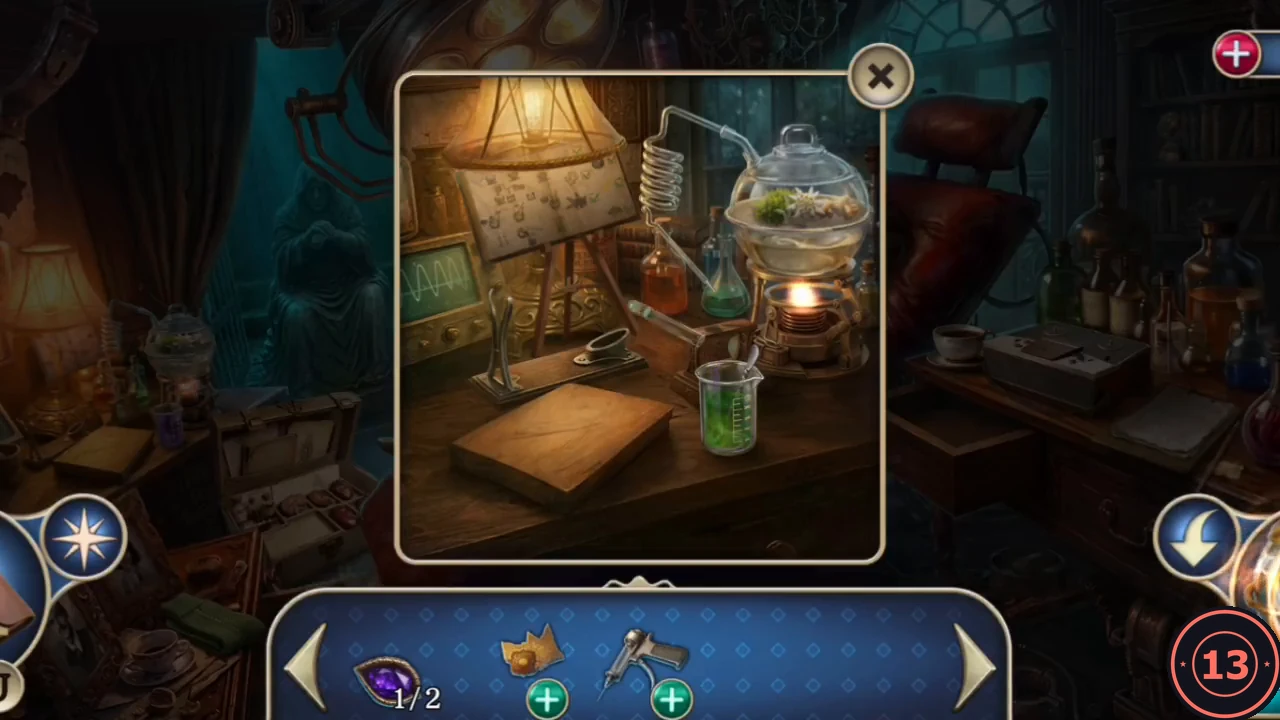
Finished: the antidote turns green. - Draw the Antidote into the injector to make the Antidote Injection and inject the scientist in the laboratory. He recovers and gives you the L.M. Comb. Your new objective is to find out who the comb belongs to.