The Card Door and the Water Tank
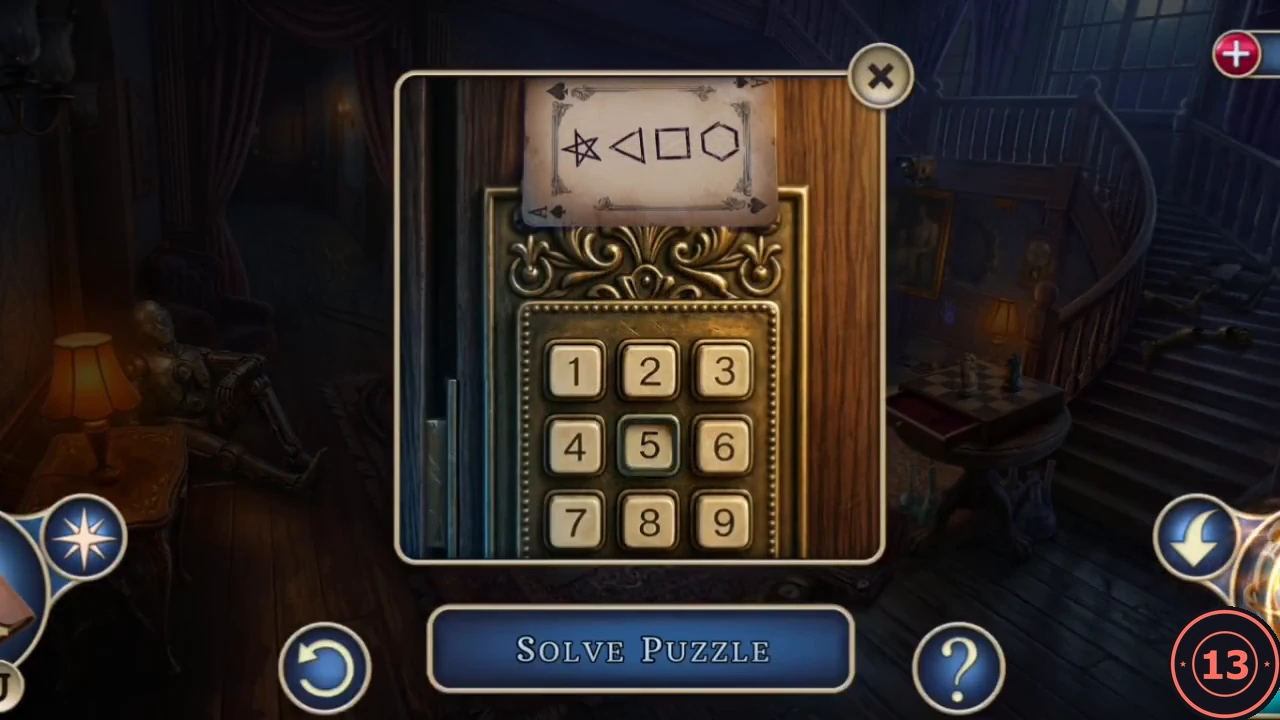
The diva's Playing Card opens the door on the left of the lobby. Beyond it, a man is trapped in a tank that is filling with water.
- In the lobby, zoom into the keypad on the left door and insert the Playing Card. Its four symbols appear: star, triangle, square and hexagon. Count the points or sides of each shape and enter 5, 3, 4, 6. The door opens to a hallway with a gap in the floor that is too wide to jump.CODE5346
- Go to the wine cellar and take the Long Plank from beside the bottle crate. Lay it across the gap in the hallway and cross to the tank room.
- Take the Pump Valve from the pipe under the tank. Open the metal box and take the Shaving Brush; there is a secret clue in the box too.
The Floor Grate Blocks
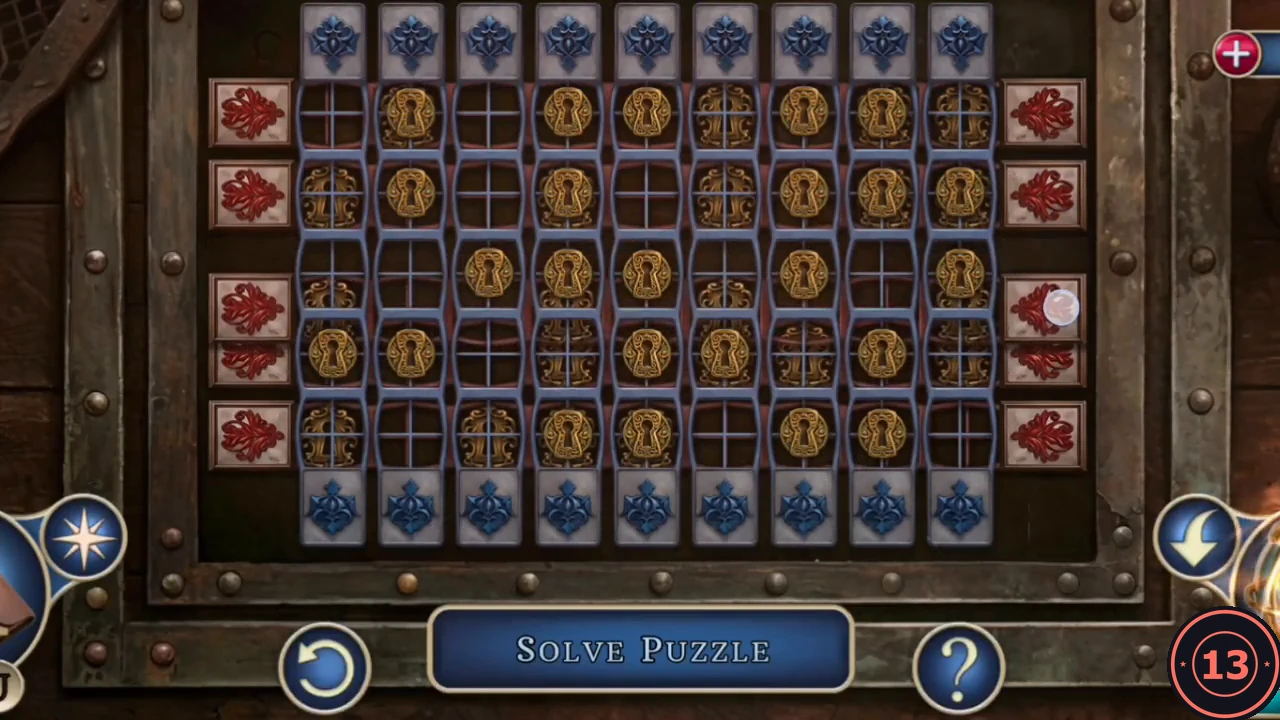
A grate in the tank-room floor leads down to the basement. Under it is a grid of turning blocks.
- Zoom into the floor grate and unscrew it with the Screwdriver to reveal the block grid: nine columns and five rows, with red buttons at the ends of each row and blue buttons at the ends of each column.
- A row or column button turns every block in that line. Each block shows either a plain medallion, a latticed medallion or an empty frame. The grid unlocks once no empty frame remains. The solution takes many moves, so work line by line and check which blocks each button changes before pressing it again.
The Basement Radio Tubes
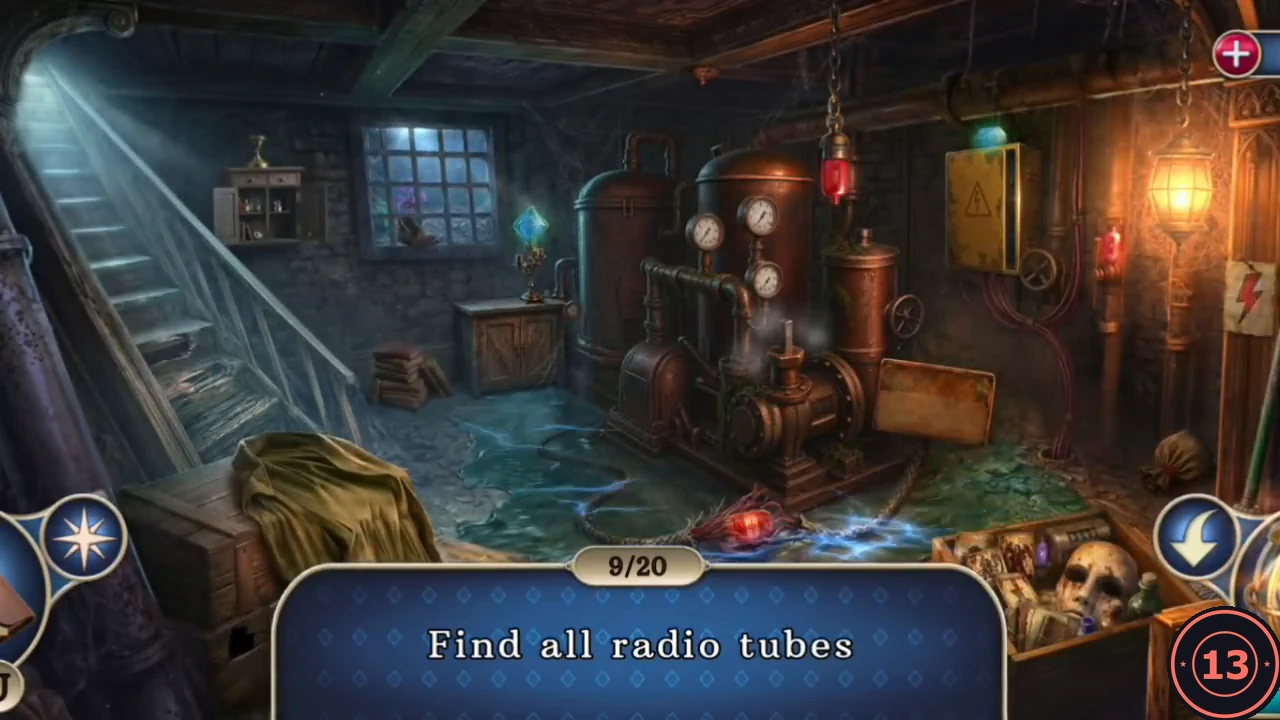
The flooded basement is an interactive search for 20 radio tubes. The water is electrified, so several tubes take an extra action to reach.
- Search the basement for all 20 radio tubes. Look under the cloth on the crate, on the stair window ledge and in the cabinet under the window. Clear the cobwebbed window with the rag, sweep the green puddle with the broom, and use the wrench to unbolt the purple lamp from the crate. Also pick up the secret clue by the lamp on the right wall.
- Zoom into the chest in the lower left and pull off the cloth. Dip the Shaving Brush in the Compact Powder on the chest lid and dust the lock buttons; the marked buttons are pressed and the chest opens. Take the Casino Key and the secret clue inside.
The Game Room
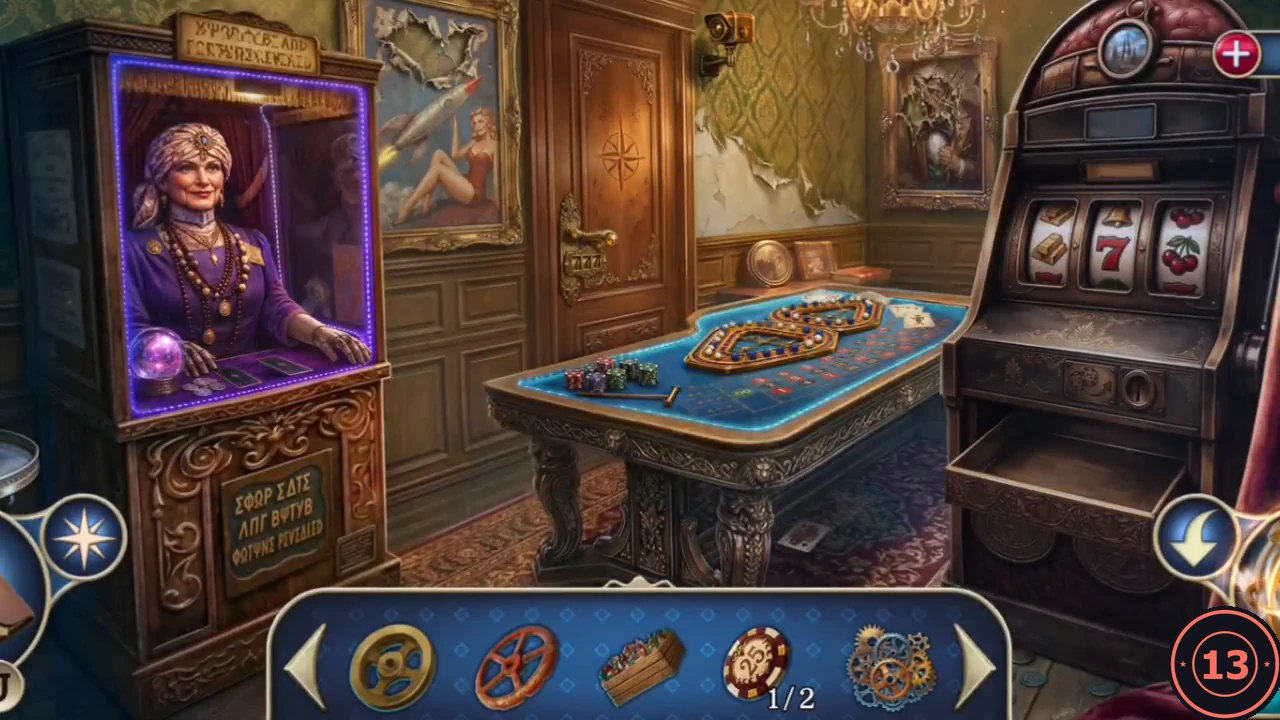
The door with dice in the tank room opens with the Casino Key.
- In the tank room, unlock the dice door with the Casino Key and enter the game room. Take Casino Chip (1/2) from the roulette table.
- Take the K Monogram from the fortune-teller table; a card is still missing there. Open the TK Box from the wine cellar hatch in your inventory, fit the K Monogram and take the Gear Set.
The Power Box
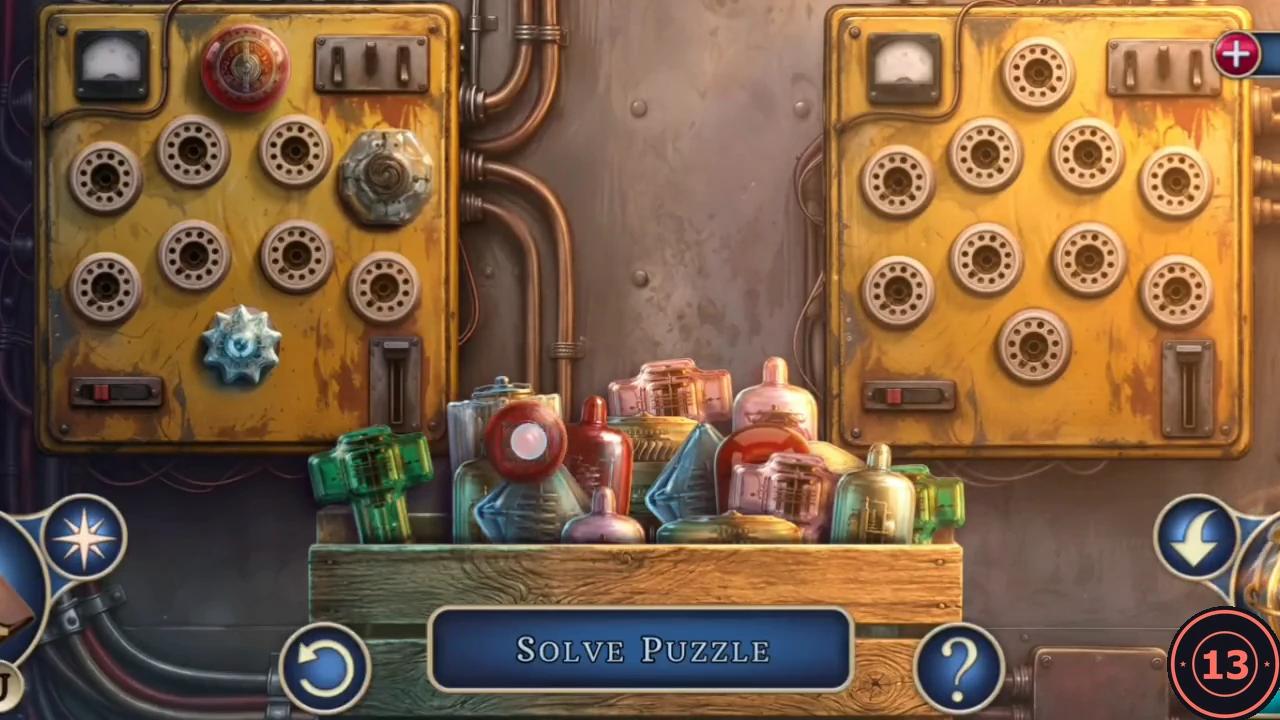
The yellow power box in the basement needs its radio tubes before the pump can drain the tank.
- Zoom into the yellow power box in the basement and place the Radio Tubes. Arrange the tubes so that each of the two panels holds one tube of every design (ten designs per panel); one socket stays empty.
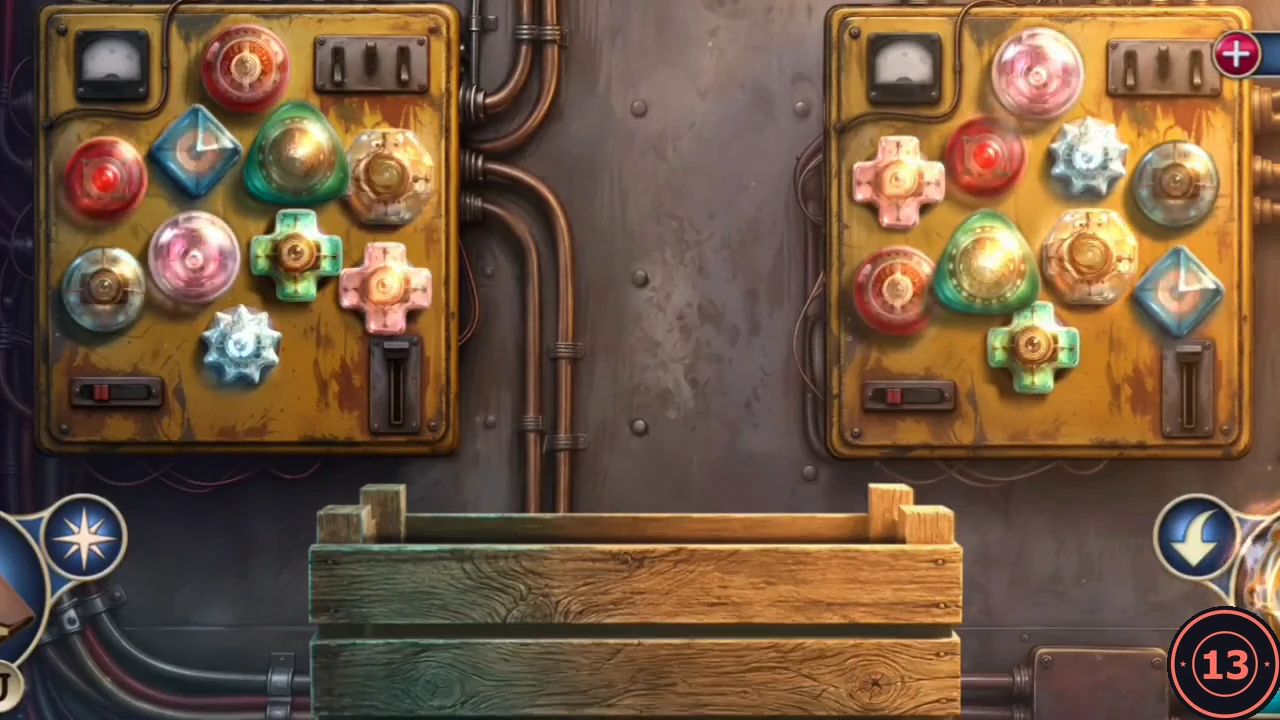
Completed: each panel holds one tube of every design. - Fit the Pump Valve to the pump in the basement and turn it. The tank drains. Your objective becomes opening the glass tank door.
The Tank Door Gears
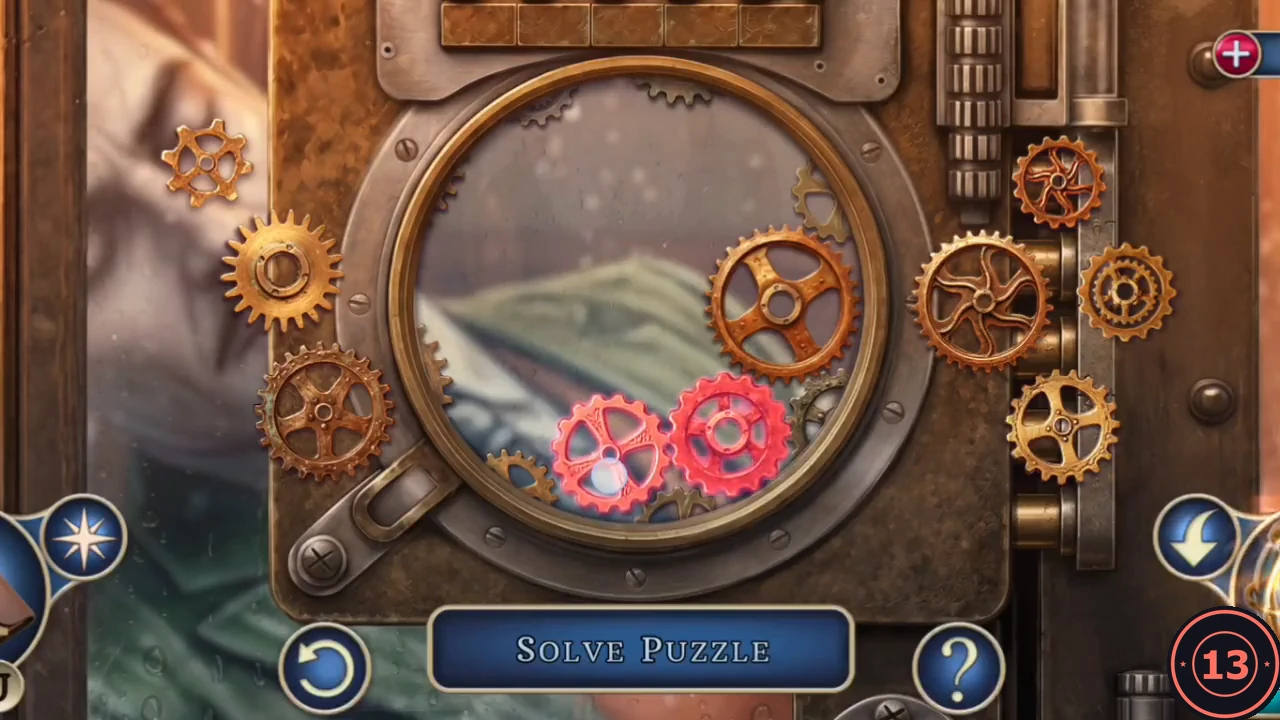
The porthole door of the tank is driven by a gear train with missing gears.
- Zoom into the porthole door of the tank and place the Gear Set. Drag the ten gears onto the pegs so that every gear meshes with its neighbours. A gear that overlaps another turns red; move it until no gear is red and the whole train turns.
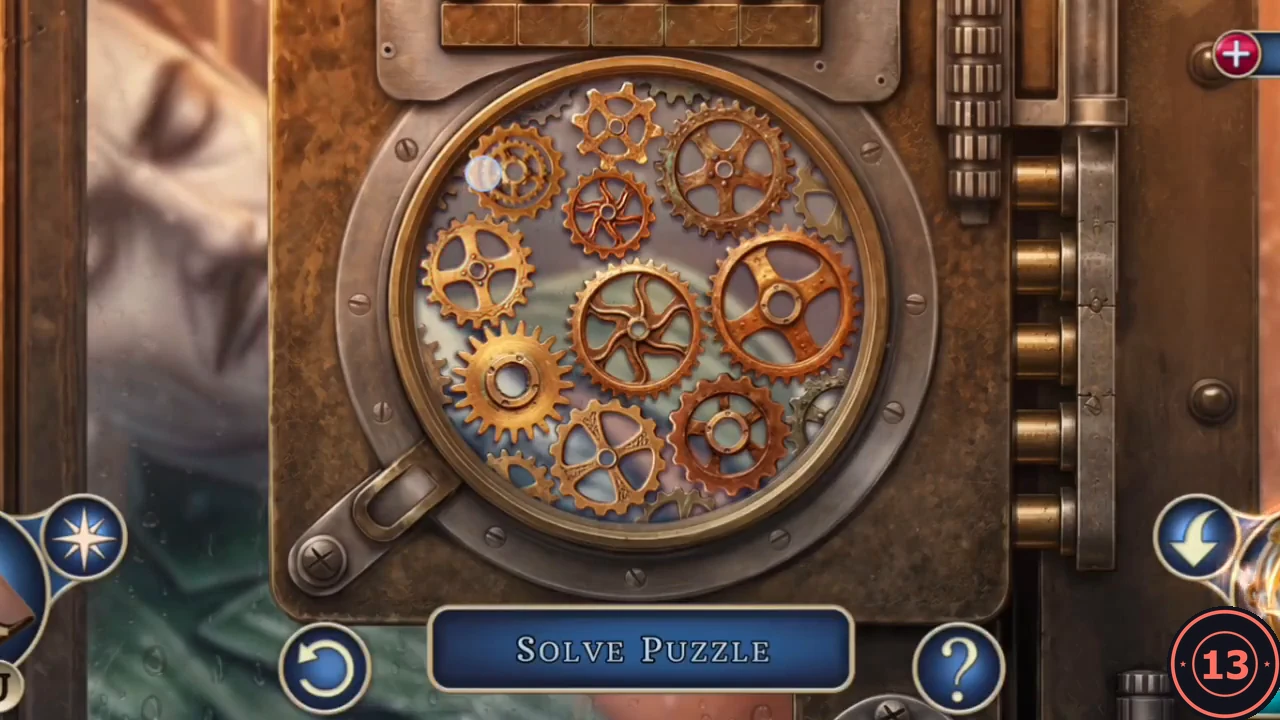
Completed gear train: no gear is red. - Inside is Leonardo Moretti, unconscious and not breathing. Read the invitation letter and take Casino Chip (2/2) from his jacket. You need to restart his heart.
The Slot Machine and the Fortune Teller
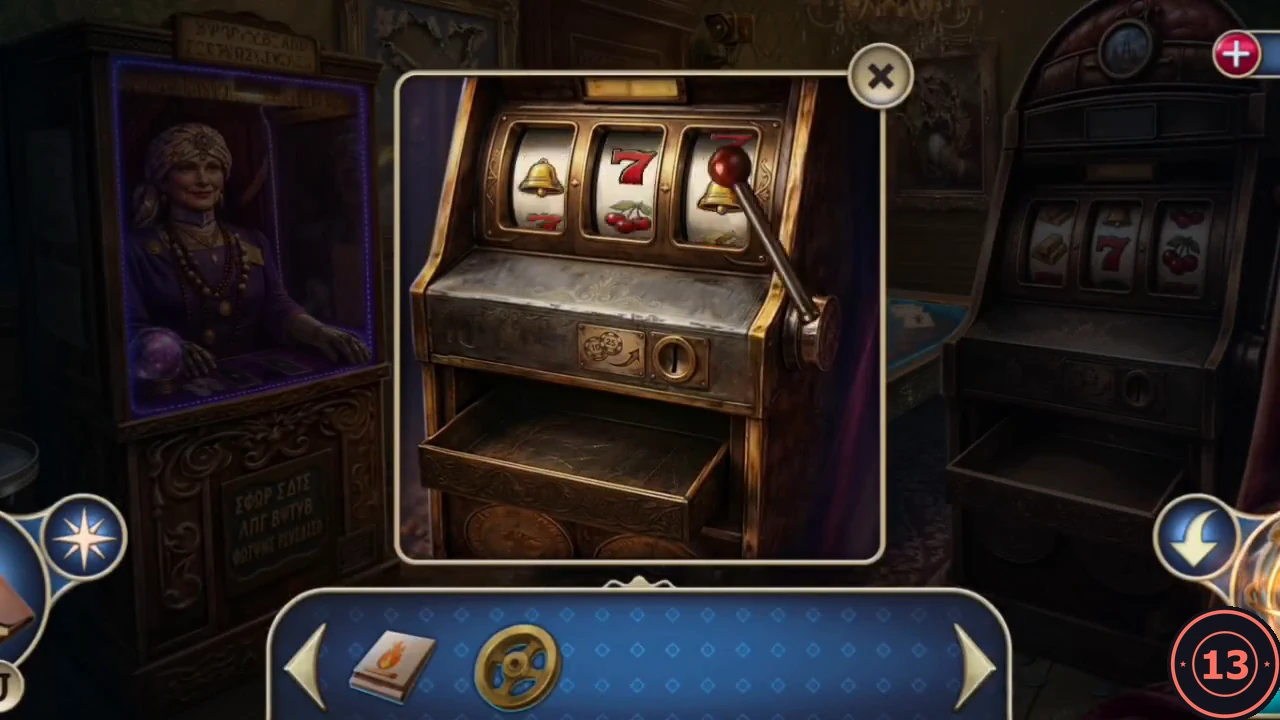
The locked door of the game room needs three Golden Sevens.
- In the game room, put both Casino Chips into the slot machine and pull the lever. It pays out 777; take the Tarot Card and Golden Seven (1/3) from the tray.
- Place the Tarot Card on the fortune-teller table. Take Golden Seven (2/3) and the Roulette Ball.
The Marble Roulette
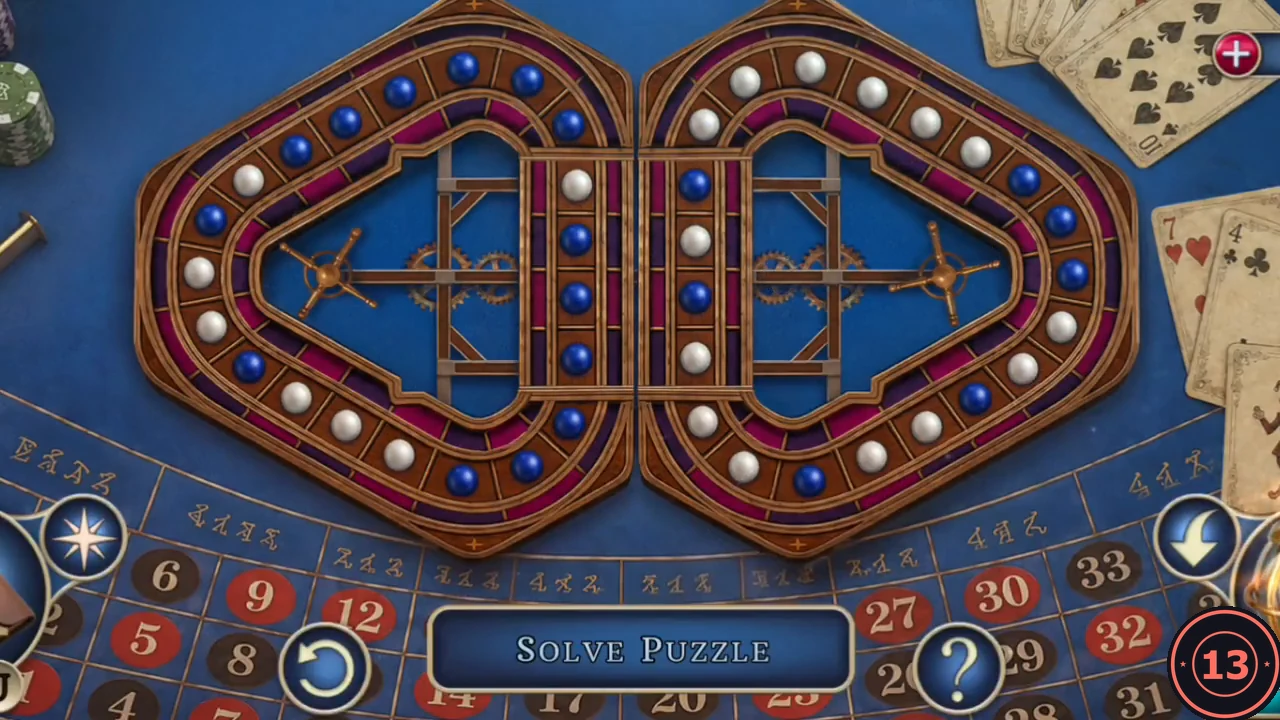
The roulette table hides a marble track with two loops that share a central rail.
- Place the Roulette Ball on the roulette table. Tap a loop to move its marbles around it; tap the middle to slide the shared central rails into the other loop, carrying the marbles on them. Gather all the blue marbles in the left loop and all the white marbles in the right loop. The centre of the board opens: take Golden Seven (3/3) and the Challenger's Ring (marked TK).
- Put the three Golden Sevens into the slots on the locked door. It opens to a hallway, where a shadowy figure slips away. Pick up the secret clue in the bottom-right corner of the hallway.
The Operating Room and the Defibrillator
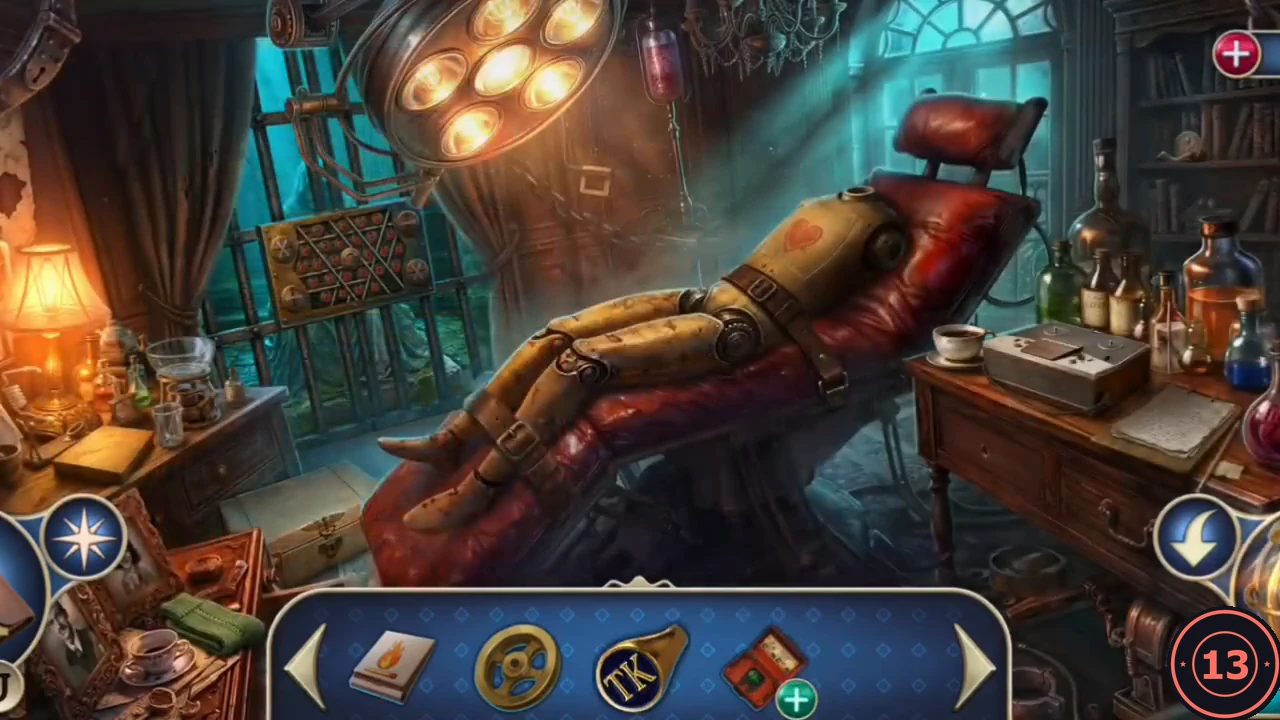
The hallway leads to an operating room with a mannequin and a medical chair.
- Enter the operating room and take the Defibrillator Case from the dummy's chest. Note the brass lock on the barred alcove behind the chair, on the left wall (it needs a lockpick) and the reel recorder on the desk; read the Experiment Log.
- Go back to the basement chest and take the Defibrillator Electrodes. Fit them to the case to make the Portable Defibrillator.
- In the tank, use the Portable Defibrillator on Leonardo. His heart starts beating again, but he stays unconscious. Take the Caduceus Key.
- In the operating room, unlock the leather case with the Caduceus Key and take the Stethoscope and the Prescription.
The Safe and the Scythe Hand
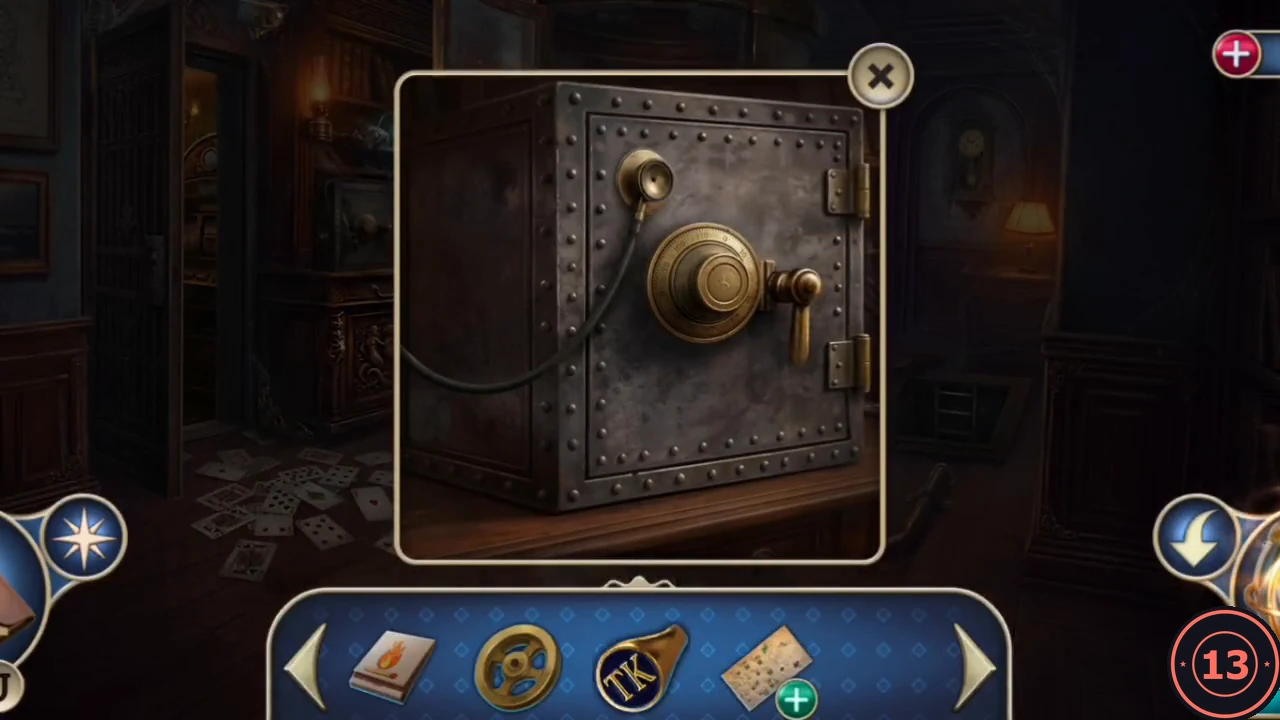
The safe in the tank room can be opened by listening to its lock.
- Pick up the secret clue in the tank room. Zoom into the safe and put the Stethoscope on its dial; the safe opens by itself. Read the journal about the garden, then take the Magnifying Glass and the Hex Key from inside the safe.
- Return to the wine cellar. Unbolt the Scythe Hand from the chained automaton at the back wall with the Hex Key, and take the Mint Leaves from the plant pot beside the crate on the left.
The Conservatory and the Pit
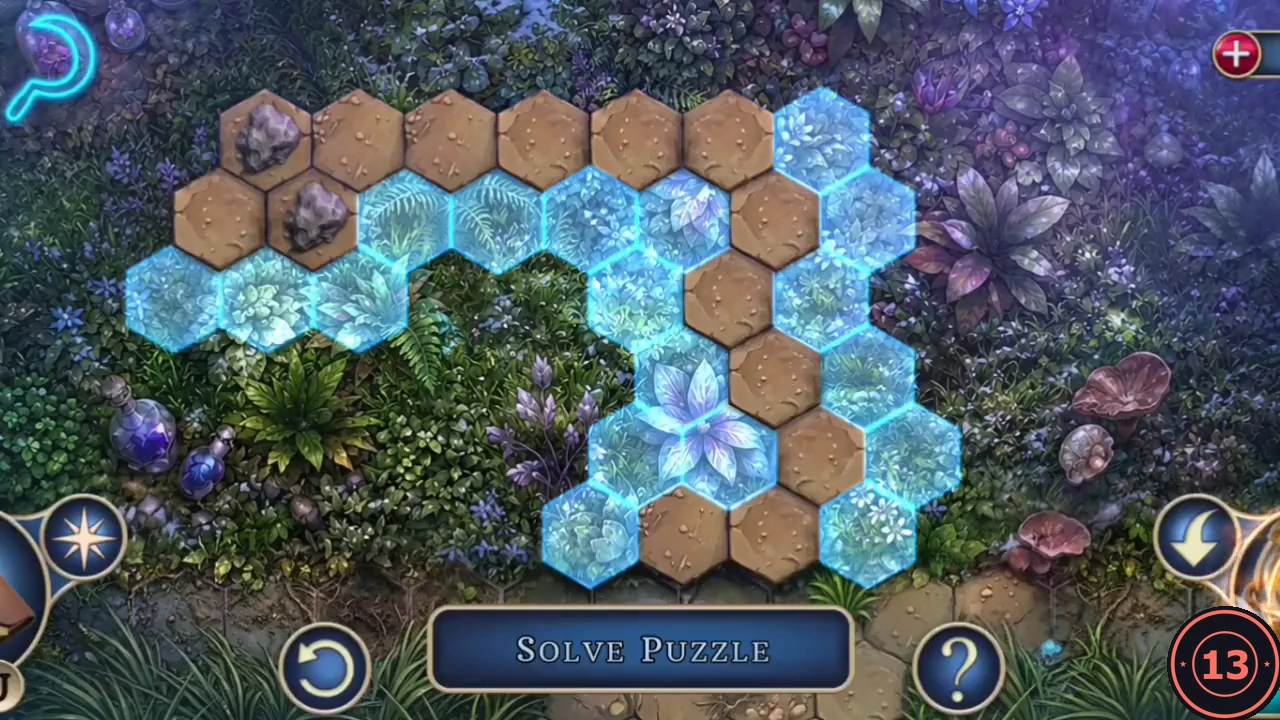
The overgrown conservatory hides a path through the grass and a pit covered by a stone slab.
- In the conservatory, attach the Scythe Hand to the overgrown grass to open the cutting puzzle. Mow a path of hexagons from the flower to the exit. Hidden stones cost one of the scythe's three lives, so mow carefully. One working route goes up the right side, left across the top, then down the left side to the bottom-left exit.
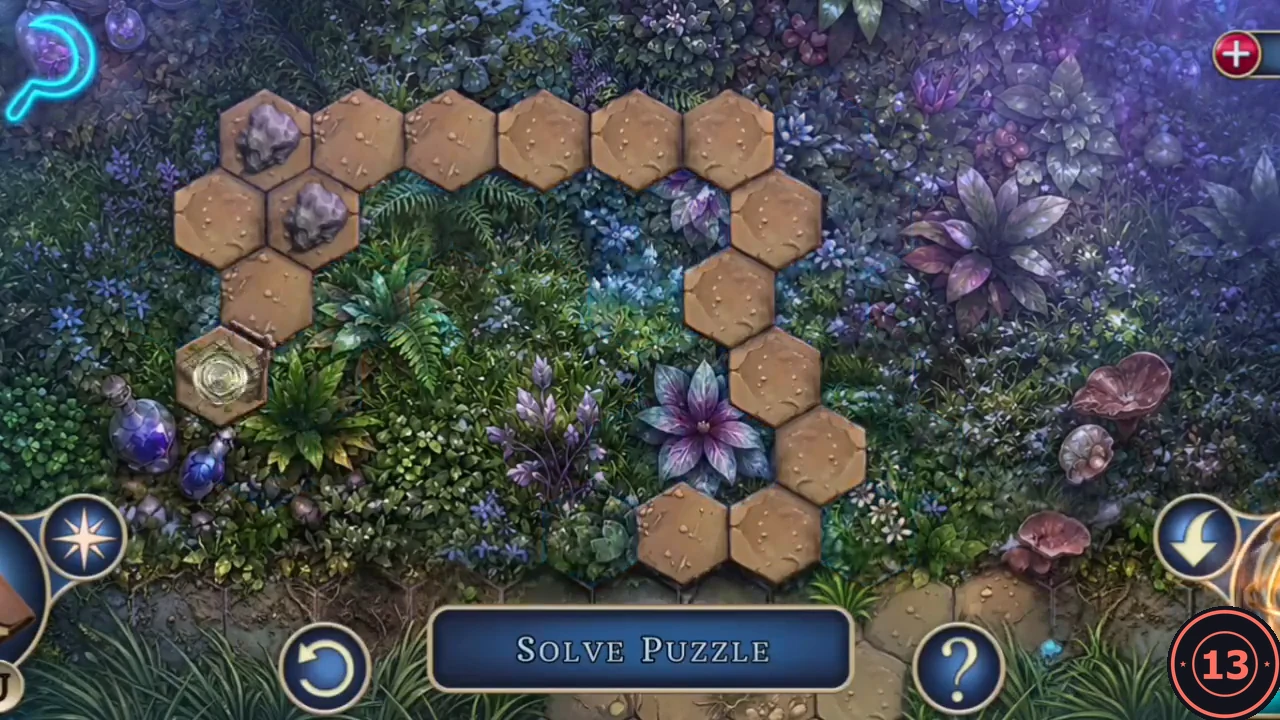
A working path: up the right side, across the top and down the left side to the exit at the bottom left. - Fit the Pulley to the crane over the pit and lift the stone slab.
- Search the pit for the listed objects. As each object is found, the next one on the list appears. Completing the list gives you the Empty Injector.
The Reviving Extract
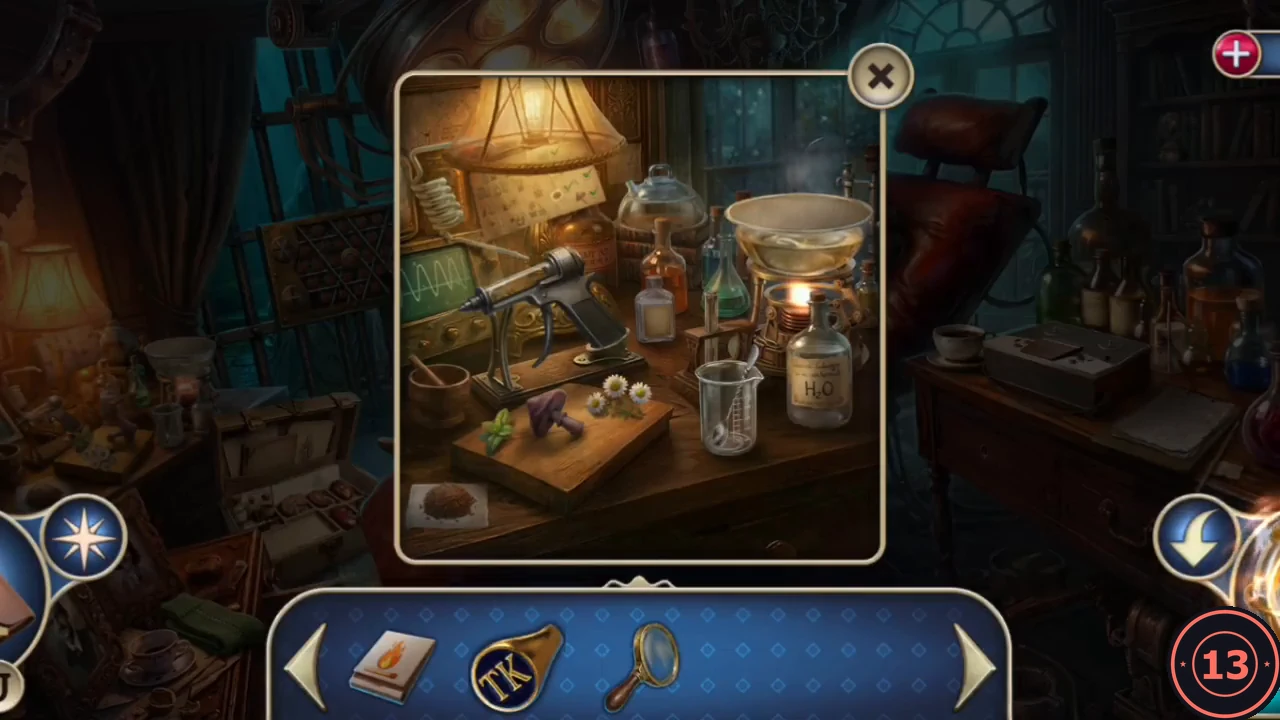
The Prescription lists the ingredients. Collect them around the mansion, then follow the recipe card at the lab bench.
- Take the Flax Seeds from the potion table in the conservatory. In the library hallway, pick up the secret clue and take the Tuning Fork from the bookshelf. Strike the bell jar in the conservatory with the Tuning Fork and take the Chamomile Flowers.
- Take the Purple Mushroom from the boot at the basement window, along with a secret clue. In the Chapter 1 study, open the desk drawer and take the Alcohol Flask.
- Open the Prescription in your inventory and add the Mint Leaves, Empty Injector, Flax Seeds, Chamomile Flowers, Purple Mushroom and Alcohol Flask to get the Medicine Ingredients.
- Place the Medicine Ingredients on the lab bench in the operating room and follow the recipe card: pour water into the bowl, light the burner and put the lid on, add the mint, chamomile and mushroom, put the glass dome on and attach the coil condenser to collect the distillate. Then grind the flax seeds in the mortar, tip the powder into the beaker, pour in the dark test tube, add water and alcohol, stir, and draw the purple liquid into the injector.
- Inject Leonardo with the Reviving Injection. He wakes, explains that an elderly butler invited him to compete for a seven-figure prize, and gives you a Lockpick. Your objective is now to reach the second floor.
The Padlock Lattice and the Second Floor
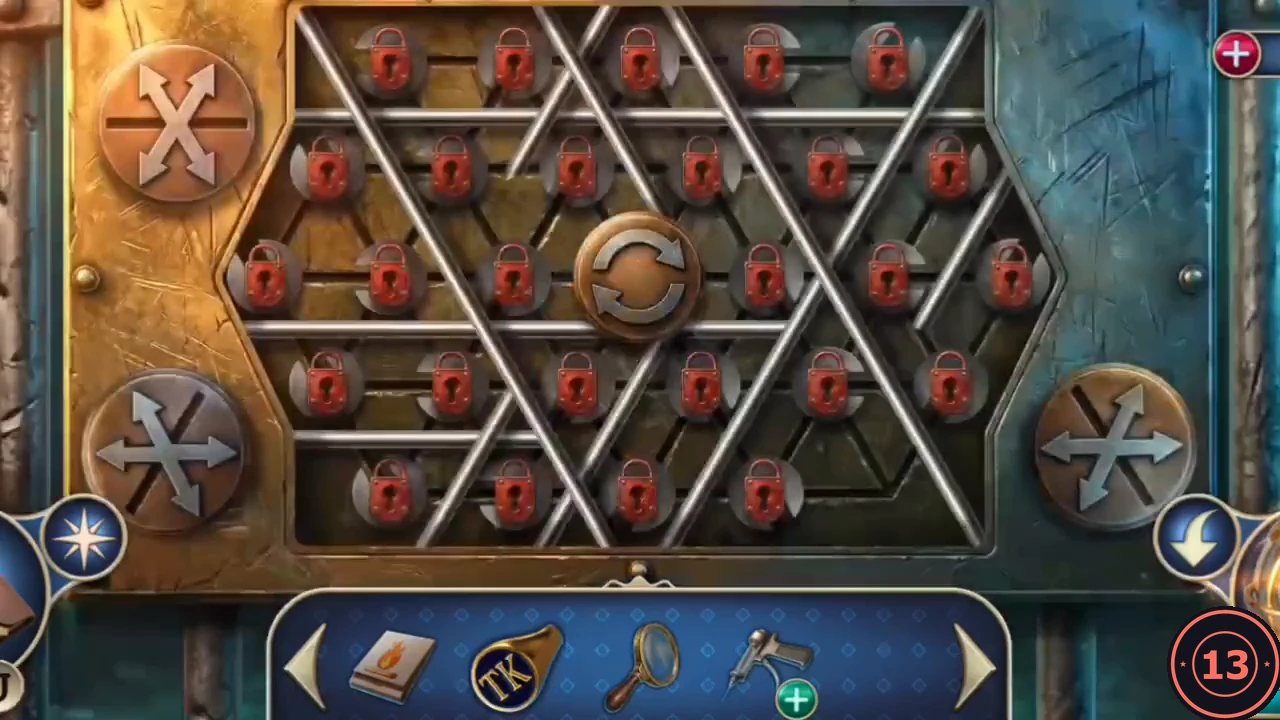
The barred alcove on the left wall of the operating room, behind the chair, is held shut by a brass lattice of 27 red padlocks.
- Use the Lockpick on the brass lock of the barred alcove behind the operating chair. The lattice has 27 red padlocks and one empty socket (bottom row, far right). Drag a padlock along a groove into the empty socket: it unlocks and becomes a grey ring, and the socket it left becomes the new gap. A silver rod lying across a groove blocks it; a blocked padlock only flashes. Tap the centre button or the arrow buttons at the top left, bottom left and bottom right to rearrange the rods and clear the groove you need. You can also slide an open grey ring into the gap to move the gap closer to the remaining padlocks. Unlock all 27 padlocks to open the bars.
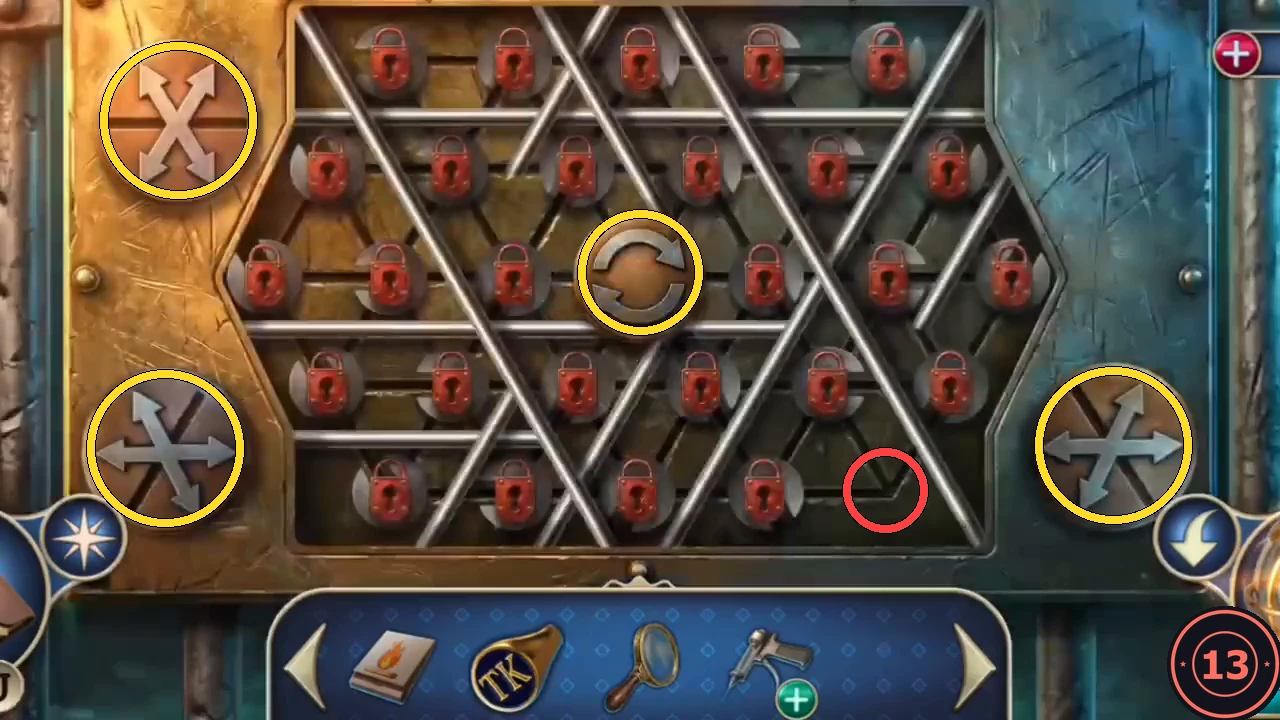
Start: the empty socket (red circle) and the buttons that rearrange the rods (yellow circles). - Take the TK Cane from the hooded statue inside the alcove. Use it on the grand staircase to spring the stair trap and go up to the second floor. A stockbroker shuts a door in your face; follow him.
- Take the Crowbar from the sill of the boarded window and pick up the secret clue. In the wine cellar, prise open the nailed crate with the Crowbar and take the Dynamite. Back on the second floor, put the Dynamite in the door lock and light it with the Matches. The door blows open.