The Way to the Attic
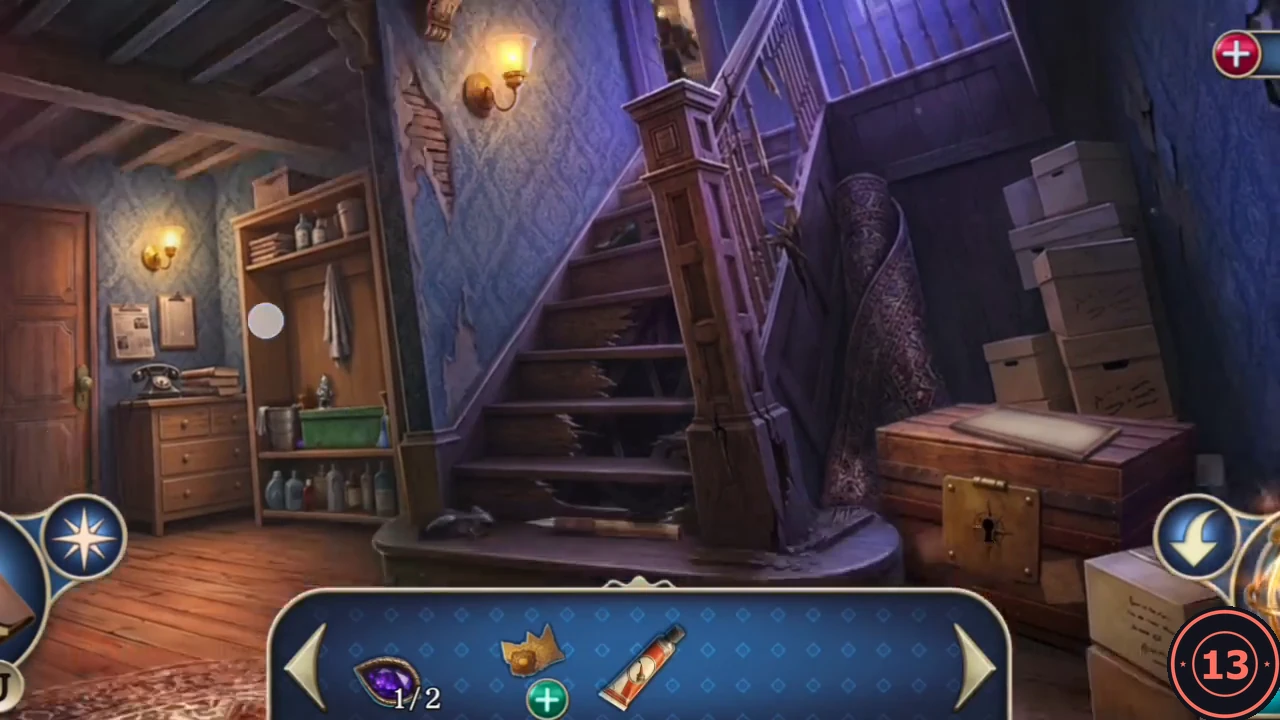
The comb leads you to the mansion owner's personal maid. Her room is upstairs, but the way through the house is blocked.
- At the front gate, talk to the card player in the green suit. He tells you the maid's room is upstairs but cannot be reached through the house, and gives you a Magnet. Your objective is to find the mansion owner's personal maid.
- On the upper funicular deck, use the Magnet on the latch of the terrace window to open it. Go through into the dining room and take the Glue from the floor.
- Go through the dining room door into the attic stair hall. Take Monster Eye (2/2) and the Duster from the green box with a gnome figure on its lid. A shadow disappears behind the attic door, but someone has broken the staircase on purpose: take the Handle from the broken stairs. Take the Frame from the lid of the chest with the compass-rose keyhole.
The Crown Mosaic
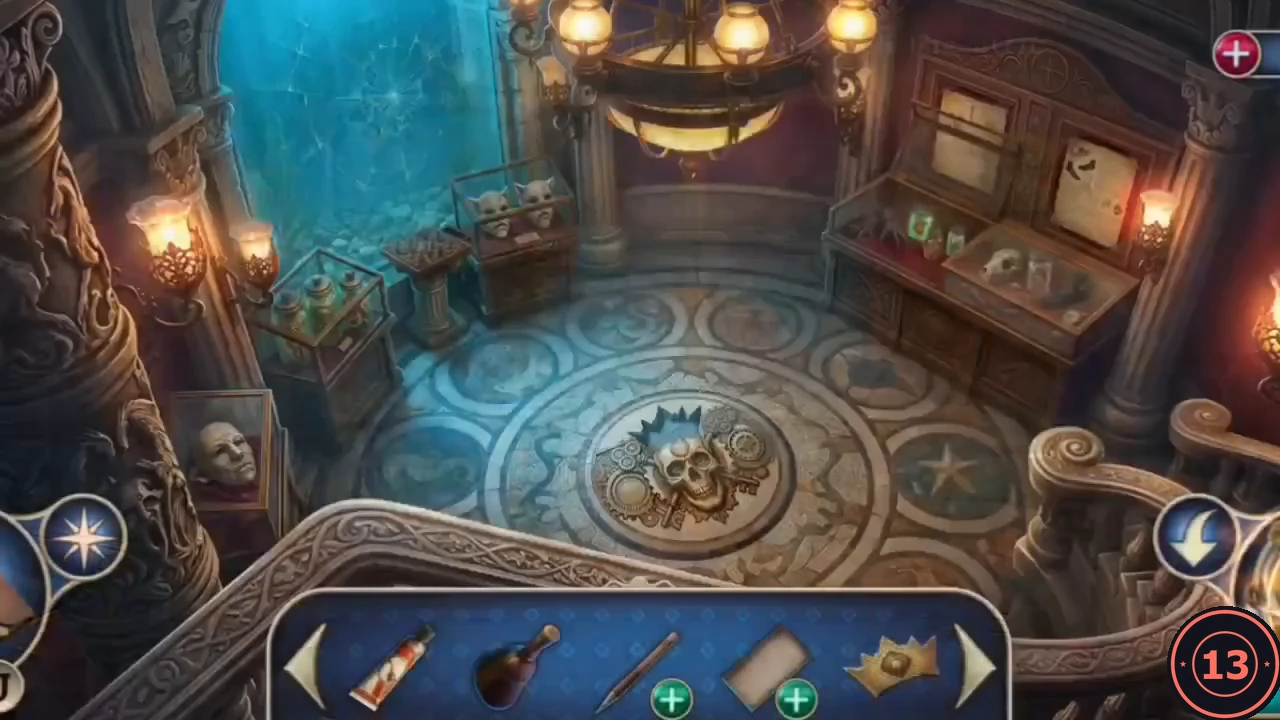
The compass-rose chest needs a key that is hidden under the skull mosaic in the aquarium room.
- In the conservatory, fit both Monster Eyes into the monster head ornament on the door and take the Mosaic Fragment.
- Open the Mosaic Half in your inventory, spread Glue on it and attach the Mosaic Fragment to make the Crown Mosaic Piece.
- In the aquarium room, place the Crown Mosaic Piece above the skull on the floor mosaic. The hatch opens: take the Compass Rose Key.
- In the freezer room, brush the frost off the pile next to the octopus tank with the Duster. The objects underneath are frozen solid; you need an ice axe.
The Compass Rose Chest
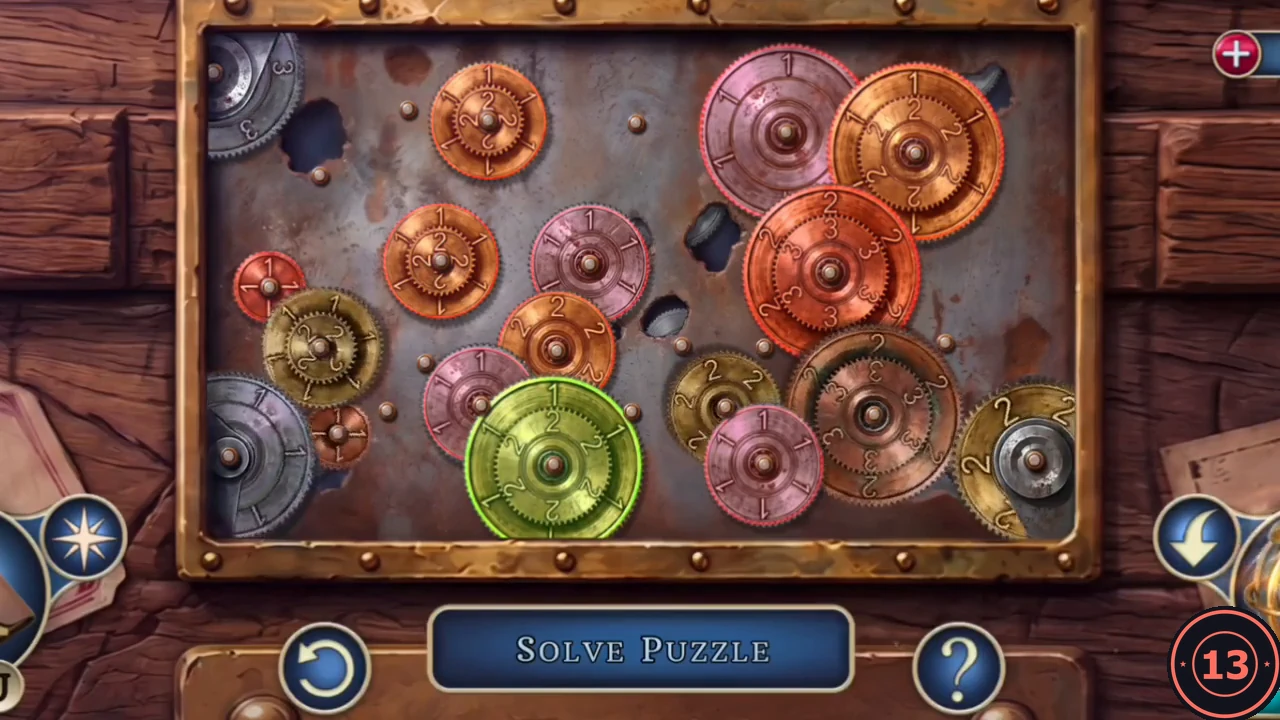
The chest in the attic stair hall contains a gear mechanism.
- Unlock the chest in the attic stair hall with the Compass Rose Key. Place the loose gears on the pegs so that a single gear train connects the three fixed gears (top left, bottom left and right). A gear that is not driven stays tinted red; when every gear is turning, the chest opens. Take the Flat Iron and the Gnome Figurine.
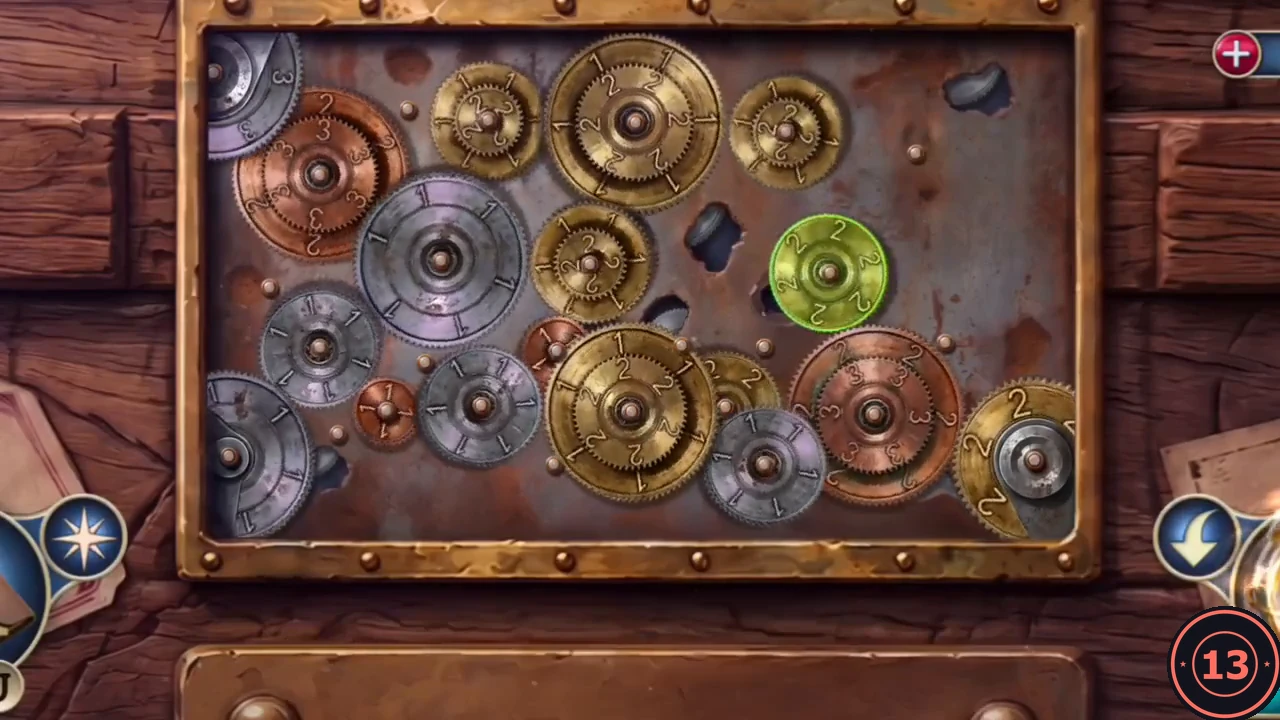
Finished: one gear train links the three fixed gears.
Repairing the Staircase
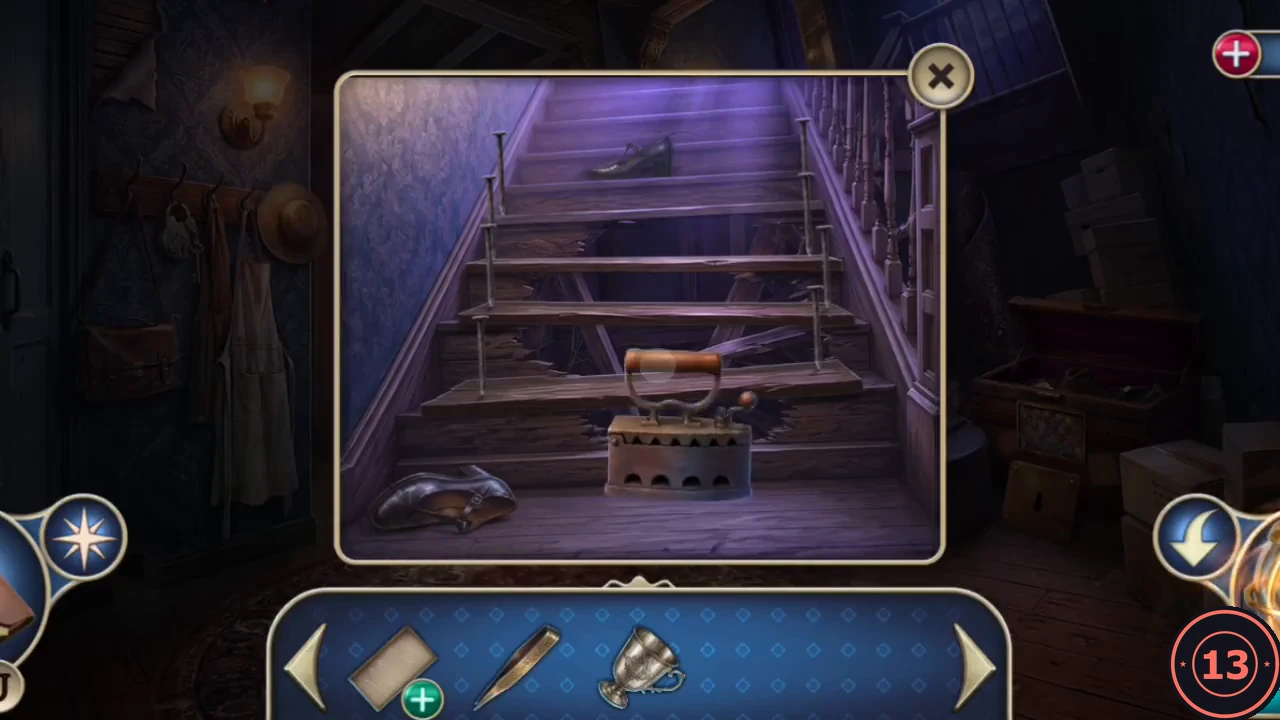
You need an ice axe, four planks and eight nails to fix the broken steps.
- Put the Gnome Figurine on the empty spot on the lid of the green box in the attic stair hall. The box opens: take the Ice Axe Head.
- In your inventory, fit the Ice Axe Head onto the Handle. It is still loose, so hammer it on with the Flat Iron to make the Ice Axe. Also spread Glue on the Frame.
- In the freezer room, chip the frozen pile with the Ice Axe. Take the Silver Cup and two planks, Planks (2/4).
- In the Chapter 1 wine cellar, take a handful of nails from the crate by the plant; the counter jumps to Nails (6/8). In the dining room, pick up the secret clue and take the Oyster Fork.
- On the second floor of the mansion, pry the remaining boards off the window with the Oyster Fork. Take the last two planks and two nails, completing Planks (4/4) and Nails (8/8).
- At the broken stairs in the attic stair hall, lay the Planks, then hammer in the Nails with the Flat Iron. Climb the repaired stairs to the attic.
The Attic Power Panel
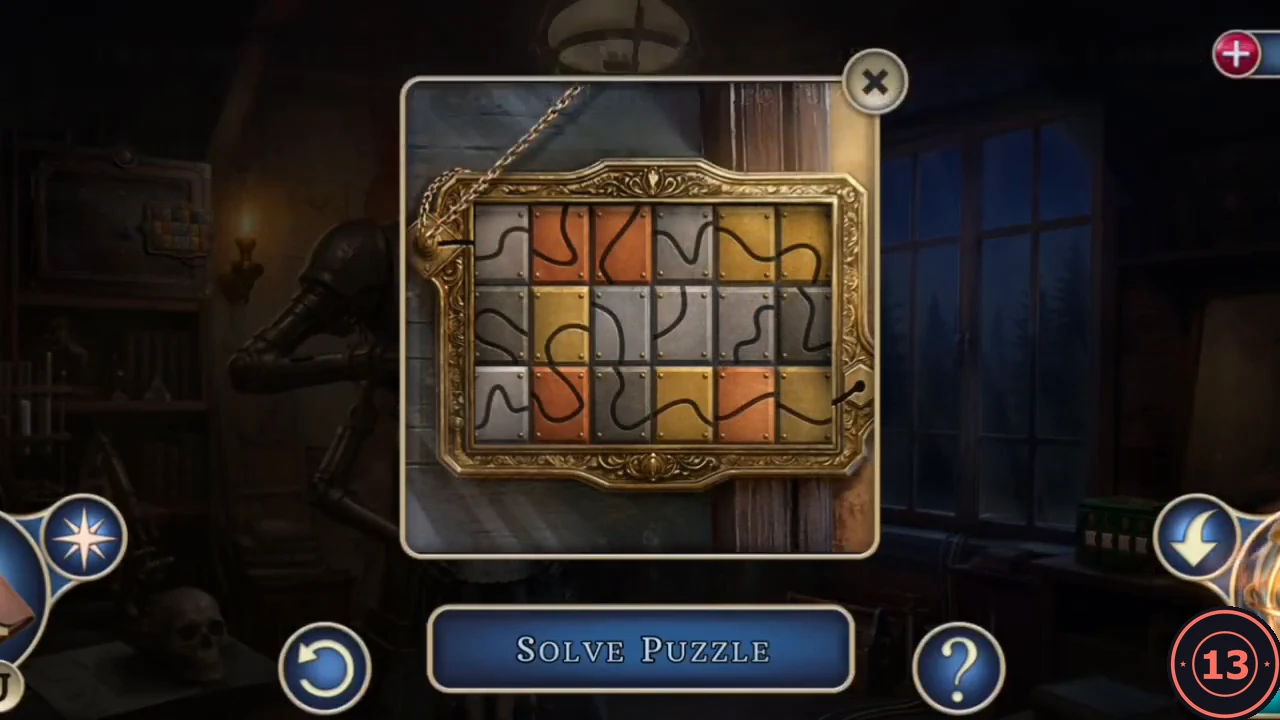
In the attic, a huge automaton holds the maid and is slowly crushing her. You need to find the trap's power source.
- Watch the scene in the attic: the automaton's arms hold the maid. Your objective is to find the trap's power source.
- Zoom into the panel on the attic wall. Tap two tiles to swap them. Arrange the tiles so the wire runs without a break from the terminal at the top left to the terminal at the lower right. The panel opens: take the Servant's Key.
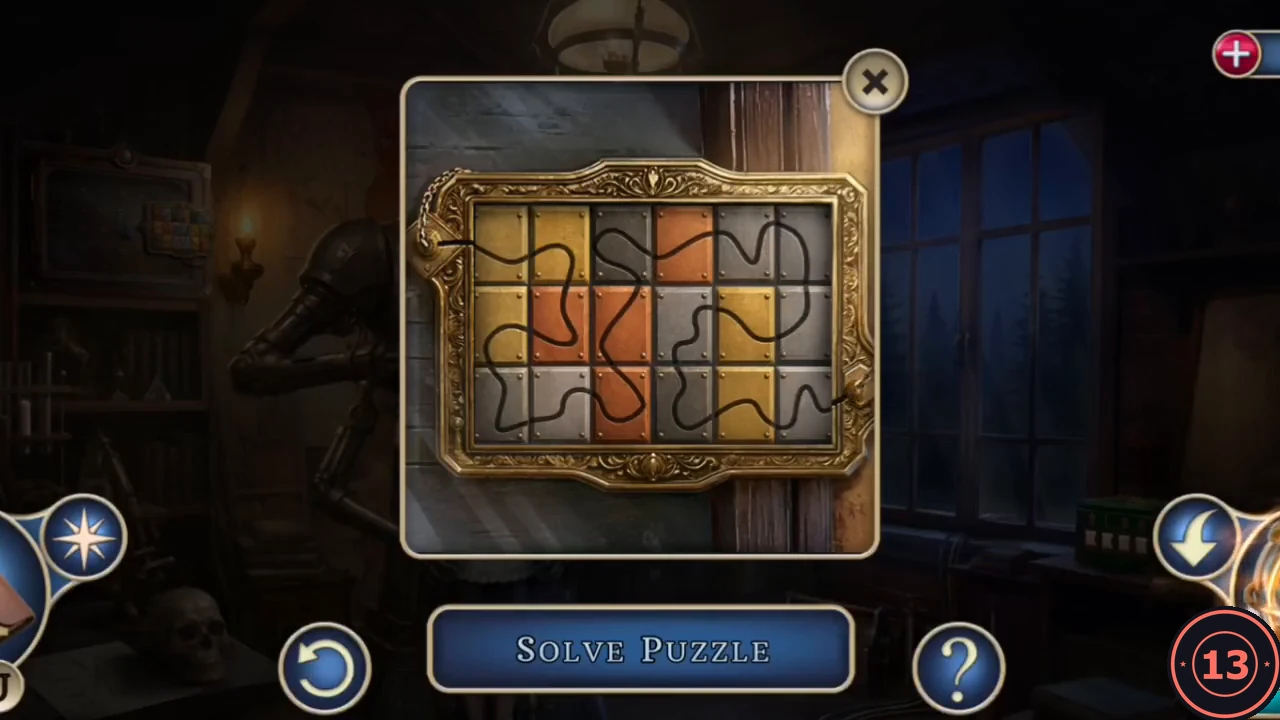
Finished: the wire runs unbroken between the two terminals.
The Maid's Room and the Family Photo
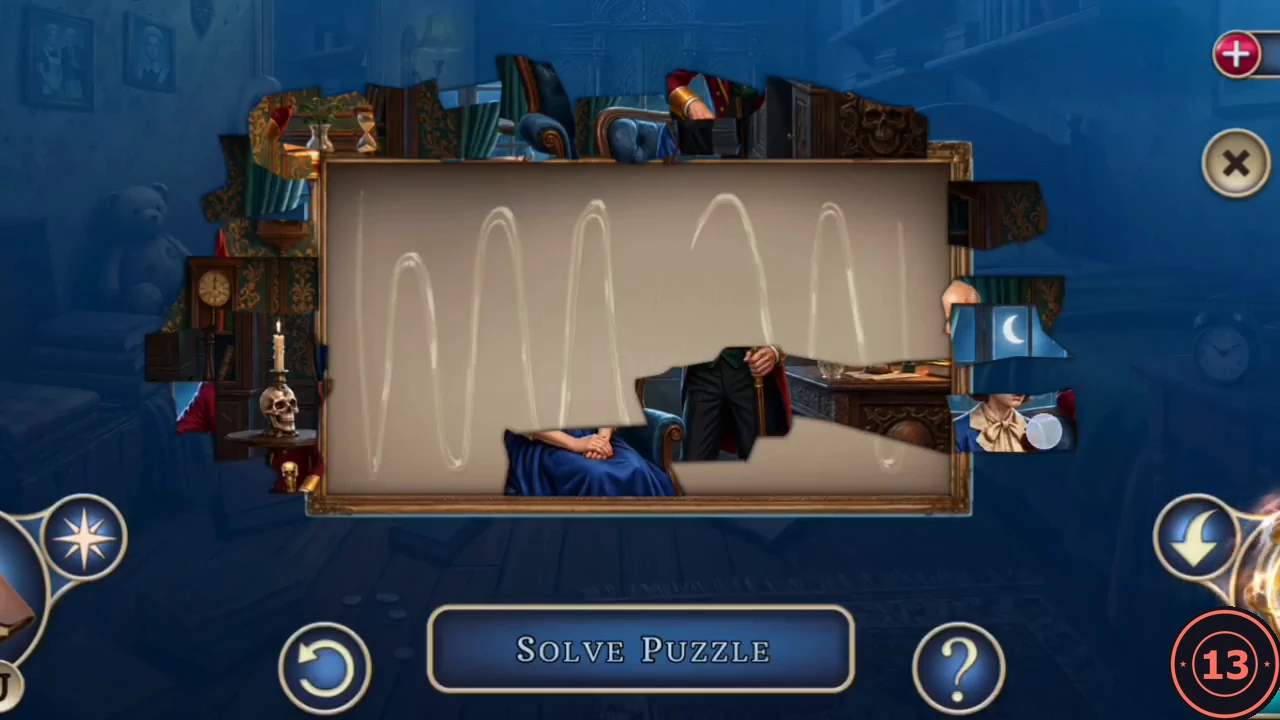
The maid's room is next to the attic stairs. A photograph from it gives the code for the green box in the attic.
- Unlock the door in the attic stair hall with the Servant's Key and enter the maid's room. Take the Shoe Brush from the dresser. The drawer is sealed with hardened wax. Under the bed, beside the shoes, pick up the secret clue and the Photo Pieces.
- Open the glued Frame in your inventory and drag the Photo Pieces into it until the picture is complete. You get the Family Photo.
- In the attic, zoom into the green box with four number wheels marked with a skull, a moon, a clock and a rose. Place the Family Photo on it: the photograph shows how many of each symbol there are. Count them and set the wheels to 3 (skull), 3 (moon), 2 (clock) and 2 (rose). Take the Tinker Cameo and the Lock Part.CODE3322
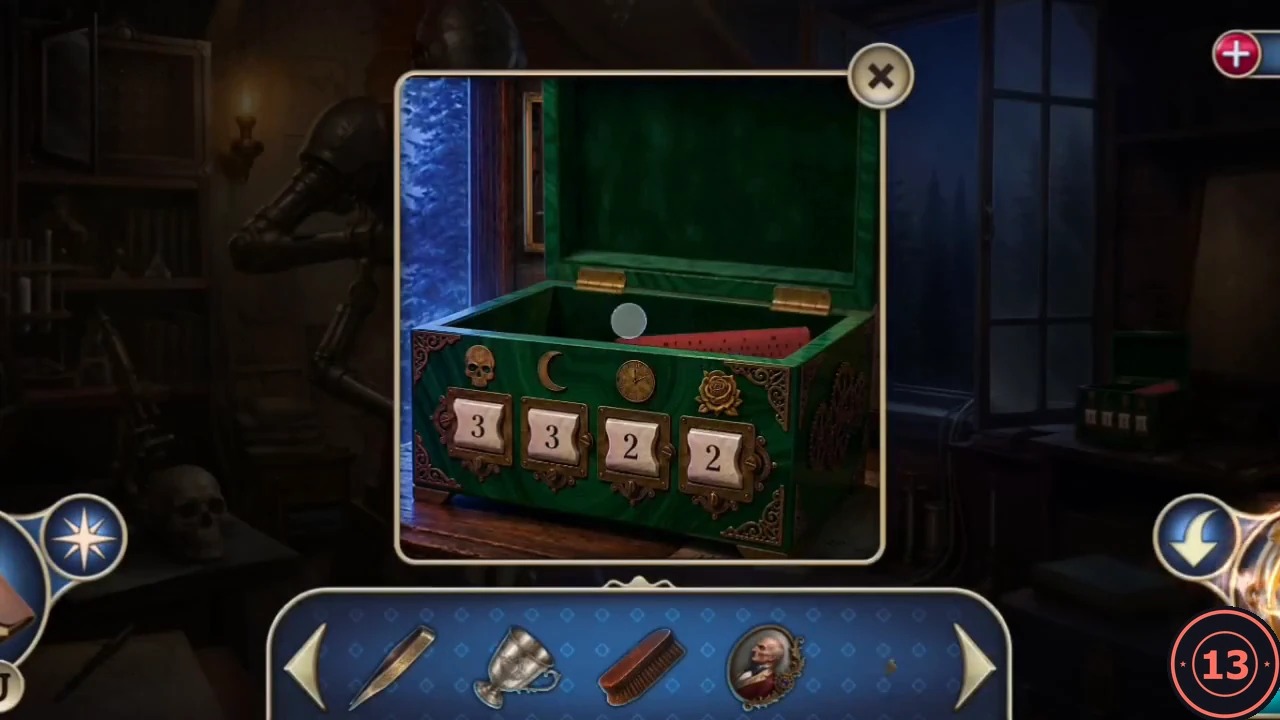
The photo box opened with 3 (skull), 3 (moon), 2 (clock), 2 (rose).
The Wardrobe Lock and the Roof
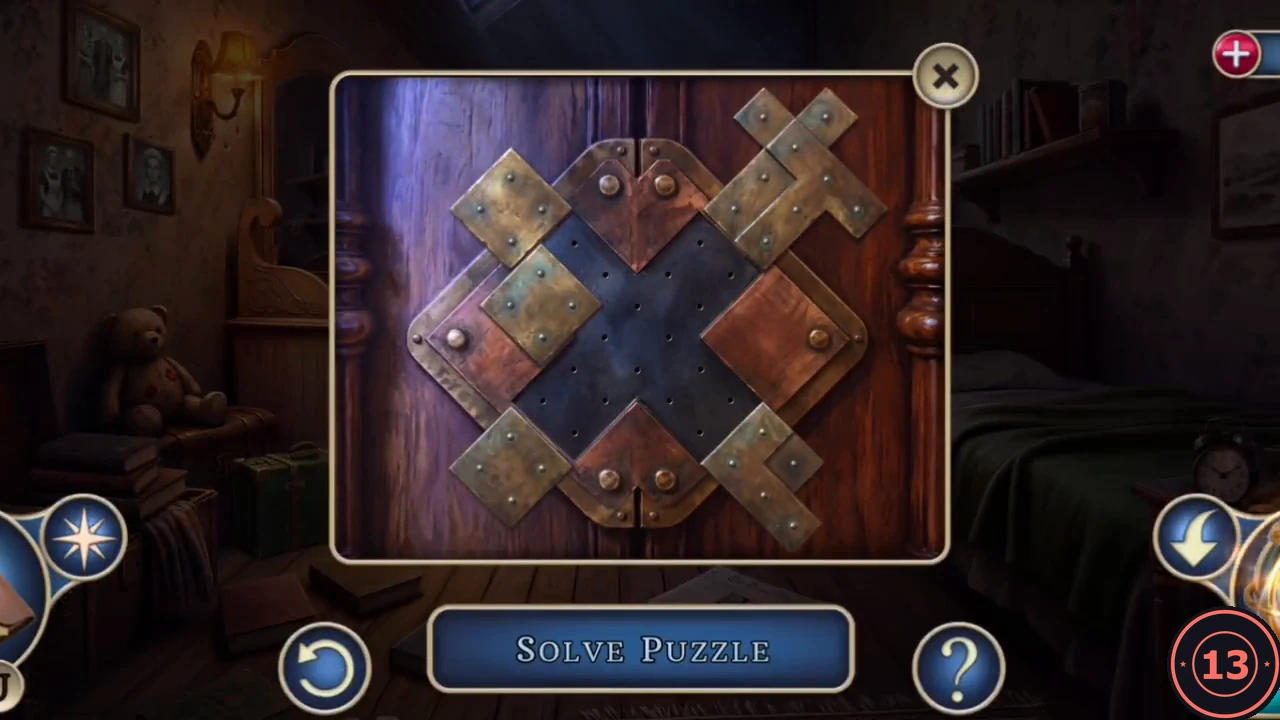
The maid's wardrobe is held shut by a lock made of metal plates.
- Fit the Lock Part to the wardrobe in the maid's room. Drag the metal plates into the diamond-shaped frame so they fill it completely. The wardrobe opens: take the Umbrella and the secret clue.
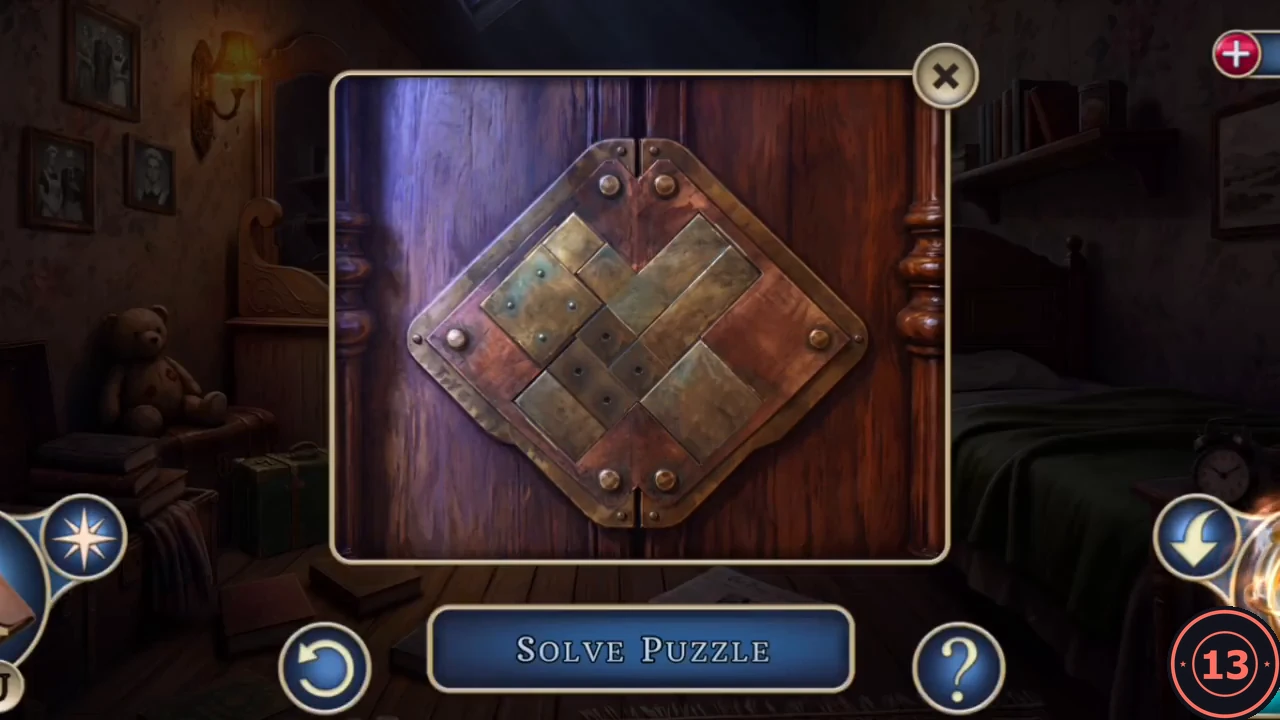
Finished: the plates fill the diamond. - In the attic, open the window and use the Umbrella to reach the ladder outside. Climb out onto the roof. The dome hides the control room for Tinker's machines; your objective is to disconnect the trap's power cables and free the maid.
- Pull the cloth off the chest on the roof and take the Pruning Shears and the secret clue. Cut the vines off the clock door with the Pruning Shears and go inside the bell tower.
The Bell Tower
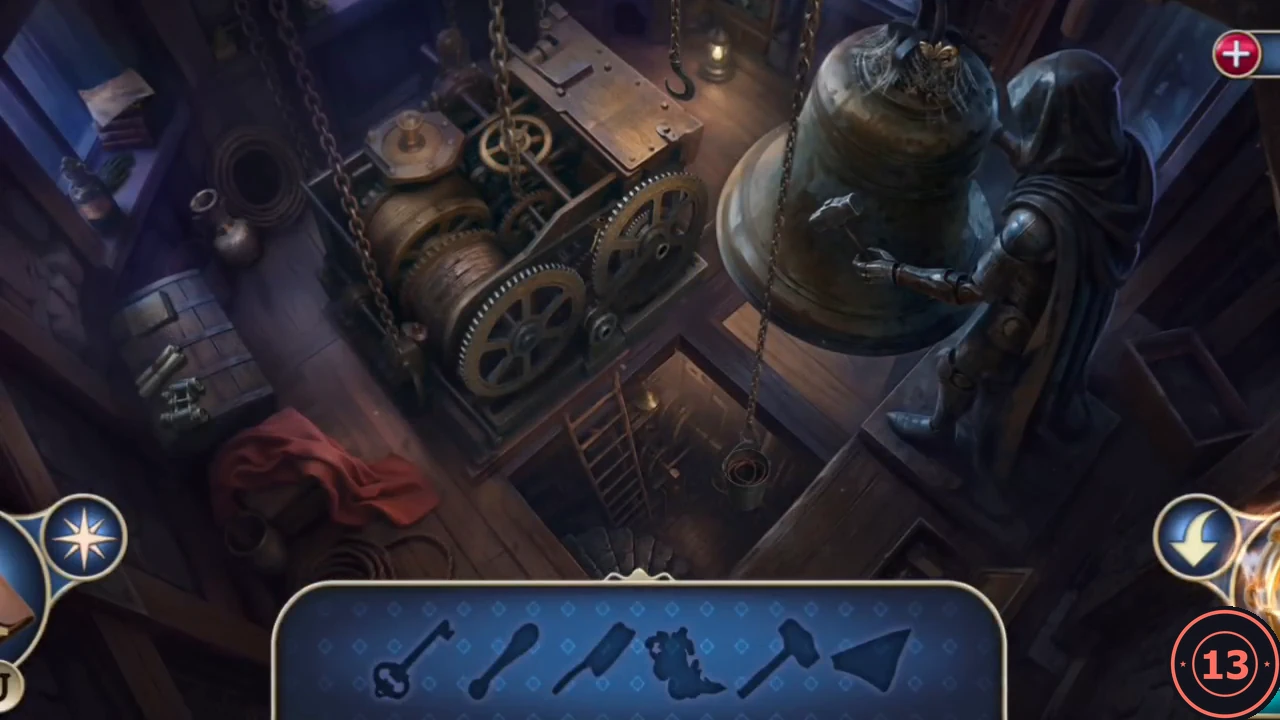
The bell tower is an interactive search: the tools shown in the bar are used on objects in the same scene.
- The bar at the bottom shows the silhouettes of the tools you need; collect them and use them on objects in the same scene. Take the hammer from the raised hand of the hooded armoured figure beside the bell and use it to smash the sealed vase on the floor on the left, beside the coiled rope. Collect the sharp shard and the ornate key near the broken vase. Unlock the glass-fronted cabinet with the key: inside is an ornate box whose lid is missing two monograms. Take the scraper from the cabinet shelf. Scrape the frost off the window, open it and take the brush. The bucket hanging outside is tied down too tightly; cut its rope with the shard and take the bucket. Look into the sand-filled chest (the drive shaft inside is chained down) and take the weight. Hang the bucket on the hook beside the bell and the weight on the other chain; the mechanism hauls the bucket up with a drive belt in it. Take the drive belt.
- Tap the sheet of paper on the window sill at the top left to uncover the first gold monogram, and take it. Scrub the grime off the crown of the bell with the brush and take the second gold monogram. Put both monograms into the lid of the ornate box in the cabinet; it opens. Take the orange lighter from it, then take the oil can from the gear machine. Light the lantern standing on the window sill with the lighter and take it. Shine the lit lantern into the dark hole in the wall to reveal a hacksaw, and take it.
- In the sand-filled chest, saw through the chain with the hacksaw and take the drive shaft. The gear mechanism will not work without it: fit the drive shaft into the centre of the gears, loop the drive belt over the pulleys and oil the gears with the oil can. Take the Crank Handle.
- On the roof, fit the Crank Handle to the round door panel and turn it. The door opens onto a spiral stairway that leads to Tinker's control room. Look at the drawing on the stairway wall: it shows the design of a hidden device.
The Control Room Door
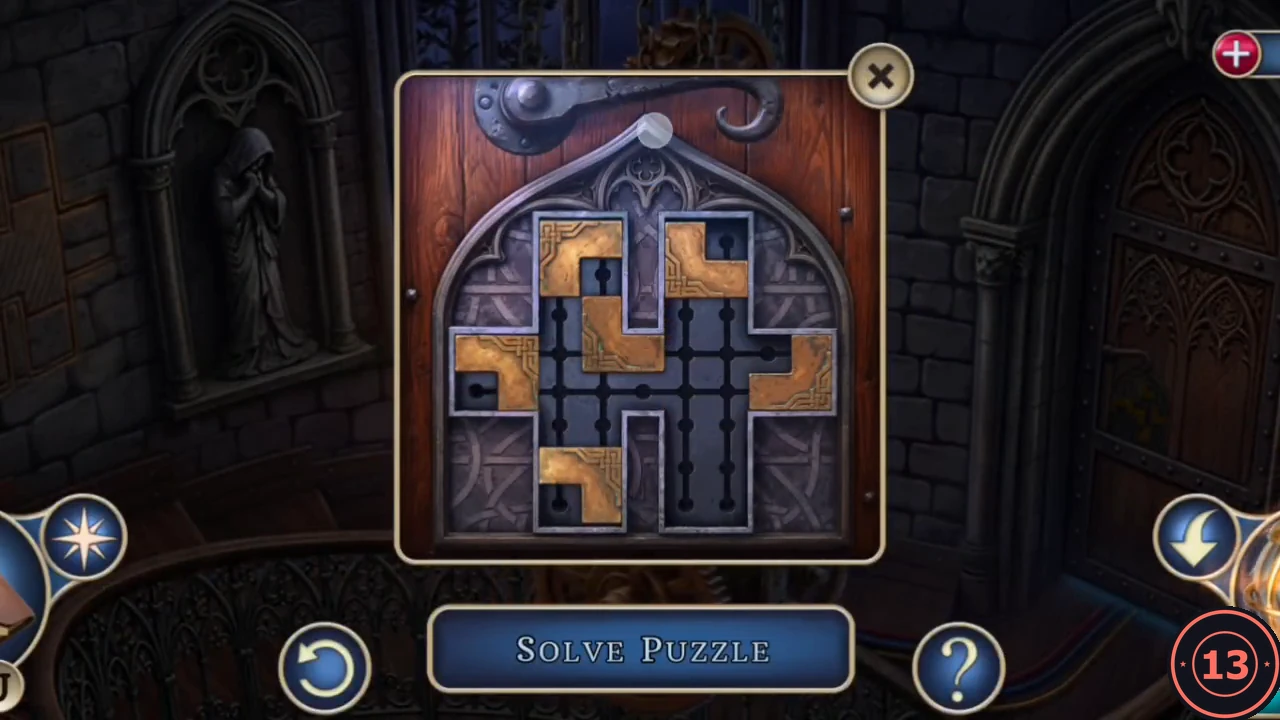
The door at the top of the stairs has five bronze pieces that slide along grooves.
- Zoom into the door. Slide the five bronze pieces along the grooves so that they come together in the centre and form the solid block shown in the drawing on the wall. The door opens into the control room.
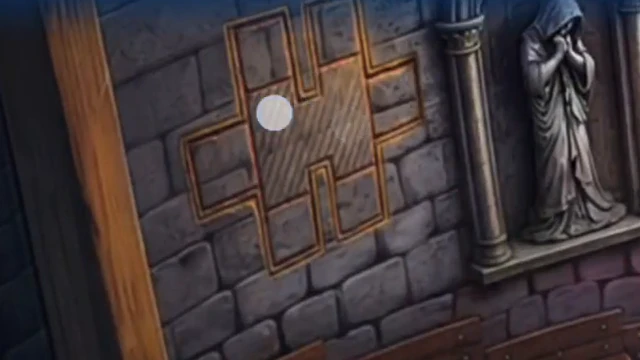
The drawing on the stairway wall shows the finished shape. 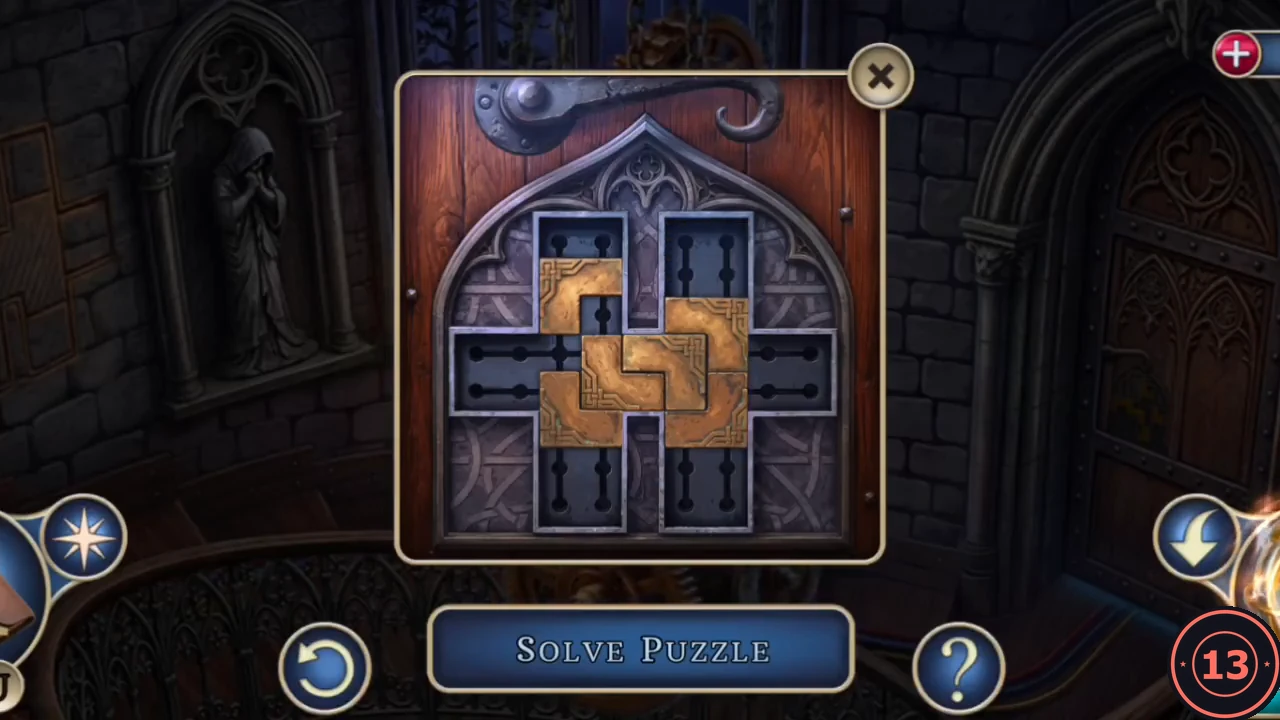
Finished: the pieces form the block from the drawing.
The Three Cable Panels
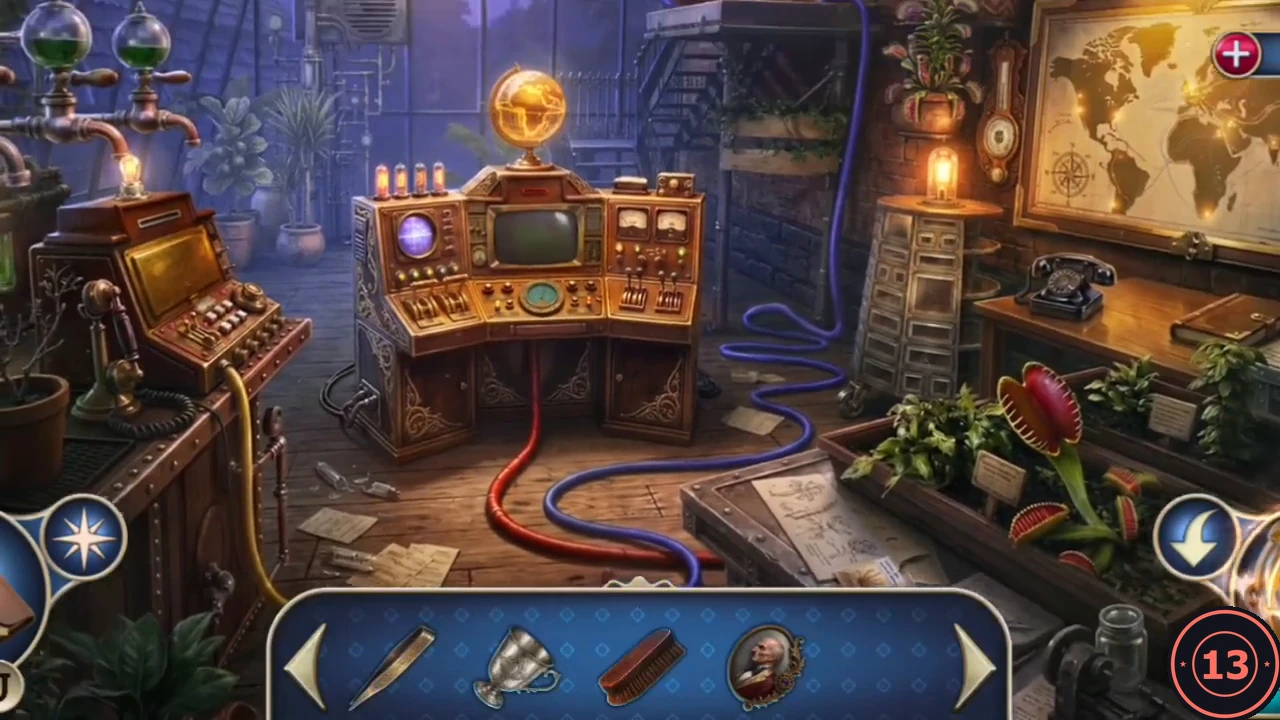
Tinker controlled the multi-armed automaton from here. Each coloured panel operates one cable and needs a punch card of the same colour.
- Take the Yellow Punch Card from the map table in the control room and insert it into the yellow panel. Swipe to slide the coloured blocks; all of them move together and stop at a grey block or wall. Bring the red block into the marked slot at the top left and both blue blocks into the top right corner.
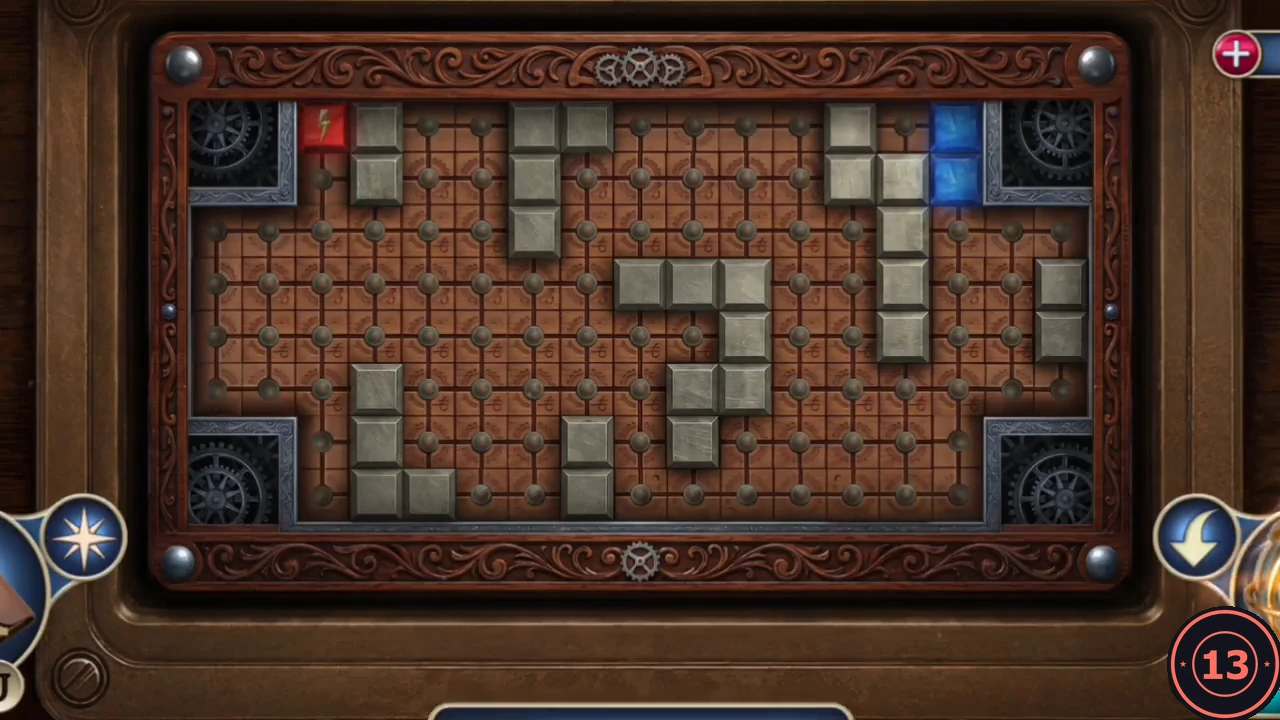
Yellow panel solved. - Return to the green box in the attic and take the Red Punch Card. Insert it into the red panel in the control room. Move the ends of the blue lines between the green points on the oval until every pink dot lies on a line.
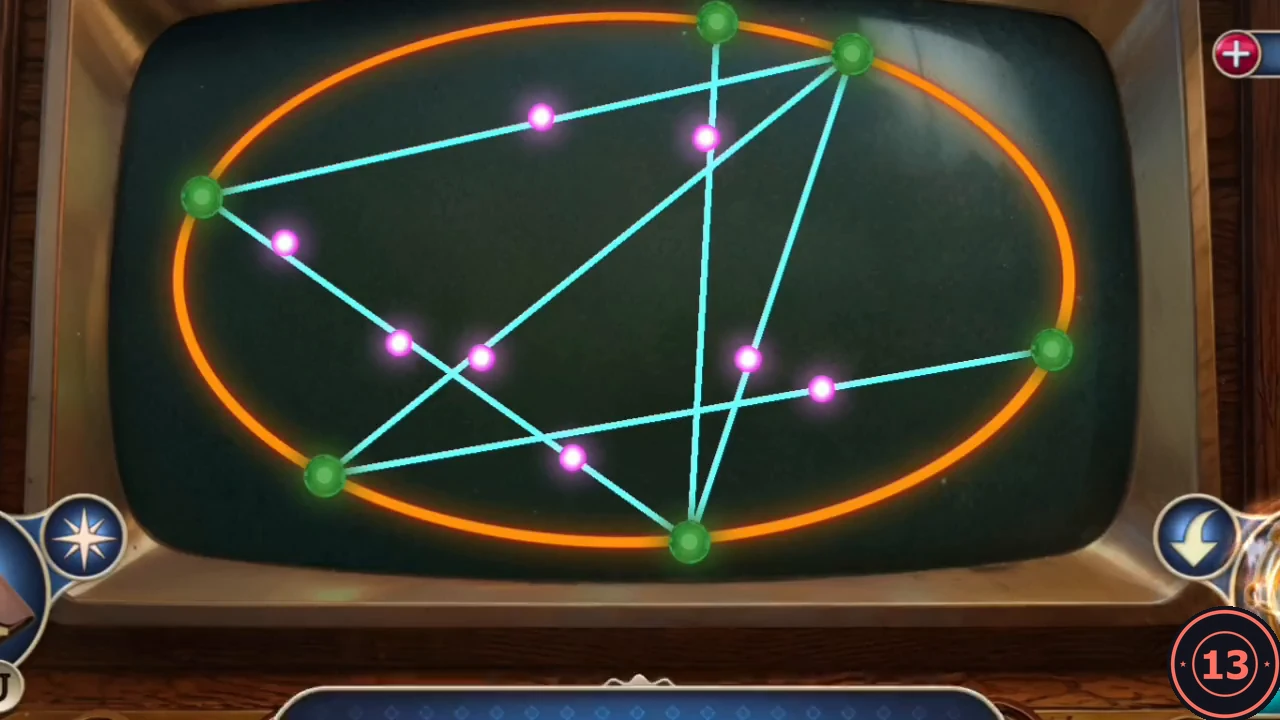
Red panel solved: every pink dot lies on a line. - In the surveillance room, take the Blue Punch Card from the floor by the chain. Insert it into the blue panel in the control room. Tap a lightning disc to see the squares it can reach (shown in blue), then move it. Guide the silver, gold and copper lightning discs to the sockets at the lower left where the cables end.
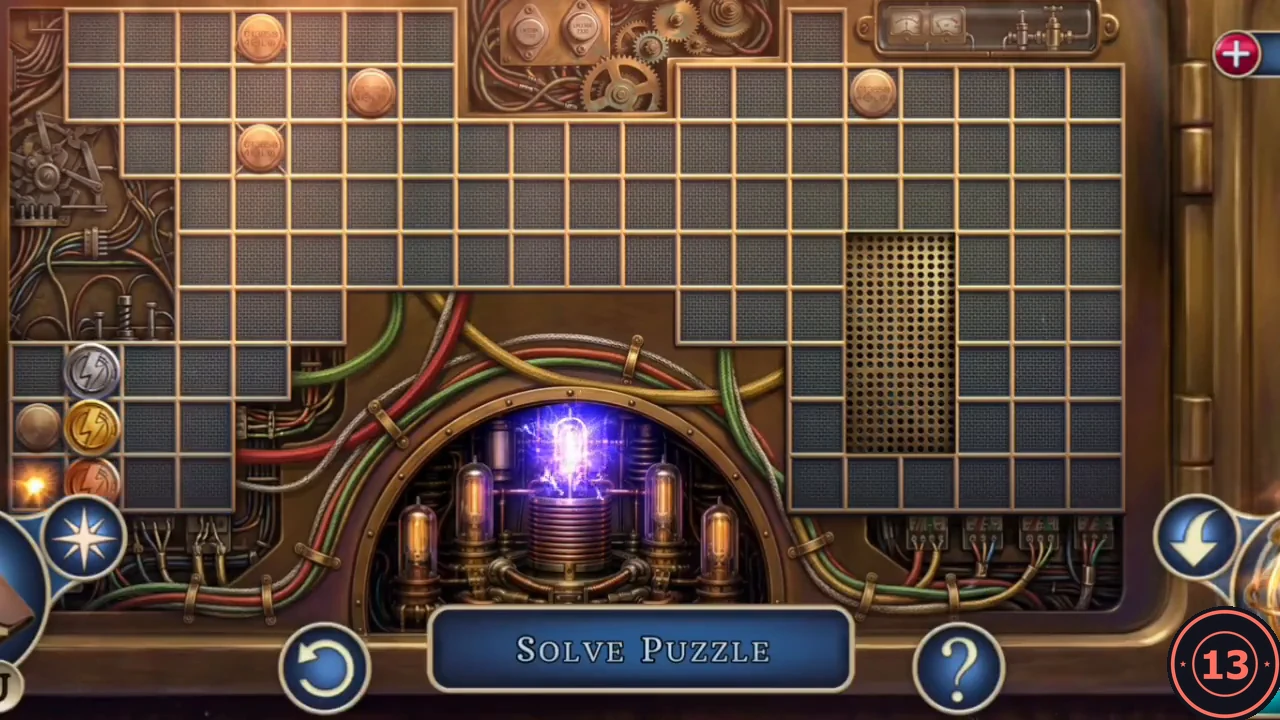
Blue panel solved: the three discs are in the sockets. - With all three cables disconnected, the automaton can no longer harm the maid. Go back to the attic. She thanks you, warns that you must stop the master before he kills the others, and gives you the Automaton Research. Your objective is to help the scientist decipher the owner's research.
Restoring the Automaton
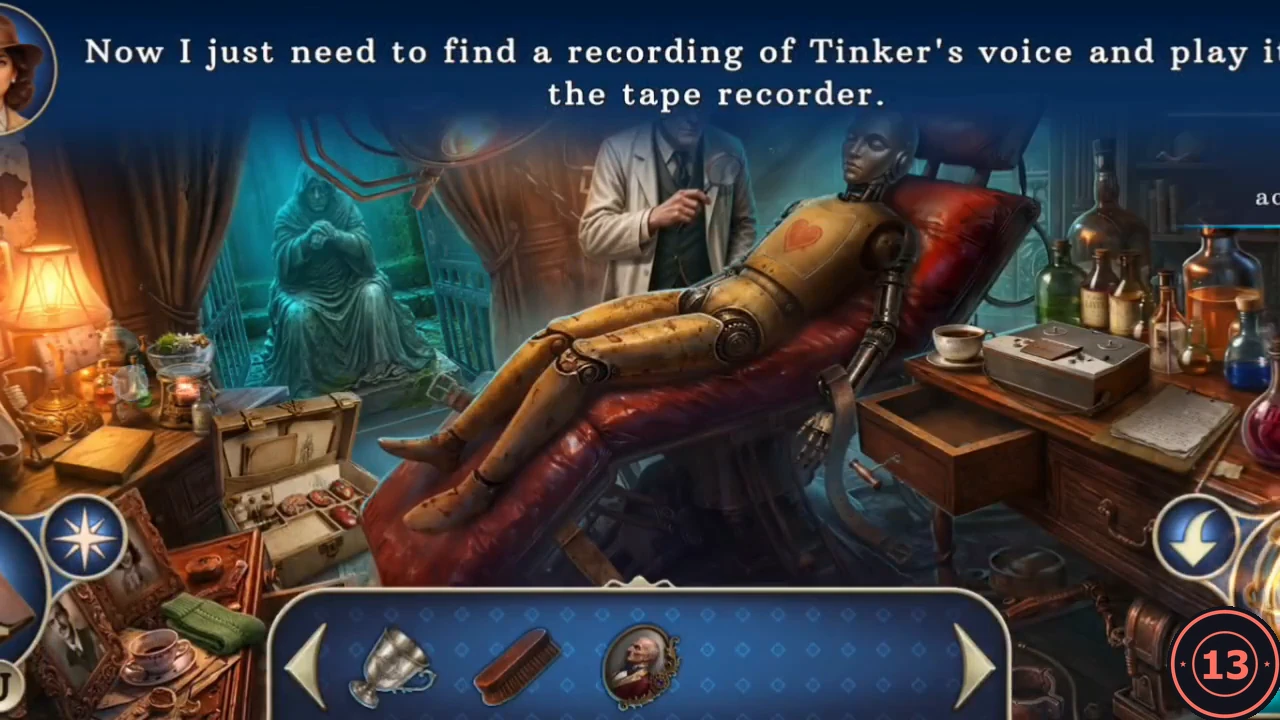
One of Tinker's automaton designs can open the vault in the freezer room, but it must be rebuilt and activated with the owner's voice.
- Give the Automaton Research to the scientist in the laboratory. He takes it and gives you the Automaton Blueprint. The arms, head and mechanical heart are missing; your objective is to find them and repair the automaton in the infirmary.
- Take the Automaton Heart from the wooden mannequin in the wrecked subway train car, the Automaton Arms from the multi-armed automaton in the attic and the Automaton Head from the automaton on the wall of the Chapter 1 wine cellar. Add all three to the Automaton Blueprint to get the Automaton Parts.
- In the operating room (the infirmary), fit the Automaton Parts to the automaton body on the red chair. It is restored, but it will only obey the master's voice. Your objective is to find a recording of the owner and play it on the tape recorder.
- The aquarium room is now flooded: the fish smashed its tank, and the reel lies in the water. Take the Fishing Rod from the Chapter 1 study, by the door on the right. Use it in the aquarium room to fish out the Voice Recording.
- Put the Voice Recording on the tape recorder on the desk in the operating room. The automaton confirms the owner's voice and asks for a command. Your objective is to find the phonograph with the command and use it on the automaton in the freezer room.
- Take the Phonograph from the safe in the tank room. In the freezer room, place it in front of the automaton. The command 'Execute Protocol Seven. Open the vault door.' plays and the automaton turns the vault wheel. A new task appears: find the key to the park gate and unlock it.
The Frozen Vault
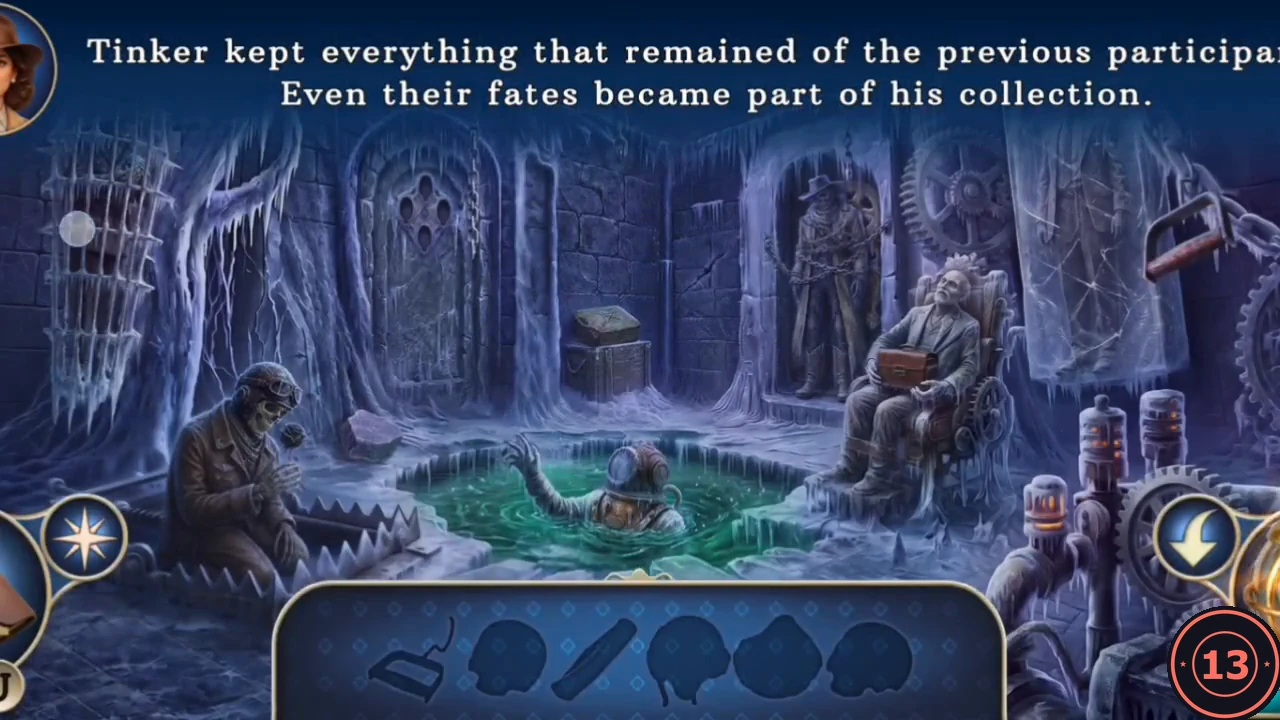
The vault holds everything that remained of the earlier participants of Tinker's game. It is an interactive search: you need four coloured skulls.
- Pick up the hooked tool and use it to pull the blue skull out from behind the bars. Take the pocket knife from the frozen aviator and his helmet, cut open the spout of the green canister with the pocket knife, fill the helmet from it and pour it over the frozen diving helmet in the pool to free the yellow skull. Take a shotgun shell from the bandolier of the frozen gunman and wedge it into the crack in the wall. Pick up the loose stone lying on the floor at the left edge of the pool, beside the trapped skeleton, and strike the shell with it to blast the wall open; take the red skull and the dog tag. The tag reads 5265: enter it on the briefcase lock of the frozen man in the chair and take the green skull. Place the four skulls in the frosted plate: red at the top, blue on the left, green on the right and yellow at the bottom. The compartment opens: take the Animal Horn.CODE5265
The Park Gate
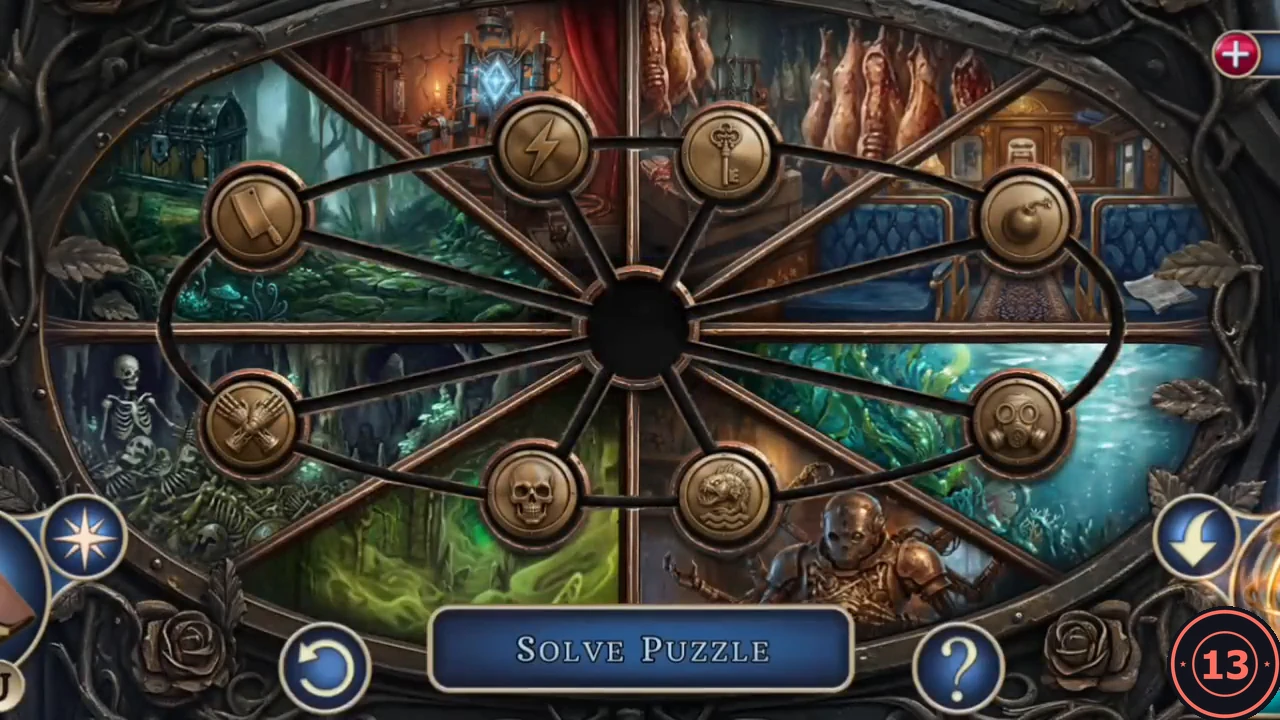
The skull gate in the courtyard has been missing a horn since Chapter 1.
- In the courtyard, fit the Animal Horn to the skull on the gate. A wheel with eight emblem tokens appears over pictures of the places you have visited. Move each token along the lines into the empty spot until it sits on its matching picture: lightning on the electric chair, cleaver on the hanging meat, bomb on the train carriage, fish on the aquarium, crossed gauntlets on the automaton, gas mask on the green gas, skull on the skeletons and key on the treasure chest. The park gate opens.
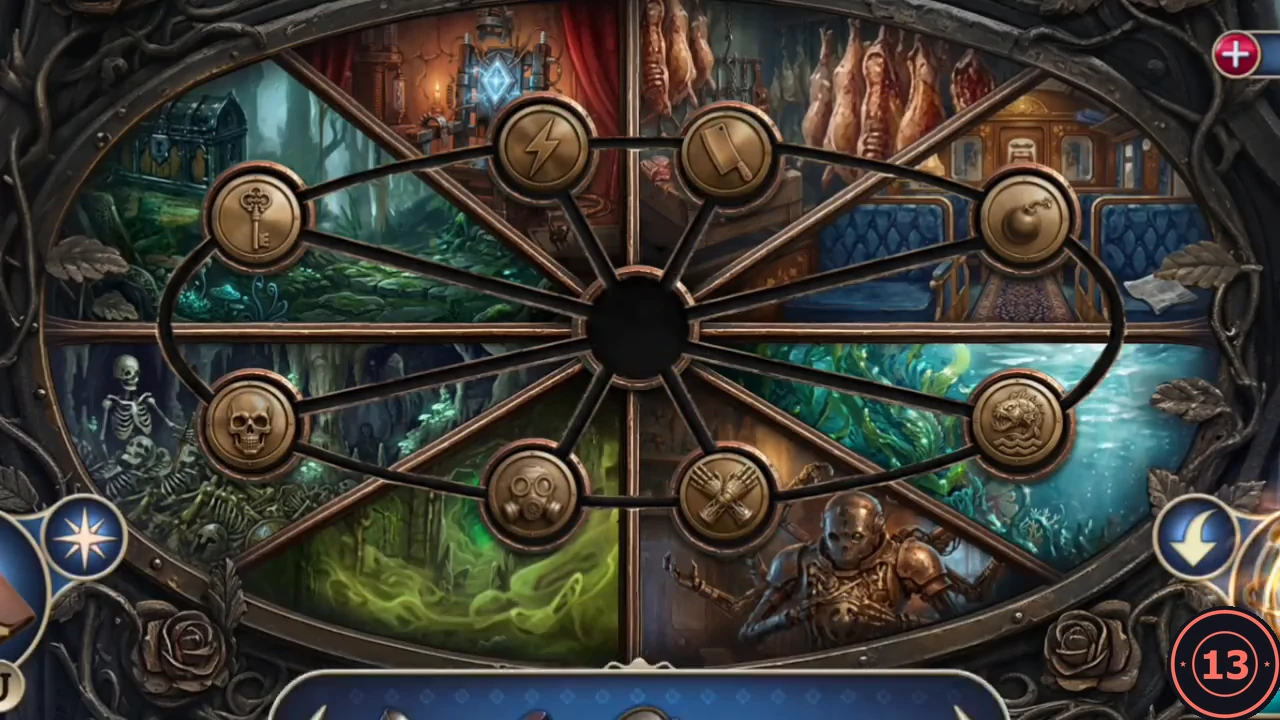
Finished: every token sits on its picture.