Chapter 1
Stranger's shelter
The secret room holds a woman who has lost her memory, a projector and a damaged safe.
- Tap through the conversation with the stranger and take the Diary.
- Zoom into the projector, which needs film. Take the Acid jar and the Hunter image from around it.
- Zoom into the wall safe, which has force marks, and take the Decorated handle.
- Zoom into the worktable. Take Colored shard 2/8 and read the note: reagent on the living-room shelf, beaker taken by the dog, acid nearby, powder delivered inside a figurine.
- Optional morphing object: tap the book on the couch.
- In the living room, use the Decorated handle on the cabinet door. Take the Chemical reagent, the Deer image and the note (Notes 5/6).
- Back in the shelter, place the Hunter and Deer images on the painting. Take the Repair amulet. The toy monkey behind it is missing something, which you solve later.
- In the living room, use the Repair amulet on the green box. Take the Hammer.
- In the yard, use the Hammer on the doghouse floor. Take the Wooden bar and the Chemical glass.
- In the shelter, put the Chemical glass on the worktable. Then at the yard window use the Wooden bar to prop the frame and the Hammer on the piggy bank. Take the Lab powder.
- Back in the shelter, add the Acid jar, Chemical reagent and Lab powder to the worktable to start the puzzle.
Puzzle
Solvent chemistry puzzle
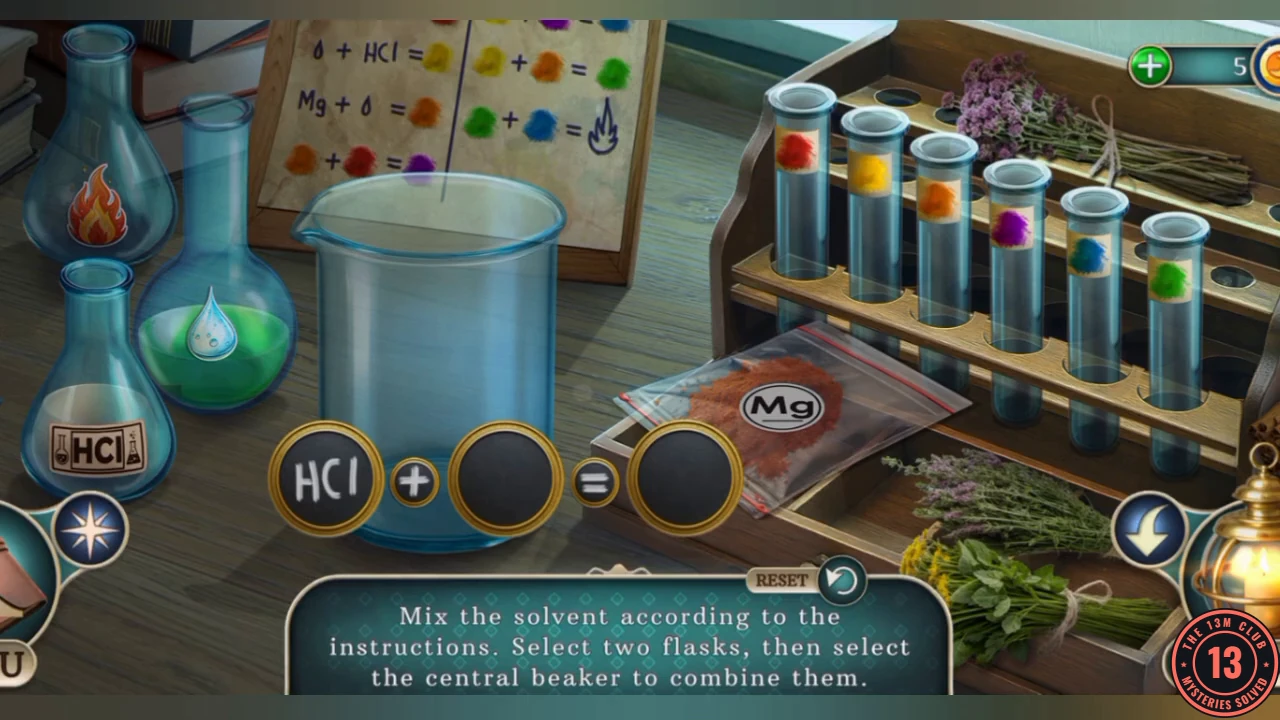
Select two flasks, then the central beaker to combine them, following the chart on the board. Each coloured result goes into the rack and is used up by the next mix that needs it, so you make yellow and orange twice.
- Mix HCl and Mg to make red.
- Mix the water drop and Mg to make orange.
- Mix the water drop and HCl to make yellow.
- Mix orange and red to make purple.
- Mix yellow and purple to make blue.
- Make yellow again from the water drop and HCl.
- Make orange again from Mg and the water drop.
- Mix yellow and orange to make green.
- Mix green and blue to make the flame, then take the Solvent.
Chapter 1
Music hall: statues and the anomaly
Melt the lump on the green door to reach the music hall, then work through the three statues.
- Use the Solvent on the lump on the green living-room door. Enter the music hall. Close any rating prompt that appears.
- Zoom into the fireplace screen. Take the note (Notes 6/6) and the Sculptor kit. The broken camera there needs a lens, and a task appears to photograph the anomaly.
- Zoom into the violin statue and take the Drumstick from it.
- Use the Sculptor kit on the statue holding the drum, then the Drumstick on the drum. Take the Harp.
- Use the Harp on the next statue and take the Violin bow.
- Optional morphing object: tap the beetle on the harp statue's chest.
- Use the Violin bow on the violin statue. Take the Camera lens.
- Use the Camera lens on the camera at the fireplace screen, then take the Camera.
- Use the Camera on the anomaly to clear it. A new task says to restore the stranger's diary.
- Zoom into the piano lid, read the letters and take the Golden bell and an Ornament. Then zoom into the bell wall and take the second Ornament.
- In the living room, place both Ornaments on the shelf box and take the Projector part.
- In the shelter, use the Projector part on the projector and take the Bell string.
- In the music hall, use the Bell string, Golden bell and Iron bell on the back wall to start the puzzle.
Puzzle
Music hall bells
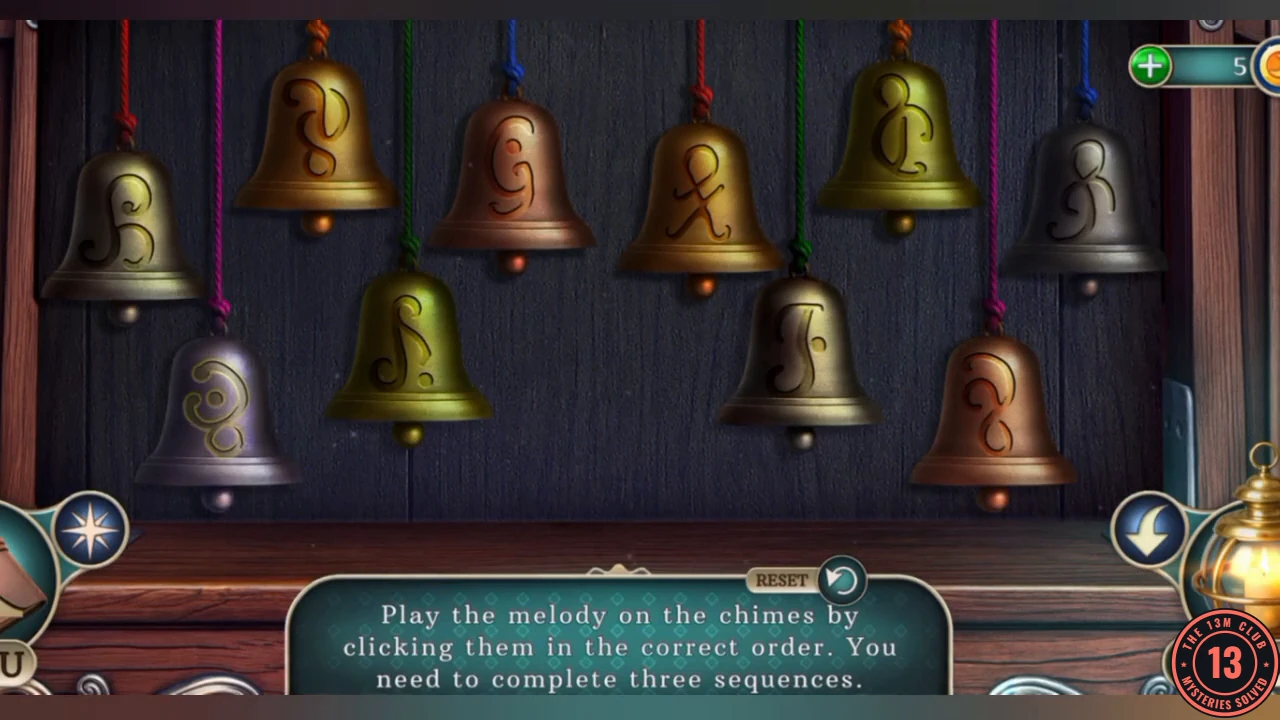
Ten bells hang on the wall. The game plays each melody by flashing bells.
- Watch the flashing bells and repeat them in the same order. There are three sequences to complete. They may differ between games, so copy the flashes on your own screen rather than a fixed list.
- Take the Diary decoration from the compartment below the bells.
Chapter 1
Restoring the diary and opening the safe
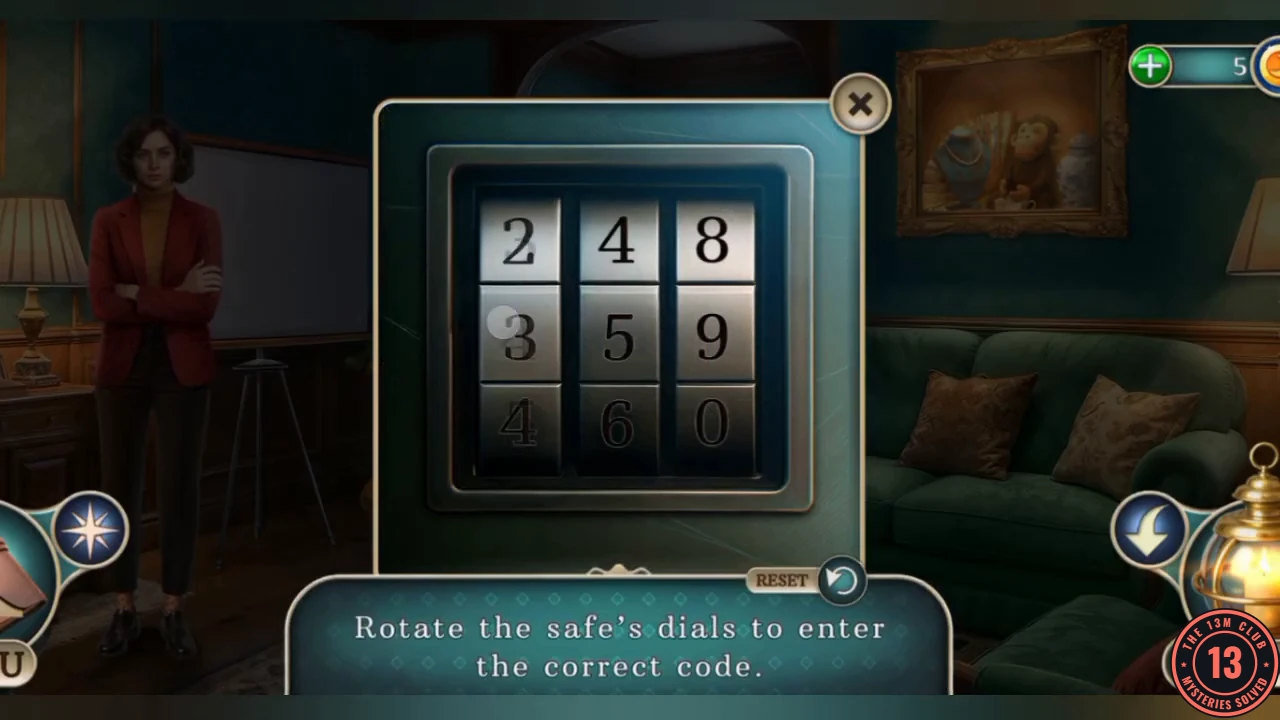
The six notes and the decoration restore the stranger's diary, and her gift opens the safe.
- Open the Diary from the inventory and add the Diary decoration and the six notes. Take the Restored diary, Photo of the stranger and the first Safe disk.
- Give the Restored diary and photo to the stranger and take the second Safe disk.
- Place both Safe disks on the wall safe, then turn the three dials to 5, 1, 3, the numbers from the newspaper at the gate.CODE513
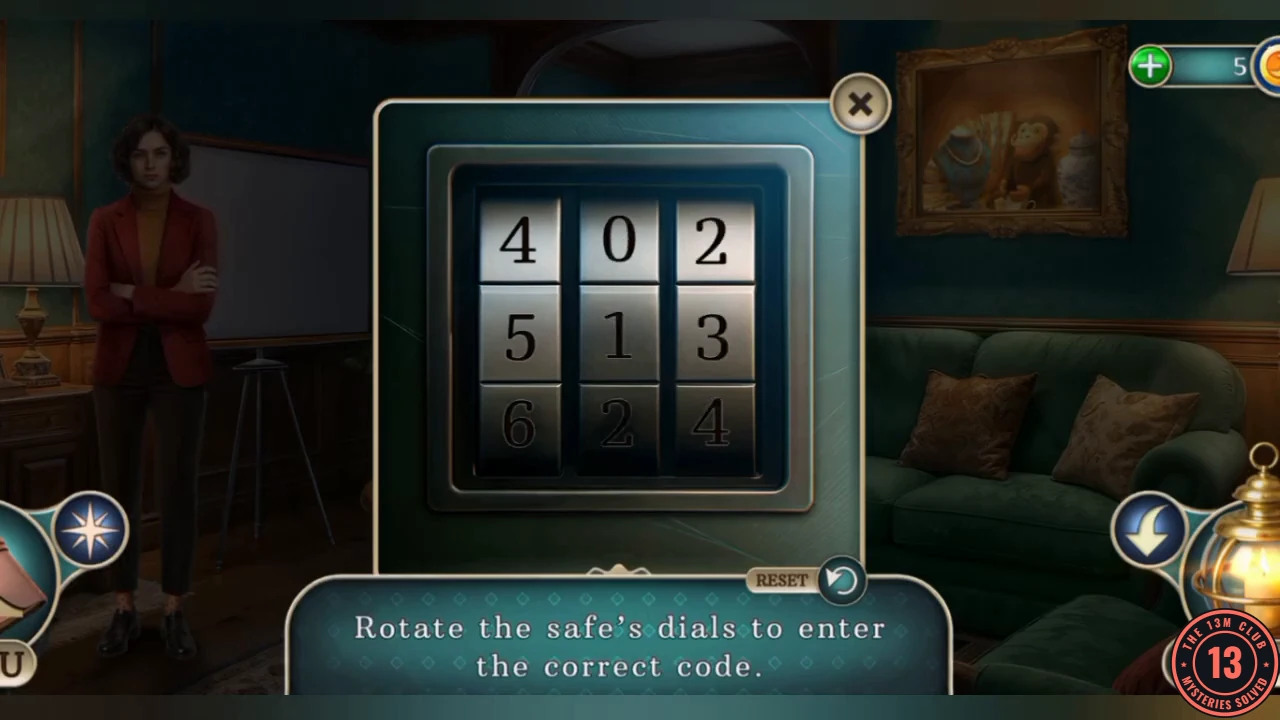
The dials set to 5, 1, 3 on the middle line. - Take the Hanging lantern, Matches and Precious hairpin from the safe.
Chapter 1
Gathering the film reel
Fetch the rubies and plate pieces, then open the piano to reach the film for the projector.
- At the gate, place the Hanging lantern on the crane statue. Take the Ruby and the Gold plate.
- In the living room, use the Matches on the cobwebs and take the Pliers.
- Combine the Pliers with the Precious hairpin in the inventory. Take the second Ruby and the Lockpick.
- In the music hall, use the Lockpick on the drum statue and take the Plate fragment.
- Place the Gold plate and Plate fragment on the piano.
- Place both Rubies on the crown of the harp statue and take the Raven brooch from its chest.
- Place the Raven brooch in the piano's third slot and take the Film reel.
- In the shelter, use the Film reel on the projector to start the jigsaw.
Puzzle
Projector memory jigsaw
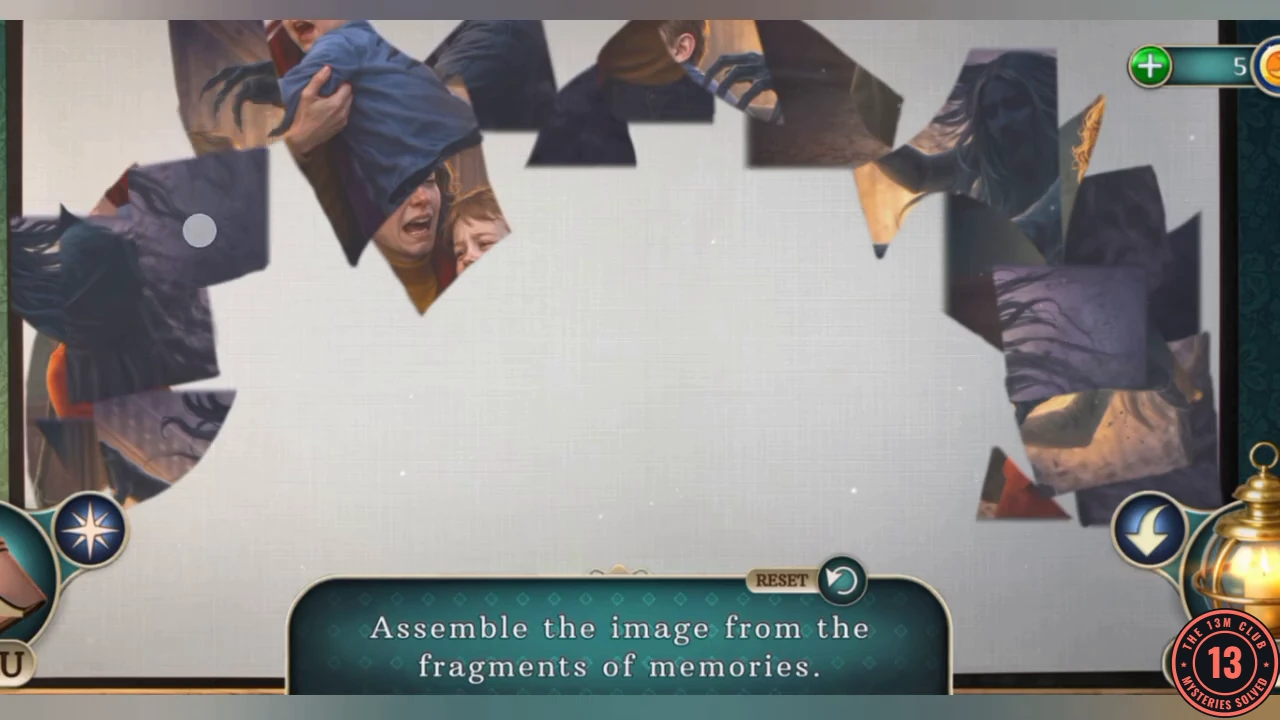
Assemble the image from the fragments of memories. Drag the pieces freely into place.
- Drag the fragments to complete the picture of a woman with a boy and a shadowy figure approaching them. Start with the faces and bright areas.
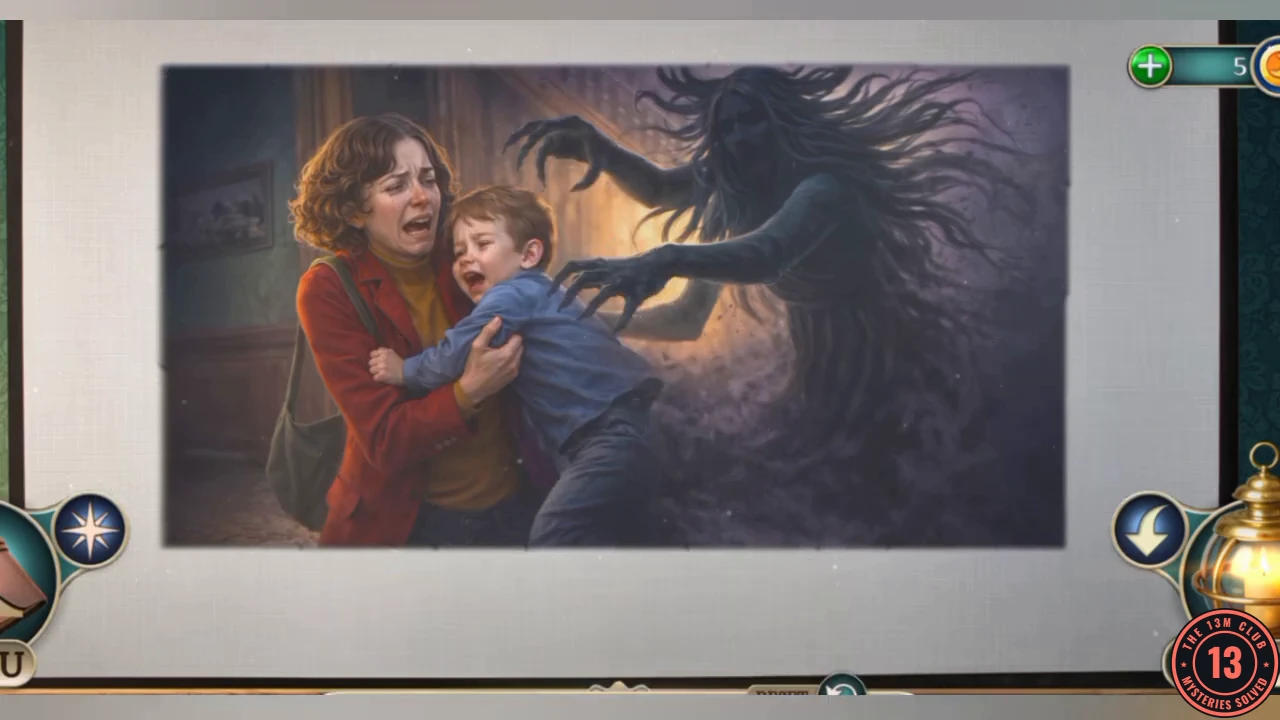
The finished picture to aim for: the woman holding the boy as the shadowy figure reaches for them. - Watch the scene. The stranger recalls her son and your objective becomes Go to the city. This ends the mansion investigation.