Owen's key to the workshop
Owen once restored paintings at the museum, and he still has what you need to get in.
- On the embankment, talk to Owen about the Stained painting. He hands you the Ingredient list.
- Open the Ingredient list in your inventory and take the Workshop key from it. The objective becomes Restore the painting in the studio.
- In the museum lobby, zoom into the painted door beside the reception desk and use the Workshop key.
Restoration workshop
The ingredient list shows what the painting needs: lacquer, cotton pads and a cleaning fluid.
- Zoom into the globe and take the Knight glove from its stand. The globe has slots for three items, which you will fill shortly.
- Zoom into the easel and use the Stained painting on it. Take the Sailor figurine from the drawer below. Your character says you must find what is needed to restore the painting.
- Zoom into the model ship on the left wall and use the Sailor figurine on its deck. Take the Liquid nitrogen sprayer and the Blind figurine.
- Zoom into the paint-stained chest and use the Liquid nitrogen sprayer on the padlock, then smash it with the Knight glove.
- Take the Protective lacquer and Deaf figurine from the chest. Inside, your character notes an anvil that could fix dented metal items with a tool.
- Zoom into the worktable and use the Flint to light the burner. The table itself is not ready yet.
- In the lobby, zoom into the box on the reception desk and place the Blind, Deaf and Mute figurines. Take the Cotton pads and Box decoration.
- In the exhibition, zoom into the green box on the cabinet shelf and use the Box decoration on its lid to start the puzzle.
- Optional morphing object: tap the shifting bust on the top shelf in the workshop.
Stone pointers
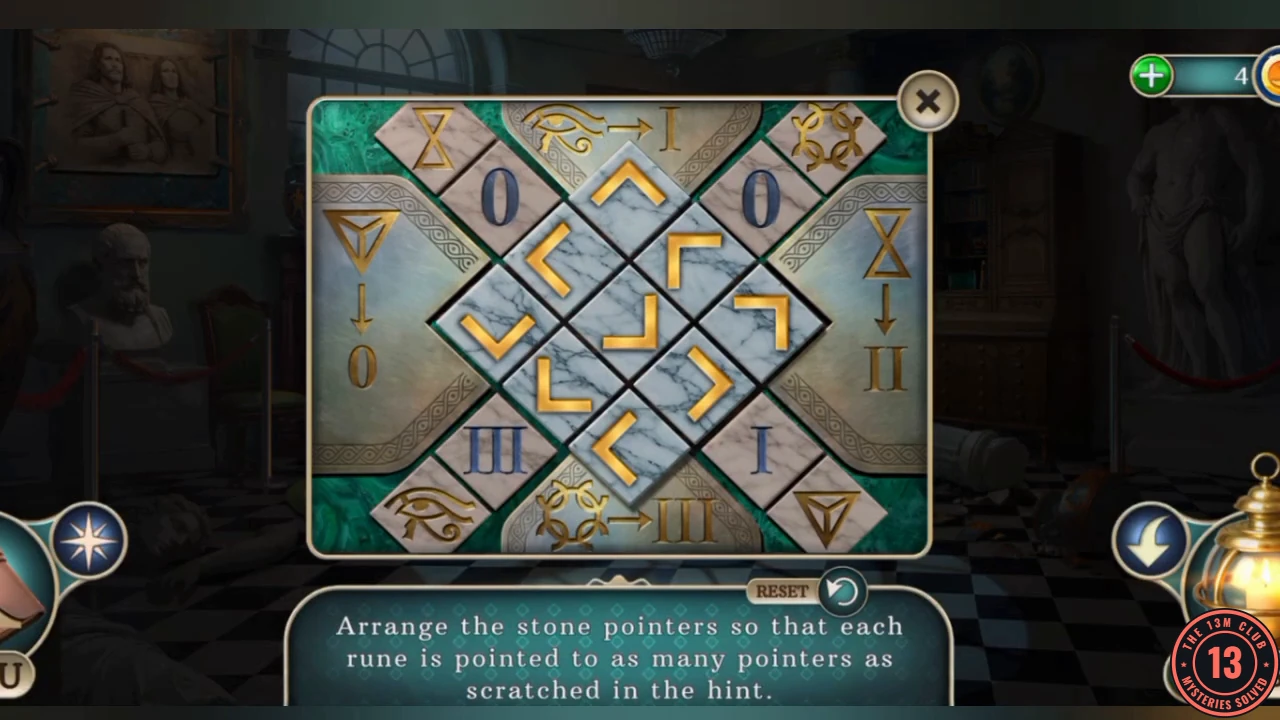
The instruction reads "Arrange the stone pointers so that each rune is pointed to as many pointers as scratched in the hint." Tap a tile to turn its pointer. The numeral next to each corner rune counts how many pointers aim at it right now.
- Read the hints on the box edges: Eye needs I, Triangle needs 0, Hourglass needs II and Knot needs III.
- Turn the tiles until each corner numeral matches its hint. Turn every pointer away from the Triangle first, as it needs none. The box opens.
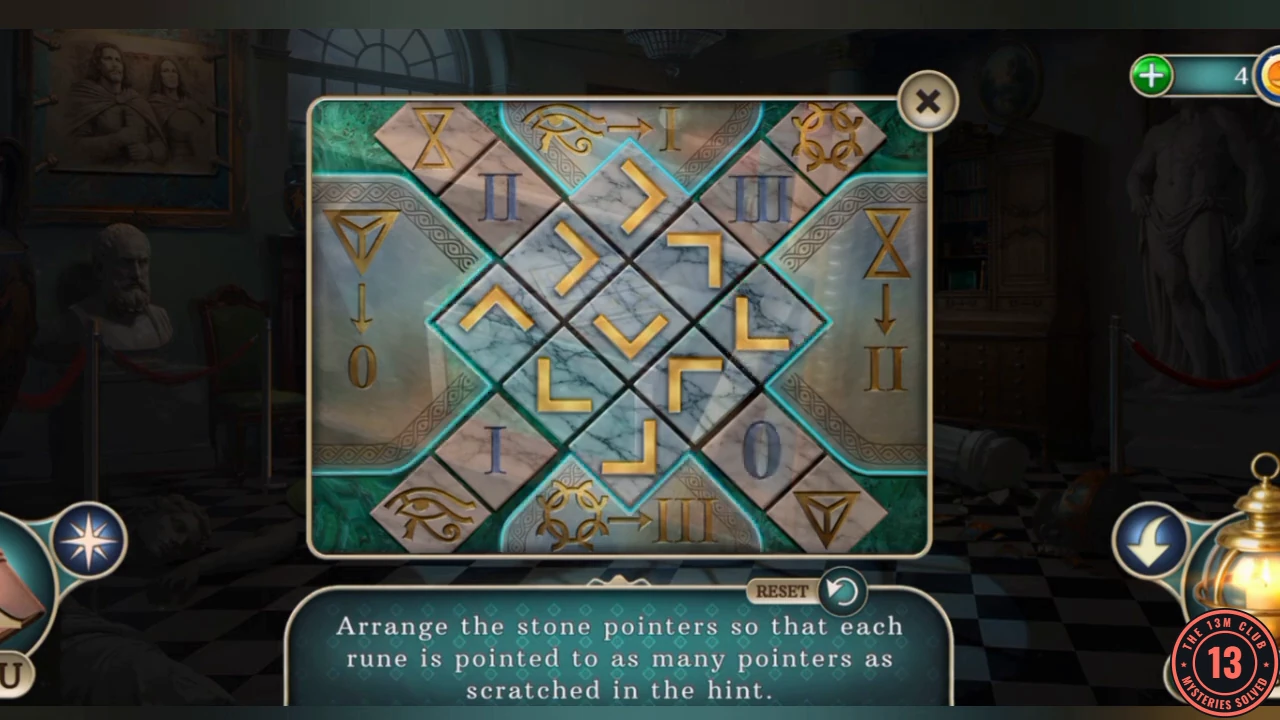
The solved box: the counts read II by the Hourglass, III by the Knot, I by the Eye and 0 by the Triangle, matching the scratched hints. Other arrow layouts can give the same counts. - Take the Empty film camera and the Southern continent from the green box.
The globe and the recipe
Back in the workshop, the three items you collected fit the globe.
- Zoom into the globe and use the Compass rose, Flame emblem and Southern continent on it. Take the Sculptor chisel and Recipe book from inside.
- Zoom into the worktable and place the Recipe book by the lit burner to start the scene.
Restoring the painting
You now have everything on the ingredient list.
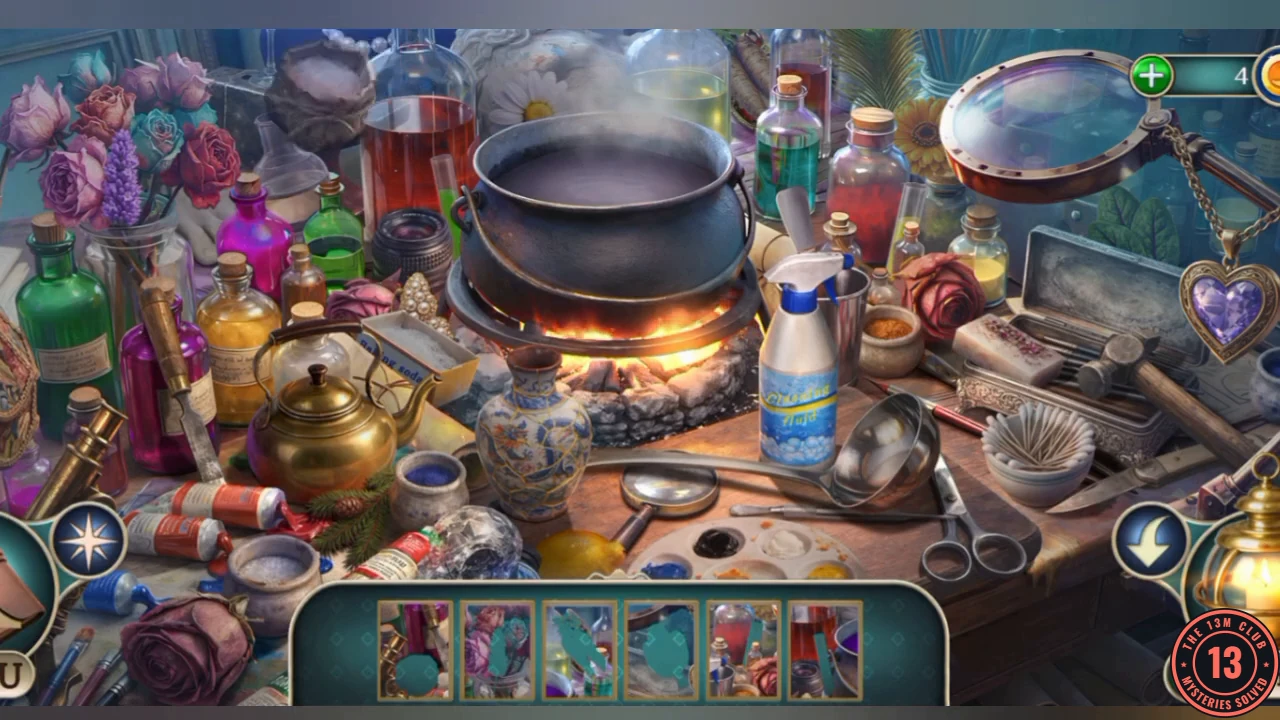
- Open the Ingredient list in your inventory and add the Cotton pads, Protective lacquer and Cleaning fluid to get the Restoration kit.
- Zoom into the easel and use the Restoration kit on the painting. Take the Restored painting. The new task is Follow Mnemosyne.
- In the lobby, use the Restored painting on the anomaly at the top of the stairs. The way up to the Memory Gallery opens.
Memory Gallery
Two stone figures fill the next anomaly. Your character says a striking tool is needed to reshape the sculpture.
- Zoom into the anomaly and take the Silver spoon.
- Zoom into the bust by the right-hand window and take the Stone book. The bust is missing its nameplate.
- Zoom into the pyramid on the stand and take the Name plate. Its M-shaped slot is for later.
- Use the Name plate on the bust. Take the Sculptor's scalpel and the Mallet.
- In the exhibition, zoom into the picture frame on the upper left wall. Use the Sculptor's scalpel on it and take the Founders image.
- In the park, zoom into the birdhouse post and use the Silver spoon on the dripping sap to collect Resin.
- In the gallery, zoom into the anomaly. Place the Founders image, then use the Sculptor chisel and Mallet on the figures. The anomaly clears. Take the Clothespin.
- In the park, zoom into the birdhouse and use the Clothespin between the boards. Take Mnemosyne key 2/2.
- In the gallery, zoom into the two-lock door and use both Mnemosyne keys to start the puzzle.
- Optional morphing object: tap the gargoyle above the chandelier.
Silver gear chain
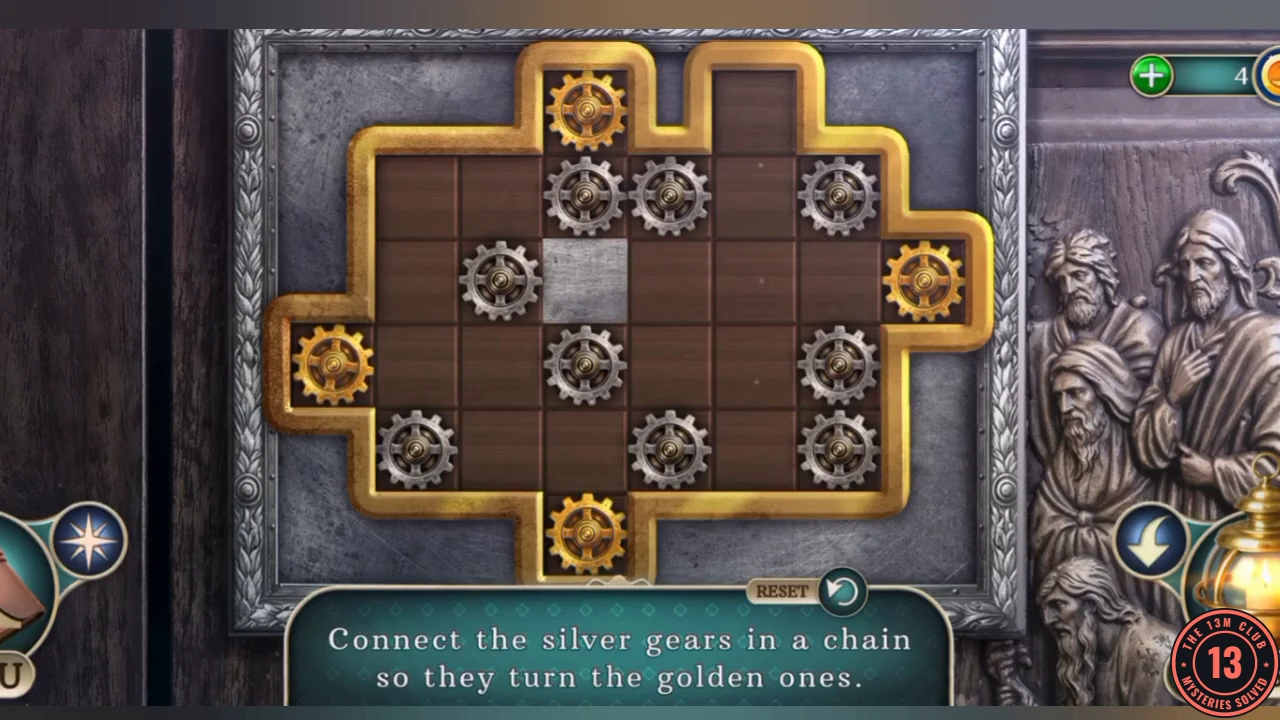
The instruction reads "Connect the silver gears in a chain so they turn the golden ones." The tiles slide around the single empty space, so this is a sliding puzzle with more than one solution.
- Slide the tiles to link the silver gears in touching lines between all four gold gears. One chain that works has a straight column joining the top and bottom gold gears, a short row linking the left gold gear into that column, and a longer row running from the column out to the right gold gear. When all four turn, the door opens.
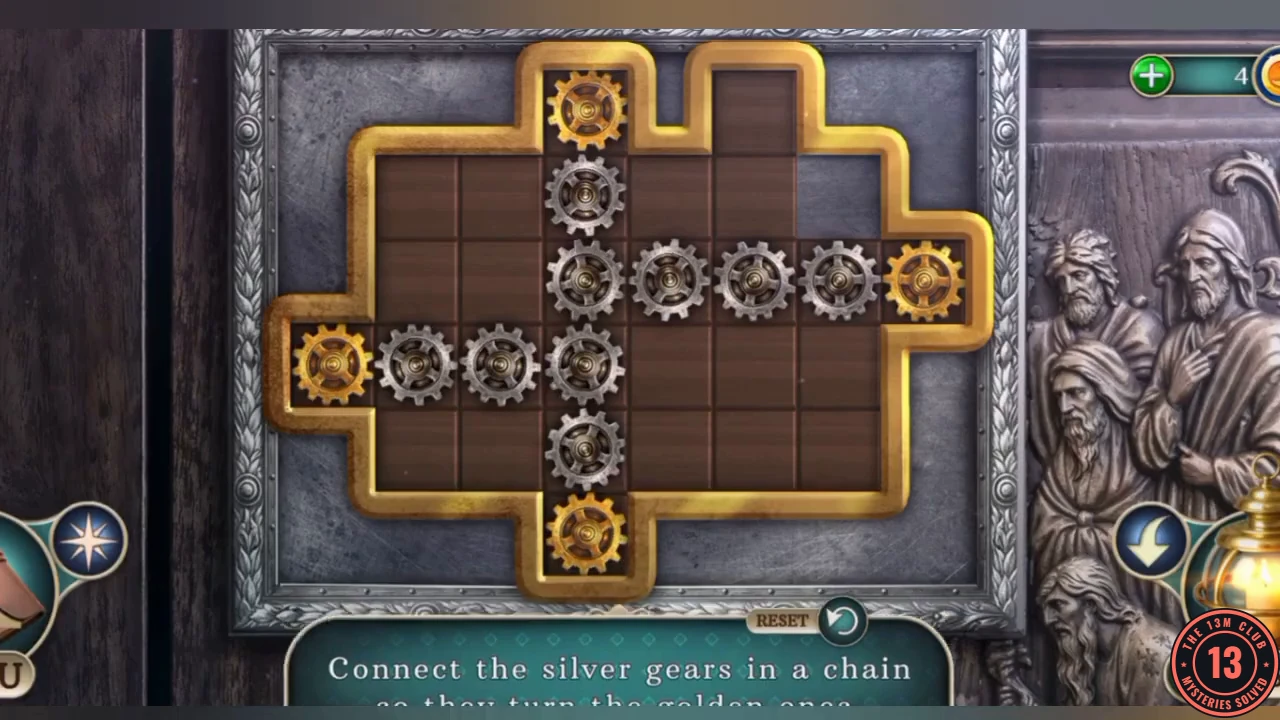
One finished chain with all four gold gears linked.