BONUS CHAPTER
Auction hall: is the portrait genuine?
The Bonus Chapter starts straight after the main ending.
- At the end of the main game the BONUS CHAPTER window appears: "You've completed the main game! Keep playing and find out what awaits you in the Bonus Chapter!" Press PLAY NOW. Laura asks you to check the Anna Montgomery portrait before she bids.
The window after the main ending. Press PLAY NOW to start the Bonus Chapter. - Open the food table. Take the cake server and the Pocket Watches (running count 54 of 70). The Overlooked Trinket is hidden in the same close-up, so look for the object that changes shape.
- Open the panel marked Press for a recess. Take the red block and the Handkerchief. "Someone had a bit too much fun. I need something to clean up this mess."
- Wipe the stain on the table with the Handkerchief.
- Open the cloakroom counter and hand over the Cloakroom Token. Open the red bag you get and take the Duct Tape, the magnifier and the purple binder clip.
- Tape down the button on the Press for a recess panel with the Duct Tape. The tape stays in your inventory.
- Open the portrait and use the magnifier.
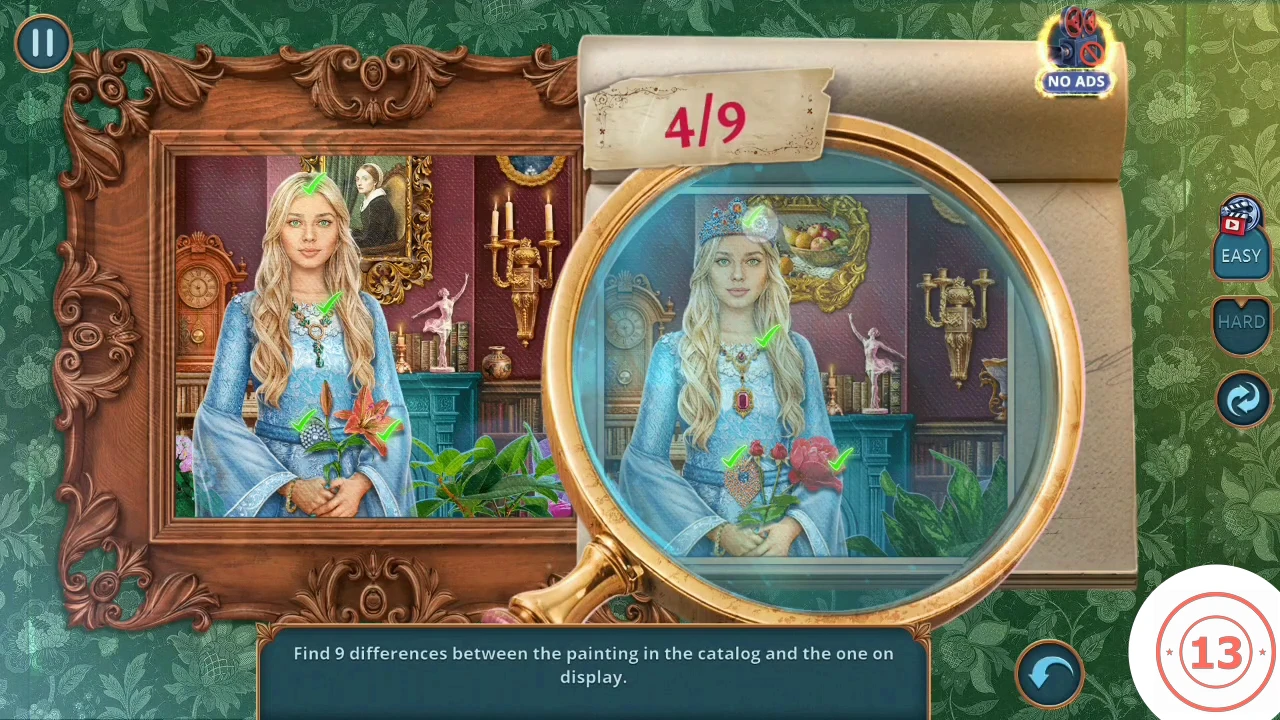
- Find the differences between the painting in the catalog and the one on display: the counter asks for 7 on EASY and 9 on HARD. The nine on HARD are: the crown on her head; the small picture on the wall (a woman in one version, a fruit bowl in the other); the necklace pendant (green or red); the flowers (orange lily or red rose); the belt brooch; the wall sconce candles (lit or missing); the ballerina figure's pose; the mantel vase (a brown vase or nothing); and the plant leaves at lower right. We could only check HARD, so on EASY expect seven of these. Gabriel declares it "authentic" and you move on to Laura Montgomery's office.
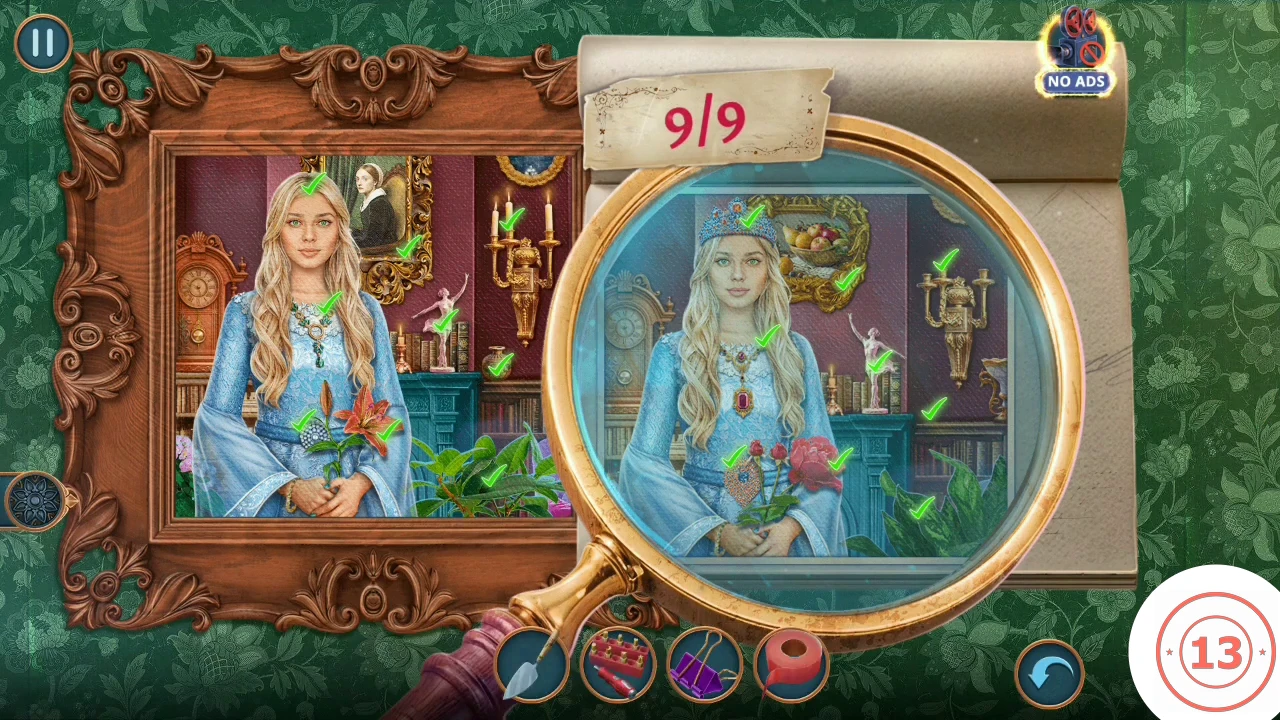
All nine HARD differences ticked in both versions.
BONUS CHAPTER
Laura's office: the laptop
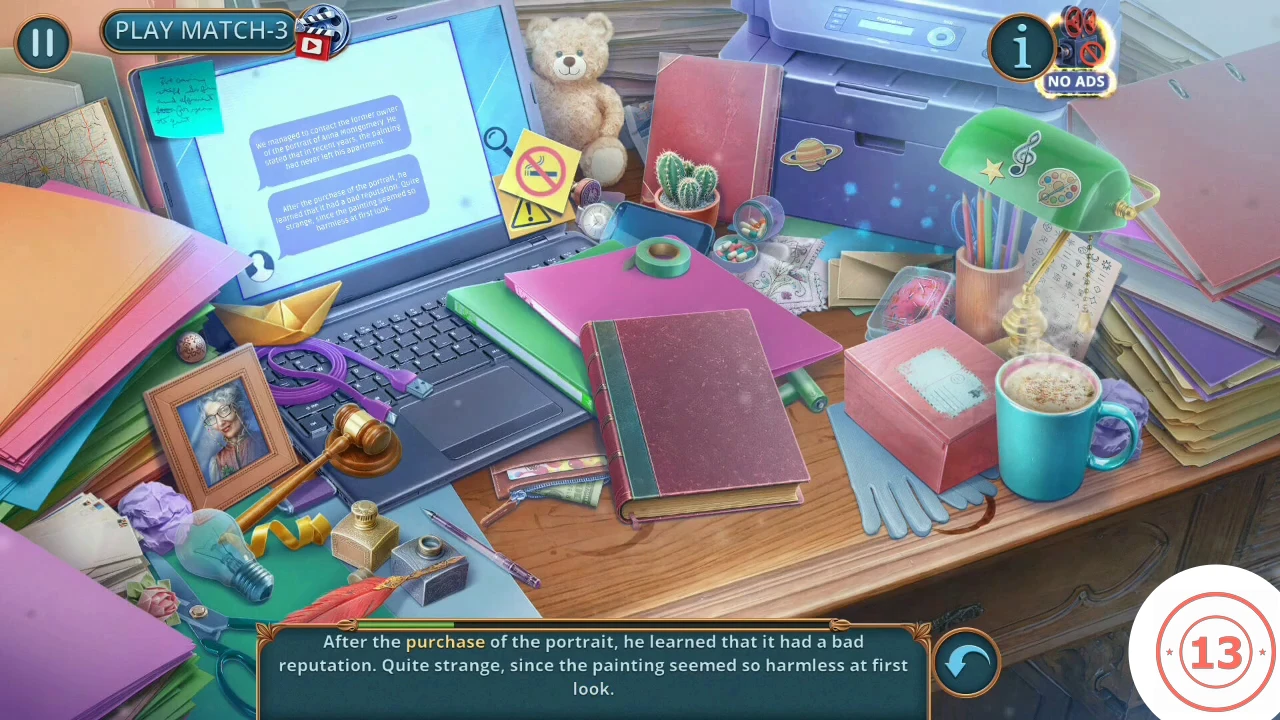
Albert thinks the portrait moved. Get the laptop running and read the email.
- Albert talks about the portrait. "We should examine it again, carefully." gives +1; "Portraits don't move, Albert." gives 0. He adds that the laptop battery has gone missing.
- Lost Heirloom: click the blue-purple glass on the pile of books on the floor.
- Take Anna's Portrait. The wall panel has three sockets and only two flowers: "Three sockets, two flowers. I feel like I know what to do."
- Open the window display cabinet: "If only I had a piece worthy of this display." Take the Glass Cutter Part. Use the cake server on the window, then take the Battery.
- Open the desk and take the Pocket Watches (running count 57 of 70).
- Open the laptop and turn it over. Use the red screwdriver set on the four screws, lift off the back and fit the Battery.
- Repair the damaged email: a scene asks you to find each highlighted word as an object, such as purchase, paints, pills, hands, auction, examination and symbols.
- Talk to Albert. Decision (1 point): "We'll need proper equipment for that." gives +1; "I've never done anything like that before either." gives 0. "Good idea! A restoration workshop it is!"
BONUS CHAPTER
Laura's office: the lion door figurines
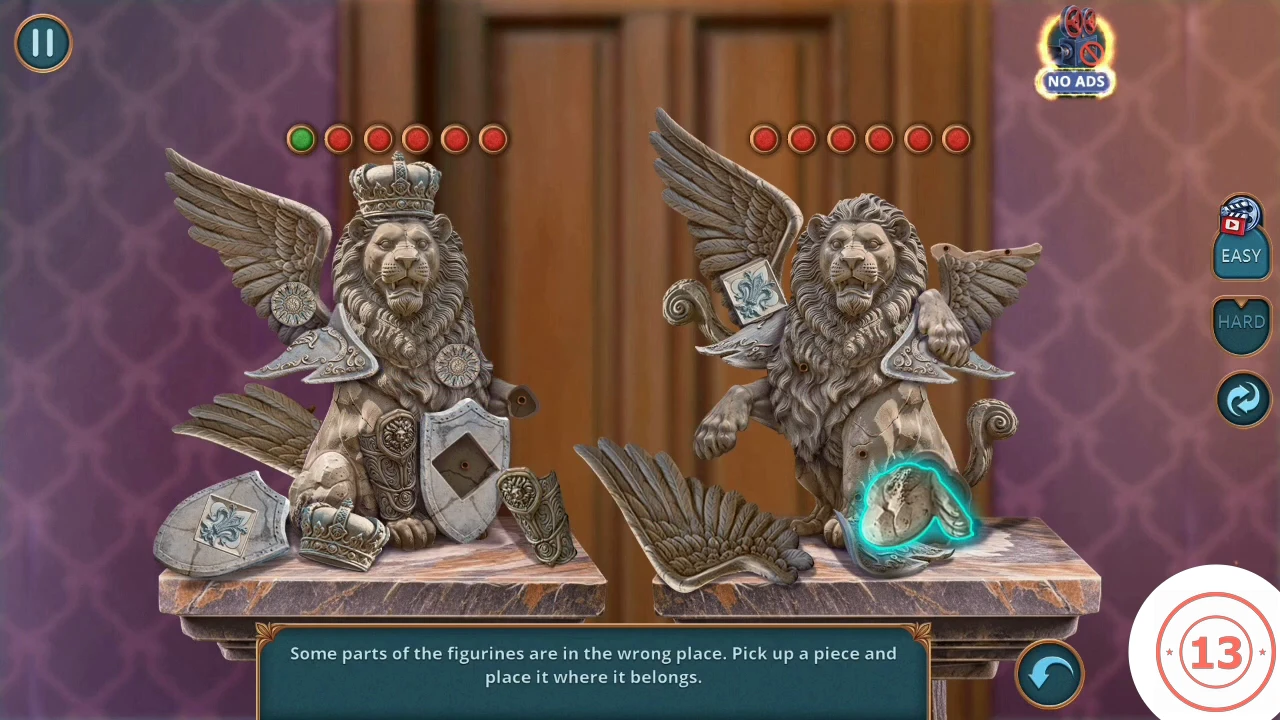
Six lamps show when the figurine pieces are all home.
- Albert hands you the Lion Figurine during that talk. Fit it to the lion door.
- Some parts of the figurines are in the wrong place. Pick up a piece and drop it where it belongs, using each figurine's shape as your guide. Each figurine has a row of lamps that turns green as it is completed. When all six lamps are green, the door opens to the workshop street.
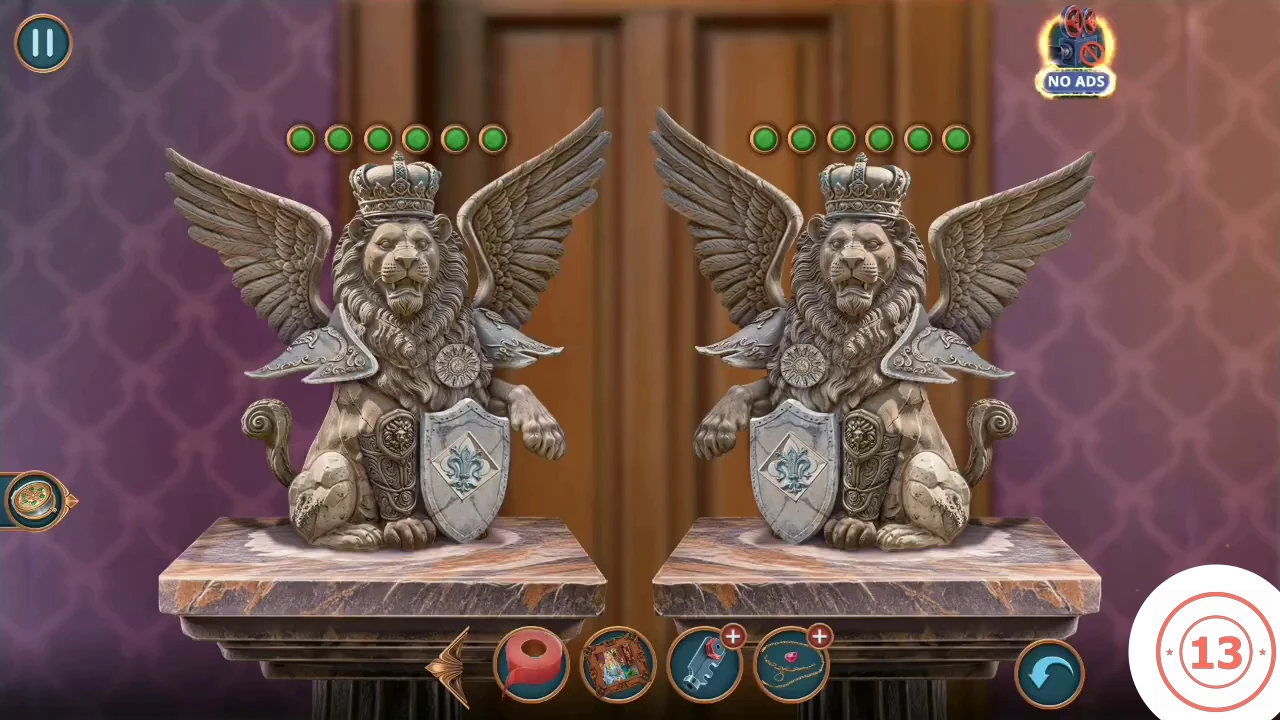
The finished figurines, with all six lamps green on both.
BONUS CHAPTER
Workshop street: gift box and fingerprint
Lift a fingerprint for the workshop door.
- "Here it is - the workshop Albert was talking about!" Open the fire cabinet with the cracked glass. Take Gear 1 of 2 and the gold-blue Scissors from its base.
- Lost Heirloom: click the small object on the curb below the red cans.
- Open the gift box on the table: "The ribbons are so tight!" Cut the ribbon with the Scissors.
- Open the closed-down sign. Dust it with the Powdered Bun, then lift the print with the Duct Tape.
- Use the Fingerprint on the door scanner.
BONUS CHAPTER
Workshop: vacuum, notebook and music box
Search the workshop and carry the music box part back to the office.
- Open the carriage shelf and take the Vacuum Cleaner, which has no switch. Take the Key by the desk.
- Overlooked Trinket: click the thin wooden spoon-shaped object lying behind the wooden arm on the small round table, at the lower left of the workshop. With all ten found, ELUSIVE PAST unlocks ("Collect all Morphing Evidence!").
- Open the microscope and read the paper.
- Open the ornate chest under the microscope and unlock it with the Key.
- Combine the Vacuum Switch with the Vacuum Cleaner in your inventory.
- Open the shelf and use the vacuum on the blue paper. Take the Notebook. A crack with something inside is now visible.
- Use the purple binder clip on the crack and pull out the Musician's Top.
- Back in Laura's office, open the music box on the desk and place the Musician's Top. Take the Handle.
- Combine the Glass Cutter Part and the Handle in your inventory.
BONUS CHAPTER
Workshop street: the fire cabinet shards
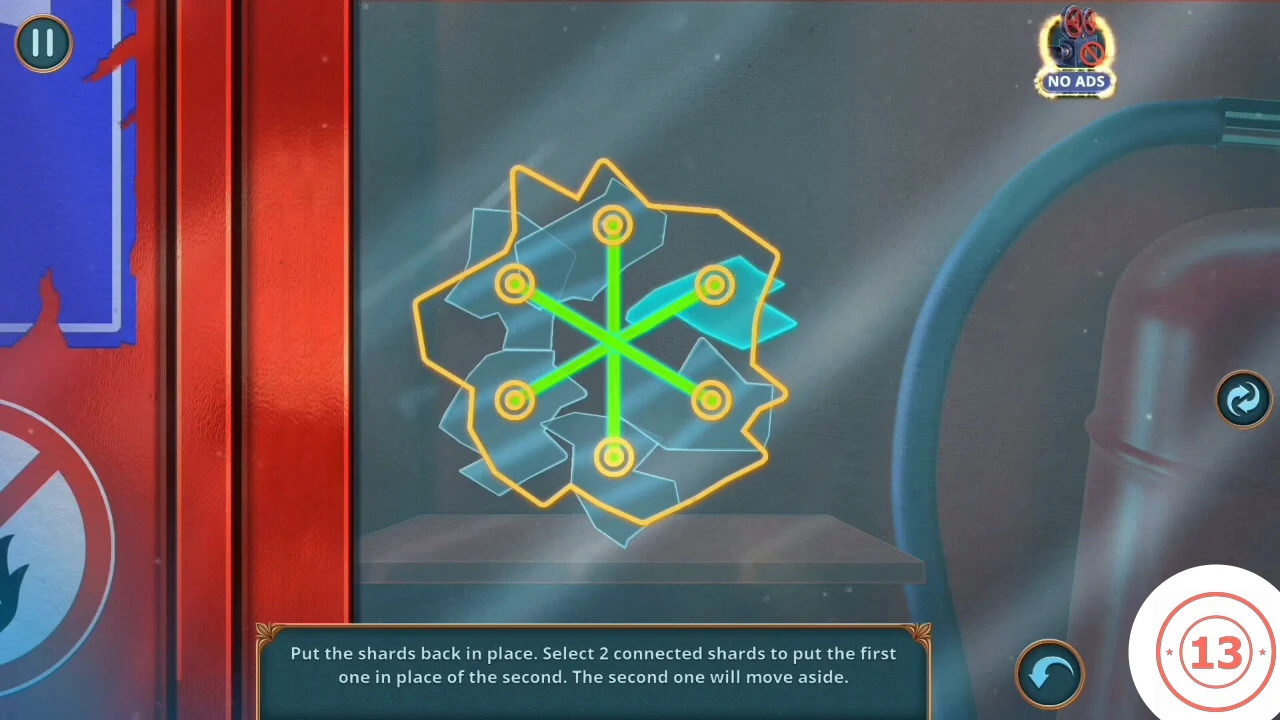
A green star joins the shards along its lines. Starts can vary, so use the rule rather than a move list.
- Cut the fire cabinet's glass with the Glass Cutter.
- Put the shards back in place. Select two shards joined by a green line: the first takes the place of the second, and the second moves aside. Work around the star and check the glass after each swap.
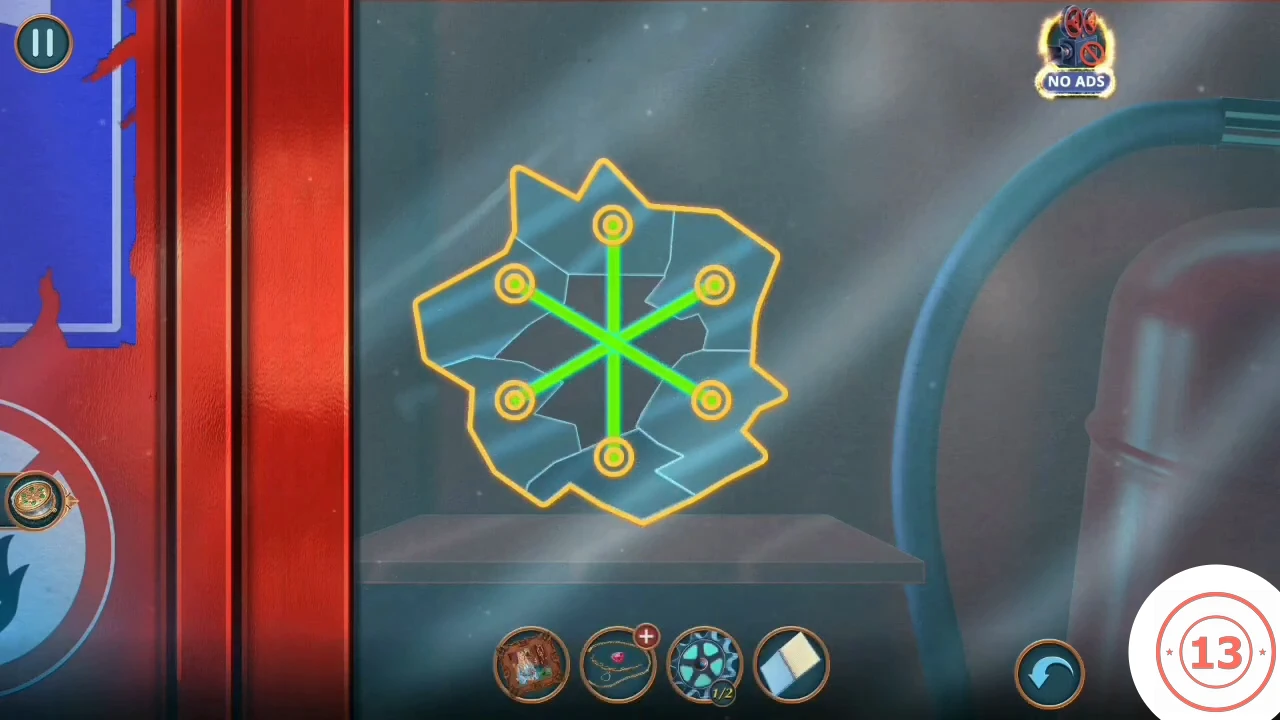
The glass back in one piece, with only the joins still showing. - Open the cabinet and take the Anti-Rust Spray.
- Spray the rusted mailbox and open it. Take the Pocket Watches (running count 59 of 70), the Magnet and the second Gear, which brings your Gears to 2 of 2.
BONUS CHAPTER
Workshop: the gear rows
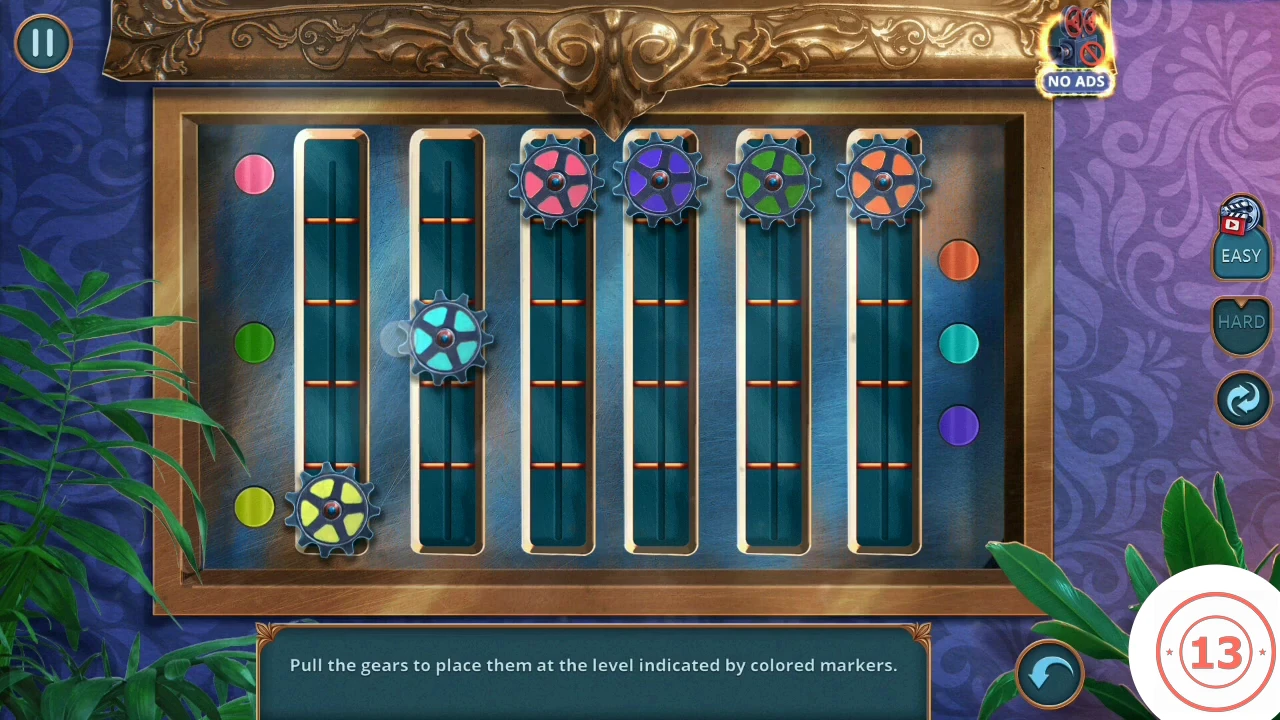
Colored markers beside the painting set the level for each gear.
- Open the painting and use the Gears.
- Each colored marker beside the tracks sets the height of the gear of that color, and there are five heights. Counting 1 at the top and 5 at the bottom, pull the gears from left to right to: yellow 5, teal 3, pink 1, purple 4, green 3, orange 2. The painting's compartment then opens.CODEyellow 5, teal 3, pink 1, purple 4, green 3, orange 2 (1 = top)
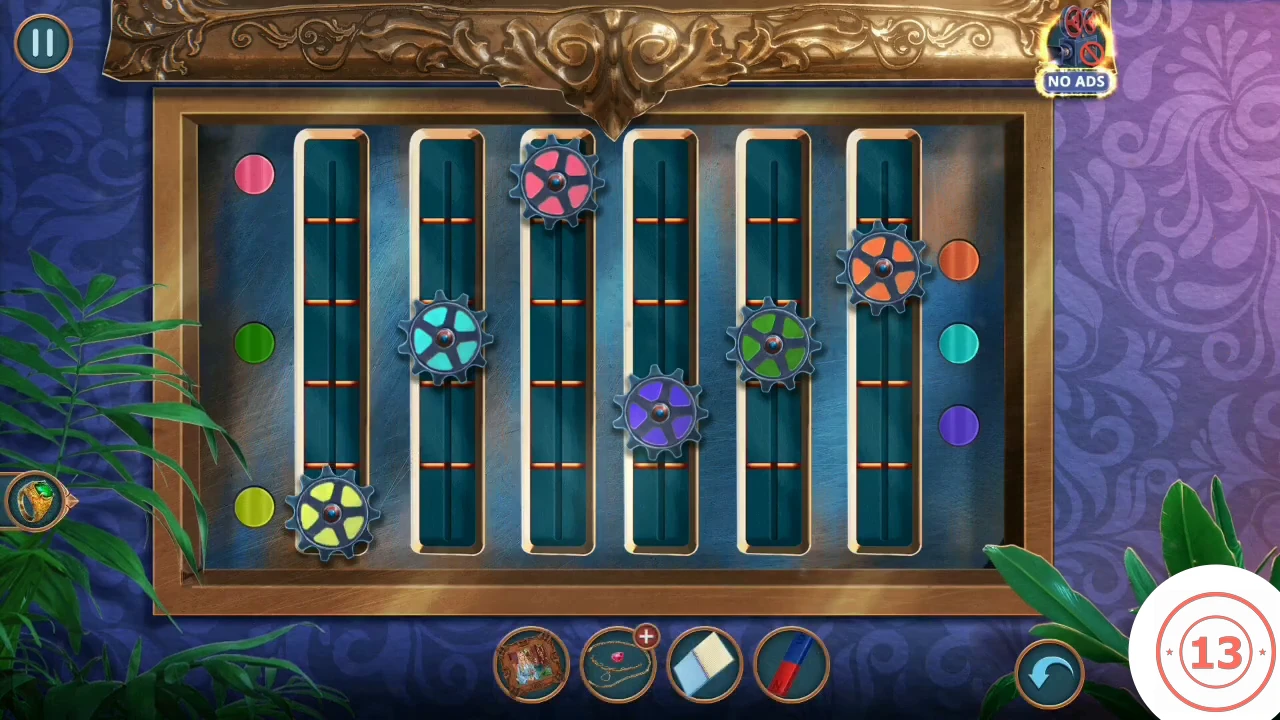
The solved gear rows. Each gear sits level with the marker of its color. - Open the carriage. Read the note: "Laura Montgomery brought her necklace in for restoration. It's absolutely gorgeous! Jeweler." Take the first Batteries, then the Necklace Drawing, and assemble the necklace by following the drawing.
- In Laura's office, place the Necklace in the window display cabinet. The red box opens: FAMILY TREASURE achievement. Take the Brooch, the second Batteries and the Glue.
BONUS CHAPTER
Laura's office: the photo on the laptop
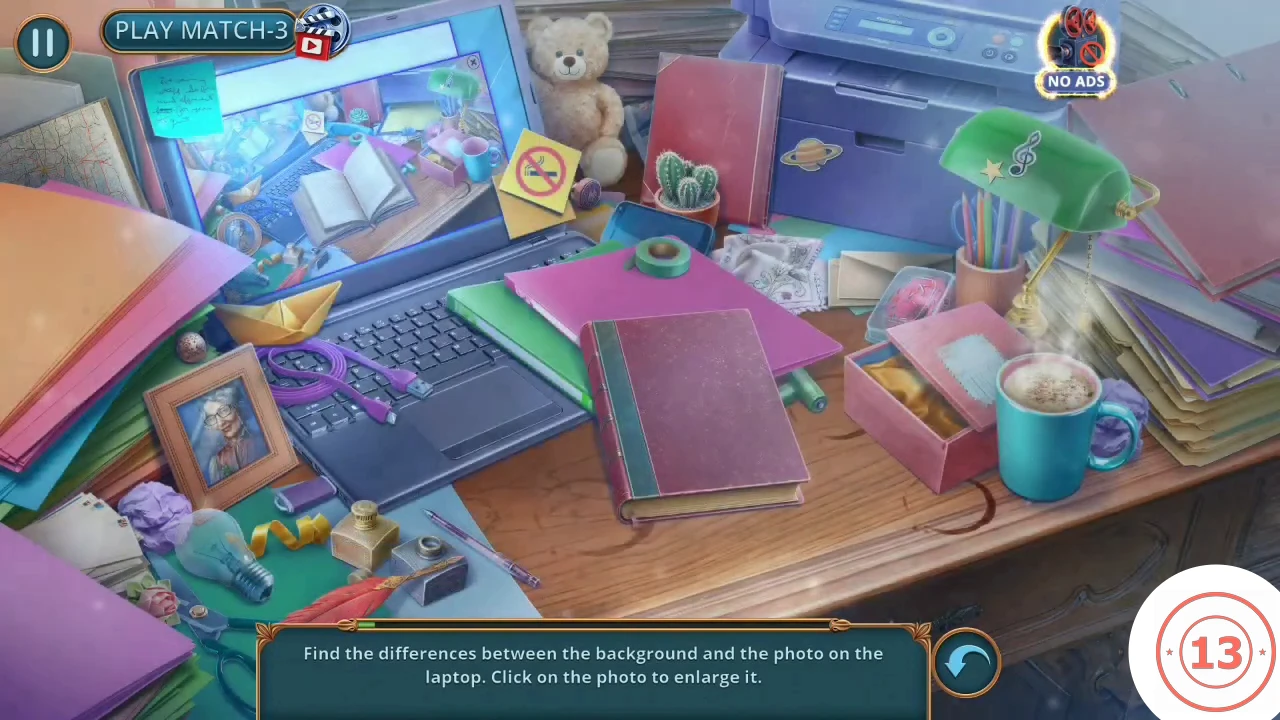
Find the differences for the third flower.
- Find the differences between the desk and the photo on the laptop. Click the photo to enlarge it. Eleven count: the planet ornament on the printer, the cactus, the lace napkin, the pencils, the mug, the red book, the green folder, the purple USB cable, the framed portrait, the purple USB stick by the light bulb, and the green tape roll on the blue tray. Five finds in five seconds earns KEEN ATTENTION.
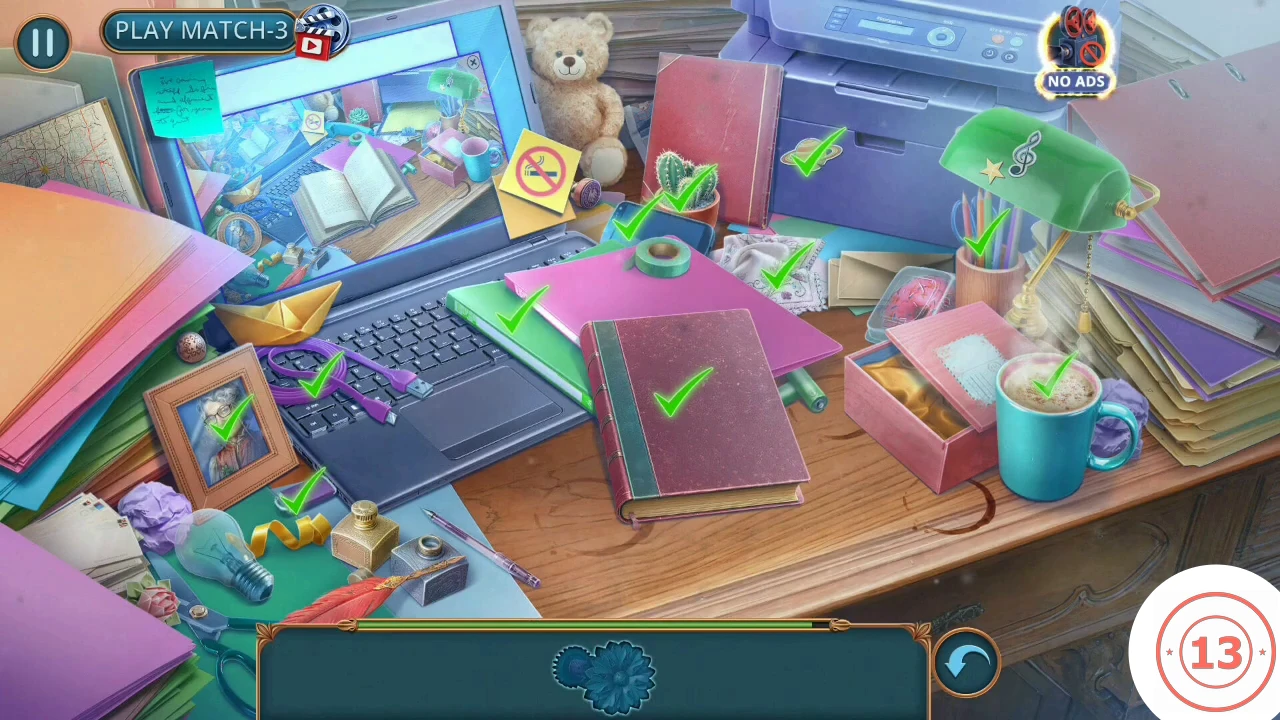
All eleven differences ticked on the desk. - Take the reward, the Flower Ornament.
- Open the wall panel and put the Flower Ornament in the middle socket, between the red and yellow flowers. Take the Pocket Watches (running count 62 of 70), the Small Scraper and the third Batteries.
BONUS CHAPTER
Workshop street: the robot's push game
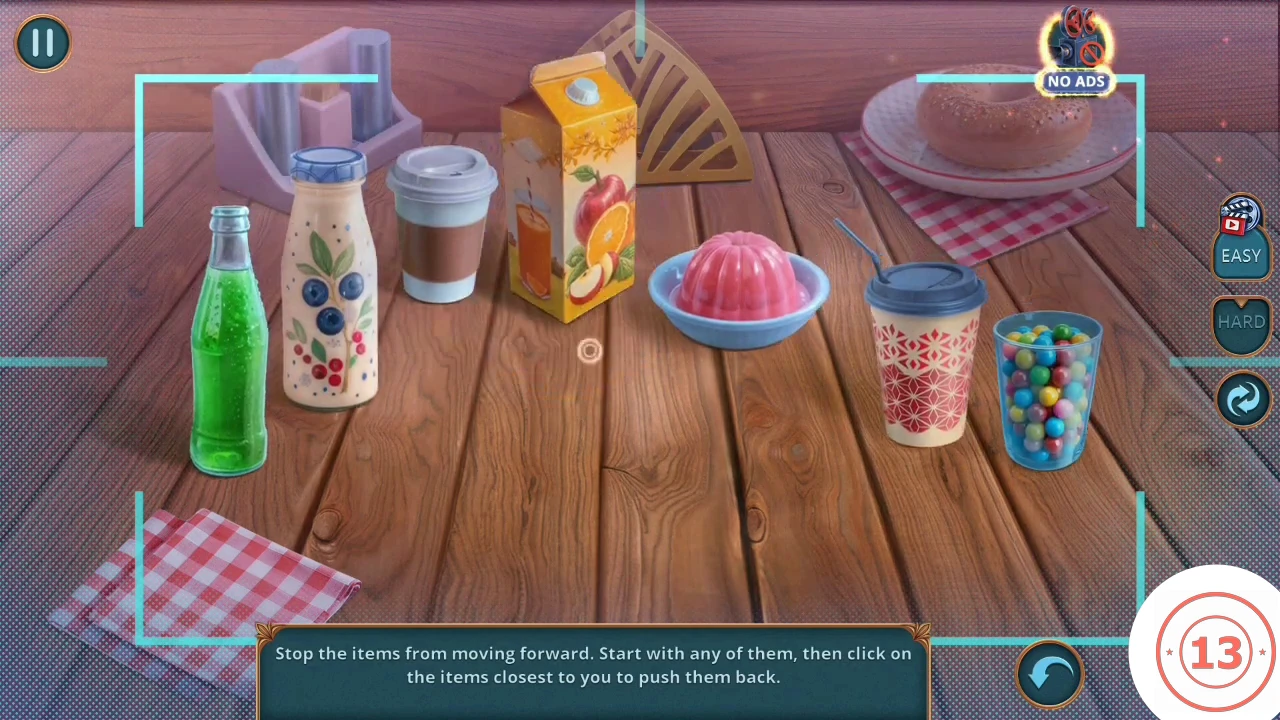
The toy robot needs all three Batteries.
- Open the robot and use the Batteries.
- Stop the items from moving forward. Start with any item, then keep clicking whichever items are closest to you to push them back. Afterwards take the blue-flowered cloth and the Deer-Shaped Amulet from the robot's table.
BONUS CHAPTER
Workshop: the book nook and the solvent
Get the solvent the microscope needs.
- Open the carriage and put the Deer-Shaped Amulet on the gold disc. The disc moves away from the window. "I could really use something thin and pointy." Take the Coins.
- Use the Brooch, with its thin pin, on the carriage window. The curtain niche opens: take the Book Nook Part.
- Open the Book Nook Part in your inventory and glue the parts together with the Glue.
- Place the book nook on the shelf.
BONUS CHAPTER
Workshop: the microscope lenses
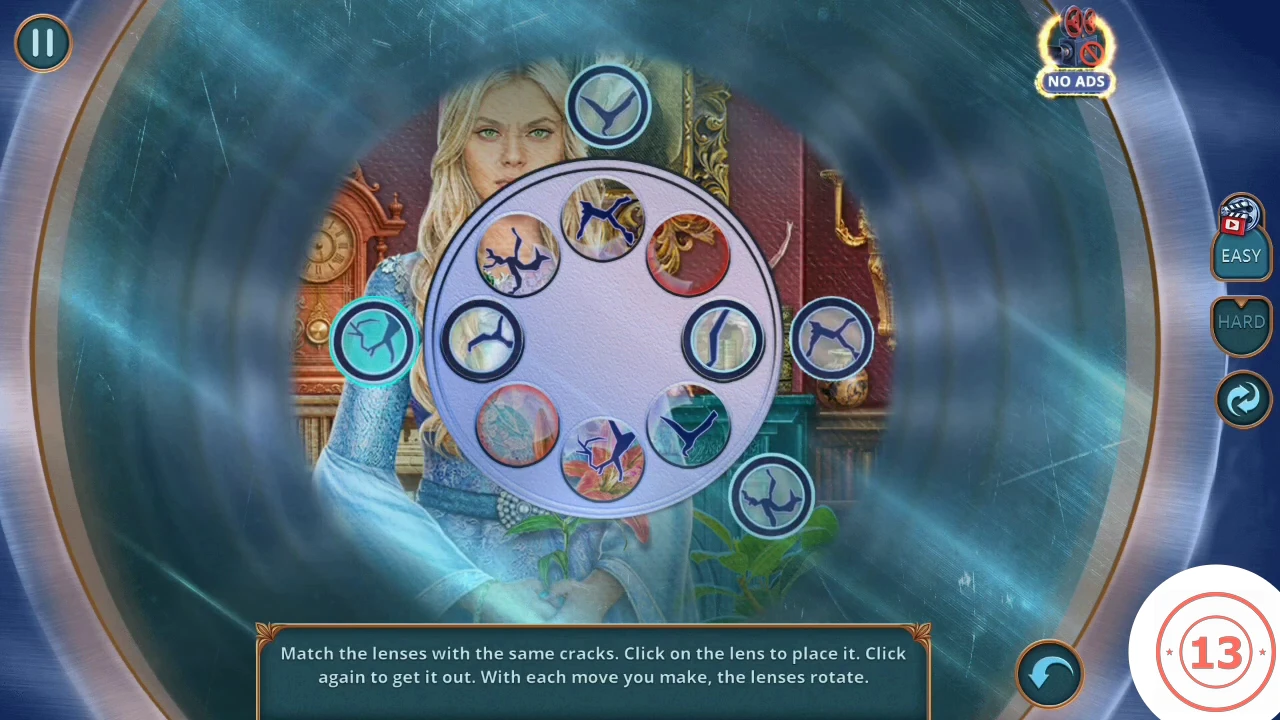
Under the top layer is the answer to Anna's portrait.
- Open the microscope. Fill the four empty slots beside it with the Solvent, the Small Scraper, the blue-flowered cloth and Anna's Portrait.
- Match the lenses with the same cracks. Click a lens to place it and click it again to take it out. Every move rotates the lenses, so place the pair you can see first and re-check the rest after each move. This guide gives the method rather than a move list. When every pair is matched, the top layer comes off.
- Albert: "Look at those symbols beneath the portrait! They match the ones from the ring! What could it mean?" Decision (1 point): "The portrait must be carrying on the ring's curse." gives +1; "I have no idea." gives 0. Then: "If that's true, we're in luck! We know what needs to be done." "Back to Fortingall, then. This time, it's the portrait we destroy!"
- Take the portrait: "It'll be safer with you." On the phone, press BUY TICKETS ONLINE.