Hotel room: the hourglasses and the shelf
After the summary a note sends you to Fortingall in Scotland. Albert Montgomery arrives, and you need a way out of the hotel.
- Read the note: "The salvation of the Montgomery family lies in the village of Fortingall. Seek the Keepers of History." Laura calls to say Albert is missing. Albert then arrives at your door.
- Open the Envelope in your inventory and take out the Postcard.
- Open the small glass cabinet by the desk. Its latch resists for now: "if only I had the right tool..." Take the Paper Clip, the blue phone, the green Books (1 of 2) and the Hourglass in front of it.
- Overlooked Trinket: click the small hourglass-shaped object on the floor under the foot of the bed.
- Open the desk. "One is missing. Hopefully, I can find it." Put the Hourglass on the empty stand.
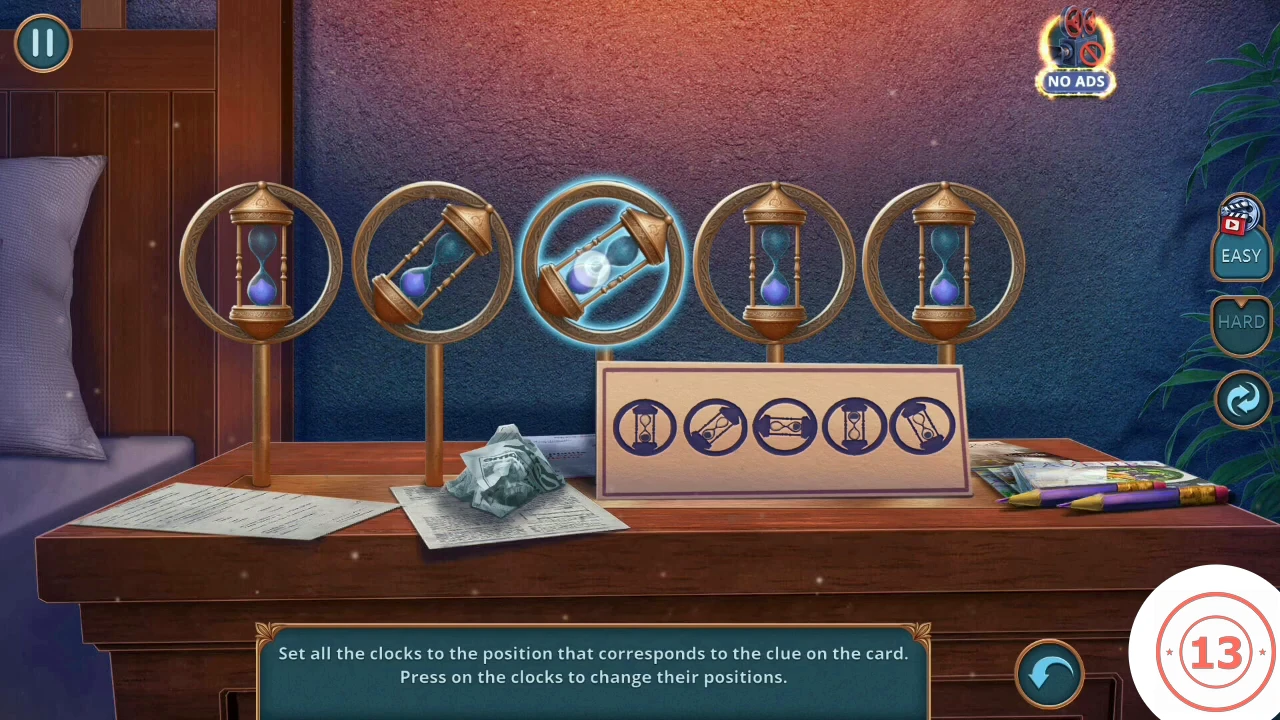
- Press each hourglass to change its position. Match the card under them, left to right: upright with sand at the bottom; tilted with the cap at upper right; on its side with sand at right; upright with sand at the top; tilted.CODEupright, tilted, on its side, upright sand on top, tilted
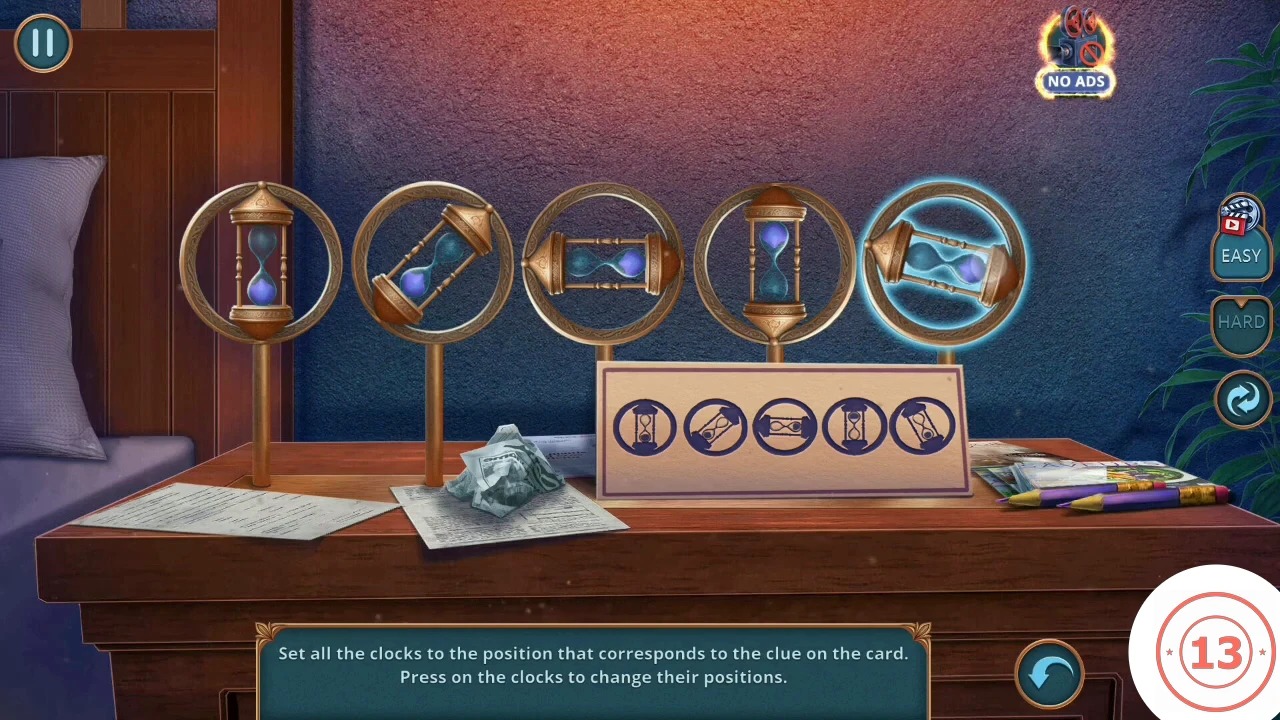
The hourglasses set to match the card. - Open the drawer. Take the Pocket Watches (running count 36 of 70) and the Closet Handle.
- Open the closet door and fit the Closet Handle. Take the second green Books (2 of 2) and the Pocket Watches from the coat (running count 39 of 70).
Hotel room: the book clue
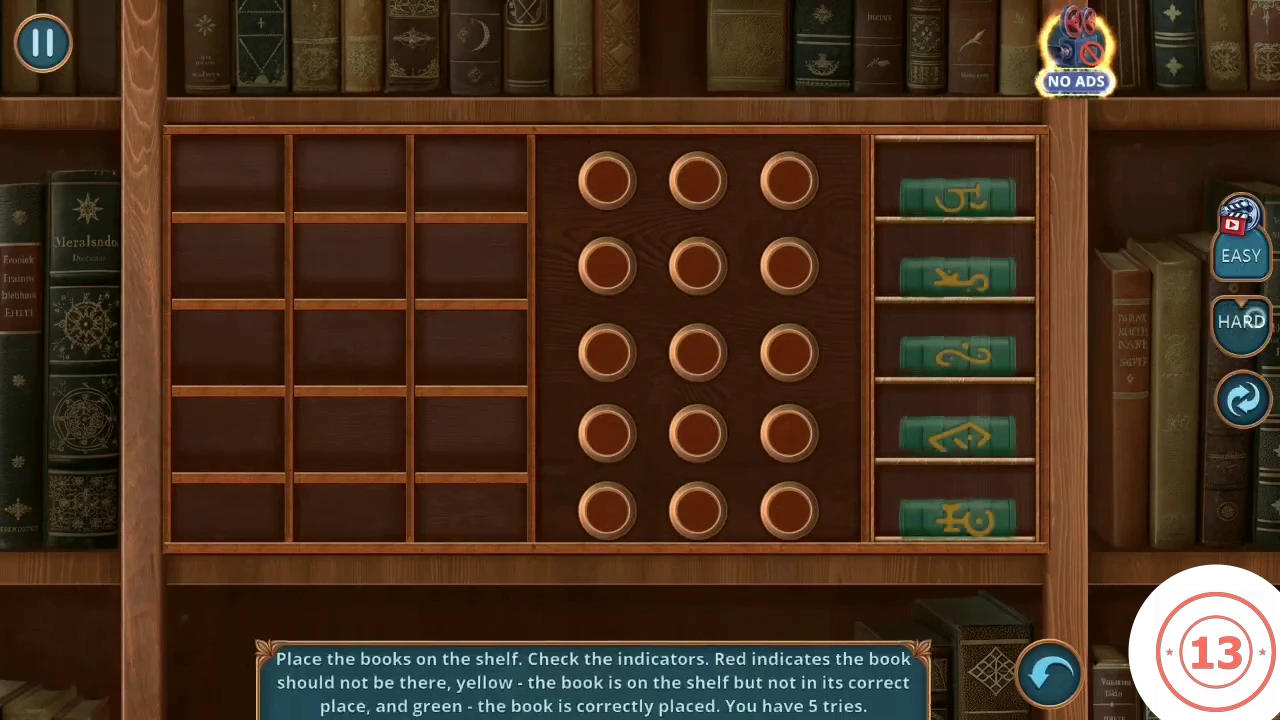
Three green spines on the room's shelf hold the code. Five books on the puzzle's right side use the same symbols.
- Open the bookshelf and put the green Books in the gap. Note the three green spines and their gold symbols, then click the shelf.
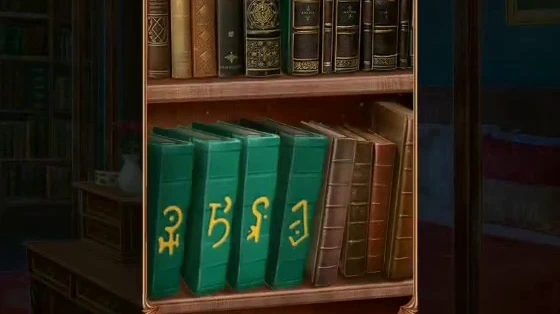
The three green spines to remember. Their gold symbols give the book order. - Place the book with the symbol of the first green spine in the bottom row's first slot, then the second and third. In our example that is the fifth book, then the third, then the second from the top of the right-hand stack. Indicators: red means the book should not be there, yellow means it belongs elsewhere on the shelf, green means correct. You have limited tries: 6, or 5 after switching to Hard.CODEright stack from top: book 5, then 3, then 2, into the bottom row left to right
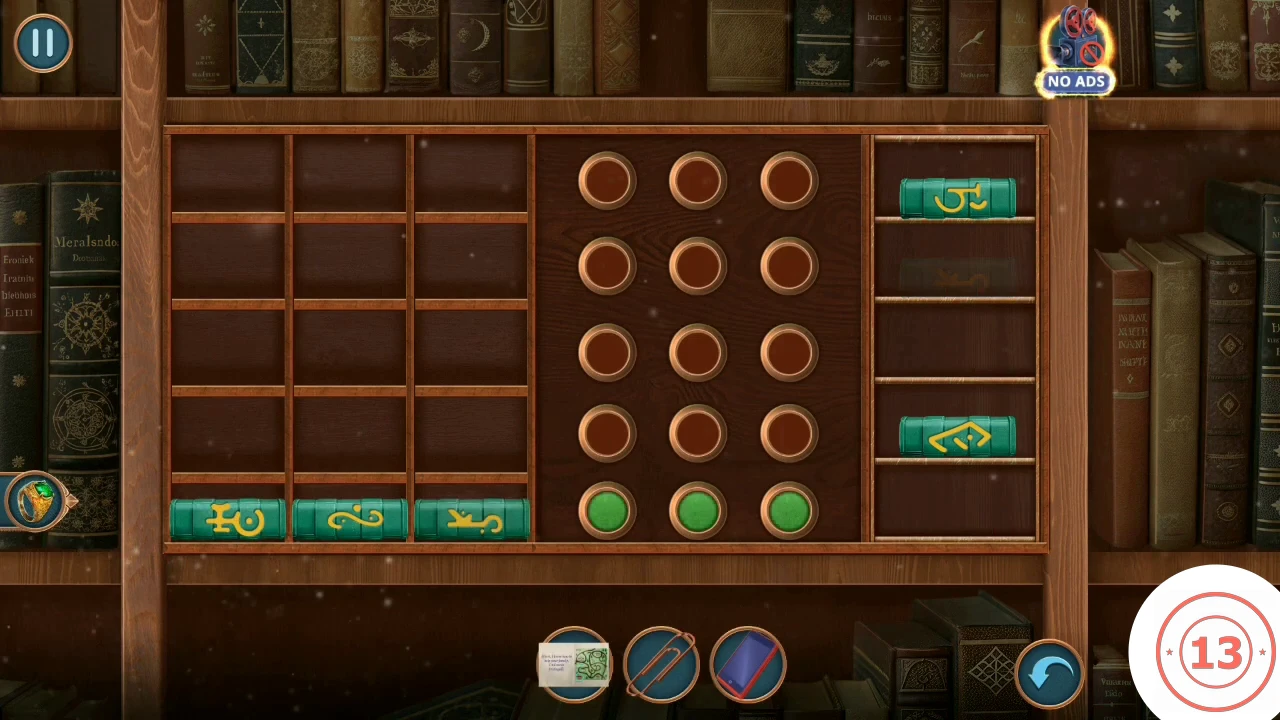
The solved row with three green lights. Your books may start in other positions. - Take the Coin and Shoehorn revealed on the shelf.
- Open the glass cabinet again and use the Shoehorn to open the doors. Take the Wallet inside.
- Open the Wallet and pull its zip with the Paper Clip. Take the Banknote and the taxi card, then leave by taxi.
- Albert meets you at the airport: "Oh! Boarding has already started - fingers crossed there are still tickets left!" Decision (1 point): "I'm sure they have a couple of seats left for us." gives +1; "That's unlikely, but the next flight is tomorrow." gives 0. Albert: "Yeah, right? The sooner we get to Scotland, the better!"
- Lost Heirloom: click the gold object on the low planter beside the cups, at the lower right of the departures hall.
Airport: coins, the souvenir kiosk and the flag
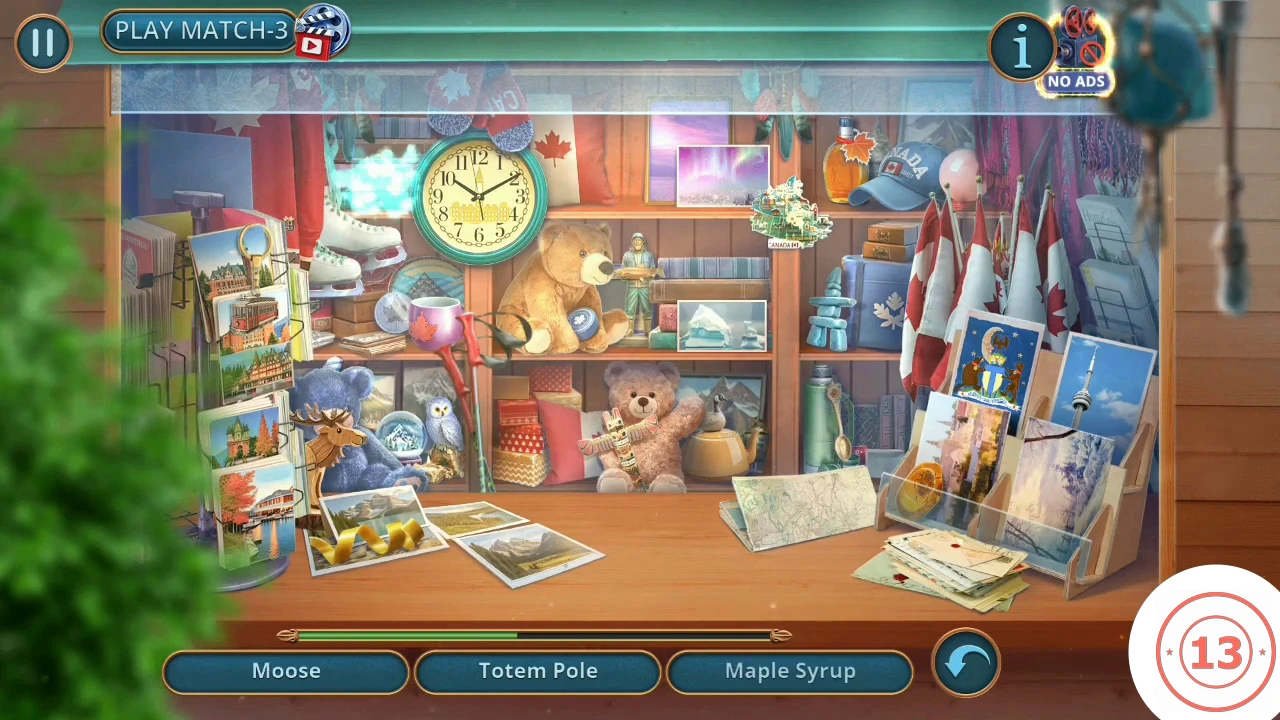
Tickets need a QR code, the desk blames a beaver, and the machine only takes coins.
- Open the Coin Exchange machine. Take the Shrinking Tube and the yellow Handkerchief.
- Open the ticket desk. "Payment is temporarily by QR code only." Notice the beaver with an empty paw.
- Put the Banknote into the Coin Exchange. Take the Coins from the tray.
- Open the souvenir kiosk, then pay with the Coins.
- Find every named souvenir in the list. The list includes Beaver, Canoe, Compass, Souvenir Spoon, Stop, Niagara Falls, Moose, Maple Syrup, CN Tower, Totem Pole and Coat of Arms.
- Open the ticket desk and give the beaver the Canadian Flag. Take the Airplane Amulet that appears.
Airport lounge: the key box
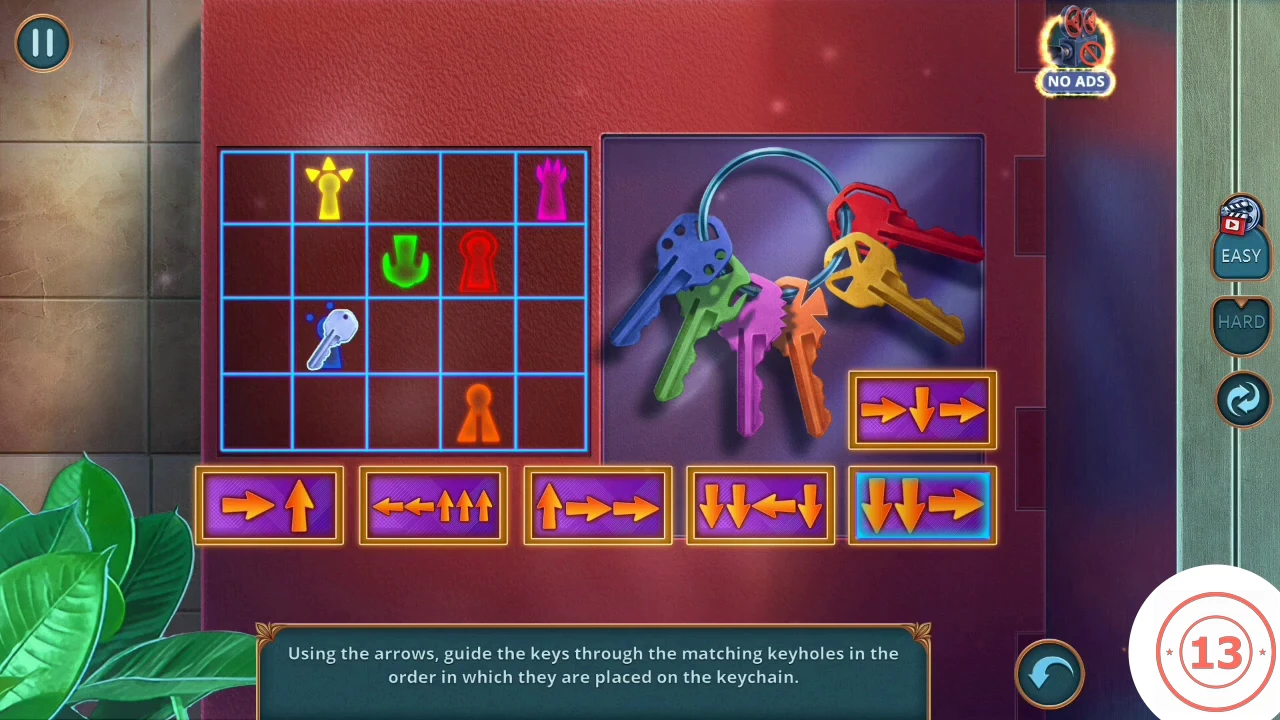
Pick up the lounge items, then guide each key along the arrow moves in the order of the keychain.
- Open the water cooler. Take the Hair Dryer and the green Keychain from the counter. Fit the Airplane Amulet to the drawer, then take the Pocket Watches (running count 41 of 70) and the Button from the open drawer.
- Open the red suitcase and fit the Button to its clasp. Take the Paper Cup and Set of Keys. Then open the low table and take the Pocket Watches there (running count 43 of 70).
- Go back to the Coin Exchange. Open the red box next to it and use the Set of Keys.
- The keychain order is blue, green, pink, orange, yellow, red, and each key goes into its colored keyhole. Press these buttons in order. Down-Down-Right, Right-Up, Up-Right-Right, Down-Down-Left-Down, Left-Left-Up-Up-Up, Right-Down-Right.CODEDown-Down-Right, Right-Up, Up-Right-Right, Down-Down-Left-Down, Left-Left-Up-Up-Up, Right-Down-Right
- Open the water cooler, put the Paper Cup under the tap and fill it.
- Open the low table and pour the water on the old muffin. "I'll try another way."
- Wipe the mess with the Handkerchief ("Ew. Just... ew. This definitely needs to go."). The table clears: take the Needle and Thread. Use the Keychain on the Souvenirs booklet to pull the Coupon out. Take the Pocket Watches when the banner appears (running count 45 of 70).
Airport: riddles at the kiosk
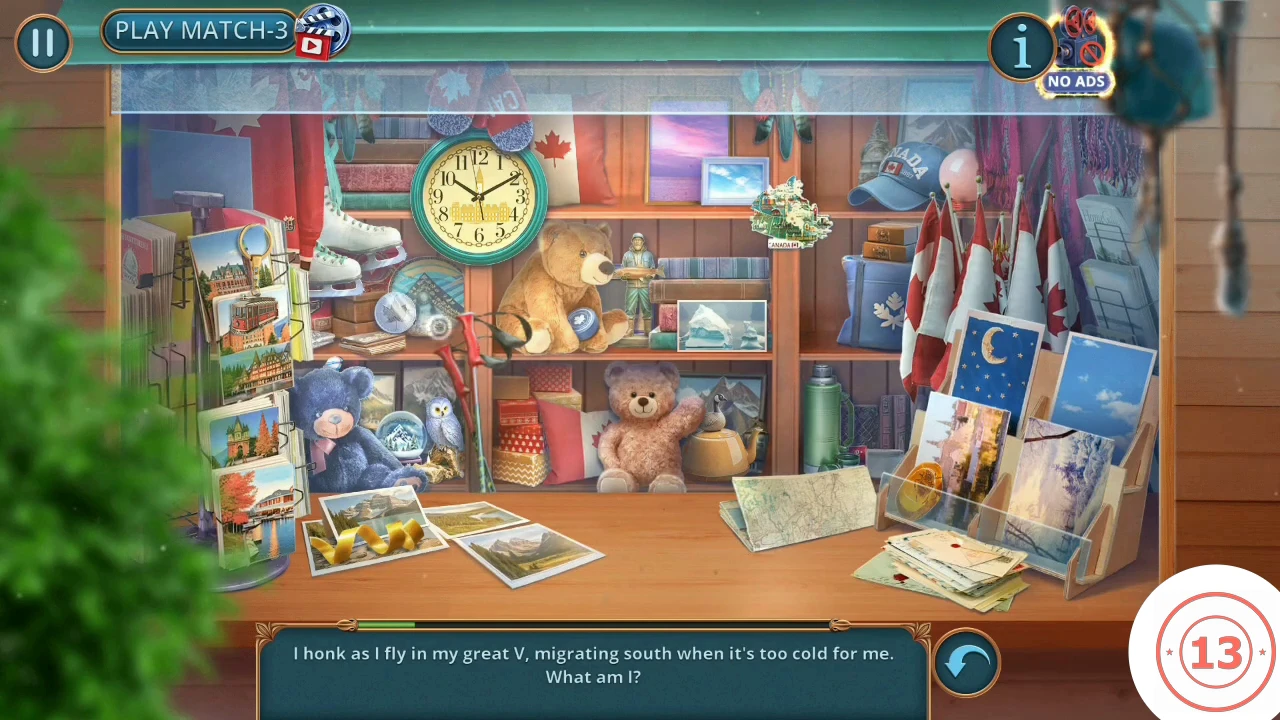
The second visit to the kiosk uses riddles instead of a list.
- Open the kiosk and pay with the Coupon.
- Read each riddle and click the matching item. The riddles and their answers: "Built of stone, I guide the way" (inukshuk); "I dance in the night" (northern lights); "I honk as I fly in my great V" (Canada goose); "I see in the dark and fly so free, white as snow" (snowy owl); "I jump upstream" (salmon); "Shake me gently" (snow globe); "Trapped inside, a story untold" (amber); "On rails I glide" (streetcar); "In Ottawa, I stand so tall" (Peace Tower); "I gleam so bright" (gold maple-leaf coin); "I drift in waters" (iceberg). You then receive the Wooden Hockey Stick.
Ticket desk: the QR sliders
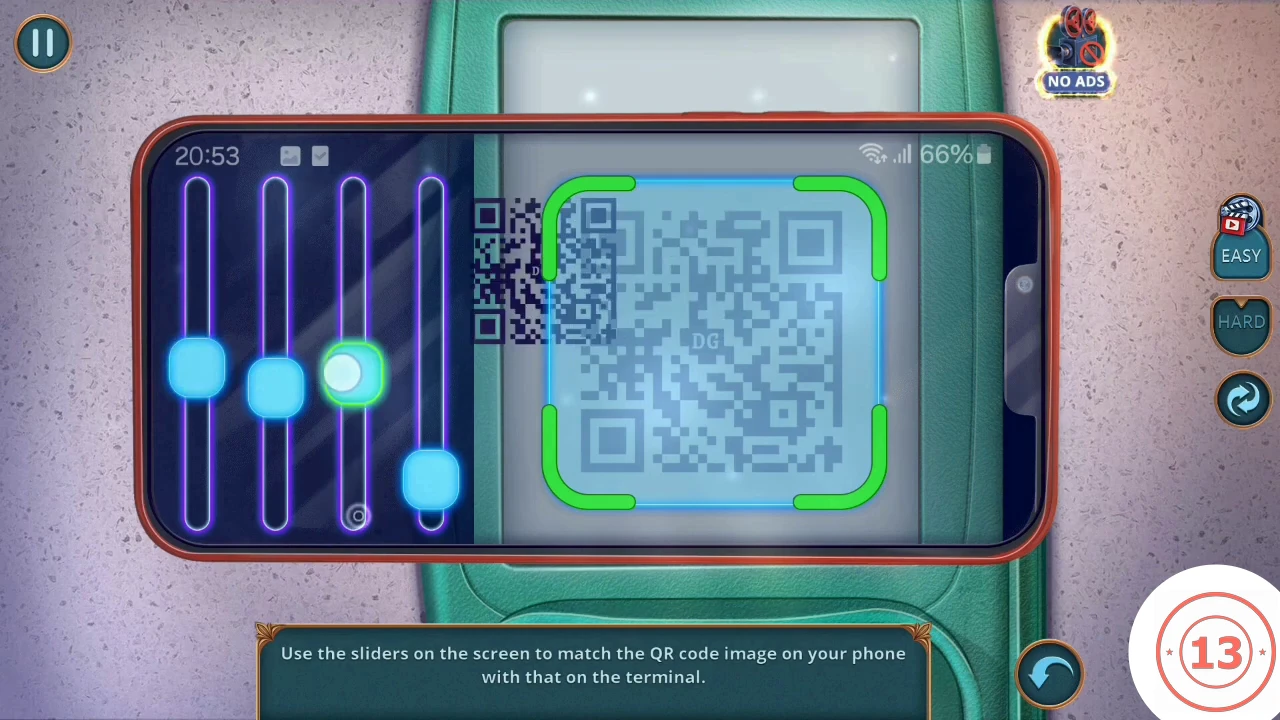
Repair the ticket machine's cable, choose Fortingall, then line up a QR code to pay.
- Open the ticket machine's plug and cable. Use the Wooden Hockey Stick to hook the cable, wrap the Shrinking Tube around the damage and shrink it with the Hair Dryer.
- Open the screen. On the list of Geneva, Fortingall and Lugano, choose Fortingall. Take the Destination printout.
- Open the ticket desk, give the Destination and show the blue phone to the terminal.
- Use the four sliders. Each one shifts or stretches the phone's QR image in a different way. Move one until the corners line up with the green frame on the terminal, then another, until the code is sharp and sits exactly in the frame. Trial and error is fine because the sliders can be moved as often as you like. In the solved frame slider 1 sits near the middle, slider 2 near the bottom, slider 3 just below the middle and slider 4 about three-quarters down.
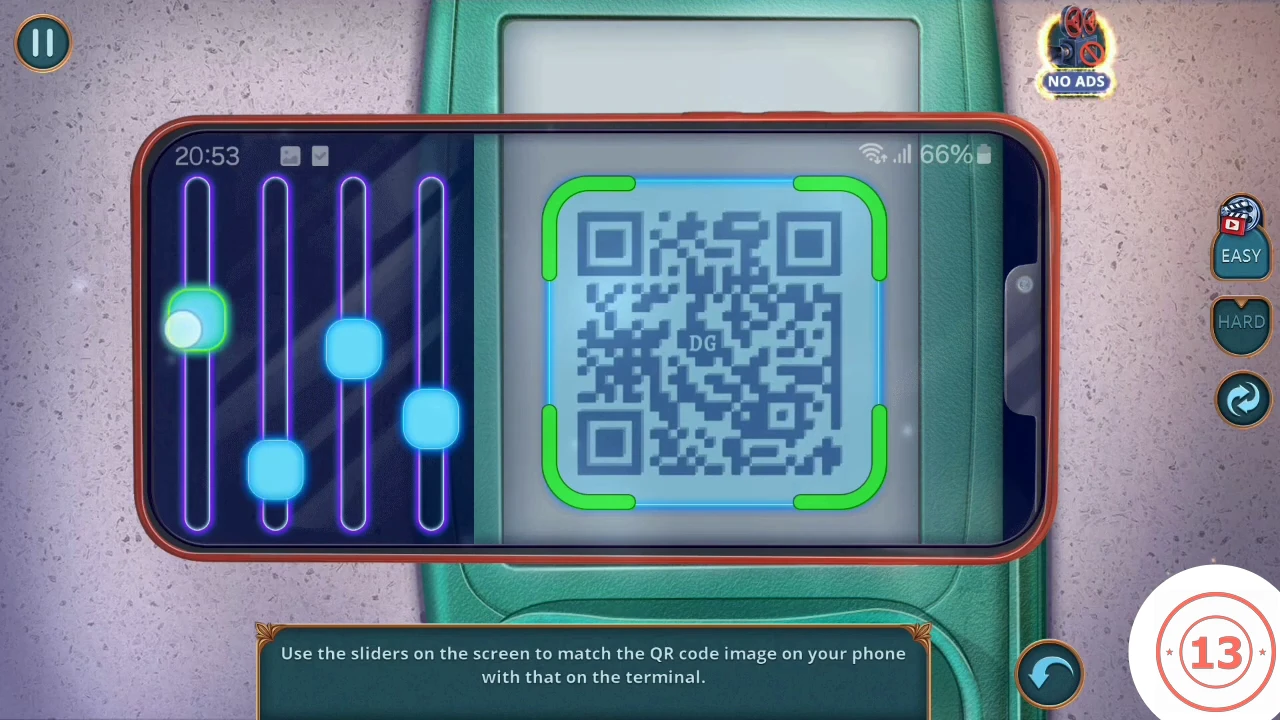
The code lined up inside the frame. - Open the gate clerk in the lounge and hand over the Tickets. "Your tickets, please, sir."
Fortingall: the torn map and Glenna
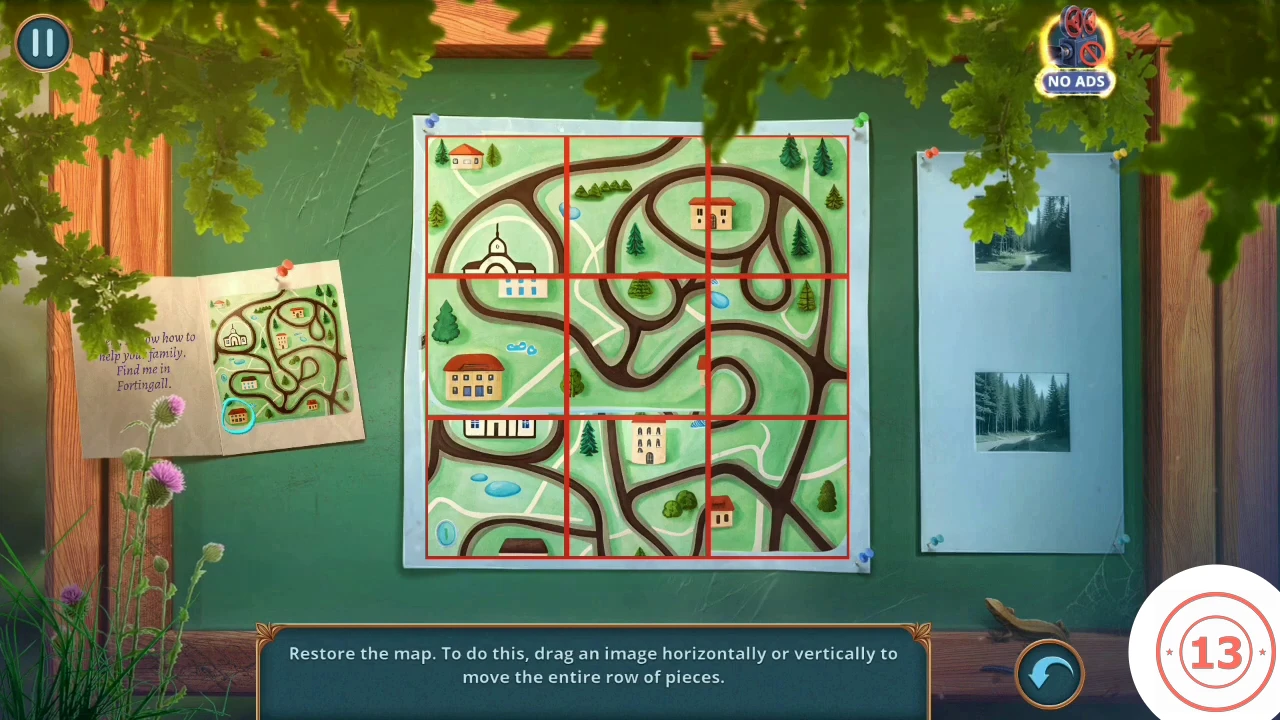
A torn map hides the first clue. Glenna offers the Deluxe house here.
- Overlooked Trinket: click the flowers lying on the crumpled paper at the lower right of the village.
- Pocket Watches: open the well and click by the rope for two watches (running count 47 of 70). Take them now, because you can use the well later without ever clicking this spot.
- Open the barrel gate and the locked chest, then the map board. Pin the Postcard on the board: it shows the map you have to rebuild. Take the Calipers and Dessert Knife.
- Drag a piece along a row or column to shift the entire line. Match the small thumbnail pinned at left: the church at top left, buildings along the left side, the river and trees at lower right. The start may vary, so this guide gives the target rather than a move list. When the map closes, Glenna Wallace walks up.
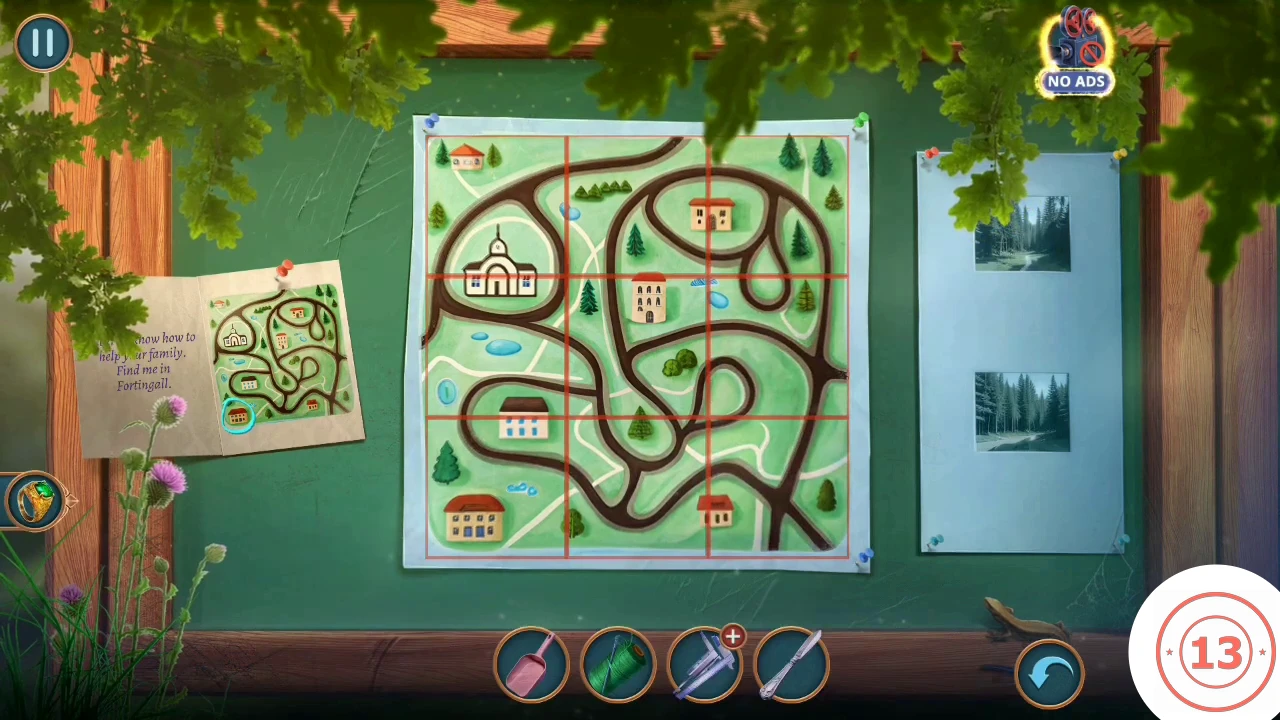
The restored map. - Talk to Glenna: "You're welcome to search my house though! The thief might have left some kind of clue behind." Deluxe choice: "If the trail is fresh, we'll find them quickly." gives +6 and opens her house. "Maybe you could try to remember the ritual?" gives 0. She adds that the last cultist faked their death and buried writings about the ring in their grave, and gives you a Screw.
- Open the Calipers in your inventory and join them with the Screw.
Barrel gate: the nut trail
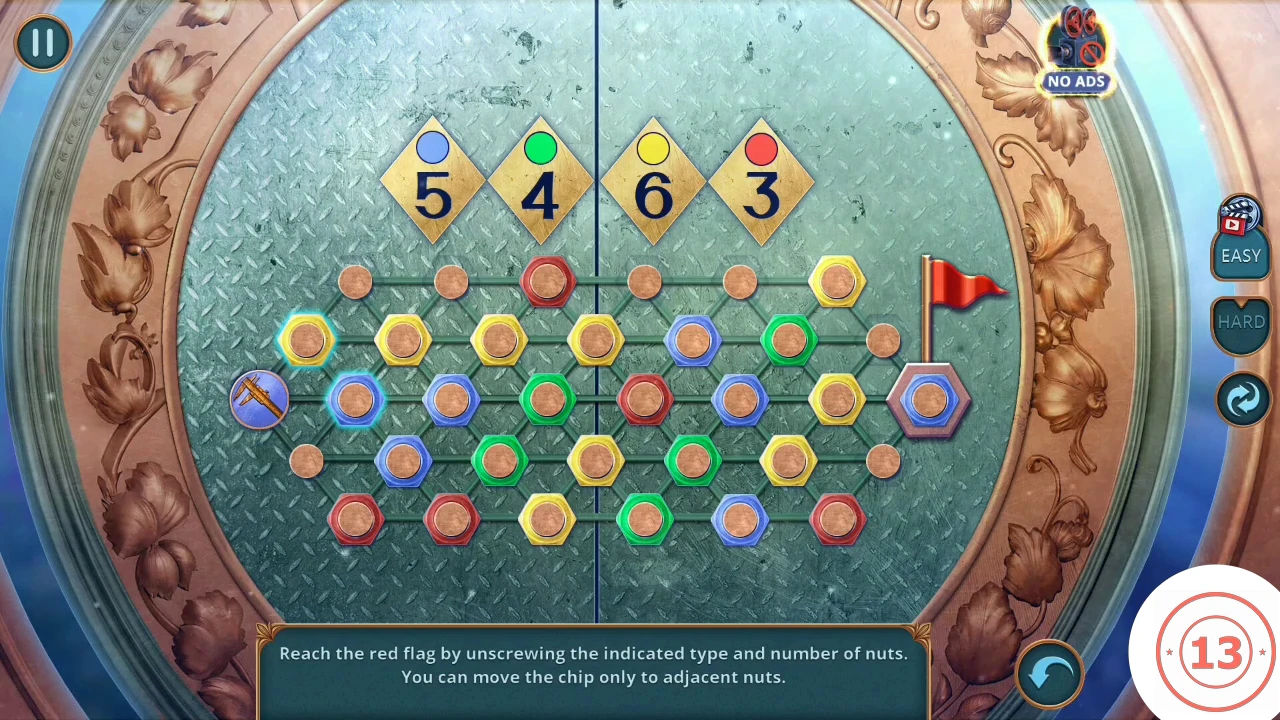
A chip must visit the right number of each colored nut and finish on the flag.
- Open the barrel gate and use the Calipers.
- The counters show how many nuts of each color to unscrew: blue 5, green 4, yellow 6, red 3. If yours differ, use your own numbers. Click an adjacent nut to move and unscrew it. Plan a path across the board that spends exactly those counts and ends on the blue nut beside the red flag. If you run short, use the reset button. When all the counters read 0, the gate opens to the churchyard.CODEblue 5, green 4, yellow 6, red 3
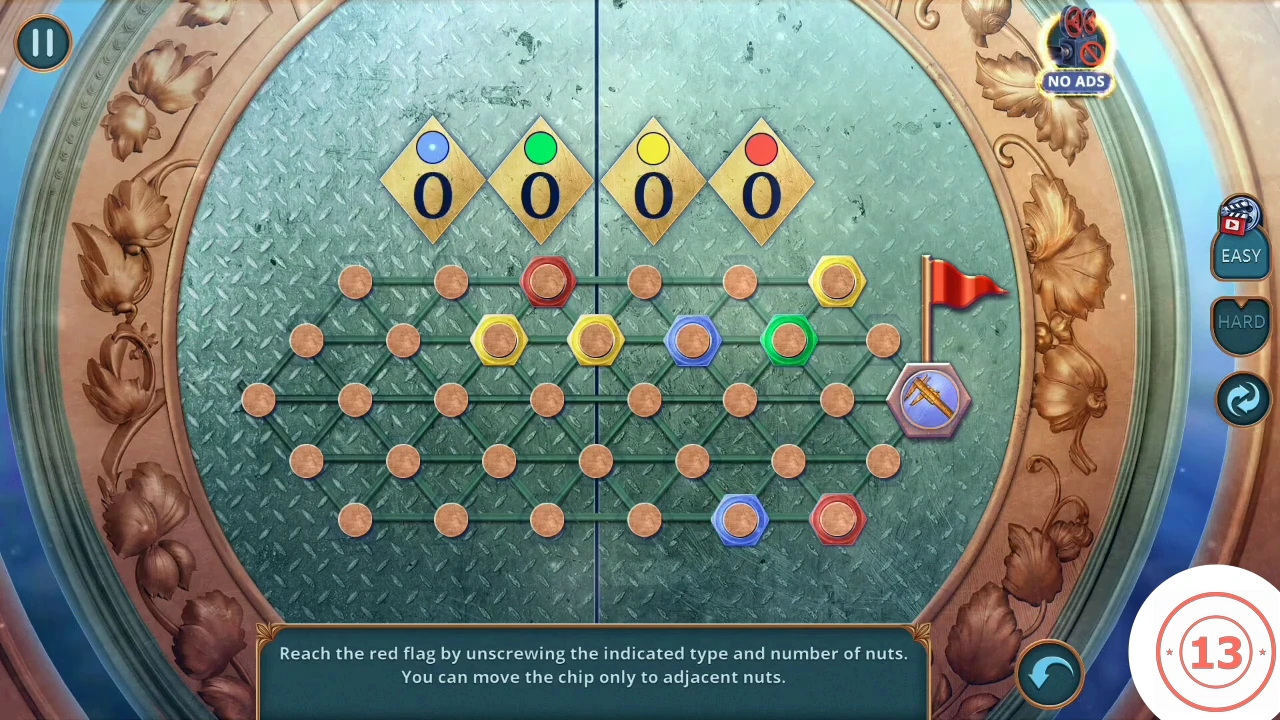
The finished trail in our example, with all counters at 0 and the chip beside the flag.
Churchyard: Bankfort's grave
The cult's record is under the grave, and the stone beside it hides a pocket fan.
- Open the gargoyle statue and take the Torn Bagpipes.
- Open Bankfort's grave. Dig with the Plastic Scoop. Take the Empty Bottle and read the cult book.
- Open the grave again. "This one sticks out. Maybe I can move it?" Pry the stone with the Dessert Knife and take the Pocket Fan.
Deluxe: Glenna's house
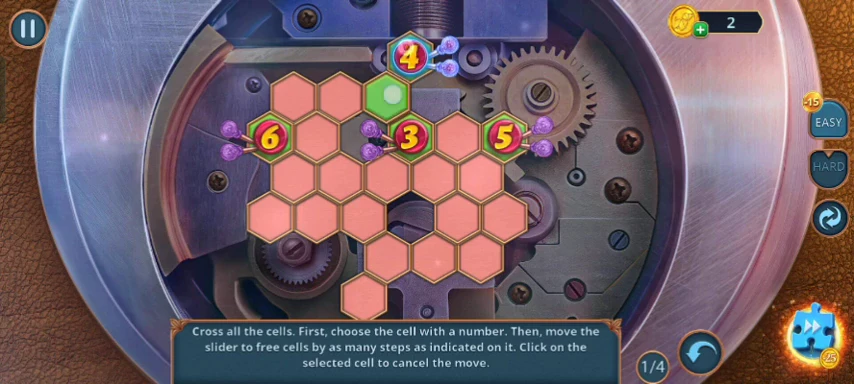
Requires the +6 choice with Glenna. This guide takes it now, before the gargoyles and the village chest. Finish it before the warning at Bankfort's grave.
- Enter Glenna's house through the new map location. "There we go! This is the bag!"
- Open the fireplace. Take the Knitting Needles and the Wing.
- Open the wardrobe. Fit the Wing to the gold bird on the shelf and take the Hair Band.
- Open the rug by the spinning wheel. Bind the loose bundle on the rug to the Knitting Needles with the Hair Band.
- In the churchyard, open the spider web and sweep it with the Improvised Broom. Take the wooden Mirror Box.
- Travel back to the house by the map. Open the fireplace and put the Mirror Box on the grate. It lifts, and a view up the chimney appears. Take the Sunglasses.
- Open the wardrobe and set the Sunglasses on the clothes. Take the Winding Toy.
- Open the cat on the sofa and use the Winding Toy. The cat leaves the cushion. Take the pink lotus charm.
- Go to the village, open the chest and place the lotus charm on the plaque above it. The plaque opens: take the Chisel.
- Open the fireplace and split the log with the Chisel. Take the Stool Leg.
- Open the stool by the window and fit the Stool Leg. Open the pictures above it and take the purple key.
- Open the wardrobe and use the key on the leather bag's lock.
- Four stages. Click a numbered cell, then drag its slider along free cells by exactly that many steps; click the cell again to cancel. Every cell must turn green. Plan so no cell is cut off and start from the corners.
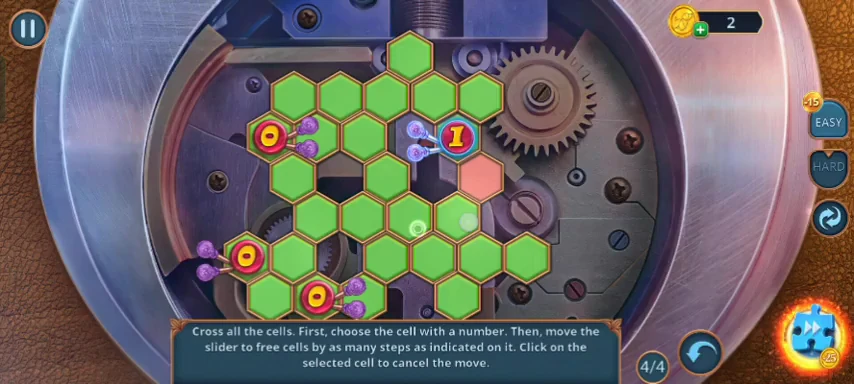
The fourth stage nearly finished. Crossed cells turn green. - Read the note in the bag: "For centuries, they had gotten rich and hoarded their debt to the ring! But when the time came to repay it, they were afraid." Gabriel adds, "Hmm, I think I've seen this clock before. Someone really doesn't want the Montgomery family to be free of the curse - but why?"
Churchyard: the gargoyle orbs
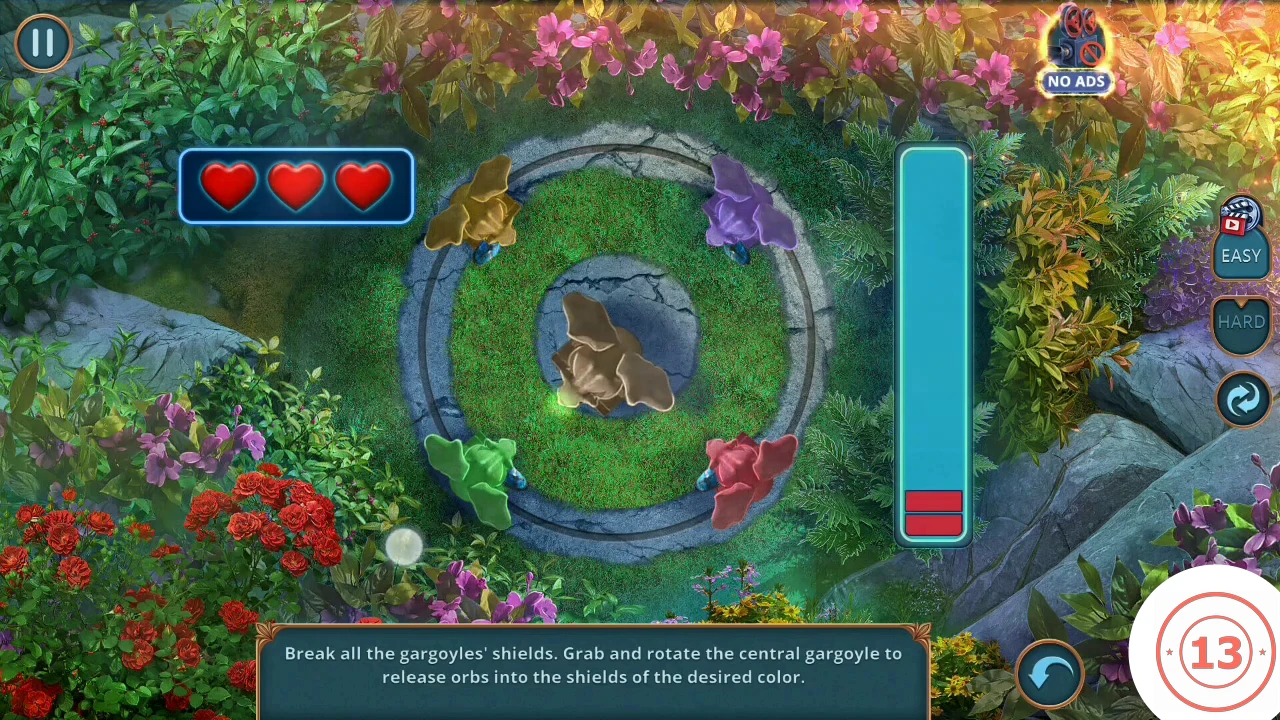
The Pocket Fan wakes the gargoyles.
- Open the gargoyles and use the Pocket Fan. Press START.
- Drag the central gargoyle to aim it. Release an orb into a side gargoyle's shield of the same color. Orbs that hit the wrong shield cost a heart. Keep the bar on the right moving up until it is full. The shields then break and you receive the Board with Pattern and a purple ring piece.
Village: the chest and the bagpipes
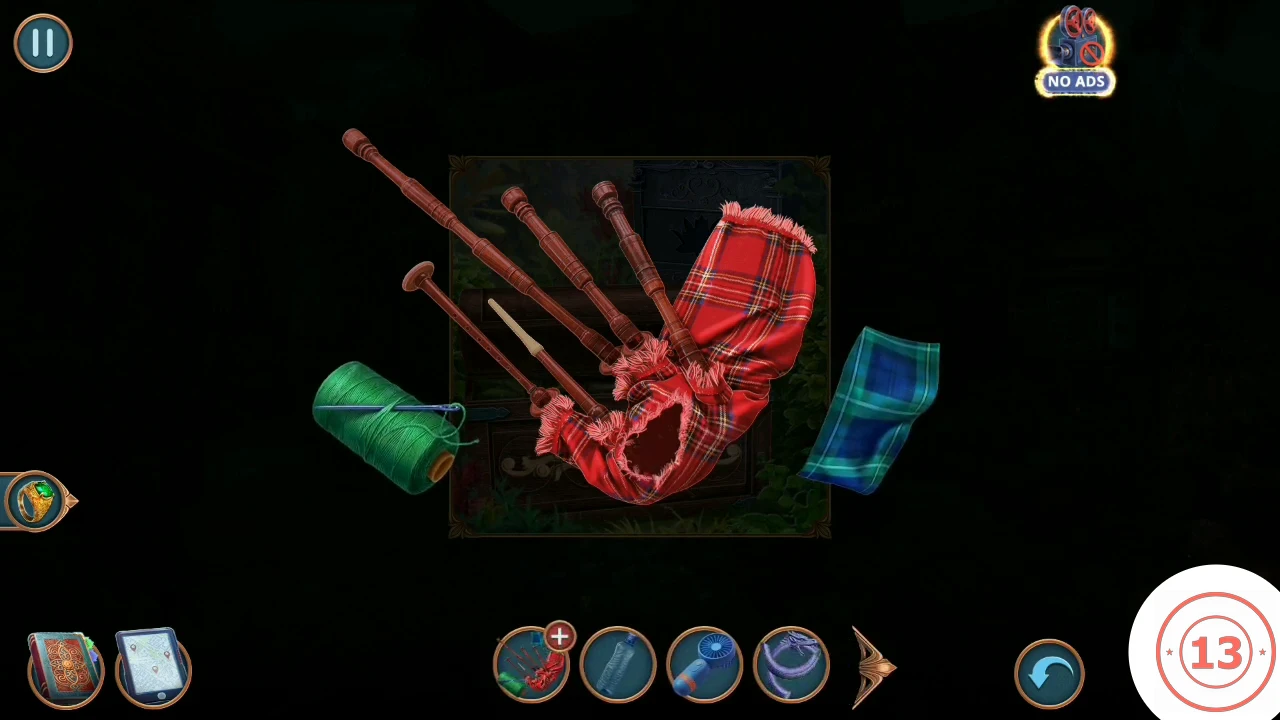
Open the chest, patch the bagpipes and scare the fox with the right note.
- Back in the village, open the chest and fit the Board with Pattern to its front. Take the Patch and the Seashell.
- Open the Torn Bagpipes in your inventory. Add the Patch and sew it with the Needle and Thread.