CHAPTER 2
Isabella's front yard: the fountain valves
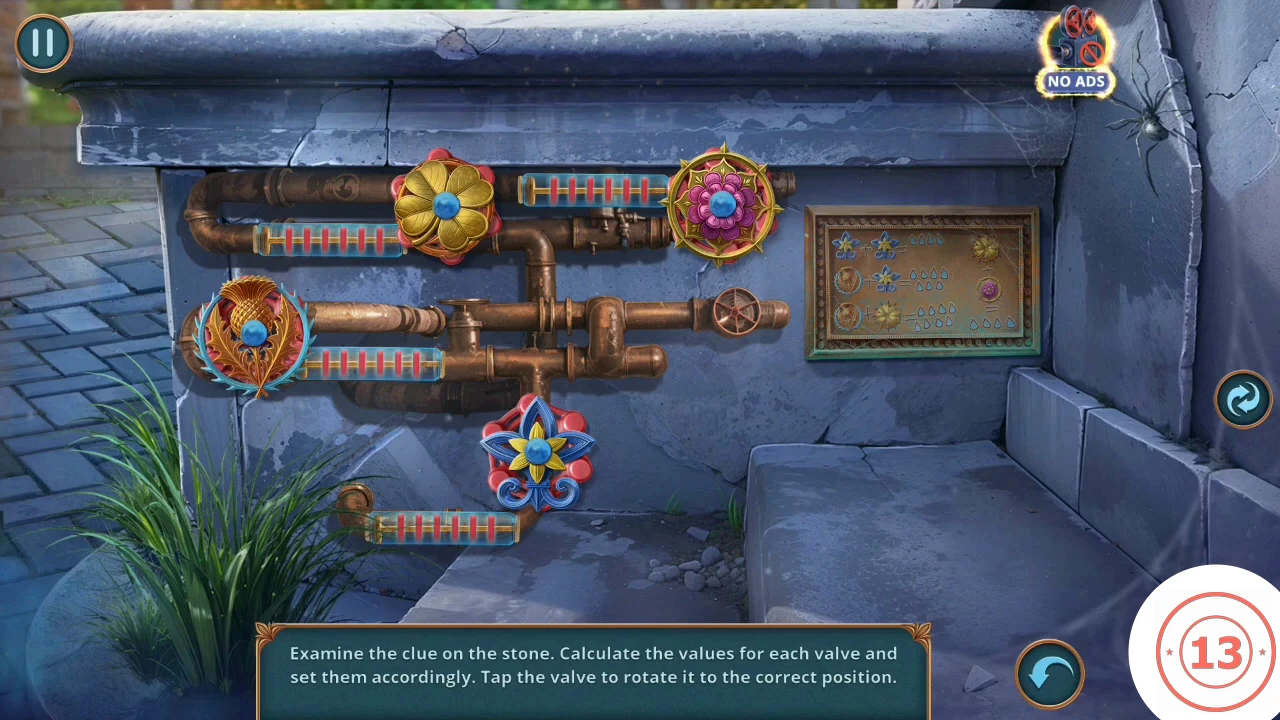
Drain the fountain to reach the Hairpin, then free the car box and ring the door bell.
- Lost Heirloom: click the gold round object on the seat of the swing, to the right of the fountain.
- Open the lawn mower on the right, by the hedge. "Even rich people's lawn mowers run out of gas sometimes." Take the Valve from this close-up.
- Open the edge of the fountain and fit the Valve into the empty socket.
- Read the sums on the stone: two blue flowers make 4, thistle plus blue makes 7, thistle plus gold makes 8, gold plus pink makes 4. That gives blue 2, thistle 5, gold 3, pink 1. Tap each valve until it shows its value. Harder settings can show water drops instead of pointers, where one click adds one drop. If your stone shows different sums, work out the values from your own hint in the same way.CODEblue 2, thistle 5, gold 3, pink 1
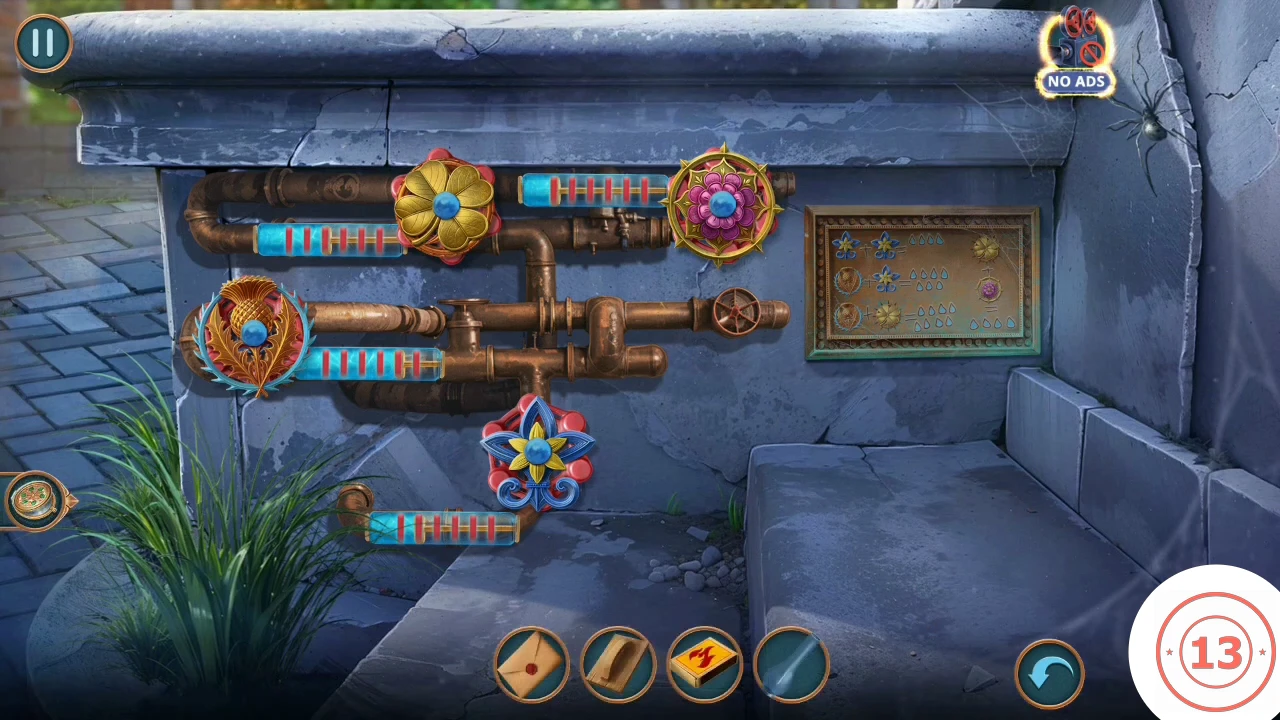
The valves set to their values in our example, just before the fountain drains. - Take the Hairpin from the drained basin.
- Open the parked car and use the Hairpin on the airbag.
- Open the box in the car and take the Clapper.
- Open the bell at the front door and hang the Clapper. Ring it.
- Talk to Charles the butler. "Guess I need proof I belong here..." Show the Letter of Assurance. He lets you in and you go through to Isabella's studio. A Ring also joins your inventory; you never have to use it.
- Deluxe offer: Charles offers to let you search Isabella's hidden ritual room. Choose "I'll do that right now." (+6, Deluxe tag) to open it, or "This might not be the best time." for 0. If you take the second answer, skip both sections titled "Deluxe: Isabella's hidden room".
CHAPTER 2
Studio: lamp and hidden objects
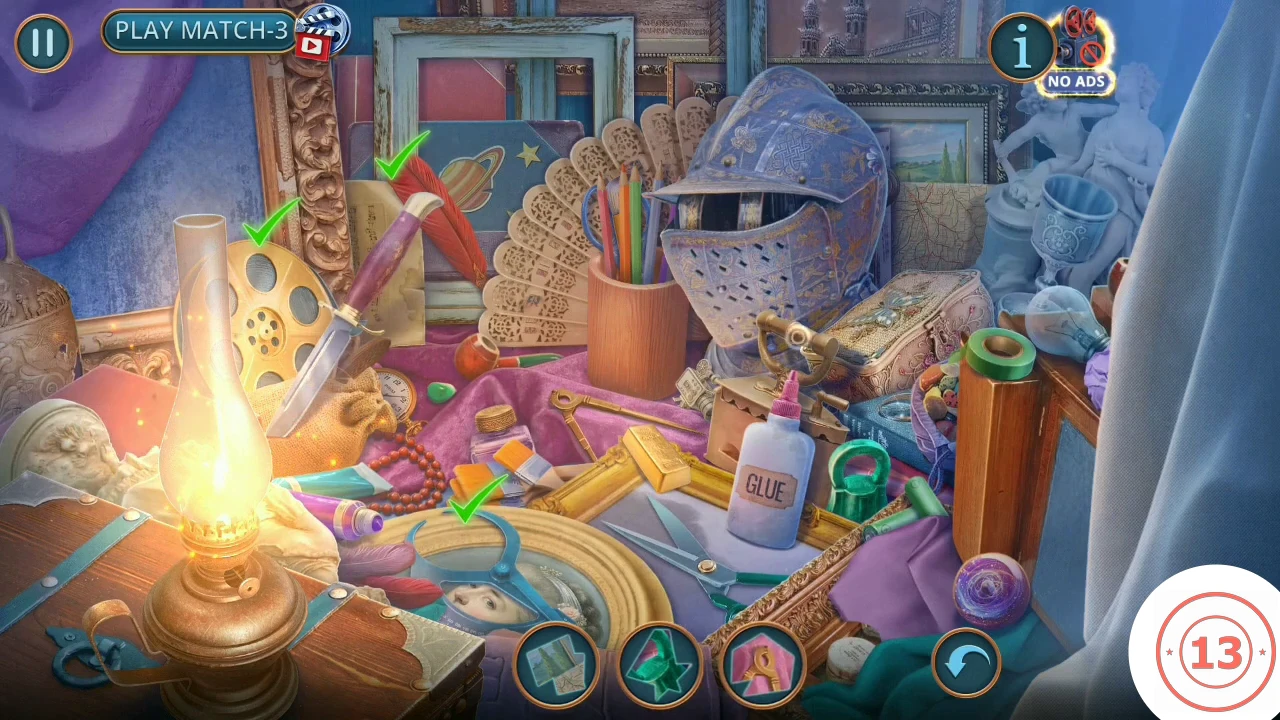
Light the lamp to reveal the studio clutter. The first scene hands you the Brush.
- Open the green safe on the desk. It has no dial handle and a stone arm blocks the door.
- Open the oil lamp and light it with the Matches. Fit the Screw that holds the chimney in place.
- Find every silhouette shown in the tray. Use MATCH-3 instead if you prefer it.
- Open the toy golf course on the floor by the dog. Take the Pocket Watches (running count 34 of 70) and the Rolled Sandpaper.
- Open the crown chest. "One of these buttons is missing." Sweep the sand pile with the Brush and take the Funnel and Push Pins.
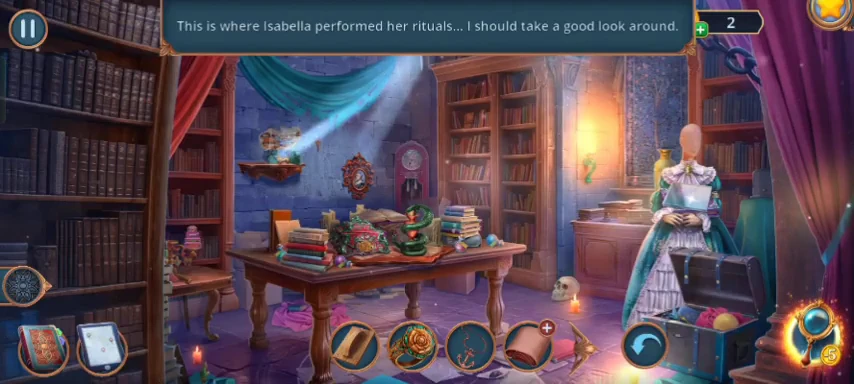
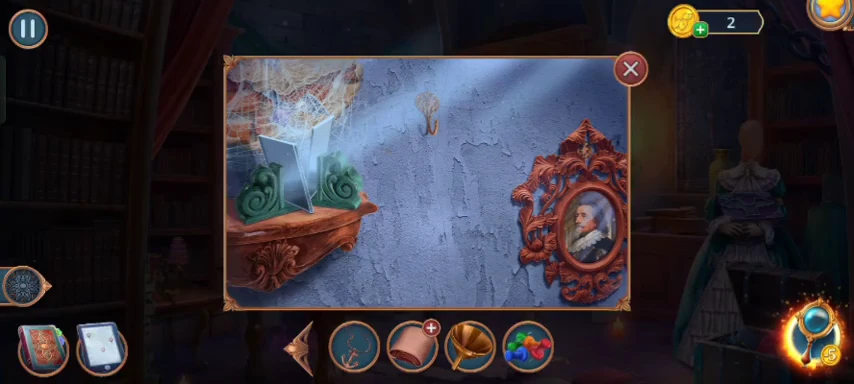
CHAPTER 2
Studio: the diadem number
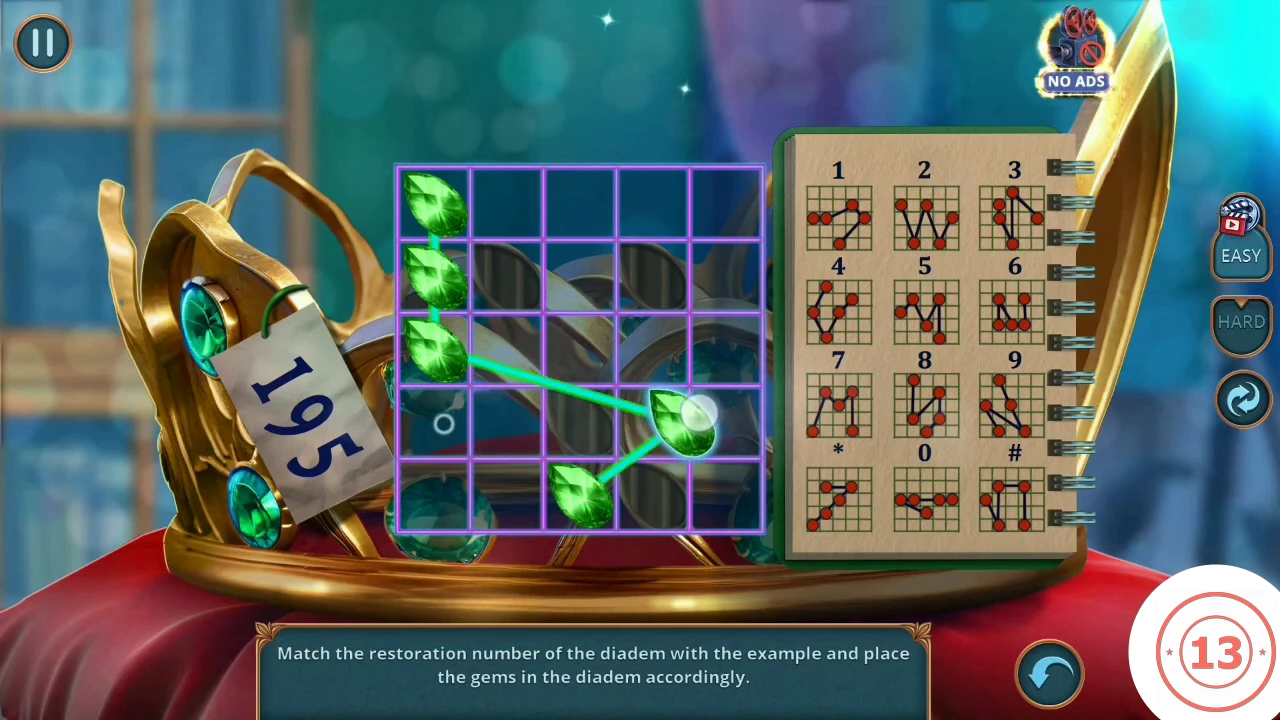
Make the Abrasive Tool, free the safe's jewel and use it on the crown.
- Open the Rolled Sandpaper in your inventory, which brings up its wooden block. Add the Push Pins.
- Use the Abrasive Tool on the stone arm of the green safe.
- Open the crown and place the Crown Jewel.
- The tag on the crown reads 195. Each number has a pattern of five gems in the notebook. Drag gems on the grid until they match the notebook's pattern for 1, then 9, then 5. A digit on the tag lights green when its pattern is right and the lines between gems show the links.CODE1, 9, then 5
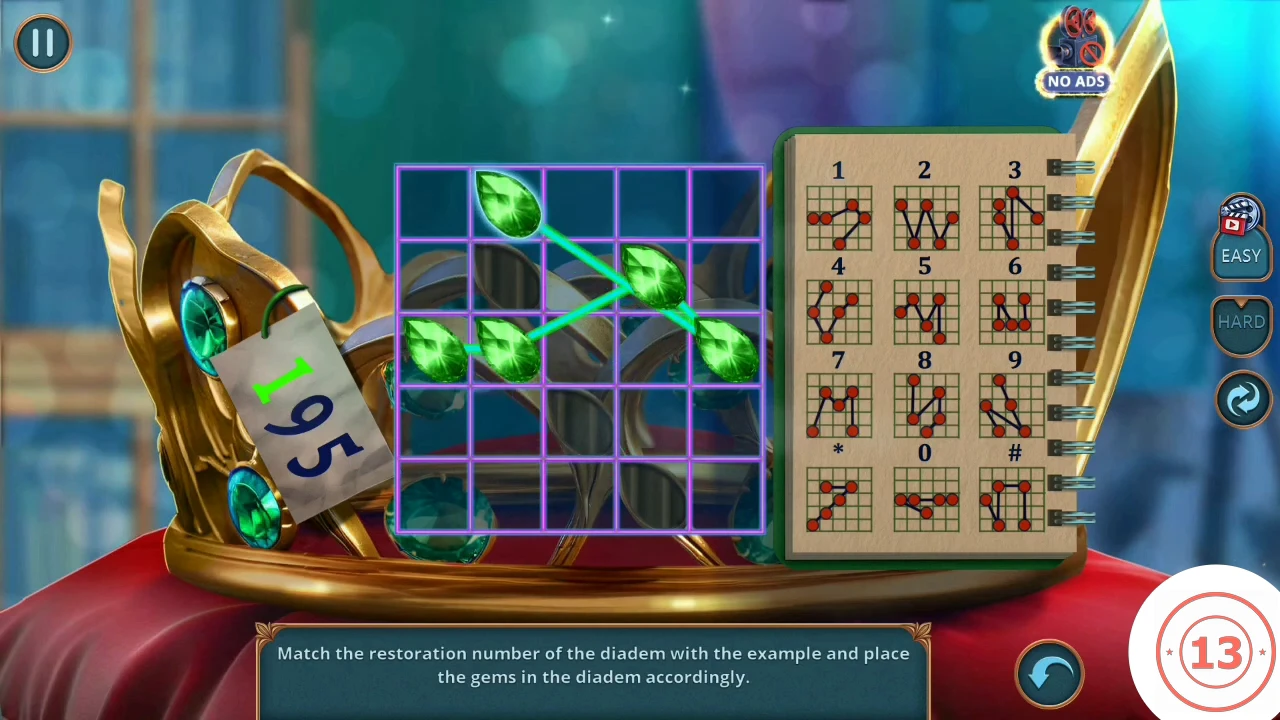
The pattern for 1 in place. The 1 on the tag has turned green, so move on to the 9. - The crown's button opens a drawer of cash: "That's one way to deal with a curse - just throw money at it." Take the Goblet.
CHAPTER 2
Studio: fuel for the mower and the riddle pile
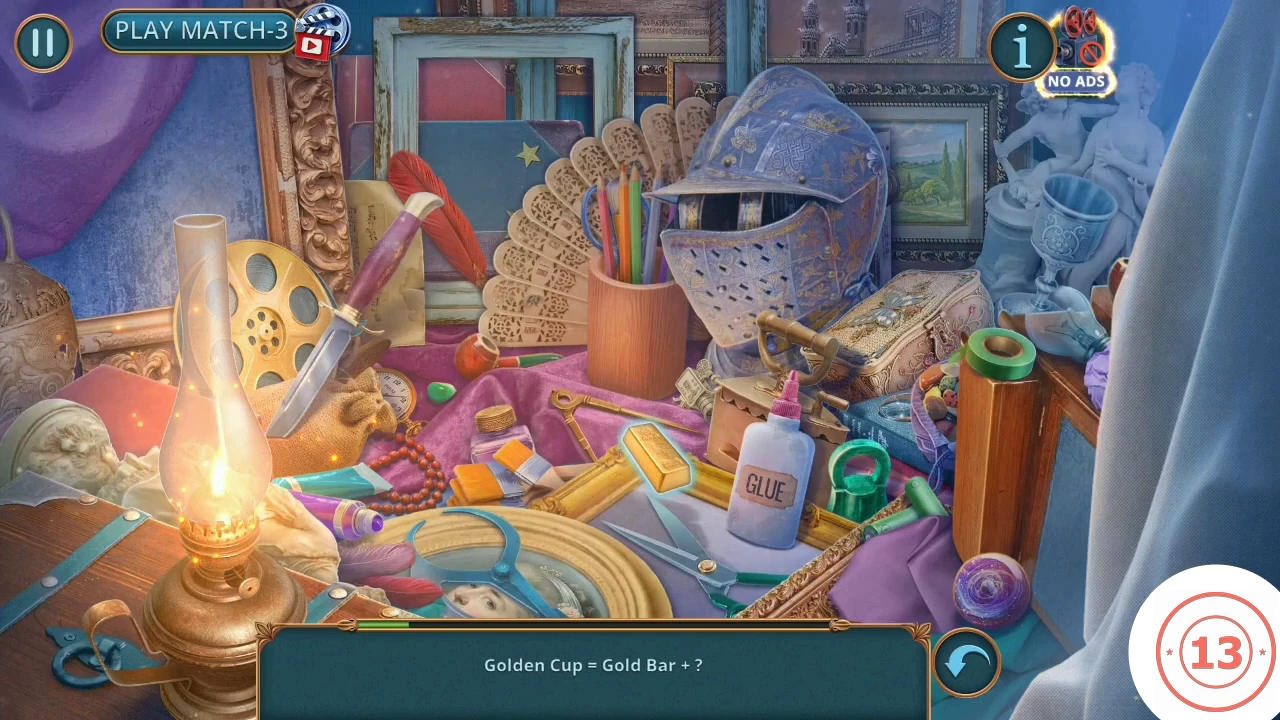
Refuel the mower, then return to the lamp pile for the riddle version.
- Open the car box. Fit the Funnel to the fuel pipe and fill the Goblet.
- Open the lawn mower and pour in the Gasoline. The mower cuts through the hedge. Take the Passcode Cube.
- Return to the studio and open the object pile again. "What... What was that?"
- Each riddle shows a sum with blanks, such as Golden Cup = Gold Bar + Glass, Music Box = Music Sheet + Jewelry Box or Gluing = Glue + Brushes. Click each part in the pile as the line fills in. Read each line because the items are named by the riddle, not shown as silhouettes. You receive the Glass Cutter at the end.
- Open the crown chest and use the Glass Cutter on the glass. Take the Toy Bone.
- Give the Toy Bone to the dog on the floor. It leaves behind a broken frame and the Map.
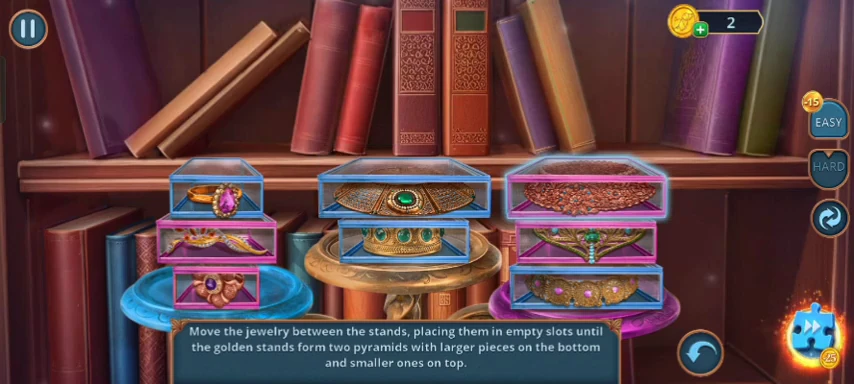
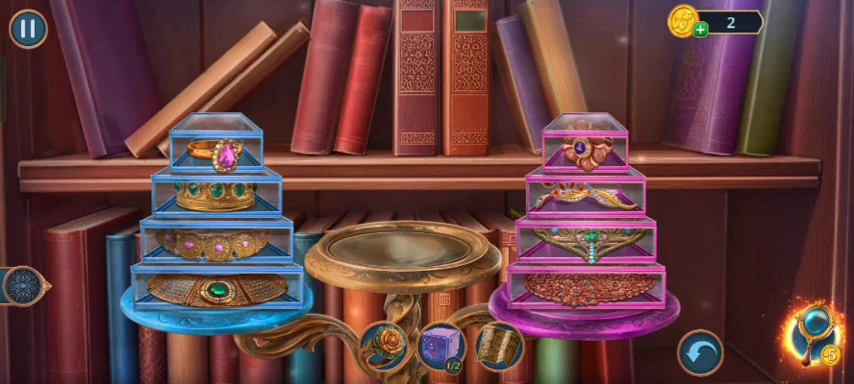
CHAPTER 2
Hedge: the dark maze
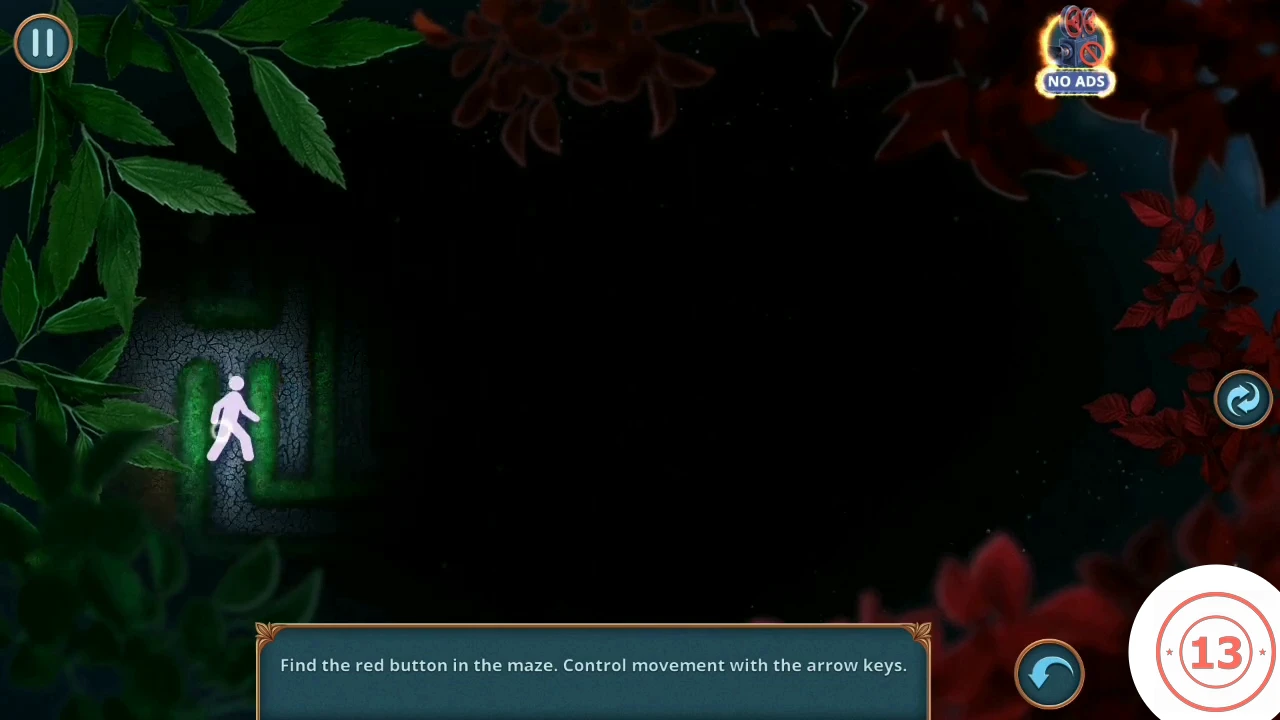
A small circle of light shows only part of the maze. The route below is one working path.
- Open the stone path by the hedge and use the Map on it.
- Use the arrow keys. One press runs the figure along a corridor to its next stop, so each direction below is one press. If it stops short at a side opening, press the same arrow again. You start at the far left with the right and down arrows showing; ignore right, which only leads to a dead end, and press down. Then: down the first corridor to the bottom row, right, up a short way, left one square, up the long column to the upper row, right, down to the middle junction, right, down to the bottom row, right, up, right, up to the upper row, right, down the long column to the bottom row, right, up the long column to the upper row, right, then up to the red button at top right. Other side branches are dead ends.CODEdown, right, up, left, up, right, down, right, down, right, up, right, up, right, down, right, up, right, up
- Open the toy golf course and fit the red button. Take the second Passcode Cube.
CHAPTER 2
Studio: the green safe locks
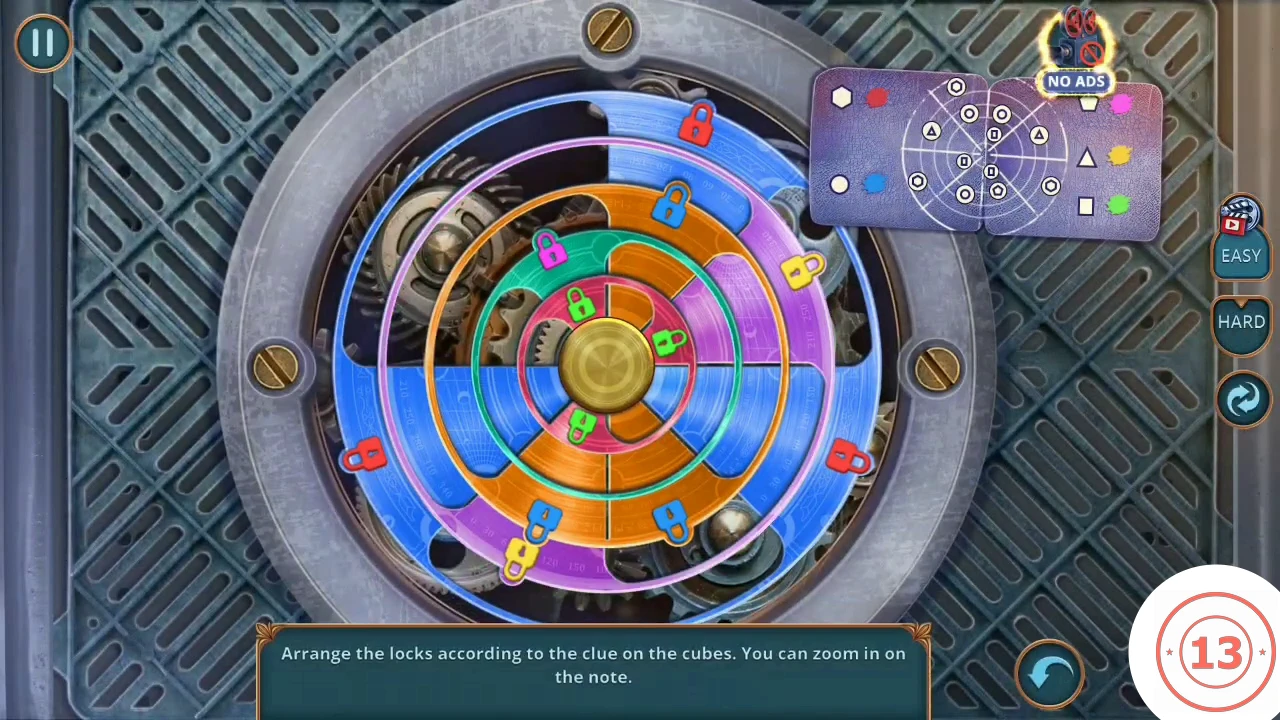
This safe ends the chapter. Finish the Deluxe room, collectibles and any other task on this estate first.
- Open the green safe and place both Passcode Cubes. Warning: if you complete this task you will not be able to return to previous locations for remaining items. Choose YES when you are ready.
- Click a ring to select it (green outline), then rotate it. Move the padlocks to the positions on the cube note, shown here as clock-face positions. The key is hexagon = red, circle = blue, pentagon = pink, triangle = yellow, square = green. Target by clock face: outer ring red at 11, 8 and 4; second ring yellow at 10 and 2; third ring blue at 11, 1 and 7; fourth ring pink at 5; inner ring green at 1, 8 and 5. The safe opens and you take an Envelope.CODEred 11, 8, 4; yellow 10, 2; blue 11, 1, 7; pink 5; green 1, 8, 5
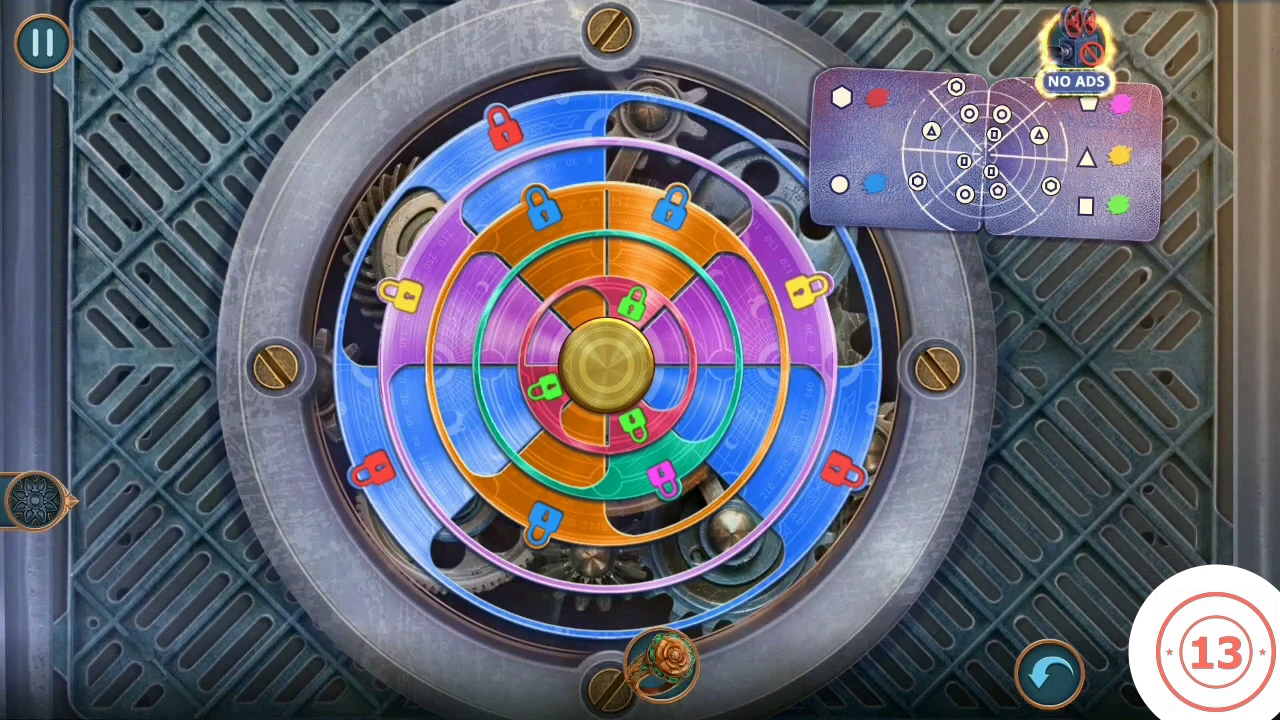
The padlocks in their solved positions. - The Decision Points screen sums this chapter out of 13. Rows: Fear and doubt / Confidence +1; Second-guess / Question Laura +1; Blithely accept / Object +1; Stay silent / Cheer Laura up +2 / Calm Laura down +4; Refuse to see the room / Examine the secret room +6.